Introduction
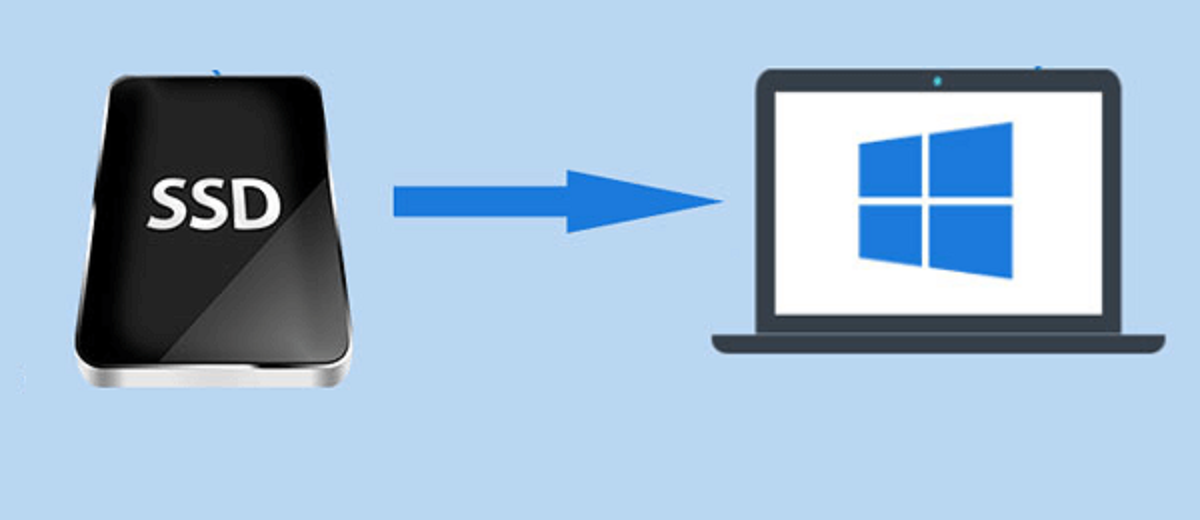
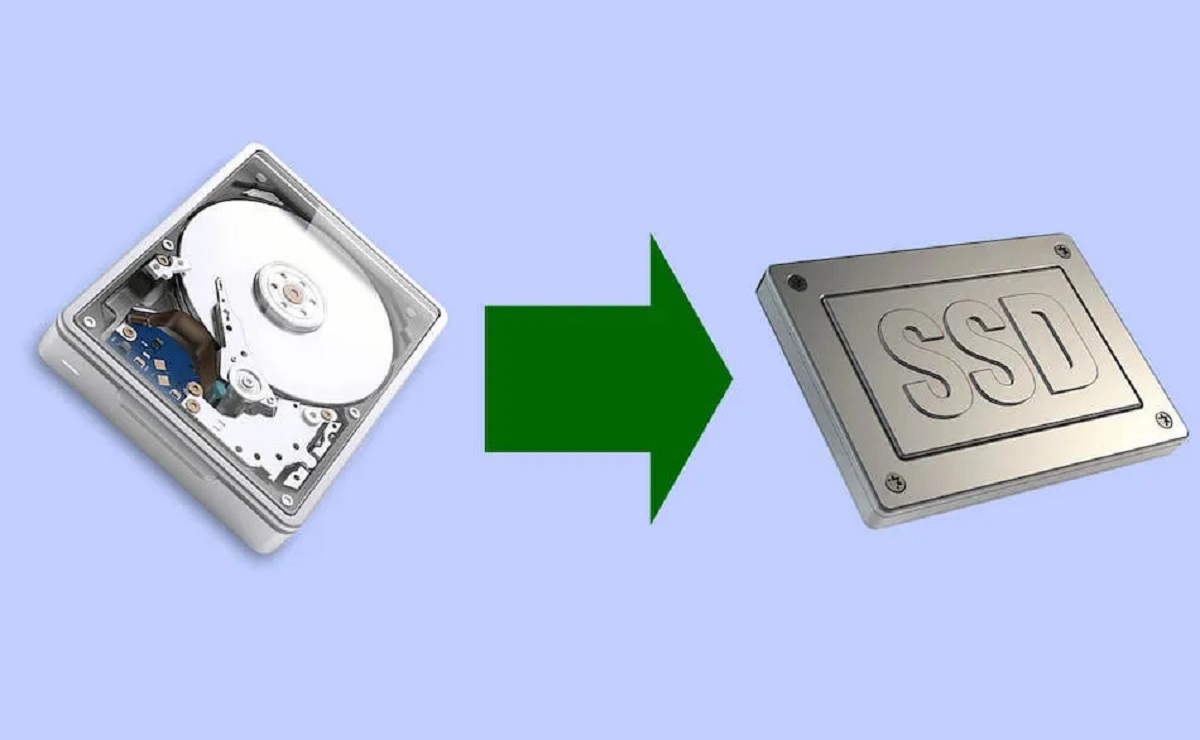
Welcome to the world of SSD cloning! If you’re looking to upgrade your solid-state drive (SSD) without the hassle of reinstalling your operating system and applications, you’ve come to the right place. SSD cloning is a time-saving and efficient method that allows you to create an exact copy of your current SSD onto a new one. By following the steps outlined in this guide, you’ll be able to clone your SSD with ease.
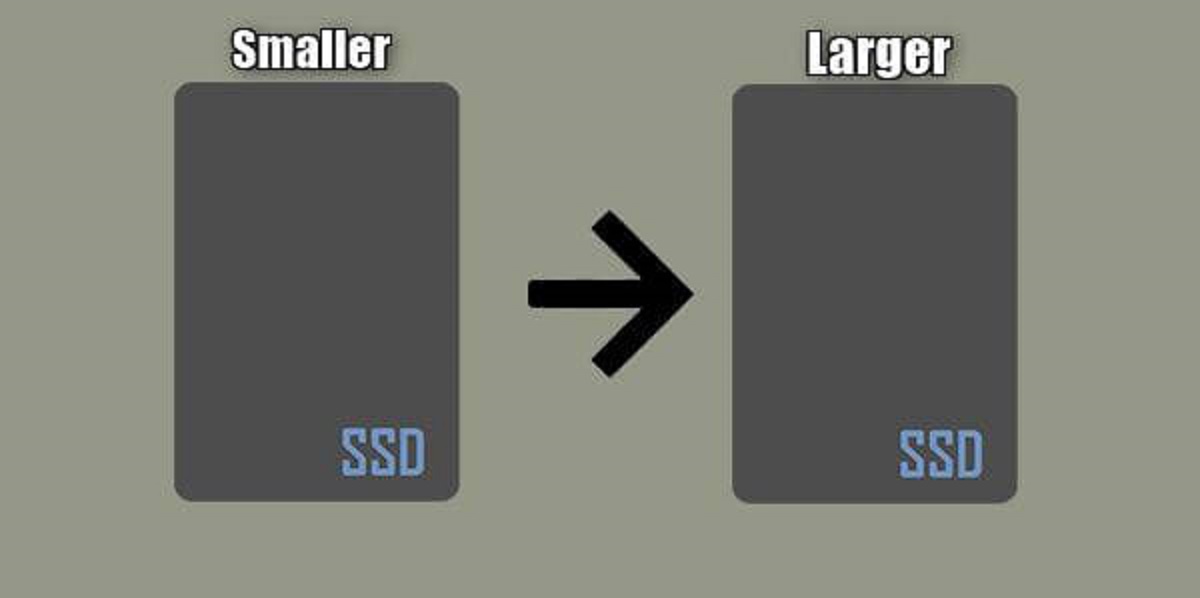
Whether you’re upgrading to a larger capacity SSD, replacing a faulty drive, or simply seeking improved performance, SSD cloning provides a seamless transition without the need for manual data migration. With a cloned SSD, you can retain all your files, settings, and applications, ensuring a smooth and uninterrupted experience on your new drive.
In this comprehensive guide, we’ll walk you through the step-by-step process of cloning your SSD. From preparing your equipment and software to verifying the completion of the cloning process, we’ve got you covered. By the end of this guide, you’ll have all the knowledge you need to successfully clone your SSD and enjoy the benefits of a new and improved storage solution.
Before we dive into the intricacies of SSD cloning, it’s essential to understand the importance of backing up your data. While SSD cloning is generally a safe process, it’s always recommended to create a backup of your existing drive. This ensures that you have a redundant copy of your data in case anything goes wrong during the cloning process.
Now that we’ve set the stage, let’s move on to the first step: preparing your equipment and software. Get ready to embark on your SSD cloning journey and unlock the full potential of your new drive!
Step 1: Prepare Your Equipment and Software
Before diving into the SSD cloning process, it’s crucial to ensure that you have all the necessary equipment and software ready. Here’s what you’ll need:
- Source SSD: This is the SSD you currently have installed in your computer and wish to clone.
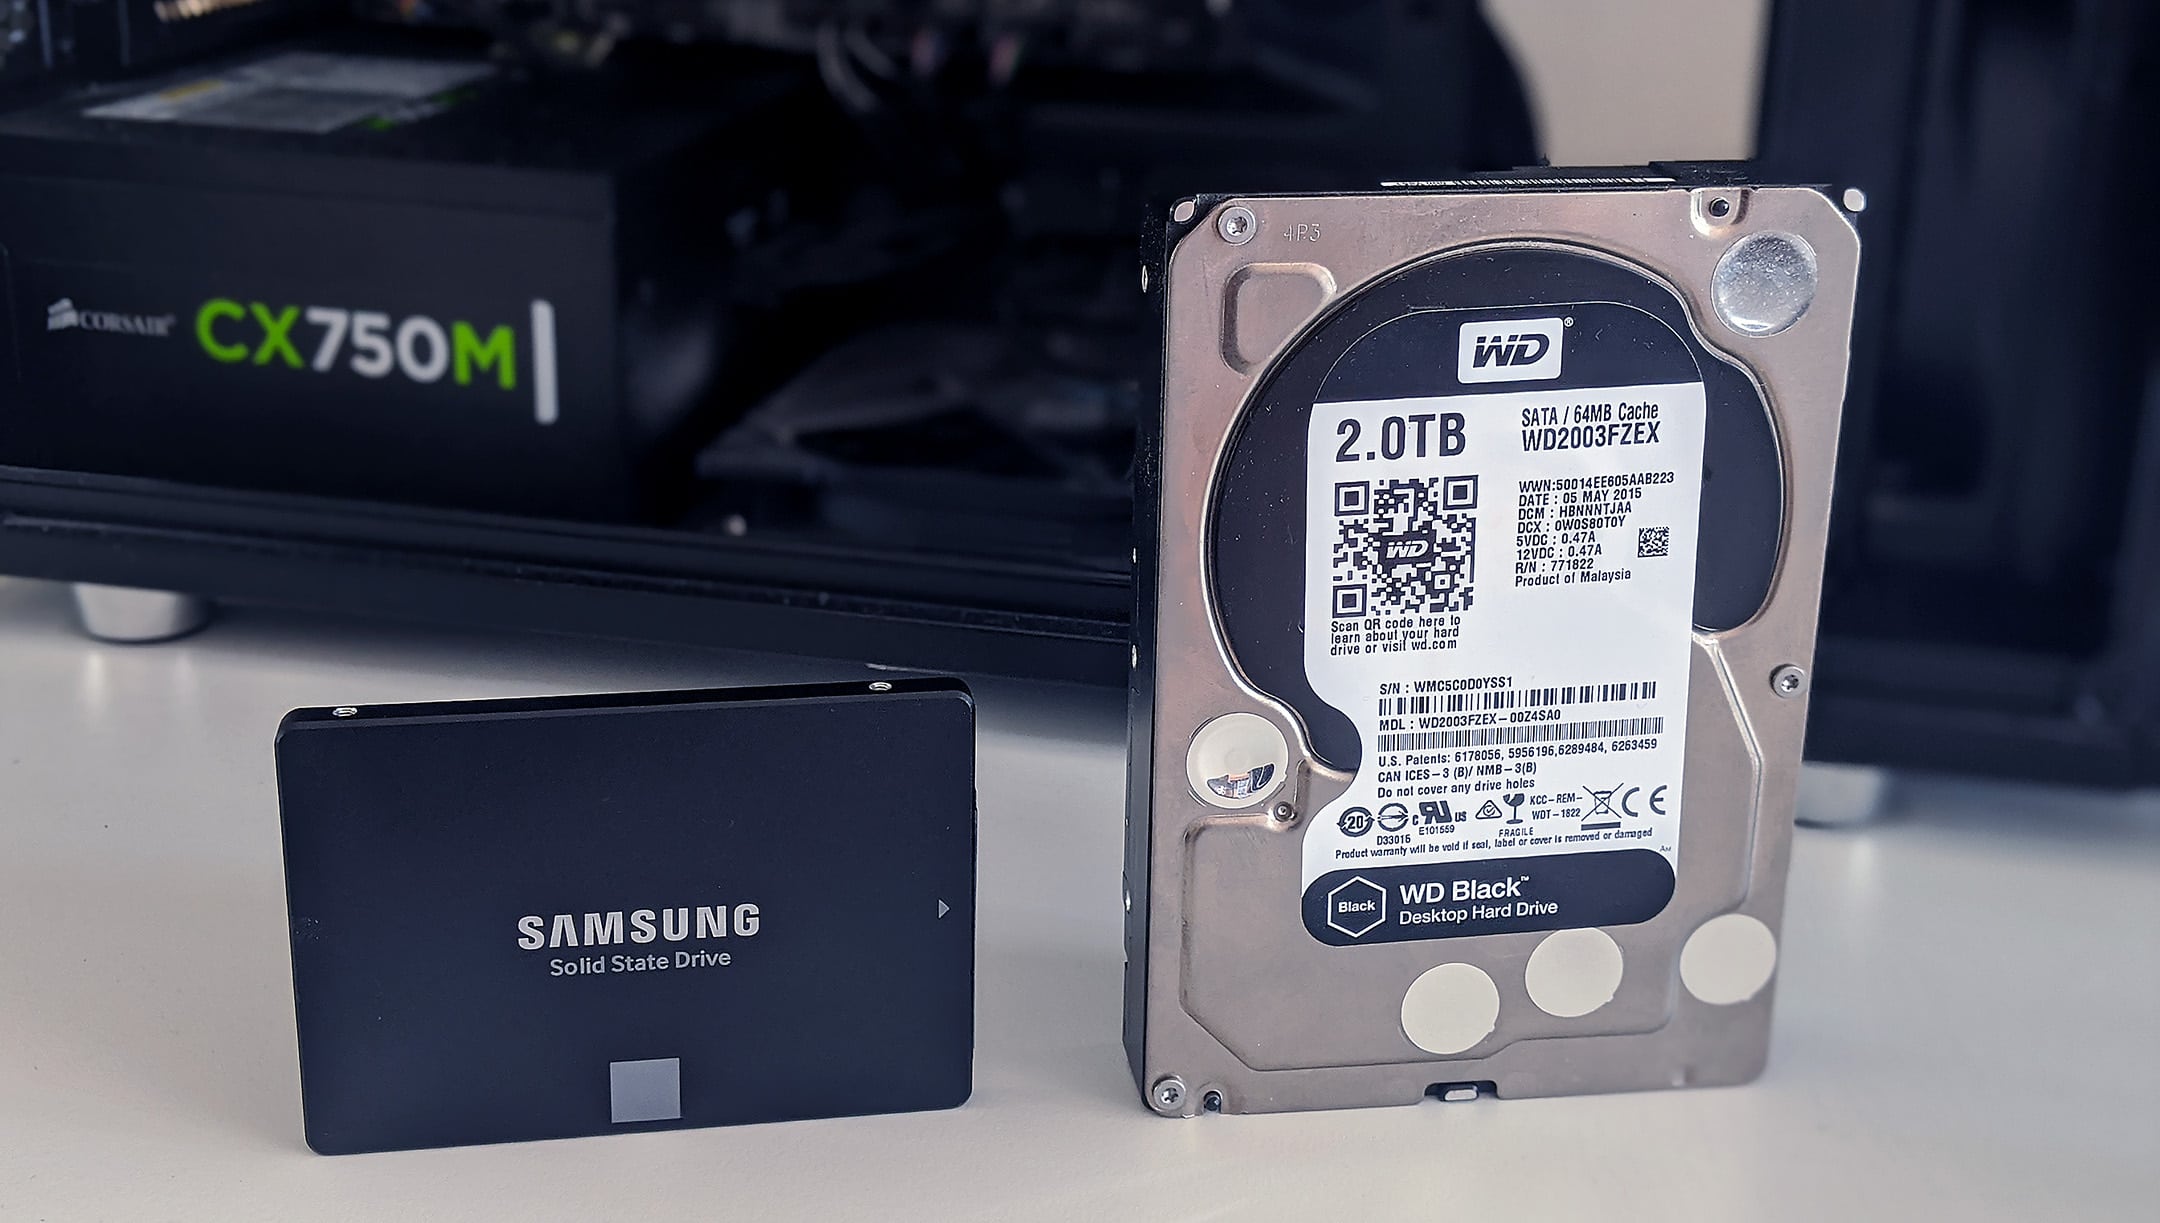
- Destination SSD: This is the new SSD where you’ll be cloning your data. Make sure it has sufficient capacity to accommodate all the data from the source SSD.
- SATA-to-USB cable or enclosure: If you don’t have a spare SATA port available in your computer, you’ll need a SATA-to-USB cable or enclosure to connect the destination SSD to your computer.
- Cloning software: There are various cloning software options available, both free and paid. Some popular choices include Acronis True Image, Macrium Reflect, and Clonezilla. Choose the one that best suits your requirements and download it.
- A screwdriver: You may need a screwdriver to open your computer’s case and remove the source SSD.
Once you’ve gathered all the necessary equipment, it’s time to move on to the next step: backing up your data. This is an important precautionary measure to ensure that your files are safe in case anything goes wrong during the cloning process.
To back up your data, you can use an external hard drive, cloud storage, or any other backup method of your choice. Make sure to create a comprehensive backup of all your important files, documents, and media. It’s better to be safe than to risk losing valuable data.
With your equipment and data backup in place, you’re now fully prepared to embark on your SSD cloning journey. In the next step, we’ll guide you through the process of connecting your SSD and ensuring a smooth cloning experience. Get ready to make the most of your new SSD without the hassle of a manual reinstall!
Step 2: Backup Your Data
Before proceeding with the SSD cloning process, it’s crucial to create a backup of your data. Although SSD cloning is a safe process, having a backup ensures that you can easily recover your files in case of any unforeseen issues. Here’s how to back up your data:
- Select a Backup Method: There are several backup methods you can choose from, depending on your preferences and available resources. You can use an external hard drive, network-attached storage (NAS), cloud storage services like Google Drive or Dropbox, or even create a disk image using software like Macrium Reflect or Windows Backup. Choose the method that suits your needs best.
- Identify and Copy Important Files: Take some time to identify the essential files, documents, and media that you want to back up. These can include personal files, photos, videos, music, and important work-related documents. Create a separate folder on your backup destination and copy these files to it.
- Create System Restore Points (Optional): If you’re using a Windows operating system, it’s a good idea to create a system restore point before proceeding with the cloning process. This allows you to revert your system back to its previous state if any issues arise during or after the cloning. To create a restore point, type “Create a restore point” in the Windows search bar, open the System Properties window, and follow the on-screen instructions.
- Verify the Backup: After copying your files to the backup destination, it’s crucial to verify the integrity of the backup. Open a few files and ensure that they are accessible and not corrupted. This step provides peace of mind and ensures that you have a reliable backup in case you need to restore your data.
Backing up your data is an essential step in preparing for the SSD cloning process. It ensures that your files are protected and can be easily recovered if anything goes wrong. By following the steps outlined above, you can rest assured that your data is backed up and ready for the next stage of the cloning process.
With your data securely backed up, you’re now ready to proceed to the next step: connecting your SSD. Stay tuned for step 3, where we’ll guide you through the process of connecting your SSD and preparing it for the cloning process.
Step 3: Connect Your SSD
Now that you have your data securely backed up, it’s time to connect your new SSD to your computer. The method of connection depends on the available ports in your system and the type of SSD you have. Here’s how to connect your SSD:
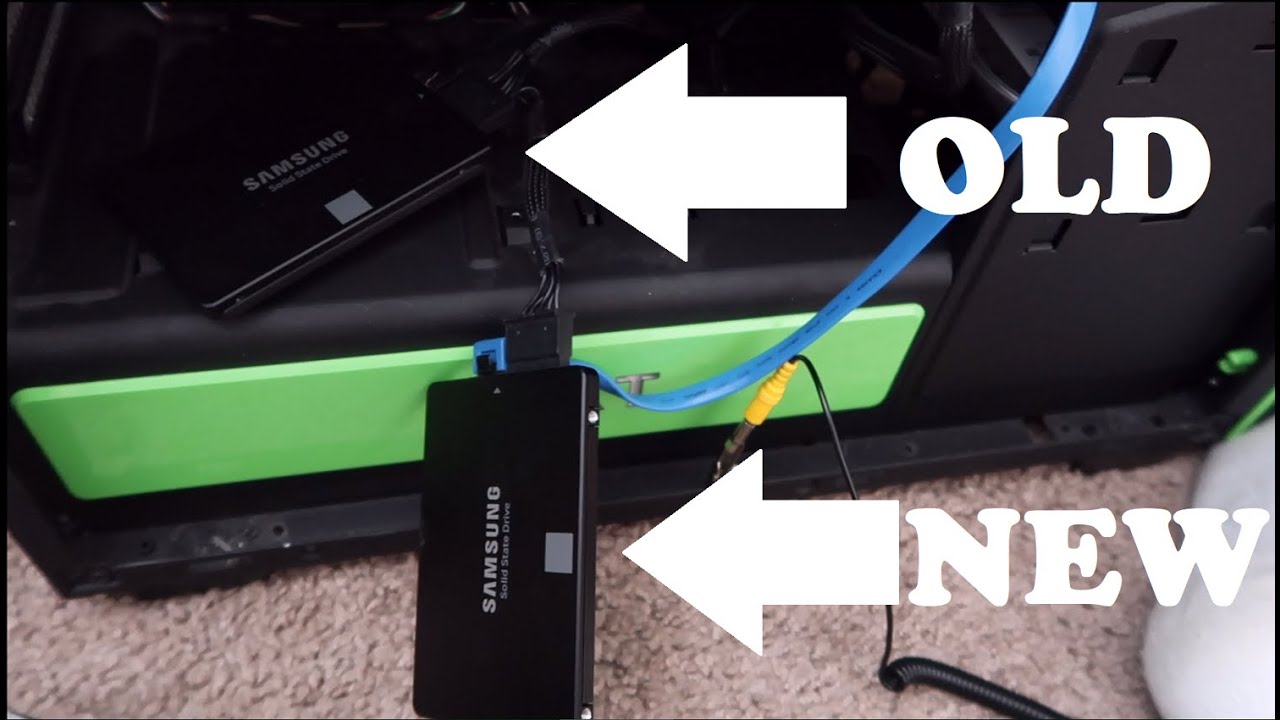
- Internal Connection: If you have an available SATA port and power cable inside your computer, connecting your SSD internally is the simplest option. Open your computer case by removing the screws and side panel. Locate an empty SATA port on your motherboard and connect the data cable firmly. Similarly, connect the power cable from your power supply to the SSD. Make sure the connections are secure and snug.
- External Connection: If you don’t have an available SATA port inside your computer or prefer a more portable option, an external connection is the way to go. Use a SATA-to-USB cable or SATA-to-USB enclosure to connect your new SSD to a USB port on your computer. Insert one end of the cable into the SSD and the other end into the USB port. If you’re using an enclosure, insert your SSD into the enclosure and then connect it to the USB port.
Once you’ve connected your SSD, ensure that it’s recognized by your computer. Open your computer’s file explorer or disk management utility to verify if the SSD is detected. If it’s not detected, double-check the connections and try connecting it to a different SATA port or USB port.
It’s worth noting that if you’re replacing your existing SSD, you’ll need to remove it from your system. Shut down your computer and carefully disconnect the cables connected to the source SSD. Use a screwdriver to remove any screws holding the SSD in place. Gently slide out the SSD from its slot. Keep the SSD in a safe place as a backup or for future use.
Now that your new SSD is connected and recognized by your computer, you’re ready to move on to the next step: choosing a cloning method. This is where the actual SSD cloning process begins. Stay tuned for step 4, where we’ll discuss different cloning methods and help you choose the right one for your needs.
Step 4: Choose a Cloning Method
Choosing the right cloning method is a crucial step in the SSD cloning process. There are several methods available, each with its own advantages and considerations. Here are three common cloning methods to consider:
- Software Cloning: This method involves using specialized software to create an exact replica of your source SSD onto the destination SSD. Popular software options include Acronis True Image, Macrium Reflect, and Clonezilla. These programs offer user-friendly interfaces and guide you through the cloning process step by step. Software cloning is suitable for most users and provides a straightforward way to clone an SSD.
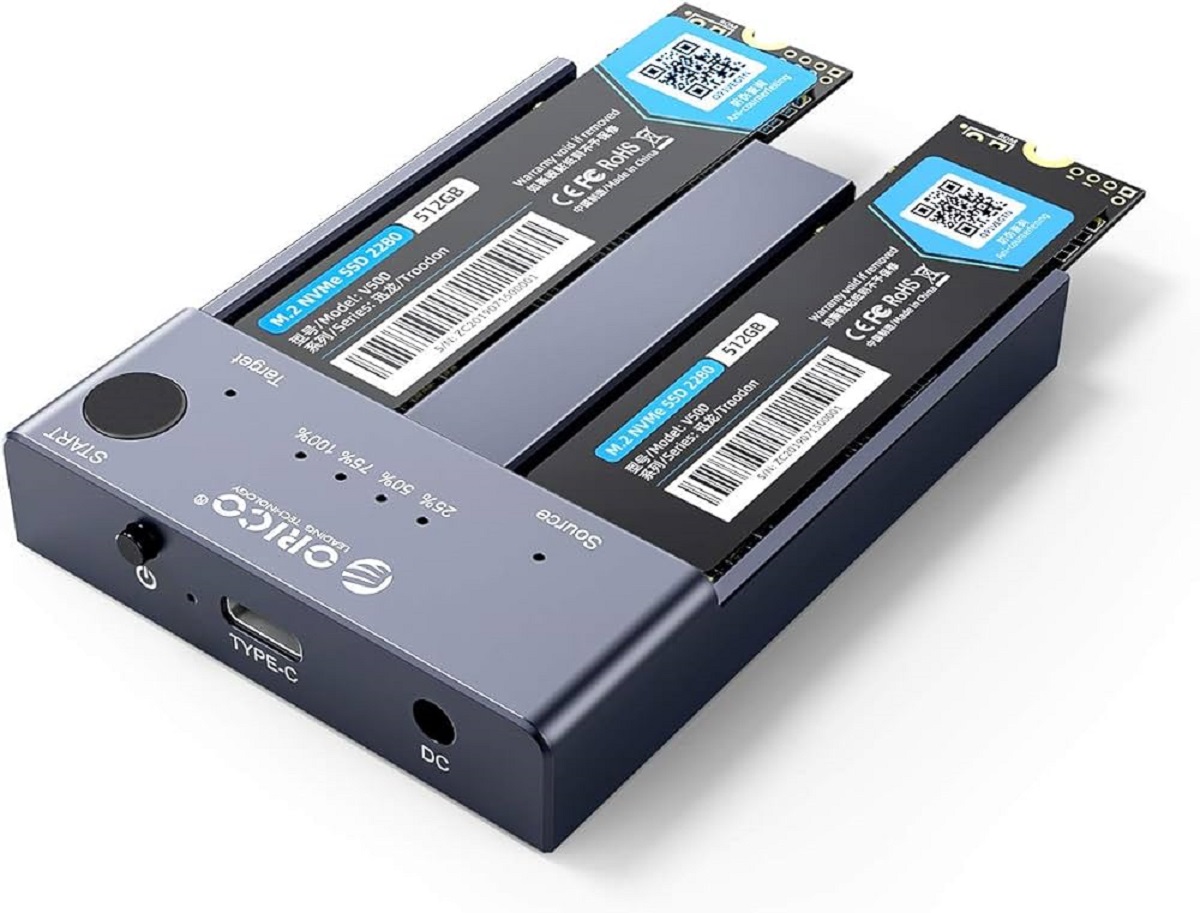
- Drive Duplication Dock: If you have access to a drive duplication dock, it can be a quick and convenient way to clone your SSD. These docking stations allow you to insert both the source and destination SSDs and clone them directly without the need for a computer connection. Drive duplication docks typically have a standalone operating system that handles the cloning process, making it a simple plug-and-play solution.
- Disk Imaging: Disk imaging involves creating an image of your source SSD, which can then be restored onto the destination SSD. This method requires software like Macrium Reflect or Clonezilla to create the image file. Once the image file is created, you can restore it onto the destination SSD. Disk imaging is a flexible method, allowing you to keep the image file for future use or transferring the image to another computer.
Remember to choose a cloning method that aligns with your specific needs and technical comfort. Consider factors such as the complexity of the cloning process, the availability of hardware or software, and your level of familiarity with the chosen method.
Additionally, ensure that your destination SSD has sufficient capacity to accommodate all the data from the source SSD. You may need to check the properties of your source SSD to determine its total size and used storage space. This information will help you select a destination SSD with appropriate capacity.
With the cloning method chosen, you’re ready to proceed to the next step: installing the cloning software. Stay tuned for step 5, where we’ll guide you through the process of installing the chosen cloning software and preparing it for the cloning process.
Step 5: Install the Cloning Software
Now that you have chosen a cloning method for your SSD, it’s time to install the appropriate cloning software. Here’s how to proceed:
- Download the Software: Visit the website of the chosen cloning software and download the latest version compatible with your operating system. Make sure to download it from a trusted source to ensure the software is legitimate and virus-free.
- Run the Installer: Locate the downloaded file and run the installer. Follow the on-screen instructions to complete the installation process. It’s usually a straightforward process, involving accepting the license agreement and selecting the installation location. Once the installation is complete, you should see the cloning software’s icon on your desktop or in your programs list.
- Launch the Software: Double-click the cloning software’s icon to launch it. Depending on the software you chose, you may be greeted with a welcome screen or a main dashboard. familiarize yourself with the software’s interface and features to prepare for the cloning process.
- Connect the Destination SSD: If you haven’t done so already, connect the destination SSD to your computer using the method described in Step 3. Ensure that the destination SSD is recognized by your computer and visible within the cloning software.
Some cloning software may require you to create a bootable USB drive or CD/DVD to perform the cloning process. If this is the case, follow the software’s instructions to create the bootable media using a blank USB drive or writable disc.
It’s essential to read through the user guide or manual provided by the software developer for detailed instructions on using the cloning software effectively. Familiarize yourself with the software’s features, such as the ability to resize partitions or verify the cloned data, to ensure a successful and optimized cloning process.
With the software installed and the SSD connected, you’re now ready to move on to the exciting part: starting the cloning process. In Step 6, we’ll guide you through the necessary steps to initiate the cloning and ensure a seamless transfer of data from the source SSD to the destination SSD.
Step 6: Start the Cloning Process
With the cloning software installed and the destination SSD connected, you’re ready to start the SSD cloning process. Follow these steps to begin:
- Launch the Cloning Software: Open the cloning software you installed in Step 5 by double-clicking its icon on your desktop or in your programs list.
- Select the Source and Destination SSDs: Within the cloning software’s interface, you’ll typically find an option to choose the source and destination SSDs. Ensure that you select the correct source SSD, which contains the data you want to clone, and the destination SSD where you want to clone the data.
- Configure Cloning Options (if available): Depending on the cloning software, you may have additional options to configure before starting the cloning process. These options can include partition resizing, selecting specific partitions to clone, or enabling sector-by-sector cloning. Adjust these options based on your requirements, but keep in mind that in most cases, the default settings should work well for the majority of users.
- Start the Cloning Process: Once you have reviewed and configured the cloning options, initiate the cloning process by clicking the “Start” or “Clone” button. The cloning software will now begin copying the data from the source SSD to the destination SSD. The time taken for the cloning process to complete depends on the amount of data being cloned and the speed of your hardware.
- Monitor the Cloning Progress: During the cloning process, the software will provide a progress bar or status indicator to show how much of the cloning process has been completed. Keep an eye on this progress indicator to track the cloning’s overall progress. You may also have the option to view more detailed information about the current status and estimated time remaining.
- Wait for the Cloning to Complete: Once the cloning process is initiated, it’s crucial to let it complete without interruption. Avoid using your computer or shutting it down while the cloning is in progress. Grab a cup of coffee, sit back, and wait for the cloning process to finish.
Once the cloning process is complete, you’ll receive a notification or prompt indicating the successful cloning of your SSD. At this point, you can proceed to the next step to verify the completion of the cloning process and ensure the integrity of your data.
Great job! You have successfully started the cloning process. In Step 7, we’ll guide you through the verification process to ensure that the cloning has been completed accurately. Stay tuned!
Step 7: Verify Cloning Completion
After the cloning process has finished, it’s important to verify the completion and integrity of the cloned data on your destination SSD. Verification ensures that all your files and settings have been accurately transferred. Follow the steps below to complete the verification process:
- Inspect the Destination SSD: Once the cloning process is complete, visually inspect the destination SSD to ensure it’s securely connected to your computer or device. Make sure all cables and connections are in place and properly seated. Additionally, ensure that the destination SSD appears in your computer’s file explorer or disk management utility.
- Launch the Cloning Software: Open the cloning software you used for the cloning process. Some cloning software automatically opens a summary or final report window after the cloning is complete.
- Review the Cloning Summary: Within the cloning software, review the provided cloning summary or report. Look for any error messages or warnings that may indicate issues during the cloning process. Ensure that the summary indicates a successful completion without any major issues or errors.
- Verify the Cloned Data: Open a few files and folders on the destination SSD to validate that the data has been properly cloned. Check if the files open correctly and if the information and settings are accurately transferred. Pay close attention to critical files, documents, and settings to ensure they remain intact.
- Compare File Sizes: If possible, compare the file sizes on the source and destination SSDs to verify the accurate transfer of data. Right-click on files and folders, go to the “Properties” section, and compare the file sizes between the source and destination SSDs. While slight variations may occur due to differences in file systems or cluster sizes, significant discrepancies may indicate an issue with the cloning process.
- Perform Functional Tests: To further verify the successful cloning, perform functional tests on your system. Open applications, launch programs, and access different files to ensure they work as expected. Check system settings, network connections, and any customized configurations you had on the source SSD to validate their replication on the destination SSD.
By following these verification steps, you can ensure that the cloning process has been successfully completed without any data loss or corruption. If you encounter any issues or notice discrepancies during the verification process, it’s recommended to consult the user guide or support resources provided by the cloning software for troubleshooting assistance.
Congratulations! You have completed the verification process, confirming the successful cloning of your SSD. In the next step, we’ll guide you through replacing the source SSD with the cloned SSD. Stay tuned for Step 8, the final stage of the SSD cloning process!
Step 8: Replace the Source SSD with the Cloned SSD
Now that you’ve successfully verified the completion and accuracy of the cloning process, it’s time to replace the source SSD with the cloned SSD. Follow the steps below to complete the final stage of the SSD cloning process:
- Power Off Your System: Before replacing the SSD, ensure that your computer or device is powered off completely. This is essential to prevent any potential damage or data corruption during the swapping process.
- Locate and Disconnect the Source SSD: Open your computer case using a screwdriver, if necessary. Locate the source SSD that you want to replace. Gently disconnect the cables attached to the source SSD, including the SATA data cable and power cable. Take note of the orientation and position of the SSD slots or brackets for easy installation of the cloned SSD.
- Install the Cloned SSD: Take the cloned SSD and carefully insert it into the vacant slot or bracket. Align the connectors on the SSD with the corresponding ports on your motherboard. Ensure a secure and snug fit. Use any necessary screws or brackets to keep the SSD in place, if applicable.
- Connect Cables to the Cloned SSD: Reconnect the SATA data cable and power cable to the cloned SSD, making sure they are firmly attached. Double-check the connections to ensure proper data transfer and power supply to the SSD.
- Close Your Computer Case: If you had to open your computer case, securely fasten the screws and put the side panel back on. Ensure that all components are properly aligned and no cables are obstructing the airflow within the case.
- Power On Your System: Once the cloned SSD is installed and all connections are secure, power on your system. Your computer should recognize the new SSD automatically. If prompted, follow any necessary on-screen instructions to ensure proper initialization and configuration of the cloned SSD.
- Verify the Functionality: After your computer boots up, navigate to your file explorer or disk management utility to confirm that the cloned SSD is detected and accessible. Open some files and applications to ensure that everything is functioning as expected.
- Delete or Store the Source SSD: If you no longer need your source SSD, you can format it or securely erase the data before storing or disposing of it. However, if you want to keep it as a backup or for future use, ensure that it is safely stored in an anti-static bag or protective case.
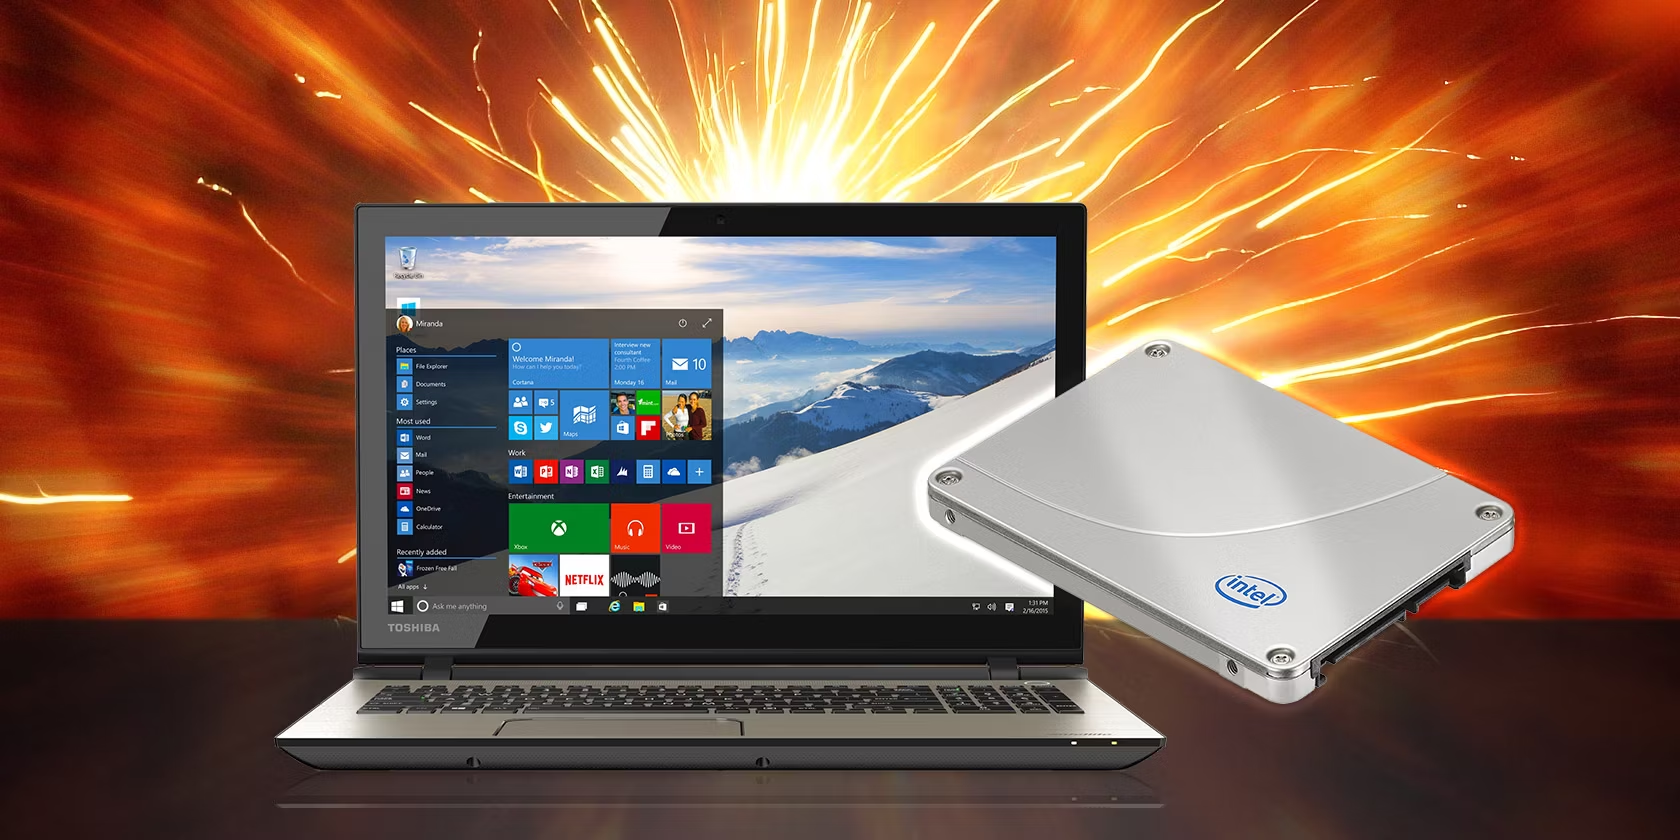
Congratulations! You have successfully replaced the source SSD with the cloned SSD. Your system should now run on the new SSD, replicating all the data, settings, and applications from the source SSD. Enjoy the improved performance and enhanced storage capacity!
Thank you for following this SSD cloning guide. We hope it has been helpful in simplifying the process for you. If you have any further questions or need additional support, consult the user guide or support resources provided by your cloning software. Happy computing!
Conclusion
Congratulations! You have successfully completed the SSD cloning process. By following the steps outlined in this guide, you have seamlessly transferred all your data, settings, and applications from the source SSD to the cloned SSD. This allows you to enjoy the benefits of an upgraded SSD without the hassle of reinstalling everything from scratch.
Throughout this guide, we covered the essential steps, from preparing your equipment and software to verifying the completion of the cloning process. We discussed the importance of backing up your data before proceeding with the cloning to ensure the safety of your files.
We guided you through connecting your SSD, choosing a suitable cloning method, installing the cloning software, and initiating the cloning process. We emphasized the need to verify the completion and accuracy of the cloning by inspecting the destination SSD and performing functional tests.
Finally, we walked you through replacing the source SSD with the cloned SSD, ensuring a secure and seamless transition. This marks the successful completion of the SSD cloning process, leaving you with an improved storage solution and enhanced performance.
Remember, SSD cloning is a convenient and time-saving method for upgrading or replacing your SSD. It allows you to retain all your data, settings, and applications, eliminating the need for manual data migration and reinstallation.
As always, it’s important to consult the user guide and support resources provided by your cloning software if you encounter any issues or need further assistance specific to your software or system. Additionally, regularly back up your data to ensure its safety and ease the process of any future upgrades or replacements.
Thank you for following this guide. We hope it has provided you with the knowledge and confidence to clone an SSD successfully. Enjoy the increased storage capacity and improved performance of your new SSD!