Introduction
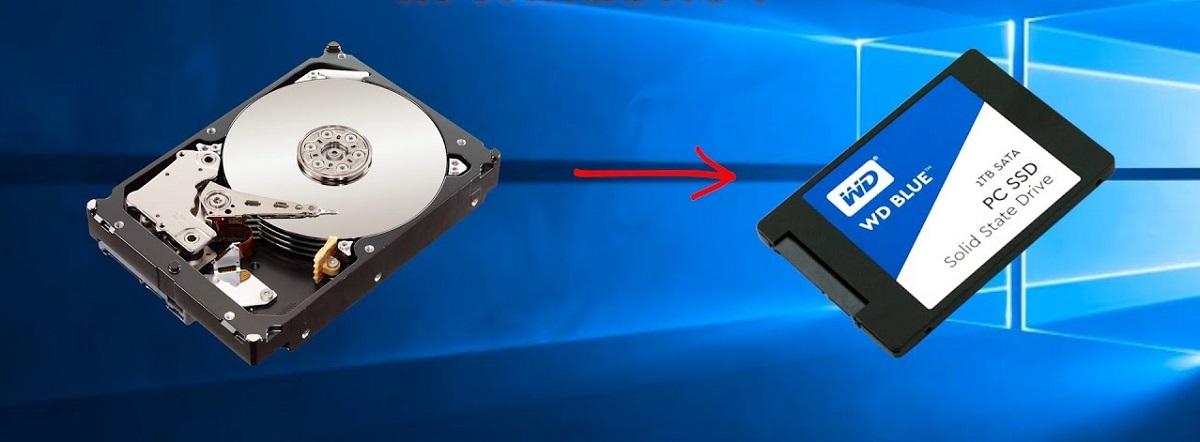
Are you running out of storage space on your 1TB HDD and considering upgrading to a faster and more efficient 512GB SSD? Cloning your HDD to an SSD is a great way to transfer all your data and settings without the hassle of reinstalling everything from scratch. By following a few simple steps, you can easily clone your 1TB HDD to a 512GB SSD and enjoy the benefits of faster boot times, improved performance, and more available storage.
In this guide, we will walk you through the process of cloning your 1TB HDD to a 512GB SSD. We will provide you with the necessary requirements and explain each step in detail so that you can confidently perform the cloning process yourself. Whether you’re a tech-savvy enthusiast or a beginner, this guide will help you seamlessly migrate your data to a new SSD.
Before diving into the steps, it’s essential to ensure that you have all the necessary tools and software to perform the clone successfully. This includes a compatible 512GB SSD, a SATA to USB adapter or a docking station, cloning software, and a USB flash drive or external storage device to back up your important files. Once you have these requirements in place, you can proceed with the cloning process.
So, if you’re ready to breathe new life into your system and experience the speed and performance benefits of an SSD, let’s get started with the step-by-step guide to cloning your 1TB HDD to a 512GB SSD.
Requirements
Before you begin cloning your 1TB HDD to a 512GB SSD, make sure you have the following tools and software:
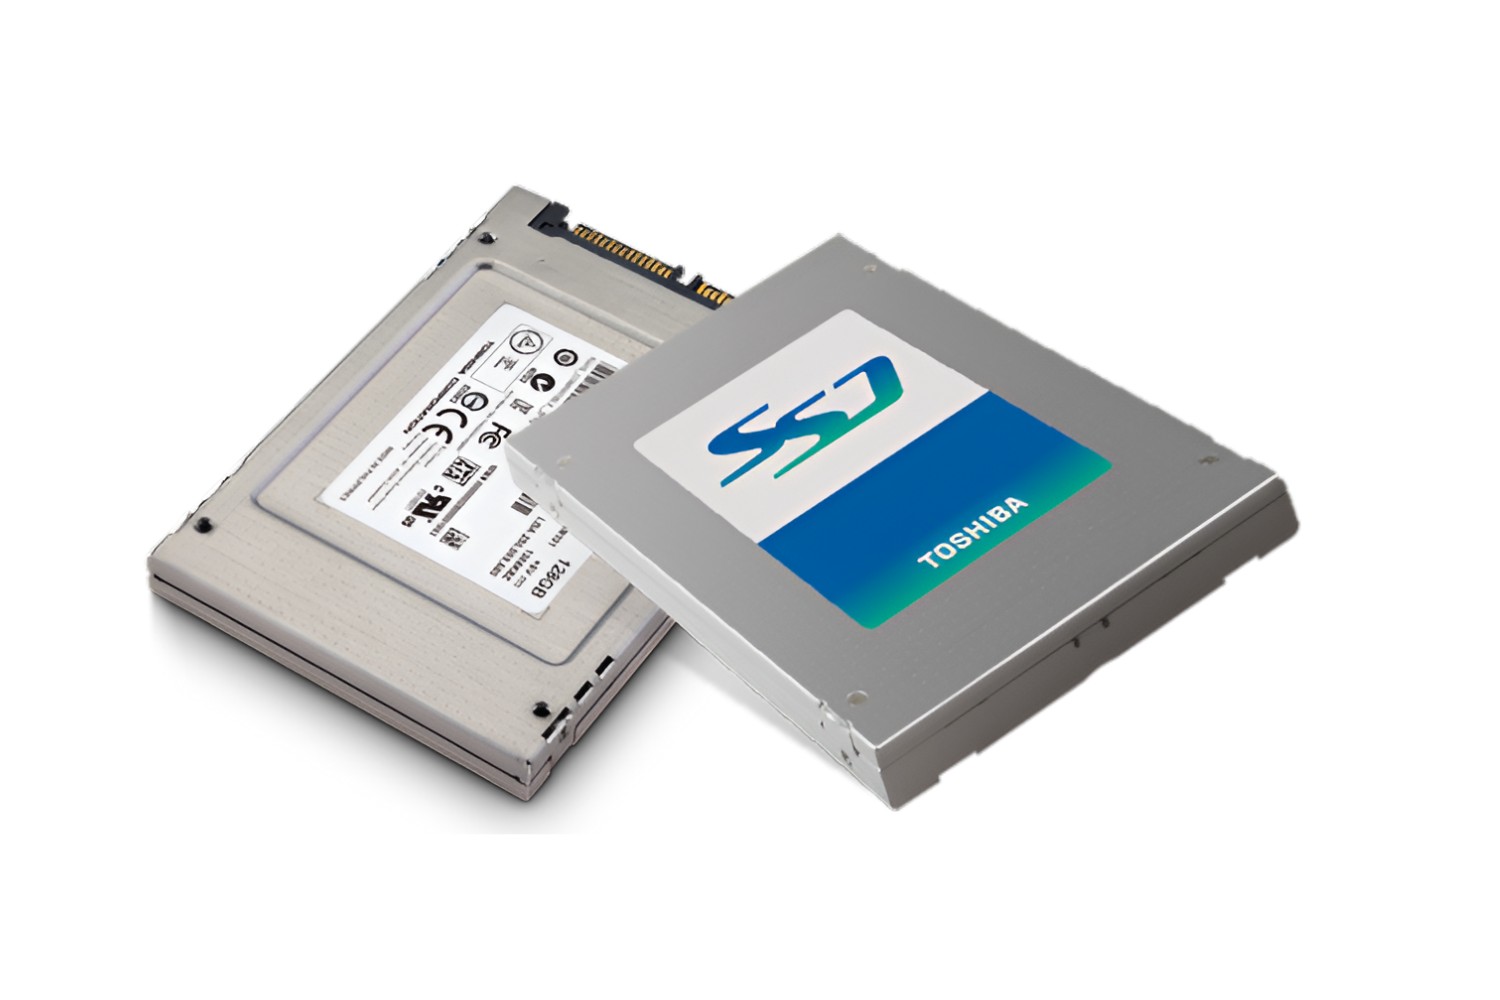
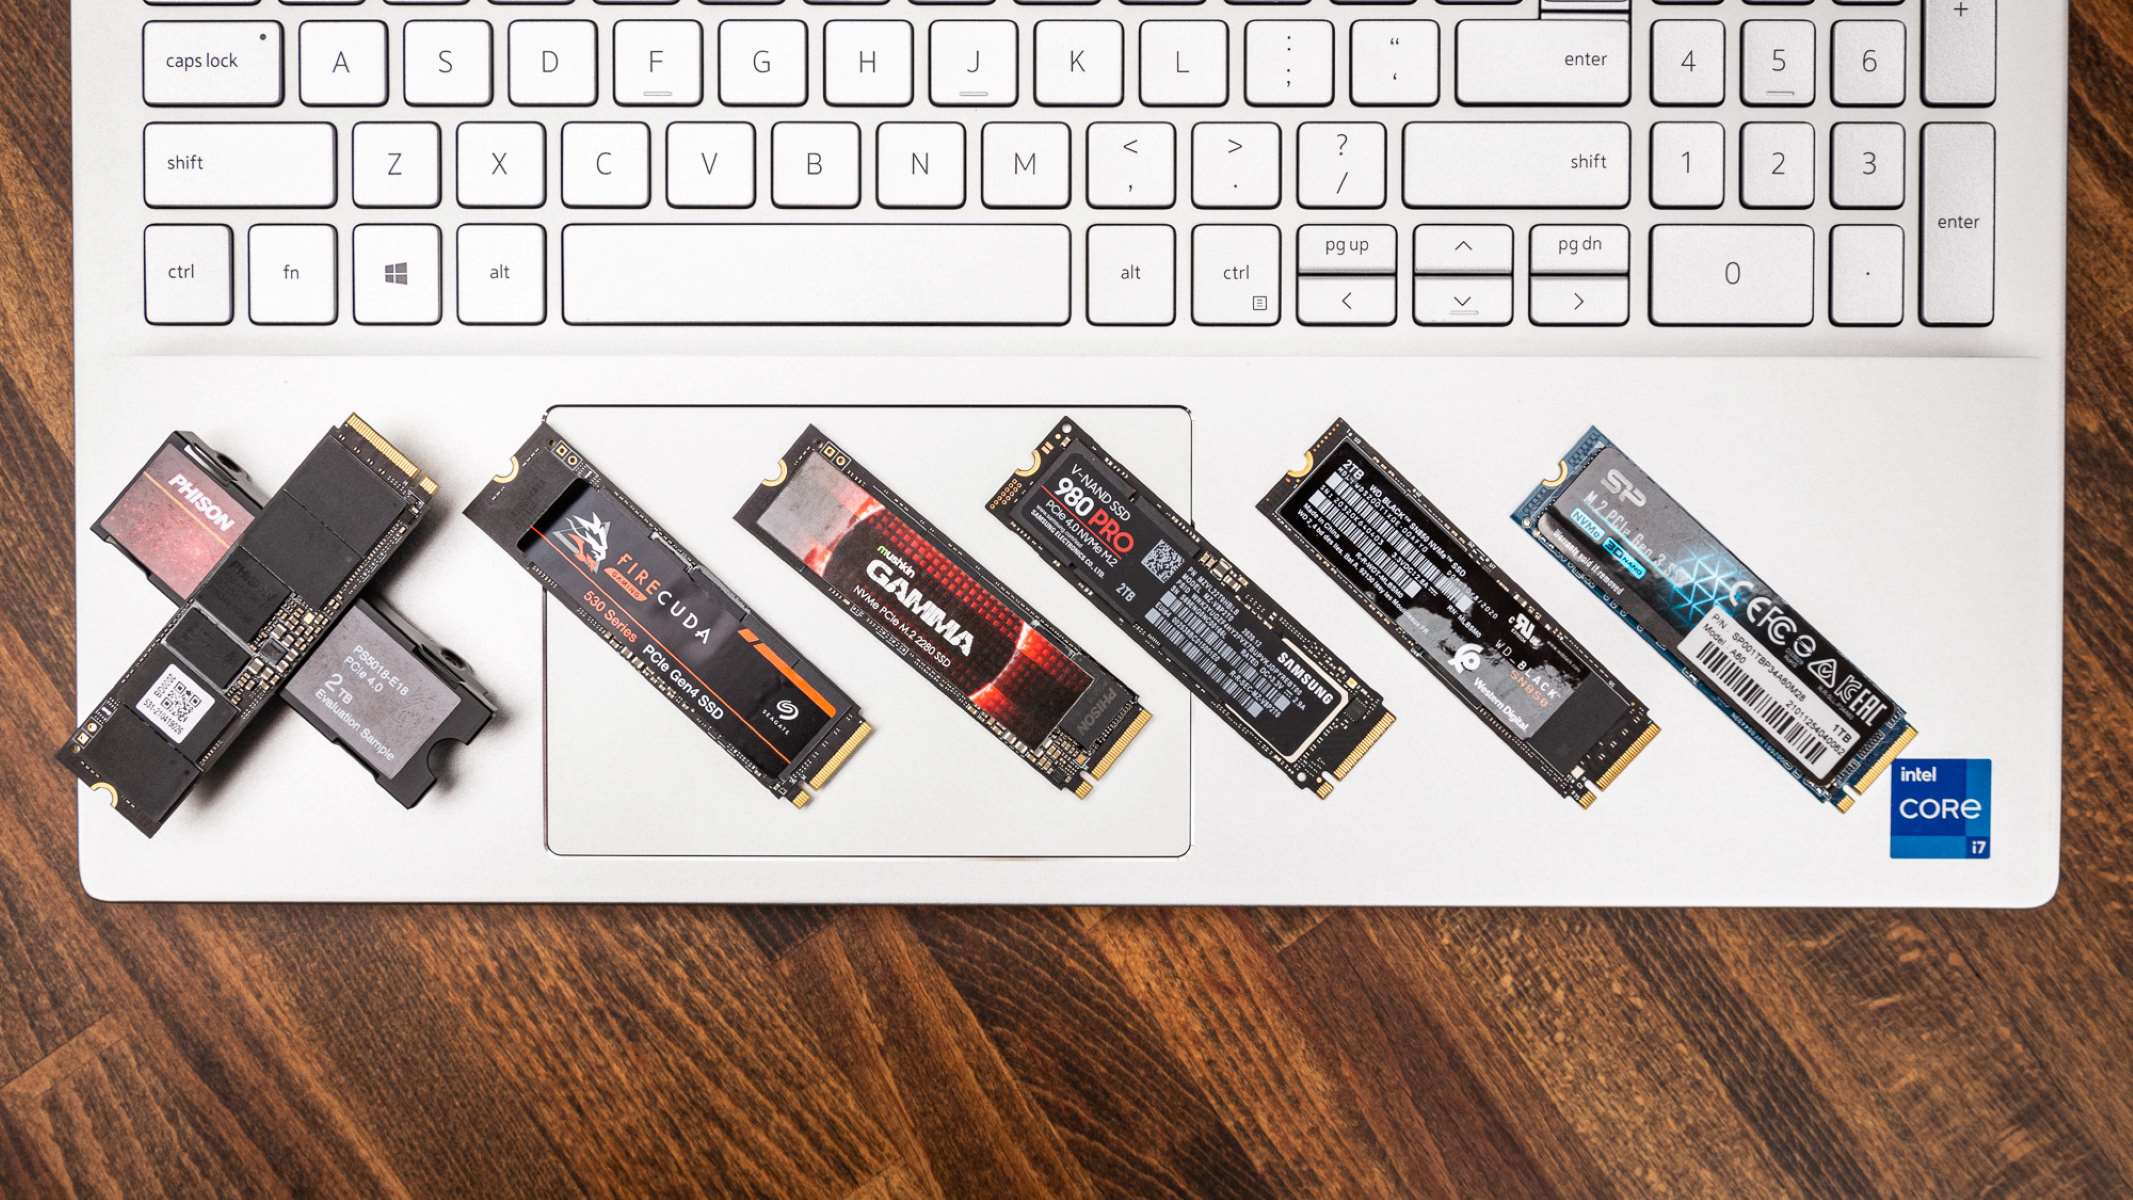
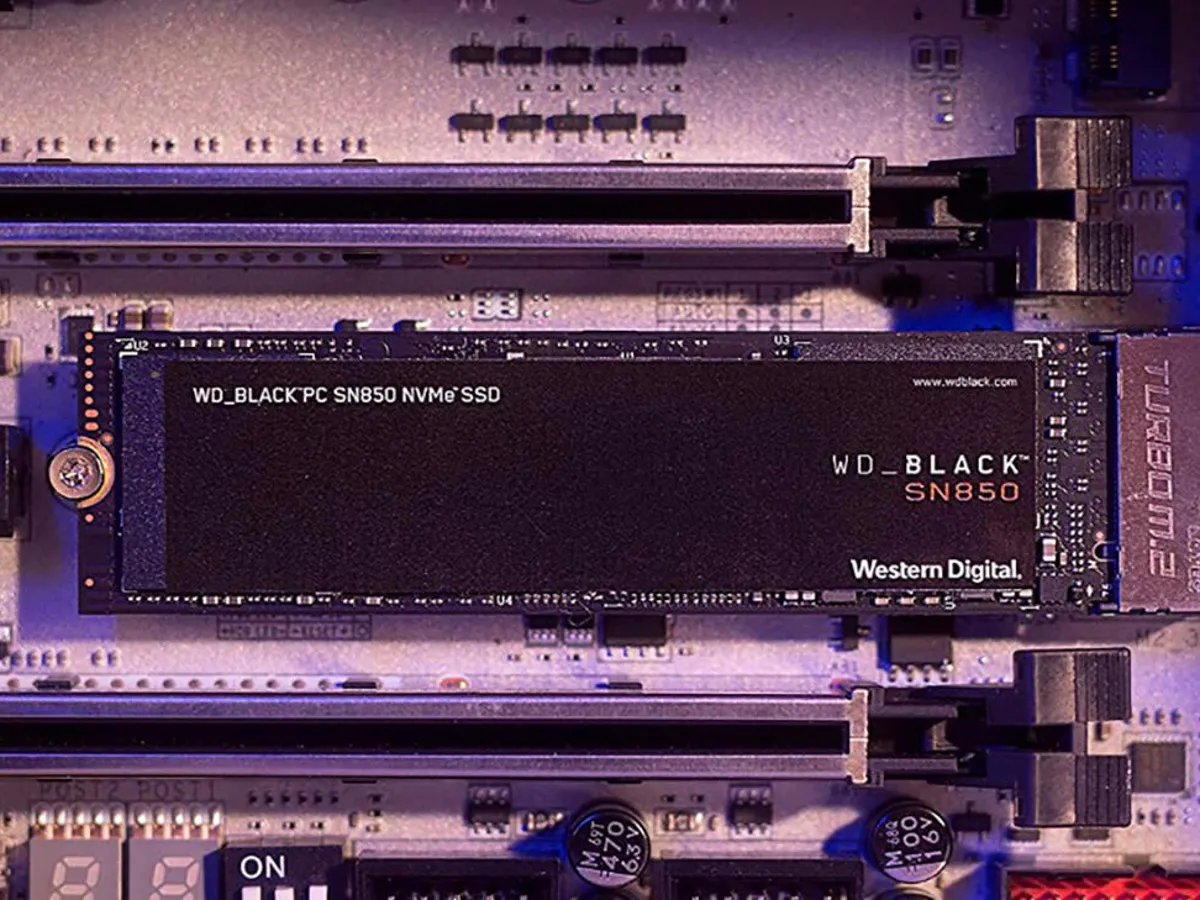
- A compatible 512GB SSD: Ensure that the SSD you choose is compatible with your system. Check the manufacturer’s specifications or consult your system’s documentation for the recommended SSD models.
- A SATA to USB adapter or a docking station: This will allow you to connect the SSD to your computer for the cloning process. Make sure it is compatible with both the HDD and the SSD.
- Cloning software: You will need cloning software to copy all the data from your HDD to the SSD. There are many reliable options available, such as Clonezilla, Macrium Reflect, and Acronis True Image.
- A USB flash drive or external storage device: It is essential to back up all your important files before starting the cloning process. Use a USB flash drive or an external storage device with enough capacity to store your data.
- A screwdriver: Depending on your computer’s configuration, you may need a screwdriver to remove and install the SSD. Make sure you have the right type and size of screwdriver for your system.
- A stable power source: Ensure that your computer is connected to a stable power source throughout the cloning process to avoid any interruptions.
It is important to have all these requirements in place before proceeding with the cloning process. Double-check that you have everything before you begin to avoid any delays or complications.
Once you have gathered all the necessary tools and software, you are ready to move on to the step-by-step process of cloning your 1TB HDD to a 512GB SSD.
Step 1: Prepare the SSD
Before you start cloning your 1TB HDD to the 512GB SSD, follow these steps to prepare the SSD:
- Ensure that the SSD is properly formatted: Connect the SSD to your computer using the SATA to USB adapter or docking station. Open Disk Management on Windows or Disk Utility on macOS to format the SSD. Select the SSD, choose a suitable file system (such as NTFS for Windows or APFS for macOS), and create a new partition.
- Verify the SSD’s health and firmware: It is recommended to check the SSD’s health and update its firmware if necessary. Using tools like CrystalDiskInfo for Windows or SMART Utility for macOS, you can assess the SSD’s overall health status and verify if any firmware updates are available.
- Disable BitLocker or FileVault encryption (if applicable): If your HDD is encrypted using BitLocker on Windows or FileVault on macOS, temporarily disable the encryption before starting the cloning process. This will ensure smoother cloning without any encryption-related issues.
- Ensure enough free space on the SSD: Depending on the amount of data and partitions on your 1TB HDD, ensure that the 512GB SSD has enough free space to accommodate all the data. If necessary, remove unnecessary files or applications from the HDD to reduce the size of the cloned data.
- Prepare a bootable USB drive (optional): In some cases, you may need to create a bootable USB drive with the cloning software installed. This will allow you to boot directly from the USB drive and perform the cloning process. Check your cloning software’s documentation or website for instructions on creating a bootable USB drive.
By following these steps, your SSD will be properly prepared for the cloning process. Take your time to ensure that each step is completed accurately before moving on to the next.
Step 2: Connect the HDD and SSD
Once you have prepared the SSD, it’s time to connect both the HDD and SSD to your computer:
- Shutdown your computer: Before making any hardware connections, it is important to shut down your computer properly.
- Open the computer case (if necessary): If you’re using a desktop computer, you may need to open the case to access the internal components. Consult your computer’s documentation or search online for instructions specific to your model.
- Identify the HDD and SSD ports: Locate the SATA ports on your motherboard. The HDD should already be connected to one of these ports. You will need to connect the SSD to an available SATA port.
- Connect the SSD to the SATA port: Attach one end of the SATA cable to the SATA port on your motherboard, and the other end to the SSD. Ensure the connection is secure by gently pushing in the cable.
- Connect the power cable to the SSD: Locate an available SATA power connector from your power supply unit and connect it to the SSD. Again, ensure that the connection is secure.
- Close the computer case: If you had to open the computer case, make sure to close it securely.
- Connect the HDD and SSD to the SATA to USB adapter or docking station: This step is necessary only if you don’t have direct SATA ports available on your computer. Using the SATA to USB adapter or docking station, connect both the HDD and the SSD to your computer via USB.
Once you have connected the HDD and SSD to your computer, you are ready to proceed with the next steps of the cloning process. Double-check all the connections to ensure they are secure before moving forward.
Step 3: Backup your files
Before starting the cloning process, it is crucial to back up all your important files from the 1TB HDD. This ensures that you have a copy of your data in case anything goes wrong during the cloning process. Follow these steps to backup your files:
- Connect a USB flash drive or external storage device to your computer.
- Open File Explorer (Windows) or Finder (Mac).
- Navigate to the folders or files that you want to back up.
- Select the files or folders you want to back up by either dragging and dropping them onto the USB flash drive or external storage device or using the copy and paste function.
- Wait for the files to finish copying to the USB flash drive or external storage device.
- Once the backup process is complete, safely eject the USB flash drive or external storage device.
By following these steps, you will have created a backup of your important files, ensuring their safety during the cloning process. It is always better to be safe than sorry, so take the time to carefully backup all the necessary data.
Remember, once the cloning process is complete, you will have all your files and data on the new SSD. However, it is still recommended to keep a copy of your backup files in a safe place as an additional precaution.
Step 4: Use cloning software
Now that you have prepared the SSD and backed up your files, it’s time to use cloning software to copy the data from your 1TB HDD to the 512GB SSD. Here are the steps to follow:
- Launch the cloning software: Open the cloning software that you have installed on your computer.
- Select the source HDD and target SSD: In the cloning software interface, select your 1TB HDD as the source disk and the 512GB SSD as the target disk.
- Configure cloning options (if available): Some cloning software may provide additional options for cloning, such as sector-by-sector cloning or excluding specific files. Review these options and adjust them according to your preferences.
- Confirm the cloning process: Double-check that the correct source and target disks are selected. Confirm that you are ready to begin the cloning process.
- Start the cloning process: Initiate the cloning process by clicking the “Start” or “Clone” button in the software interface.
The cloning software will now start copying all the data from your 1TB HDD to the 512GB SSD. The time it takes will depend on the amount of data being cloned and the speed of your computer and the drives involved. Be patient and avoid interrupting the process.
During the cloning process, it’s important to refrain from using your computer for other resource-intensive tasks to ensure a smooth and successful cloning experience.
Once the cloning process is complete, proceed to the next step to finalize the migration of your data and settings to the SSD.
Step 5: Start the cloning process
Once you have configured the cloning options and confirmed the correct source and target disks, you can start the cloning process. Follow these steps to initiate the cloning:
- Double-check the cloning settings: Before starting the cloning process, review the settings in the cloning software to ensure everything is set up correctly.
- Click on the “Start” or “Clone” button: In the cloning software interface, locate the button that starts the cloning process and click on it.
- Confirm the cloning process: A confirmation prompt may appear to ensure that you want to proceed with the cloning. Read the prompt carefully and click “Yes” or “OK” to confirm.
- Monitor the progress: The cloning software will display the progress of the cloning process. This includes the percentage completed, the estimated time remaining, and any errors or warnings that may occur.
- Wait for the cloning process to complete: The cloning process may take some time, depending on the size of the data being cloned and the speed of your computer and drives. It is essential to be patient and allow the process to complete without interruptions.
During the cloning process, it is best to avoid using your computer for other resource-intensive tasks. This will help ensure a smooth and successful cloning experience.
Once the cloning process is complete, proceed to the next step to finalize the migration of your data and settings to the SSD.
Step 6: Wait for the cloning process to complete
After starting the cloning process, it’s time to sit back and let the software do its work. This step requires patience as you wait for the cloning process to complete. Here’s what you need to do:
- Monitor the progress: Keep an eye on the cloning software to track the progress of the cloning process. The software will display the percentage completed, estimated time remaining, and any relevant status messages.
- Avoid interruptions: It is crucial to refrain from interrupting the cloning process. Avoid shutting down your computer, disconnecting any cables, or closing the cloning software until the process is fully completed.
- Stay vigilant for errors or warnings: While the cloning process is underway, the software may display any errors or warnings encountered. Make a note of these messages and take necessary actions if required, such as double-checking connections or resolving any disk-related issues.
- Be patient: The time it takes to complete the cloning process depends on factors such as the size of the data being cloned, the speed of your computer and drives, and the cloning software itself. Allow the software to finish the process without rushing or imposing any artificial time constraints.
During this step, it’s essential to avoid using your computer for other CPU or disk-intensive tasks. This will help ensure optimal performance and prevent any potential conflicts or errors.
Once the cloning process is completed, you can proceed to the next step to finalize the migration of the data from your 1TB HDD to the 512GB SSD.
Step 7: Disconnect the HDD and SSD
Once the cloning process is successfully completed, it’s time to disconnect the 1TB HDD and the 512GB SSD. Follow these steps to safely disconnect the drives:
- Shut down your computer: Properly shut down your computer to avoid any data corruption or damage.
- Disconnect the SATA cables: If you connected the HDD and SSD directly to the SATA ports on your motherboard, gently unplug the SATA cables from both drives.
- Power off the computer (if using a docking station or SATA to USB adapter): If you used a docking station or SATA to USB adapter to connect the drives, ensure that your computer is powered off before safely removing the drives.
- Safely remove the docking station or SATA to USB adapter: If you used a docking station or SATA to USB adapter, safely remove the drives by following the manufacturer’s instructions.
It is important to properly disconnect the drives to avoid any potential data corruption or damage. Mishandling the drives during this step could result in data loss.
With the HDD and SSD safely disconnected from your computer, you’re ready to move on to the next step and reconnect the 512GB SSD to complete the cloning process.
Step 8: Reconnect the SSD and test
After disconnecting the 1TB HDD, it’s time to reconnect the 512GB SSD to your computer and ensure that the cloning process was successful. Follow these steps to reconnect the SSD and perform a test:
- Locate an available SATA port: Identify an available SATA port on your motherboard to connect the SSD.
- Connect the SSD to the SATA port: Attach one end of the SATA cable to the SATA port on your motherboard and the other end to the SSD. Ensure the connection is secure.
- Connect the power cable to the SSD: Use a SATA power connector from your power supply unit to connect it to the SSD. Double-check that the connection is secure.
- Power on your computer: Start your computer and allow it to boot up with the newly connected SSD.
- Enter the BIOS/UEFI settings: Restart your computer and enter the BIOS/UEFI settings by pressing the designated key (usually Del, F2, or F12) during the startup process. Consult your computer’s documentation or search online for the specific key for your system.
- Verify the SSD is detected: In the BIOS/UEFI settings, navigate to the storage devices section and verify that the SSD is detected and listed correctly.
- Save and exit the BIOS/UEFI settings: Once you’ve verified the SSD detection, save the changes in the BIOS/UEFI settings and exit.
- Boot into the OS: Allow your computer to boot into the operating system and ensure that it recognizes the SSD as the primary storage device.
- Perform a test: Open your files and applications to check that everything is working correctly. You can also check the properties of the SSD to verify the storage capacity and ensure that the data has been successfully cloned.
If everything is functioning as expected and there are no issues, congratulations! You have successfully cloned your 1TB HDD to the 512GB SSD. Enjoy the improved performance and storage capacity of your upgraded system.
However, if you encounter any problems or the SSD is not functioning correctly, double-check the connections, review the BIOS/UEFI settings, and consult the documentation for your cloning software for troubleshooting guidance.
With the SSD connected and tested, you have successfully migrated your data from the 1TB HDD to the 512GB SSD.
Conclusion
Congratulations on successfully cloning your 1TB HDD to a 512GB SSD! By following the step-by-step process outlined in this guide, you have migrated all your data and settings to the new SSD, unlocking its benefits of improved performance, faster boot times, and increased storage capacity.
Throughout this process, we covered the requirements you need, including a compatible SSD, SATA to USB adapter or docking station, cloning software, and a backup solution for your files. We then walked you through the steps of preparing the SSD, connecting the HDD and SSD, backing up your files, using cloning software, waiting for the cloning process to complete, disconnecting the HDD and SSD, reconnecting the SSD, and performing a successful test.
It is essential to remember that cloning is a delicate process, and attention to detail is crucial. Double-checking connections, ensuring proper formatting and partitioning, and monitoring the cloning process are all critical to a seamless transition.
Now that your data is safely migrated to the SSD, make sure to keep your 1TB HDD as a backup or for additional storage. It is always a good practice to have multiple copies of your important files.
Enjoy the improved performance and storage capacity of your upgraded system! With the speed and efficiency of your 512GB SSD, you can now work, play, and multitask with greater ease and convenience. Take full advantage of the benefits of your new SSD and make the most out of your computing experience.
Thank you for following this guide, and we hope it has been a valuable resource in your journey to clone your 1TB HDD to a 512GB SSD.


