Introduction
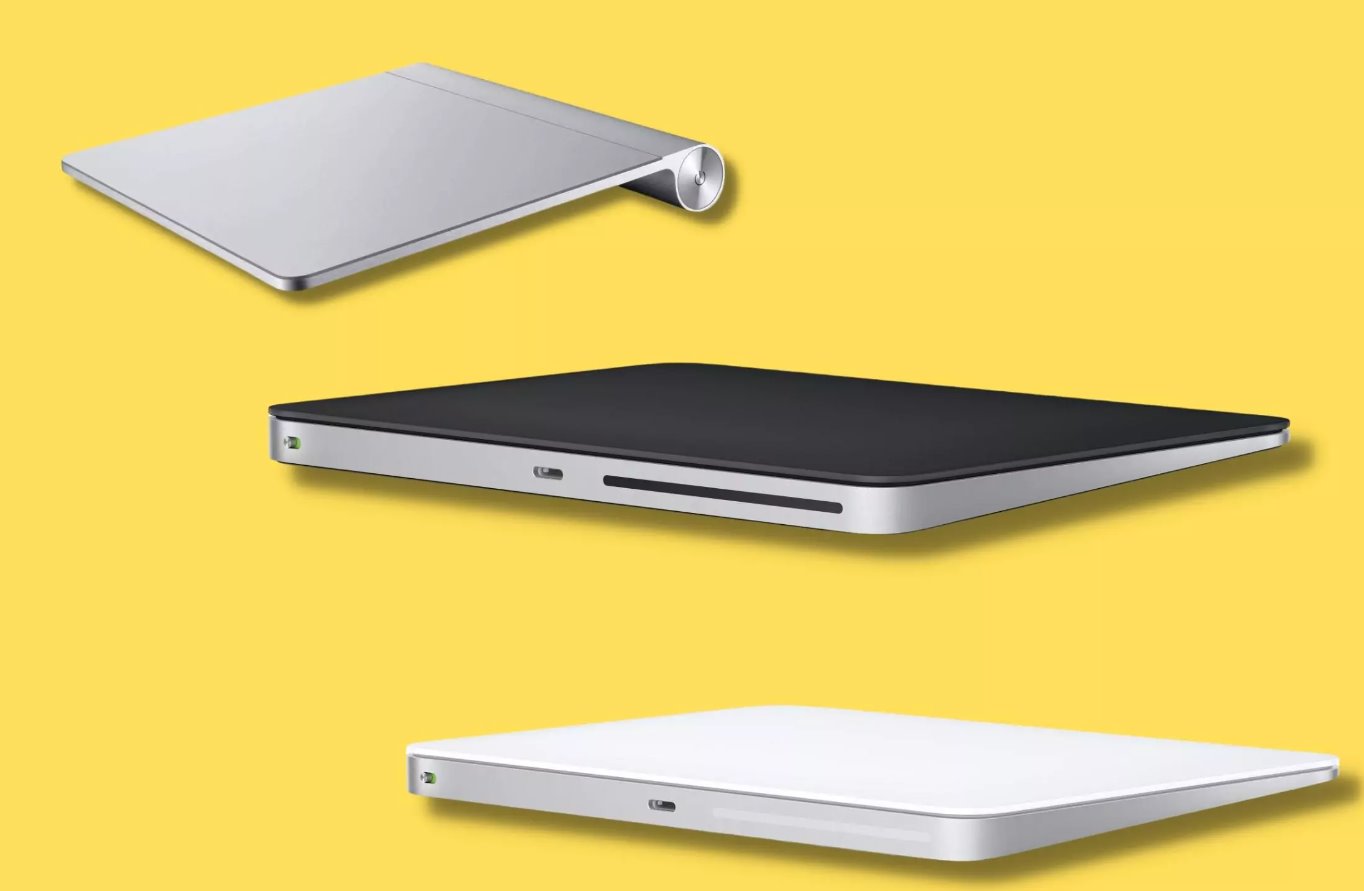
Are you ready to take your Mac user experience to the next level? Look no further than the Magic Trackpad. This sleek device, designed by Apple, brings the power of multi-touch gestures to your fingertips, allowing you to navigate your Mac with ease and precision. Whether you’re a creative professional or a casual user, the Magic Trackpad offers a seamless and intuitive way to interact with your Mac.
In this article, we will guide you through the process of connecting your Magic Trackpad to your Mac. Whether you have just purchased a shiny new Magic Trackpad or you’re looking to connect an existing one to a different Mac, we have got you covered. With a few simple steps, you’ll have your Magic Trackpad up and running in no time.
Before we delve into the detailed connection process, there are a couple of important things to know. Firstly, ensure that your Magic Trackpad is compatible with your Mac. The Magic Trackpad works with Mac computers running macOS 10.11 or later, so make sure your Mac meets this requirement. Secondly, you’ll need to make sure your Magic Trackpad is charged. The Magic Trackpad comes with a built-in rechargeable battery, so plug it into a power source using the included Lightning cable and give it some time to charge.
Now that we have the basics covered, let’s move on to the step-by-step process of connecting your Magic Trackpad to your Mac. By the end of this article, you’ll be enjoying the seamless control and smooth gestures that the Magic Trackpad offers.
Step 1: Ensure Magic Trackpad Compatibility
Before you begin the process of connecting your Magic Trackpad to your Mac, it’s essential to ensure that both devices are compatible with each other. The Magic Trackpad works with Mac computers running macOS 10.11 or later, so make sure your Mac meets this requirement. To check your current macOS version, click on the Apple menu in the top left corner of your screen and select “About This Mac.” A window will appear displaying your macOS version.
If your Mac is running macOS 10.11 or later, you’re good to go. However, if you have an older version of macOS, you’ll need to update your operating system before proceeding. To update your macOS, navigate to the Apple menu, select “System Preferences,” and click on “Software Update.” Follow the on-screen instructions to download and install the latest macOS version available for your Mac.
Additionally, it’s worth noting that the Magic Trackpad requires a Bluetooth connection to communicate with your Mac. Most Mac models come with built-in Bluetooth capabilities, but it’s always a good idea to double-check. To verify whether your Mac has Bluetooth, go to the Apple menu, select “System Preferences,” and click on “Bluetooth.” If the Bluetooth preference pane appears, it means your Mac has Bluetooth capabilities. If not, you may need to use an external Bluetooth adapter to connect your Magic Trackpad.
Once you’ve confirmed that your Mac meets the compatibility requirements and has Bluetooth capabilities, you’re ready to move on to the next step: charging your Magic Trackpad.
Step 2: Charge Your Magic Trackpad
Before you can start using your Magic Trackpad, it’s important to ensure it is adequately charged. The Magic Trackpad comes with a built-in rechargeable battery that provides hours of usage on a single charge.
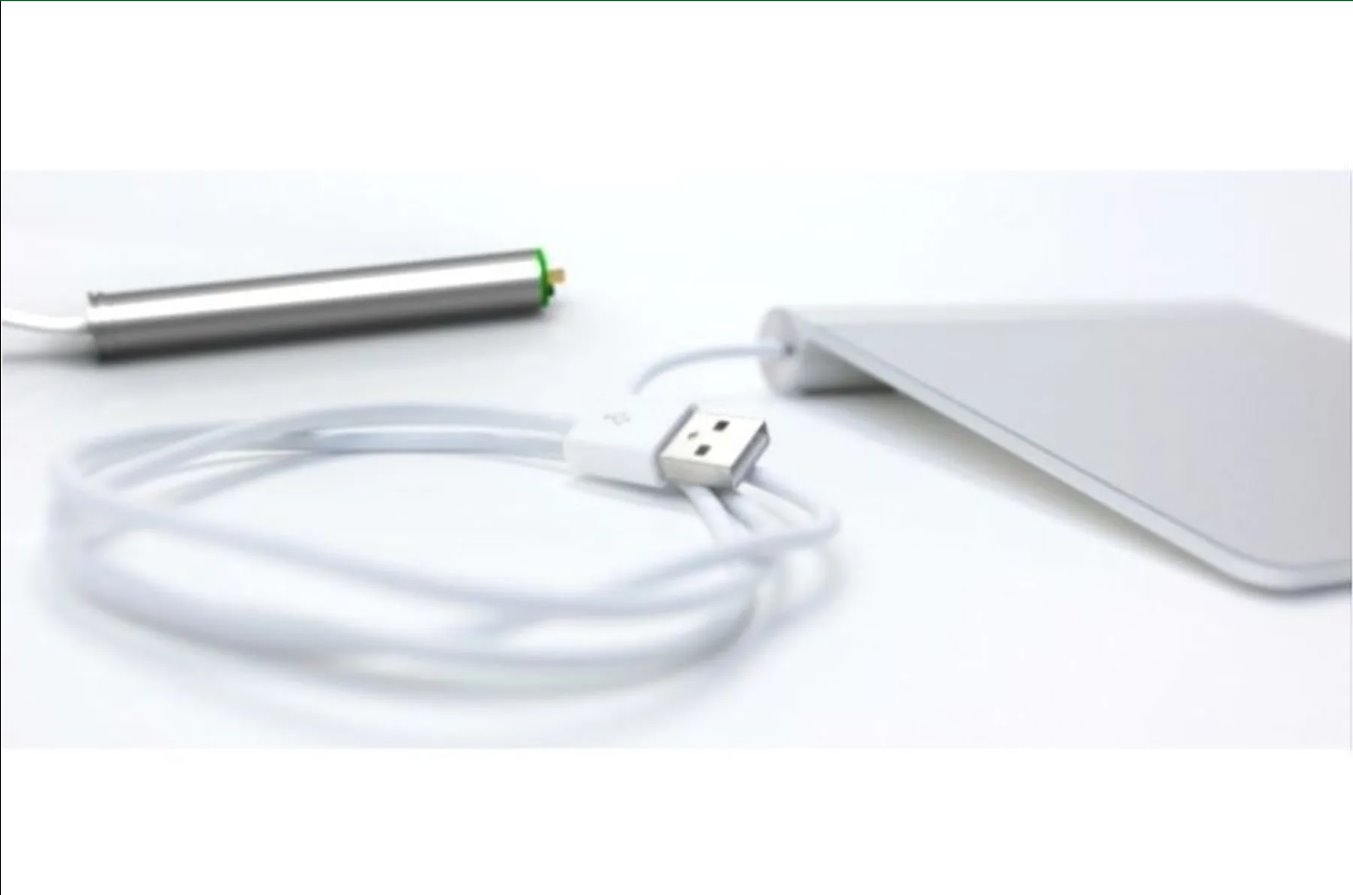
To charge your Magic Trackpad, you’ll need to connect it to a power source using the included Lightning cable. Simply plug one end of the cable into the Lightning port on the Magic Trackpad and the other end into a USB port on your Mac or a USB power adapter. The Magic Trackpad will then start charging.
During the charging process, you may notice that the status light on the front of the Magic Trackpad turns orange. This indicates that the device is currently charging. Once the battery is fully charged, the status light will turn green, indicating that the Magic Trackpad is ready to use.
It’s important to note that while the Magic Trackpad is charging, you can still use it wirelessly with your Mac. The charging process does not interfere with its functionality, allowing you to continue using the Magic Trackpad even if the battery is not fully charged.
Depending on the current battery level and the time it takes to charge, it may take anywhere from 1 to 2 hours for your Magic Trackpad to reach a full charge. Once it is fully charged, you can disconnect it from the power source and begin the process of connecting it to your Mac.
Now that your Magic Trackpad is charged and ready to go, let’s move on to the next step: enabling Bluetooth on your Mac.
Step 3: Enable Bluetooth on Your Mac
Before you can connect your Magic Trackpad to your Mac, you need to ensure that Bluetooth is enabled on your Mac. Bluetooth allows your Mac to communicate wirelessly with other devices, including the Magic Trackpad.
To enable Bluetooth on your Mac, follow these simple steps:
- Click on the Apple menu in the top left corner of your screen.
- Select “System Preferences” from the dropdown menu.
- In the System Preferences window, click on the “Bluetooth” icon.
A new window will appear, showing the status of Bluetooth on your Mac. If Bluetooth is already turned on, you will see a message saying “Bluetooth: On.” If Bluetooth is turned off, you will see a message saying “Bluetooth: Off.”
To turn on Bluetooth, simply click on the “Turn Bluetooth On” button. Once enabled, your Mac will start searching for nearby Bluetooth devices, including the Magic Trackpad.
It’s important to note that if Bluetooth was turned off, you may need to wait a few moments for your Mac to detect and connect to the Magic Trackpad. The time it takes to establish a Bluetooth connection can vary, so please be patient.
Once Bluetooth is enabled on your Mac and the Magic Trackpad is in pairing mode, you’re ready to move on to the next step: putting the Magic Trackpad in pairing mode.
Step 4: Put the Magic Trackpad in Pairing Mode
In order to establish a connection between your Magic Trackpad and your Mac, you need to put the Magic Trackpad in pairing mode. Pairing mode allows the Magic Trackpad to be discovered by your Mac and establishes a secure and encrypted connection between the two devices.
To put the Magic Trackpad in pairing mode, follow these steps:
- Make sure your Magic Trackpad is turned on. You can do this by pressing the power button on the side of the Magic Trackpad. A green LED light on the front of the trackpad will indicate that it is powered on.
- Next, press and hold the power button for a few seconds until the LED light on the front of the trackpad starts flashing.
The flashing LED light indicates that the Magic Trackpad is in pairing mode and ready to be discovered by your Mac. Keep in mind that the Magic Trackpad will stay in pairing mode for a limited amount of time, typically around 30 seconds. If the Magic Trackpad does not successfully connect to your Mac within this time frame, you may need to repeat the process and put it back into pairing mode.
Now that your Magic Trackpad is in pairing mode, it’s time to move on to the next step: connecting the Magic Trackpad to your Mac.
Step 5: Connect the Magic Trackpad to Your Mac
Now that your Magic Trackpad is in pairing mode, it’s time to establish a connection between your trackpad and your Mac. Follow these steps to connect the Magic Trackpad to your Mac:
- On your Mac, go to the Apple menu and select “System Preferences.”
- In the System Preferences window, click on the “Bluetooth” icon.
- Your Mac will start scanning for nearby Bluetooth devices. After a few moments, you should see the name “Magic Trackpad” appear in the list of available devices.
- Click on “Magic Trackpad” in the device list to select it.
- Your Mac will then attempt to establish a connection with the Magic Trackpad. During this process, you may see a pairing code displayed on your Mac’s screen.
- Follow the on-screen instructions to complete the pairing process. Depending on your Mac model, you may need to enter the pairing code or simply confirm the connection.
Once the connection is established, your Magic Trackpad will be successfully connected to your Mac. You will be able to use the trackpad to navigate and interact with your Mac’s interface using intuitive multitouch gestures.
If the connection is not successful, try putting your Magic Trackpad back into pairing mode and repeat the above steps. It’s also a good idea to ensure that your Mac is within range of the Magic Trackpad and that there are no obstructions interfering with the Bluetooth signal.
With the Magic Trackpad successfully connected to your Mac, you can now move on to the next and final step: configuring the trackpad preferences to suit your needs and preferences.
Step 6: Configure Trackpad Preferences
Now that you have successfully connected your Magic Trackpad to your Mac, it’s time to dive into the configuration options and customize the trackpad to suit your preferences and needs.
To access the trackpad preferences, follow these steps:
- Click on the Apple menu in the top left corner of your screen.
- Select “System Preferences” from the dropdown menu.
- In the System Preferences window, click on the “Trackpad” icon.
Once you are in the trackpad preferences, you will find a plethora of settings that allow you to fine-tune the behavior and functionality of your Magic Trackpad.
You can customize various aspects such as:
- The scrolling direction (natural or traditional).
- The sensitivity and speed of the cursor movement.
- Gestures such as swipe, pinch, rotate, and three-finger drag.
- Secondary click options (right-click).
- Accessibility features like Tap to Click and Smart zoom.
Feel free to explore the different options and adjust them to your liking. As you make changes to the settings, the trackpad will respond in real-time, allowing you to immediately experience the impact of your modifications.
Experimenting with different settings can help you find the configuration that feels most comfortable and suits your workflow. It’s a great way to optimize your trackpad experience and make the most out of the Magic Trackpad’s capabilities.
Once you have finished customizing the trackpad preferences, you’re all set! You can now enjoy the seamless control and fluid gestures that the Magic Trackpad brings to your Mac.
Now that you have successfully connected and configured your Magic Trackpad, it’s time to put it to good use and make the most out of its features. Happy navigating!
Conclusion
Congratulations! You have successfully connected your Magic Trackpad to your Mac and configured it to your preferences. The Magic Trackpad opens up a whole new world of intuitive and seamless navigation, allowing you to interact with your Mac using gestures and multi-touch controls.
Throughout this article, we have covered the step-by-step process of setting up your Magic Trackpad. From ensuring compatibility and charging the trackpad to enabling Bluetooth, putting the trackpad in pairing mode, and connecting it to your Mac, each step was designed to make the process as straightforward as possible.
Remember, as you navigate and explore the trackpad preferences, don’t be afraid to experiment and find the settings that work best for you. Everyone’s preferences and work style are unique, and the Magic Trackpad offers the flexibility to personalize your experience.
Now that your Magic Trackpad is connected and configured, you can enjoy smooth scrolling, precise cursor control, and a range of customizable multi-touch gestures. Whether you’re editing photos, designing graphics, or simply browsing the web, the Magic Trackpad enhances your productivity and enhances the overall user experience on your Mac.
We hope this guide has been helpful in assisting you with the process of connecting your Magic Trackpad to your Mac. If you encounter any issues or need further assistance, don’t hesitate to consult the Apple support resources or reach out to the Apple support team directly.
Enjoy your Magic Trackpad and unleash its full potential as you navigate through your Mac with ease and precision!