Introduction
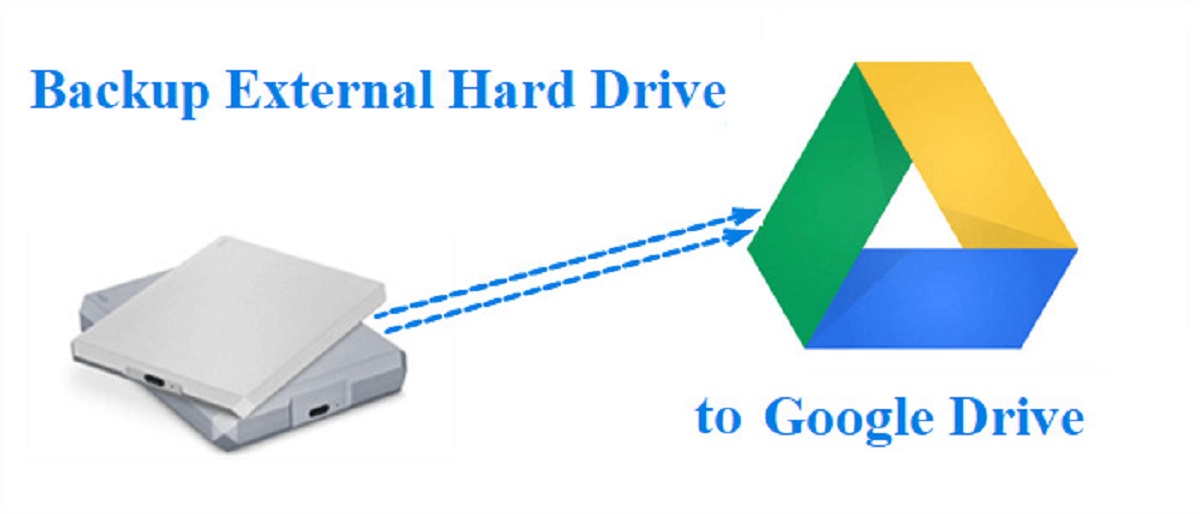
Welcome to our guide on how to download files from Google Drive to an external hard drive. Google Drive is a widely used cloud storage platform that allows users to store, share, and access their files and documents from anywhere with an internet connection. While Google Drive provides a convenient way to access files on multiple devices, you may find it necessary to download and store them on an external hard drive for various reasons. This can help free up space on your computer’s internal storage, provide a secure backup solution, or allow for easy access to files without the need for an internet connection.
In this step-by-step tutorial, we’ll show you how to download files from Google Drive and save them directly to an external hard drive connected to your computer. Whether you’re working with large files, need to create a backup of important documents, or simply want to organize your data more efficiently, this guide will walk you through the process and help you accomplish your goal in no time.
Before we get started, it’s essential to ensure that you have both a functioning external hard drive and a stable internet connection. Additionally, make sure that you have the necessary permissions and access to the files you wish to download from Google Drive. With these preparations in place, let’s dive into the steps required to download files from Google Drive to an external hard drive.
Step 1: Connect External Hard Drive to Computer
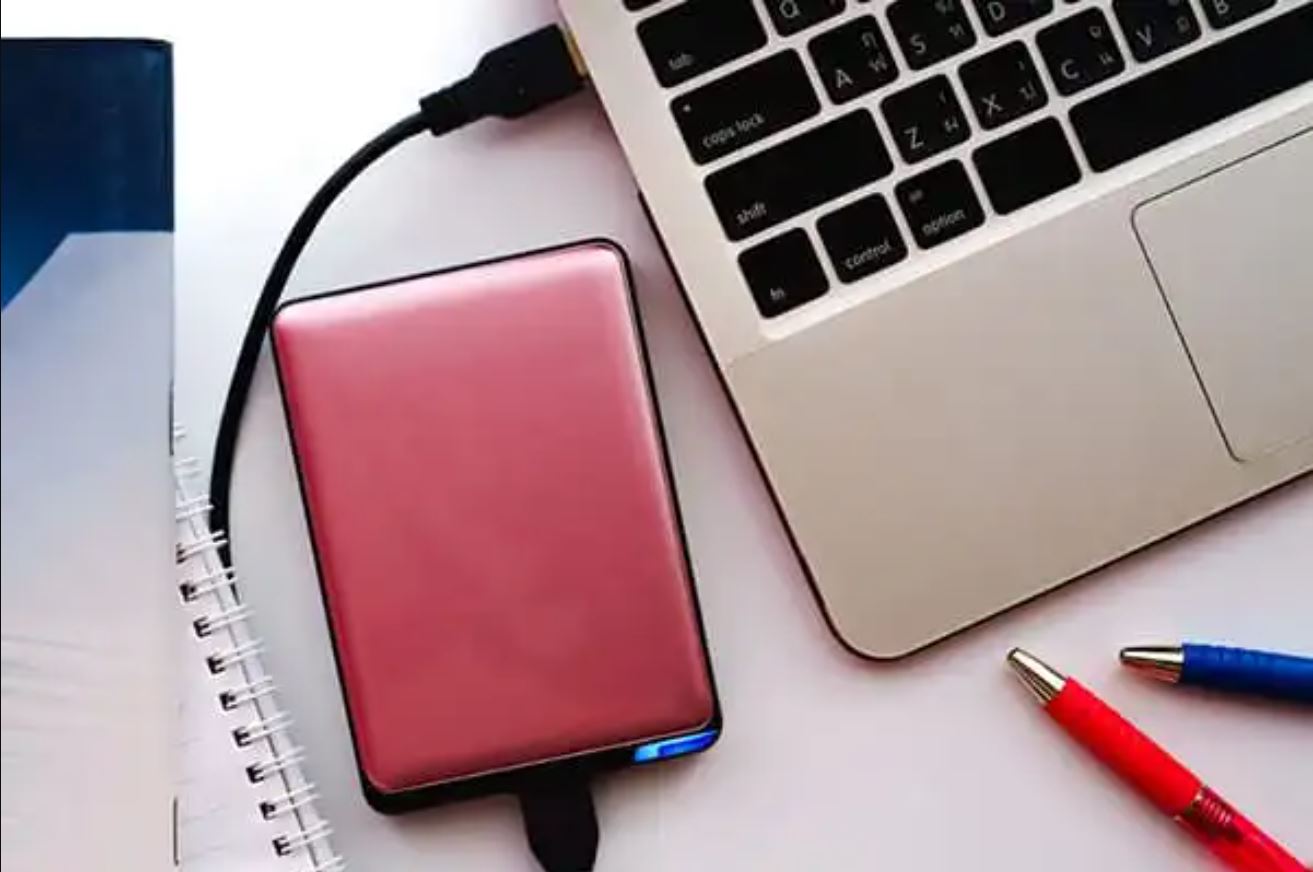
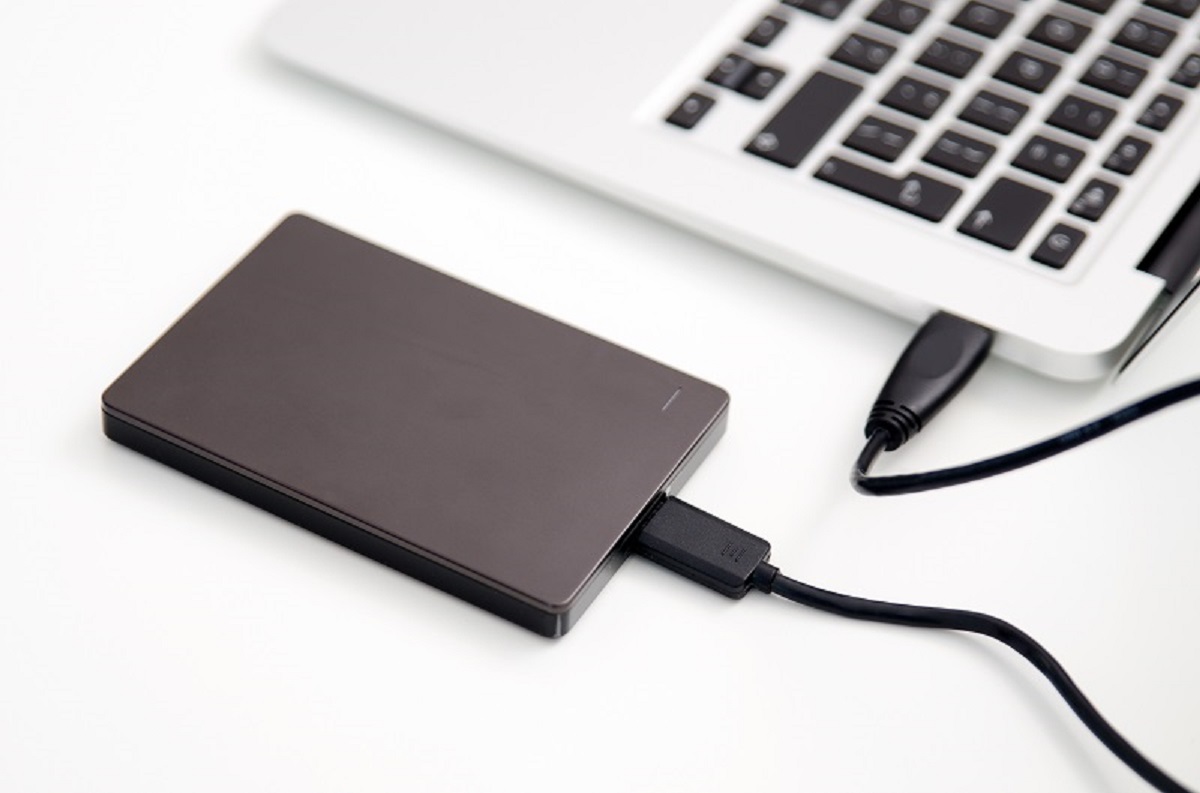
The first step in downloading files from Google Drive to an external hard drive is to connect the external hard drive to your computer. Ensure that the external hard drive is properly connected to your computer via a USB cable or other appropriate connection method.
Once the external hard drive is plugged in, your computer should recognize it as a new storage device. Depending on your operating system, you may receive a notification indicating that the device has been successfully connected. If no notification appears, you can manually check for the external hard drive by opening the file explorer or finder on your computer.
In the file explorer or finder, you should see a list of storage devices, including your computer’s internal storage and the connected external hard drive. The external hard drive may appear under a specific name or label, such as “My Passport” or “Seagate Expansion.” Take note of the name or label assigned to your external hard drive, as you will need it in later steps.
It’s important to ensure that the external hard drive has sufficient storage capacity to accommodate the files you wish to download from Google Drive. If necessary, consider freeing up space on the external hard drive by deleting unnecessary files or transferring existing files to another storage location.
With your external hard drive successfully connected and ready for use, you’re one step closer to downloading files from Google Drive and securely storing them on your external storage device.
Step 2: Open Google Drive on your Computer
Once your external hard drive is connected to your computer, the next step is to open Google Drive on your computer. Google Drive offers both a web-based interface and a dedicated desktop application for accessing and managing your files.
If you prefer to use the web-based interface, open your preferred web browser and visit https://drive.google.com. Sign in to your Google account if prompted. This will give you access to your Google Drive files and folders.
If you prefer to use the dedicated desktop application, you can download and install it from the Google Drive website. Once installed, open the application and sign in to your Google account. The desktop application provides a more convenient way to access and manage your files, as it syncs with your online Google Drive storage.
Once you’re logged in to Google Drive, you will be able to see all the files and folders stored in your Google Drive account. You can navigate through the folders to locate the specific file(s) you want to download to your external hard drive.
Take a moment to familiarize yourself with the Google Drive interface and its features. You can create new folders, upload files, and organize your files in a way that suits your needs. This will make it easier to find and select the files you want to download to your external hard drive.
Now that you have Google Drive open on your computer, you’re ready to proceed to the next step and locate the file(s) you wish to download from Google Drive.
Step 3: Locate the File in Google Drive
Now that you have Google Drive open on your computer, it’s time to locate the file(s) you want to download to your external hard drive. Google Drive allows you to organize your files into folders for easy access and management.
Start by browsing through the folders in Google Drive to find the specific file(s) you wish to download. You can click on a folder to view its contents or use the search bar at the top to search for a specific file by name or keyword.
If you have numerous files or an extensive folder structure, you can utilize the sorting and filtering options provided by Google Drive to quickly locate the desired file(s). You can sort files by name, date modified, or file type. Additionally, you can use the “Shared with me” or “Starred” tabs to access files that have been shared with you or marked as important, respectively.
If you have already organized your files into specific folders, navigate to the relevant folder where the file(s) you want to download are located. This will help streamline the process and make it easier to select the correct file(s) for download.
Once you have found the file(s) you want to download, it is essential to ensure that you have the necessary access and permissions to download them. For files shared with you, ensure that the file owner has granted you the appropriate permissions to download the file(s).
Take your time to double-check that you have selected the correct file(s) for download. Downloading the wrong file(s) can lead to data loss or confusion. If needed, you can preview the file(s) before downloading them to confirm their content.
Now that you have located the file(s) you wish to download from Google Drive, it’s time to move on to the next step and initiate the download process.
Step 4: Download the File from Google Drive
After you have located the file(s) you want to download from Google Drive, the next step is to initiate the download process. Google Drive provides multiple options for downloading files, allowing you to choose the most suitable method for your needs.
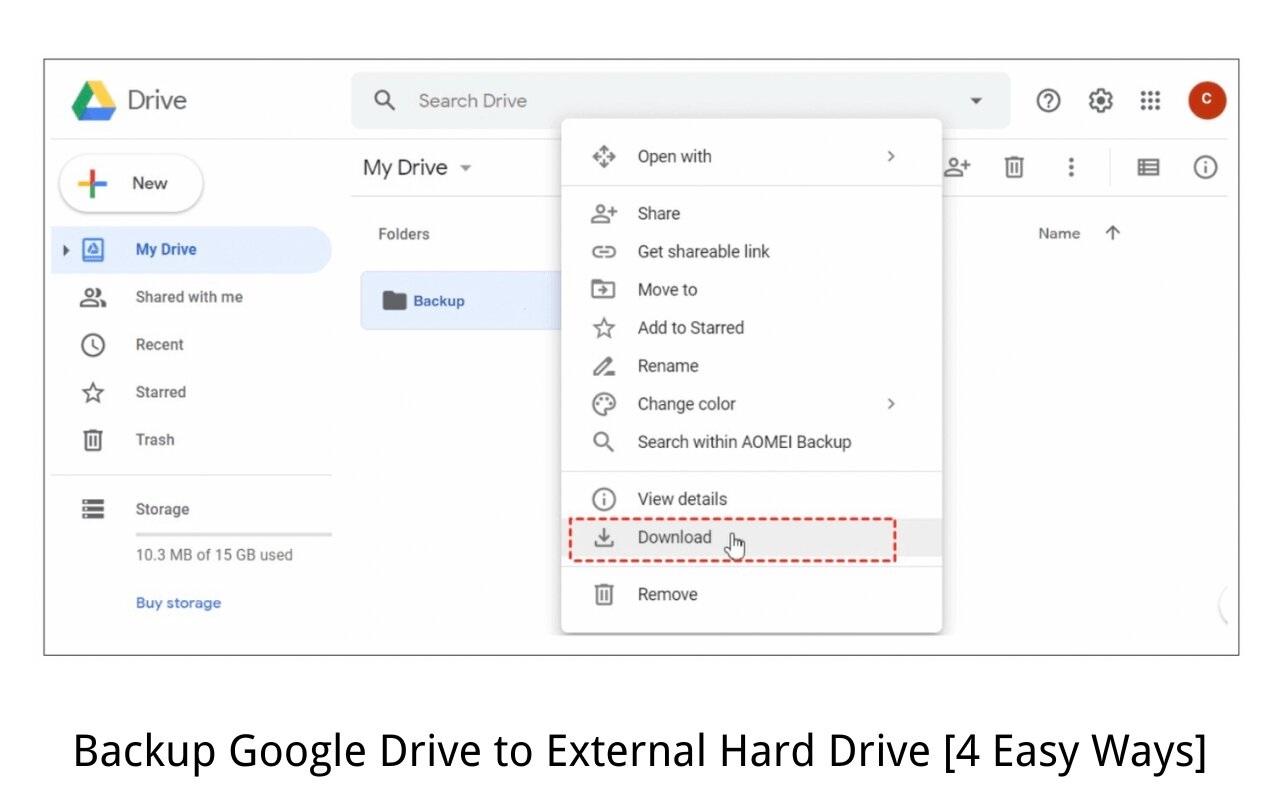
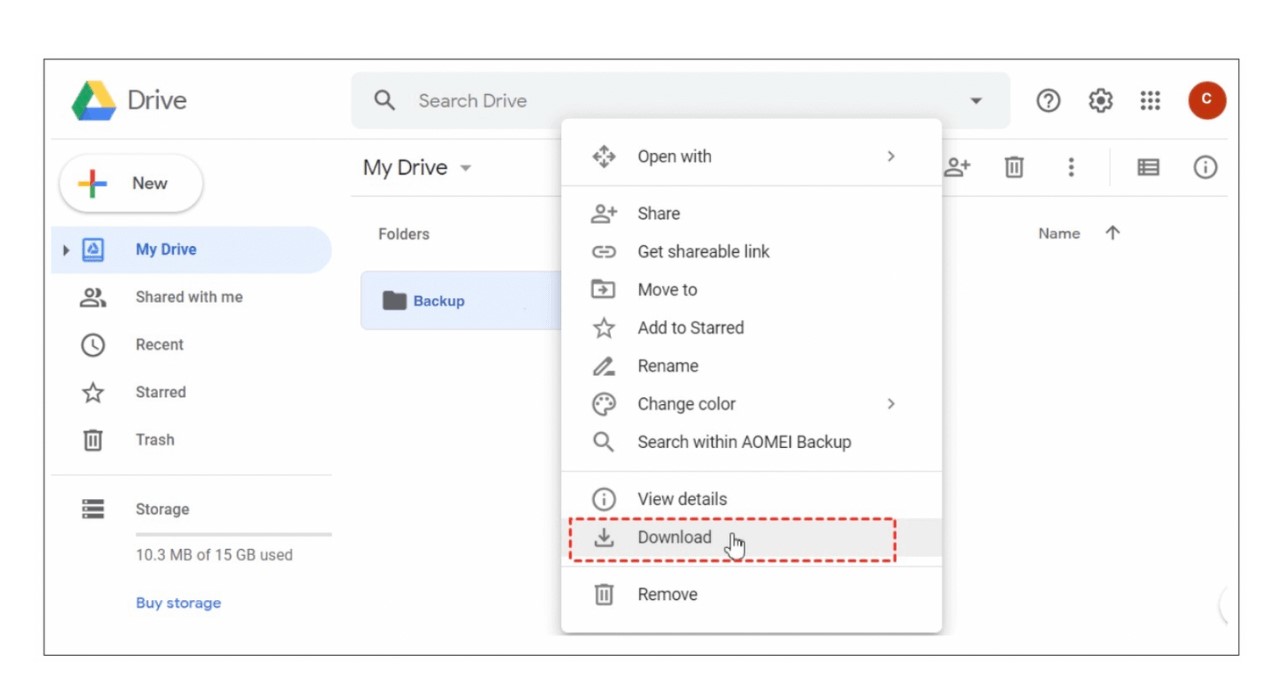
To download a single file, right-click on the file in Google Drive and select the “Download” option from the context menu. This will prompt your browser to begin downloading the file to your computer’s default download location. If you prefer a different download location, you can specify it in the browser settings before initiating the download.
If you want to download multiple files at once, you can select multiple files by holding down the “Ctrl” key (or “Cmd” key on Mac) and clicking on each file. Once you have selected all the desired files, right-click on any of the selected files and choose the “Download” option. This will initiate the download of all the selected files as a compressed ZIP archive. Once the download is complete, you can extract the files from the ZIP archive using a file compression tool like WinRAR or 7-Zip.
In addition to the right-click method, you can also download files by clicking on the file to open a preview and then clicking on the three-dot menu icon in the top-right corner of the preview. From the dropdown menu, select the “Download” option. This will start the download process for the file.
If you prefer to download an entire folder from Google Drive, you can right-click on the folder and select the “Download” option. Google Drive will compress the folder into a ZIP file and initiate the download process. Once the download is complete, you can extract the contents of the ZIP file on your computer using a file compression tool.
Keep in mind that the download speed will depend on the size of the file(s) and your internet connection speed. Larger files may take longer to download, especially if you have a slow internet connection.
Now that you know how to download files from Google Drive, it’s time to move on to the next step and choose the external hard drive as the download location.
Step 5: Choose the External Hard Drive as the Download Location
Once you have initiated the download of the file(s) from Google Drive, the next step is to choose the external hard drive as the download location. By default, most browsers will download files to your computer’s default download folder. However, you can easily change this to save the files directly to your external hard drive.
When the download is in progress, you may see a pop-up window or a notification in your browser indicating the progress of the download. Look for an option or button that allows you to change the download location.
Click on the option or button to browse for a new download location. In the file explorer or finder window that appears, navigate to your external hard drive. Remember the name or label of your external hard drive that you noted earlier? Look for that name or label in the list of available storage devices and select it.
Once you have chosen your external hard drive as the download location, confirm the selection and continue with the download process. The browser will now save the file(s) directly to your external hard drive instead of the default download folder on your computer.
It’s important to ensure that your external hard drive has enough available space to accommodate the file(s) you are downloading. If the drive is running low on space, consider freeing up some storage or connecting a different external hard drive with sufficient capacity.
Choosing the external hard drive as the download location is crucial for ensuring that the files are directly saved to your external storage device. This will help you keep your computer’s internal storage free and organize your downloaded files effectively.
With the download location set to your external hard drive, it’s time to move on to the next step and start the download while monitoring the progress.
Step 6: Start the Download and Monitor Progress
Once you have chosen the external hard drive as the download location, you can now start the download of the file(s) from Google Drive. After initiating the download, it’s important to monitor the progress to ensure that the transfer is completed successfully.
Click on the “Start Download” or similar button in your browser to begin the download process. You will typically see a progress bar or indicator showing the download status. The speed of the download will depend on the size of the file(s) and the speed of your internet connection.
Depending on your browser settings, you may be prompted to confirm or authorize the download before it starts. Follow the on-screen instructions to proceed with the download.
While the download is in progress, it’s recommended to keep an eye on the progress indicator. This will help you estimate the remaining time and ensure that the download is progressing smoothly.
If you encounter any issues during the download, such as a slow or interrupted connection, you may need to pause and resume the download or restart it from the beginning. Most browsers provide options to pause, resume, or cancel downloads as needed.
While the download is underway, avoid closing your web browser or shutting down your computer to prevent any interruptions that could lead to incomplete downloads.
Once the download is complete, you will receive a notification or see a message indicating the successful download of the file(s). At this point, the files are saved on your external hard drive, ready for you to access and use whenever needed.
It’s essential to verify the downloaded files to ensure their integrity and completeness. Compare the file sizes and contents with the original files in Google Drive to confirm that they match. If you notice any discrepancies, you may need to re-download the files or contact the file owner for assistance.
Now that you have successfully downloaded the file(s) and monitored the progress, you’re ready for the final step: verifying the downloaded file(s) in the external hard drive.
Step 7: Verify the Downloaded File in the External Hard Drive
After downloading the file(s) from Google Drive to your external hard drive, it’s important to verify the downloaded files to ensure that they are intact and accessible. Verification helps to confirm that the files were transferred successfully and that there was no loss or corruption during the download process.
Access your external hard drive through the file explorer or finder on your computer. Navigate to the location where you chose to save the downloaded file(s). Look for the file(s) you downloaded from Google Drive and confirm that they are present in the designated folder.
Double-click on each file to open and ensure that it can be accessed and viewed without any issues. Check the file size to make sure it matches the size of the original file(s) in Google Drive. If the file size is significantly different, you may need to re-download the file(s) or investigate any potential issues.
If the file(s) are in a compressed format (such as a ZIP file), extract them using a file compression tool to access the individual files within. Verify the individual files to confirm that they are intact and not corrupted.
For files that are documents, images, or other types of content, open them and ensure that the content is correct and not altered during the download process. It’s a good practice to compare the downloaded files with their counterparts in Google Drive to spot any discrepancies or errors.
If you encounter any issues during the verification process, such as inaccessible files or corrupted content, you may need to re-download the file(s) from Google Drive. Alternatively, you can reach out to the file owner or Google Drive support for further assistance.
Once you have verified the downloaded file(s) in your external hard drive and confirmed their accuracy, you can safely delete them from your computer’s internal storage if desired. This will help free up space and keep your computer organized.
Congratulations! You have successfully downloaded and verified the file(s) from Google Drive in your external hard drive. You can now access and use the file(s) directly from your external storage device as needed.
Conclusion
Downloading files from Google Drive to an external hard drive can provide added convenience, storage, and security for your important files and documents. By following the steps outlined in this guide, you can easily transfer files from Google Drive to your external storage device and ensure they are readily accessible whenever and wherever you need them.
We began by connecting the external hard drive to your computer and then opening Google Drive to locate the desired files. We then proceeded to download the files, choosing the external hard drive as the download location. Throughout the process, we emphasized the importance of monitoring the download progress and verifying the downloaded files to ensure their integrity.
Remember to double-check your external hard drive’s available space to avoid any issues with downloading large files. It’s also important to make sure you have the necessary permissions to access and download the files from Google Drive.
By saving files to an external hard drive, you can free up space on your computer’s internal storage, create a backup of important documents, and even take your files with you on-the-go without relying on an internet connection. This can be particularly useful for individuals working with large files, managing extensive data, or seeking to organize files more efficiently.
Thank you for following this guide on how to download files from Google Drive to an external hard drive. We hope you find this information helpful in managing your files effectively and maximizing the benefits of Google Drive and external storage devices.
Happy downloading!