Introduction
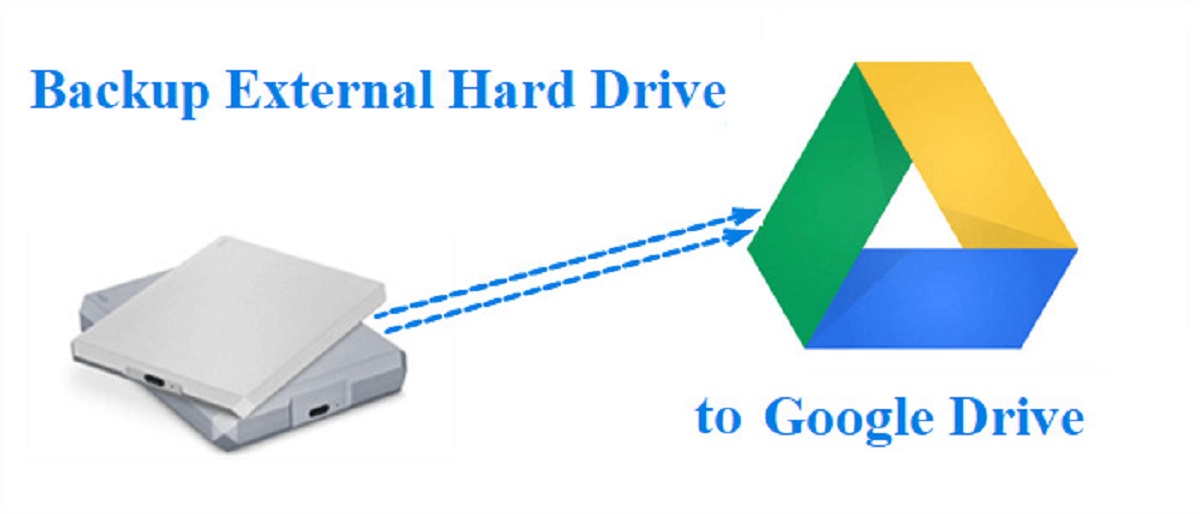
Welcome to our guide on how to transfer Google Drive to an external hard drive. Google Drive is a popular cloud storage platform that allows users to store and access their files from anywhere. However, there may come a time when you want to free up some space on your computer or have a backup of your important files stored in Google Drive. In such cases, transferring your files to an external hard drive can be a convenient and secure solution.
Transferring files from Google Drive to an external hard drive is a straightforward process, but it does require a few steps to ensure a successful transfer. In this guide, we will walk you through each step of the process, from connecting the external hard drive to your computer, to moving the files and verifying the transfer.
This guide assumes you have a basic understanding of how to connect devices to your computer and navigate through the Google Drive interface. If you encounter any difficulties during the process, don’t worry – we’re here to help you every step of the way.
It’s important to note that the methods described in this guide apply to transferring files from the Google Drive cloud storage platform to an external hard drive connected directly to your computer. If you are using a Mac, the process may vary slightly, but the general principles remain the same.
So, without further ado, let’s dive into the step-by-step process of transferring Google Drive to an external hard drive.
Step 1: Connecting the External Hard Drive to Your Computer
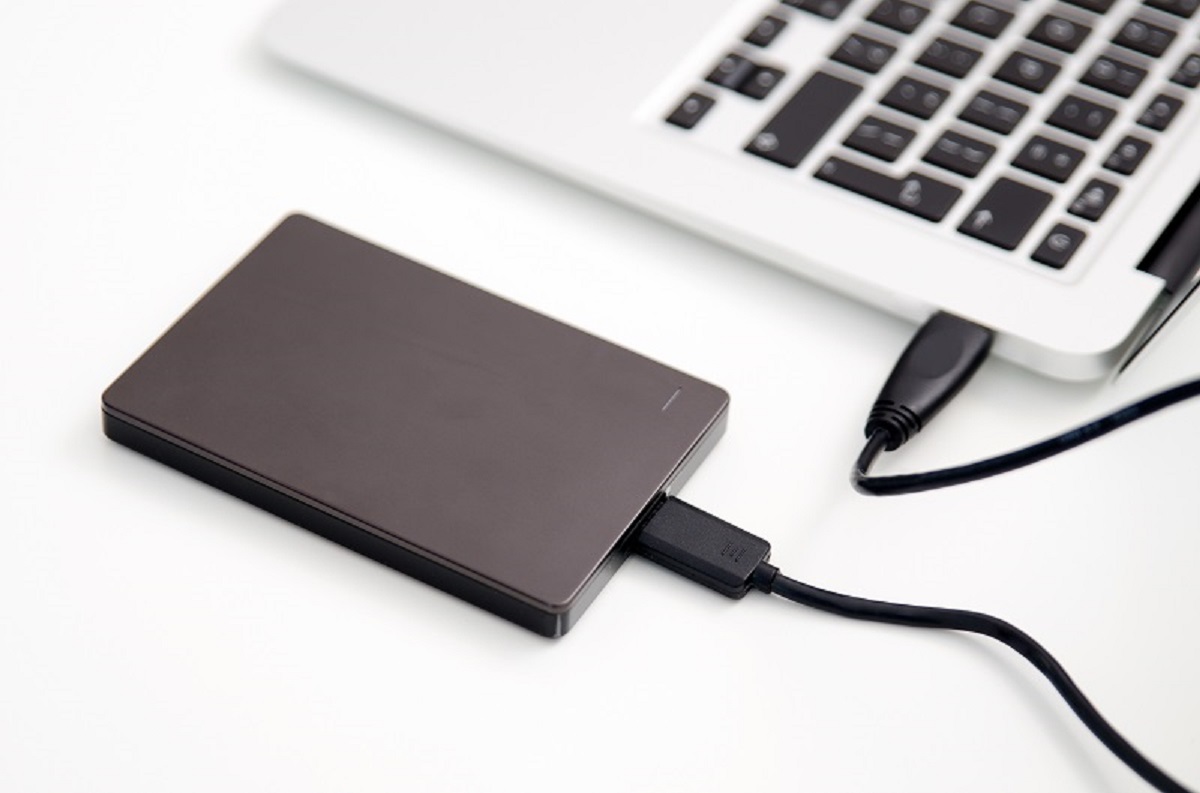
The first step in transferring Google Drive files to an external hard drive is to connect the external hard drive to your computer. Follow these instructions to ensure a proper connection:
- Locate an available USB port on your computer and connect one end of the USB cable to the port.
- Plug the other end of the USB cable into the appropriate port on your external hard drive. The exact port may vary depending on the make and model of your external hard drive.
- Once the USB cable is securely connected to both your computer and the external hard drive, you should see a notification or hear a sound indicating that a new device has been connected.
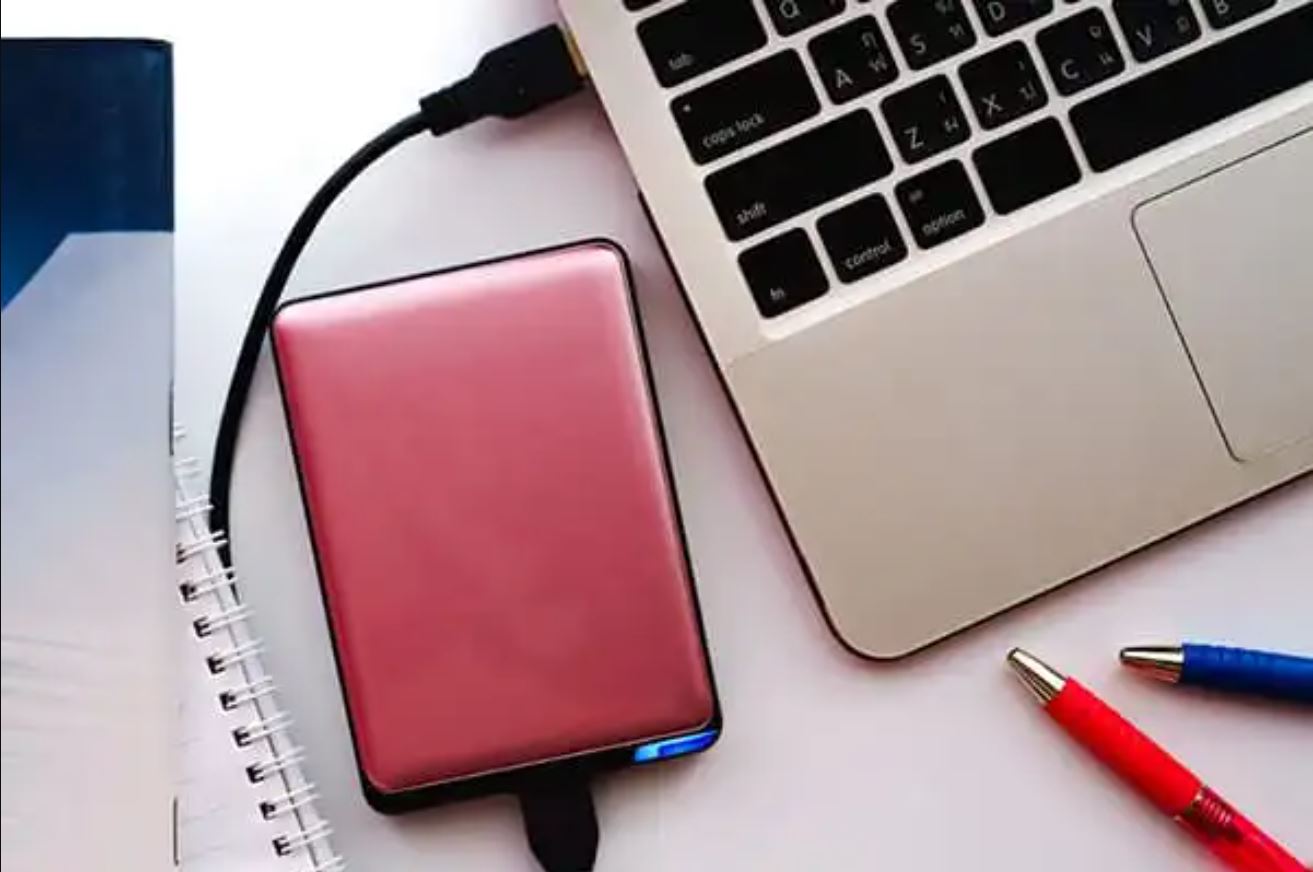
- You can verify the connection by opening the “File Explorer” on Windows or the “Finder” on Mac and looking for the external hard drive under the “Devices” or “External Devices” section.
It’s crucial to ensure a stable connection between the computer and the external hard drive. If the connection is loose or interrupted, it may lead to errors during the file transfer process. If you encounter any issues, try using a different USB port or cable, or test the external hard drive on another computer to determine if the problem lies with the hardware.
Once you have successfully connected the external hard drive to your computer, you are ready to proceed to the next step of transferring your Google Drive files.
Step 2: Downloading the Google Drive Desktop App
Before you can start transferring your Google Drive files to the external hard drive, you’ll need to download and install the Google Drive desktop app on your computer. This app allows you to sync your Google Drive files directly to your computer for easy access and management.
Follow these steps to download and install the Google Drive desktop app:
- Open a web browser and go to the official Google Drive website at https://www.google.com/drive/.
- Click on the “Go to Google Drive” button or the “Sign in” button if you’re not logged into your Google account.
- Once you’re on the Google Drive homepage, click on the “Download” button located at the top-right corner of the screen.
- Wait for the download to complete. The Google Drive installer file will be saved to your computer.
- Locate the downloaded installer file (usually named “googledrivesync.exe” on Windows or “InstallBackupAndSync.dmg” on Mac) and double-click on it to start the installation process.
- Follow the on-screen instructions to complete the installation. You may be prompted to sign in to your Google account during the process.
Once the Google Drive desktop app is successfully installed on your computer, it will create a dedicated folder on your computer that is connected to your Google Drive. Any changes you make to the files in this folder will be synced with your Google Drive account.
With the Google Drive desktop app installed and ready to use, you can now proceed to the next step of syncing your Google Drive files to your computer.
Step 3: Syncing Google Drive to Your Computer
Now that you have the Google Drive desktop app installed on your computer, it’s time to sync your Google Drive files to your computer. This step ensures that all your files are available offline and ready for transfer to the external hard drive.
Here’s how you can sync your Google Drive files to your computer:
- Open the Google Drive desktop app on your computer. If you can’t find it, look for the Google Drive icon in your system tray (Windows) or menu bar (Mac), and click on it to open the app.
- Login to your Google account if you’re prompted to do so.
- Once you’re logged in, the Google Drive app will start syncing your files. This process may take some time, depending on the number and size of the files you have in your Google Drive.
- You can monitor the syncing progress by checking the status of the Google Drive app. Typically, you’ll see a small icon or indicator that shows the sync status.
- Make sure that the syncing process is complete before proceeding to the next step. You can check the sync status by comparing the file count and size shown in the Google Drive app with the values displayed on the Google Drive website.
Once the sync is complete, you’ll have a local copy of all your Google Drive files stored on your computer. This allows you to access and modify these files even when you’re not connected to the internet. Now, you’re ready to create a new folder on your external hard drive to transfer your Google Drive files.
Step 4: Creating a New Folder on Your External Hard Drive
Before you can transfer your Google Drive files to the external hard drive, you need to create a new folder on the external hard drive to store the files. This folder will serve as the destination folder for the transfer process.
Follow these steps to create a new folder on your external hard drive:
- Open the “File Explorer” on Windows or the “Finder” on Mac.
- Locate your external hard drive in the list of devices. It is typically labeled with the manufacturer’s name or the model of the hard drive.
- Right-click on the external hard drive and select “New Folder” from the context menu. On Mac, you can create a new folder by clicking on the “File” menu, selecting “New Folder,” and then choosing the external hard drive as the location.
- Give the new folder a descriptive name, such as “Google Drive Backup” or a name that reflects the contents of the folder.
Once you’ve created the new folder on your external hard drive, you’re now ready to proceed to the next step of moving the files from Google Drive to the external hard drive.
Step 5: Moving Files from Google Drive to the External Hard Drive
Now that you have created a new folder on your external hard drive, it’s time to transfer your files from Google Drive to the external hard drive. Follow these steps to complete the transfer:
- Open the Google Drive folder on your computer. This folder should be located in your file explorer or finder, and it should sync with your Google Drive account.
- Navigate to the files or folders that you want to transfer to the external hard drive.
- Select the files or folders by clicking on them while holding the Ctrl/Command key. You can also select multiple items by dragging your cursor to create a selection box.
- Once you have selected the desired files or folders, right-click on the selection and choose “Cut” or “Copy” from the context menu. Alternatively, you can use the Ctrl+X or Ctrl+C keyboard shortcuts (Windows) or Command+X or Command+C keyboard shortcuts (Mac) to cut or copy the files.
- Open the new folder that you created on your external hard drive.
- Right-click on an empty space within the folder and select “Paste” from the context menu. Alternatively, you can use the Ctrl+V keyboard shortcut (Windows) or Command+V keyboard shortcut (Mac) to paste the files.
- The selected files will now be transferred from your Google Drive to the new folder on your external hard drive. The transfer may take some time, depending on the size of the files and the speed of your computer and external hard drive.
It’s important to note that moving the files from Google Drive to the external hard drive will remove them from the Google Drive folder on your computer. However, they will still be available on your external hard drive and will remain accessible as long as it is connected to your computer.
Once the transfer is complete, you can proceed to the next step to check the transfer progress and ensure that the files have been successfully transferred to the external hard drive.
Step 6: Checking the Transfer Progress
After moving the files from Google Drive to the external hard drive, it’s important to check the transfer progress to ensure that all the files have been successfully transferred. Here’s how you can check the transfer progress:
- Open the new folder on your external hard drive where you transferred the files.
- Look for the transferred files within the folder.
- Check the file sizes and compare them to the original files in your Google Drive. Ensure that the file sizes match to verify the integrity of the transferred files.
- Open a few transferred files to ensure they can be accessed and viewed properly.
- If the transfer involved a large number of files or folders, consider spot-checking a random sample of files to confirm that the transfer was successful.
- If you notice any missing or corrupted files during the transfer, you can try transferring them again from Google Drive to the external hard drive.
Checking the transfer progress and verifying the files on your external hard drive is a crucial step to ensure the integrity and completeness of the transfer. It provides confidence that all the files have been successfully transferred and are readily available on the external hard drive for future use.
Once you’ve confirmed that the transfer was successful and all the files are intact on the external hard drive, you’re ready to wrap up the process. You can safely disconnect the external hard drive from your computer and store it in a secure location.
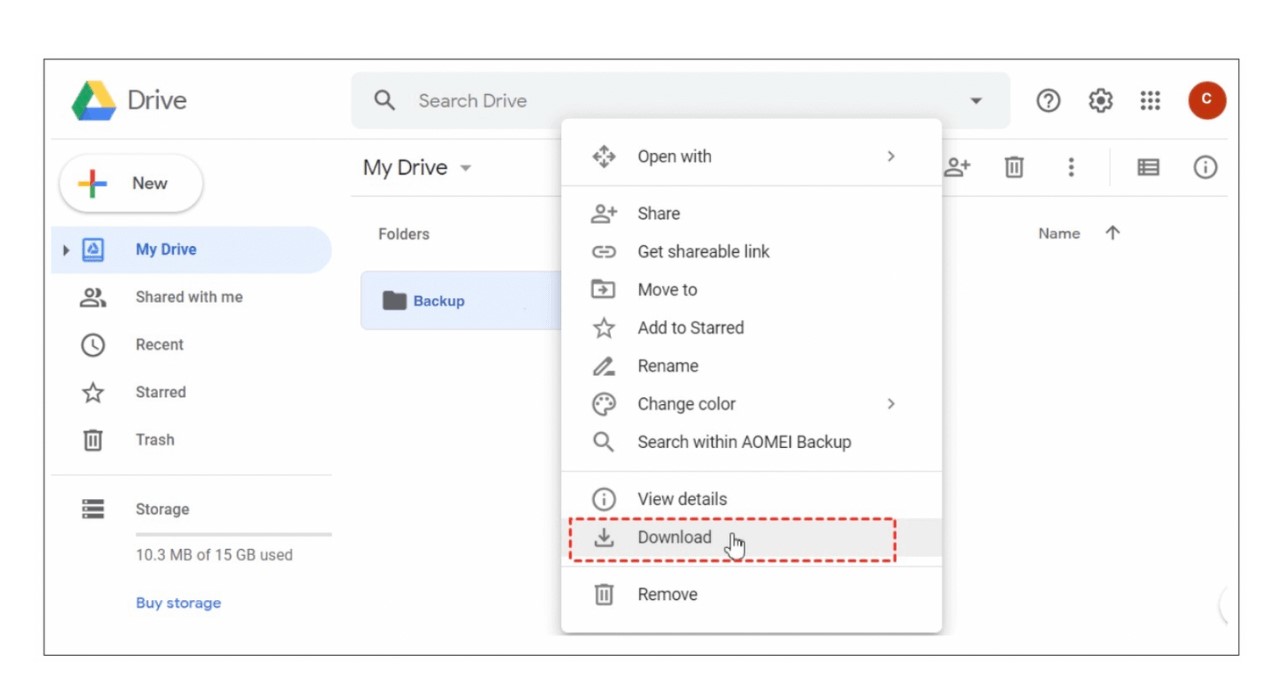
Step 7: Verifying the Transfer on Your External Hard Drive
Once you have checked the transfer progress and confirmed that the files have been successfully transferred from Google Drive to your external hard drive, the final step is to verify the transfer on your external hard drive. This step ensures that all the transferred files are accessible and in the expected locations on the external hard drive.
Follow these steps to verify the transfer on your external hard drive:
- Disconnect any external hard drives or devices that are currently connected to your computer.
- Connect the external hard drive that contains the transferred files to your computer.
- Open the “File Explorer” on Windows or the “Finder” on Mac and navigate to the external hard drive.
- Locate the folder that you created for the transfer process.
- Open the folder and ensure that all the transferred files are present and in the expected locations.
- Randomly open a few transferred files to confirm that they can be accessed and viewed properly.
By verifying the transfer on your external hard drive, you can have peace of mind knowing that all your important files from Google Drive are securely stored and accessible on your external hard drive. It also allows you to double-check that no files were left behind or corrupted during the transfer process.
If you encounter any issues or discrepancies during the verification process, such as missing files or corrupted data, you can repeat the transfer process or seek assistance from technical support to resolve any potential problems.
Once you have successfully verified the transfer on your external hard drive, congratulations! You have now completed the process of transferring Google Drive files to your external hard drive. You can disconnect the external hard drive from your computer and safely store it for future use.
Conclusion
Transferring your Google Drive files to an external hard drive provides you with the benefits of freeing up space on your computer and having a secure backup of your important files. Throughout this guide, we have walked you through the step-by-step process of transferring files from Google Drive to an external hard drive.
We started by connecting the external hard drive to your computer and ensuring a stable connection. Then, we downloaded and installed the Google Drive desktop app, which allows you to sync your Google Drive files directly to your computer.
Next, we guided you through the process of syncing Google Drive to your computer, ensuring that all your files are available offline for the transfer. We then moved on to creating a new folder on your external hard drive, which serves as the destination folder for the transfer.
With the basics in place, we explained the steps to move the files from Google Drive to the external hard drive, ensuring a successful transfer. Following that, we prompted you to check the transfer progress to confirm that all the files have been successfully transferred.
Finally, we concluded the process by guiding you through the verification step on your external hard drive. Verifying the transfer ensures that all the transferred files are accessible and in the expected locations on the external hard drive.
By following this guide and completing each step, you can confidently transfer your Google Drive files to an external hard drive, creating space on your computer and having a secure backup of your files.
Remember to safely disconnect and store your external hard drive after the transfer process is complete. Regularly updating the backup on your external hard drive will ensure your files are protected and easily accessible, even if anything happens to your Google Drive account or your computer.
We hope this guide has been helpful to you. If you have any further questions or encounter any difficulties during the transfer process, don’t hesitate to seek assistance from technical support or consult additional resources.