Introduction
Welcome to this guide on how to download files from iCloud. iCloud is a powerful cloud storage service provided by Apple, allowing users to store and sync files across multiple devices. Whether you need to access important documents, photos, or videos, iCloud makes it easy to keep your files securely stored and readily available.
Downloading files from iCloud is a simple process that can be done from any device with internet access. In this article, we will walk you through the step-by-step process of downloading files from iCloud, ensuring that you can access your files whenever and wherever you need them.
Whether you are using a Mac, iPhone, iPad, or even a PC, downloading your files from iCloud can be done in just a few easy steps. We will guide you through the process, explaining each step along the way to ensure a smooth and hassle-free experience.
So, whether you want to download important work documents, cherished memories captured in photos, or even videos for entertainment on the go, let’s dive into the world of iCloud and get those files downloaded to your device.
Are you ready? Let’s get started!
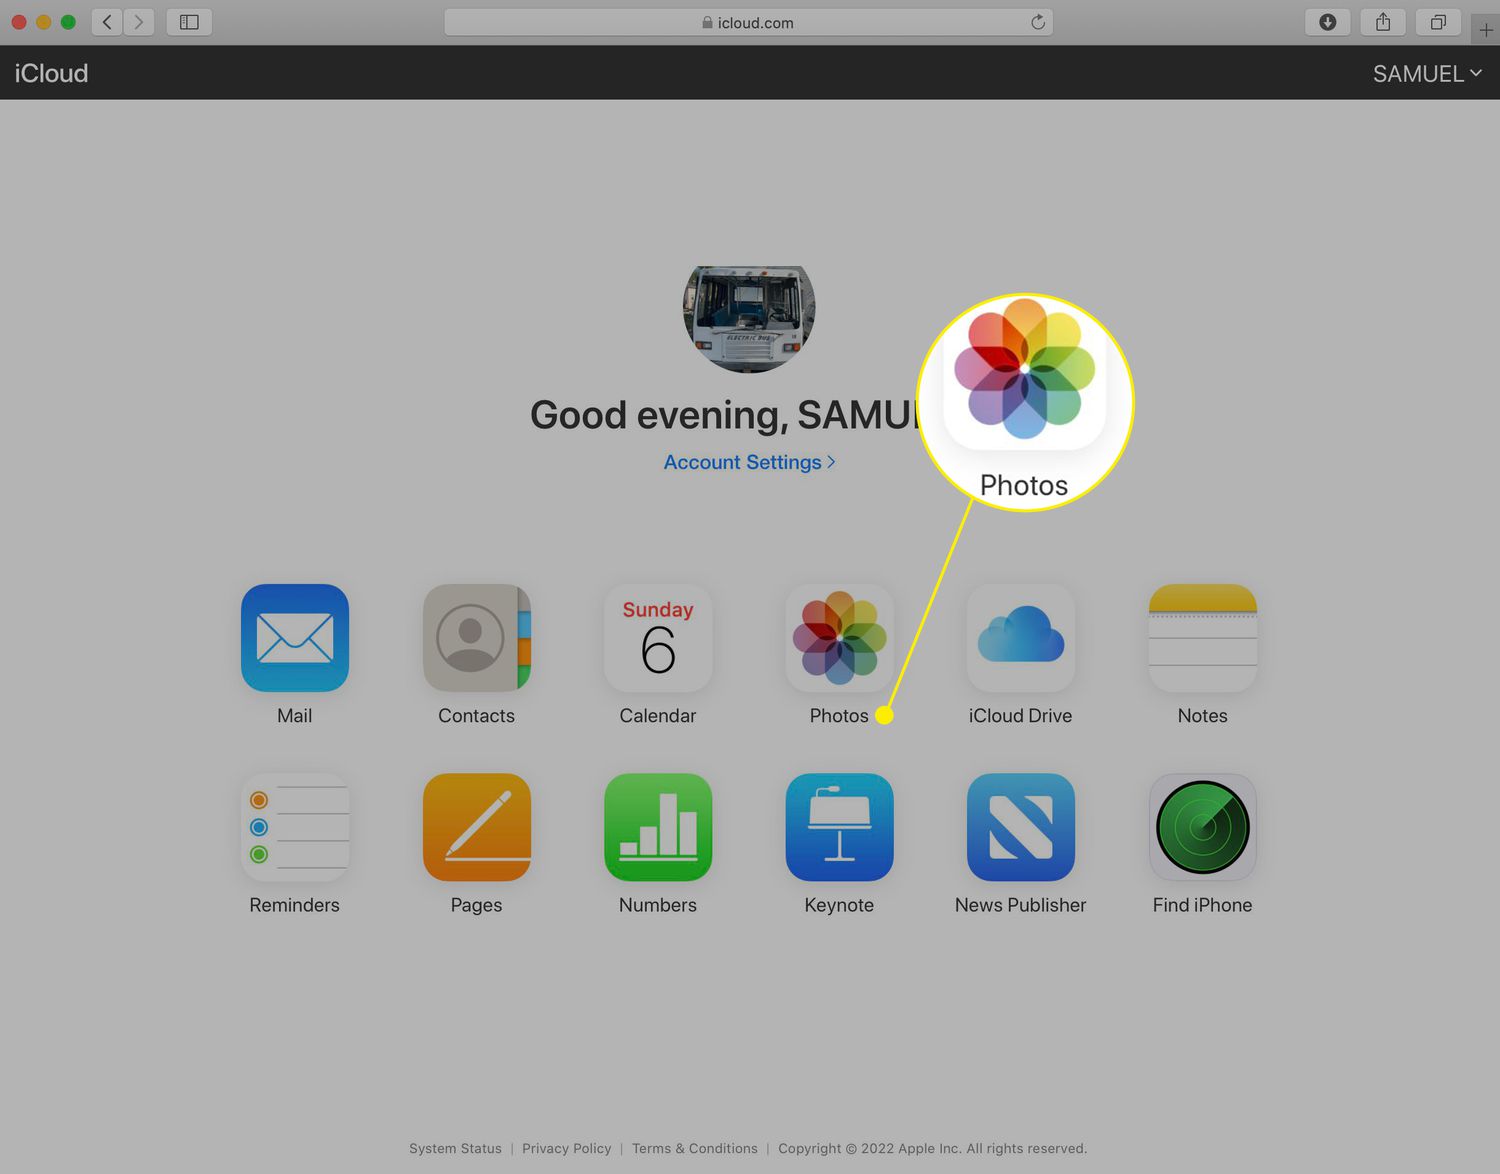
Step 1: Launch the iCloud website
The first step to download files from iCloud is to launch the iCloud website. This can be done on any device with a web browser, whether it’s a computer, laptop, tablet, or smartphone.
To begin, open your preferred web browser and navigate to the iCloud website. You can do this by typing “www.icloud.com” in the address bar and hitting Enter. The iCloud website will load, and you will be greeted with the iCloud login page.
If you’re using a Mac, you can also access the iCloud website by clicking on the Apple menu in the top-left corner of the screen, selecting “System Preferences,” and then clicking on “iCloud.” From there, click on the “Open iCloud Preferences” button, which will open the iCloud website in your default browser.
Once you’re on the iCloud login page, you will need to enter your Apple ID and password to sign in to your iCloud account. If you don’t have an Apple ID, you can click on the “Create Apple ID” option to create a new account.
After entering your Apple ID and password, click on the “Sign In” button to proceed. If you have enabled two-factor authentication for your account, you may be prompted to enter a verification code that will be sent to your trusted device.
Once you have successfully signed in, you will be taken to the iCloud dashboard, where you can access and manage various iCloud services, including the ability to download your files.
In the next step, we will explore how to navigate to the Files app on the iCloud website to access the files you want to download.
Step 2: Sign in to your iCloud account
After launching the iCloud website, the next step is to sign in to your iCloud account. Signing in will grant you access to your files and other iCloud services.
To sign in, enter your Apple ID and password on the iCloud login page. Your Apple ID is the email address associated with your iCloud account. If you are unsure about your Apple ID or have forgotten your password, you can click on the “Forgot Apple ID or Password” link for assistance.
If you have enabled two-factor authentication for your Apple ID, you may be required to enter a verification code that is sent to your trusted device. This added layer of security helps protect your iCloud account from unauthorized access.
Once you have entered your credentials and completed any necessary verification steps, click on the “Sign In” button to proceed. If all the information is correct, you will be successfully signed in to your iCloud account.
It’s important to keep your Apple ID and password safe and secure. Using strong, unique passwords and enabling two-factor authentication can help protect your iCloud account and the files stored within it.
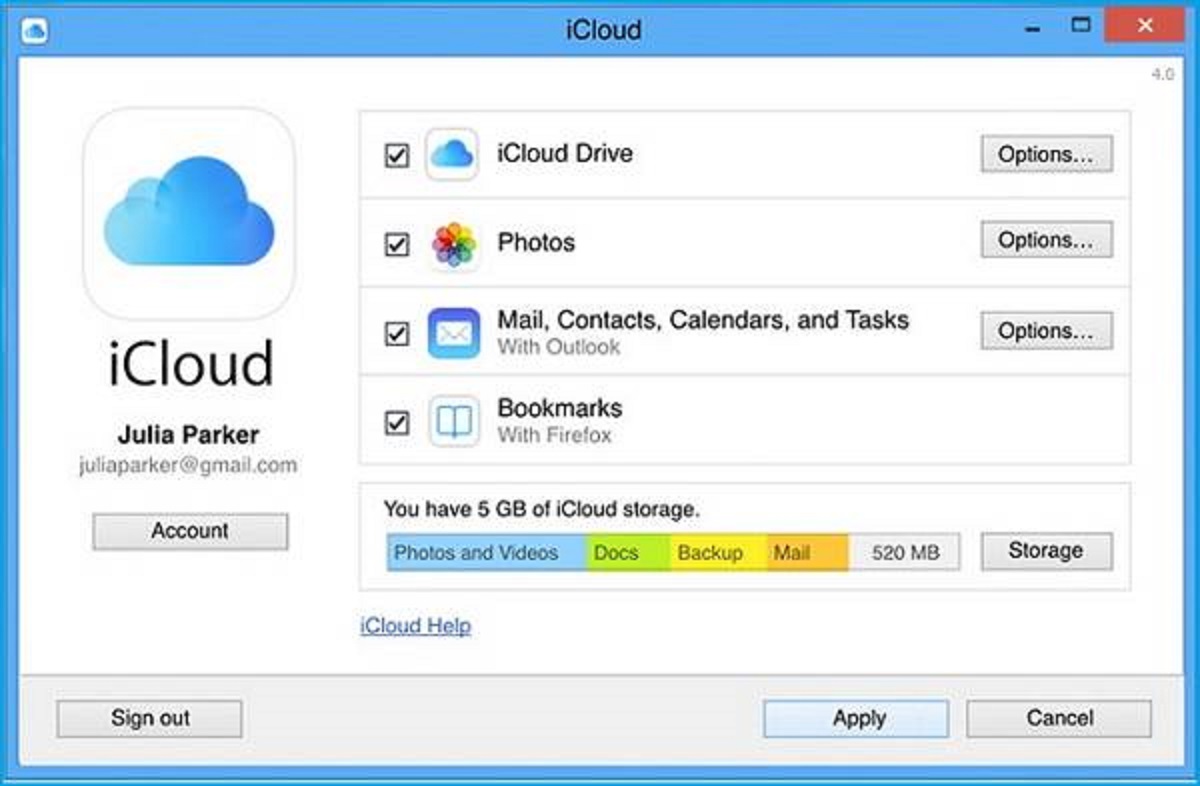
Once you are signed in, you will have access to the various iCloud services, such as iCloud Drive, Photos, Mail, and more. These services allow you to store, sync, and access your files and data across multiple devices.
Now that you have successfully signed in to your iCloud account, let’s move on to the next step to learn how to navigate to the Files app on the iCloud website.
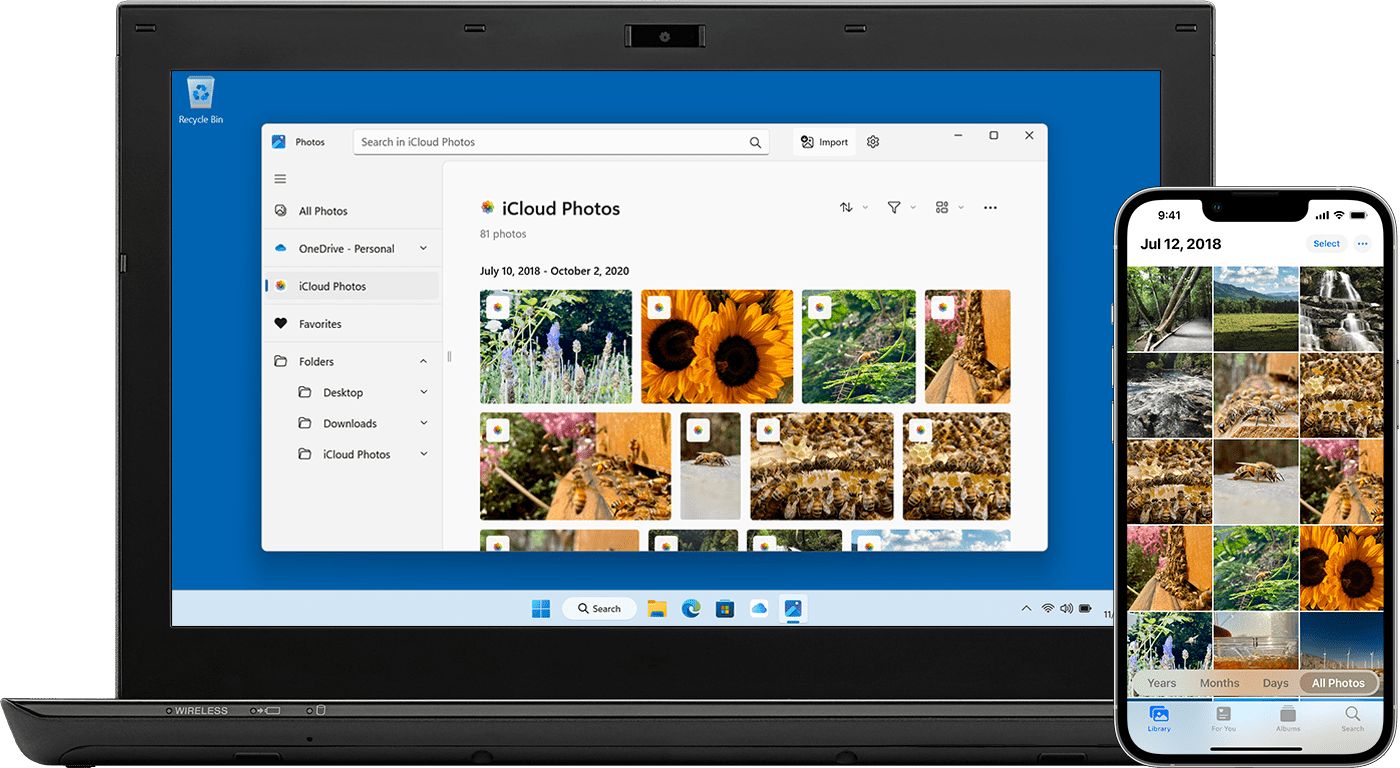
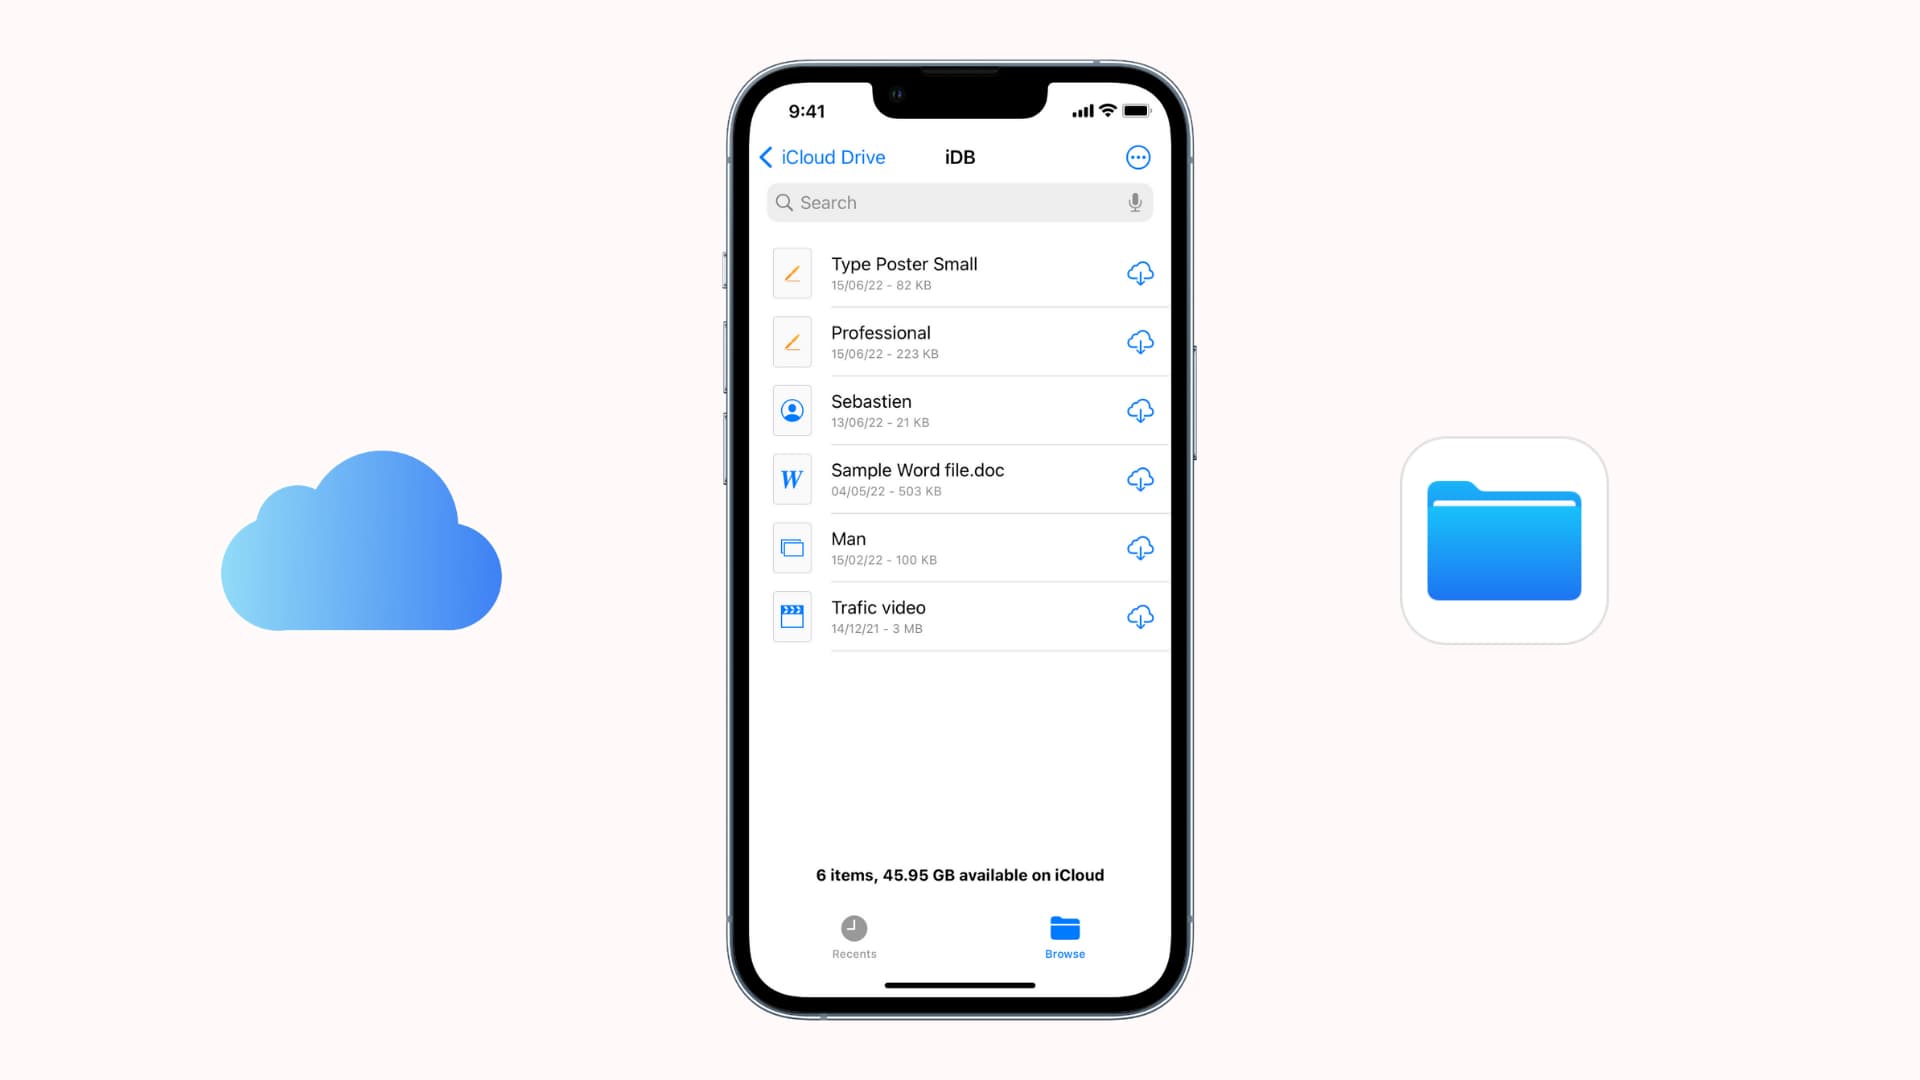
Step 3: Navigate to the Files app
Once you’ve signed in to your iCloud account, the next step is to navigate to the Files app. The Files app is where you can view and manage all the files stored in your iCloud account.
To access the Files app, look for the app icon that resembles a blue folder labeled “Files” on the iCloud dashboard. Click or tap on the Files app icon to open it.
Upon opening the Files app, you will be presented with a user-friendly interface where you can view different folders and files in your iCloud storage. The Files app organizes your files into categories such as Documents, Desktop, iCloud Drive, and more, making it easier to locate the files you want to download.
On the left-hand side of the Files app, you will find a sidebar that displays different locations and folders within your iCloud storage. You can click or tap on these options to navigate through your files and folders.
You can also use the search bar located at the top of the Files app to search for specific files or folders by name. Simply type in the name of the file you are looking for, and the app will display relevant results.
Additionally, the Files app allows you to create new folders, move files between folders, and organize your iCloud storage in a way that suits your needs. These features make it easier to manage your files and keep them organized for seamless access.
Now that you have successfully navigated to the Files app, you are one step closer to downloading your desired files from iCloud. In the next step, we will cover how to select the files you want to download.
Step 4: Select the files you want to download
Now that you’re in the Files app on the iCloud website, it’s time to select the specific files you want to download. Whether it’s documents, photos, videos, or any other type of file, iCloud makes it easy to choose what you want to download.
To select files, navigate through the folders and categories in the Files app by clicking or tapping on them. Open the folders to reveal the files contained within.
Once you’ve located the file you want to download, click or tap on it to select it. You can select multiple files by holding down the Ctrl key (Windows) or the Command key (Mac) while clicking or tapping on the files you want to select.
If you want to select all the files in a particular folder, simply click or tap on the checkbox located at the top of the File app interface. This will automatically select all the files in that folder.
The Files app provides various options for organizing and managing your selected files. You can choose to move files to different folders, rename them, or delete them, depending on your needs.
Keep in mind that the Files app allows you to select files from different locations within your iCloud storage, providing flexibility and convenience.
Once you have selected the files you want to download, you’re ready to move on to the next step and actually download the files to your device. We will cover this process in detail in the next step.
Step 5: Download the files to your device
With your desired files selected in the Files app on the iCloud website, it’s time to proceed with the actual downloading process. iCloud provides a straightforward method for downloading files to your device, making it easy to access them offline.
To download the selected files, locate the toolbar at the top of the Files app interface. Within this toolbar, you will find the download button, which is typically represented by an arrow pointing downward or a cloud with a downward arrow.
Click or tap on the download button, and iCloud will initiate the download process. The time it takes to download the files may vary depending on their size and your internet connection speed. Larger files may take longer to download, so please be patient during the process.
While the files are being downloaded, ensure that your device is connected to a stable internet connection. Interrupting the download or losing internet connectivity may result in a failed or incomplete download.
Once the download is complete, the files will be saved to your device’s default download location. Depending on your device, this could be a designated “Downloads” folder or a folder of your choosing.
It’s important to note that the download location may vary depending on your device’s settings. If you’re unsure where the files were saved, check your device’s settings or search for them using the file explorer or finder app on your device.
With the files successfully downloaded to your device, you can now access them offline, edit them, or use them as needed. Enjoy the convenience of having your iCloud files readily available on your device.
In the next step, we will explore how to access the downloaded files on your device and make the most of your downloaded content.
Step 6: Access the downloaded files on your device
After successfully downloading your files from iCloud to your device, it’s time to access and make use of them. Whether you downloaded documents, photos, videos, or any other type of file, accessing the downloaded files is a breeze.
To access the downloaded files, open the file explorer or finder app on your device. This app allows you to navigate through the folders and directories on your device and locate the downloaded files.
If you’re using a computer, you can usually find the file explorer application by clicking on the folder icon in your taskbar or by searching for “File Explorer” in the search menu. On a Mac, the finder app is typically available in the dock or by clicking on the desktop and selecting “Finder” from the top menu.
Once you have the file explorer or finder app open, navigate to the default download location or the folder where you chose to save the downloaded files. Look for the files you downloaded from iCloud, and you will be able to access them just like any other file on your device.
If you want to move the downloaded files to another location, such as a specific folder or directory, you can simply drag and drop the files from their current location to the desired location in the file explorer or finder app.
Depending on the type of file you downloaded, you may need to use specific applications to open and work with them. For example, if you downloaded a document, you will need a word processing application to open and edit the document. If you downloaded photos, you can use an image viewer or photo editing software to view or make adjustments to the images.
With the downloaded files now accessible on your device, you can seamlessly work with them, share them with others, or enjoy them at your convenience, even without an internet connection.
Congratulations! You have successfully learned how to download files from iCloud and access them on your device. By following these steps, you can easily manage and enjoy your files stored in iCloud.
Conclusion
Downloading files from iCloud is a simple and convenient process that allows you to access your files whenever and wherever you need them. By following the step-by-step guide outlined in this article, you can easily download and access your files from iCloud on any device with internet access.
We started by launching the iCloud website and signing in to our iCloud account. Then, we navigated to the Files app, where we selected the files we wanted to download. After that, we initiated the download process and accessed the downloaded files on our devices.
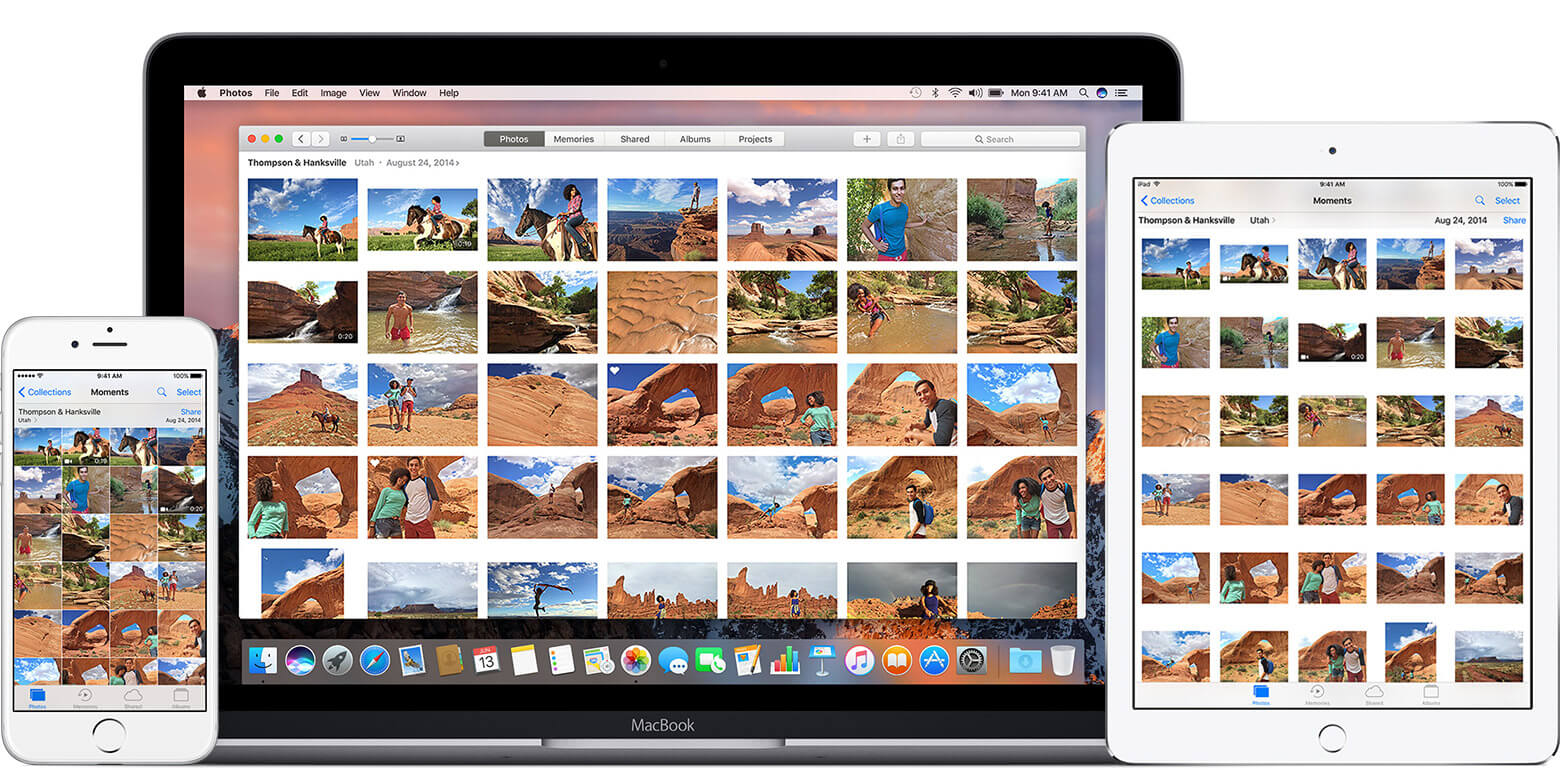
With iCloud’s seamless integration and synchronization across devices, you can have your files at your fingertips, whether you’re using a computer, laptop, tablet, or smartphone. Whether it’s work documents, cherished photos, or important videos, iCloud ensures that your files are securely stored and readily accessible, eliminating the need to carry physical copies.
The flexibility offered by iCloud allows you to access and manage your files from virtually anywhere, enabling collaboration and productivity. With the ability to download files to your device, you can work on them offline or share them with others without the need for an internet connection.
Remember to keep your Apple ID and password secure, as they provide access to your iCloud account. Additionally, regularly backing up your files to iCloud ensures that your data stays safe and protected.
So, whether you’re a student needing access to important lecture notes, a professional working on documents on the go, or someone who wants to keep their memories close, iCloud provides a reliable and efficient solution for file storage and synchronization.
Now that you are equipped with the knowledge and understanding of how to download files from iCloud, you can make the most of this powerful cloud storage service and enjoy seamless access to your files whenever you need them.
By following the steps outlined in this guide, you can confidently navigate through the iCloud website, select and download the files you need, and access them on your device. Embrace the convenience and flexibility that iCloud offers, and simplify your file management process today.