Introduction
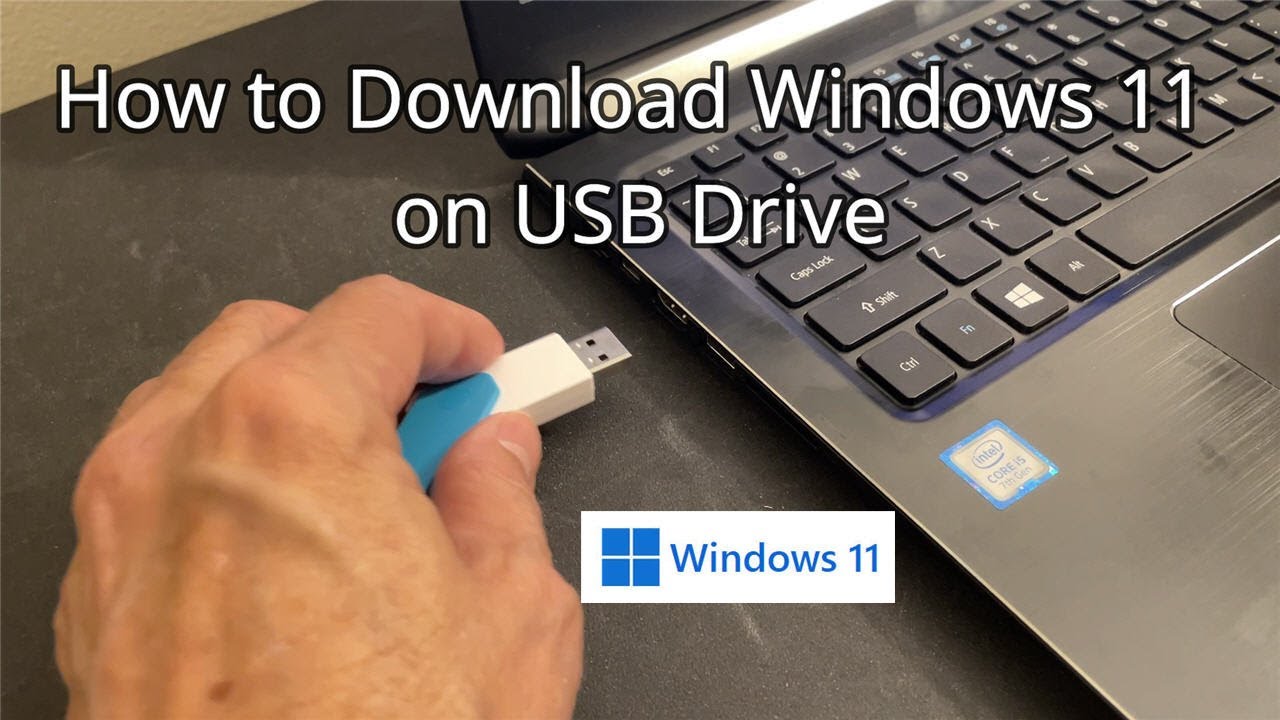
Windows 11, the latest operating system from Microsoft, offers a range of exciting features and a refreshed user interface. If you’re eager to try out Windows 11 on your computer, one of the easiest ways to do so is by creating a bootable USB drive with the Windows 11 installation files. This allows you to conveniently install Windows 11 on any compatible computer without the need for a physical disc.
Creating a bootable USB drive involves a few steps, but it’s a relatively straightforward process. In this article, we’ll guide you through the process of downloading Windows 11 onto a USB drive and preparing it for installation. Whether you’re looking to upgrade your current system or perform a clean installation, this tutorial will help you get started.
Before we dive into the steps, it’s important to note that your computer must meet the minimum system requirements for Windows 11. These requirements include a compatible processor, sufficient RAM, and available storage space. It’s also recommended to have a stable internet connection during the download process to ensure a smooth installation.
Now, let’s get started with the step-by-step process of downloading Windows 11 onto a USB drive and preparing it for installation.
Step 1: Check System Requirements
Before downloading Windows 11 onto a USB drive, it’s essential to ensure that your computer meets the minimum system requirements. This will ensure that your device is compatible with the new operating system and can successfully run it.
To check the system requirements, follow these steps:
- Open your web browser and search for “Windows 11 system requirements.”
- Click on one of the official Microsoft links that provide detailed information about the system requirements.
Once you’re on the Microsoft webpage, you’ll find a list of minimum and recommended system requirements for Windows 11. Here are some key factors to consider:
- Processor: Check whether your processor meets the minimum requirement. Windows 11 requires a compatible 64-bit processor with at least 1 GHz clock speed and two or more cores.
- RAM: Ensure that your computer has sufficient RAM. Windows 11 requires a minimum of 4 GB of RAM, but it’s recommended to have 8 GB or higher for optimal performance.
- Storage: Make sure your computer has enough available storage space. Windows 11 requires a minimum of 64 GB of storage, but it’s advisable to have a larger capacity for your files and applications.
- Graphics Card: Check if your computer’s graphics card meets the system requirements for Windows 11. It should support DirectX 12 or later, with a WDDM 2.0 driver.
- Secure Boot: Verify if your computer has Secure Boot capability. This is a security feature that is required for Windows 11 installation.
By ensuring that your computer meets these system requirements, you’ll be able to install and run Windows 11 without any compatibility issues. If your device doesn’t meet the requirements, you may need to consider upgrading certain components or sticking with your current operating system.
Now that you’ve checked the system requirements and confirmed compatibility, you’re ready to proceed to the next step: downloading the Windows 11 ISO file.
Step 2: Downloading Windows 11 ISO File
Now that you’ve confirmed that your computer meets the system requirements for Windows 11, it’s time to download the Windows 11 ISO file. The ISO file contains all the necessary installation files for Windows 11 and will be used to create a bootable USB drive.
Follow these steps to download the Windows 11 ISO file:
- Open your web browser and go to the official Microsoft website.
- Navigate to the Windows 11 download page.
- Click on the “Download now” button to start the download.
- Choose the edition of Windows 11 that you want to download. There are different editions available, such as Home, Pro, and Enterprise.
- Select the language for the download.
- Click on the “Download” button to initiate the download process.
- Wait for the download to complete. The download time may vary depending on your internet speed.
Once the download is finished, you’ll have the Windows 11 ISO file saved on your computer. Remember the location where it is saved, as you’ll need to access it in the following steps.
Ensure that you download the correct version and edition of Windows 11 that matches your system requirements. It’s important to have a legitimate copy of the ISO file from a trusted source to ensure the security and authenticity of the installation.
Now that you have successfully downloaded the Windows 11 ISO file, you are ready to move on to the next step: preparing the USB drive for the installation process.
Step 3: Preparing the USB Drive
With the Windows 11 ISO file downloaded, the next step is to prepare a USB drive to create a bootable installation media. This USB drive will serve as a portable device for installing Windows 11 on your computer.
Follow these steps to prepare the USB drive:
- Select a USB drive with sufficient storage capacity. It is recommended to use a USB drive with at least 8 GB of space to accommodate the Windows 11 installation files.
- Backup any important data on the USB drive, as it will be formatted during the creation process.
- Connect the USB drive to your computer.
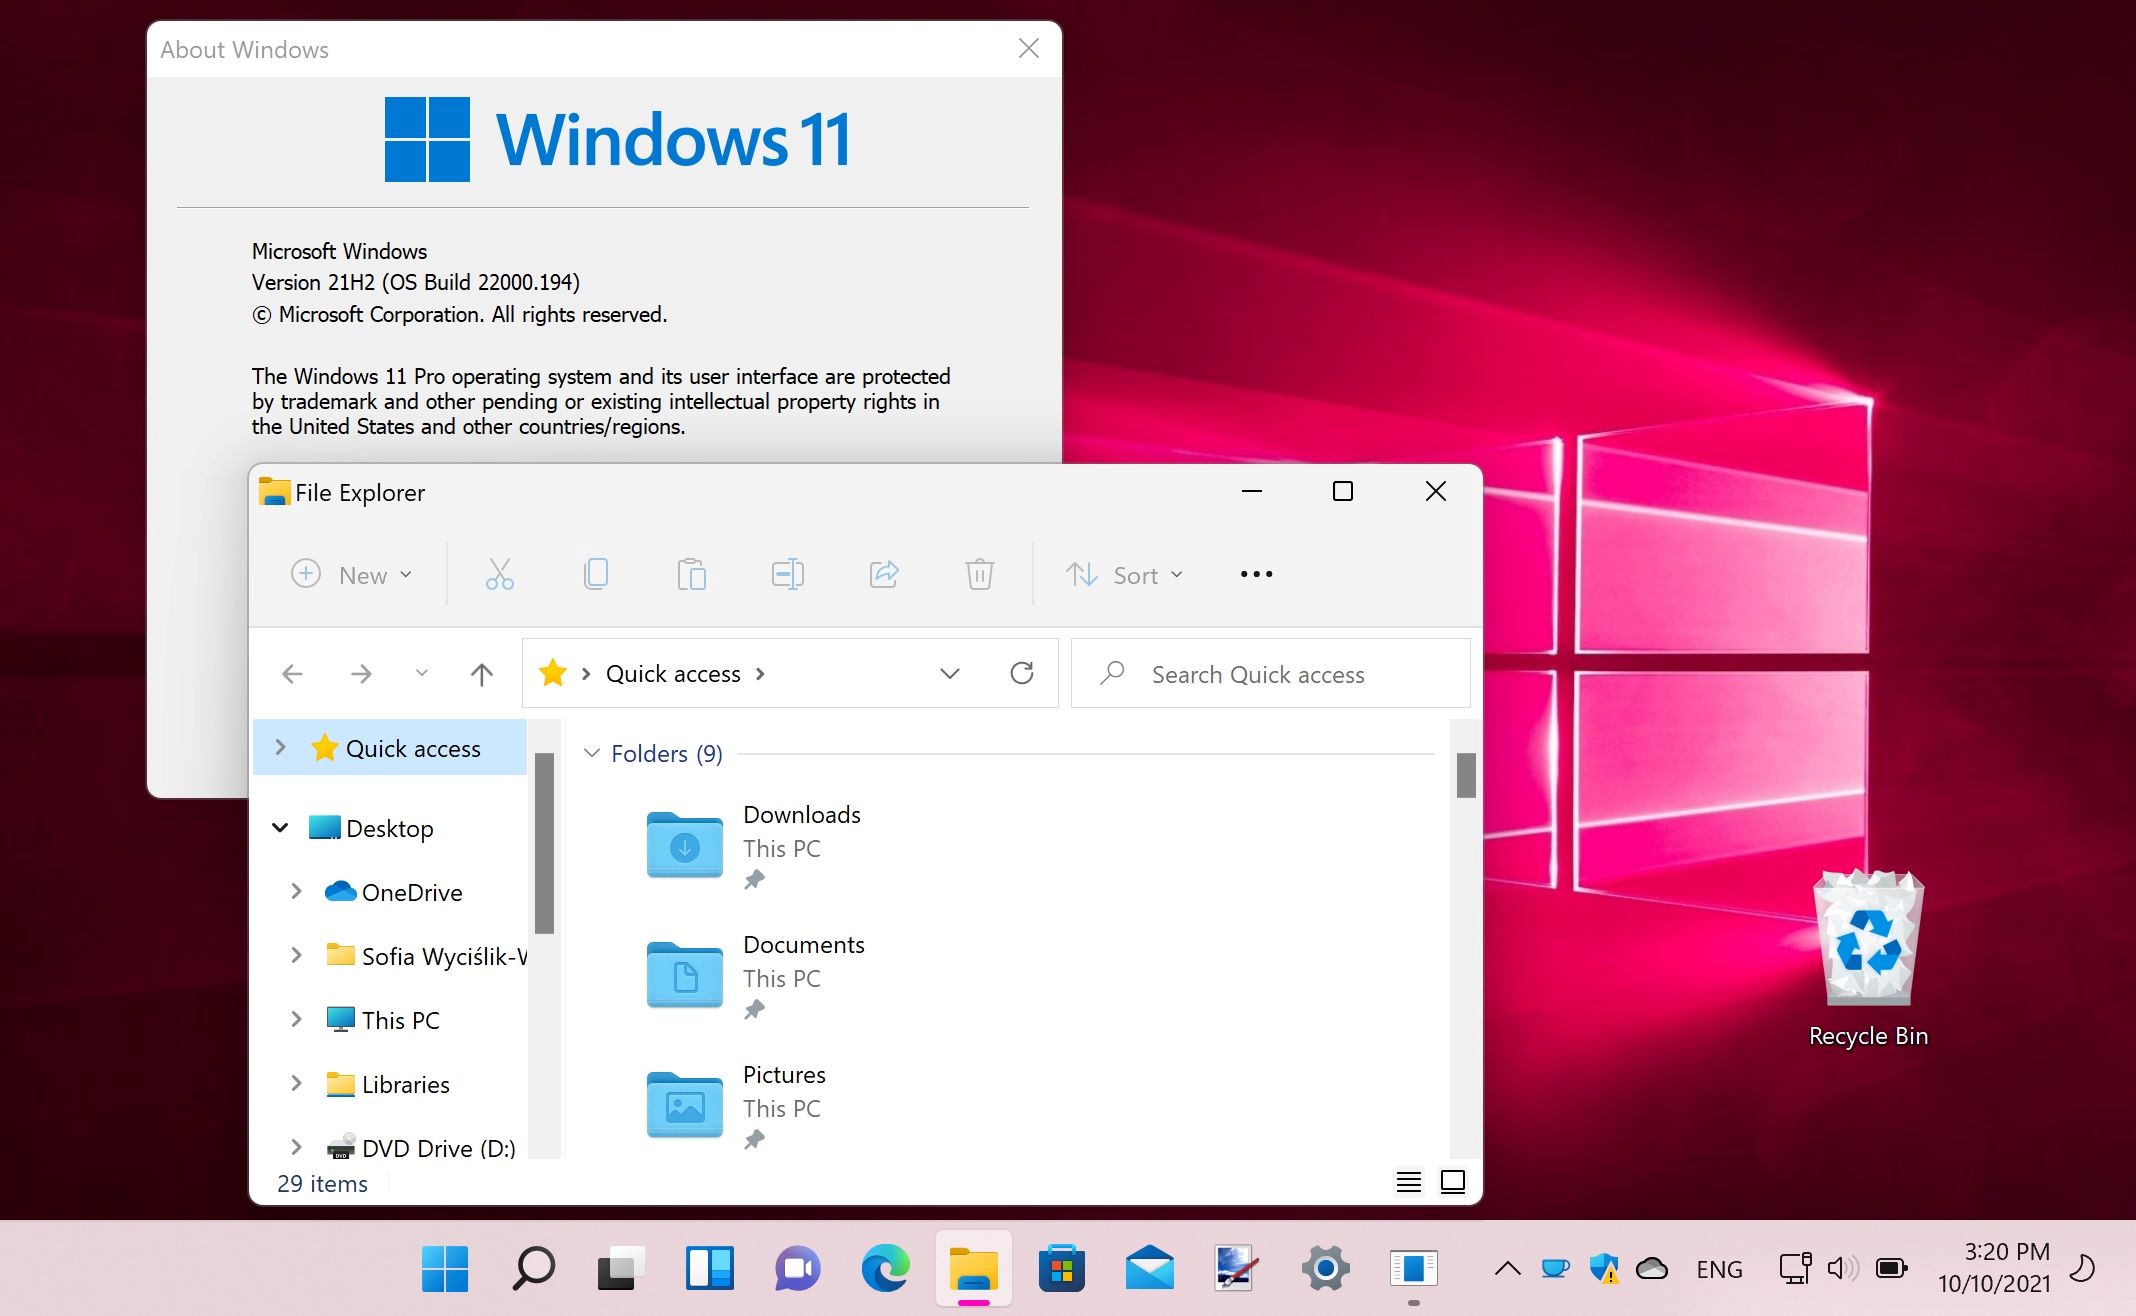
- Open the File Explorer and locate the Windows 11 ISO file that you downloaded in the previous step.
- Right-click on the ISO file and select “Mount” from the context menu. This will create a virtual drive for accessing the ISO file contents.
- Once the ISO file is mounted, open the new virtual drive.
- Select all the files and folders in the virtual drive.
- Right-click on the selected files and choose “Copy” from the context menu.
- Go back to the File Explorer and open the connected USB drive.
- Right-click inside the USB drive and select “Paste” from the context menu. This will copy all the Windows 11 installation files to the USB drive.
- Wait for the copying process to complete. It may take some time depending on the size of the ISO file and the speed of your computer and USB drive.
Once the copying process is finished, you’ll have a bootable USB drive ready for installing Windows 11. Keep in mind that all the data on the USB drive will be erased during the creation process, so make sure to backup any important files before proceeding.
In the next step, we’ll guide you through the process of creating a bootable USB drive using the Windows 11 installation files.
Step 4: Creating a Bootable USB Drive
Now that you have prepared the USB drive with the Windows 11 installation files, it’s time to create a bootable USB drive. This will allow you to install Windows 11 on your computer using the USB drive as the installation media.
Follow these steps to create a bootable USB drive:
- Ensure that the USB drive is still connected to your computer.
- Open the File Explorer and go to the connected USB drive.
- Locate the file named “Setup” or “Setup.exe” and double-click on it to start the Windows 11 installation process.
- Follow the on-screen instructions provided by the Windows 11 installation wizard.
- Select the installation language, time, and currency format, and keyboard input method.
- Choose the “Install now” option.
- Read and accept the license terms by checking the box and clicking “Next.”
- On the installation type screen, select the “Custom: Install Windows only (advanced)” option.
- Choose the partition where you want to install Windows 11. If you want to perform a clean installation, you can delete all existing partitions and create a new one.
- Select the partition and click “Next” to begin the installation process.
- Wait for the installation process to complete. Your computer may restart multiple times during the installation.
- Follow the on-screen instructions to set up Windows 11, including selecting the region, signing in with a Microsoft account, and customizing your preferences.
Once the installation is finished, you’ll have Windows 11 successfully installed on your computer. You can now explore the new features and enjoy the improved user interface of Windows 11.
Remember to safely eject the USB drive from your computer after the installation is complete to avoid any data loss or corruption.
In the next step, we’ll cover the process of installing Windows 11 using the bootable USB drive we created.
Step 5: Installing Windows 11 From USB
Now that you have created a bootable USB drive with the Windows 11 installation files, you can proceed with installing Windows 11 on your computer.
Follow these steps to install Windows 11 from the USB drive:
- Make sure your computer is powered off.
- Insert the bootable USB drive into a USB port on your computer.
- Power on your computer and access the BIOS/UEFI settings. The method to access these settings may vary depending on your computer’s manufacturer, so consult your computer’s documentation for specific instructions.
- In the BIOS/UEFI settings, navigate to the “Boot” or “Boot Order” section.
- Set the USB drive as the first boot device in the boot order.
- Save the changes and exit the BIOS/UEFI settings.
- Your computer will now boot from the USB drive and the Windows 11 installation process will begin.
- Follow the on-screen instructions provided by the Windows 11 installation wizard.
- Select the installation language, time, and currency format, and keyboard input method.
- Choose the “Install now” option.
- Read and accept the license terms by checking the box and clicking “Next.”
- On the installation type screen, select the “Custom: Install Windows only (advanced)” option.
- Choose the partition where you want to install Windows 11. If you want to perform a clean installation, you can delete all existing partitions and create a new one.
- Select the partition and click “Next” to begin the installation process.
- Wait for the installation process to complete. Your computer may restart multiple times during the installation.
- Follow the on-screen instructions to set up Windows 11, including selecting the region, signing in with a Microsoft account, and customizing your preferences.
Once the installation is complete and you have finished setting up Windows 11, you can start using the new operating system on your computer. Enjoy the enhanced features, improved performance, and modern interface that Windows 11 has to offer.
Remember to safely remove the bootable USB drive from your computer after the installation is complete to avoid any issues during subsequent system startups.
With these steps, you have successfully installed Windows 11 from a USB drive. Take some time to explore the operating system and customize it according to your preferences. Enjoy your new Windows 11 experience!
Conclusion
Congratulations! You have successfully learned how to download Windows 11 onto a USB drive and install it on your computer. By following the step-by-step guide provided in this article, you are now ready to experience all the exciting features and improvements that Windows 11 has to offer.
Throughout the process, you checked the system requirements to ensure compatibility, downloaded the Windows 11 ISO file, prepared a bootable USB drive, and performed the installation from the USB drive. These steps have allowed you to upgrade or perform a clean installation of Windows 11, depending on your needs.
Windows 11 brings a fresh and modern interface, along with new features such as redesigned Start Menu, taskbar, and improved multitasking options. As you explore Windows 11, you’ll discover enhanced performance, updated Microsoft Store, and built-in Microsoft Teams integration, among many other exciting additions.
Remember to always back up your important files before upgrading or installing a new operating system. This ensures that you have a copy of your data in case of any unforeseen issues during the installation process.
Now that you have successfully installed Windows 11, take some time to personalize your settings, install your favorite apps, and make the most out of the new features offered by this next-generation operating system.
We hope that this guide has been helpful to you and that you enjoy your Windows 11 experience. Should you have any further questions or run into any issues, be sure to consult the official Microsoft documentation or seek assistance from their support channels.
Thank you for following this tutorial, and we wish you all the best in your Windows 11 journey!