Introduction
Welcome to our guide on how to download Kodi on Apple TV 4. Kodi is an open-source media center that allows you to stream and access various types of digital content on your Apple TV. By installing Kodi, you can enjoy a wide range of movies, TV shows, music, and more, all in one convenient platform.
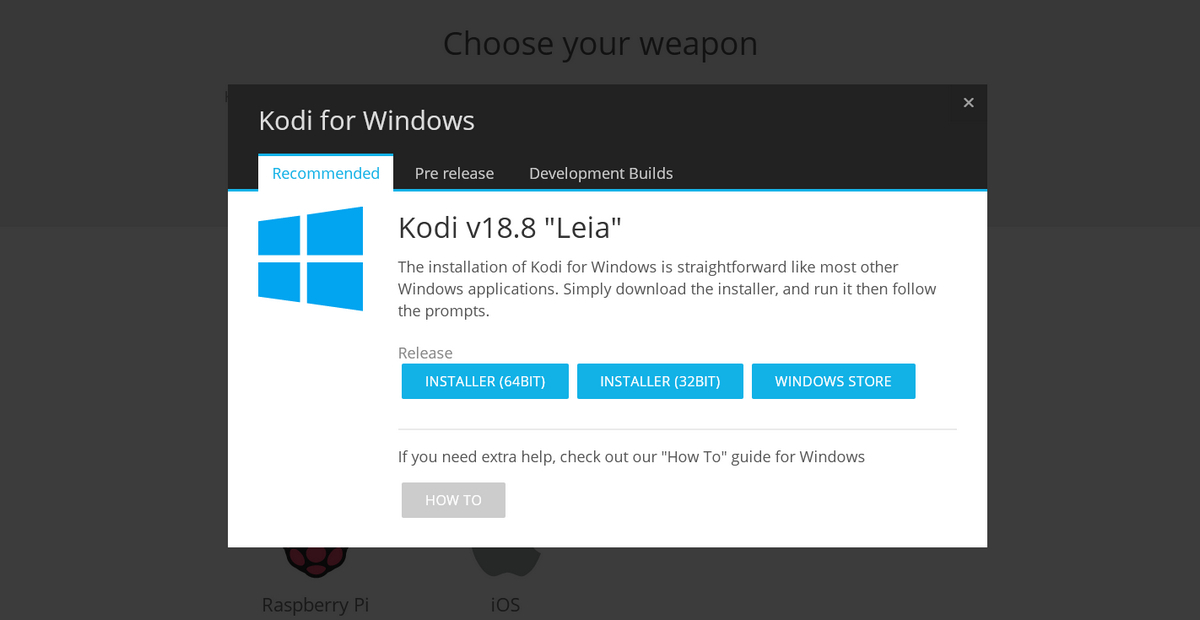
While Kodi is not officially available on the Apple App Store, it can be sideloaded onto your Apple TV using Xcode, a development tool for creating iOS applications. This process may seem a bit technical, but with our step-by-step instructions, you’ll have Kodi up and running on your Apple TV in no time.
Before we begin, it’s important to note that sideloading Kodi onto your Apple TV 4 requires a Mac computer running macOS and a USB-C cable. Additionally, you’ll need to create a free Apple developer account and install Xcode on your Mac. Don’t worry, we’ll walk you through each of these steps!
In this guide, we’ll cover everything you need to know, from checking your Apple TV version to creating a new project in Xcode and finally running Kodi on your Apple TV. So, let’s dive in and unlock the world of possibilities with Kodi on your Apple TV 4!
Step 1: Check your Apple TV version
Before proceeding with the Kodi installation process, it’s important to verify the version of your Apple TV. The method of sideloading Kodi may vary depending on whether you have an Apple TV 4 or an Apple TV 4K. Here’s how you can check:
- On your Apple TV, go to the Home screen by pressing the TV button on your Siri Remote.
- Navigate to the Settings option and select it.
- From the Settings menu, choose About.
- Under the About section, you will find the model information, including the version number.
If your Apple TV version is 4th generation, you can proceed with the installation process outlined in this guide. However, if you have Apple TV 4K, please note that the process might differ slightly, and you may need to follow a different set of instructions specific to your device.
This step is crucial to ensure that you have the correct instructions for your Apple TV version. Skipping this step could result in errors or unsuccessful installation attempts.
Once you have checked and confirmed your Apple TV version, you’re ready to move on to the next step, where we’ll guide you through obtaining a USB-C cable for the installation process.
Step 2: Get a USB-C cable
In order to connect your Apple TV to your Mac and facilitate the sideloading process, you will need a USB-C cable. This cable allows for data transfer and communication between your devices.
If you already have a USB-C cable, you can proceed to the next step. However, if you don’t have one, you’ll need to acquire one before continuing with the installation process. USB-C cables are widely available and can be found at electronics stores, online retailers, or even at Apple retail stores.
When purchasing a USB-C cable, it’s important to ensure that it is of good quality and meets the necessary specifications for data transfer. Poor quality or incompatible cables may result in connectivity issues or interrupt the installation process.
Once you have obtained a suitable USB-C cable, you’re ready to move on to the next step, where we’ll guide you through the process of downloading and installing Xcode on your Mac.
Step 3: Download and install Xcode on your Mac
To proceed with the sideloading process for Kodi on Apple TV 4, you’ll need to have Xcode installed on your Mac. Xcode is a software development tool provided by Apple that allows developers to create applications for iOS, macOS, watchOS, and tvOS.
Here’s how you can download and install Xcode on your Mac:
- Launch the App Store on your Mac.
- In the search bar of the App Store, type “Xcode”.
- From the search results, locate Xcode and click on it.
- Click on the “Get” or “Install” button to begin the download and installation process.
- Depending on your internet connection, the download may take some time.
- Once the download is complete, open Xcode from the Applications folder.
- You may be prompted to agree to the terms and conditions. Read through them and click “Agree” to proceed.
- Xcode may require additional components to be installed. Follow the on-screen instructions to complete the installation.
- After the installation is finished, Xcode will be ready to use on your Mac.
Make sure you have a stable internet connection during the download and installation process. Xcode is a large application, so it may take some time to complete the installation, especially if you have a slower internet connection.
Once Xcode is installed and ready to use on your Mac, you’re now one step closer to sideloading Kodi onto your Apple TV 4. In the next step, we’ll show you how to connect your Apple TV to your Mac using a USB-C cable.
Step 4: Connect your Apple TV to your Mac
Now that you have Xcode installed on your Mac, the next step is to connect your Apple TV to your computer using a USB-C cable. This connection will allow you to transfer the necessary files and applications for sideloading Kodi.
Here’s how you can connect your Apple TV to your Mac:
- Take one end of the USB-C cable and plug it into the USB-C port on your Apple TV.
- Take the other end of the USB-C cable and plug it into a USB port on your Mac.
- Ensure that both ends of the cable are securely connected.
- On your Apple TV, go to the Home screen and navigate to the Settings option.
- From the Settings menu, choose Remotes and Devices and then select the option for Remote App and Devices.
- Under the Devices section, you should see your Mac listed. This confirms that your Apple TV is successfully connected to your Mac.
It’s essential to use a USB-C cable for the connection, as other types of cables may not be compatible or provide the necessary data transfer capabilities. Additionally, ensure that both devices are powered on and not in sleep mode during the connection process.
Once your Apple TV is connected to your Mac, you’re ready to proceed to the next step. In the following step, we’ll guide you through the process of creating a free Apple developer account.
Step 5: Create a free Apple developer account
In order to sideload Kodi onto your Apple TV 4, you will need to create a free Apple developer account. This account will provide you with the necessary certificates and permissions to install custom apps on your device.
Here’s how you can create a free Apple developer account:
- Open your web browser and go to the Apple Developer website.
- Click on the “Account” tab and then click on “Create Apple ID”.
- Fill in the required information, including your name, email address, and password.
- Complete the verification process by following the instructions sent to your email address.
- Once your account is verified, log in to the Apple Developer website using your newly created Apple ID and password.
- Accept the terms and conditions and proceed to the dashboard.
- From the dashboard, click on “Certificates, Identifiers & Profiles”.
- Under the “Certificates” section, click on the “+” button to create a new certificate.
- Follow the on-screen instructions to generate a signing certificate.
- Download the generated certificate and keep it in a secure location on your Mac.
Creating a free Apple developer account is a straightforward process, and it’s essential to have one to proceed with the sideloading process. The certificate generated during this process will be used later to sign the Kodi app and install it on your Apple TV.
With your free Apple developer account created and the signing certificate downloaded, you’re ready to move on to the next step. In the following step, we’ll guide you through preparing Kodi for sideloading.
Step 6: Generate a signing certificate
Now that you have created a free Apple developer account, the next step is to generate a signing certificate. This certificate will be used to sign the Kodi app and enable its installation on your Apple TV.
Here’s how you can generate a signing certificate:
- Open Xcode on your Mac.
- In the top menu, click on “Xcode” and then select “Preferences”.
- In the Preferences window, click on the “Accounts” tab.
- Click on the “+” button at the bottom-left corner to add your Apple developer account.
- Enter your Apple ID and password, and click on “Add” to add your account.
- Your Apple developer account will now be visible under the Accounts section.
- Close the Preferences window.
- In Xcode, click on “File” and then select “New” and “Project”.
- In the template selection window, choose “tvOS” under the “Application” section.
- Click on “Single View App” and then click on “Next”.
- Provide a unique product name for your project and select a Team from the dropdown menu.
- Click on “Next” and choose a location on your Mac to save the project.
- Xcode will create a new project with the specified settings.
- In the project navigator on the left side, select “Signing & Capabilities”.
- Under the “Signing” section, click on “Team” and select your Apple developer account.
- Xcode will handle the process of generating a signing certificate automatically.
- Once the certificate is generated, it will be associated with your Apple developer account.
Generating a signing certificate through Xcode is an essential step to enable the installation of custom apps like Kodi on your Apple TV. This certificate ensures the integrity and legitimacy of the installed app.
With your signing certificate generated, you’re ready to move on to the next step. In the following step, we’ll guide you through preparing Kodi for sideloading.
Step 7: Prepare Kodi for sideloading
Now that you have the necessary tools and certificates in place, the next step is to prepare Kodi for sideloading onto your Apple TV. This involves obtaining the Kodi IPA file and configuring the necessary settings in Xcode.
Here’s how you can prepare Kodi for sideloading:
- Open your web browser and go to the official Kodi website.
- Download the latest stable IPA file for tvOS.
- Once the IPA file is downloaded, open Xcode on your Mac.
- In the top menu, click on “Window” and then select “Devices and Simulators”.
- Connect your Apple TV to your Mac using the USB-C cable.
- In the Devices window, select your Apple TV from the left sidebar.
- Click on the “+” button at the bottom-left corner to add a new app.
- Navigate to the downloaded Kodi IPA file and select it.
- Xcode will validate the IPA file and display the app details.
- Click on “Choose” to proceed.
- Under the “Signing & Capabilities” section, select your Team from the dropdown menu.
- Ensure that the checkbox for “Automatically manage signing” is checked.
- Verify that the signing certificate associated with your Apple developer account is selected.
- Click on the “Play” button in Xcode to build and install Kodi on your connected Apple TV.
- Xcode will handle the installation process and display the progress on your Mac.
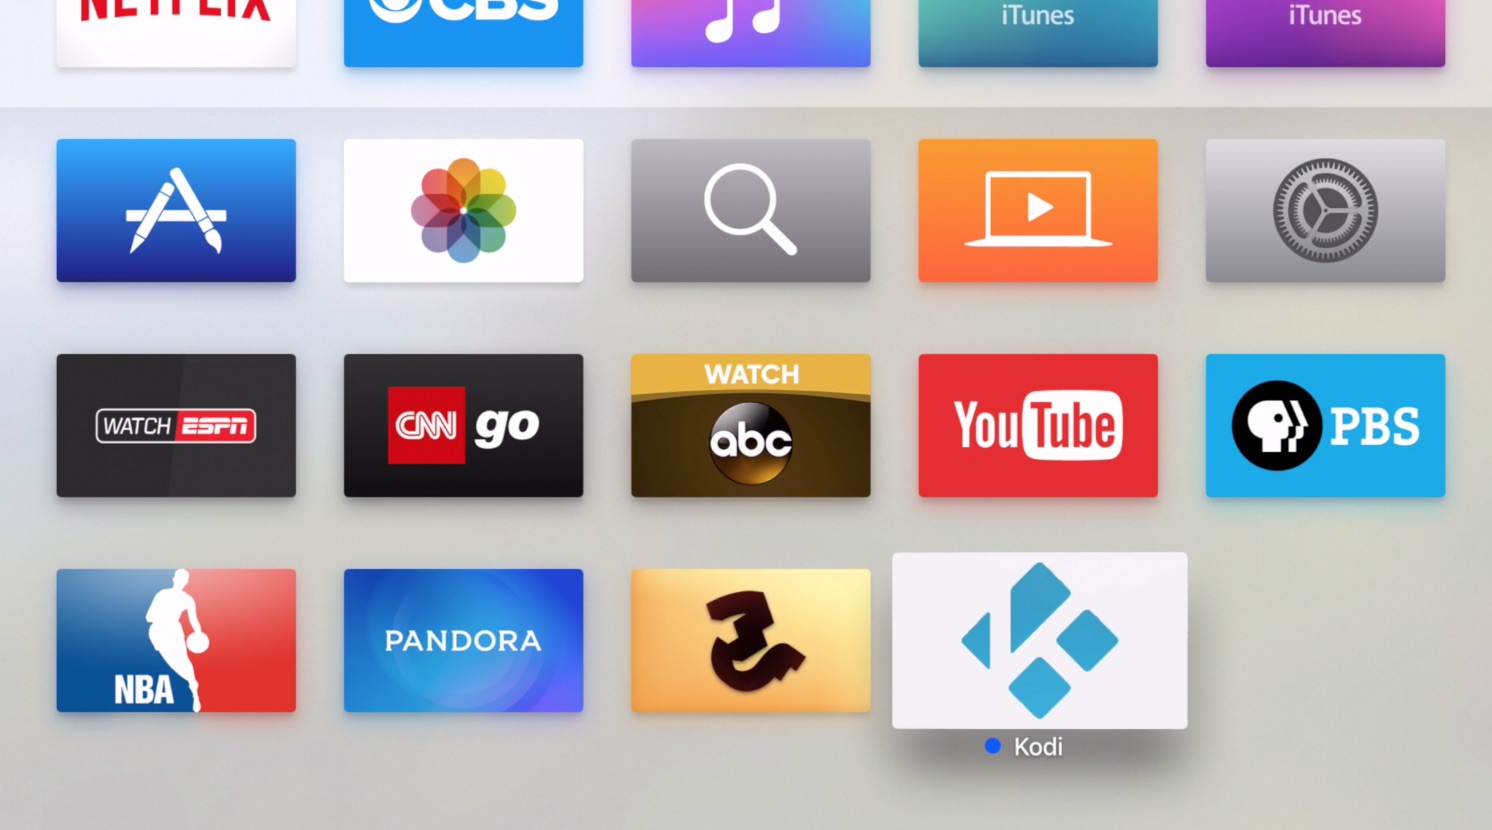
- Once the installation is complete, Kodi will be available on your Apple TV’s Home screen.
With Kodi prepared for sideloading, you’re now one step closer to enjoying its wide range of media streaming capabilities on your Apple TV. In the next step, we’ll guide you through the process of creating a new project in Xcode.
Step 8: Create a new project in Xcode
Now that you have prepared Kodi for sideloading, the next step is to create a new project in Xcode. This project will serve as the platform to customize and sign the Kodi app before installing it on your Apple TV.
Here’s how you can create a new project in Xcode:
- Open Xcode on your Mac.
- In the welcome window, click on “Create a new Xcode project”.
- In the template selection window, choose “tvOS” under the “Application” section.
- Click on “Single View App” and then click on “Next”.
- Provide a unique product name for your project and select a Team from the dropdown menu.
- Click on “Next” and choose a location on your Mac to save the project.
- Xcode will create a new project with the specified settings.
- In the project navigator on the left side, you will see the files and folders for your project.
- You can customize the project by modifying the code, adding resources, or adjusting the settings.
- Ensure that the project is set up for tvOS and compatible with your Apple TV version.
The new project in Xcode provides you with the flexibility to modify and customize the Kodi app according to your preferences or requirements. This step is crucial for personalizing your Kodi installation.
With the new project created, you’re ready to move on to the next step, where we’ll guide you through customizing and signing the project in Xcode.
Step 9: Customize and sign the project
Now that you have created a new project in Xcode, the next step is to customize and sign the project before building and running it on your Apple TV. This customization allows you to add your own personal touch to the Kodi app and ensures it is signed with the appropriate certificates for installation.
Here’s how you can customize and sign the project in Xcode:
- Open the project you created in Xcode.
- Explore the project files and folders to locate the relevant code and resources.
- Customize the project by making changes to the code, adding or modifying resources, or adjusting the settings.
- Ensure that the project settings match the specifications and requirements of your Apple TV version.
- In the “Signing & Capabilities” section, select your Team from the dropdown menu.
- Verify that the signing certificate associated with your Apple developer account is selected.
- Review and adjust any additional signing and capability settings as needed.
- Save your project and ensure that all changes are applied properly.
Customizing the project in Xcode allows you to tailor the Kodi app to your liking and ensure it meets the necessary requirements for installation. By signing the project, you are ensuring that it is verified and authorized for use on your Apple TV.
With the project customized and signed, you’re now ready to proceed to the next step where we’ll guide you through building and running the project on your Apple TV.
Step 10: Build and run the project on your Apple TV
After customizing and signing the project in Xcode, the next step is to build and run the project on your Apple TV. This will install the modified Kodi app onto your Apple TV and make it accessible for use.
Here’s how you can build and run the project on your Apple TV:
- Connect your Apple TV to your Mac using the USB-C cable.
- In Xcode, ensure that your connected Apple TV is selected as the active device.
- Click on the “Play” button in Xcode to start the build and installation process.
- Xcode will compile the project, package it, and then deploy it to your connected Apple TV.
- Monitor the progress of the installation in Xcode’s console window.
- Once the installation is complete, the modified Kodi app will be available on your Apple TV’s Home screen.
- Disconnect your Apple TV from your Mac.
Building and running the project in Xcode allows you to install the customized Kodi app onto your Apple TV and ensure that it is ready for use. This process may take some time, depending on the size of the project and the speed of your internet connection.
With the project successfully built and installed on your Apple TV, you’re now ready to proceed to the final step where we’ll guide you through trusting the developer profile on your Apple TV.
Step 11: Trust the developer profile on your Apple TV
After successfully building and running the modified Kodi project on your Apple TV, the final step is to trust the developer profile on your Apple TV. This step is necessary to ensure that the installed Kodi app can be accessed and used without any interruptions.
Here’s how you can trust the developer profile on your Apple TV:
- On your Apple TV, go to the Home screen.
- Navigate to the Settings option and select it.
- From the Settings menu, choose General.
- Select Profiles & Device Management.
- Find and select the developer profile associated with the Kodi app.
- Click on Trust [Your Apple ID] to trust the developer profile.
- Confirm the trust action when prompted.
Trusting the developer profile on your Apple TV ensures that the modified Kodi app is recognized as a trusted application by your device. This step is essential to avoid any restrictions or warnings when accessing and using the Kodi app.
Once you have trusted the developer profile, you can now enjoy using the Kodi app on your Apple TV. You can use Kodi to stream your favorite movies, TV shows, music, and more, all from the convenience of your Apple TV.
Congratulations! You have successfully downloaded and installed Kodi on your Apple TV 4 using Xcode sideloading. Enjoy exploring the wide range of entertainment options that Kodi has to offer!
Conclusion
Congratulations! You have successfully completed the process of downloading and installing Kodi on your Apple TV 4 using Xcode sideloading. By following the step-by-step instructions in this guide, you have unlocked a world of entertainment possibilities on your Apple TV.
Kodi is a powerful open-source media center that allows you to stream and access a wide variety of content, including movies, TV shows, music, and more. With Kodi installed on your Apple TV, you can enjoy a personalized and convenient media experience right from your living room.
Throughout this guide, you learned how to check your Apple TV version, obtain a USB-C cable, download and install Xcode on your Mac, connect your Apple TV to your Mac, create a free Apple developer account, generate a signing certificate, prepare Kodi for sideloading, create a new project in Xcode, customize and sign the project, build and run the project on your Apple TV, and finally trust the developer profile on your Apple TV.
While the process of sideloading Kodi may seem technical, it enables you to access and enjoy the features of Kodi on your Apple TV, even though it is not officially available on the App Store. With a little bit of effort and following the instructions carefully, you can take advantage of the flexibility and versatility that sideloading offers.
Now that you have successfully installed Kodi, you can explore the vast world of add-ons and customization options to tailor your Kodi experience to your preferences. Whether you’re looking to stream your favorite movies and TV shows, access live TV channels, listen to music, or even play games, Kodi has you covered.
Enjoy your new Kodi-powered Apple TV and make the most out of the exciting features and content it offers. Remember to stay updated with the latest versions of both Kodi and tvOS to ensure a smooth and seamless experience.
Thank you for following our guide, and happy streaming with Kodi on your Apple TV!