Introduction
Installing Kodi on Apple TV allows you to unlock a world of unlimited entertainment possibilities. Kodi is a versatile media player that provides access to streaming services, live TV, on-demand content, and more. With its customizable features and extensive library of add-ons, Kodi has become a popular choice for cord-cutters and media enthusiasts.
If you own an Apple TV and want to enjoy the benefits of Kodi, there are a few methods you can use to install it. In this article, we will guide you through three different methods to install Kodi on your Apple TV. Each method has its own advantages and requirements, so you can choose the one that suits you best.
Before we dive into the installation methods, it’s essential to know that these methods require some technical knowledge and may void your Apple TV’s warranty. Proceed at your own risk and ensure you follow the instructions carefully. Additionally, make sure you have the necessary hardware and software prerequisites before attempting the installation.
By following any of the methods outlined in this article, you will be able to enjoy Kodi’s vast media library and advanced features on your Apple TV. So let’s get started with the installation process and bring a whole new level of entertainment to your Apple TV.
Prerequisites
Before you begin the installation process, make sure you have the following prerequisites:
- An Apple TV (4th generation or later) running tvOS.
- A computer (Mac or Windows) with a stable internet connection.
- The latest version of iTunes installed on your computer.
- A USB-C to USB-A cable (for Method 1).
- An Apple developer account (for Method 2).
- A third-party app installer, such as TweakBox (for Method 3).
It is important to note that not all methods are compatible with all versions of Apple TV. Therefore, ensure that your Apple TV meets the requirements specified for each method. Additionally, a basic understanding of navigating and using the Apple TV interface is helpful for successfully installing Kodi.
Keep in mind that installing Kodi on your Apple TV may void your warranty. Follow the instructions carefully and proceed at your own risk. It is recommended to back up any important data on your Apple TV and computer before proceeding with the installation.
Now that you have ensured that you have all the necessary prerequisites, you are ready to proceed with the installation. In the following sections, we will outline three different methods to install Kodi on your Apple TV. Choose the method that aligns with your preferences and technical expertise to enjoy the numerous benefits of Kodi’s extensive media capabilities.
Method 1: Install Kodi on Apple TV with Cydia Impactor
Cydia Impactor is a popular tool that allows you to sideload apps onto your Apple devices, including Apple TV. Here’s how you can use Cydia Impactor to install Kodi on your Apple TV:
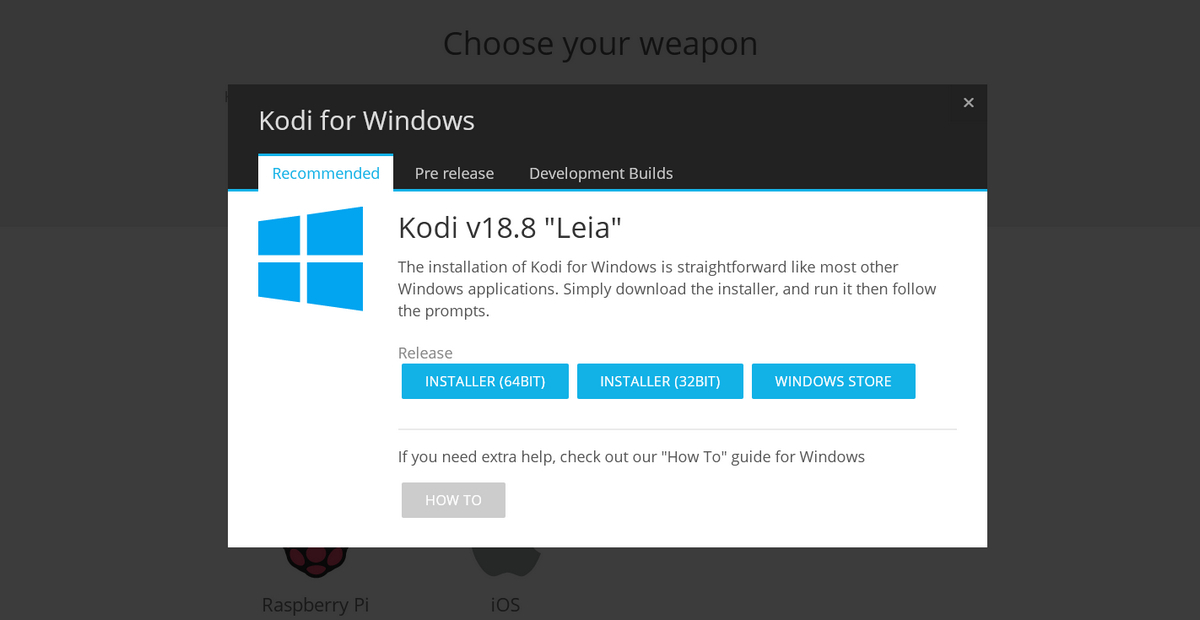
- Download the latest version of Kodi (IPA file) from the official Kodi website.
- Connect your Apple TV to your computer using a USB-C to USB-A cable.
- Launch Cydia Impactor on your computer.
- Locate the downloaded Kodi IPA file and drag it onto the Cydia Impactor window.
- Enter your Apple ID and password when prompted. This information is required to sign the Kodi app.
- Cydia Impactor will start installing the Kodi app on your Apple TV. Wait for the process to complete.
- Once the installation is finished, go to the Settings app on your Apple TV, navigate to General > Profiles & Device Management.
- Find the profile associated with the Kodi app and trust it.
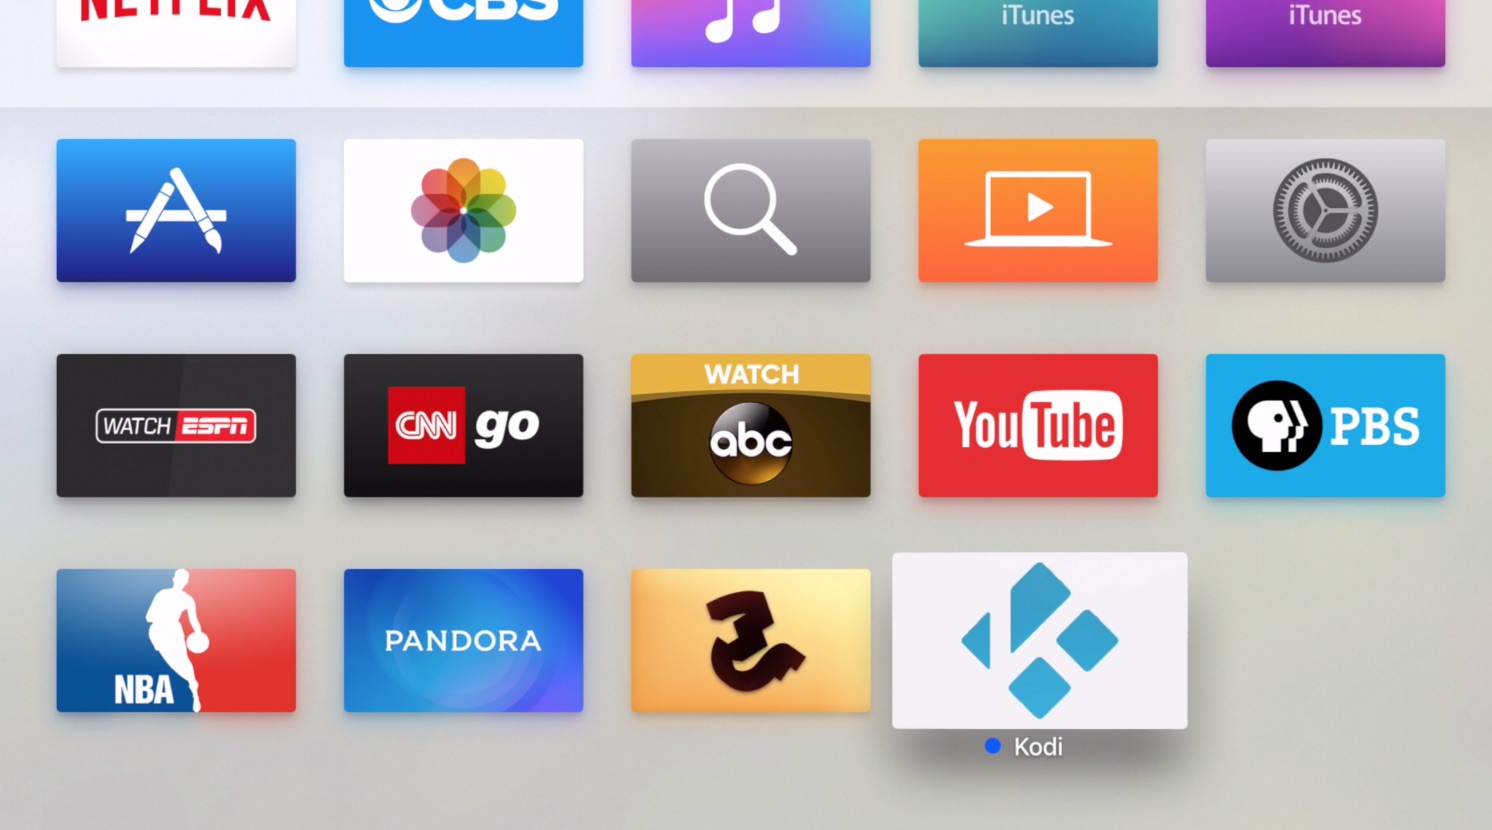
- You can now launch Kodi on your Apple TV and start enjoying its features and add-ons.
With Cydia Impactor, you can easily install Kodi on your Apple TV. However, keep in mind that the sideloaded app might need to be reinstalled after a week, as it has a limited certificate validity. To reauthorize the app, you’ll need to repeat the process using Cydia Impactor. This method works well for those familiar with sideloading apps and want a straightforward way to get Kodi on their Apple TV.
Now that you have learned how to install Kodi using Cydia Impactor, let’s move on to the next method, which involves using Xcode to install Kodi on your Apple TV.
Method 2: Install Kodi on Apple TV with Xcode
Xcode is Apple’s integrated development environment (IDE) used for app development. By using Xcode, you can install Kodi on your Apple TV. Follow the steps below to proceed:
- Ensure you have a Mac computer with Xcode installed.
- Download the latest version of Kodi (DEB file) from the official Kodi website.
- Launch Xcode on your Mac.
- Connect your Apple TV to your Mac using a USB-C to USB-A cable.
- Select “Create a new Xcode project” from the Xcode welcome screen.
- Select “tvOS” under the Application section and choose “Single View App” as the template.
- Provide a unique product name and organization identifier for your project.
- In the project navigator, select the project name, go to the “General” tab, and under “Identity,” change the “Bundle Identifier” by appending a unique string to it (e.g., com.yourname.Kodi).
- Go to the “Signing & Capabilities” tab, select your team, and enable automatic signing.
- Close the project in Xcode and locate the project folder using Finder.
- Replace the existing “ViewController.swift” file with the Kodi DEB file you downloaded.
- Reopen the Xcode project, select your Apple TV as the target device, and click on “Build and Run” to install Kodi.
- Once the installation is complete, you can disconnect your Apple TV from your Mac.
- Launch Kodi on your Apple TV and start exploring its wide range of features and content.
Using Xcode to install Kodi requires a Mac computer and some basic knowledge of Xcode. It is a slightly advanced method compared to others, but it provides you with more control and flexibility over the installation process. Enjoy the benefits of Kodi on your Apple TV by following these steps.
Now that you have learned how to install Kodi using Xcode, let’s move on to the final method, which involves using TweakBox as a third-party app installer.
Method 3: Install Kodi on Apple TV with TweakBox
TweakBox is a third-party app installer that allows you to download and install apps not available on the official App Store, including Kodi. Follow the steps below to install Kodi on your Apple TV using TweakBox:
- On your Apple TV, go to the Settings app and navigate to “General” > “Date & Time”.
- Change the date to any date before January 1, 2016.
- Open the Safari browser on your Apple TV and visit the TweakBox website.
- Locate the download link for the TweakBox app and download it.
- Once the download is complete, open the TweakBox app on your Apple TV.
- Navigate to the “App Store Apps” section within TweakBox.
- Search for Kodi and select the appropriate version for your Apple TV.
- Click on the “Install” button to begin the installation process.
- After the installation is complete, go back to the Settings app on your Apple TV and change the date back to the current date and time.
- You can now launch Kodi on your Apple TV and start enjoying its vast array of media content.
Installing Kodi using TweakBox eliminates the need for using a computer or dealing with advanced technical processes. It is a user-friendly method that allows you to quickly install Kodi on your Apple TV. Keep in mind that TweakBox is a third-party app, so exercise caution and ensure that you download it from a trusted source.
With the installation of Kodi using TweakBox, you now have the ability to enjoy a wide range of media content on your Apple TV. Take your entertainment experience to the next level by exploring Kodi’s features, add-ons, and customization options.
In the next section, we will recap the installation methods discussed and conclude the article with some final thoughts.
Conclusion
In this article, we explored three different methods to install Kodi on your Apple TV. Whether you choose to use Cydia Impactor, Xcode, or TweakBox, each method offers a unique approach to getting Kodi up and running on your Apple TV.
With Cydia Impactor, you can easily sideload Kodi onto your Apple TV, although you may need to reinstall the app periodically. Xcode provides a more advanced method that requires a Mac computer and knowledge of its development environment. On the other hand, TweakBox offers a simple and user-friendly way to install Kodi directly on your Apple TV.
Before attempting any installation method, it is important to ensure you have the necessary prerequisites and understand the risks involved. Installing Kodi on your Apple TV may void your warranty, and it is essential to follow the instructions carefully to avoid any potential issues.
By successfully installing Kodi on your Apple TV, you can unlock a world of unlimited entertainment. Explore Kodi’s vast media library, customize the interface with add-ons and skins, and enjoy streaming services, live TV, and on-demand content from the comfort of your living room.
Remember to always use Kodi responsibly and respect copyright laws while using third-party add-ons. Additionally, keep your Kodi installation updated to ensure you have the latest features and security patches.
Now that you have learned different methods to install Kodi on your Apple TV, choose the one that fits your technical expertise and preferences. So go ahead, pick a method, follow the steps, and start enjoying the countless entertainment possibilities Kodi brings to your Apple TV!