Introduction
Gaming has become more immersive and graphics-intensive than ever before, with large game files requiring significant storage space. If you find yourself running out of space on your computer’s internal hard drive, using an external hard drive for gaming is an excellent solution.
An external hard drive offers a convenient and efficient way to expand your storage capacity for games. It allows you to store and run games directly from the external drive, providing additional space for your favorite titles without compromising performance.
In this article, we will guide you through the benefits of using an external hard drive for gaming, how to choose the right drive, how to format it properly, and how to transfer and run games from the external hard drive. We will also address common issues that may arise during the process.
By the end of this article, you will have all the information you need to make the most of your external hard drive for gaming.
Benefits of Using an External Hard Drive for Gaming
Using an external hard drive for gaming comes with several notable benefits. Let’s explore some of the key advantages:
- Increased Storage Capacity: One of the primary benefits of using an external hard drive is the ability to expand your storage capacity significantly. Many games these days have massive file sizes, making it challenging to store them all on your computer’s internal hard drive. An external hard drive provides you with ample space to store your favorite games without worrying about running out of storage.
- Portability: External hard drives are portable by nature, allowing you to carry your entire gaming library with you wherever you go. Whether you’re going to a friend’s house or attending a gaming tournament, you can simply unplug your external hard drive and take it with you. This convenience ensures that you never have to leave your favorite games behind.
- Improved Performance: Running games directly from an external hard drive can often result in improved performance compared to running them from an internal hard drive. This is especially true if your internal hard drive is nearing its storage capacity or is a slower, older model. With an external hard drive, you can enjoy faster load times, reduced lag, and smoother gameplay.
- Easy Organization: Utilizing an external hard drive helps keep your gaming library organized. You can designate specific folders or directories for different games or genres, making it easier to locate and access the games you want to play. This organizational system alleviates the clutter that can sometimes occur when storing numerous games on an internal hard drive.
- Backup and Redundancy: Another advantage of using an external hard drive is the ability to create backups of your game files. Game files can occasionally become corrupted, resulting in lost progress or functionality. By regularly backing up your games to an external hard drive, you can ensure that your progress and data are safely stored and easily recoverable in case of any issues.
These are just a few of the many benefits that come with using an external hard drive for gaming. Whether it’s expanding your storage capacity, improving performance, enabling portability, or providing backup options, an external hard drive is a valuable accessory for any avid gamer.
Choosing the Right External Hard Drive for Gaming
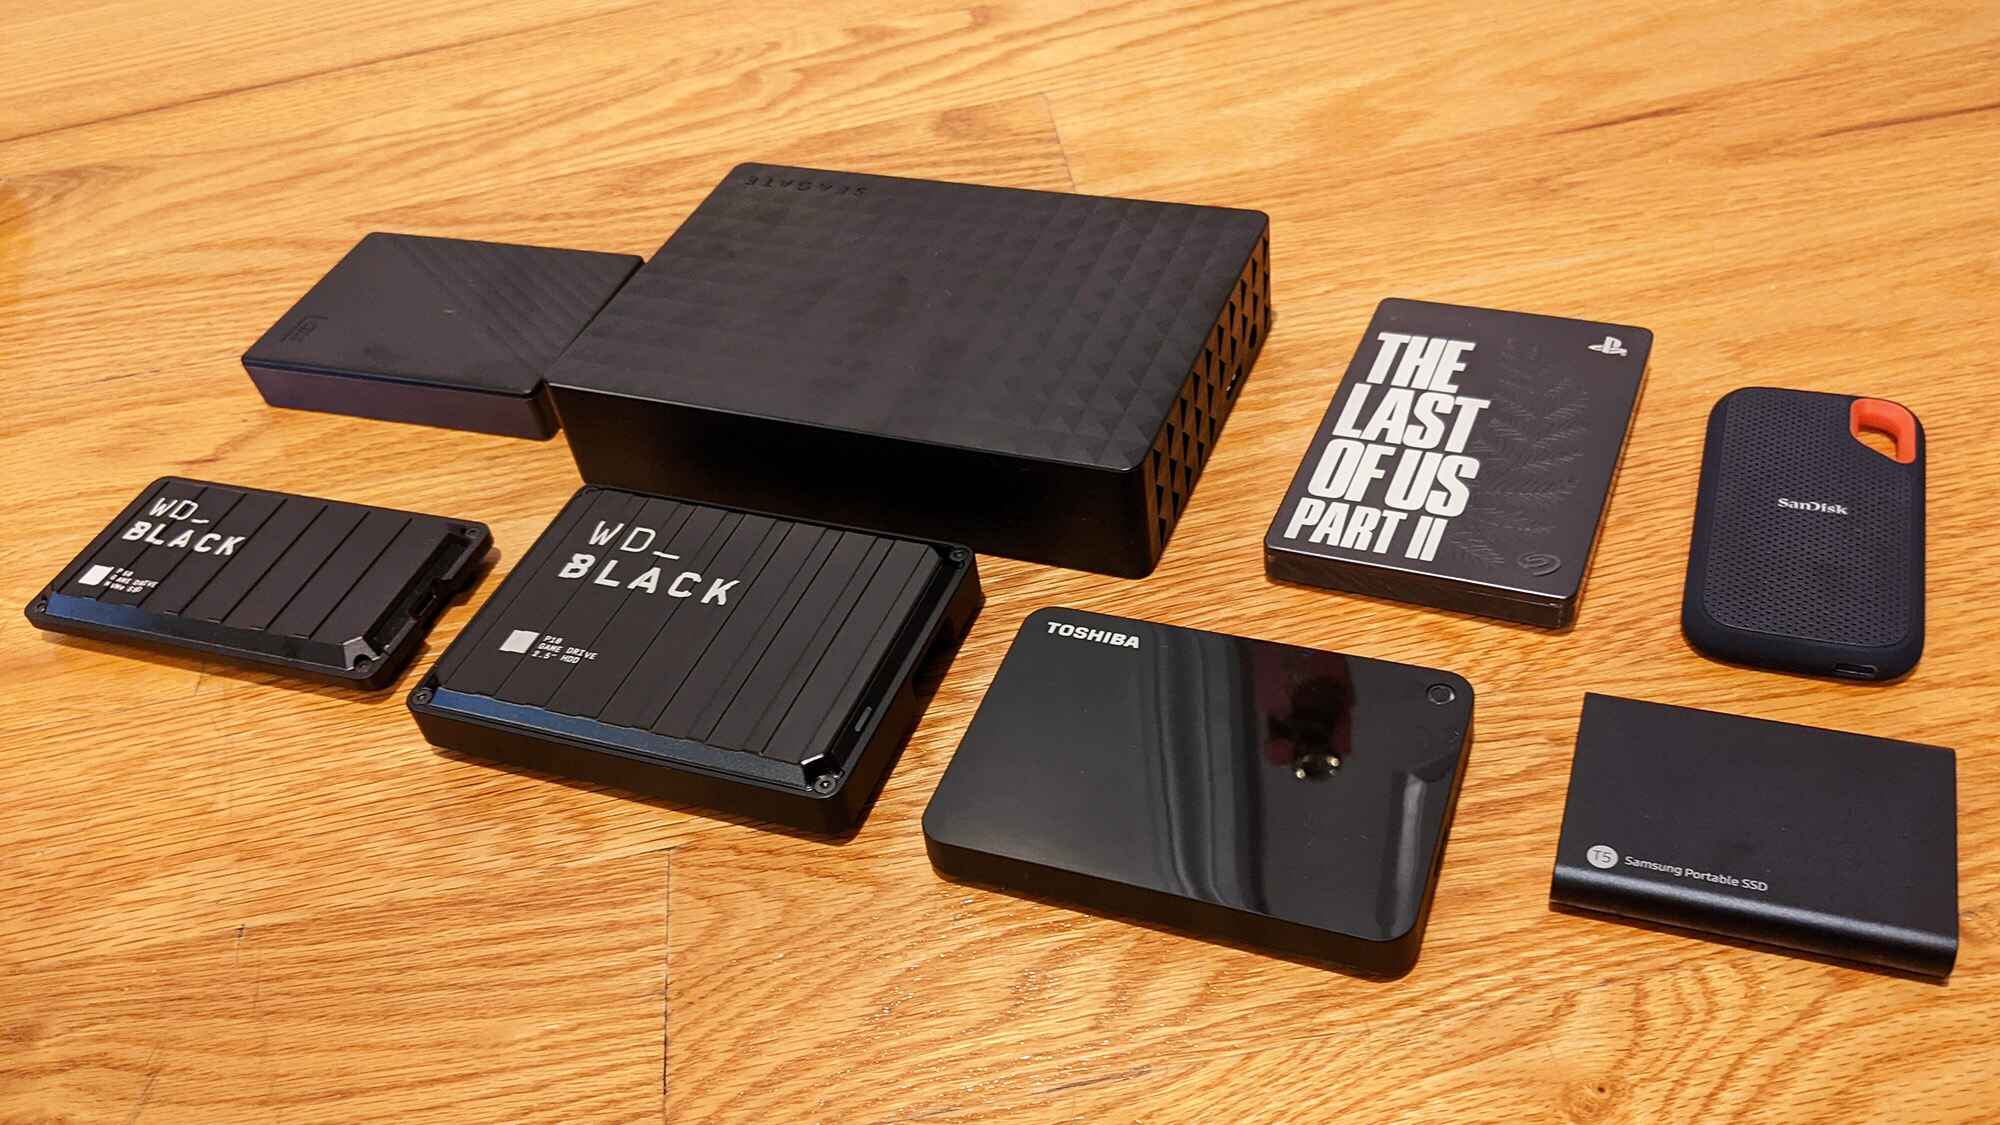
When it comes to choosing an external hard drive for gaming, there are several factors to consider. Here are some key considerations to help you make an informed decision:
- Storage Capacity: The storage capacity of the external hard drive is perhaps the most critical factor to consider. Assess your gaming needs and determine how much space you require. Keep in mind that game file sizes can vary significantly, so it’s always better to opt for a larger capacity drive to accommodate future game installations.
- Speed and Performance: The speed of the external hard drive can impact the performance of your games. Look for drives with faster transfer speeds, such as those with USB 3.0 or higher. This will ensure that your games load quickly and run smoothly without any noticeable lags or delays.
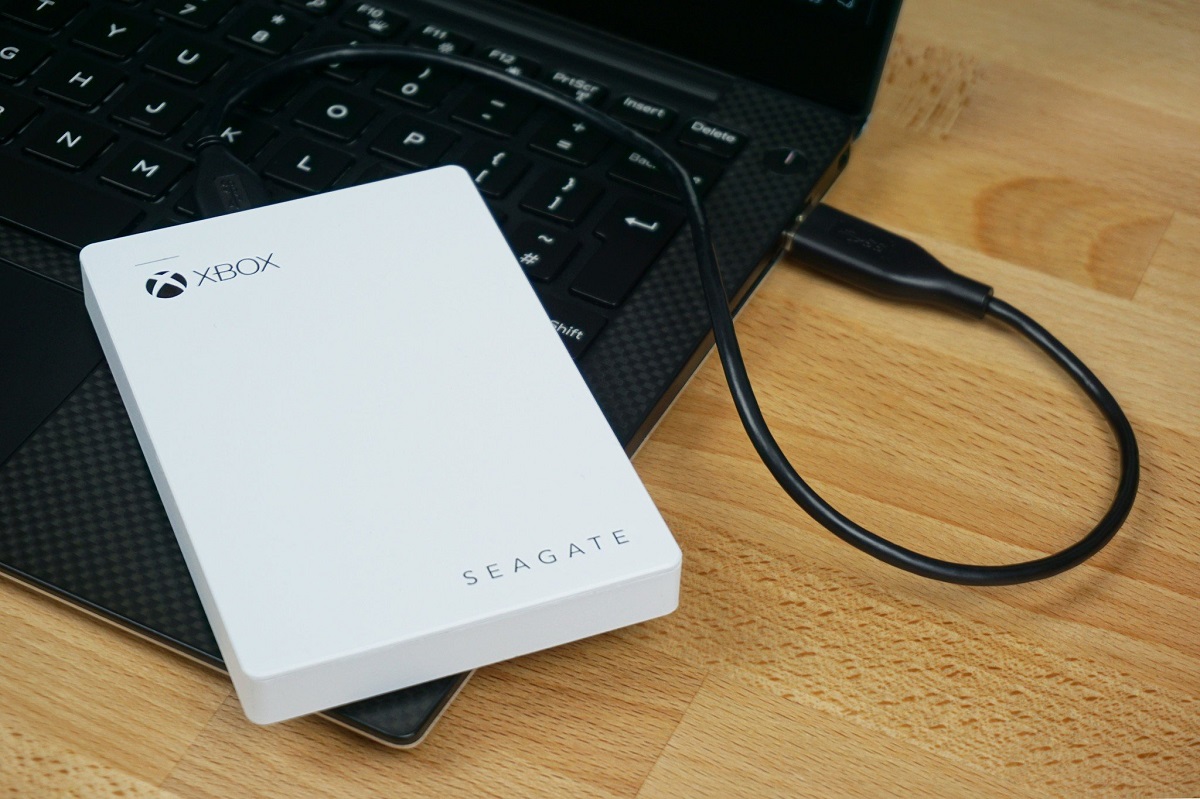
- Compatibility: Check the compatibility of the external hard drive with your gaming platform. Most drives are compatible with both PC and Mac systems, but it’s always advisable to double-check before making a purchase. Additionally, ensure that the drive is compatible with the gaming console you intend to use it with, such as PlayStation or Xbox.
- Portability: If you plan to travel frequently with your external hard drive, consider opting for a smaller, more portable model. Look for drives that are lightweight, compact, and have rugged build quality to withstand the rigors of travel.
- Reliability and Durability: Gaming involves frequent read and write operations, so it’s crucial to choose a reliable and durable external hard drive. Look for drives from reputable brands with a track record of reliability. Additionally, consider drives that offer shock resistance and data protection features to safeguard your games against accidental damage or loss.
- Price and Value: Set a budget for your external hard drive, but keep in mind that cheaper drives may come with slower speeds or lower capacities. Assess the features, warranty, and overall value offered by different drives to ensure you get the best bang for your buck.
By considering these factors, you can select an external hard drive that fits your gaming needs, providing ample storage, fast performance, compatibility, and portability. Ultimately, choosing the right external hard drive will enhance your gaming experience and allow you to enjoy your favorite titles with ease.
Formatting Your External Hard Drive for Gaming
Before you can start using your external hard drive for gaming, you need to format it in a way that is compatible with your gaming system. Here are the steps to follow:
- Backup Your Data: Formatting your external hard drive will erase all the data stored on it. Therefore, it is essential to back up any important files or documents you have on the drive before proceeding with the formatting process. This will ensure that you don’t lose any critical data during the formatting.
- Choose the File System: Depending on your gaming platform, you may need to select a specific file system for your external hard drive. For Windows-based systems, the recommended file system is NTFS, while Mac systems typically use the exFAT or macOS Extended (Journaled) file systems. Consult the documentation or support resources for your gaming platform to determine the appropriate file system to use.
- Formatting on Windows: If you are formatting your external hard drive on a Windows computer, you can do so by connecting the drive, opening File Explorer, right-clicking on the drive, and selecting “Format.” Choose the desired file system, assign a name to the drive, and click “Start” to begin the formatting process.
- Formatting on Mac: To format the external hard drive on a Mac, connect the drive and open Disk Utility. Select the external drive from the list, choose the desired file system, give the drive a name, and click “Erase” to initiate the formatting process.
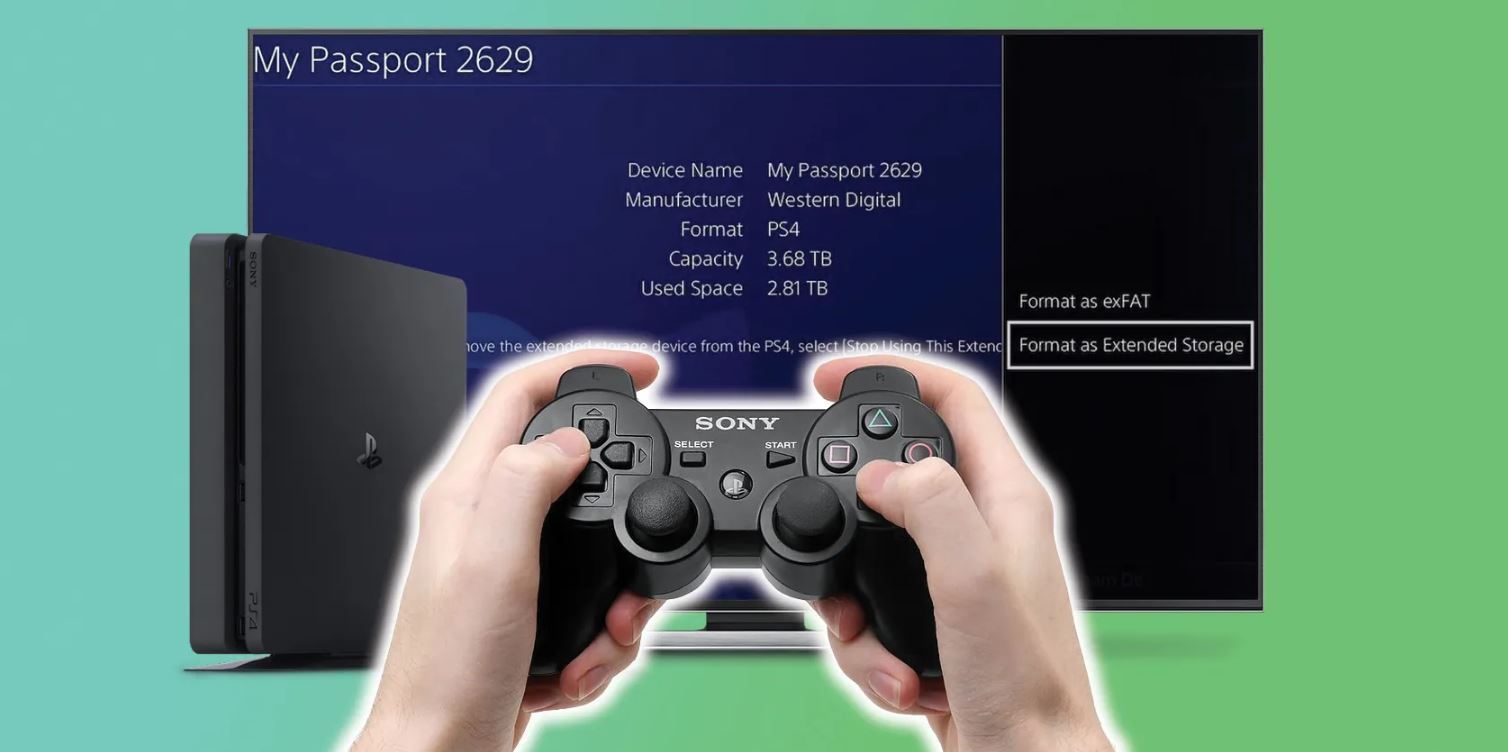
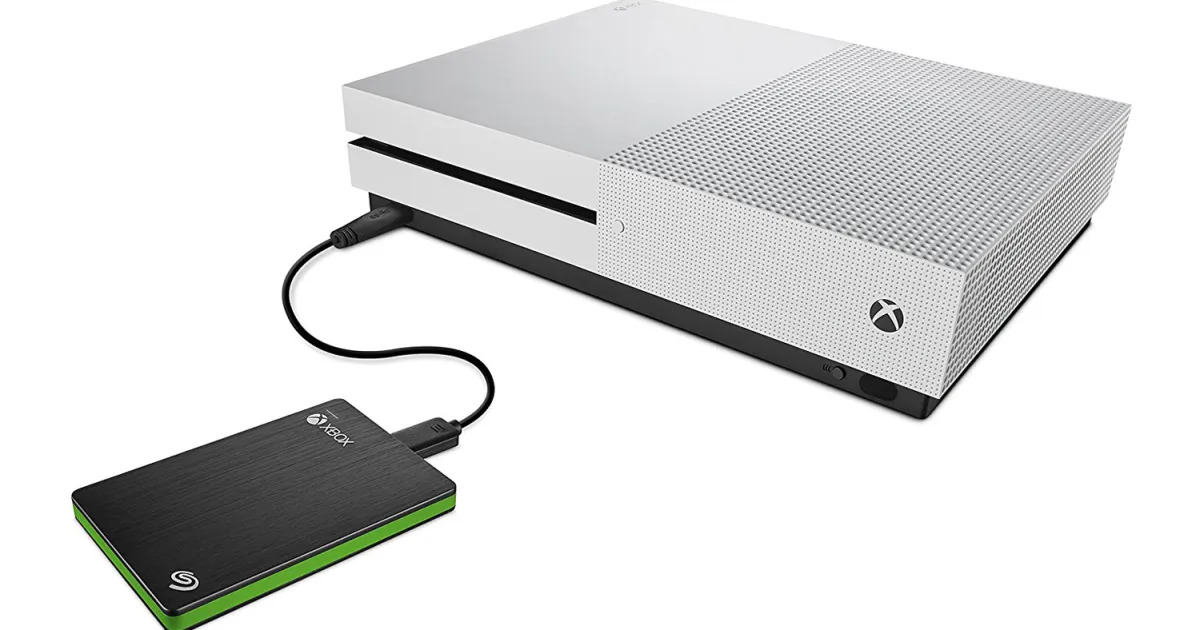
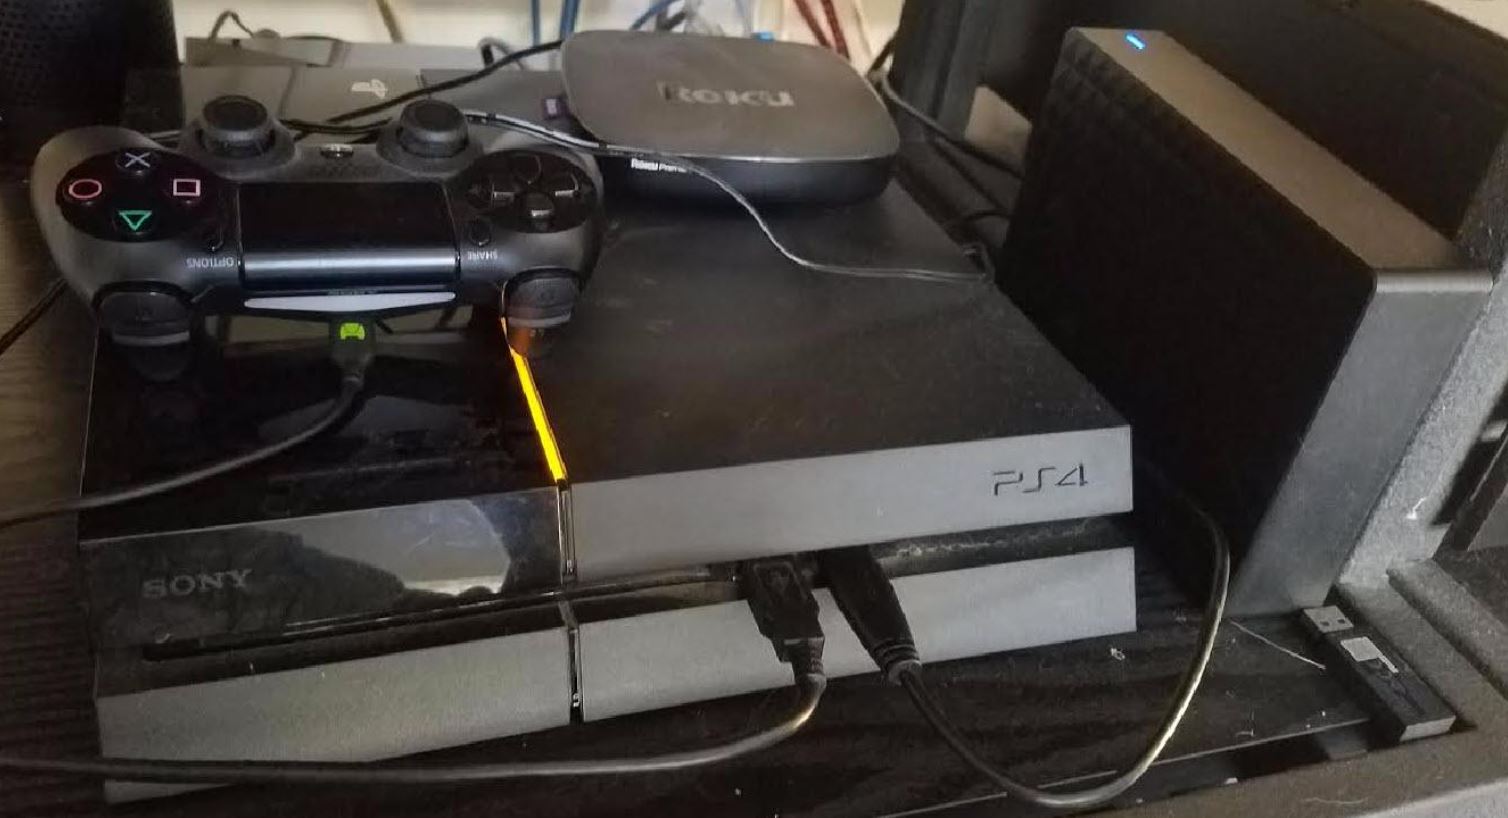
- Formatting on Gaming Consoles: If you plan to use the external hard drive with a gaming console like PlayStation or Xbox, refer to the console’s documentation or support resources for specific formatting instructions. Gaming consoles may have specific requirements or formats that need to be followed.
- Wait for the Formatting to Complete: The formatting process may take a few minutes, depending on the size of your external hard drive. It’s essential to wait for the process to complete and avoid disconnecting the drive or interrupting the formatting. Once the formatting is finished, you will have a fresh and properly formatted external hard drive ready for gaming.
By following these steps, you can format your external hard drive correctly, ensuring compatibility with your gaming system. Remember to back up your data before formatting to prevent any loss of important files. With a properly formatted drive, you can now proceed to transfer and run your games directly from the external hard drive.
Transferring Game Files to the External Hard Drive
Now that you have a formatted external hard drive, it’s time to transfer your game files onto it. The process may vary slightly depending on your gaming platform or distribution platform, but the general steps are as follows:
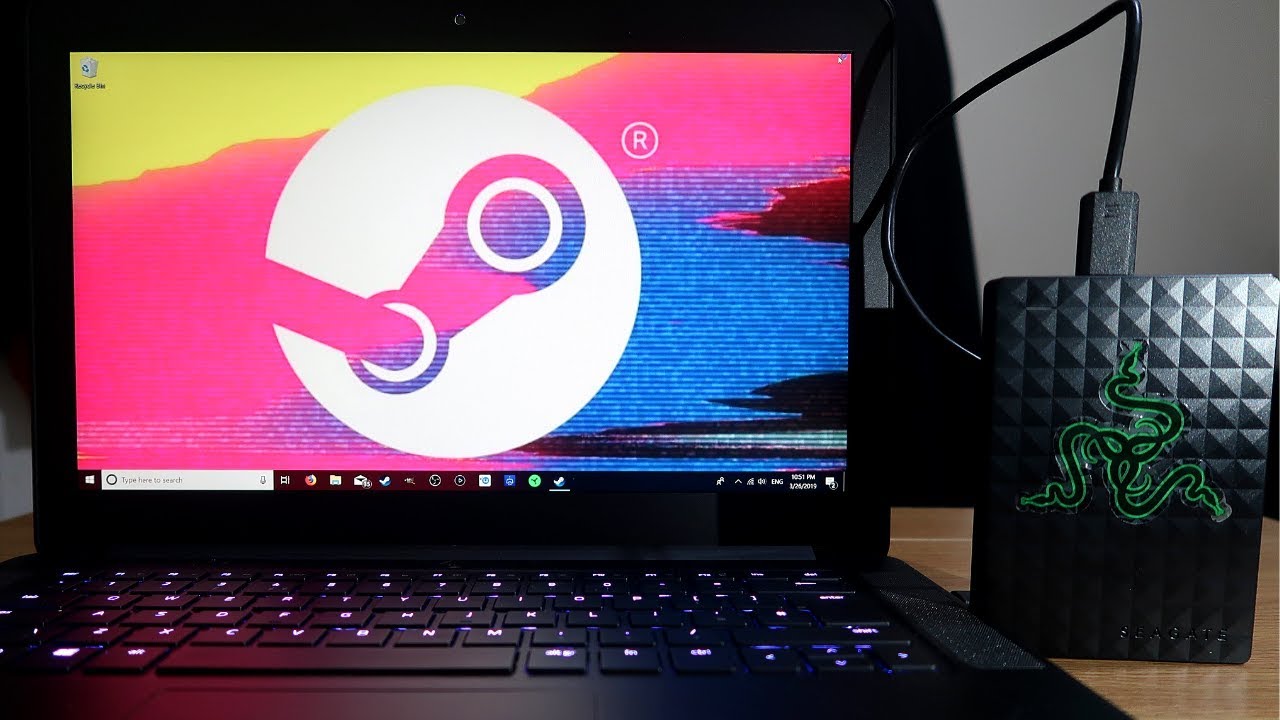
- Locate the Game Files: On your computer, find the game files you wish to transfer to the external hard drive. These files are typically located in the game’s installation folder or within the folder specified by your game’s distribution platform, such as Steam or Origin.
- Copy or Move the Files: Select the game files and either copy or cut them from their current location. Right-click on the files and choose “Copy” or “Cut” from the context menu.
- Paste the Files: Open the folder designated for your external hard drive and right-click within it. Select “Paste” from the context menu to transfer the game files onto the external hard drive. Alternatively, you can create a new folder within the external hard drive and paste the game files into that folder for better organization.
- Verify the Transfer: Once the transfer is complete, double-check that the game files have been successfully transferred to the external hard drive. Ensure that all necessary files, including game executables, sound files, and configuration files, are present.
- Repeat the Process for Each Game: If you have multiple games you want to transfer, repeat the above steps for each game individually. This will ensure that all your games are stored on the external hard drive and ready to be played.
It is worth noting that some distribution platforms, such as Steam, allow you to specify a custom installation folder during the installation process. By choosing the external hard drive as the installation location, the platform will automatically install the game files directly onto the external drive, saving you the hassle of manually transferring them.
By following these steps, you can successfully transfer your game files to the external hard drive, freeing up space on your computer’s internal drive and ensuring that your games are easily accessible for future gaming sessions. Now that your games are on the external hard drive, it’s time to learn how to run them directly from the drive.
Running Games from the External Hard Drive
With your game files safely transferred to the external hard drive, it’s time to learn how to run your games directly from it. Here’s how:
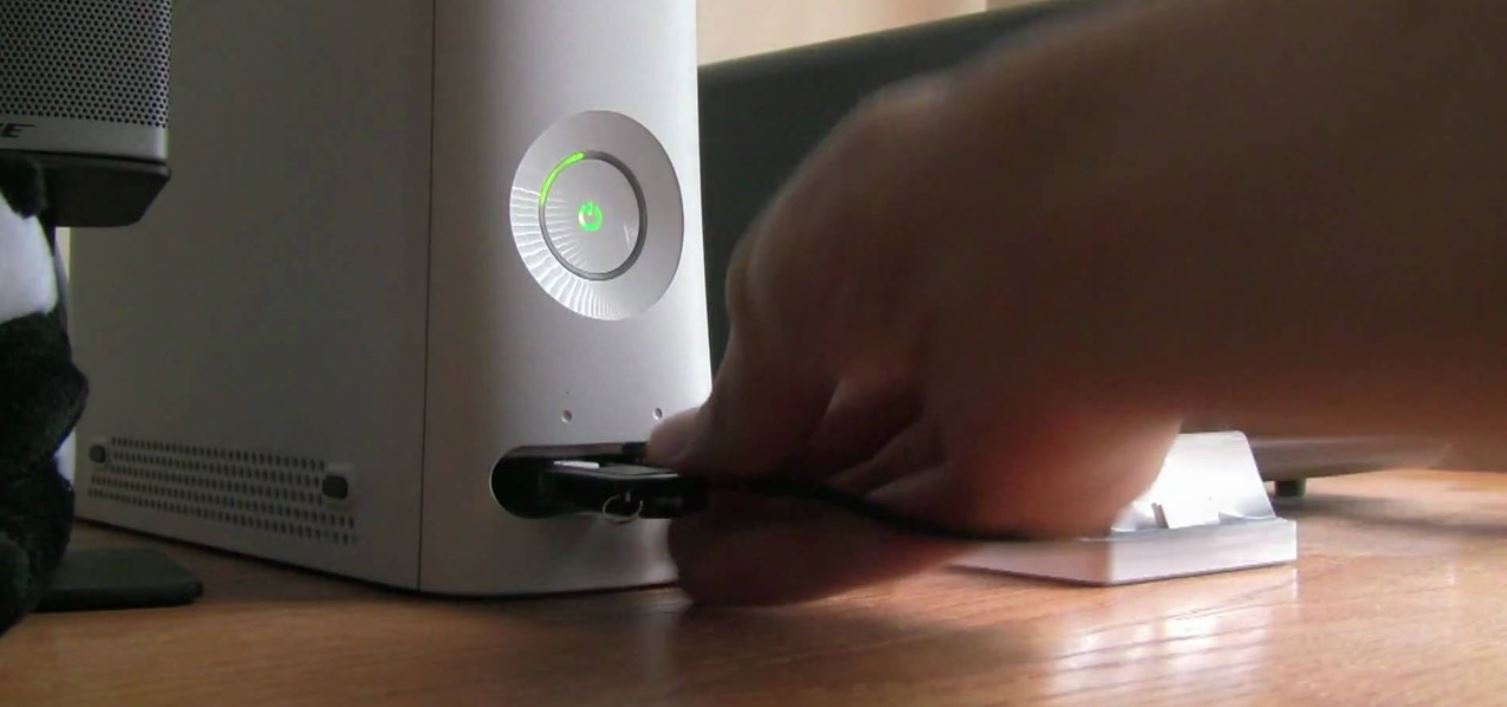
- Connect the External Hard Drive: Ensure that your external hard drive is connected to your computer or gaming console. Make sure it is properly recognized and accessible before proceeding.
- Launch the Game: Open your game platform or distribution platform, such as Steam or Origin, and locate the game you want to play. Depending on the platform, the game may already show up in your library, or you may need to navigate to the game’s installation folder manually.
- Configure the Game: Some games may require additional configuration to ensure they run smoothly from the external hard drive. Check the game’s settings or options menu for any specific instructions related to running the game from an external drive. This may include specifying the drive as the game’s installation or save location.
- Launch the Game: Once you have configured any necessary settings, click on the game’s icon or choose the “Play” option to launch the game. The game should start running directly from the external hard drive.
- Enjoy Gaming: Once the game has started running from the external hard drive, you can enjoy your gaming session as usual. The external hard drive’s improved performance and ample storage capacity will ensure smooth gameplay and uninterrupted gaming experiences.
If you are using a gaming console like PlayStation or Xbox, you may need to configure the console to recognize and use the external hard drive as the storage location for your games. Refer to the console’s instructions or support resources for specific steps on how to do this.
By running your games directly from the external hard drive, you can free up space on your computer’s internal drive, improve performance, and enjoy the flexibility of carrying your entire gaming library with you. It’s a convenient and efficient solution to meet your gaming storage needs.
Troubleshooting Common Issues
While using an external hard drive for gaming is generally a straightforward process, you may encounter some common issues along the way. Here are a few troubleshooting tips for addressing these problems:
- Connection and Recognition Issues: If your computer or gaming console is not recognizing the external hard drive, ensure that the connections are secure. Try using a different USB port or cable to rule out any issues with the connection. Additionally, make sure the drive is properly formatted and compatible with your system.
- Slow Load Times or Performance: If you experience slower load times or overall performance with games running from the external hard drive, check the speed and capacity of the drive. Consider upgrading to a faster drive or freeing up space on the drive to optimize performance. It’s also worth checking if the drive is experiencing any errors or fragmentation that might affect performance.
- Game Crashes or Errors: If a particular game is crashing or showing errors when running from the external hard drive, try verifying the game files through the distribution platform. This process checks for any corrupted or missing game files and replaces them. You can also try reinstalling the game on the external drive to resolve any potential software conflicts.
- Inadequate Power Supply: Some external hard drives may require additional power supply to function properly. If you are using a drive that relies solely on USB power, it might not receive sufficient power for optimal operation. In such cases, connect the drive to a USB port that provides more power or consider using a powered USB hub to ensure proper power supply.
- Compatibility Issues: Ensure that the external hard drive and games you are running are compatible with your gaming platform or console. Some drives may require specific drivers or firmware updates to work seamlessly with certain systems. Similarly, newer games may have specific requirements or restrictions regarding running from external drives. Verify and update the necessary software to address any compatibility issues.
If you continue to face persistent issues or encounter errors that you are unable to resolve, it is advisable to seek assistance from the manufacturer of the external hard drive or the game’s support team. They can provide specific troubleshooting steps tailored to your situation.
By following these troubleshooting tips, you can address common issues that may arise when using an external hard drive for gaming. Remember to keep your drive’s firmware and software up to date, and ensure compatibility between all components for a seamless gaming experience.
Conclusion
Using an external hard drive for gaming offers a multitude of benefits, including increased storage capacity, improved performance, and portability. By following the steps outlined in this article, you can successfully incorporate an external hard drive into your gaming setup.
Start by selecting the right external hard drive that suits your needs in terms of storage capacity, speed, compatibility, portability, reliability, and price. Once you have acquired the drive, format it correctly to ensure compatibility with your gaming system.
Transfer your game files to the external hard drive, either by copying and pasting them manually or by using the installation options provided by your game platform. Make sure to configure any necessary settings to ensure the smooth running of the games from the external hard drive.
If you encounter any issues along the way, troubleshoot common problems like connection and recognition issues, slow load times, crashes, inadequate power supply, or compatibility issues. Keep your drive and software up to date, and reach out to manufacturer support or game support if needed.
By utilizing an external hard drive for gaming, you can expand your storage space, organize your gaming library, and enjoy improved performance. Whether you’re a PC gamer or console enthusiast, incorporating an external hard drive can significantly enhance your gaming experience.
So why limit yourself to the confines of your computer’s internal hard drive when you can easily expand your gaming horizons with an external hard drive? Take advantage of the benefits it offers and enjoy seamless gaming with ample storage space.