Introduction
Welcome to this guide on how to backup your Mac photos to an external hard drive. As we capture precious moments and memories with our digital cameras and smartphones, it becomes increasingly important to have a reliable backup of our photos. By creating a backup on an external hard drive, you can ensure that your valuable photos are safe and accessible even in case of a computer malfunction or data loss.
Backing up your photos not only provides peace of mind but also frees up valuable storage space on your computer, allowing it to run more efficiently. Plus, having a backup gives you the flexibility to easily view and share your photos on any device with an external hard drive connected, without relying solely on your Mac.
In this step-by-step guide, we will walk you through the simple process of backing up your Mac photos to an external hard drive. Whether you have a few hundred photos or a vast collection spanning several years, this guide will help you safeguard your memories and ensure that you never lose those special moments.
Before we dive into the steps, please make sure you have an external hard drive with enough storage capacity to accommodate your photo library. Additionally, ensure that the external hard drive is formatted correctly and compatible with your Mac. Now, let’s get started with the process of backing up your Mac photos to an external hard drive!
Step 1: Connect the external hard drive to your Mac
The first step in backing up your Mac photos is connecting the external hard drive to your computer. To do this, follow these simple instructions:
- Locate an available USB or Thunderbolt port on your Mac.
- Plug one end of the USB or Thunderbolt cable into the external hard drive.
- Plug the other end of the cable into the USB or Thunderbolt port on your Mac.
- Ensure that the connection is secure by making sure the cable is firmly plugged in.
- Depending on your external hard drive, you may also need to connect it to a power source.
Once the external hard drive is connected to your Mac, your computer will recognize it as an additional storage device. You can verify the connection by checking if the external hard drive icon appears on your desktop or in the Finder sidebar.
It’s essential to note that some external hard drives may require specific software installation or configuration before they can be used with your Mac. If this is the case, refer to the manufacturer’s instructions that came with your external hard drive to ensure proper setup.
Now that you have successfully connected the external hard drive to your Mac, we can proceed to the next step of backing up your photos.
Step 2: Open the Photos app
Once you have connected the external hard drive to your Mac, it’s time to open the Photos app, which is the default photo management application on macOS. Here’s how you can do it:
- Click on the “Finder” icon in the dock to open a Finder window.
- In the sidebar of the Finder window, locate and click on the “Applications” folder.
- Scroll through the list of applications until you find the “Photos” app.
- Double-click on the “Photos” app to launch it.
Alternatively, you can use Spotlight to find and open the Photos app. Simply press the Command key and the Spacebar simultaneously, then type “Photos” in the search bar that appears. Once you see the Photos app in the search results, press Enter to open it.
After launching the Photos app, you will see the main interface displaying your photo library. If this is your first time opening the app, it may take a few moments for it to load your entire library, depending on the size of your collection.
Now that the Photos app is open and your library is loaded, you are ready to move on to the next step – selecting the photos you want to backup.
Step 3: Select the photos you want to backup
Now that you have the Photos app open and your library loaded, it’s time to select the photos you want to backup to the external hard drive. Follow these steps:
- In the Photos app, navigate to the album or category where your desired photos are located. You can find options such as “Moments,” “Collections,” or specific custom albums if you have created any.
- Browse through your photo library and click on the photos you want to backup while holding down the Command key. This allows you to select multiple photos at once.
- If you want to select all the photos in a specific album, press Command+A to select everything.
- To deselect a photo, simply click on it while holding down the Command key.
You can also use the search feature in the Photos app to find specific photos based on keywords, dates, or people. This makes it easier to locate and select the photos you want to backup.
Moreover, if you have organized your photos into albums or created smart albums based on specific criteria, you can easily select all the photos within those albums by clicking on the album’s name and then pressing Command+A.
Once you have finished selecting the photos you want to backup, you can move on to the next step – exporting the selected photos to the external hard drive.
Step 4: Export the selected photos to the external hard drive
Now that you have selected the photos you want to backup, it’s time to export them to the external hard drive. Follow these steps:
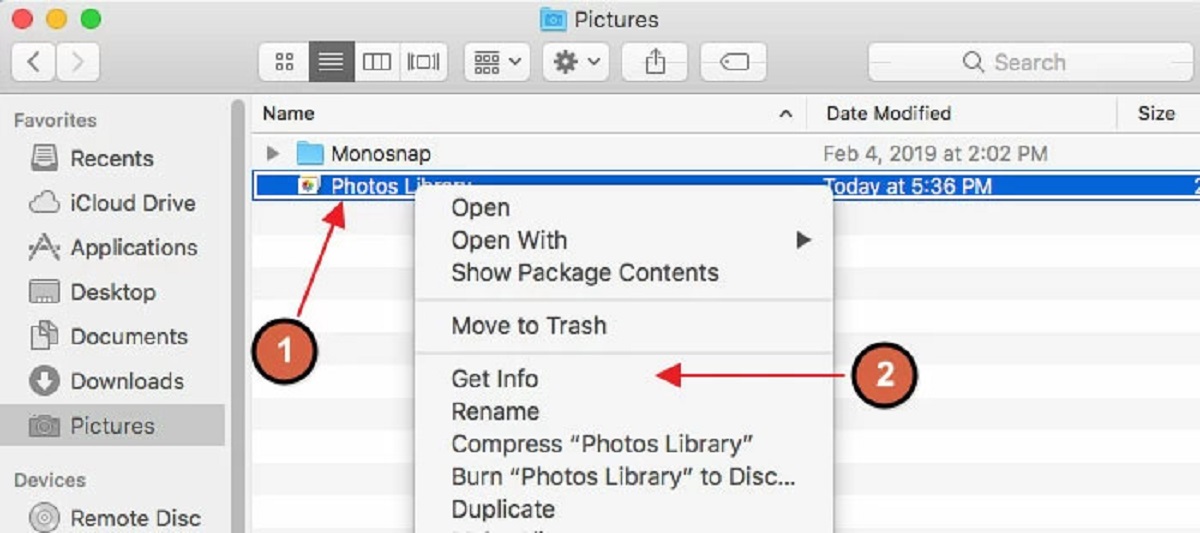
- In the menu bar at the top of the screen, click on “File” and select “Export” from the dropdown menu. Alternatively, you can right-click on the selected photos and choose “Export” from the context menu.
- A window will appear, allowing you to choose the export settings for your photos. You can specify the file format, size, and quality of the exported photos.
- Click on the “Export” button to proceed. You may be prompted to choose a location to save the exported photos.
- Browse to the external hard drive in the file window that appears and select it as the destination for your exported photos.
- Click on the “Export” button to start the export process. The Photos app will begin exporting the selected photos to the external hard drive.
- Depending on the number and size of the photos, the export process may take some time. You can monitor the progress by checking the status bar at the top of the Photos app.
Once the export process is complete, you will find a copy of your selected photos on the external hard drive. The exported photos will be organized in a folder, either with the same album name or with a generic name like “Exported Photos.”
It’s important to note that the exported photos on the external hard drive are independent copies and won’t be synced automatically with the Photos app on your Mac. To update the backup, you will need to repeat this export process whenever you have new photos to backup.
Congratulations! You have successfully exported your selected photos to the external hard drive. Now, let’s move on to the final step – verifying the backup process.
Step 5: Verify the backup process
After exporting your selected photos to the external hard drive, it’s crucial to verify that the backup process was successful. Follow these steps to ensure that your photos are safely backed up:
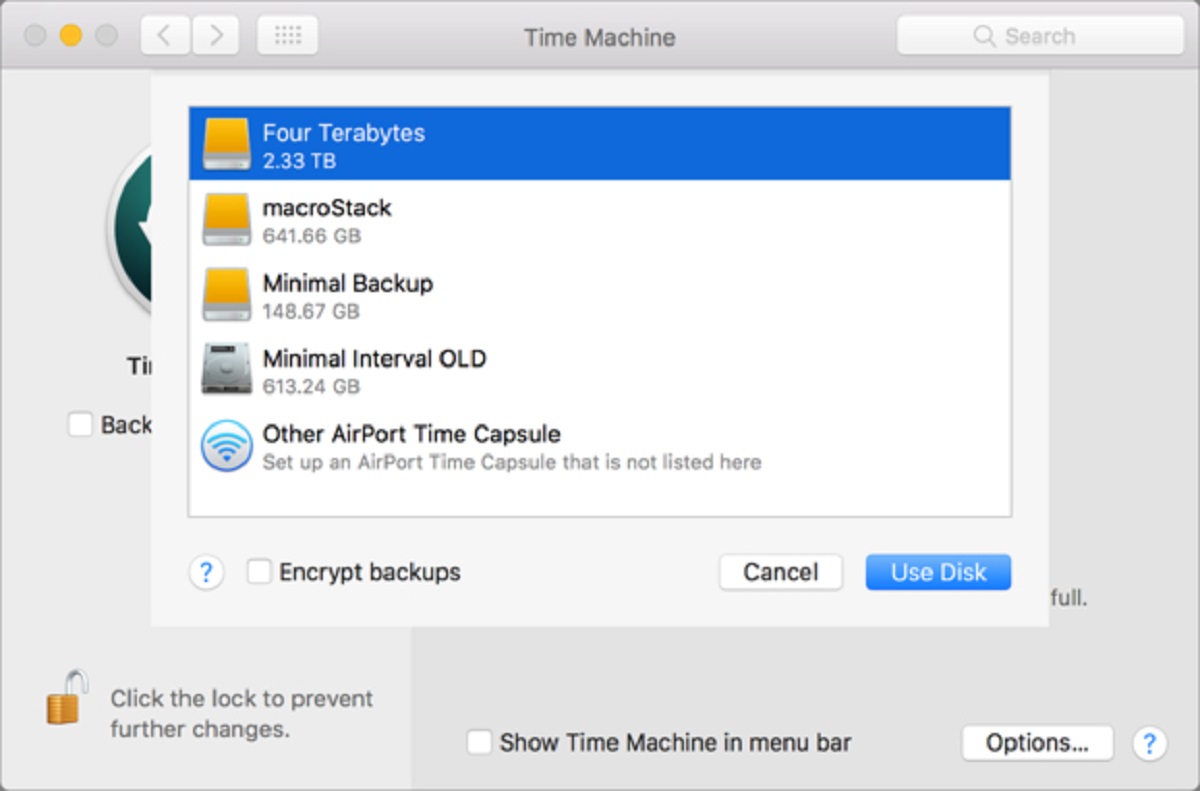
- Eject the external hard drive from your Mac by clicking on the eject button next to its name in the Finder sidebar or by right-clicking on the drive and selecting “Eject.
- Physically disconnect the external hard drive from your Mac by safely removing the cable.
- Reconnect the external hard drive to your Mac to ensure that it is recognized again.
- Navigate to the location where you exported the photos on the external hard drive.
- Double-check that the exported photos are present in the designated folder and that the file names and sizes match the original photos in your Photos app.
- Open a few of the exported photos to confirm that they can be viewed without any issues.
- If everything looks good, congratulations! Your backup is verified, and you can be confident that your selected photos are safely stored on the external hard drive.
It’s recommended to periodically repeat this verification process whenever you perform a backup to ensure the integrity of your photo backup. Additionally, consider creating multiple backups on separate external hard drives or utilizing cloud storage services as an extra layer of protection.
With a verified backup, you can have peace of mind knowing that your precious memories are securely stored and easily accessible when needed. Now, you can confidently manage and organize your photo library without worrying about any data loss.
That concludes the step-by-step process of backing up your Mac photos to an external hard drive. By following these steps, you have taken a proactive approach to safeguarding your valuable digital memories. Remember, regular backups are essential to protect against unforeseen events and preserve your cherished photos for years to come.
Conclusion
Backing up your Mac photos to an external hard drive is a critical step in ensuring the safety and accessibility of your valuable memories. By following the steps outlined in this guide, you can easily create a backup of your photos and have the peace of mind knowing that they are protected from potential data loss or computer malfunctions.
Remember, the process starts by connecting the external hard drive to your Mac and opening the Photos app. From there, you can select the specific photos you want to backup and export them to the external hard drive. Finally, it is crucial to verify the backup process by ensuring that the exported photos are safely stored and accessible.
Regularly performing these backup procedures will not only provide protection for your photos but also free up valuable storage space on your Mac, allowing it to run more efficiently. Additionally, consider creating multiple backups on different external hard drives or using cloud storage services to further safeguard your precious memories.
With your photos securely backed up, you can confidently manage your photo library, organize it, and make space for new memories. Whether you want to revisit past moments or share your photos with friends and family, having a reliable backup ensures that your photos are always available when you need them.
Remember to update your backup periodically to include new photos and changes made to your photo library. By incorporating this habit into your routine, you can maintain an up-to-date backup and preserve your cherished memories for years to come.
Don’t wait until it’s too late. Start backing up your Mac photos to an external hard drive and safeguard your precious memories today.