Introduction
Welcome to this guide on how to connect a hard disk drive to your computer. Whether you’re upgrading your storage capacity or installing a new hard drive, knowing how to properly connect it is crucial for seamless operation. While the process may seem daunting at first, with a little guidance and the right tools, you’ll have your hard disk drive up and running in no time.
Before we jump into the steps, it’s important to note that connecting a hard disk drive requires some basic knowledge of computer hardware and the ability to handle delicate components. If you are unsure or uncomfortable with any of the steps, it is highly recommended to consult a professional or seek assistance from someone experienced in computer hardware.
Additionally, it’s essential to ensure compatibility between your hard disk drive and your computer. Make sure that the hard drive you are using is compatible with your computer’s interface and operating system. Common interfaces include SATA (Serial Advanced Technology Attachment) and IDE (Integrated Drive Electronics) – be sure to check which one your computer supports.
In this guide, we will walk you through the step-by-step process of connecting a hard disk drive to your computer. We will cover everything from gathering the necessary equipment to verifying the connection. By following these instructions carefully, you will be able to successfully connect your hard disk drive and enjoy the additional storage space or improved performance it provides.
Now that we’ve covered the basics, it’s time to gather the necessary equipment and get started with the process. Let’s dive in!
Checking Compatibility
Before connecting a hard disk drive to your computer, it is essential to ensure compatibility between the drive and your system. This involves verifying the compatibility of both the physical interface and the operating system.
Firstly, determine the type of interface supported by your computer. The two common types are SATA (Serial Advanced Technology Attachment) and IDE (Integrated Drive Electronics). SATA is more prevalent in modern systems, offering faster data transfer speeds, while IDE is older and slower.
You can check the interface type by referring to the documentation that came with your computer or by checking the specifications online. Additionally, looking inside the computer case can give you a visual indication of the available connections. SATA connections feature a thin, L-shaped connector, while IDE connections use a flat, rectangular cable.
Secondly, consider the compatibility with your operating system. Most modern hard disk drives are compatible with various operating systems, including Windows, macOS, and Linux. However, it’s crucial to check if there are any specific compatibility requirements or drivers needed for your chosen hard drive. Consult the manufacturer’s website or product documentation for this information.
Furthermore, it’s essential to check if your computer has any free ports to accommodate the hard disk drive. If there are no available SATA or IDE ports, you may need to install an expansion card to add more connections. Again, consult the documentation for your computer or check online resources for guidance on adding expansion cards.
By checking the compatibility of your hard disk drive with your computer’s interface and operating system, you will ensure a smooth and successful connection process. Once you have confirmed compatibility, you can proceed with gathering the necessary equipment for the next steps.
Gathering the Necessary Equipment
Before you can connect a hard disk drive to your computer, you will need to gather the necessary equipment. Having the right tools and components on hand will make the process much smoother and ensure a secure and reliable connection.
Here’s a list of the essential equipment you will need:
- Hard Disk Drive (HDD): Choose a hard disk drive that is compatible with your computer’s interface (SATA or IDE) and suits your storage requirements.
- Screwdriver: Depending on your computer model, you may need a Phillips head or a Torx screwdriver to open the computer case.
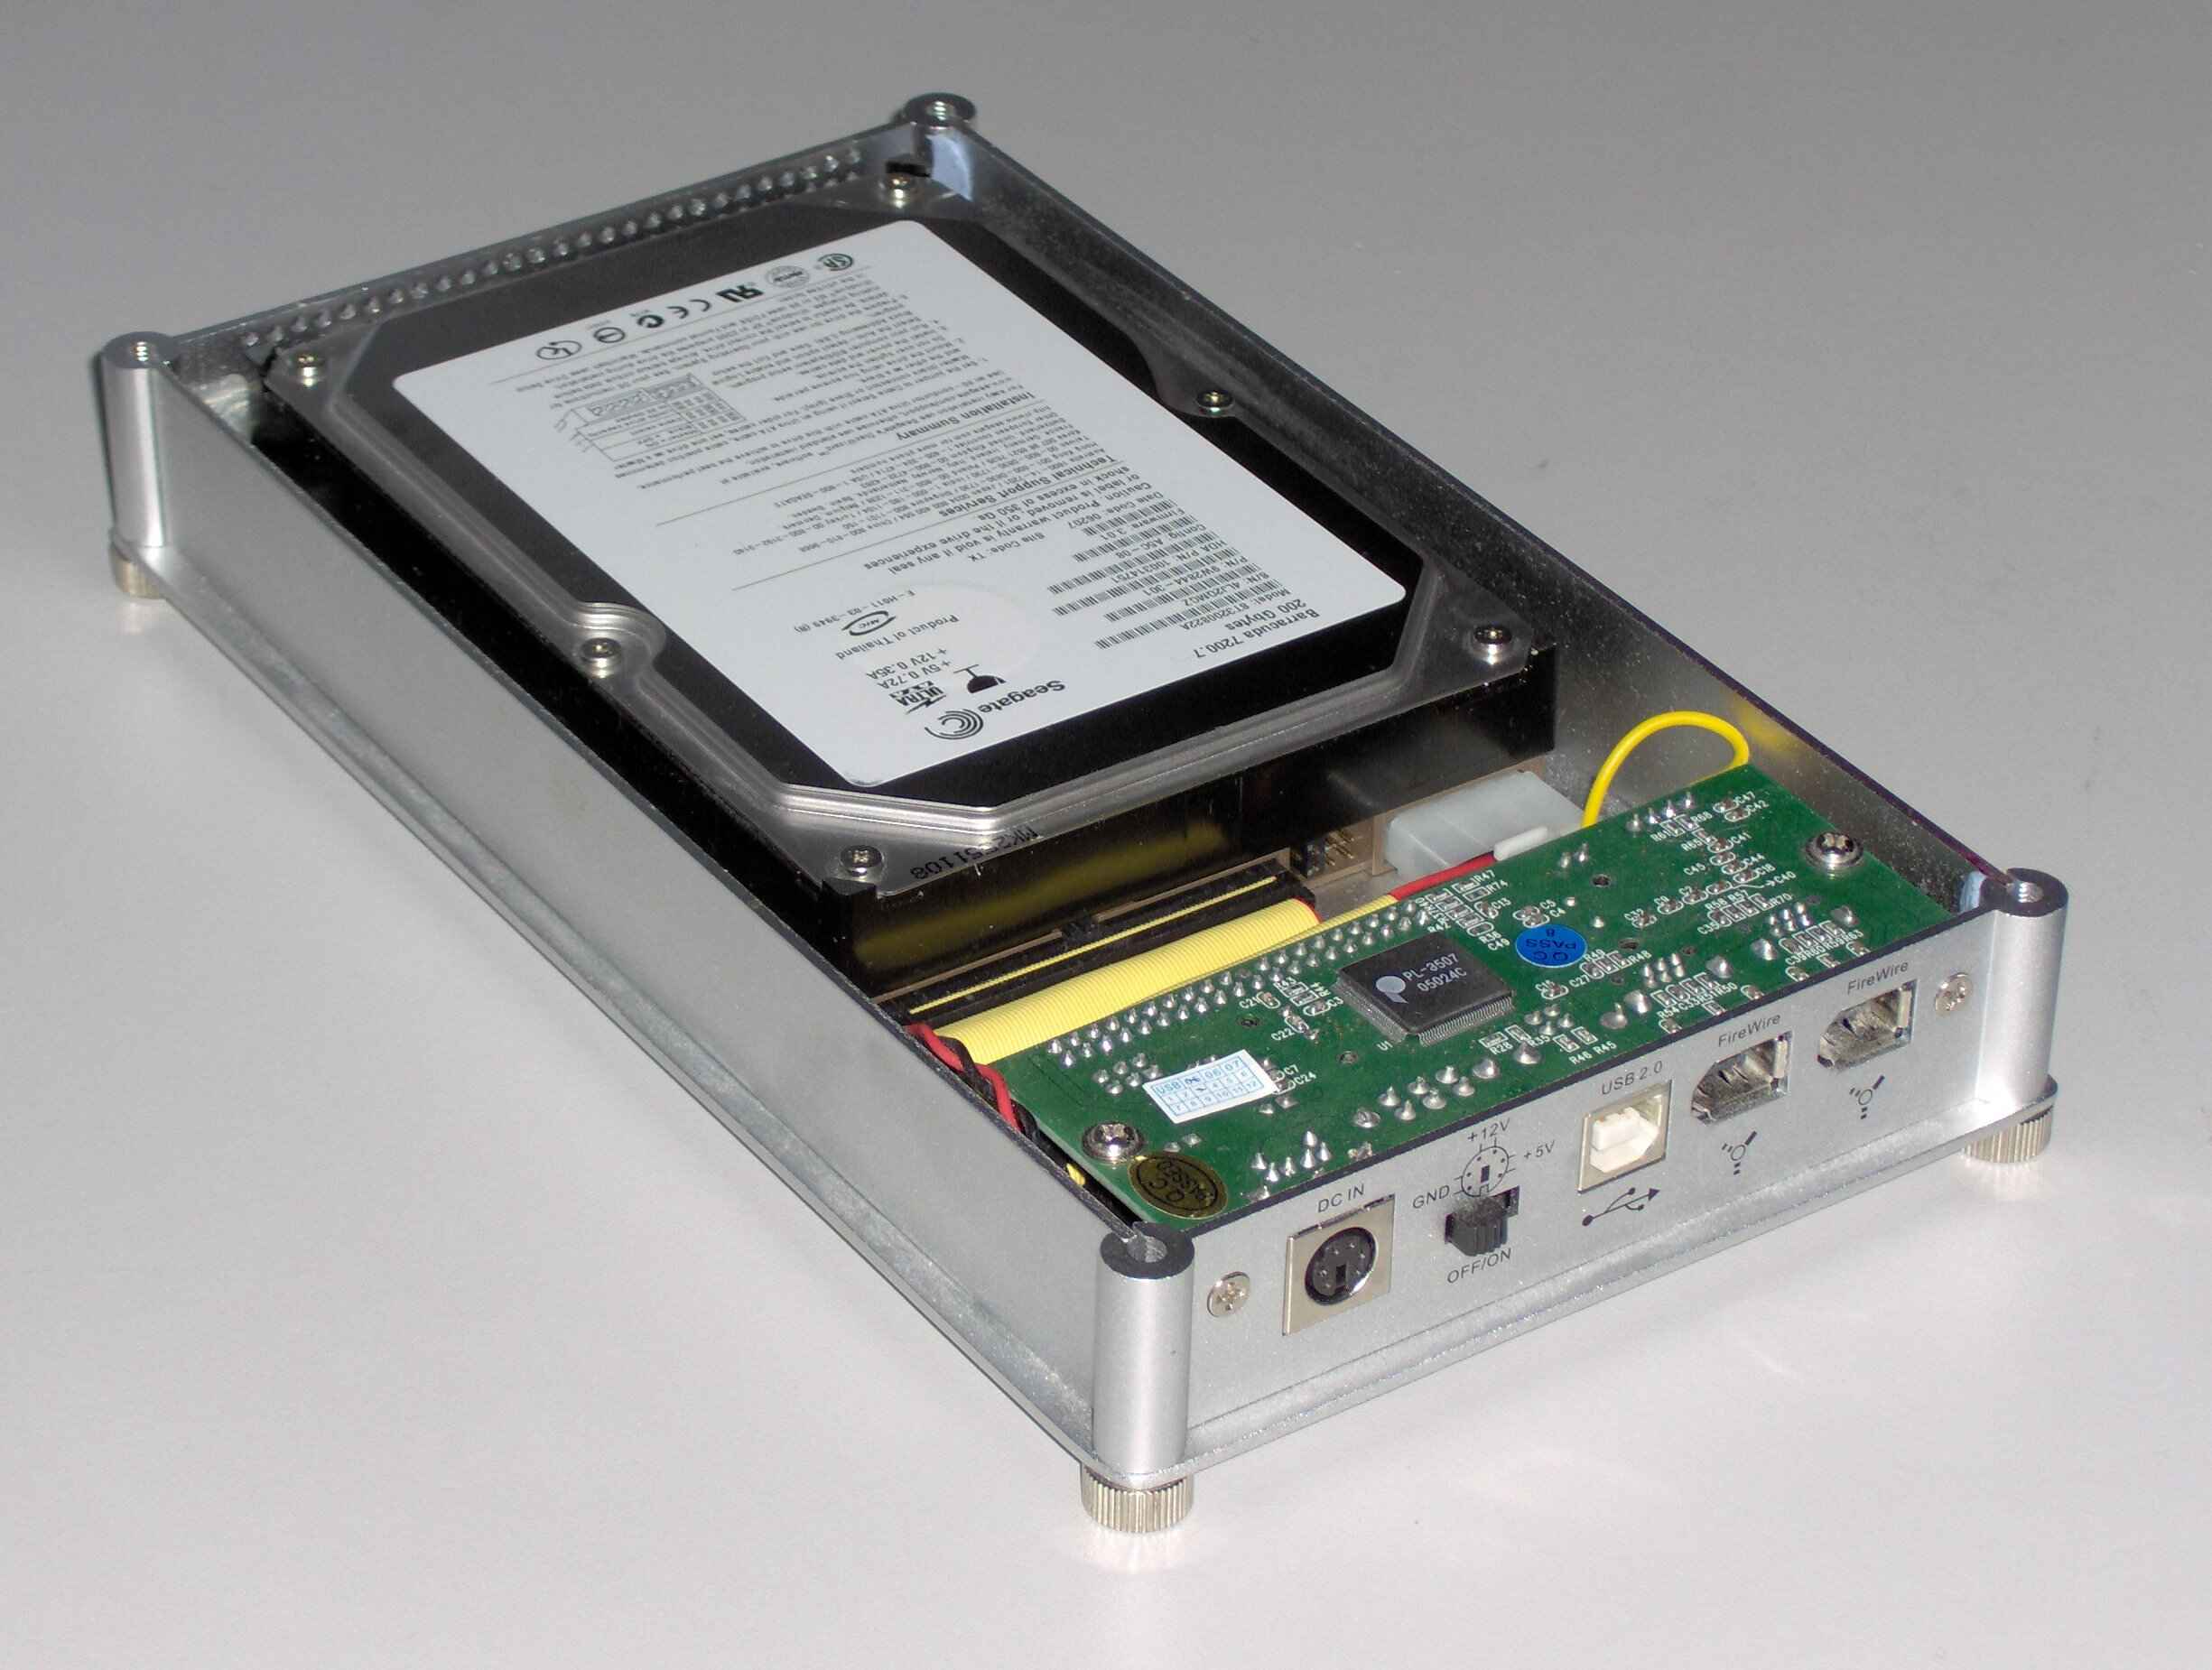
- Data and Power Cables: Ensure you have the necessary cables to connect the hard disk drive to your computer. SATA drives usually require a SATA data cable, while IDE drives use an IDE ribbon cable. Additionally, you will need a SATA power cable or a Molex connector for power supply.
- Mounting Kit: If your computer case doesn’t have dedicated drive bays or mounting brackets, you may need a mounting kit to securely attach the hard disk drive to the case.
- Static Wrist Strap: To protect your hard disk drive and other components from static electricity, wear a static wrist strap during the installation process.
It’s important to note that while some hard disk drives come with cables or mounting kits, it’s always a good idea to double-check and ensure you have everything you need. It’s better to be prepared than to encounter unexpected roadblocks during the installation process.
Once you have assembled all the necessary equipment, you are ready to proceed to the next step: preparing the hard disk drive for installation.
Preparing the Hard Disk Drive
Before connecting the hard disk drive to your computer, it’s important to prepare the drive for installation. This involves a few essential steps to ensure the drive is ready to be connected and properly recognized by your computer.
Follow these steps to prepare the hard disk drive:
- Check for Jumper Settings: If you are using an IDE hard disk drive, you may need to set the jumper configuration to either MASTER or SLAVE, depending on your setup. Consult the hard drive’s documentation or look for jumper configuration information printed on the drive.
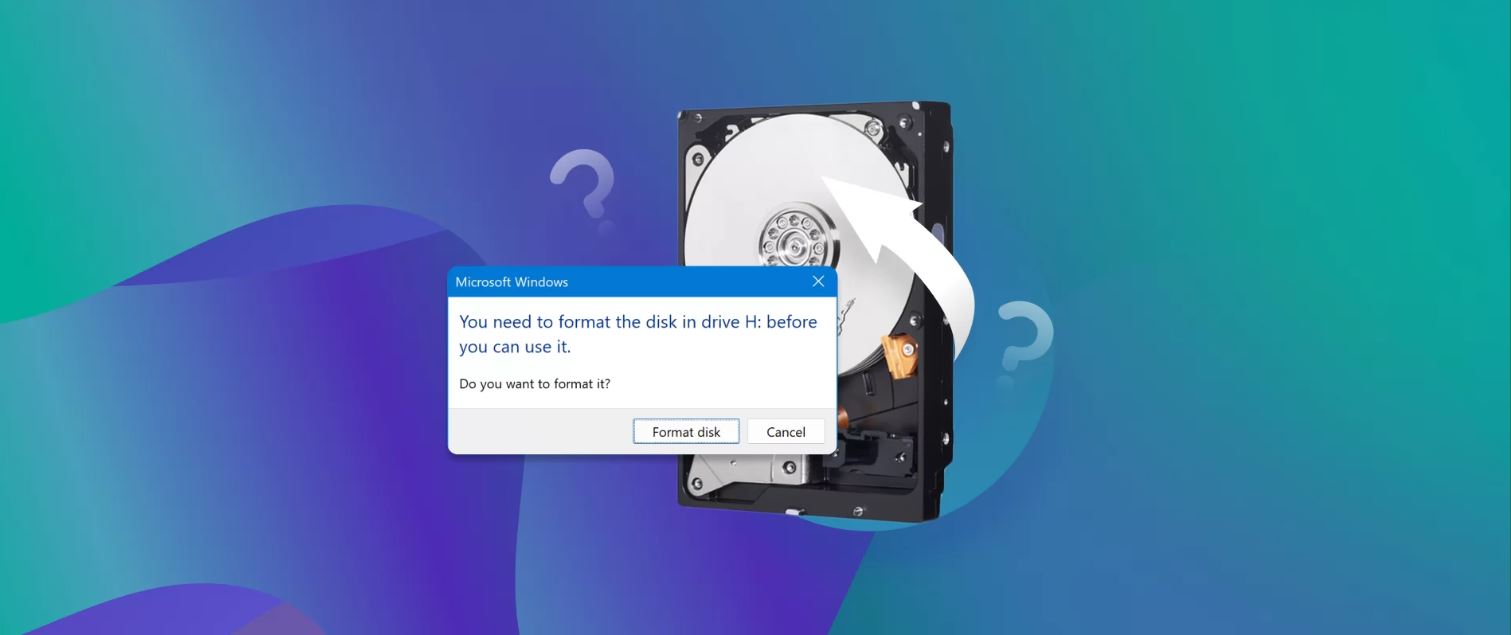
- Partition and Format (Optional): If the hard disk drive is new or doesn’t have any partitions, you may want to partition and format it before connecting it to your computer. This can be done using Windows Disk Management tool or third-party partitioning software, ensuring that the drive is initialized and ready for use.
- Inspect the Connections: Take a moment to check the connectors on the hard disk drive for any damages or bent pins. It’s crucial to ensure that all the pins are straight and in good condition. Any damaged connectors may result in connectivity issues or data corruption.
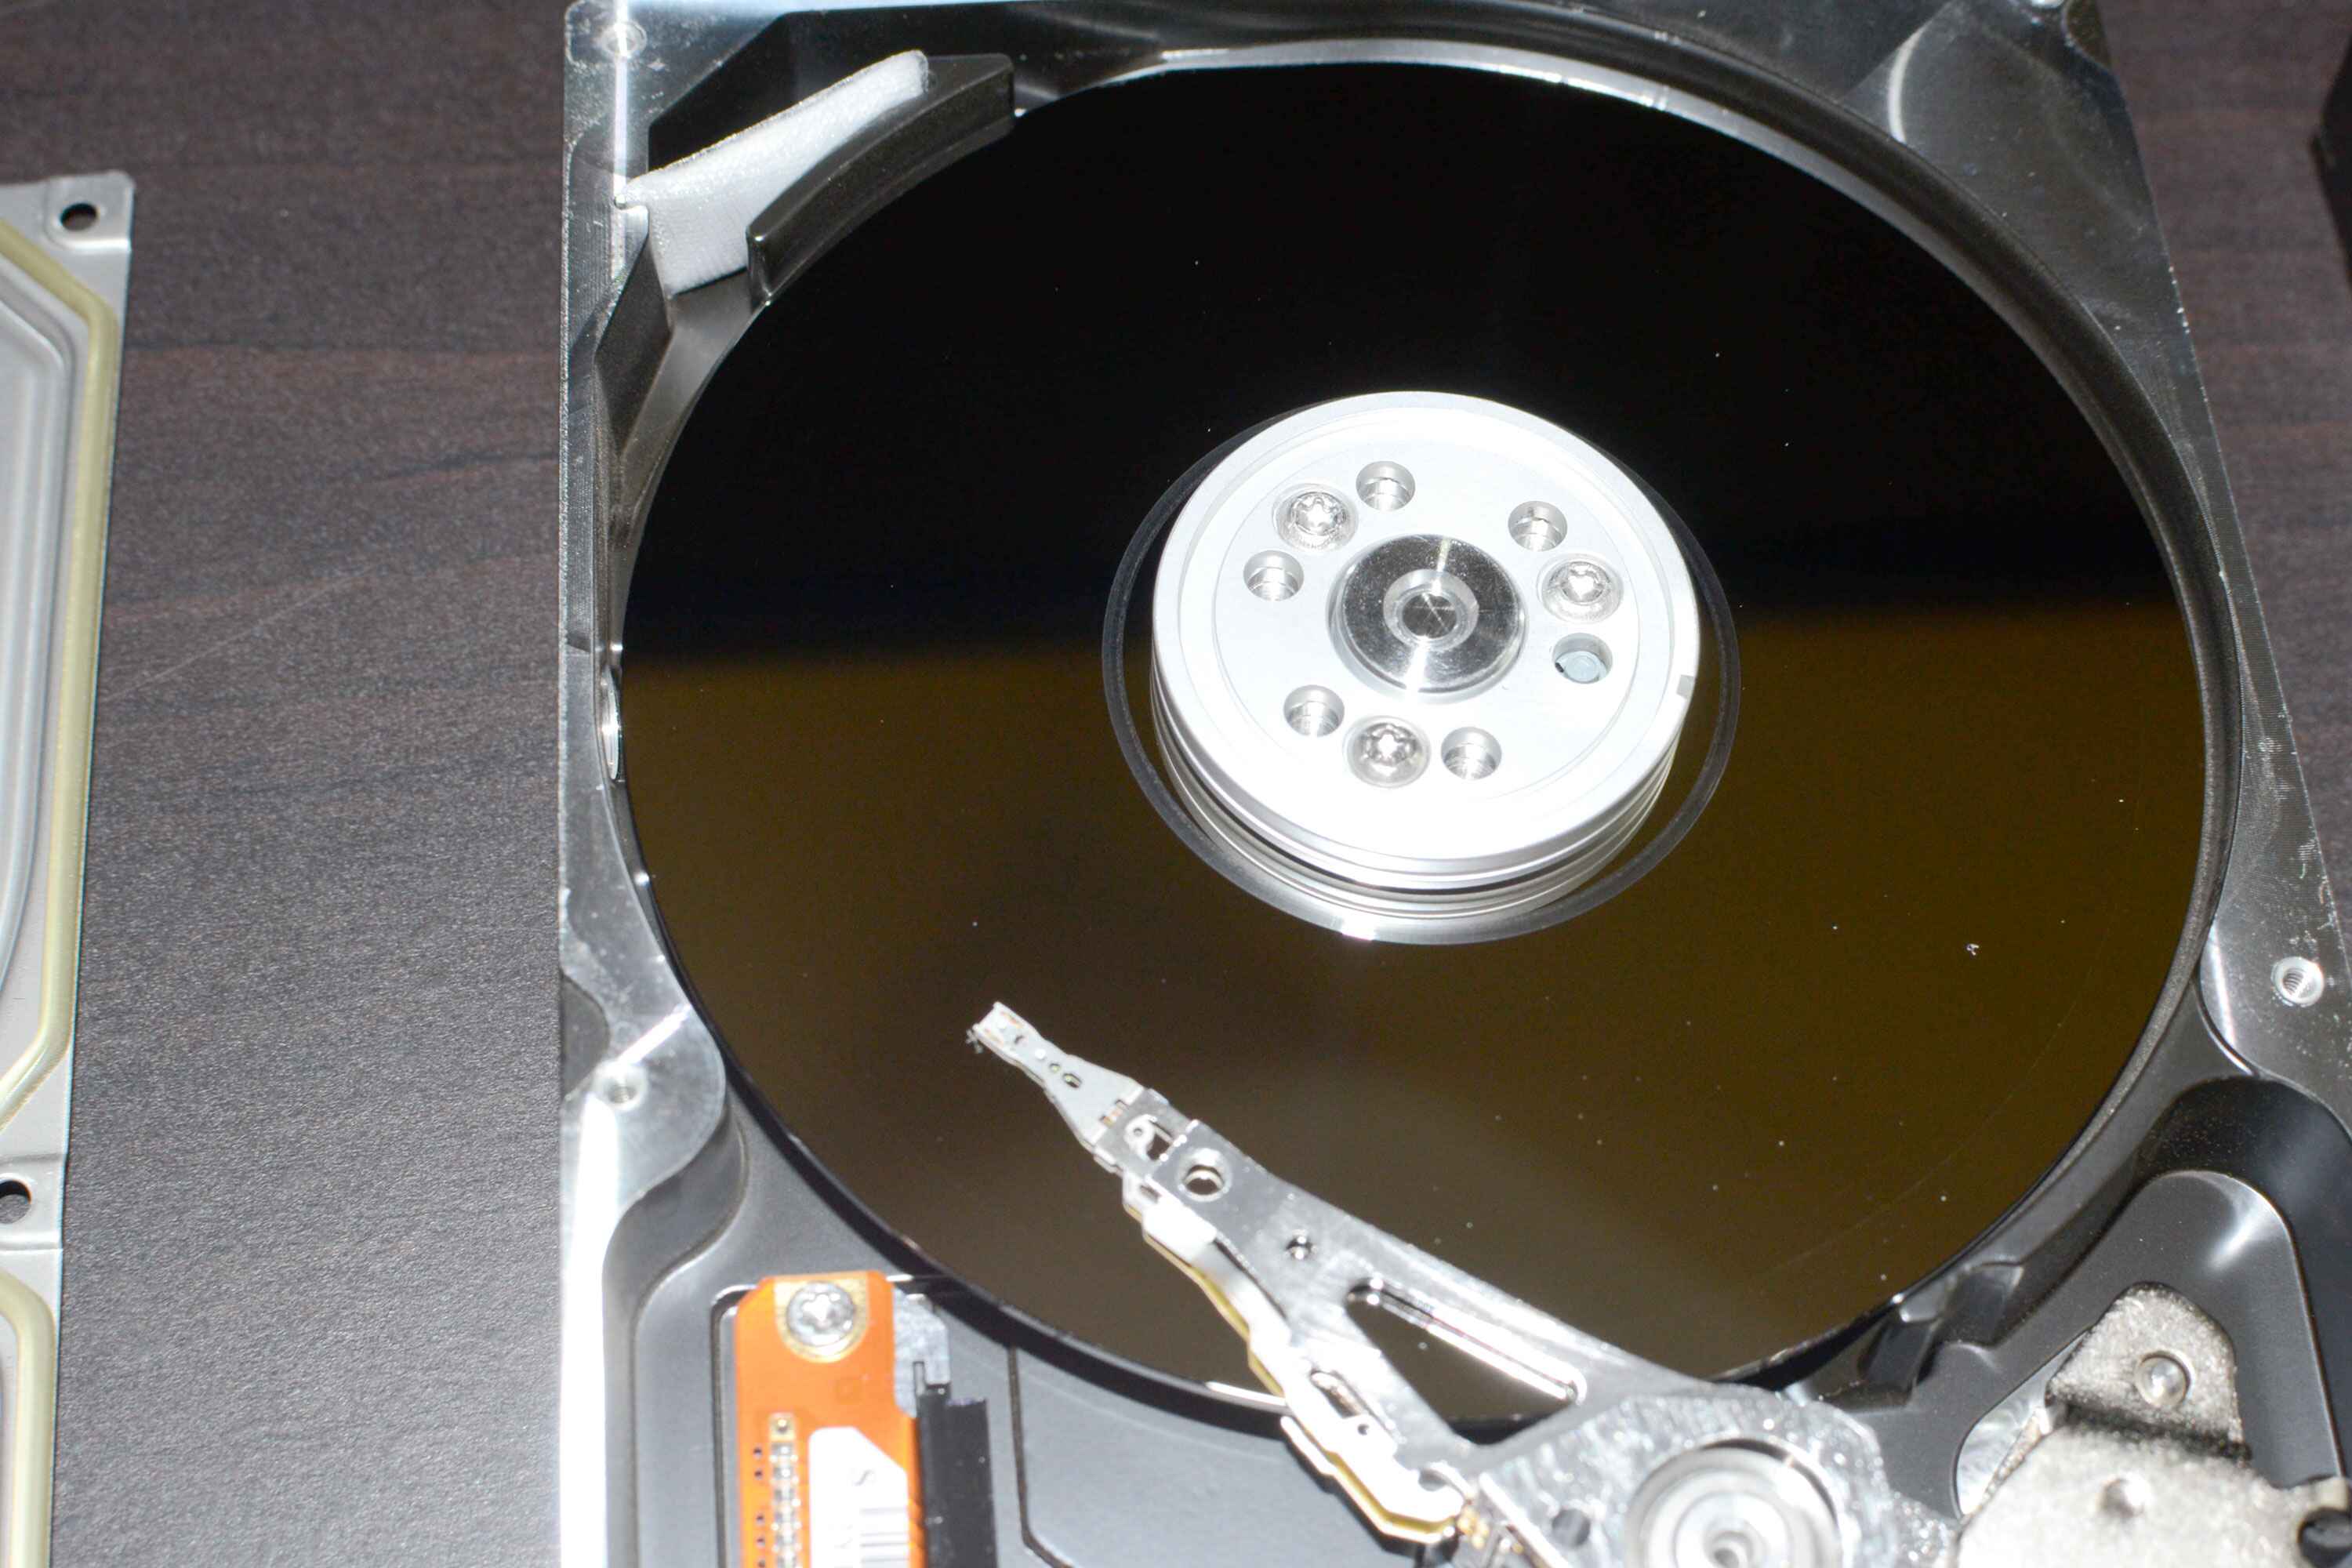
- Handle with Care: Hard disk drives are sensitive components, and mishandling them can cause damage. When handling the drive, make sure to hold it by the edges and avoid touching any of the exposed electronic components or the disk surface. Additionally, work on a clean and static-free surface to prevent any electrical damage.
By following these preparation steps, you can ensure that your hard disk drive is ready for installation and minimize the risk of any potential issues. With the drive prepared, it’s time to move on to the next step: opening the computer case.
Opening the Computer Case
In order to connect a hard disk drive to your computer, you will need to open the computer case. This will provide you with access to the internal components, allowing you to install the drive correctly.
Follow these steps to open the computer case:
- Power Off: Before opening the computer case, make sure your computer is powered off completely. Unplug the power cord from the wall socket to ensure there is no electrical current flowing through the system.
- Ground Yourself: To prevent damage from static electricity, it’s important to ground yourself. You can do this by touching a grounded metal object or wearing an anti-static wrist strap.
- Locate the Screws: Look for the screws or fasteners that secure the computer case. Common locations include the back, top, or sides of the case. In most cases, you will need to remove a few screws to access the internals of the computer.
- Remove the Side Panel: Once you have located the screws, use a screwdriver to unscrew and remove the side panel of the computer case. Set the screws aside in a safe place for reassembly later.
- Handle with Care: When removing the side panel, be cautious not to force it or apply excessive pressure. Different computer cases may have different mechanisms for securing the panel, so refer to the specific instructions for your case if needed.
With the computer case open, you now have access to the internal components of your system. Be mindful of the delicate components and ensure you work in a clean and static-free environment.
Now that the computer case is open, it’s time to locate the appropriate connection port for your hard disk drive. This will be discussed in the next section.
Locating the Appropriate Connection Port
Once you have opened the computer case, the next step in connecting a hard disk drive is to locate the appropriate connection port on your motherboard. The specific location and type of connection port will depend on the interface (SATA or IDE) and the design of your motherboard.
Follow these steps to locate the appropriate connection port:
- Identify the Port Types: Look for the SATA or IDE ports on your motherboard. SATA ports are small, L-shaped connectors, while IDE ports use wider, rectangular connectors with several pins.
- Refer to the Motherboard Manual: If you are unsure about the location of the connection ports, consult the motherboard manual. It will provide detailed information about the layout and placement of the various ports.
- Check the Number of Ports Available: Take note of the number of available ports. This will help you determine which port to use, especially if you have other devices already connected, such as optical drives or additional hard drives.
- Note the Keying and Orientation: Pay attention to the keying and orientation of the ports. Some SATA ports may be angled or have a different color or label to indicate specific functions or configurations. Ensure the orientation matches the cable you are using.
- Plan the Installation: Based on the location and availability of the appropriate connection port, plan the placement of the hard disk drive inside the computer case. Consider factors such as cable length and ease of connection.
By carefully locating the appropriate connection port, you will ensure a secure and reliable connection for your hard disk drive. Once you have identified the port, you can proceed to the next step: connecting the hard disk drive to the computer.
Connecting the Hard Disk Drive
With the appropriate connection port identified, it’s time to connect the hard disk drive to your computer. This step involves attaching the necessary cables to establish both the data and power connections for the drive.
Follow these steps to connect the hard disk drive:
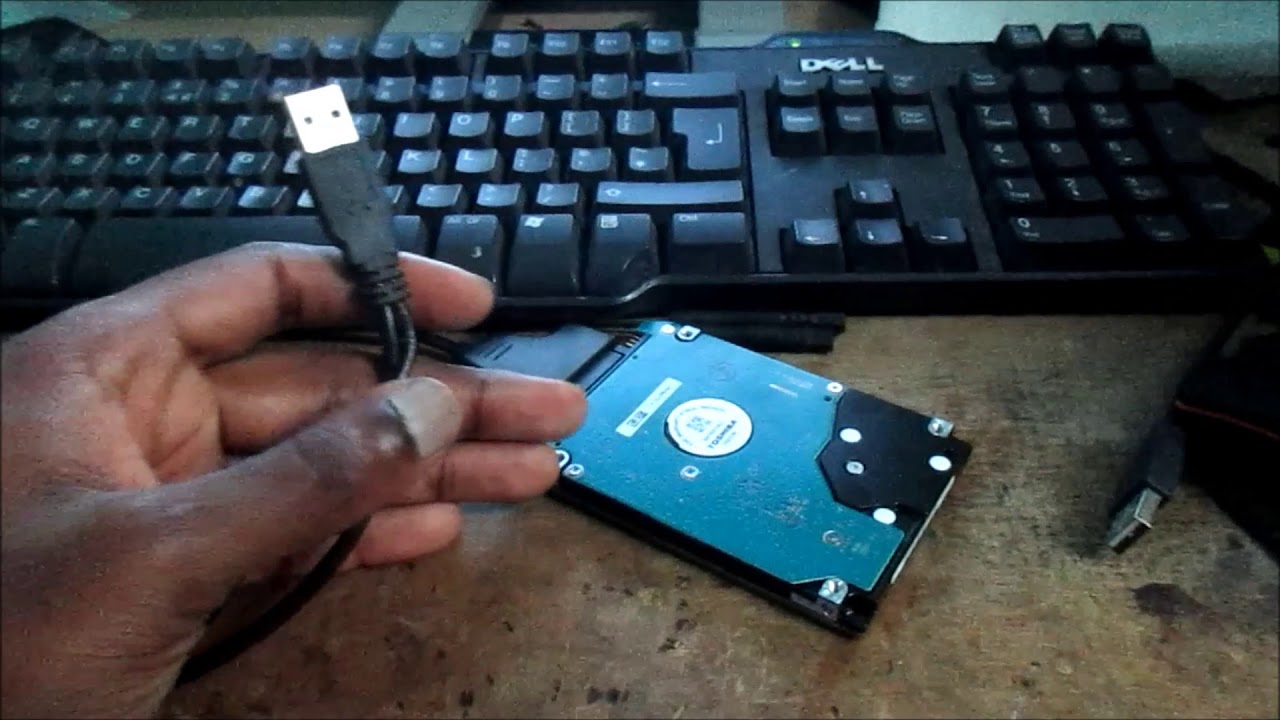
- Data Connection: Connect one end of the SATA data cable (or IDE ribbon cable, if applicable) to the corresponding port on the hard disk drive. Ensure that the cable is inserted securely and properly aligned with the connection port.
- Motherboard Connection: Locate the appropriate SATA or IDE port on the motherboard and connect the other end of the data cable to the port. Make sure the cable is securely attached and properly oriented according to the keying or color-coding of the port.
- Power Connection: Connect the power cable to the appropriate power connector on the hard disk drive. SATA drives typically use a SATA power cable, while IDE drives may use a Molex connector. Ensure a tight and secure connection.
- Double-Check Connections: Once you have connected both the data and power cables, double-check the connections to ensure they are secure. Verify that the cables are properly seated and that there is no tension or stress on the ports.
It’s important to handle the cables with care and avoid putting excessive strain on them during the installation process. Excess tension or loose connections can cause data transfer issues or damage the connectors.
With the hard disk drive properly connected, you are ready to move on to the next step: securing the hard disk drive inside the computer case.
Securing the Hard Disk Drive
Securing the hard disk drive inside the computer case is an important step to ensure its stability and prevent any movement or damage during operation. Properly securing the drive will also minimize the risk of data loss or disconnection.
Follow these steps to secure the hard disk drive:
- Choose a Mounting Location: Determine the ideal location for the hard disk drive within the computer case. Look for drive bays or mounting brackets that can securely hold the drive.
- Use Mounting Screws or Rails: Attach the hard drive to the mounting location using appropriate screws or rails. Most computer cases provide screws specifically designed for securing hard drives. Ensure that the screws are tightened enough to hold the drive firmly in place but avoid overtightening, as it may damage the drive or the mounting location.
- Consider Vibration Isolation: If your computer case or mounting location has vibration dampening features or rubber grommets, consider using them to minimize vibrations and reduce the risk of mechanical damage to the hard drive.
- Check for Clearance: Ensure that there is enough clearance around the installed hard disk drive to allow proper airflow for cooling. Avoid placing the drive in a location that obstructs other components or cables.
It’s important to note that the specific method of securing the hard disk drive may vary depending on the computer case design. Some cases use tool-less installation mechanisms, while others may require specific brackets or adapters.
By securely mounting the hard disk drive in the appropriate location, you will ensure its stability and minimize the risk of damage or disconnection. With the drive secured, you are ready to move on to the next step: closing the computer case.
Closing the Computer Case
After successfully connecting and securing the hard disk drive inside your computer, the next step is to close the computer case. Properly closing the case not only protects the internal components from dust and physical damage but also ensures a clean and professional appearance.
Follow these steps to close the computer case:
- Reattach the Side Panel: carefully align the side panel with the case and gently slide it back into place. Make sure it is aligned properly with the screw holes.
- Secure the Screws: Use the screws that you set aside earlier to secure the side panel. Tighten them firmly, but avoid overtightening to prevent any damage to the case or the screws themselves.
- Check for Proper Alignment: Once the side panel is secured, double-check that it is aligned correctly and flush with the rest of the case. Ensure there are no gaps or loose parts.
- Plug in Power and Peripherals: Reconnect the power cord to the wall socket and plug in any peripherals that were disconnected during the process, such as the keyboard, mouse, and monitor.
- Power On the Computer: Press the power button to turn on your computer and boot it up.
As you close the computer case, be mindful of any cables that may be in the way and ensure they are properly routed and not at risk of being pinched or damaged. Take your time to ensure everything is in place and secure before turning on the computer.
With the computer case securely closed, you have completed the physical installation of the hard disk drive. The next step is to boot up the computer and verify the connection, which we will cover in the following section.
Booting up the Computer
After successfully closing the computer case, it’s time to boot up your computer and ensure that the newly connected hard disk drive is recognized by the system. Properly booting up the computer will allow you to check if the connection is functioning correctly and proceed with any necessary configurations.
Follow these steps to boot up the computer:
- Connect Power and Peripherals: Ensure that the computer is properly connected to a power source. Plug the power cord into the wall socket and reconnect any peripheral devices, such as the keyboard, mouse, and monitor.
- Press the Power Button: Press the power button on your computer to turn it on. You should hear the fans whirring, and lights or indicators on the computer case or motherboard should start to illuminate.
- Watch for the BIOS Startup Screen: As the computer boots up, keep an eye on the screen for the BIOS startup screen or any messages that indicate the detection of new hardware.
- Access the BIOS or UEFI Setup: If necessary, press the designated key (such as F2, Del, or Esc) to access the BIOS or UEFI setup utility. Refer to your computer’s documentation or the startup instructions on the screen for the specific key.
- Check the Hard Disk Drive: Once in the BIOS or UEFI setup, navigate to the device or storage settings to verify if the hard disk drive is detected and properly recognized. The specific location of these settings may vary depending on your computer’s motherboard manufacturer.
- Save and Exit the BIOS: If everything looks good and the hard disk drive is detected, save any changes made in the BIOS or UEFI setup and exit. The computer will then continue to boot up into the operating system.
- Verify Drive Access: Once the operating system has loaded, check if the newly connected hard disk drive is accessible in the file explorer or disk management utility. Ensure that the drive is recognized and appears as expected.
If the hard disk drive is not detected or does not appear in the BIOS or operating system, double-check the connections and configurations made during the installation process. Make sure the cables are securely connected and that the drive is properly powered.
By successfully booting up the computer and verifying the connection, you have completed the installation process. Now you can proceed with any necessary formatting, partitioning, or data transfer to make use of the newly connected hard disk drive.
Verifying the Connection
After booting up the computer and ensuring that the hard disk drive is recognized, it’s important to perform a final check to verify the connection’s functionality. Verifying the connection ensures that the hard disk drive is fully operational and ready to be used for data storage or other purposes.
Follow these steps to verify the connection:
- Open the File Explorer or Disk Management: Open the file explorer or disk management utility on your operating system to check if the hard disk drive is visible and accessible.
- Locate the Hard Disk Drive: In the file explorer or disk management utility, locate the hard disk drive by its name or drive letter. It should be displayed alongside any existing drives connected to your computer.
- Access the Drive: Double-click on the hard disk drive to access its contents. You can create new folders, transfer files, or perform any necessary tasks to ensure the drive is functioning correctly.
- Perform Read and Write Tests: To further verify the connection and performance of the hard disk drive, you can perform read and write tests. This involves copying files to and from the drive, opening files stored on the drive, and checking for any unusual noises or errors.
- Monitor Drive Performance: After testing the drive, monitor its performance during regular usage. Ensure that file transfers are swift, and the drive remains stable and accessible over time. If you encounter any issues, such as slow performance or data corruption, further troubleshooting may be necessary.
By verifying the connection and functionality of the hard disk drive, you can have confidence that it is properly connected and ready for use. Remember to regularly back up your data and keep an eye on the drive’s health to ensure optimal performance and longevity.
Congratulations! You have successfully connected and verified the hard disk drive on your computer. Enjoy the additional storage space or improved performance that the drive provides.
Conclusion
Connecting a hard disk drive to your computer is a fundamental process that allows you to expand your storage capacity or enhance your system’s performance. By following the steps outlined in this guide, you should now have a good understanding of how to connect a hard disk drive to your computer.
We started by checking the compatibility of the hard disk drive with your computer, ensuring that the interface and operating system are compatible. Then, we moved on to gathering the necessary equipment, including the hard disk drive itself, screws, cables, and any additional mounting kits needed.
After that, we prepared the hard disk drive, checking for jumper settings, partitioning, and formatting options. Then, we proceeded to open the computer case and locate the appropriate connection port on the motherboard for the hard disk drive.
Next, we connected the hard disk drive, making secure data and power connections. We then secured the drive inside the computer case using mounting screws or rails, ensuring proper alignment and clearance for optimal performance.
After closing the computer case, we booted up the computer and verified that the hard disk drive was recognized by the system, checking the BIOS or UEFI settings for detection. We concluded by verifying the connection in the operating system, accessing the drive and performing read and write tests to ensure its functionality.
With the hard disk drive successfully connected and verified, you are now ready to make use of the additional storage space or take advantage of the improved performance it provides. Remember to regularly back up your important data and always handle computer components with caution to avoid any accidental damages.
Thank you for following this guide and best of luck in your hard disk drive installation journey!