Check for Compatibility
Before proceeding with the process of downloading photos from your SD card to your Mac, it’s important to ensure that your devices are compatible. Confirm that your Mac has an SD card slot or an external SD card reader. Additionally, make sure that your Mac’s operating system is capable of supporting this function.
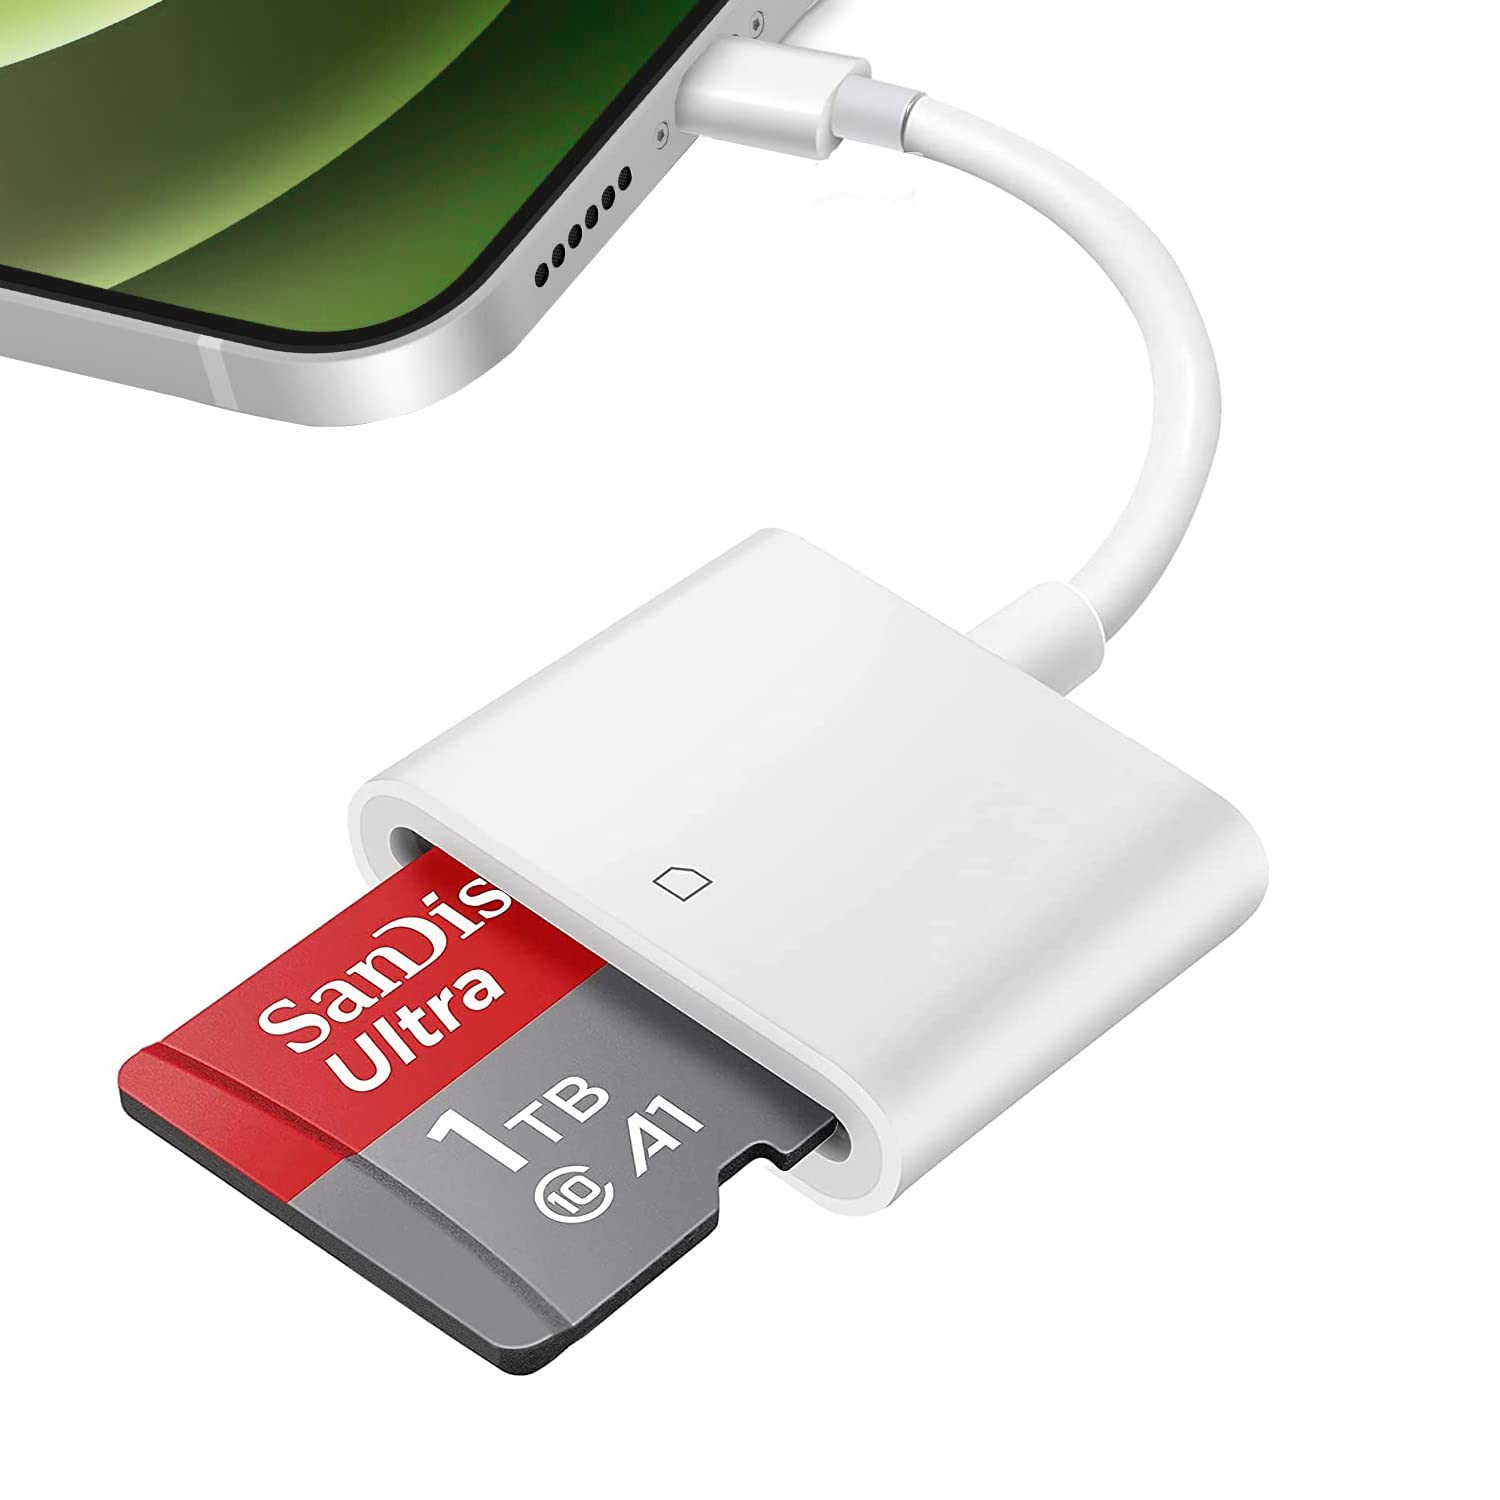
Most Mac computers, including MacBook Pro and iMac models, come with built-in SD card slots. If you own an older model without an SD card slot, you can easily connect an external SD card reader via USB or Thunderbolt. This allows you to transfer photos from your SD card to your Mac.
To check if your Mac supports SD cards:
- Go to the Apple menu () in the top left corner of your screen.
- Select “About This Mac” from the drop-down menu.
- Click on “System Report”.
- In the left sidebar, under the “Hardware” section, click on “Card Reader”.
- Look for “SD Card Slot” in the right-hand pane.
If you see “Built-in SD Card Reader” or any similar description listed, it means your Mac has the necessary compatibility to read SD cards. If your Mac doesn’t have a built-in SD card reader, you will need to connect an external SD card reader to proceed with the photo transfer process.
Ensure that your Mac’s operating system is up to date as well. Check for any available software updates by following these steps:
- Go to the Apple menu () in the top left corner of your screen.
- Select “System Preferences” from the drop-down menu.
- Click on “Software Update”.
- If updates are available, click on “Update Now” and follow the on-screen instructions to install them.
By confirming the compatibility of your Mac and keeping your operating system updated, you ensure a smooth and hassle-free process of downloading photos from your SD card to your Mac.
Insert the SD Card into your Mac
Now that you have confirmed the compatibility of your Mac, it’s time to physically insert the SD card into your computer. Follow the steps below:
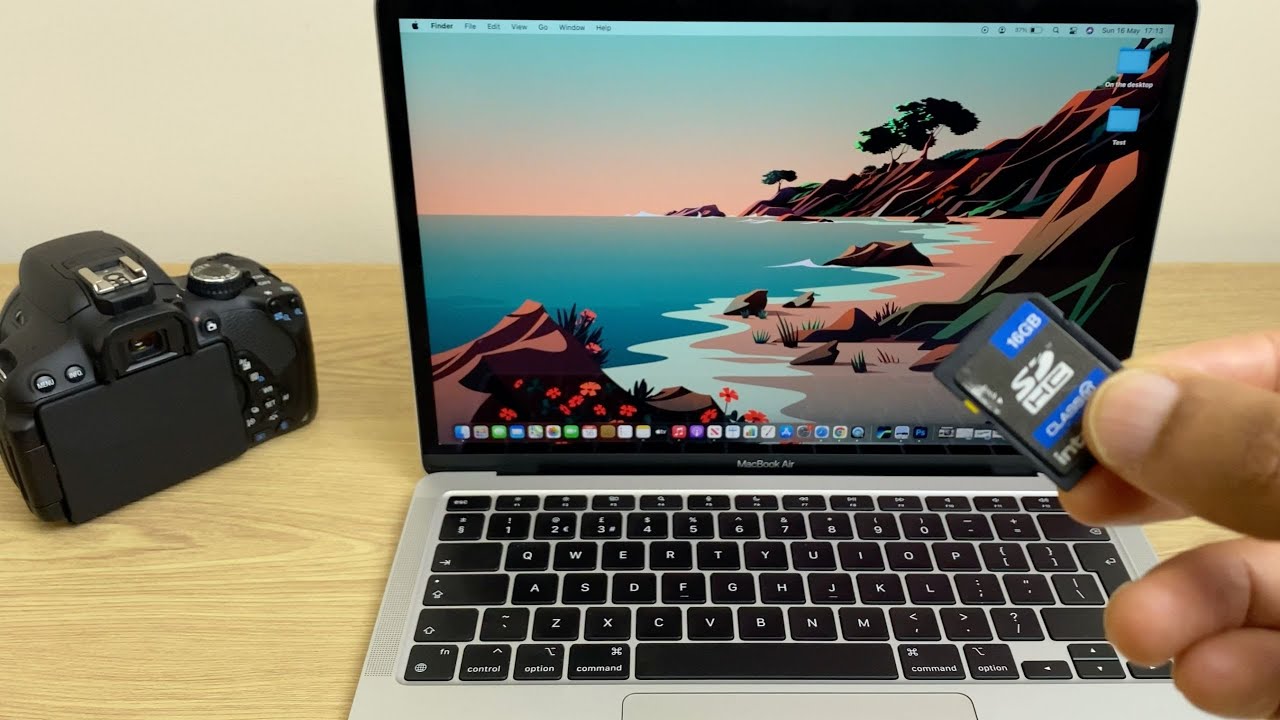
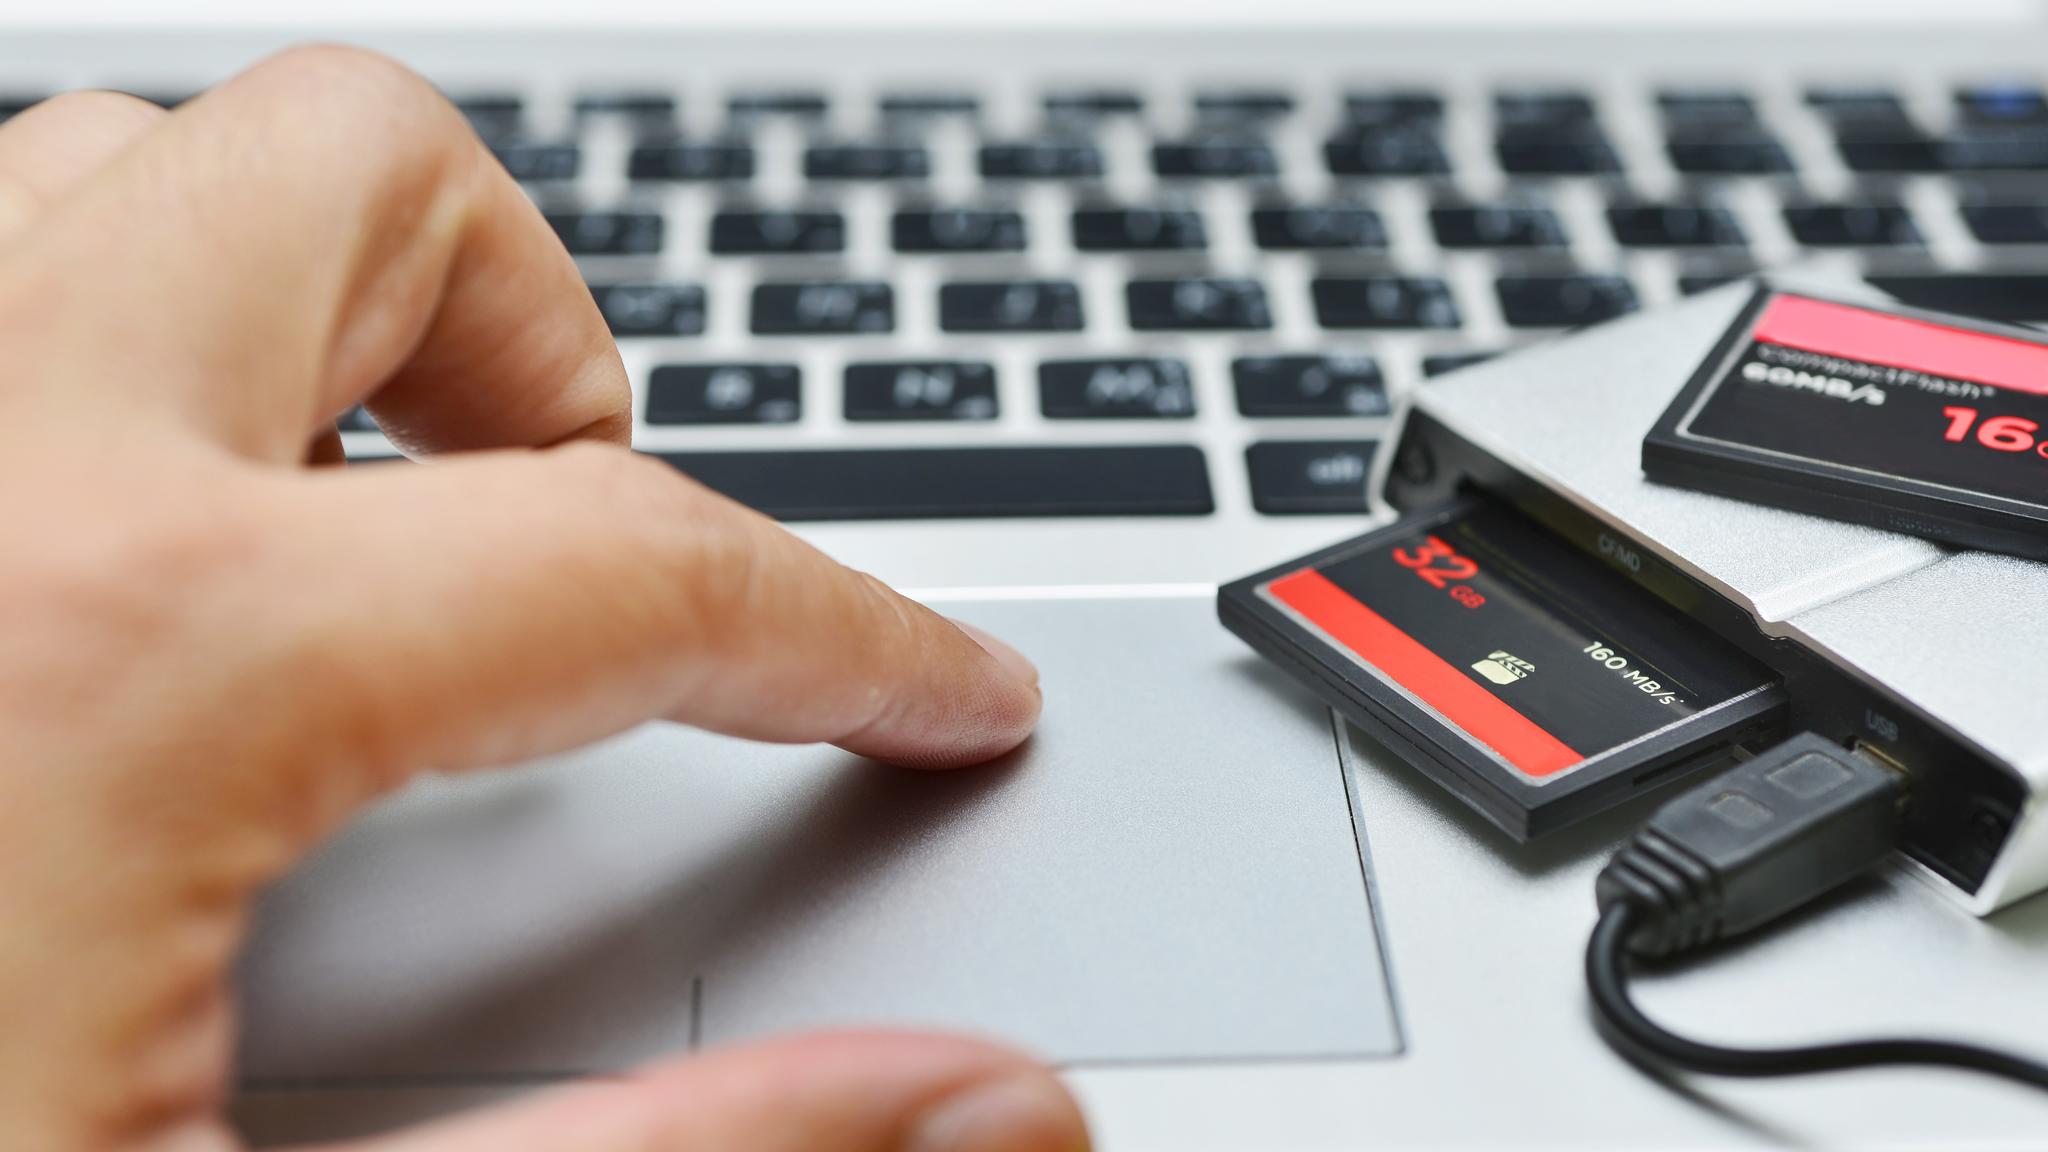
- Locate the SD card slot on your Mac. If your Mac has a built-in SD card reader, you can find it on the side of your MacBook or on the back of your iMac. If you are using an external SD card reader, connect it to your Mac’s USB or Thunderbolt port.
- Gently insert the SD card into the designated slot or the card reader. Ensure that the metal contacts on the SD card are facing down and align with the corresponding pins in the slot or reader. Be gentle to avoid any damage to the SD card or the card reader.
- Push the SD card all the way in until it is firmly seated in the slot or reader. You may feel a slight click or resistance when the card is properly inserted.
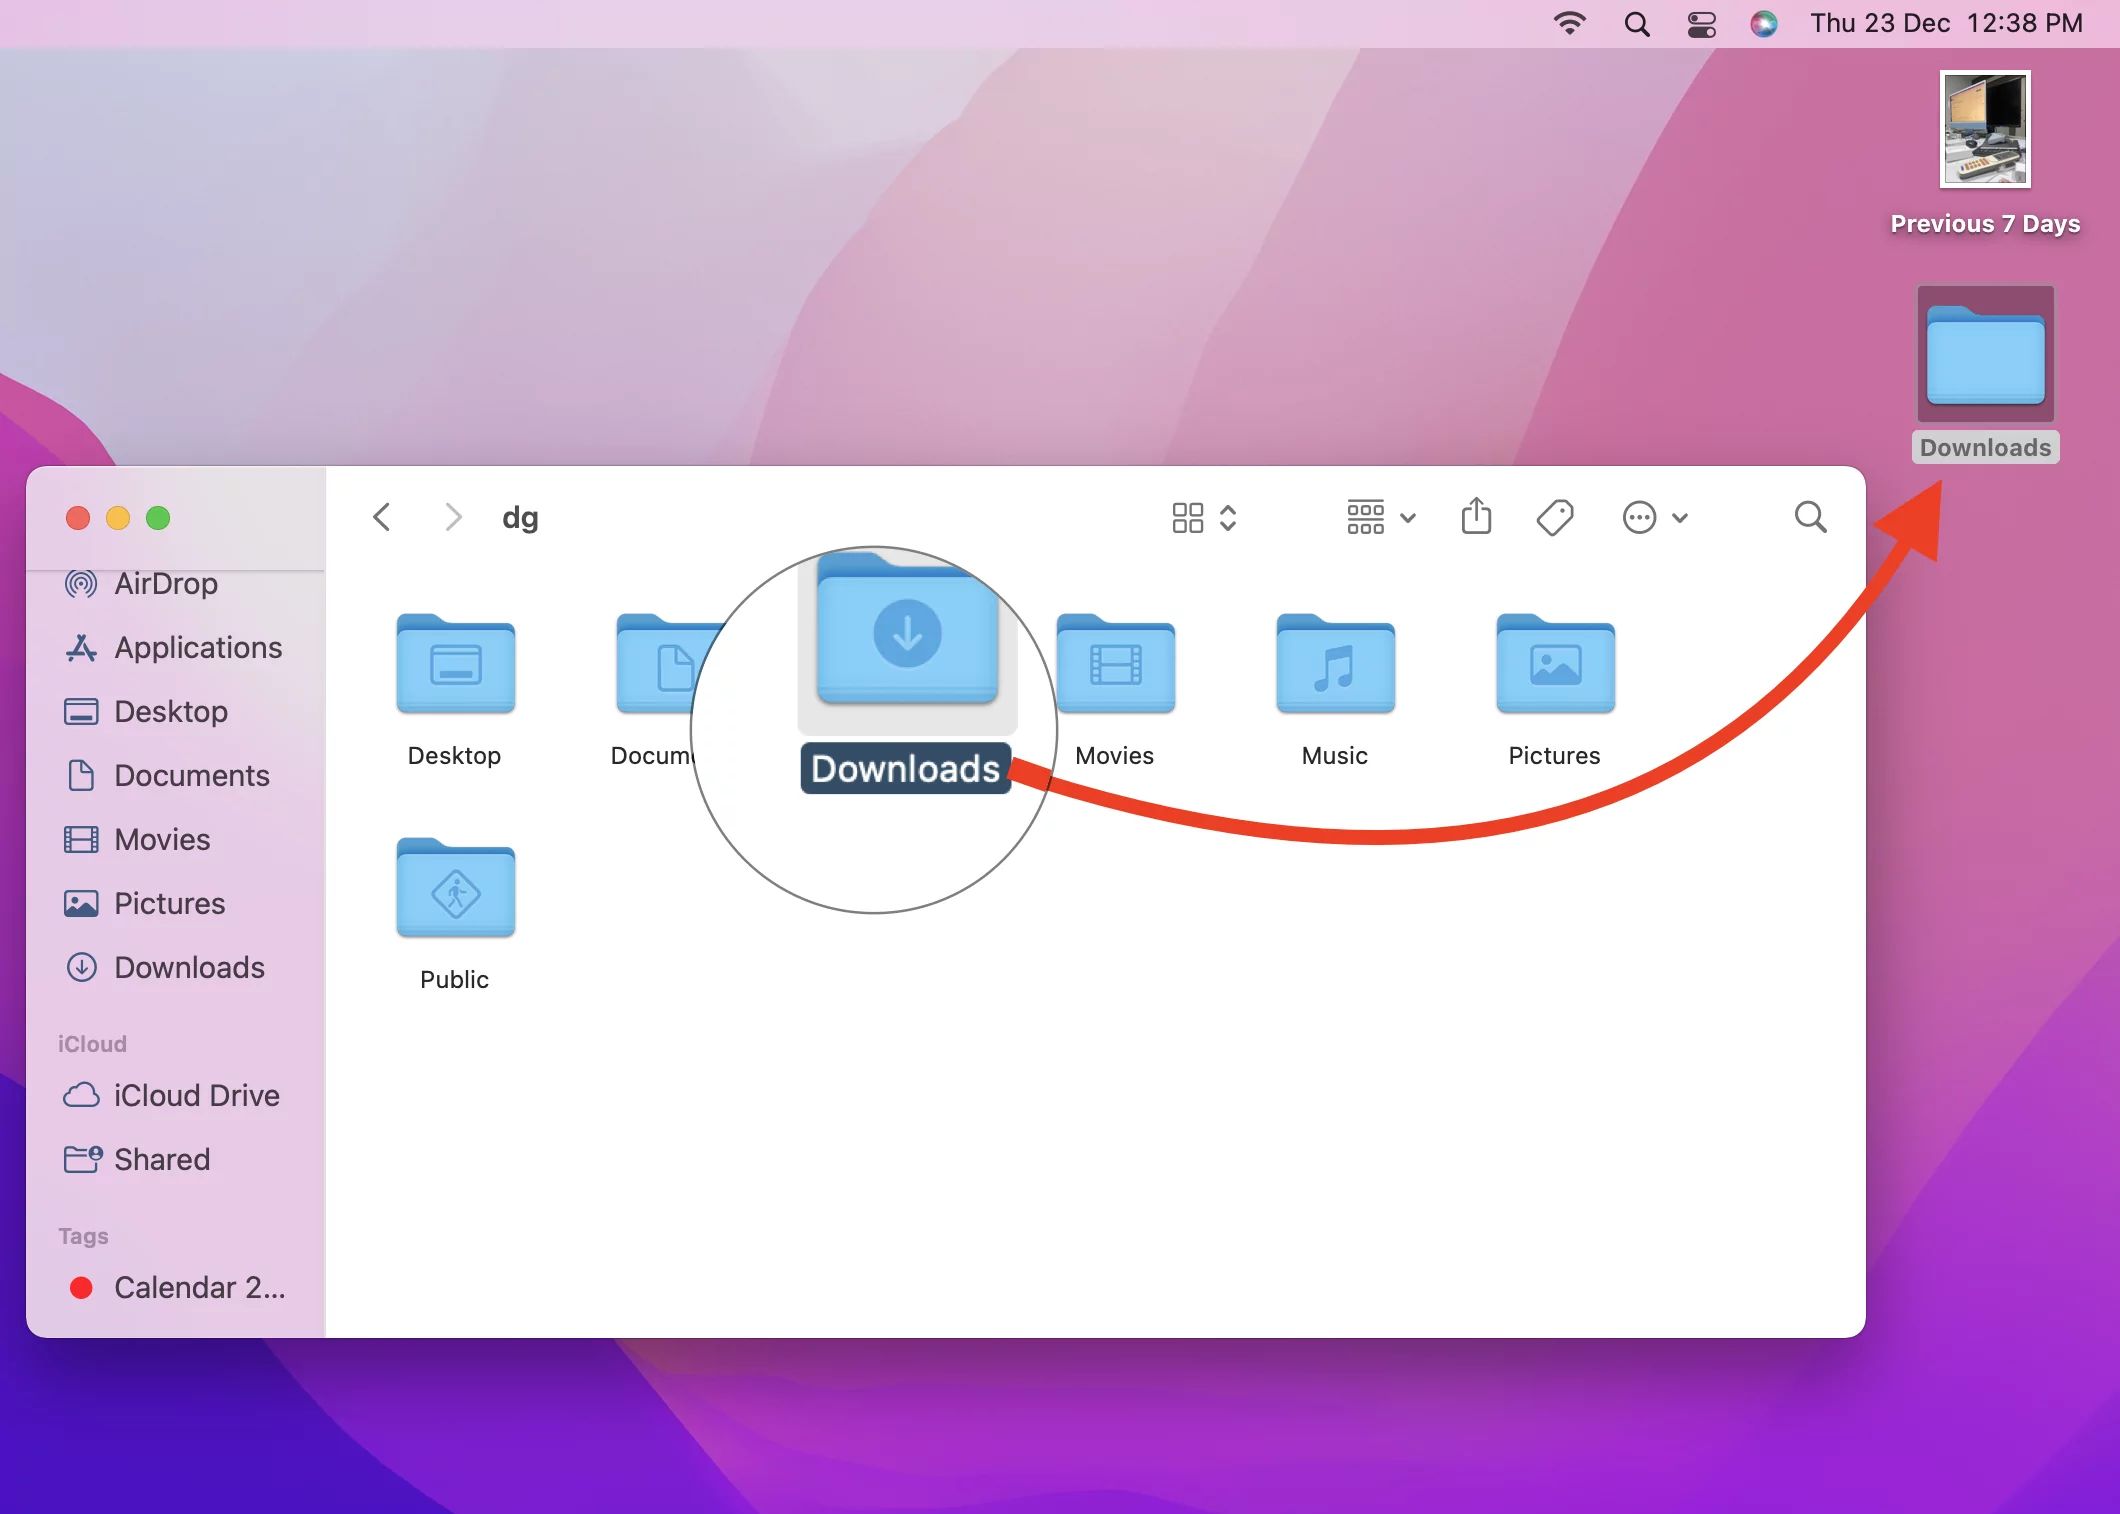
Once the SD card is inserted correctly, your Mac will recognize it as removable storage. The SD card icon may appear on your desktop or in the Finder sidebar, depending on your Mac’s settings.
It’s important to handle the SD card with care and avoid removing it while data is being transferred. Removing the card prematurely can result in data loss or damage to the card. Before removing the SD card from your Mac, make sure to safely eject it to ensure all data is written and the card is ready for removal.
With the SD card securely inserted into your Mac, you are now ready to proceed with importing the photos from your SD card to your Mac.
Open the Photos App
After inserting the SD card into your Mac, the next step is to open the Photos app. This native application allows you to manage and organize your photos and is the perfect tool for importing your photos from the SD card. Here’s how to open the Photos app:
- Locate the Photos app in your Applications folder. You can either click on the magnifying glass icon in the top right corner of your screen and type “Photos” in the search bar, or navigate to your Applications folder manually.
- Click on the Photos app to launch it. The app icon resembles a multicolored flower.
Once the Photos app is open, it will automatically detect the presence of the SD card and prompt you to import the photos. The Photos app provides a user-friendly interface that makes it easy to manage your photo library.
If this is your first time using the Photos app, it may prompt you to set up your photo library. You can choose to enable features like iCloud Photo Library, which allows you to access your photos across multiple devices, or opt for a local photo library on your Mac. Follow the on-screen instructions to set up your preferences.
By opening the Photos app, you are one step closer to importing the photos from your SD card into your Mac. The interface of the Photos app is intuitive and user-friendly, making it a great tool for managing and organizing your photo collection.
Importing Photos from SD Card
With the Photos app open, it’s time to import the photos from your SD card to your Mac. The Photos app provides a straightforward process for importing photos and offers various options to customize the import settings. Here’s how to import photos from your SD card:
- Ensure that the SD card is properly inserted into your Mac’s SD card slot or external SD card reader.
- In the Photos app, click on the “Import” tab located at the top of the window. The tab resembles a downward arrow in a square.
- The Photos app will automatically detect the photos on your SD card and display them in a grid layout.
- If you want to import all the photos from the SD card, click on the “Import All New Photos” button located at the top right corner of the window.
- If you prefer to select specific photos for import, click on each photo you want to import. Selected photos will have a blue border around them.
- Once you have made your selection, click on the “Import Selected” button at the top right corner of the window.
During the import process, you will have the option to choose where to store the imported photos. The default location is your Photos Library, but you can create a new album or choose a specific folder on your Mac as the import destination. Select your preferred option from the drop-down menu.
If you want to delete the photos from the SD card after importing, make sure the checkbox next to “Delete items after import” is selected. This will free up space on your SD card for future use. Keep in mind that this action is irreversible, so make sure you have successfully imported your photos before choosing this option.
Once all the necessary options are set, click on the “Import” button to start the import process. The Photos app will display a progress bar indicating the status of the import. Depending on the number and size of the photos, this process may take some time.
After the import is complete, the Photos app will display a confirmation message. The imported photos will be accessible in your Photos Library within the app, allowing you to view, edit, and organize them as desired.
By following these steps, you can easily import photos from your SD card to your Mac using the Photos app. This ensures that your precious memories are safely stored and easily accessible for future use.
Select Photos to Import
When importing photos from your SD card to your Mac using the Photos app, you have the option to choose which photos to import. This allows you to selectively import specific photos or import all the new photos on the SD card. Here’s how to select the photos you want to import:
- After inserting your SD card and opening the Photos app, click on the “Import” tab at the top of the window.
- The Photos app will scan the SD card and display a grid layout of the photos it detects.
- To import all the new photos on the SD card, click on the “Import All New Photos” button located at the top right corner of the window. This will select all the photos for import.
- If you prefer to selectively import specific photos, simply click on the individual photos you want to import. Selected photos will have a blue border around them.
As you select photos for import, you can also hold down the Command key on your keyboard and click on multiple photos to select them. This allows you to import a combination of photos instead of selecting them one by one.
If you change your mind about a selected photo, you can click on it again to deselect it. The blue border will disappear, indicating that the photo will not be imported.
The ability to selectively choose photos for import gives you greater control over the import process. Rather than importing all the photos on your SD card, you can be more selective and only import the ones that you truly want to keep on your Mac.
Once you have made your desired selection, you can proceed to set the import destination and any other import options before starting the import process. The Photos app provides a user-friendly interface that guides you through each step, making it easy to customize your import settings.
By selecting the photos you want to import, you can ensure that your Mac only imports the photos that are important to you, saving time and storage space on your Mac’s hard drive.
Choose Import Destination
When importing photos from your SD card to your Mac using the Photos app, you have the flexibility to choose the import destination. This allows you to decide where the imported photos will be stored on your Mac’s storage system. Here’s how to choose the import destination:
- After selecting the photos you want to import, the Photos app will display the import options on the right-hand side of the window.
- Under the “Import To” section, click on the drop-down menu to reveal the available options for the import destination.
- The default import destination is the Photos Library, which is the central hub for managing and organizing your photos within the Photos app. If you prefer to keep the imported photos in your library, you can leave this option selected.
- If you want to organize the imported photos into a specific album, click on the “New Album” option. This will create a new album where the imported photos will be stored. Enter a name for the album in the provided field.
- Alternatively, you can choose to import the photos to a specific folder on your Mac. Select the “Other” option and navigate to the desired folder using the file navigation window.
By choosing a specific import destination, you can keep your photo library organized and easily locate the imported photos later. Whether you prefer to store them in the Photos Library, in a dedicated album, or in a specific folder, the Photos app offers the flexibility to suit your organizational preferences.
It’s worth noting that selecting the “New Album” option or specifying a custom folder as the import destination will not remove the photos from the original SD card. The imported photos will be copied to the chosen location while leaving the original files intact on the SD card.
Once you have selected the desired import destination, you can proceed to set any other import options, such as whether to delete the photos from the SD card after import or to preserve the original file names. These options can be accessed and adjusted from the import settings within the Photos app.
By choosing the import destination that best suits your organizational needs, you can ensure that the imported photos are stored in a location that is easily accessible and well-organized on your Mac.
Option to Delete Photos from SD Card
When importing photos from your SD card to your Mac using the Photos app, you have the option to delete the photos from the SD card after the import process is complete. This can help free up space on your SD card for future use. Here’s how to utilize the option to delete photos from the SD card:
- After selecting the photos you want to import, the Photos app will display the import options on the right-hand side of the window.
- Under the “Import To” section, you will find a checkbox option labeled “Delete items after import”.
- If you want to delete the photos from the SD card after importing, make sure this checkbox is selected. By default, it is unchecked, which means the photos will not be deleted from the SD card.
- Keep in mind that selecting the “Delete items after import” option is irreversible. Once the photos are deleted from the SD card, they cannot be recovered. Therefore, it is important to ensure that you have successfully imported all the desired photos before choosing this option.
If you prefer to keep the photos on the SD card after importing, simply leave the checkbox next to “Delete items after import” unchecked. This allows you to keep a backup copy of the photos on the SD card or use it as a storage medium for other purposes.
It’s worth noting that if you choose to delete the photos from the SD card, only the imported photos will be removed. Any other files or folders on the SD card will remain unaffected.
By providing the option to delete photos from the SD card, the Photos app allows you to manage your storage effectively and streamline your photography workflow. Rather than manually deleting each photo from the SD card, you can conveniently handle the task within the import process.
Before proceeding with the deletion, double-check that you have successfully imported all the desired photos and have backed them up if necessary. Once you are confident in your selection, click on the “Import” button to initiate the process, and the Photos app will import the selected photos and delete them from the SD card according to your specified preference.
Wait for Import to Complete
After selecting the photos you want to import and configuring the import settings, it’s time to initiate the import process and patiently wait for it to complete. The duration of the import process depends on the number and size of the photos being imported. Here’s what you need to know while waiting for the import to complete:
- Once you have made all the necessary selections and settings, click on the “Import” button located at the top right corner of the Photos app window.
- The Photos app will start importing the selected photos from the SD card to the designated import destination on your Mac.
- A progress bar will appear, indicating the status of the import process. You can monitor the progress as the Photos app copies the photos from the SD card to your Mac.
- The time it takes for the import to complete will vary depending on factors such as the number and size of the photos, the speed of your SD card, and the performance of your Mac.
- It’s important to keep the SD card inserted and the Photos app open until the import process is finished. Removing the SD card prematurely may disrupt the import and cause data loss or incomplete imports.
- You can use this waiting time to do other tasks or simply take a break. It’s a good opportunity to organize your workspace or enjoy a cup of coffee while the import progresses.
During the import process, it’s advisable not to interrupt or make any modifications to the imported photos or the Photos app. Doing so can interrupt the import and may result in an incomplete transfer or other issues.
Once the import process is complete, the Photos app will display a confirmation message. You can then safely remove the SD card from your Mac, as the photos have been successfully copied to the designated import destination.
Remember, patience is key while waiting for the import to complete. The Photos app will handle the process efficiently, and soon you will have your precious photos safely stored on your Mac.
Safely Eject the SD Card from your Mac
After the import process is complete and you have verified that all your photos have been successfully transferred to your Mac, it’s important to safely eject the SD card from your Mac. Ejecting the SD card ensures that all data has been written and that it is safe to remove the card without risking data loss or damage. Here’s how to safely eject the SD card:
- Make sure that the import process has finished and that the Photos app is no longer accessing the SD card. You can confirm this by checking that the progress bar in the Photos app has disappeared.
- Locate the SD card icon that represents your SD card. The icon may be displayed on your desktop or in the Finder sidebar, depending on your Mac’s settings.
- Click on the SD card icon to select it.
- With the SD card selected, either right-click and choose “Eject” from the context menu, or press Command + E on your keyboard. Alternatively, you can drag the SD card icon to the trash bin, which will change to an eject symbol when you hover over it.
- Wait for the SD card icon to disappear from the desktop or Finder sidebar. This indicates that the SD card has been safely ejected from your Mac and is now ready to be physically removed.
- Gently remove the SD card from the SD card slot or external SD card reader. Be careful not to apply excessive force or pull the card out at an angle, as this can cause damage to both the SD card and the card slot.
Remember to handle the SD card with care, as it contains your valuable photos and data. Avoid touching the metal contacts on the card and store it in a safe place to prevent damage or loss.
Safely ejecting the SD card ensures that all the necessary steps have been taken to protect your data and prevent any potential issues. By following this procedure, you can confidently remove the SD card from your Mac without worrying about data loss or damage.
Organize and Edit Imported Photos
Now that you have successfully imported your photos from the SD card to your Mac using the Photos app, you have various options to organize and edit your imported photos. The Photos app provides a range of features and tools to help you manage your photo library effectively. Here’s how you can organize and edit your imported photos:
Organize Photos
The Photos app offers several ways to organize your imported photos:
- Create Albums: You can create albums to group related photos together. This helps you categorize your photos based on events, locations, subjects, or any other criteria you prefer. Simply select the photos you want to include in the album, right-click, and choose “Add to Album” to create a new album or add them to an existing one.
- Use Smart Albums: Smart Albums automatically organize your photos based on specific criteria you set, such as specific dates, keywords, or people tagged in the photos. You can create multiple smart albums to quickly access specific groups of photos.
- Add Keywords and Descriptions: You can add keywords and descriptions to your photos to make them easier to find in the future. This is particularly useful when you have a large photo library and want to quickly locate specific photos.
- Sort and Filter: The Photos app allows you to sort your photos by date, title, or other criteria. You can also filter your photos based on specific criteria, such as those taken with a certain camera or having a particular keyword or tag.
Edit Photos
In addition to organizing your photos, the Photos app provides powerful editing tools to enhance and refine your imported photos:
- Adjustments: Use the built-in photo editing tools to adjust various aspects of your photos, such as brightness, contrast, saturation, and more. You can also apply filters to give your photos a specific look or style.
- Crop and Straighten: The cropping tool allows you to remove unwanted parts of a photo and adjust the composition. You can also straighten crooked photos for a more polished look.
- Retouch and Enhance: The retouching tools enable you to remove blemishes, spots, or any unwanted objects from your photos. You can also enhance specific areas of your photos using the selective editing tools.
- Add Effects and Adjustments: Explore a wide range of creative effects and adjustments to add artistic flair to your photos. This includes options like vignette, noise reduction, black and white conversion, and more.
- Create Slideshows and Memories: The Photos app allows you to create dynamic slideshows and memories using your imported photos and videos. You can customize the themes, music, and transitions to create captivating presentations.
Take your time to explore and experiment with the various organizing and editing tools provided by the Photos app. This will enable you to turn your imported photos into stunning visual representations of your memories.
By organizing and editing your imported photos, you can easily navigate your photo library and make your photos look their best. The Photos app offers an intuitive interface and powerful tools to help you unleash your creativity and showcase your photos in the most impactful way.
Backup Your Photos
After importing and organizing your photos in the Photos app on your Mac, it’s crucial to ensure that you have a backup of your precious memories. Data loss or damage can occur due to various reasons, including hardware failure, accidental deletion, or unforeseen events. Here’s how you can backup your photos to safeguard them:
Cloud Storage
One of the most convenient and reliable ways to backup your photos is by utilizing cloud storage services. These services store your photos securely in remote servers, ensuring that your valuable memories are protected even if something happens to your Mac. Here are a few popular options for cloud storage:
- iCloud: Apple’s iCloud offers seamless integration with the Photos app. By enabling iCloud Photo Library, your photos will automatically sync and backup across all your Apple devices. This ensures that your photos are accessible from any device and are backed up in the cloud.
- Google Photos: Google Photos provides free, unlimited storage for photos up to a certain resolution. You can install the Google Photos app on your Mac and enable backup and sync to automatically upload and backup your photos to your Google account.
- Dropbox: Dropbox is a cloud storage service that offers reliable syncing and backup capabilities. By installing the Dropbox app and configuring the necessary settings, you can ensure that your photos are continuously backed up to your Dropbox account.
External Hard Drive
Another effective option for backing up your photos is using an external hard drive. With an external hard drive, you can create a dedicated backup of your entire photo library or select folders. Here’s how you can back up your photos to an external hard drive:
- Connect an external hard drive to your Mac via USB or Thunderbolt.
- Open the Finder app and navigate to the location of your Photos library or the specific folder you want to backup.
- Drag and drop the Photos library or the desired folders to the external hard drive.
- Wait for the files to transfer to the external hard drive. The time required for the backup will depend on the size and number of photos being backed up.
- Once the backup is complete, safely eject the external hard drive from your Mac.
Secondary Storage Devices
In addition to cloud storage and external hard drives, you may consider using other secondary storage devices for backing up your photos. These can include network-attached storage (NAS) devices, which provide a dedicated storage solution for home or office networks, or even DVDs or Blu-ray discs for physical storage. Assess your needs and choose the option that best suits your requirements and preferences.
Regularly schedule backups to ensure that your photos are consistently protected. Whether you opt for cloud storage, an external hard drive, or another method, having multiple copies of your photos in different locations will give you peace of mind knowing that your memories are secure.
Remember, a backup is only effective if it is up to date. Make it a habit to backup your photos regularly, especially after importing new ones or making significant changes to your photo library. This will ensure that you always have a safe copy of your photos in case of any unexpected events.