Introduction
When it comes to capturing your adventures and epic moments, GoPro cameras are the go-to choice for many adventure enthusiasts. Whether it’s skiing down a pristine mountain slope, diving into crystal-clear waters, or hiking through breathtaking landscapes, GoPro footage allows you to relive these moments and share them with others. But what if you’re a Mac user and unsure of how to download and retrieve your GoPro footage onto your computer?
In this article, we will guide you through the process of downloading GoPro footage to your Mac. We will explore various methods to transfer your video and photo files, ensuring that you can access and edit your precious moments with ease. From using the official GoPro Quik app to importing footage via the macOS Photos app or using other third-party software, we’ve got you covered.
Whether you’re a seasoned Mac user or new to the world of GoPro cameras, this step-by-step guide will help you navigate through the process effortlessly. So, grab your GoPro camera and your trusty Mac, and let’s get started on transferring your captivating footage to your computer.
Step 1: Connecting the GoPro to your Mac
Before you can begin transferring your GoPro footage to your Mac, you need to establish a physical connection between the camera and your computer. Here’s how to do it:
- Start by ensuring that both your GoPro camera and your Mac are powered on.
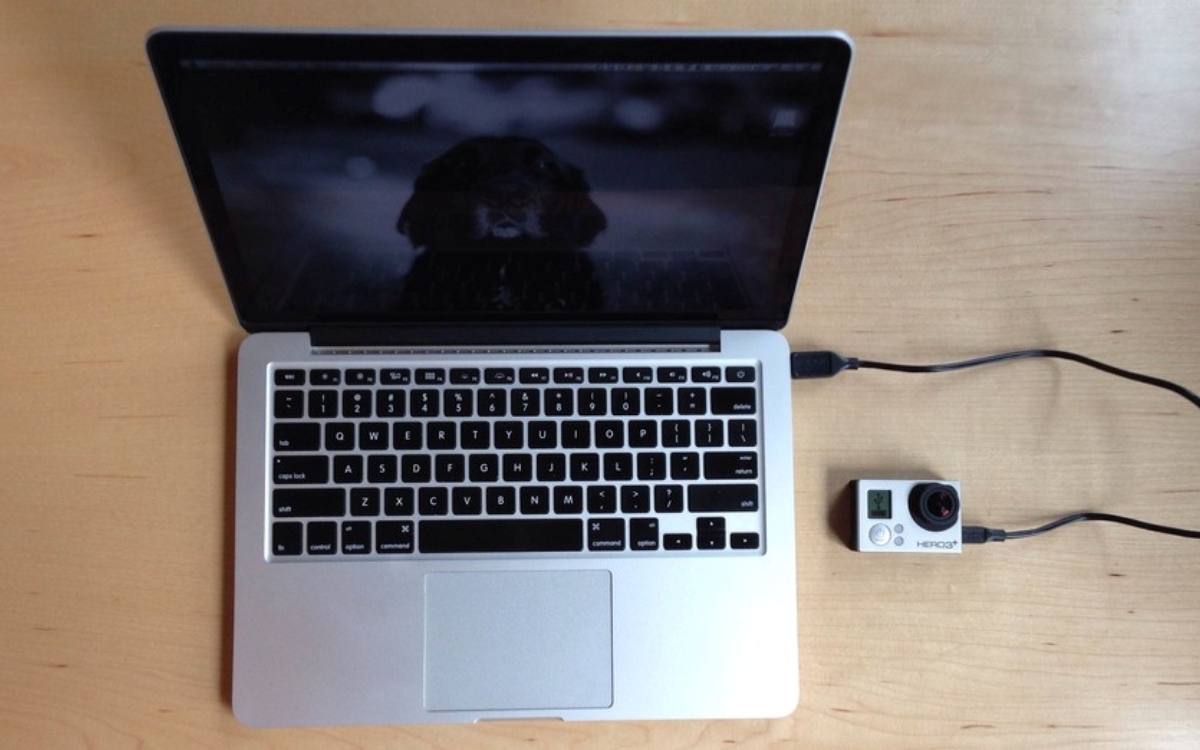
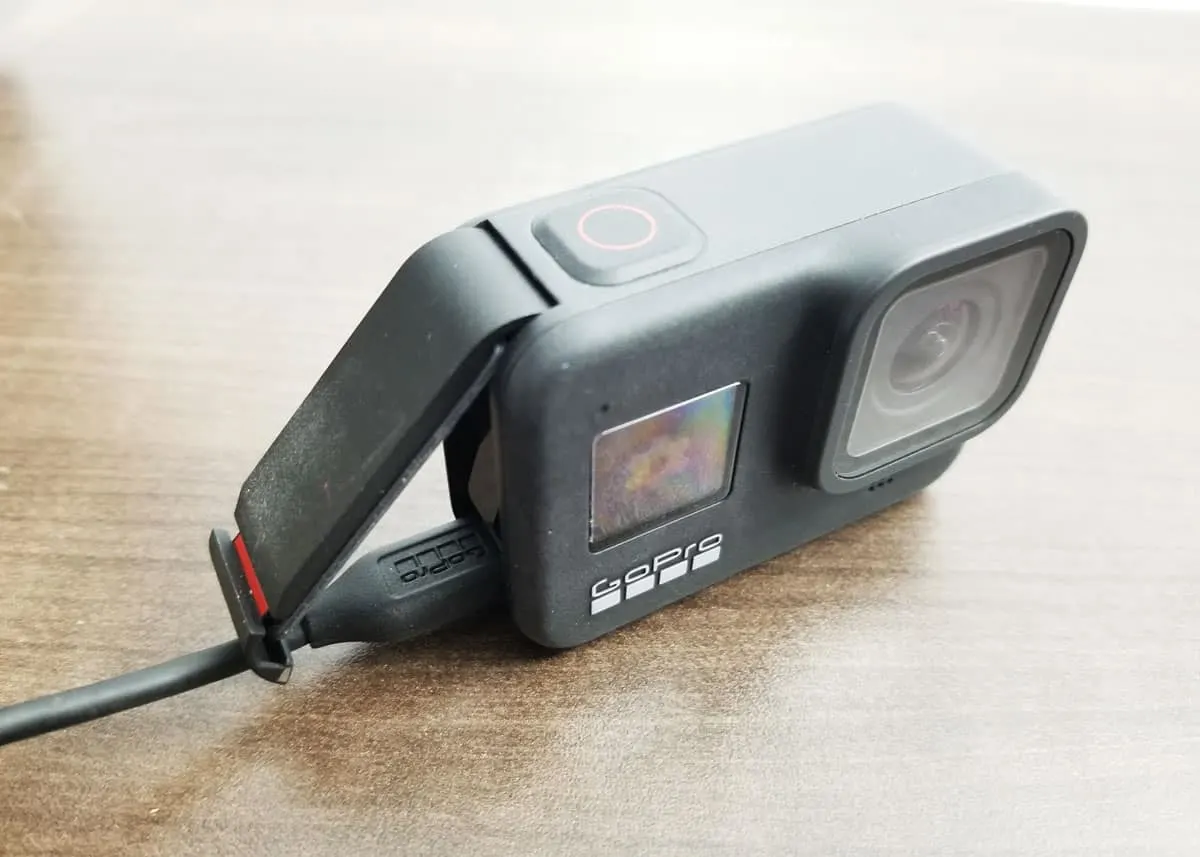
- Locate the USB cable that came with your GoPro camera. Connect one end of the cable to the USB port on the camera.
- Next, locate an available USB port on your Mac and connect the other end of the USB cable to it. Your Mac should recognize the GoPro camera and establish a connection.
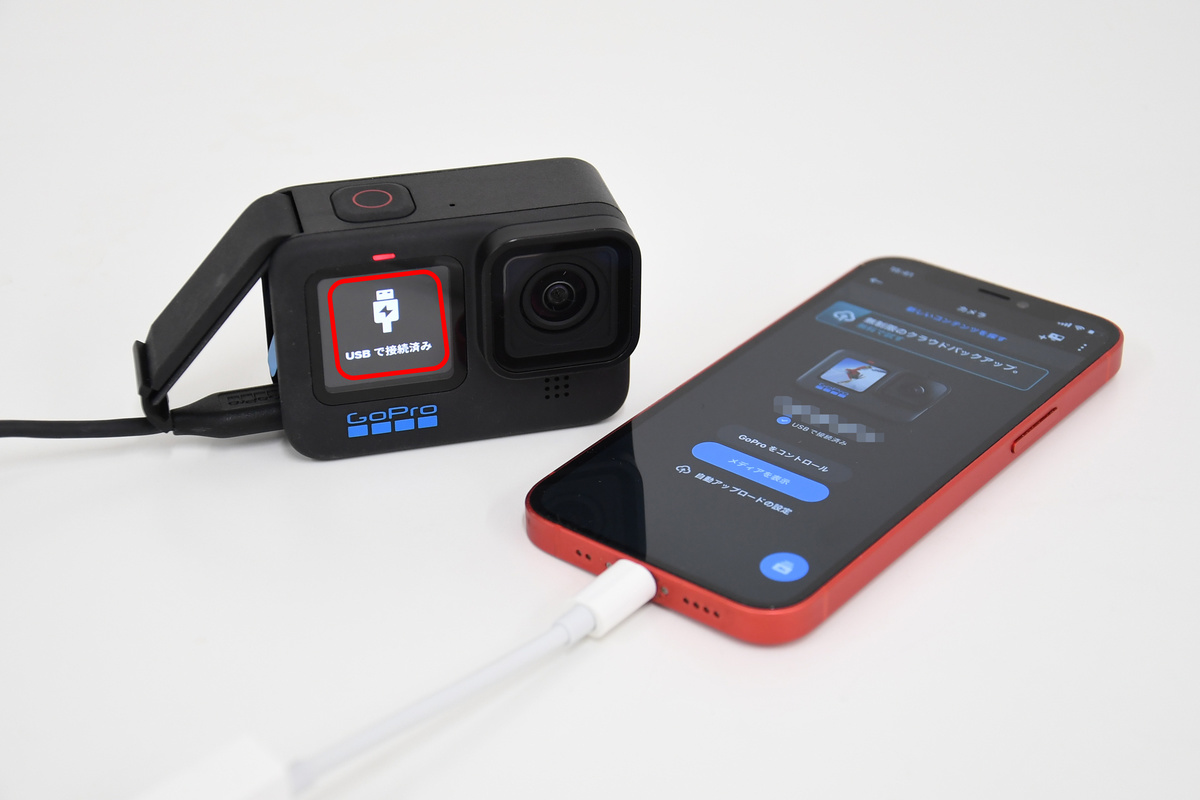
- On your GoPro camera, you may see a prompt asking you to confirm that you want to connect the device to your Mac. Follow the on-screen instructions to proceed.
- Once the connection is established, your Mac will treat the GoPro camera as a removable storage device, similar to a USB flash drive.
Now that your GoPro camera is connected to your Mac, you’re ready to move on to the next step of importing the footage. Each method of importing footage that we will discuss in the following steps utilizes this connection between your GoPro and Mac.
Step 2: Importing footage using GoPro Quik
If you prefer a straightforward and intuitive method for importing your GoPro footage, the GoPro Quik app is a great option. Here’s how you can use it to transfer your footage to your Mac:
- Ensure that you have the GoPro Quik app installed on your Mac. If you don’t have it, you can download it for free from the official GoPro website.
- Launch the GoPro Quik app on your Mac. Connect your GoPro camera to your Mac using the USB cable, as explained in Step 1.
- In the GoPro Quik app, you should see your connected GoPro camera listed. Click on it to access the media content stored on the camera.
- Choose the specific footage you want to import by selecting the checkboxes next to the files. You can also select the “Select All” option to import all the footage from the camera.
- Once you have made your selection, click on the “Import” button. The GoPro Quik app will transfer the selected footage from your camera to a designated folder on your Mac.
- After the import is complete, you can disconnect your GoPro camera from your Mac. The imported footage will be available in the folder you chose during the import process.
The GoPro Quik app simplifies the process of importing your footage by automatically organizing it into a timeline and allowing you to easily edit and share your videos and photos. Take advantage of the app’s features to create stunning visual content that showcases your adventures.
Step 3: Importing footage using Image Capture
If you prefer a more manual approach to importing your GoPro footage, you can use the built-in Image Capture app on your Mac. Here’s how you can do it:
- Connect your GoPro camera to your Mac using the USB cable, as explained in Step 1.
- Launch the Image Capture app on your Mac. You can find it by searching for “Image Capture” in Spotlight or locating it in the Applications folder.
- In the Image Capture app, you should see your GoPro camera listed on the left-hand side under the “Devices” section. Click on it to reveal the media content stored on the camera.
- Select the specific footage files you want to import by clicking and dragging your cursor over them or by holding down the Command key and clicking on individual files.
- Choose the destination folder on your Mac where you want to import the selected footage. You can do this by clicking on the “Import To” drop-down menu at the bottom of the Image Capture window.
- Once you have made your selection, click on the “Import” button. Image Capture will transfer the selected footage from your GoPro camera to the designated folder on your Mac.
- After the import is complete, you can disconnect your GoPro camera from your Mac. The imported footage will be available in the folder you chose during the import process.
Using the Image Capture app allows you to have more control over the import process and choose exactly where you want your GoPro footage to be stored on your Mac. This method is particularly useful if you have a specific organizational system in place for your media files.
Step 4: Importing footage using Photos app
If you’re a Mac user, chances are you already have the Photos app installed on your computer. The Photos app serves as a versatile tool for managing your photo and video library, including your GoPro footage. Here’s how you can import your GoPro footage using the Photos app:
- Connect your GoPro camera to your Mac using the USB cable, as explained in Step 1.
- Launch the Photos app on your Mac. The app should automatically detect and recognize your GoPro camera.
- In the Photos app, you’ll see your GoPro camera listed under the “Import” tab in the sidebar. Click on it to view the media content stored on the camera.
- Select the specific footage or photos you want to import by clicking on them. You can hold down the Command key to select multiple files.
- Click on the “Import Selected” button to import the selected footage into the Photos library on your Mac.
- Once the import process is complete, you can disconnect your GoPro camera from your Mac. The imported footage will be available in the Photos app, organized by date and location.
The Photos app provides a user-friendly interface for importing and managing your GoPro footage, allowing you to easily organize and edit your videos and photos. Take advantage of the app’s features to create albums, apply filters, and share your visual content with friends and family.
Step 5: Importing footage manually from the GoPro SD card
If you prefer to have complete control over the import process and want to directly access your GoPro footage on the SD card, you can manually transfer the files to your Mac. Here’s how you can do it:
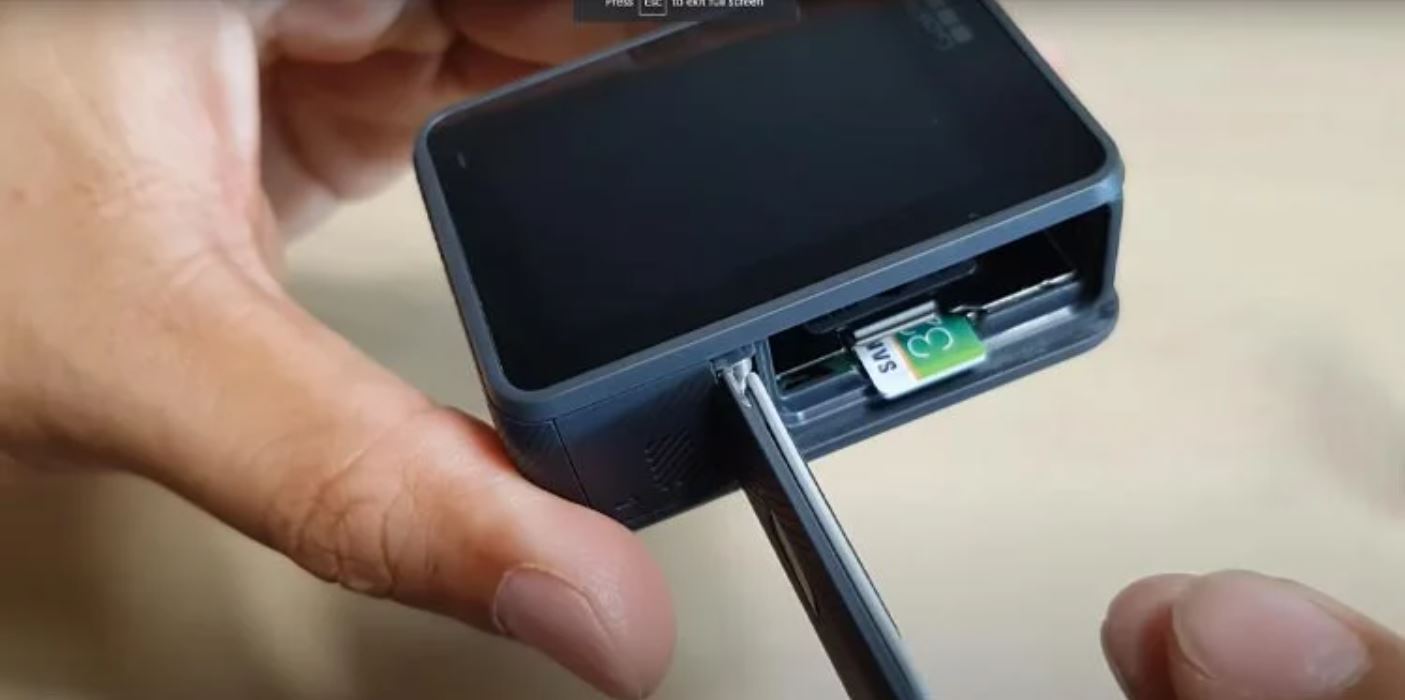
- Remove the SD card from your GoPro camera.
- Locate the SD card slot on your Mac or use an external SD card reader. Insert the SD card into the appropriate slot or connect the SD card reader to your Mac’s USB port.
- Your Mac should automatically recognize the SD card as a removable storage device. Open a Finder window and locate the SD card in the sidebar.
- Navigate to the DCIM folder on the SD card. This is where your GoPro footage is stored.
- Select the specific footage files you want to import by clicking and dragging your cursor over them or by holding down the Command key and clicking on individual files.
- Choose the destination folder on your Mac where you want to import the selected footage. You can do this by dragging the files to the desired folder on your Mac.
- Once you have copied the files to your Mac, you can eject the SD card from your Mac or disconnect the SD card reader.
Importing your GoPro footage manually gives you the flexibility to organize the files in a way that suits your preferences. However, it requires you to manually transfer the files and maintain a backup of your footage on an external storage device.
Conclusion
Transferring your GoPro footage to your Mac is a crucial step in preserving and editing your precious moments. Fortunately, there are several methods you can use to import your footage with ease.
First, you can connect your GoPro camera directly to your Mac using the USB cable provided. This establishes a physical connection, enabling you to access and transfer your files.
If you prefer a streamlined approach, the GoPro Quik app offers a user-friendly interface for importing and organizing your footage. It simplifies the process, allowing you to focus on editing and sharing your videos and photos.
For those who prefer more manual control, you can use the Image Capture app to select specific files and choose the destination folder for your GoPro footage. This method is ideal for users with a specific organizational system in place.
Alternatively, the Photos app provides a seamless way to import and manage your GoPro footage, integrating it with the rest of your photo library. You can take advantage of the app’s editing features to enhance your videos and share them effortlessly.
Lastly, if you prefer to have complete control over the import process, you can manually transfer your footage from the GoPro SD card to your Mac. This method allows for flexibility and customization but requires more manual effort.
No matter which method you choose, make sure to safely eject your GoPro camera or SD card from your Mac to avoid any data loss. Additionally, consider creating backups of your footage to ensure its long-term preservation.
Now that you have learned how to download your GoPro footage to your Mac, you can unleash your creativity and bring your adventures to life. Edit, share, and relive your thrilling moments anytime, anywhere.