Introduction
Welcome to this guide on how to format your GoPro SD card. If you are experiencing issues with your SD card or want to start fresh with a clean slate, formatting the SD card is the answer. Formatting your SD card is an essential step to ensure optimal performance and reliability for your GoPro camera.
Over time, your GoPro SD card can become cluttered with unnecessary files or even corrupted, leading to potential data loss or operational problems. Formatting the SD card erases all the previously stored data and resets it to its default settings, making it ready to capture and store new footage.
Before we dive into the step-by-step process of formatting your GoPro SD card, it’s essential to understand the potential risks. Formatting erases all data on the SD card, so ensure you have backed up any important files or media before proceeding.
It’s also worth noting that formatting the SD card should be done using the proper methods outlined in this guide. Avoid formatting the SD card using other devices, such as a computer or mobile phone, as this may lead to compatibility issues or improper formatting.
In this guide, we will walk you through two methods of formatting your GoPro SD card: using a computer and using a GoPro camera. This ensures you have multiple options depending on your availability and preference. So, let’s get started with the first method: inserting the SD card.
Step 1: Inserting the SD Card
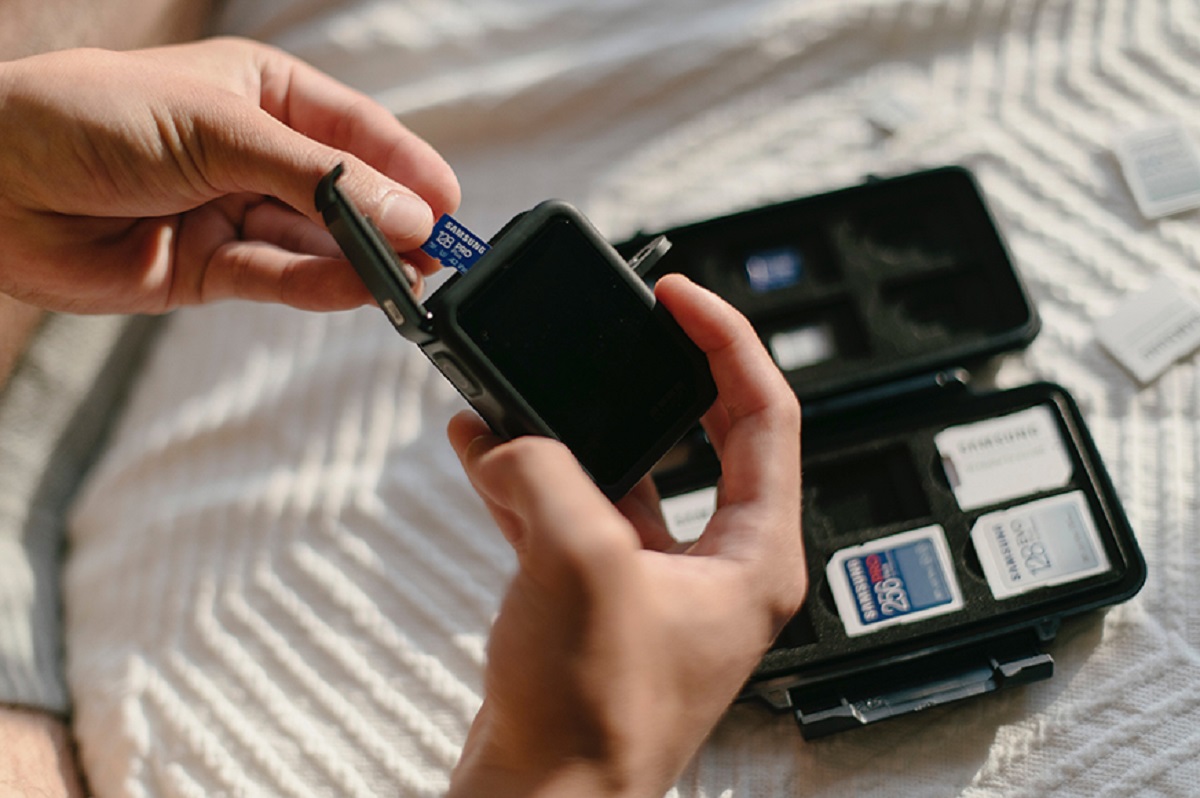
The first step in formatting your GoPro SD card is to insert it into the appropriate slot on your GoPro camera or computer. Depending on the model of your camera, the location of the SD card slot may vary. Refer to your camera’s user manual or the manufacturer’s website for specific instructions for your GoPro model.
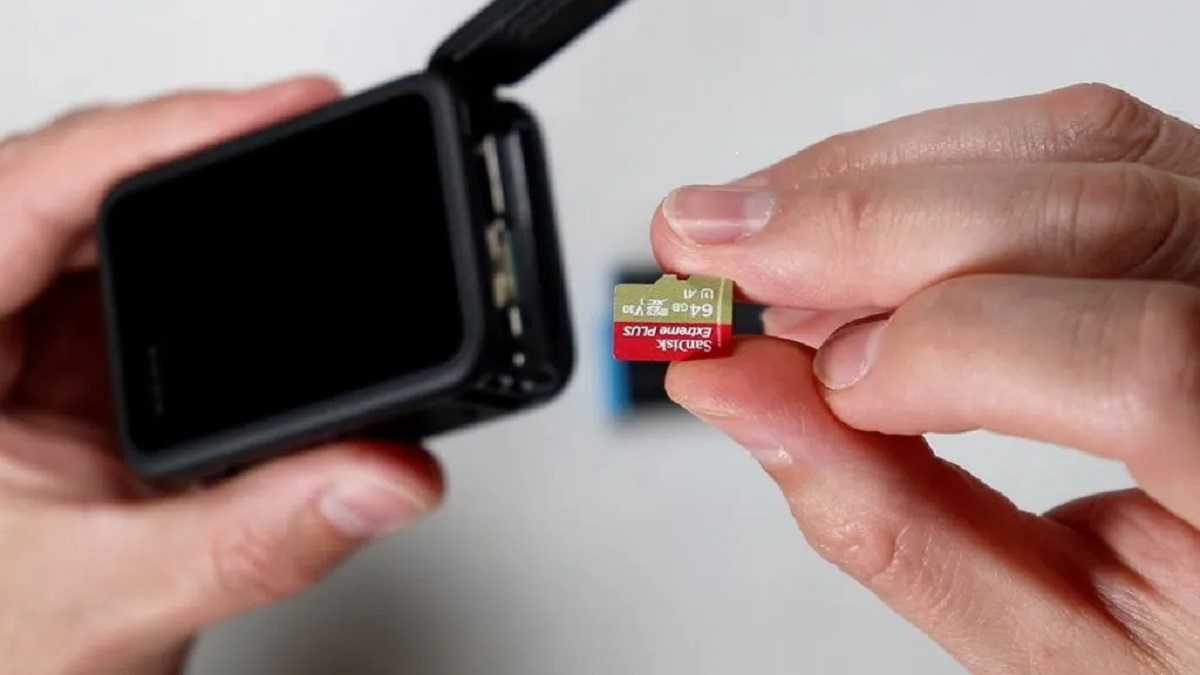
To insert the SD card, follow these steps:
- Ensure your camera is powered off to prevent any potential data loss or damage.
- Locate the SD card slot on your GoPro camera. It is usually found on the side or bottom of the camera.
- Gently push the SD card into the card slot until it clicks into place. Be careful not to force it or insert it the wrong way, as this can damage the card or the camera.
- Once the SD card is properly inserted, you can proceed to the next steps of formatting it.
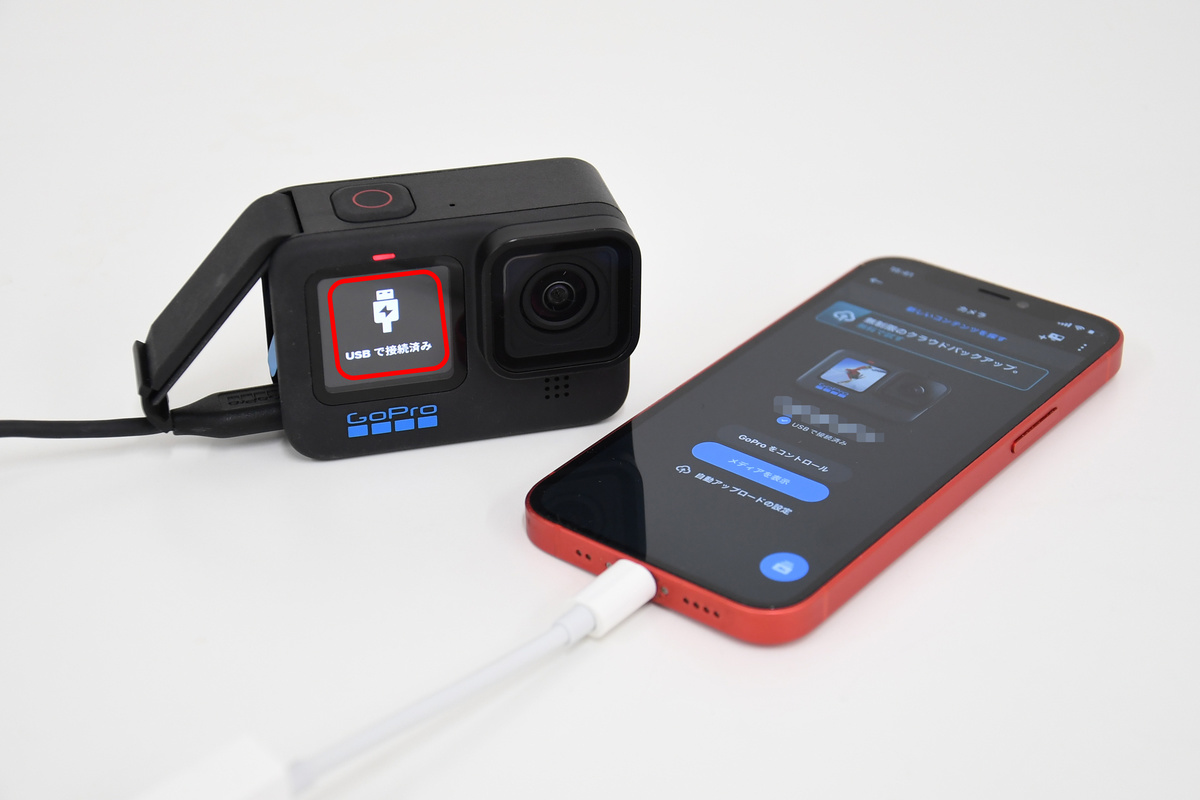
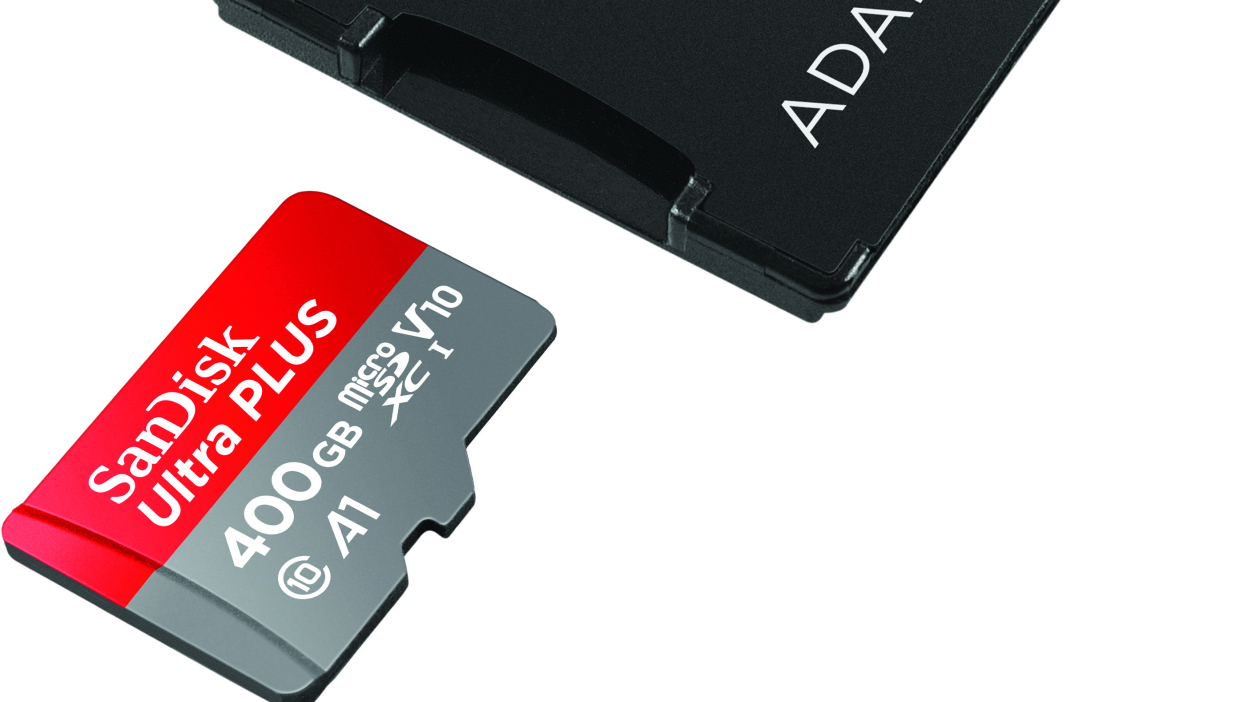
If you are formatting the SD card using a computer, you will need an SD card reader. Most modern computers have built-in SD card readers, but if yours doesn’t, you can purchase an external card reader that connects to your computer via USB.
Insert the SD card into the card reader and ensure it is securely connected to your computer. Once the SD card is inserted, you can move on to the next section to learn how to access the GoPro SD card using a computer.
Step 2: Accessing the GoPro SD Card
After inserting the SD card into your GoPro camera or computer, the next step is to access the SD card to begin the formatting process. Depending on whether you are using a computer or a GoPro camera, the process may vary slightly. Let’s explore both methods.
Accessing the SD Card on a Computer:
If you are formatting the SD card using a computer, follow these steps:
- Ensure that the SD card is properly connected to your computer through the card reader.
- Open the file explorer on your computer. This can be done by clicking on the folder icon in the taskbar or using the Windows key + E shortcut on a Windows PC, or by opening Finder on a Mac.
- In the file explorer, you should see a list of available drives and storage devices. Look for the SD card, which is usually labeled as “Removable Disk” or “SD Card.”
- Double-click on the SD card to open it and access its contents. You should now see the files and folders stored on the SD card.
Accessing the SD Card on a GoPro Camera:
If you are formatting the SD card using a GoPro camera, follow these steps:
- Ensure that the GoPro camera is powered on and ready for use.
- Using the camera’s built-in display or touchscreen, navigate to the settings or menu options.
- Look for the “SD Card” or “Storage” option and select it.
- This will display the current status and information about the SD card, including the available space and formatting options.
Now that you have successfully accessed the SD card, you can proceed to the next step to learn how to format it using a computer or a GoPro camera.
Step 3: Formatting the SD Card using a Computer
If you have chosen to format your GoPro SD card using a computer, follow the steps below:
- Ensure that you have accessed the SD card on your computer, as mentioned in the previous step.
- Right-click on the SD card drive and select the “Format” option from the context menu. Alternatively, you can click on the “Format” button at the top of the file explorer window.
- A format settings window will appear, allowing you to customize the formatting options.
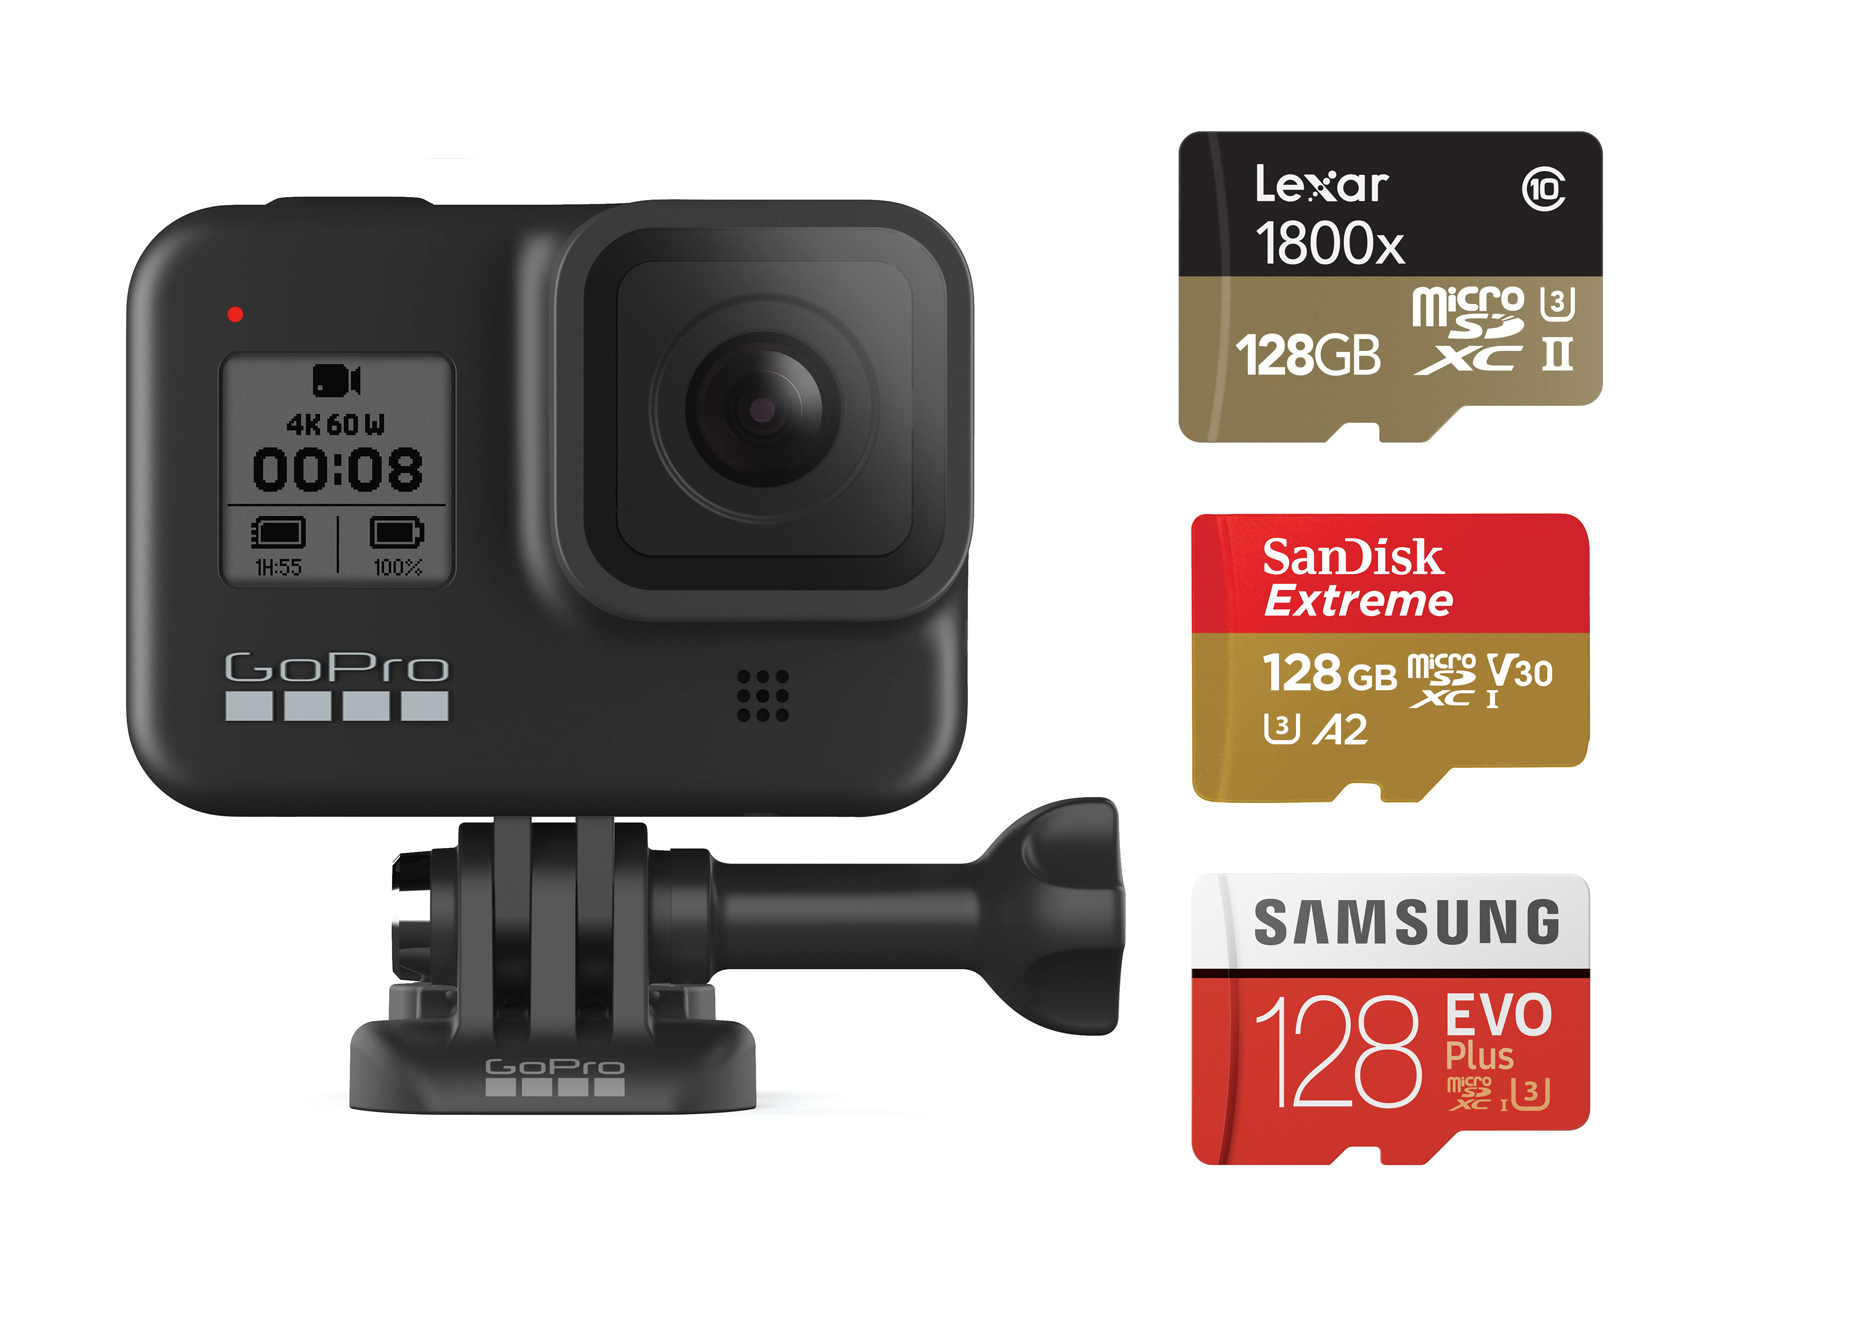
- Choose the file system format for the SD card. For GoPro cameras, it’s recommended to use the FAT32 file system.
- You can also assign a new name to the SD card if desired.
- Ensure that the “Quick Format” option is selected to speed up the formatting process. However, if you want to perform a thorough format, you can uncheck the “Quick Format” option (note that this will take longer).
- Double-check the formatting settings and ensure that you have selected the correct SD card.
- Click on the “Start” or “Format” button to begin the formatting process.
- A warning message will appear, informing you that all data on the SD card will be erased. Confirm the action and proceed with the formatting.
- Wait for the formatting process to complete. This may take a few moments, depending on the size of the SD card.
- Once the formatting is finished, you will receive a confirmation message. Close the format settings window.
That’s it! Your GoPro SD card has been successfully formatted using a computer. Now, you can either reinsert the SD card into your GoPro camera or continue formatting it using the camera itself, as described in the next step.
Step 4: Formatting the SD Card using a GoPro Camera
If you prefer to format your GoPro SD card directly using the GoPro camera, follow these steps:
- Ensure that you have accessed the SD card on your GoPro camera, as mentioned in the previous step.
- Navigate to the “Settings” or “Menu” option on your GoPro camera’s display or touchscreen.
- Look for the “SD Card” or “Storage” option and select it.
- Within the SD Card settings, you will find the option to format the card. Select the “Format” or “Format SD Card” option.
- A confirmation message will appear, informing you that formatting the SD card will erase all data. Confirm the action to proceed with the formatting process.
- Wait for the formatting process to complete. The camera will display a progress bar or a message indicating the formatting status.
- Once the formatting is finished, you will receive a confirmation message on the camera’s display.
That’s it! Your GoPro SD card has been successfully formatted using the GoPro camera. The camera will now be ready to capture and store new footage.
Note that formatting the SD card using the GoPro camera follows the recommended format settings for optimal performance. However, if you want to customize the formatting options, such as choosing a specific file system format, it may be necessary to use a computer for formatting, as described in the previous step.
Now that you have learned how to format the SD card using both a computer and a GoPro camera, let’s move on to the next step to ensure proper formatting.
Step 5: Ensuring Proper Formatting
After formatting your GoPro SD card, it is essential to verify that the formatting process was successful and that the SD card is ready for use. Here are a few steps to ensure proper formatting:
- Check the SD card for any remaining files or folders. Sometimes, during the formatting process, certain files may not be completely deleted. If you still see any files or folders on the SD card, manually delete them.
- Reinsert the SD card into your GoPro camera or computer. Ensure that it is properly inserted and securely connected.
- Power on your GoPro camera or access the SD card using your computer, as mentioned in the previous steps, to confirm that the SD card is recognized and accessible.
- If using a computer, you can also try copying a small test file onto the SD card and then verify that it can be read and accessed without any issues.
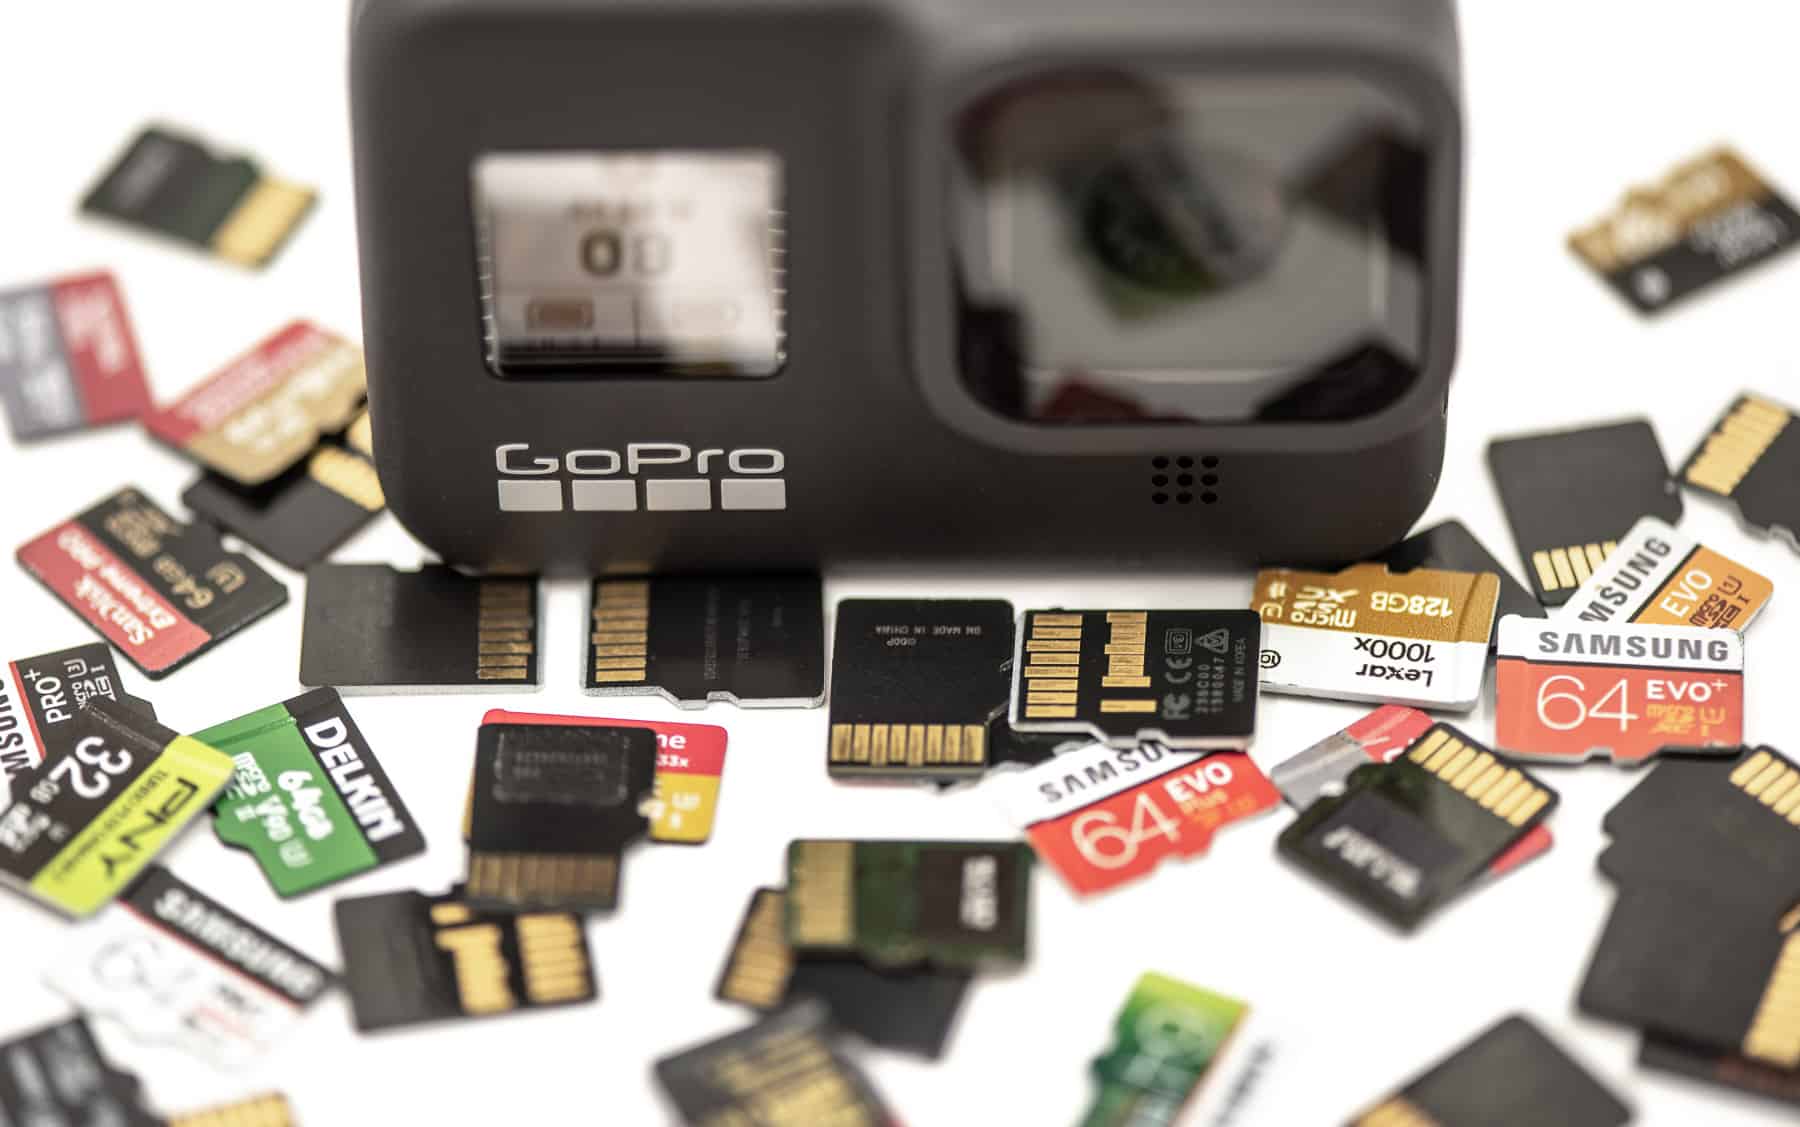
- If you encounter any errors or issues with the SD card after formatting, such as the camera not recognizing it or error messages appearing on your computer, you may need to repeat the formatting process or consider using a different SD card.
- Lastly, remember to regularly format your GoPro SD card to keep it in optimal condition. It is recommended to format the card after transferring your footage to a safe location, ensuring a fresh start for your future recordings.
By following these steps, you can ensure that your GoPro SD card is properly formatted and ready for use. This will help prevent any potential data corruption, maximize storage capacity, and ensure the reliability of your GoPro camera.
Now that you have successfully formatted and verified your GoPro SD card, you can start capturing your exciting moments and adventures with confidence. Remember to follow best practices for data management, such as regularly backing up your footage and keeping an eye on the available space on your SD card.
Conclusion
Formatting your GoPro SD card is a crucial step in ensuring optimal performance and reliability for your GoPro camera. Whether you choose to format the SD card using a computer or directly through the camera, it is important to follow the recommended steps and precautions to avoid data loss or other issues.
In this guide, we have provided you with a step-by-step process for formatting your GoPro SD card. We started by explaining the importance of formatting and the potential risks involved. Then, we walked you through inserting the SD card, accessing it on both a computer and a GoPro camera, and formatting it using these methods.
Remember to back up any important files before formatting, as the process will erase all data on the SD card. Additionally, ensure you are using the appropriate file system format, such as FAT32, for compatibility with your GoPro camera.
After formatting, it is crucial to verify that the formatting process was successful and that the SD card is recognized and accessible. This can be done by checking for any remaining files, reinserting the SD card, and testing its functionality.
Regularly formatting your GoPro SD card, in addition to following good data management practices, will help maintain its performance and longevity. By formatting the SD card after transferring your footage, you can start each recording session with a clean slate and ensure reliable storage for your adventures.
Now that you have the knowledge and understanding of how to format your GoPro SD card, you are all set to capture breathtaking moments and create lasting memories. Enjoy using your GoPro camera with the peace of mind that comes from knowing your SD card is formatted and ready to go!