Introduction
Welcome to the world of GoPro! If you’re an adventure seeker or an avid traveler, chances are you’ve captured some incredible moments with your GoPro camera. Now, you may be wondering how to download those amazing videos and photos to your computer. Well, you’ve come to the right place!
In this article, we’ll guide you through the step-by-step process of downloading your GoPro media files to your computer. Whether you’re using a Mac or a PC, we’ll cover all the necessary instructions to ensure a seamless transfer.
Downloading your GoPro files not only allows you to free up space on your camera’s memory card but also gives you the convenience of editing, sharing, and storing your media on your computer. So, let’s get started and unlock the full potential of your GoPro camera!
Before we dive into the steps, it’s important to note that there are multiple ways to download GoPro files to your computer. In this guide, we’ll focus on using the GoPro App, as it provides a user-friendly interface and simplifies the process for both Mac and PC users. So, whether you’re a beginner or an experienced GoPro user, you’ll find these steps easy to follow.
Now that you’re excited about downloading your GoPro media, it’s time to grab your camera, connect it to your computer, and let’s get started with the process!
Step 1: Connect your GoPro to the computer
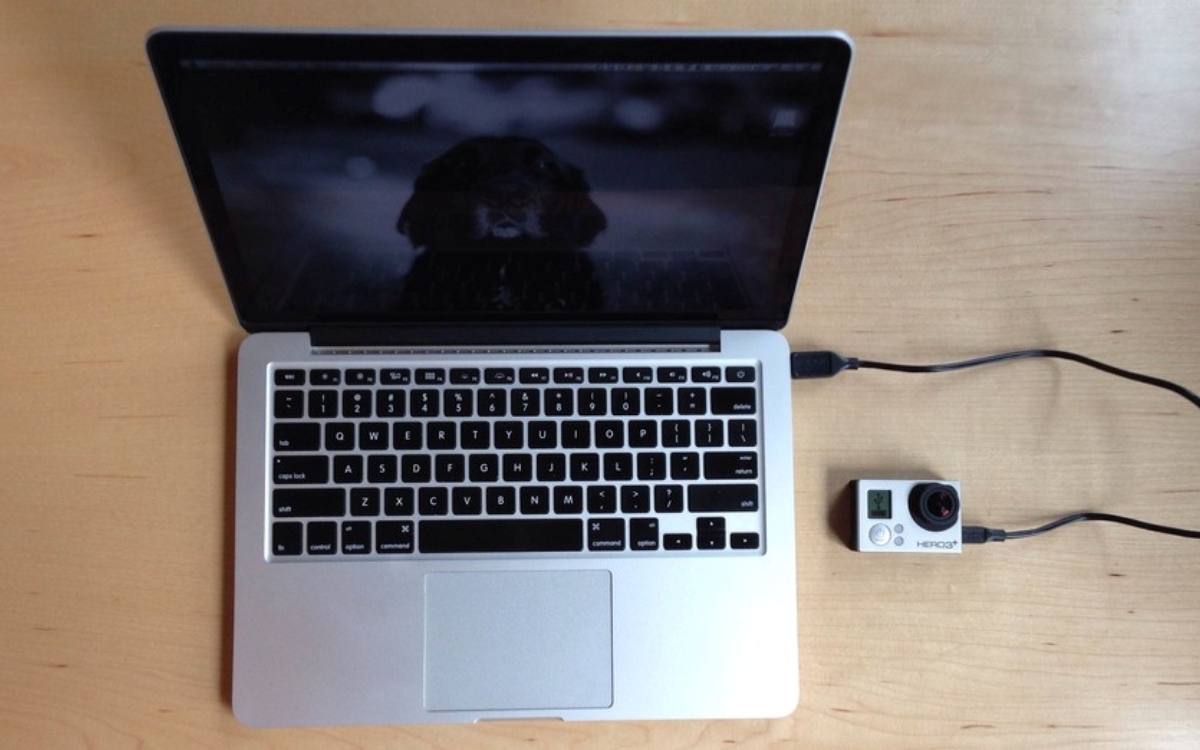
The first step in downloading your GoPro media files to your computer is to establish a connection between your GoPro camera and your computer. To do this, you’ll need the appropriate cables and ports.
Here’s how you can connect your GoPro to your computer:
- Locate the USB cable that came with your GoPro camera. This cable usually has a USB Type-C or Mini-USB connector on one end, and a standard USB Type-A connector on the other end.
- Ensure that your GoPro camera is powered on and in the appropriate mode for data transfer. Refer to your camera’s user manual for specific instructions.
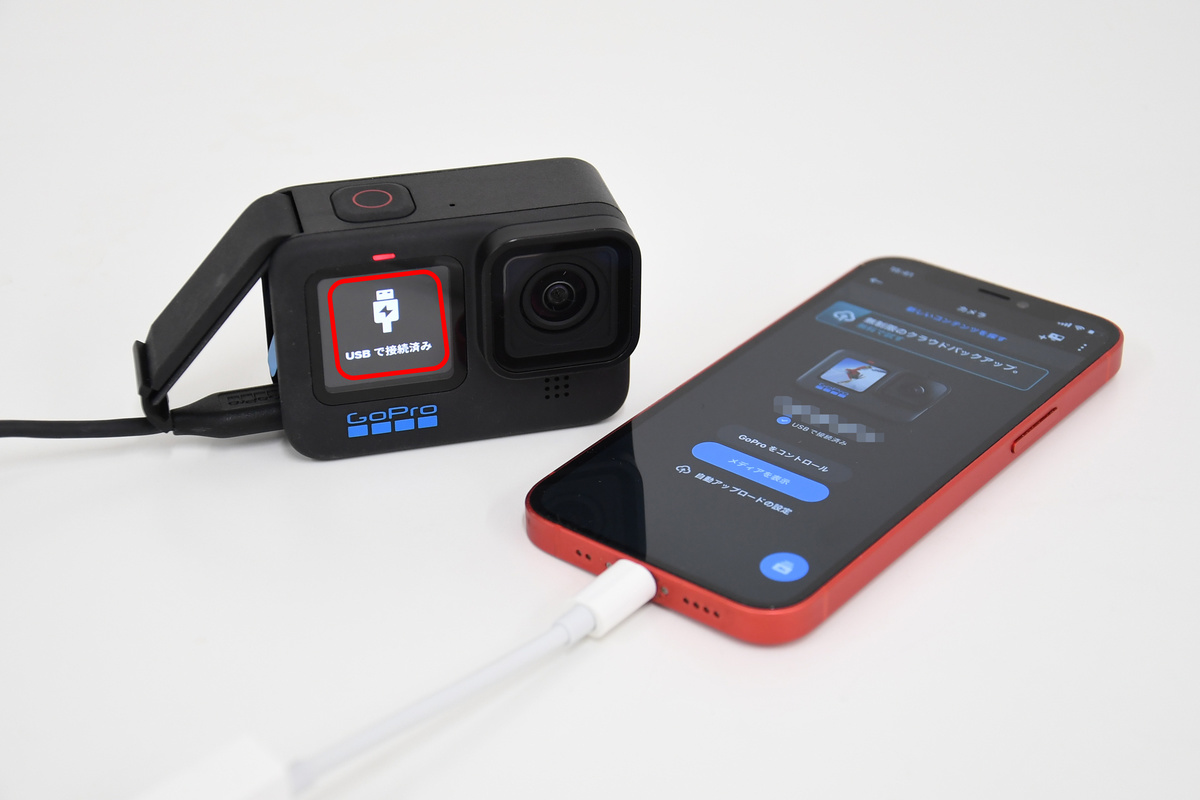
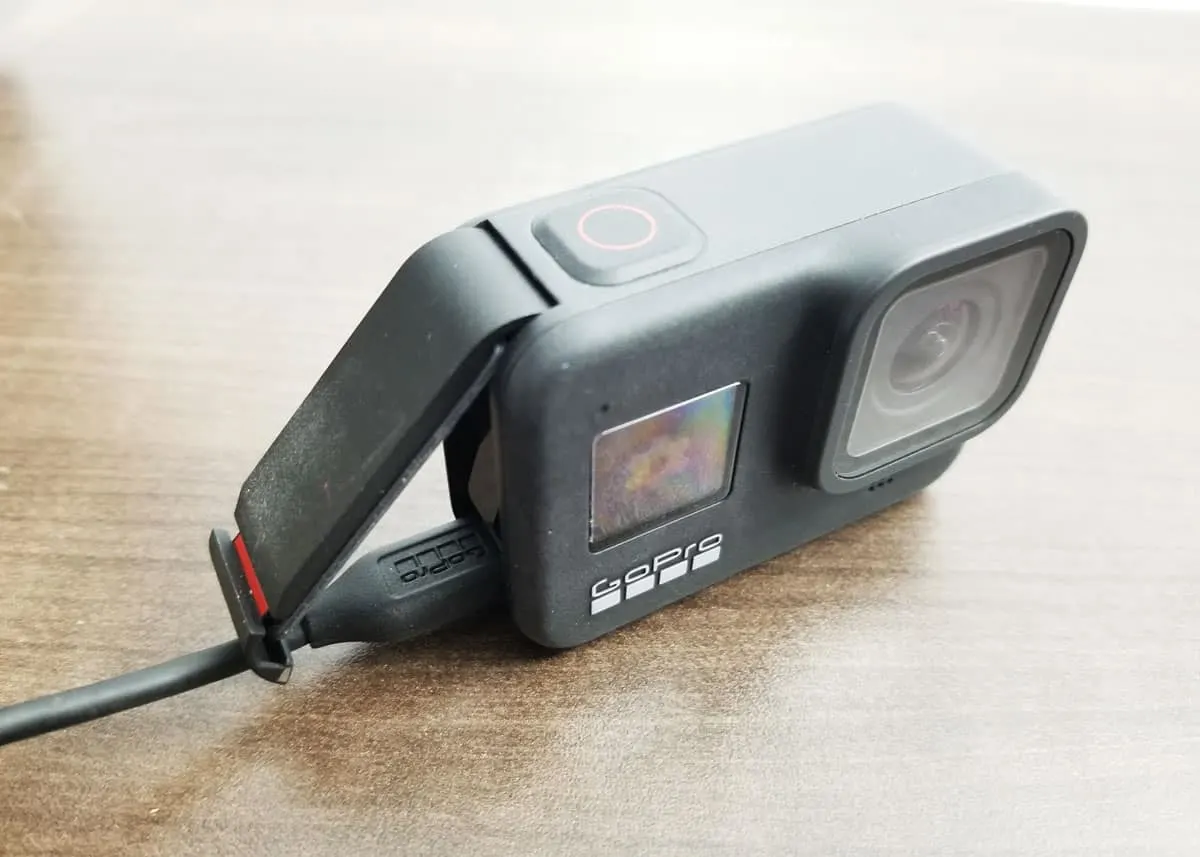
- Connect one end of the USB cable to the USB port on your GoPro camera. The USB port is typically located on the side or the back of the camera, depending on the model.
- Connect the other end of the USB cable to an available USB port on your computer. Make sure to use a USB port that is capable of transferring data, as some ports on your computer may be designated for charging only.
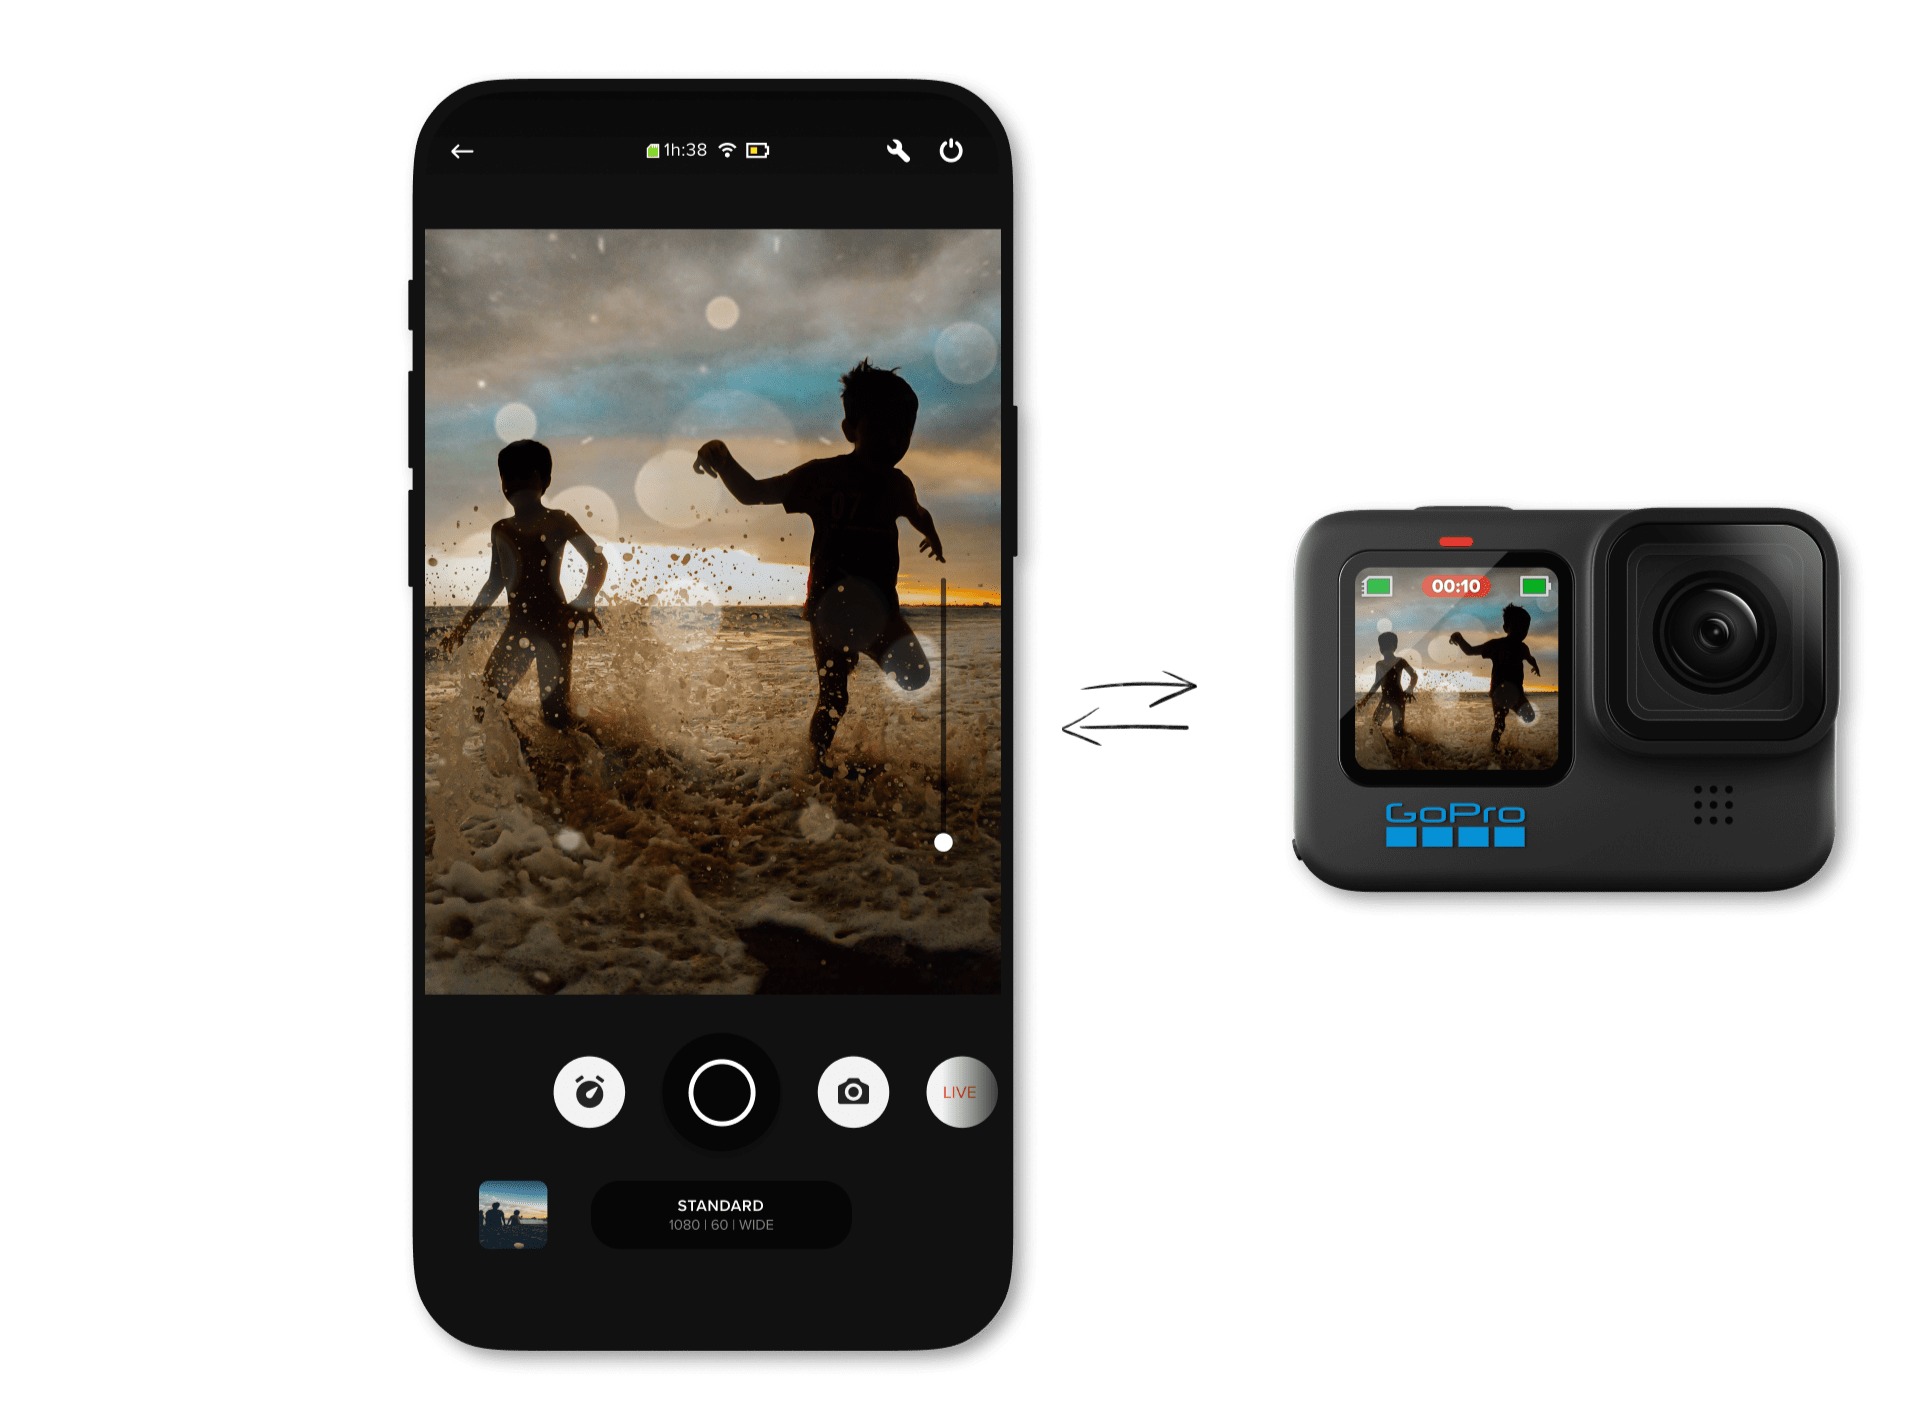
Once the GoPro camera is successfully connected to your computer, you should see a notification or indication on both the camera and the computer that a connection has been established. Your GoPro camera may also enter a mode where it displays options for data transfer.
Now that your GoPro is connected to your computer, it’s time to move on to the next step: opening the GoPro App on your computer.
Step 2: Open the GoPro App on your computer
With your GoPro camera successfully connected to your computer, it’s time to open the GoPro App. The GoPro App provides a user-friendly interface that allows you to access your camera’s media files and transfer them to your computer effortlessly.
Follow these steps to open the GoPro App on your computer:
- Launch your preferred web browser on your computer. The GoPro App is web-based and can be accessed through a supported browser.
- Enter the GoPro website URL or navigate to https://gopro.com. This will take you to the official GoPro website.
- Locate and click on the “Apps” section on the GoPro website. This will direct you to the page where you can download the GoPro App for your computer.
- Depending on your computer’s operating system, click on the appropriate download button for Mac or PC. This will initiate the download of the GoPro App installer.
- Once the download is complete, locate the downloaded file on your computer (usually in the “Downloads” folder) and double-click on it to run the installer.
- Follow the on-screen instructions to install the GoPro App on your computer. Make sure to read and agree to the terms and conditions before proceeding.
- Once the installation is complete, locate the GoPro App icon on your desktop or in the Applications folder (on Mac) and double-click on it to launch the app.
After opening the GoPro App, you will be prompted to log in with your GoPro account credentials. If you don’t have an account, you can create one for free by clicking on the “Sign Up” or “Create an Account” option.
Once you’re logged in, you’re now ready to access your GoPro camera’s media files and proceed with downloading them to your computer. We’ll cover this in the next step.
Step 3: Choose the media files you want to download
Now that you have the GoPro App open and you’re logged in, it’s time to select the media files you want to download from your GoPro camera to your computer. The GoPro App provides a convenient way to browse and choose specific files or entire folders for download.
Follow these steps to choose the media files you want to download:
- In the GoPro App, navigate to the section that displays your connected GoPro camera. This section is usually labeled with the name of your camera model.
- Click on the camera icon or the name of your camera to access the media files stored on your GoPro.
- You’ll see a grid or list view of all the media files available on your GoPro camera. Depending on your camera model, the files may be organized by date, type, or folder structure.
- Browse through the files and folders to locate the specific media files you want to download. You can use the navigation options provided in the GoPro App to switch between folders or change the view.
- To select individual files, simply click on the checkbox or the file itself. If you want to download an entire folder, look for the option to select the entire folder at once.
- As you select the files, you may see a visual indication (such as a checkmark) to confirm your selection. This helps you keep track of the files you’ve chosen for download.
- If you want to select all the files in the current view or folder, look for an option like “Select All” or “Download All” and click on it. This can be useful if you want to download everything from a specific time period or event.
- Once you’re satisfied with your selection, proceed to the next step to choose the download location on your computer.
Now that you’ve chosen the media files you want to download, it’s time to specify where you want them to be saved on your computer. We’ll cover this in the next step.
Step 4: Select the download location on your computer
After selecting the media files you want to download from your GoPro camera, the next step is to choose the download location on your computer. This is where the downloaded files will be saved once the download process is complete.
Here’s how you can select the download location:
- In the GoPro App, look for the option to choose the download destination or download location. This option is usually available before you start the actual download process.
- Click on the designated button or link that allows you to specify the download location on your computer. Depending on your operating system and preferences, you may have the option to choose a specific folder or directory.
- A file browser window or dialog box will open, allowing you to navigate through your computer’s file system. Use this window to select the folder or directory where you want the downloaded GoPro files to be saved.
- If you have a specific folder in mind for organizing your GoPro files, you can create a new folder within the file browser window by clicking on the “New Folder” or “Create a Folder” option.
- Once you’ve selected the desired download location or created a new folder, confirm your selection and proceed to the next step to start the downloading process.
Choosing the right download location is essential for easy access and organization of your downloaded GoPro files. You may want to consider creating a dedicated folder specifically for your GoPro media, making it easier to locate and manage your files.
Now that you’ve selected the download location, it’s time to move on to the next step: starting the downloading process. We’ll cover that in the following step.
Step 5: Start the downloading process
With the media files selected and the download location chosen, you’re now ready to initiate the downloading process. This step will begin transferring the selected files from your GoPro camera to your computer.
Follow these steps to start the downloading process:
- In the GoPro App, look for the option or button that initiates the downloading process. This button is typically labeled as “Download,” “Transfer,” or a similar term.
- Click on the designated button to begin the download. The GoPro App will start transferring the selected media files from your GoPro camera to your computer.
- The download progress will be displayed in the GoPro App, indicating the percentage of completion or the transfer speed.
- During the download, it’s important to keep the connection between your GoPro camera and your computer stable. Avoid disconnecting the USB cable or turning off the camera until the download is complete.
- The time required for the download will vary depending on the size of the media files and the speed of your USB connection.
- Once the download is complete, you will see a notification or confirmation message in the GoPro App, indicating that the transfer was successful.
It’s recommended to avoid interrupting the download process, as it may result in incomplete or corrupted files. If the downloading process fails or encounters any issues, try restarting the process or checking your camera’s connections.
Now that you’ve successfully initiated the downloading process, it’s time to move on to the next step: waiting for the download to complete.
Step 6: Wait for the download to complete
After starting the downloading process in the GoPro App, it’s time to exercise a little patience and let the transfer complete. The download time will depend on the size of the media files being downloaded and the speed of your USB connection.
Here are some important points to keep in mind while waiting for the download to complete:
- Monitor the progress: The GoPro App will display the progress of the download, typically showing the percentage completed or the transfer speed. Use this information to track the progress of the download.
- Avoid interruptions: It’s crucial to keep the connection between your GoPro camera and computer stable throughout the download. Do not disconnect the USB cable or turn off the camera, as it may disrupt the transfer process.
- Be patient: The download time can vary depending on factors such as the size of the media files and the speed of your USB connection. Larger files or a slower connection may take longer to download. Stay patient and allow the transfer to complete.
- Ensure sufficient storage: Ensure that you have enough storage space on your computer to accommodate the downloaded media files. If needed, free up space on your computer’s hard drive to avoid any storage issues.
- Utilize your time: While waiting for the download to complete, you can utilize this time to organize your files or prepare for further editing or sharing of your GoPro media.
It’s important to allow the download to finish completely before disconnecting your GoPro camera from your computer. Prematurely disconnecting the camera may result in incomplete or corrupted files.
Now that you’ve started the download process, all that’s left is to wait patiently for it to complete. Once the download is finished, you can proceed to the final step: accessing your downloaded GoPro files on your computer.
Step 7: Access your downloaded GoPro files on your computer
Congratulations! The download is complete, and your GoPro files are now safely stored on your computer. In this final step, we’ll guide you on how to access and view your downloaded GoPro files.
Here’s how you can access your downloaded GoPro files on your computer:
- Navigate to the download location on your computer where you chose to save the downloaded GoPro files. Use your computer’s file explorer or finder to locate the folder you specified during the download process.
- Open the folder, and you will find all the media files you downloaded from your GoPro camera. These files could include videos, photos, or even time-lapse sequences, depending on what you selected for download.
- To view the videos or photos, simply double-click on the respective file, and your default media player or image viewer will open and display the content.
- If you want to organize your files further, you can create subfolders within the downloaded GoPro files folder. This can help you categorize your media files based on events, locations, or any other organizational method that suits your needs.
- From here, you can edit, share, or further store your downloaded GoPro files. Use your preferred photo or video editing software to enhance the footage, share memorable moments with friends and family, or store them for future use.
- Remember to make backup copies of your GoPro files to ensure their safety. Consider saving them to an external hard drive, cloud storage, or another secure location to prevent loss of data due to computer malfunctions or accidents.
Now that you have accessed your downloaded GoPro files on your computer, you can relive your adventures, create captivating stories, or share your epic moments with the world.
Enjoy the flexibility and creative possibilities that come with having your GoPro media on your computer!
Conclusion
Downloading your GoPro media files to your computer opens up a world of possibilities for editing, sharing, and storing your adventures. With the help of the GoPro App, the process becomes streamlined and user-friendly.
In this guide, we walked you through the step-by-step process of downloading your GoPro files to your computer. We covered connecting your GoPro camera to your computer, opening the GoPro App, choosing the media files for download, selecting the download location, starting the downloading process, waiting for the download to complete, and finally, accessing your downloaded GoPro files.
By following these steps, you can ensure a smooth transfer of your GoPro media files to your computer. You’ll have the convenience of organizing and editing your footage, as well as sharing your unforgettable moments with friends, family, and followers.
Remember to keep your connection stable throughout the download process and have sufficient storage space on your computer to accommodate your downloaded files. Backup copies of your GoPro files are also recommended to ensure their safety and prevent any accidental loss of data.
Now that you have successfully downloaded your GoPro files to your computer, you can unleash your creativity and bring your adventures to life. Whether you’re creating epic travel videos, documenting extreme sports, or capturing beautiful landscapes, your GoPro camera and your computer are your gateway to endless possibilities.
So, grab your GoPro, connect it to your computer, and start downloading those awe-inspiring moments that you’ve captured. Let your imagination run wild, and share your journey with the world!