Introduction
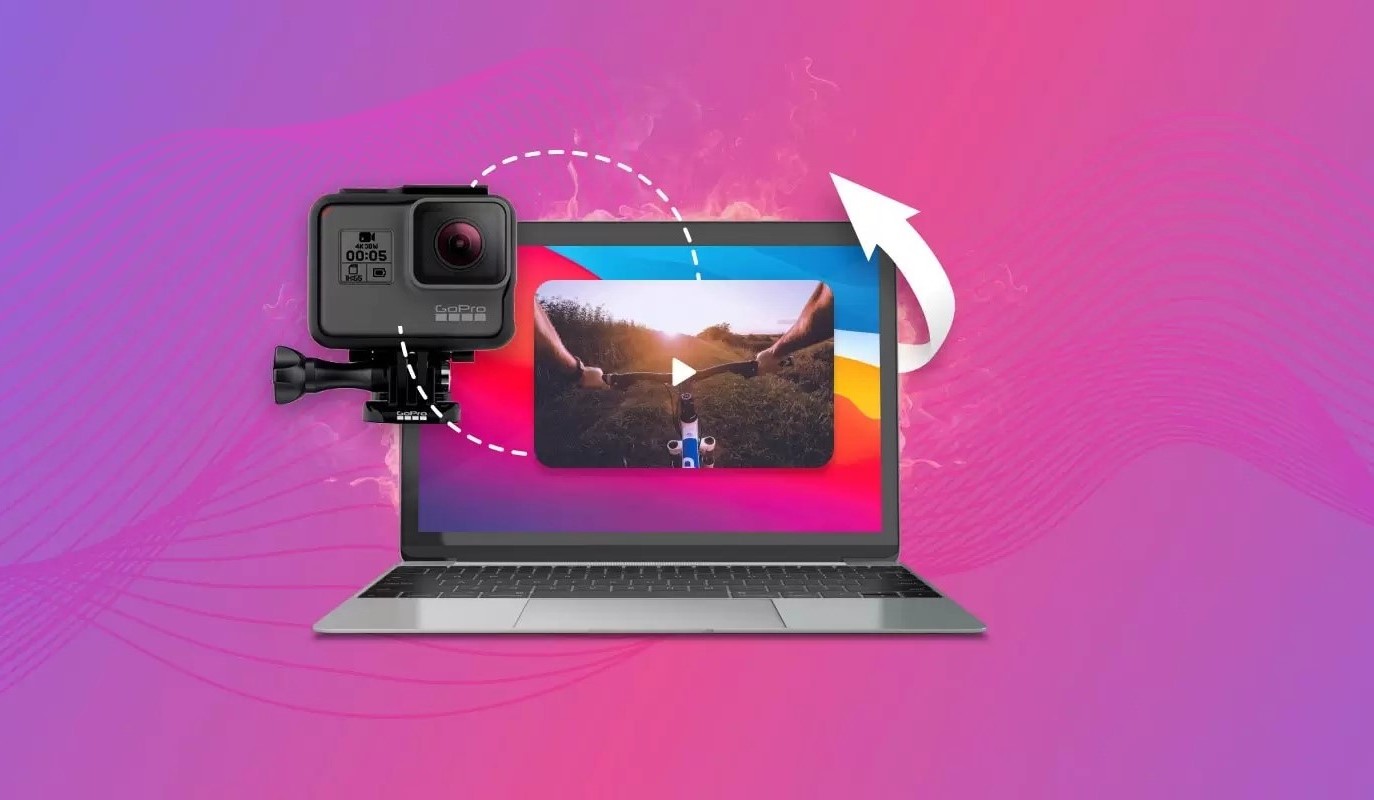
Have you captured some incredible moments with your GoPro camera and want to download them to your computer for further editing or sharing? Look no further, as we have got you covered! In this guide, we will walk you through the steps to download GoPro videos to your computer effortlessly.
GoPro cameras have gained immense popularity due to their ability to capture high-quality videos and stunning action shots. Whether you’ve been recording your adventurous travels, extreme sports activities, or simply capturing precious moments with your loved ones, downloading your GoPro videos to your computer allows you to have full control over your footage.
Downloading GoPro videos to your computer offers numerous advantages. Firstly, it provides you with a backup of your footage, ensuring that your precious memories are safely stored. Secondly, it enables you to free up space on your GoPro camera, allowing you to continue shooting without any interruptions. Lastly, transferring your videos to your computer provides you with the flexibility to edit, enhance, and share your content on various platforms.
Now, let’s dive into the step-by-step process to download GoPro videos to your computer. Whether you’re a beginner or a seasoned GoPro user, this guide will help you effortlessly transfer your footage and unlock the full potential of your GoPro camera.
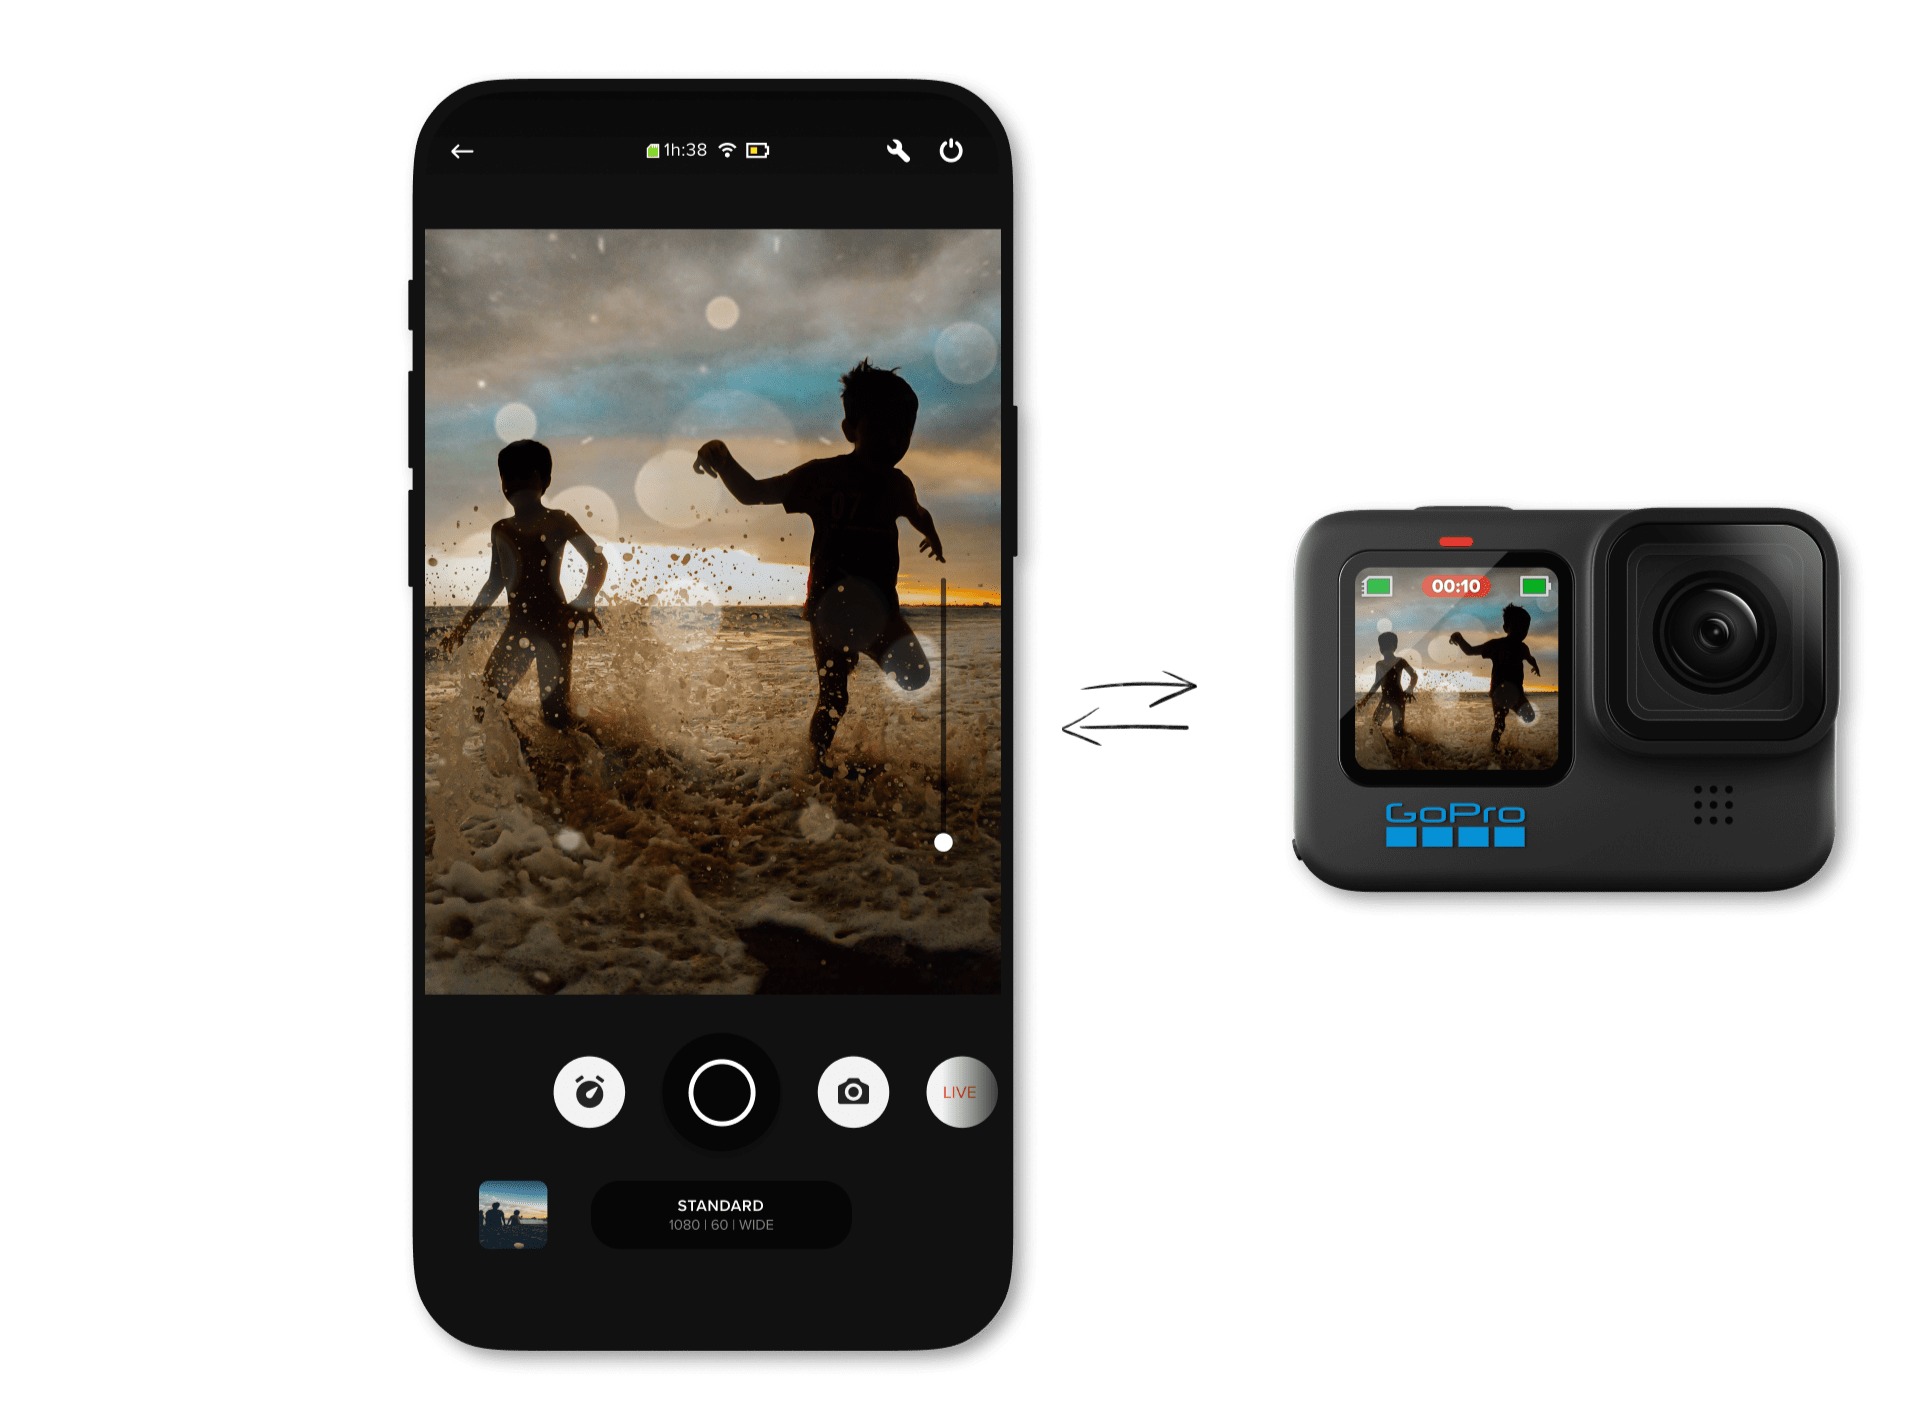
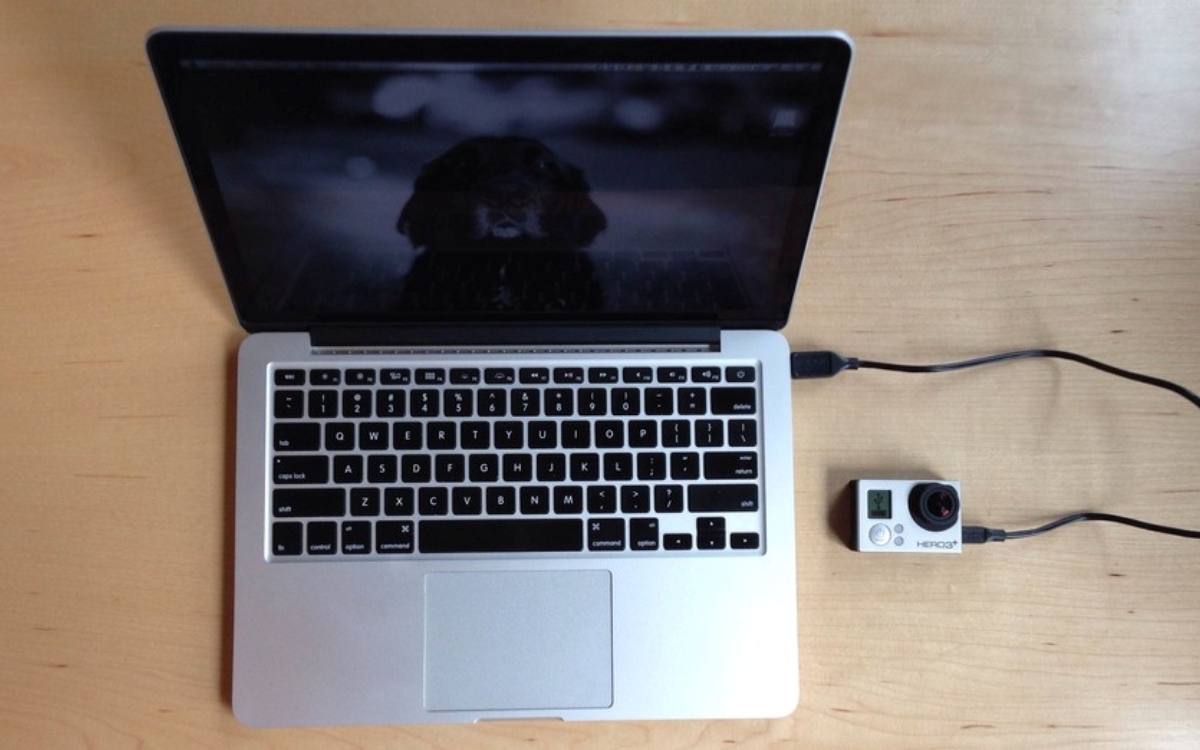
Step 1: Connect GoPro to your computer
The first step in downloading GoPro videos to your computer is to establish a connection between your GoPro camera and your computer. Follow these simple steps to get started:
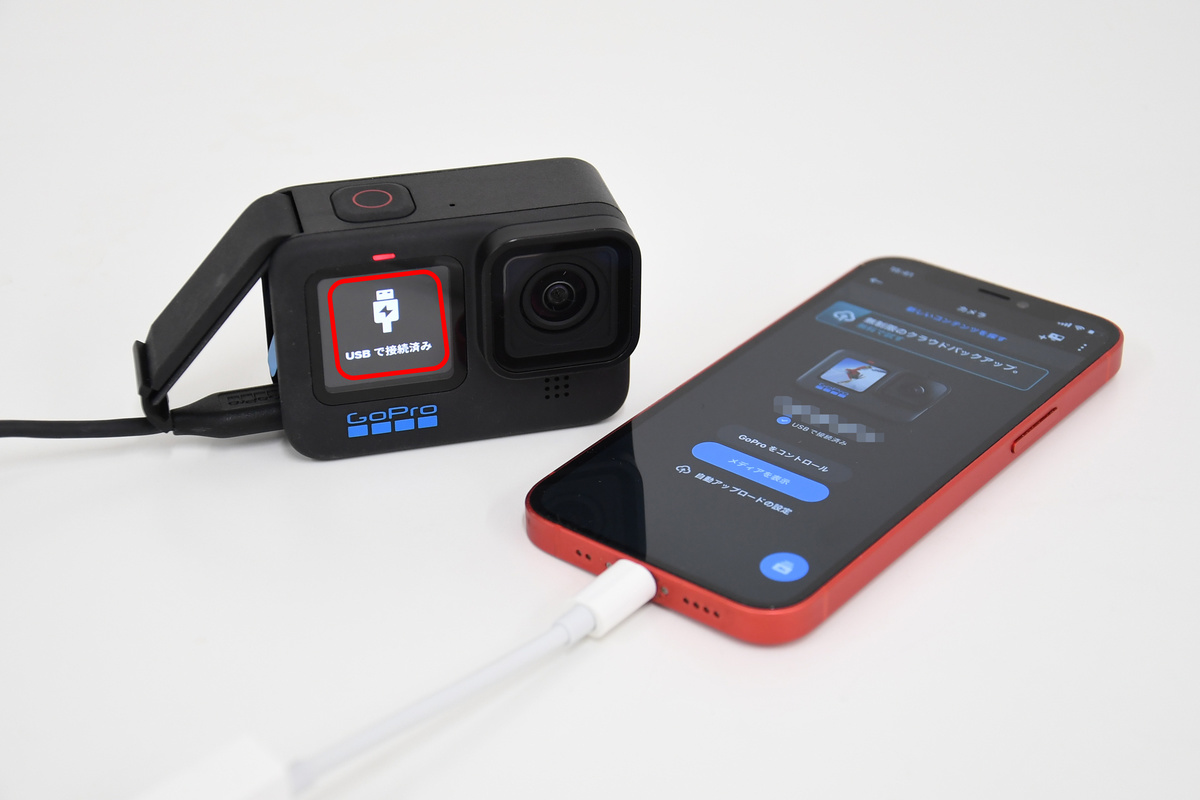
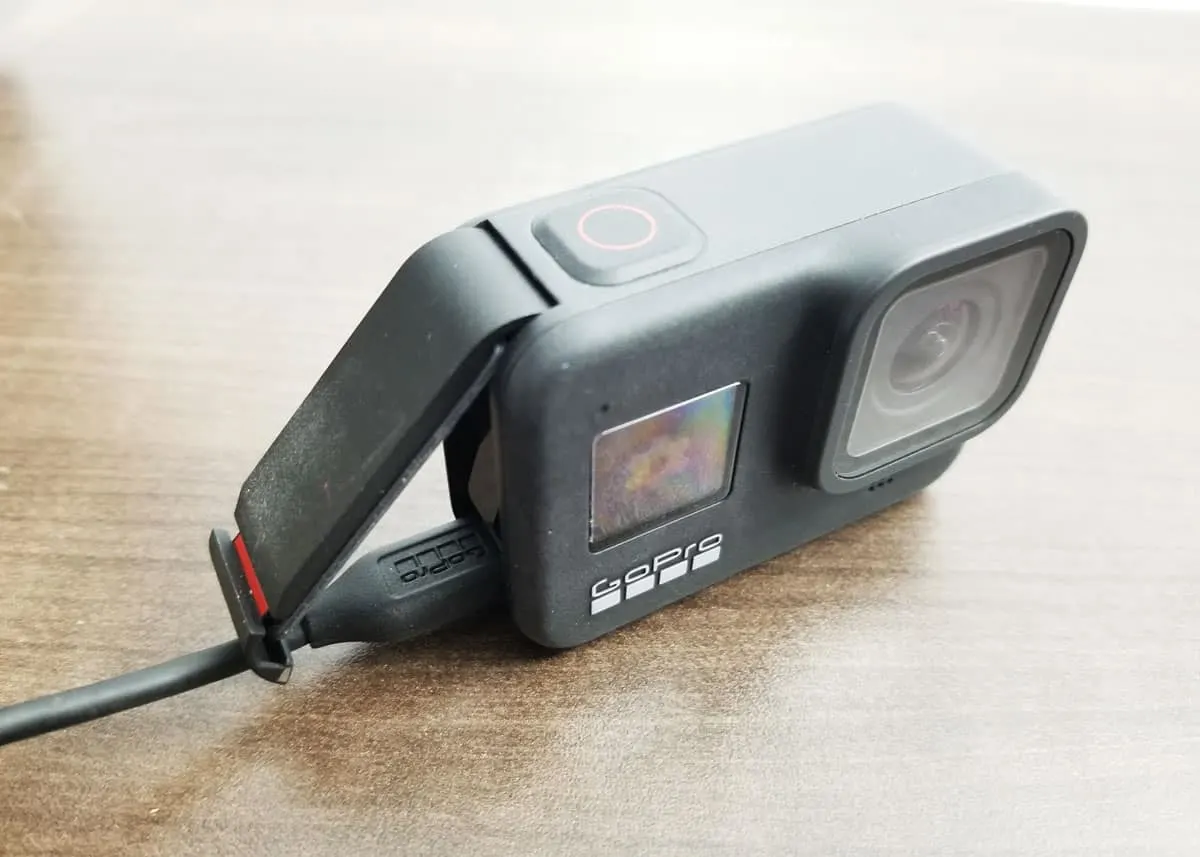
- Locate the USB cable that came with your GoPro camera. It typically has a mini-USB or USB-C connector on one end and a standard USB connector on the other end.
- Ensure that your GoPro camera is turned off.
- Connect one end of the USB cable to the appropriate port on your GoPro camera.
- Connect the other end of the USB cable to an available USB port on your computer.
- Once the connection is established, turn on your GoPro camera. It will automatically go into USB mode.
- Your computer should recognize the connected GoPro camera as a storage device, similar to a USB flash drive or an external hard drive. Depending on your computer’s operating system, a notification or a pop-up window may appear indicating a new device connection.
It is important to ensure that both your GoPro camera and your computer are powered on during this process. Also, make sure that you are using a reliable and functional USB cable to avoid any connectivity issues.
Once the connection is established, you are now ready to move on to the next step of downloading your GoPro videos to your computer.
Step 2: Download and install GoPro Quik Desktop software
To efficiently download and manage your GoPro videos on your computer, it is recommended to download and install the GoPro Quik Desktop software. Follow these steps to get started:
- Open your preferred web browser on your computer and visit the official GoPro website.
- Navigate to the “Software & Apps” section and select the “Quik Desktop” option.
- Click on the “Download Now” button to initiate the download process.
- Once the GoPro Quik Desktop software file is downloaded, locate the file in your computer’s Downloads folder or the designated folder you selected for downloads.
- Double-click on the downloaded file to start the installation process.
- Follow the on-screen instructions to complete the installation of GoPro Quik Desktop software. Ensure that you carefully read and accept the terms and conditions, as well as select the desired installation location.
- Once the installation is complete, launch the GoPro Quik Desktop software on your computer.
The GoPro Quik Desktop software offers a user-friendly interface and provides various tools and features to help you manage and enhance your GoPro videos. It allows you to import videos from your GoPro camera, organize them into folders, apply quick edits, add music, create stunning video compilations, and easily share your content on social media platforms.
By installing GoPro Quik Desktop software, you gain access to a powerful tool that simplifies the process of downloading and managing your GoPro footage on your computer. Now that you have successfully installed the software, let’s move on to the next step of importing your GoPro videos to Quik Desktop.
Step 3: Import videos from GoPro to Quik Desktop
Now that you have GoPro Quik Desktop software installed on your computer, it’s time to import your GoPro videos into the software. Follow these steps to import your videos:
- Launch GoPro Quik Desktop software on your computer if it’s not already open.
- Ensure that your GoPro camera is still connected to your computer via the USB cable.
- In the main interface of GoPro Quik Desktop, click on the “Import” button.
- A window will appear displaying the connected devices. Select your GoPro camera from the list.
- Click on the “Import Files” button to start importing your videos from the GoPro camera.
- GoPro Quik Desktop will automatically detect and import all the videos stored on your GoPro camera’s memory card.
- Once the import is complete, you will see a notification or a progress bar indicating that the files have been successfully imported.
This process may take some time, depending on the number and size of the videos being imported. It is important to ensure that your GoPro camera remains connected and powered on during the import process.
GoPro Quik Desktop provides a seamless experience when importing videos from your GoPro camera. It automatically recognizes and organizes your footage into a library, making it easy to browse and locate specific videos for editing or sharing.
Now that you have imported your GoPro videos into GoPro Quik Desktop, you’re ready to move on to the next step of selecting the videos you want to download.
Step 4: Select the videos you want to download
With your GoPro videos imported into GoPro Quik Desktop, it’s time to choose the specific videos you want to download to your computer. Follow these simple steps to select your desired videos:
- In the GoPro Quik Desktop interface, navigate to the library view where your imported videos are displayed.
- Browse through the videos to find the ones you want to download. You can use the various filters and sorting options available to locate your videos more easily.
- Select the videos by clicking on them. You can select multiple videos by holding down the Ctrl key (Windows) or the Command key (Mac) while clicking on the videos.
- Once you have selected the videos you want to download, proceed to the next step.
By selecting the specific videos you want to download, you have control over which footage you want to transfer to your computer. This allows you to save storage space and only download the videos that are relevant or of interest to you.
Now that you have chosen the videos to be downloaded, let’s move on to the next step of selecting a destination folder on your computer to save your downloaded GoPro videos.
Step 5: Choose a destination folder on your computer
Before downloading your selected GoPro videos, it’s important to choose a destination folder on your computer to save them. Follow these steps to select a folder:
- In the GoPro Quik Desktop interface, click on the “Settings” or “Preferences” option. This is usually represented by a cogwheel icon.
- In the settings menu, look for the “Save Files To” or “Download Location” option.
- Click on the option to choose a destination folder.
- A file explorer window will open, allowing you to navigate and select the desired folder on your computer.
- Once you have selected the destination folder, click “OK” or “Select” to save the changes.
Choosing a specific destination folder for your downloaded videos allows for easy organization and accessibility. You can create a dedicated folder for your GoPro videos or select an existing folder that best suits your preferences.
Remember to choose a location with sufficient storage space to accommodate your downloaded videos. Additionally, it’s recommended to select a folder that is easily accessible, such as your desktop or a specific folder within your documents.
Now that you have selected a destination folder, you’re ready to proceed to the next step – downloading your GoPro videos to your computer.
Step 6: Download GoPro videos to your computer
With your desired videos selected and a destination folder chosen, it’s time to download your GoPro videos to your computer using GoPro Quik Desktop. Follow these steps to initiate the download process:
- In the GoPro Quik Desktop interface, locate the “Download” or “Export” button. This button is typically represented by an arrow pointing downwards.
- Click on the “Download” or “Export” button to start the download process.
- A window will appear, allowing you to review the selected videos and the destination folder.
- Ensure that the correct videos and destination folder are displayed.
- Click on the “Download” or “Export” button to begin downloading the videos.
- The download progress will be displayed, indicating the transfer of your GoPro videos to the chosen destination folder.
- Once the download is complete, you will receive a confirmation message or notification.
The time taken to download your videos will depend on the size and number of videos being transferred. Larger video files may take longer to download, so it’s important to allow the process to complete without interruption.
Downloading your GoPro videos to your computer provides you with the convenience of accessing and managing your footage locally. This allows for efficient editing, sharing, and archiving of your videos.
Now that you have successfully downloaded your GoPro videos to your computer, you can proceed to the final step of accessing and editing your downloaded videos using GoPro Quik Desktop.
Step 7: Access and edit downloaded GoPro videos
After successfully downloading your GoPro videos to your computer using GoPro Quik Desktop, you can now access and edit them to enhance your footage. Follow these steps to access and edit your downloaded videos:
- In the GoPro Quik Desktop interface, locate the library view or the folder where your downloaded videos are stored.
- Click on the folder or select the videos you want to access and edit.
- Double-click on a video to open it in the preview or editing window.
- GoPro Quik Desktop provides various editing tools and features to enhance your videos. You can trim clips, apply filters, add music, create titles and captions, and even adjust the playback speed of your videos.
- Once you have made your desired edits, click on the “Save” or “Export” button to apply the changes and save the edited video.
GoPro Quik Desktop offers a user-friendly editing experience, ensuring that you can easily enhance your footage without the need for complex editing software. It provides intuitive controls and preset effects, allowing you to create professional-quality videos without extensive editing knowledge.
Furthermore, GoPro Quik Desktop also enables you to share your edited videos directly to various social media platforms or save them to your computer for further distribution or archiving.
By accessing and editing your downloaded GoPro videos, you have the ability to personalize your footage, add creative elements, and bring your vision to life. Whether you want to create a captivating travel vlog, showcase your extreme sports adventures, or document special moments with loved ones, GoPro Quik Desktop provides the tools and flexibility to make your videos stand out.
With the completion of this final step, you have successfully accessed and edited your downloaded GoPro videos using GoPro Quik Desktop. You are now ready to share your masterpieces with the world or continue exploring the endless possibilities of video editing.
Conclusion
Downloading GoPro videos to your computer is a crucial step in managing and unlocking the full potential of your footage. By following the step-by-step process outlined in this guide, you can easily transfer your GoPro videos to your computer and gain control over your content.
We started by connecting your GoPro camera to your computer using a USB cable, ensuring a stable and secure connection. Next, we downloaded and installed the GoPro Quik Desktop software, which provides a user-friendly interface and powerful tools for managing and enhancing your GoPro videos.
After importing your videos into GoPro Quik Desktop, you had the chance to select the specific videos you wanted to download to your computer. This allowed you to save storage space and only transfer the footage that was important to you.
Choosing a destination folder on your computer provided a convenient and organized way to store your downloaded GoPro videos. This ensured that your videos were easily accessible and ready for editing or sharing.
With the download process complete, you were able to access and edit your GoPro videos using GoPro Quik Desktop’s comprehensive editing features. Trim clips, add music, apply filters, and adjust playback speed to personalize your footage and create stunning visual stories.
By following these steps, you have successfully downloaded and accessed your GoPro videos on your computer, giving you the freedom to unleash your creativity and share your adventures with the world.
Remember, downloading your GoPro videos to your computer not only provides a backup of your footage but also opens up endless possibilities for editing, sharing, and preserving your precious memories. Whether you’re a professional filmmaker or an adventure enthusiast, having your GoPro videos at your fingertips allows you to showcase your experiences and relive those thrilling moments again and again.
Now that you have mastered the art of downloading GoPro videos to your computer, it’s time to embark on your next video editing project or share your incredible footage with friends and family.