Introduction
Welcome to this guide on how to download videos from your GoPro. Whether you’re an adventure enthusiast capturing thrilling moments or a content creator capturing stunning footage, being able to easily access and download your videos is essential. Fortunately, downloading videos from your GoPro to your computer is a quick and straightforward process. In this article, we will walk you through the steps to help you retrieve your videos and store them on your computer for further editing or sharing.
Downloading your GoPro videos not only allows you to free up space on your GoPro’s memory card but also provides you with a backup of your precious moments in case anything happens to your camera. With the right equipment and a few simple steps, you’ll have your videos downloaded and ready to be enjoyed or edited in no time.
We understand that technology can sometimes be intimidating, especially if you’re new to the world of GoPro cameras. However, we assure you that downloading videos from your GoPro is a user-friendly process that anyone can easily grasp. So, whether you’re a tech-savvy individual or a beginner, this guide will equip you with the necessary knowledge and skills to download your GoPro videos like a pro.
Before we dive into the step-by-step instructions, it’s important to mention that the process of downloading GoPro videos may slightly vary depending on the model of your GoPro camera and the operating system of your computer. However, the overall procedure remains relatively similar, and we will provide general guidelines that apply to most GoPro cameras and computers.
Without further ado, let’s get started with the first step of connecting your GoPro to your computer. Prepare your GoPro, grab your USB cable, and let’s begin this journey of downloading your incredible GoPro videos.
Step 1: Connect your GoPro to your computer
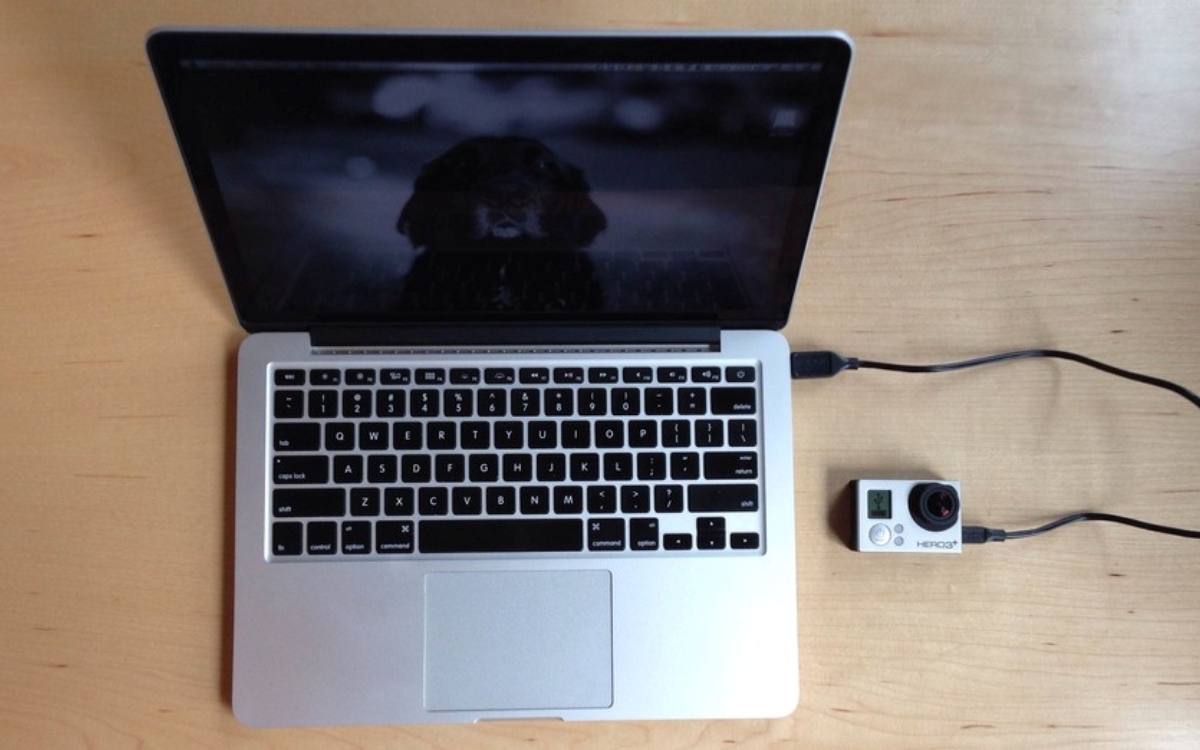
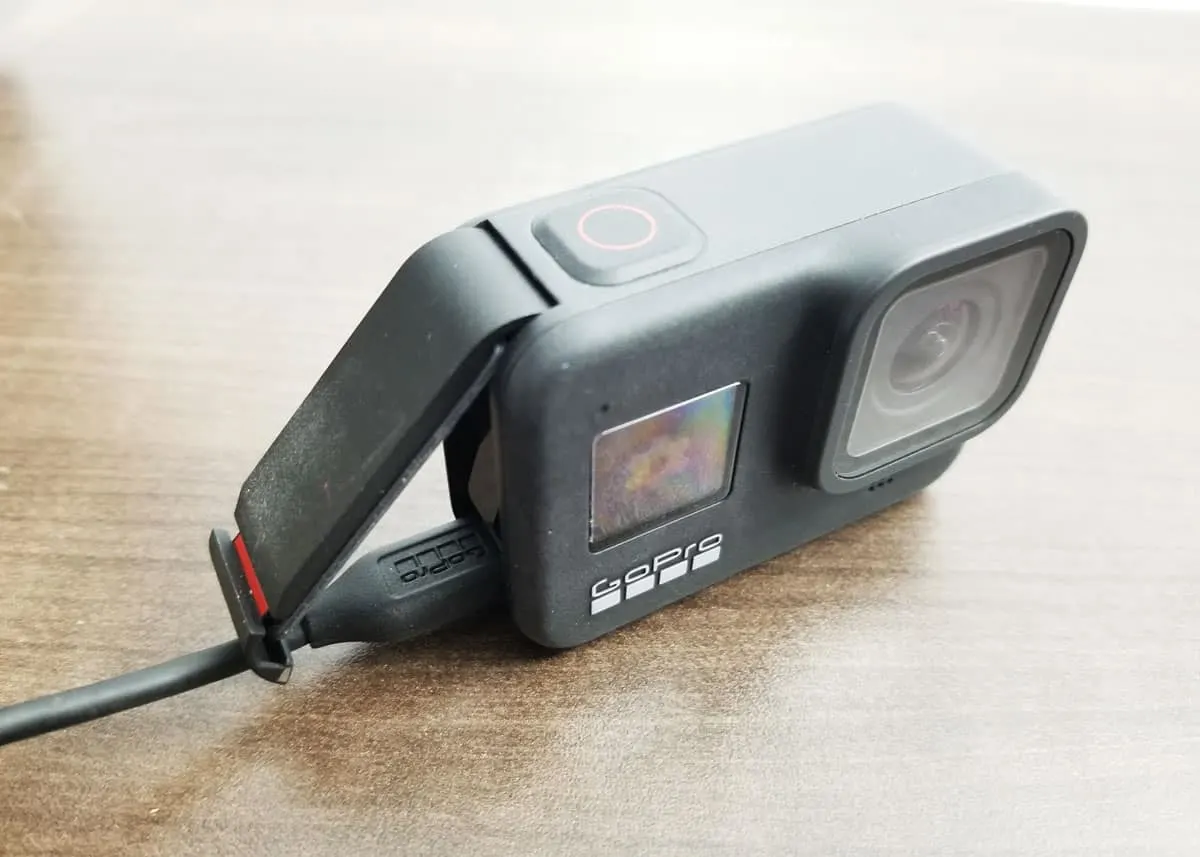
The first step in downloading videos from your GoPro is to establish a connection between your camera and your computer. To do this, you’ll need the USB cable that came with your GoPro.
Start by powering off your GoPro. Locate the USB port on your camera, usually found on the side or the back, and plug one end of the USB cable into the port. Then, take the other end of the USB cable and insert it into an available USB port on your computer.
Once the GoPro is connected to your computer, power it on. You may need to press the power button or use the mode button to turn on the camera, depending on the model.
After a few seconds, your computer should recognize the GoPro as a storage device and open a dialog box. Some computer systems automatically detect and open a program or file management window when the camera is connected. If this doesn’t happen, don’t worry. You can manually access the GoPro’s storage on your computer.
Now that your GoPro is successfully connected to your computer, you’re ready to move on to the next step.
Step 2: Choose the appropriate USB mode
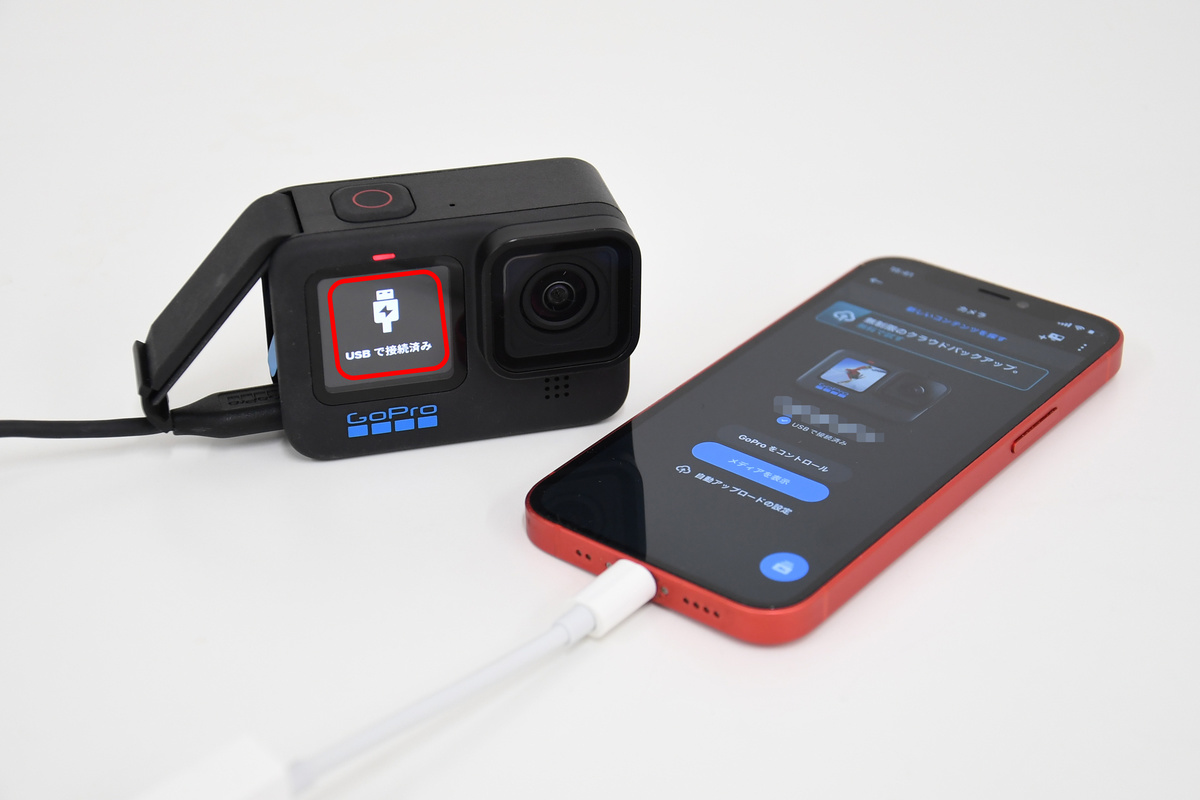
Once your GoPro is connected to your computer, you may need to select the appropriate USB mode on your camera. The USB mode determines how your GoPro interacts with your computer and what type of data can be accessed.
On most GoPro models, you will find the USB mode option in the camera’s settings. To access the settings, power on your GoPro and navigate to the settings menu. Look for the option labeled “USB Connection” or something similar.
In the USB Connection settings, you will usually find a few different options to choose from. The options may include:
- Mass Storage:
- This mode treats your GoPro as a mass storage device, similar to a USB flash drive. It allows you to access the files on the camera’s memory card directly.
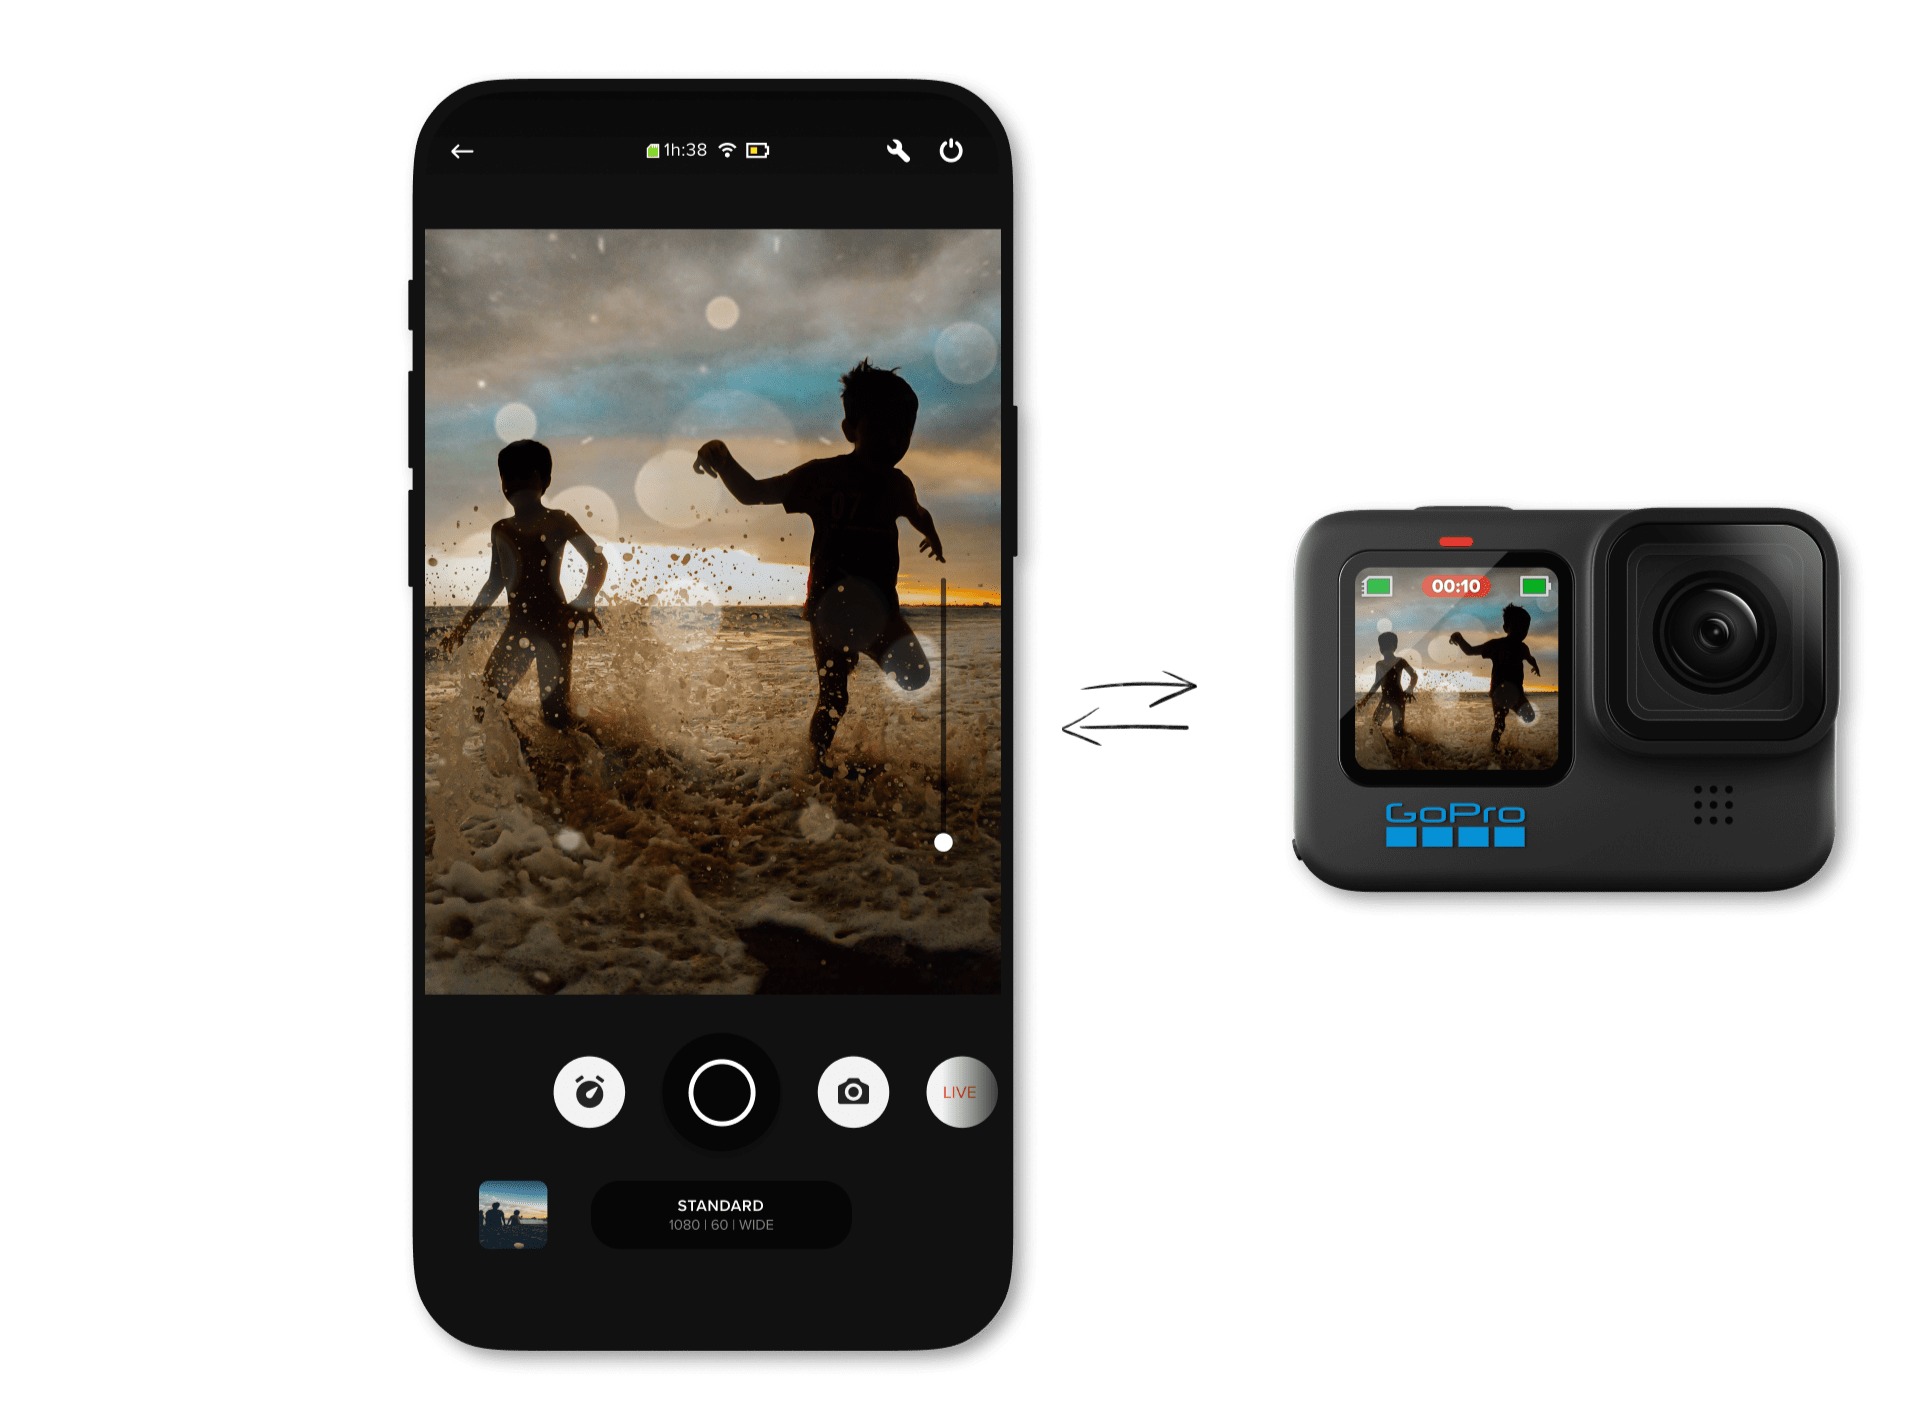
- GoPro Connect:
- This mode allows you to control your GoPro camera remotely from your computer using GoPro’s desktop software or mobile app.
- GoPro Webcam:
- This mode enables you to use your GoPro as a webcam for video conferencing or live streaming on platforms like Zoom or OBS.
Choose the “Mass Storage” or “MTP” (Media Transfer Protocol) option, as this mode allows you to access and transfer your video files. If you plan to use your GoPro as a webcam or control it remotely, you can select the respective mode later when needed.
Once you’ve chosen the appropriate USB mode, your GoPro will establish the necessary connection with your computer, enabling you to access the video files. You’re now ready to proceed to the next step of locating the GoPro folder on your computer.
Step 3: Locate the GoPro folder on your computer
After connecting your GoPro to your computer and selecting the appropriate USB mode, it’s time to locate the GoPro folder on your computer. This folder contains all the videos and other media files stored on your GoPro’s memory card.
The exact location of the GoPro folder may vary depending on your computer’s operating system (Windows or macOS) and your preferences. Here’s how you can find the GoPro folder:
Windows:
- Open File Explorer by pressing the Windows key + E or by clicking on the folder icon in the taskbar.
- In the left sidebar, locate and click on “This PC” or “My Computer.”
- You should see your connected GoPro listed as a removable storage device. Double-click on it to open the GoPro folder.
macOS:
- Open a new Finder window by clicking on the Finder icon in the dock.
- In the left sidebar, you should see your connected GoPro listed under the “Locations” section. Click on it to access the GoPro folder.
Once you’ve located the GoPro folder, you’ll be able to see all the video files stored on your GoPro’s memory card. These files are usually organized into folders according to the date or the shooting mode you used.
It’s important to note that if you have a GoPro with a removable SD card, you can also choose to remove the memory card from the camera and use a card reader to directly access the files on your computer. This can be a convenient option if you prefer not to connect the entire camera to your computer.
Now that you’ve found the GoPro folder on your computer, you’re ready to proceed to the next step of selecting the videos you want to download.
Step 4: Select the videos you want to download
Now that you have located the GoPro folder on your computer, it’s time to choose the videos you want to download. Browsing through the folders, you’ll find various video files captured with your GoPro camera.
Depending on your preference and the purpose of the videos, you may want to select specific videos or download them all. Here are a few tips to help you navigate and select the videos:
- Organize the video files: If your GoPro is set to automatically create separate folders for each day or shooting session, you can easily browse through these folders and locate the specific videos you want to download.
- Preview the videos: Most operating systems allow you to preview the video files by simply selecting them and using the built-in preview feature. This can help you quickly review the content and decide which videos to download.
- Sort and filter the videos: If you have a large number of video files, you can sort them by date, size, or other attributes to simplify the selection process. You can also search for specific keywords or file names to locate videos more efficiently.
Once you have identified the videos you wish to download, simply click and drag to select multiple files, or use the Ctrl or Command key on your keyboard to select individual videos. Alternatively, you can create a new folder on your computer and copy the selected videos into that folder.
Keep in mind that downloading videos from your GoPro may take some time, depending on the file sizes and the speed of your computer. If you have a slow internet connection or limited storage space on your computer, you may want to prioritize the videos you download to conserve time and space.
Now that you have selected the videos you want to download, it’s time to move on to the next step of copying the videos to your computer.
Step 5: Copy the videos to your computer
After selecting the videos you wish to download from your GoPro, it’s time to copy them to your computer. By doing this, you can have a local copy of your videos for easy access, editing, and sharing.
To copy the videos, follow these steps:
- Right-click on the selected videos or the folder containing the videos.
- From the context menu, choose “Copy” or use the Ctrl+C (Command+C on Mac) keyboard shortcut.
- Navigate to the desired location on your computer where you want to save the copied videos.
- Right-click in the destination folder and select “Paste” or use the Ctrl+V (Command+V on Mac) keyboard shortcut.
- The selected videos will now be copied from your GoPro to your computer.
Depending on the size of the videos and the speed of your computer, the copying process may take some time. It’s important to ensure that you have sufficient free space on your computer’s storage drive to accommodate the copied videos.
While the videos are being copied, it’s advisable to avoid disconnecting your GoPro or shutting down your computer, as this may interrupt the copying process and potentially corrupt the files.
Once the copying process is complete, you will have a local copy of the selected videos on your computer. You can now disconnect your GoPro from your computer and enjoy your downloaded videos.
Remember to safely eject the GoPro from your computer before disconnecting the USB cable. This helps ensure that all data is properly transferred and prevents any potential data loss or corruption.
Now that you have successfully copied the videos from your GoPro to your computer, you’re ready to move on to the final step of disconnecting your GoPro.
Step 6: Disconnect your GoPro from the computer
After you have successfully copied the videos from your GoPro to your computer, it’s important to properly disconnect your camera to avoid any potential data loss or damage. Follow these simple steps to safely disconnect your GoPro:
- Close any open windows or programs that have been accessing the GoPro folder or videos.
- On your computer, locate the device icon representing your GoPro (usually shown as a removable storage device).
- Right-click on the device icon and select “Eject” or “Safely Remove” from the context menu.
- Wait for the computer to complete the ejection process. You may see a notification indicating that it is safe to remove the device.
- Once you receive the confirmation that it is safe to remove the device, gently disconnect the USB cable from both the GoPro and your computer.
It is important to follow these steps to ensure proper disconnection and avoid potential data corruption. Failure to safely eject the GoPro from your computer may result in the loss of files or damage to the camera’s memory card.
Once you have disconnected your GoPro, you can power off the camera and store it securely until you’re ready to capture your next adventure.
Congratulations! You have successfully downloaded your videos from your GoPro to your computer and safely disconnected your camera. Now you can enjoy watching, editing, or sharing your memorable moments at your convenience.
Remember to always keep a backup of your videos on an external storage device or cloud storage service to ensure their safety and longevity.
We hope that this guide has been helpful in simplifying the process of downloading videos from your GoPro. With these steps, you can easily access your footage and make the most of your GoPro camera.
Conclusion
Downloading videos from your GoPro to your computer is a simple and essential process for freeing up storage space, creating backups, and accessing your footage for editing or sharing. By following the steps outlined in this guide, you can easily download your videos like a pro.
We started by connecting your GoPro to your computer using the USB cable and selecting the appropriate USB mode. Then, we located the GoPro folder on your computer, allowing you to access and manage your video files. From there, we selected the desired videos for downloading and copied them to your computer for safekeeping.
Remember to always exercise caution when disconnecting your GoPro from your computer, ensuring that you safely eject the device before removing the USB cable. This helps prevent any potential data loss or damage.
With these steps, you can confidently download your videos from your GoPro and have them readily available for editing, sharing, or simply reliving your incredible adventures. Whether you’re a content creator or an adventure enthusiast, having easy access to your GoPro videos opens up a world of possibilities.
Now that you have successfully downloaded your videos from your GoPro, you can fully embrace the creativity and excitement that comes with capturing unforgettable moments. Use your downloaded videos to create engaging content, share your experiences with friends and family, or simply keep a treasured collection of memories.
We hope this guide has been helpful in simplifying the process of downloading videos from your GoPro. Enjoy unleashing your creativity and reliving your adventures again and again!