To import video from camcorder to Mac, you must first identify whether your camcorder is file-based or tape-based, because the connection method and software workflow differ completely. File-based camcorders store footage on SD cards or internal drives and connect via USB, while tape-based camcorders require FireWire and real-time capture.
Before you start: know your camcorder type
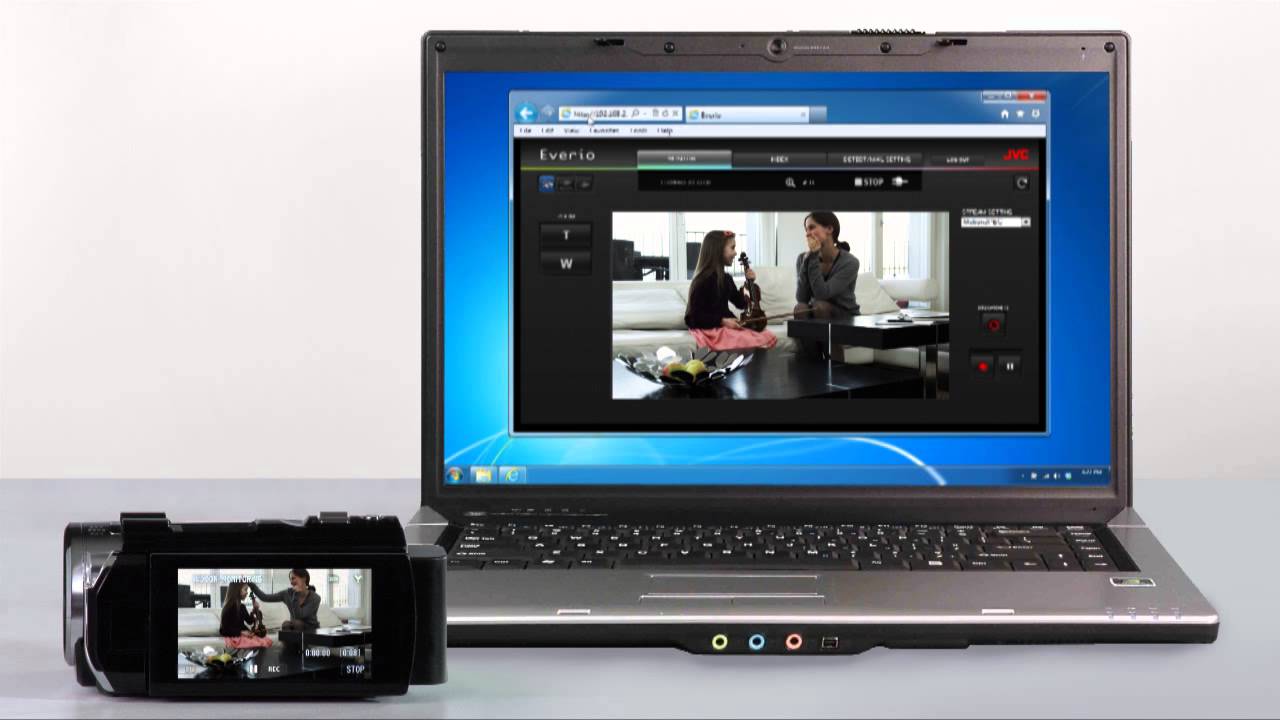
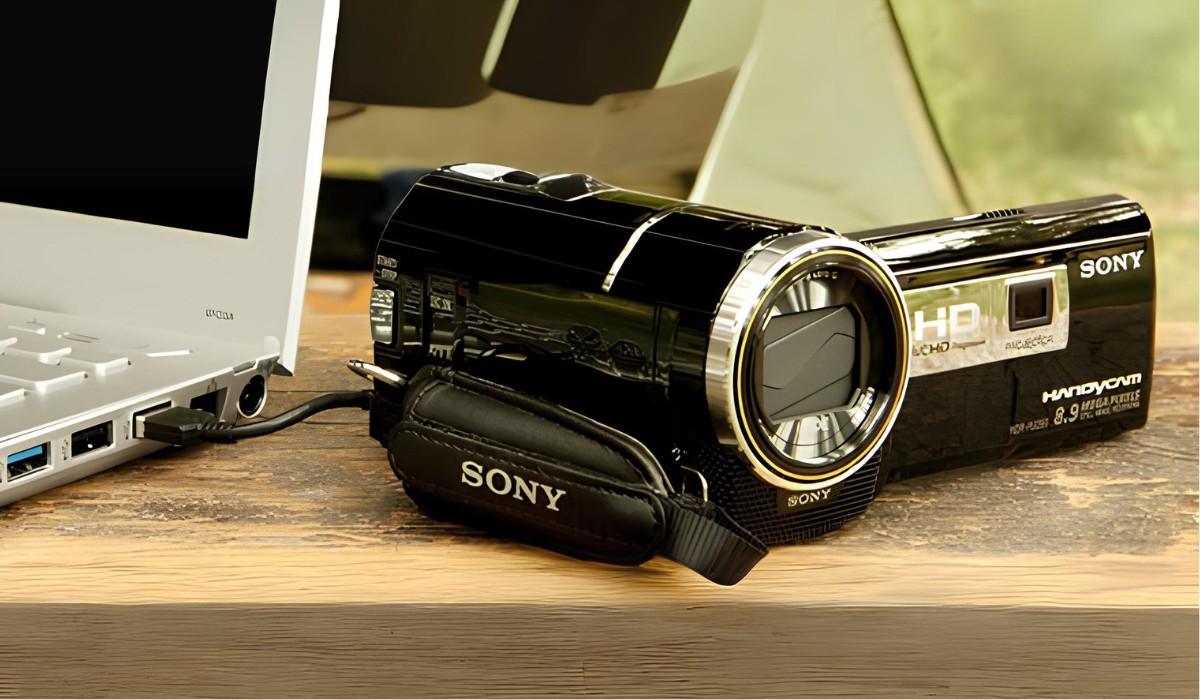
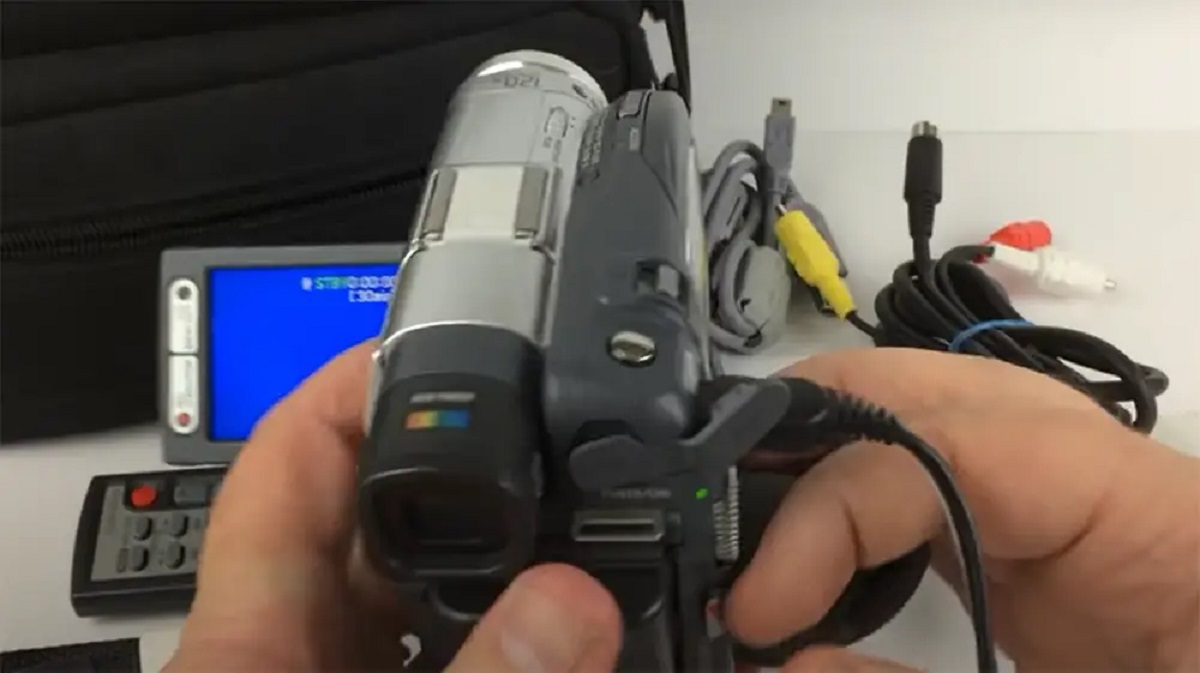
The single most important step is determining which type of camcorder you own. File-based camcorders (modern models) record to SD cards, internal memory, or solid-state drives, and they appear as external drives when plugged into your Mac. Tape-based camcorders (older models) record to MiniDV, HDV, or Digital8 tapes, and they require a FireWire connection to transfer footage in real time. These two types use completely different import methods, so guessing wrong wastes time, but if you have a JVC model, you can find the exact steps for its specific transfer to computer process. If you are on a PC instead, the transfer camcorder video to computer process uses similar principles with different software. This is a verified fact from Apple's support documentation, and it prevents frustration later.
How to import video from a file-based camcorder (USB)
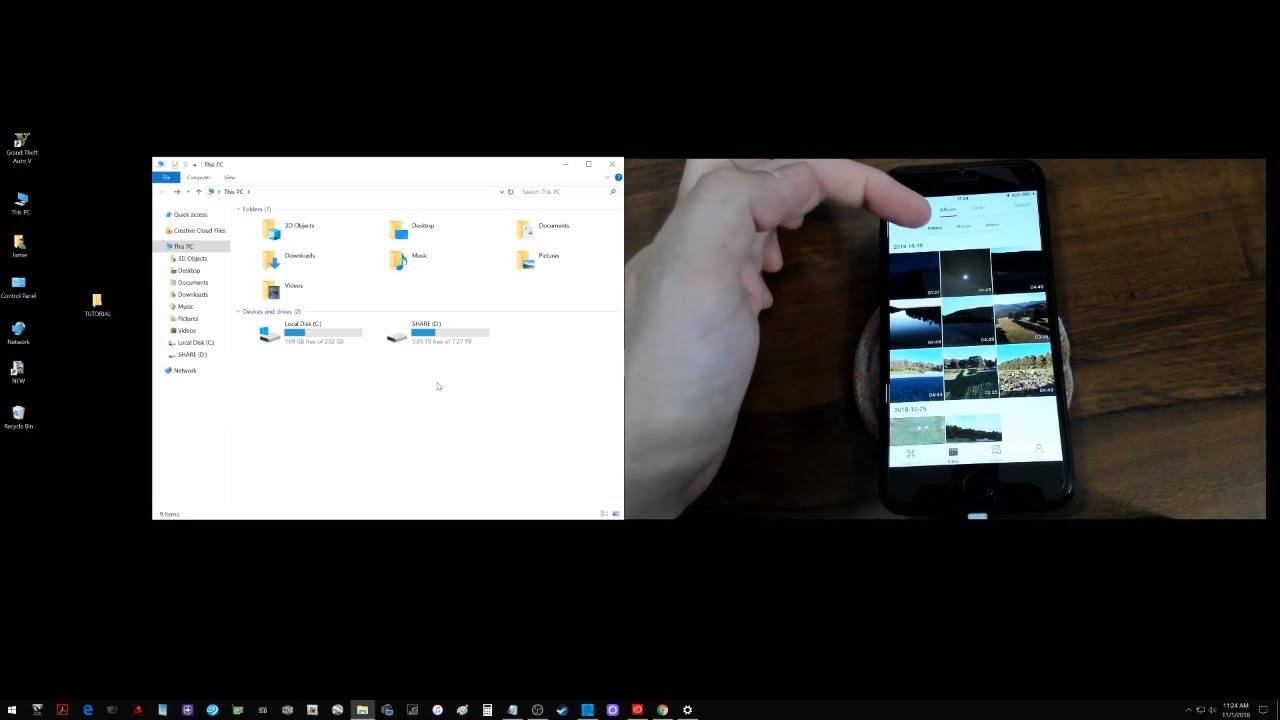
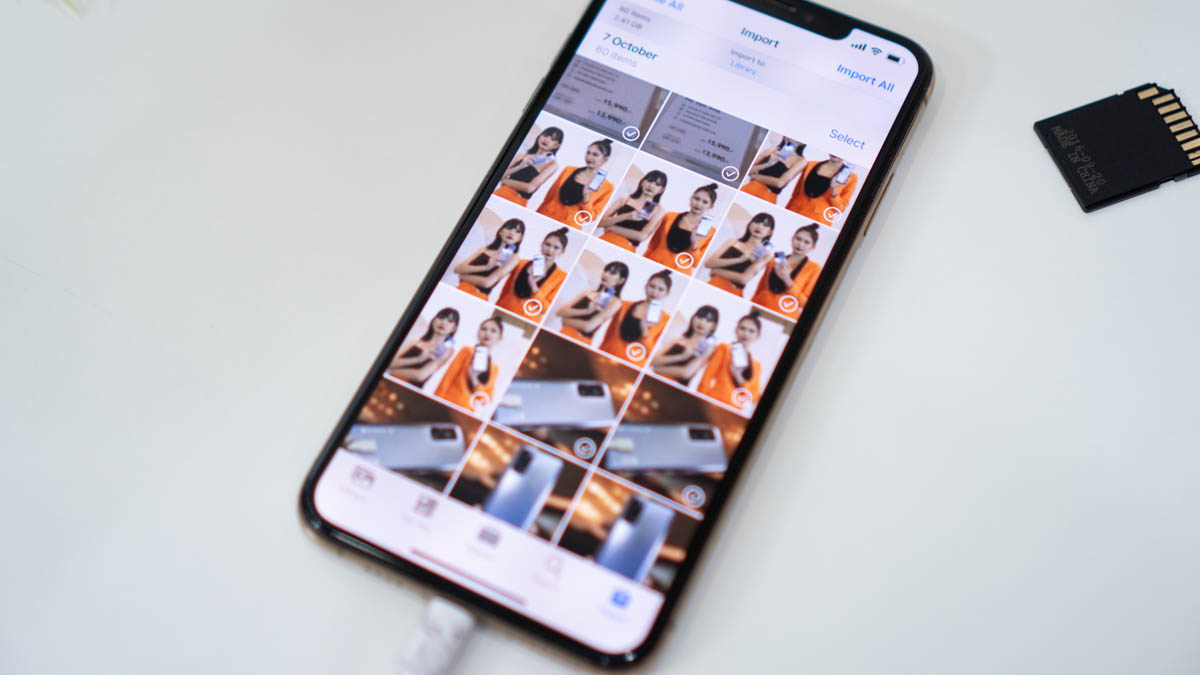
File-based camcorders are the easiest to work with because they behave like standard storage devices. You get direct access to the video files, which you can import into iMovie or Image Capture without any special capture process.
- Connect your camcorder to your Mac using the USB cable that came with the device. Use a direct port on your Mac, not a hub, for the most reliable connection.
- Turn on the camcorder and set it to PC Connect mode, Mass Storage mode, or USB MODE. The exact name varies by manufacturer, so check your camcorder's menu if you cannot find it.
- If applications like Image Capture, Photos, or DVD Player open automatically upon connection, close them. These auto-launching apps can interfere with the import process.
- Open iMovie on your Mac. Click the Import button in the toolbar, or choose File > “Import from Camera” to open the Import window.
- Select your camcorder in the "Cameras" section of the sidebar within the iMovie Import window. Your footage will appear as thumbnails.
- Click "Import All" to import all clips, or Command-click to select specific clips and then click "Import Selected".
- Choose where the imported media will be stored by selecting an existing event or creating a new one from the “Import to” pop-up menu at the top of the Import window.
You can also use Image Capture, which is simpler for a quick transfer. Open Image Capture from your Applications folder, select your camcorder in the sidebar, choose a destination folder, and click Import or Import All. Image Capture does not organize footage into events like iMovie, so use it when you just want raw files on your hard drive.
How to import video from a tape-based camcorder (FireWire)
Tape-based camcorders require a different approach because the footage is stored sequentially on tape, not as individual files. You must capture the video in real time while the camcorder plays the tape. This process is slower, but it is the only way to get footage off a tape-based device.
- Connect your tape-based camcorder to your Mac using a FireWire cable. If your Mac does not have a FireWire port but has a Thunderbolt port, you can connect the FireWire cable using an Apple Thunderbolt to FireWire Adapter.
- Turn on the camcorder and set it to VTR or VCR mode. The exact name may differ on your specific camera, so check the camcorder's manual or menu.
- Open iMovie on your Mac.
- Select your tape-based camera in the "Cameras" section of the sidebar within the iMovie Import window.
- In iMovie, choose "Automatic" to automatically rewind the tape, import all its contents, and rewind again. Alternatively, select "Manual" to use playback controls and import only desired footage.
- Click "Import" (or "Import All" / "Import Selected") to begin the video transfer.
iMovie supports importing from tape in DV (including DVCAM and DVCPRO) and HDV formats. If your tape uses a different format, iMovie will not recognize it. For best results, import video using the same camcorder that recorded it, because the camcorder handles the tape playback and signal conversion during capture.
Troubleshooting common import problems
When your camcorder is not recognized, the first thing to check is the cable. A damaged or loose FireWire or USB cable is the most common cause of connection failures. Try a different cable if you have one, and make sure it is firmly plugged into both the camcorder and the Mac. If you are using a Thunderbolt to FireWire Adapter, verify that the adapter is genuine Apple or certified for your Mac model.
If the camcorder appears but import errors occur, check your available storage space. iMovie needs enough free space to store the captured video, and a full hard drive will cause the import to fail mid-transfer. For tape-based camcorders, also check that the tape is not write-protected and that the camcorder's heads are clean. Dirty heads can cause playback errors during capture.
For playback problems after import, confirm that the footage was captured in a format iMovie supports. DV, DVCAM, DVCPRO, and HDV are supported; other formats will not import. If you see a black screen or garbled video, the tape may be damaged or the camcorder may not be in the correct VTR mode. Restart both the camcorder and your Mac, then try again with the camcorder set to VTR mode before opening iMovie.
If your file-based camcorder is not recognized, check that it is in Mass Storage mode rather than PC Connect mode with a different protocol. Some camcorders have multiple USB modes, and only one will appear as a storage device. Also close Image Capture, Photos, and DVD Player before opening iMovie, because these apps can grab the device connection first and prevent iMovie from seeing it.
When import errors persist, restart both devices. Rebooting clears temporary glitches in the USB or FireWire handshake. If the problem continues, check for macOS updates and iMovie updates, as Apple regularly fixes compatibility issues with camera protocols. For very old camcorders, you may need to check the manufacturer's website for macOS-compatible drivers, though most modern Macs use built-in class drivers that do not require separate installation.
Finally, verify that your camcorder model is on Apple's supported list. If it is not, iMovie will not recognize it, and you will need to use third-party capture software or a different transfer method like removing the SD card and reading it with a card reader. For tape-based camcorders with no iMovie support, your only option is to capture through a different application that supports FireWire video input.