Introduction
Transferring GoPro videos to an external hard drive is a convenient way to free up storage space on your computer while ensuring that your cherished memories are safely stored. Whether you’re an avid adventurer capturing your thrilling exploits, a vlogger documenting your daily activities, or a filmmaker shooting stunning visuals, the GoPro’s high-definition videos can consume a significant amount of storage. An external hard drive provides a reliable and spacious solution to manage your GoPro footage.
In this guide, we will walk you through the step-by-step process of transferring GoPro videos to an external hard drive. By following these simple instructions, you’ll be able to seamlessly transfer your videos, organize your files, and maintain a clutter-free computer.
Before we begin, it’s important to ensure that you have a compatible external hard drive with sufficient storage capacity. Ideally, the hard drive should have a USB 3.0 or higher connection for faster data transfer speeds. Once you have the necessary hardware, let’s dive into the steps required to transfer your GoPro videos onto your external hard drive.
Step 1: Connecting the GoPro to your computer
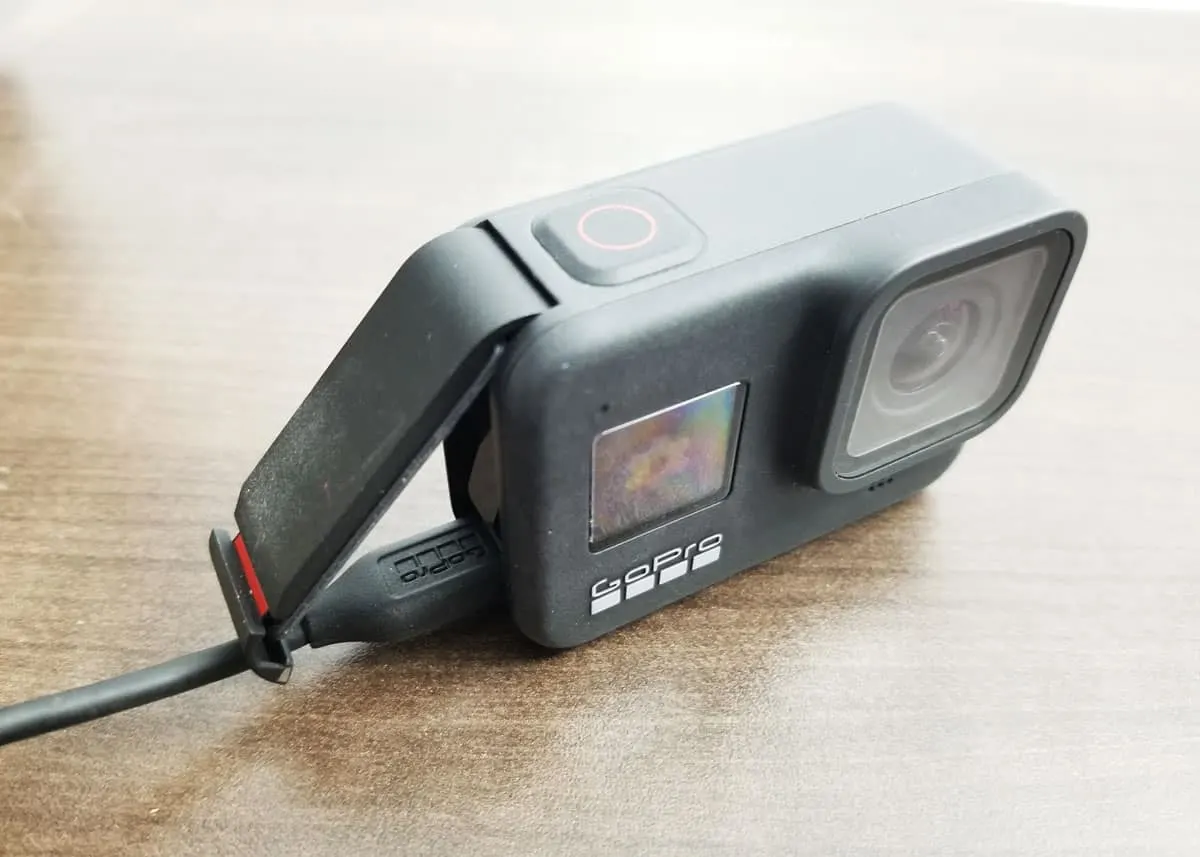
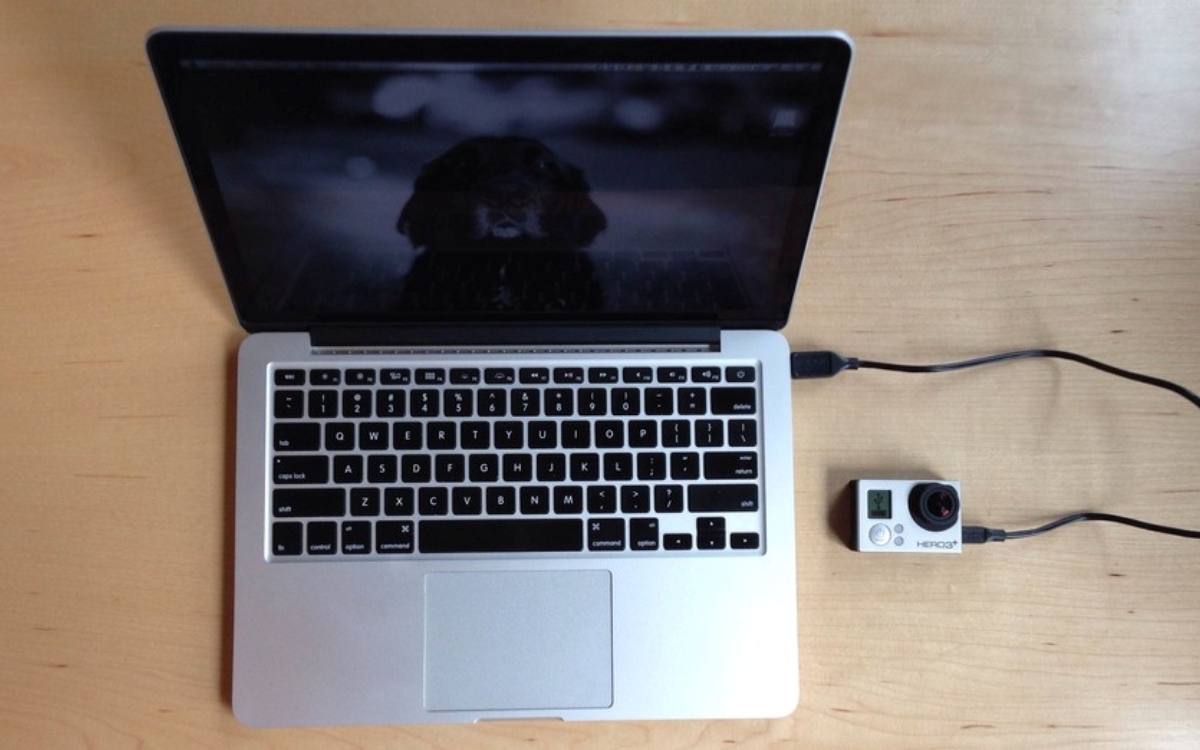
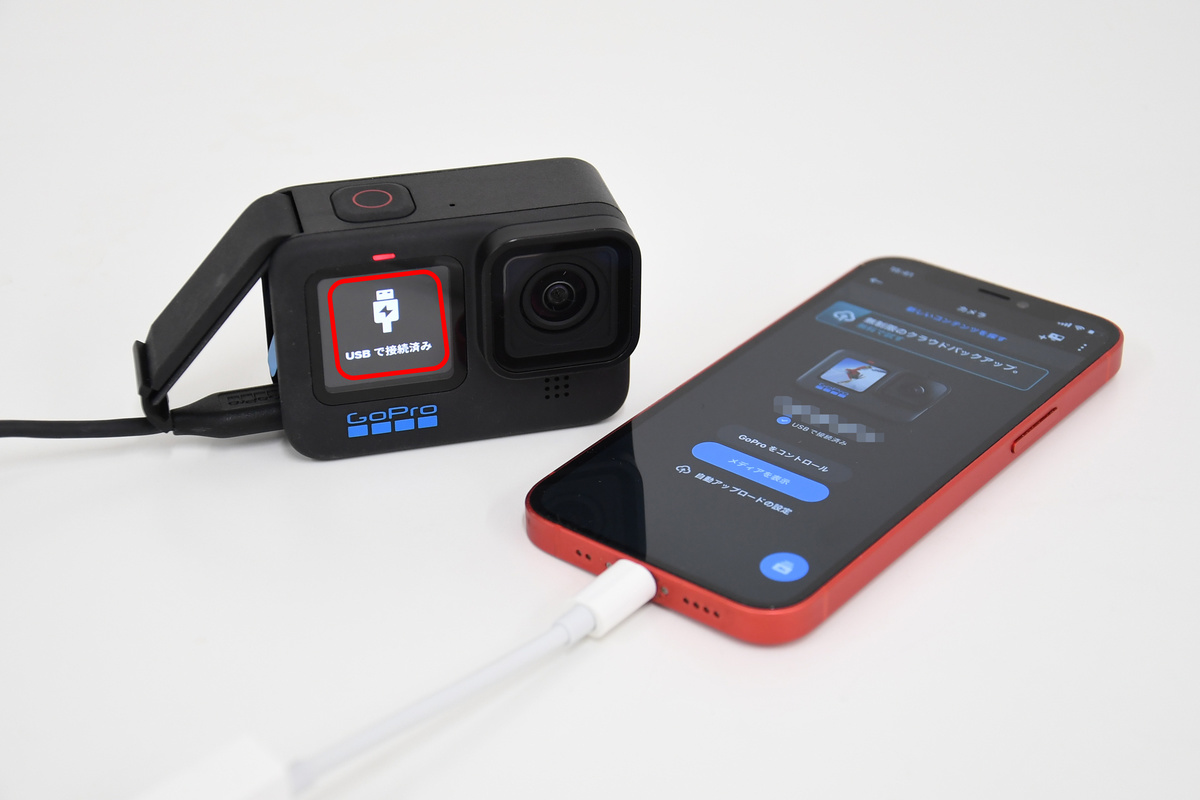
The first step in transferring GoPro videos to an external hard drive is to connect your GoPro to your computer using a USB cable. Make sure both the GoPro and your computer are powered on before proceeding.
Locate the USB port on your GoPro camera, typically found on the side or back of the device. Connect one end of the USB cable to the GoPro, and the other end to an available USB port on your computer. It’s crucial to use a high-quality USB cable to ensure a stable connection and efficient data transfer.
Once the GoPro is connected to your computer, it should be recognized as a removable storage device. Depending on the operating system you’re using, you may see a notification or a new drive appear in your file explorer or desktop.
If your computer doesn’t recognize the GoPro, try disconnecting and reconnecting the USB cable, ensuring it’s securely plugged into both the camera and the computer. You can also try using a different USB port on your computer or restarting both the GoPro and the computer.
Once your computer recognizes the GoPro as a removable storage device, you’re ready to move on to the next step.
Step 2: Locating the GoPro videos on your computer
After connecting your GoPro to your computer, you’ll need to locate the GoPro videos on your computer to begin the transfer process. The exact location of these videos may vary depending on your computer’s operating system and the settings you have configured on your GoPro.
On Windows, you can typically find the GoPro videos by opening the File Explorer and navigating to the “This PC” or “My Computer” section. Look for the removable storage device that represents your GoPro. Once you find it, double-click to open it, and you should see a folder containing your GoPro videos.
On Mac, the GoPro videos can be found by opening the Finder and looking for the external drive representing your GoPro. Click on the drive to view its contents, and you should see a folder containing your videos.
If you have customized the storage location on your GoPro or have organized your videos into specific folders, you may need to navigate further to find your desired videos. Explore the folder structure on the GoPro’s storage device to locate the specific videos you wish to transfer.
Additionally, make sure to check all folders on your GoPro’s storage device, as some GoPro models have separate folders for photos and videos.
Once you have successfully located the GoPro videos on your computer, you’re ready to proceed with transferring them to your external hard drive.
Step 3: Transferring videos to the external hard drive
Now that you have located the GoPro videos on your computer, it’s time to transfer them to your external hard drive. Follow these steps to ensure a seamless transfer:
- Open a new file explorer or Finder window and navigate to the location where you want to transfer the videos on your external hard drive. Create a new folder if needed to organize the videos.
- Select the videos you want to transfer from your GoPro. You can either drag and drop them directly into the folder on your external hard drive or use the copy-paste function.
- Ensure that the transfer process has started by monitoring the progress bar or file transfer window. Depending on the size and number of videos, the transfer may take some time.
- Repeat these steps for each set of GoPro videos you wish to transfer. You can transfer multiple videos at once or transfer them in batches, depending on your preference and the available storage space on your external hard drive.
During the transfer process, it’s important not to disconnect the external hard drive or interrupt the file transfer. Doing so can result in incomplete or corrupted files.
Once the transfer is complete, you can verify that the videos have been successfully copied to your external hard drive.
Step 4: Verifying the transfer
After transferring the GoPro videos to your external hard drive, it’s crucial to verify that the transfer was successful. This step ensures that your precious footage is safely stored and accessible on the external hard drive. Follow these steps to verify the transfer:
- Navigate to the folder on your external hard drive where you transferred the GoPro videos.
- Check if the videos you transferred are present in the folder. You can verify this by looking for the video files and checking their names or file sizes.
- Open a few of the video files to ensure they play back correctly. This will confirm that the videos were not corrupted during the transfer process.
- Review the file sizes of the transferred videos on the external hard drive. Compare them to the original video files on your GoPro to ensure that the sizes match closely, indicating a successful transfer.
If you encounter any issues during the verification process, such as missing files, corruption, or playback errors, it may indicate a problem with the transfer. In such cases, you may need to repeat the transfer process or troubleshoot the source videos on your GoPro.
By verifying the successful transfer of your GoPro videos to the external hard drive, you can have peace of mind knowing that your precious footage is safely stored and ready for future access and editing.
Step 5: Safely ejecting the external hard drive
Once you have completed the transfer of your GoPro videos to the external hard drive, it is essential to safely eject the device from your computer. This ensures that all data has been written and no files are being accessed, reducing the risk of data loss or corruption. Follow these steps to safely eject the external hard drive:
- Make sure all file transfer operations involving the external hard drive are complete. If there are any ongoing transfers, wait for them to finish before proceeding.
- Locate the eject icon for the external hard drive in your file explorer or Finder. It is typically represented by an upward-facing arrow or a USB device with a blinking indicator.
- Click or right-click on the eject icon to safely eject the external hard drive from your computer.
- Wait for the computer to confirm that it is safe to disconnect the device. In Windows, you may see a notification or a message indicating that it’s safe to remove the hardware. On Mac, you may see a pop-up message or the external hard drive icon disappear from the desktop.
- Once the external hard drive is safely ejected, you can physically disconnect it from your computer by gently unplugging the USB cable. Store the external hard drive in a safe place to protect your GoPro videos.
Remember, abruptly disconnecting the external hard drive without properly ejecting it can lead to data loss, file corruption, or even damage to the drive itself. Taking the time to safely eject the device ensures the integrity and longevity of your data.
By following these steps, you can confidently transfer your GoPro videos to an external hard drive and safely remove the device from your computer, preserving your precious memories for years to come.
Conclusion
Transferring your GoPro videos to an external hard drive is a straightforward process that allows you to free up space on your computer while keeping your precious memories safe and secure. By following the steps outlined in this guide, you can easily transfer and organize your GoPro videos with ease.
From connecting your GoPro to your computer and locating the videos, to transferring them to the external hard drive and verifying the transfer, each step plays a crucial role in ensuring a seamless and successful process. Remember to always use a high-quality USB cable for a stable connection and consider the storage capacity and USB compatibility of your external hard drive to accommodate all your GoPro videos.
By safely ejecting the external hard drive once the transfer is complete, you can avoid data loss or corruption and maintain the integrity and accessibility of your videos. Take the extra step to verify the transferred videos, ensuring that they are intact and playable on the external hard drive.
Now that you have mastered the art of transferring GoPro videos to an external hard drive, you can enjoy a clutter-free computer and have peace of mind knowing that your cherished memories are stored safely. Whether you’re a professional filmmaker, adventurous traveler, or passionate vlogger, this process will streamline your video management, making it easier to edit, share, and enjoy your GoPro footage.
So, grab your GoPro, connect it to your computer, and begin the process of transferring your videos to an external hard drive. Your storage space will thank you!