Introduction
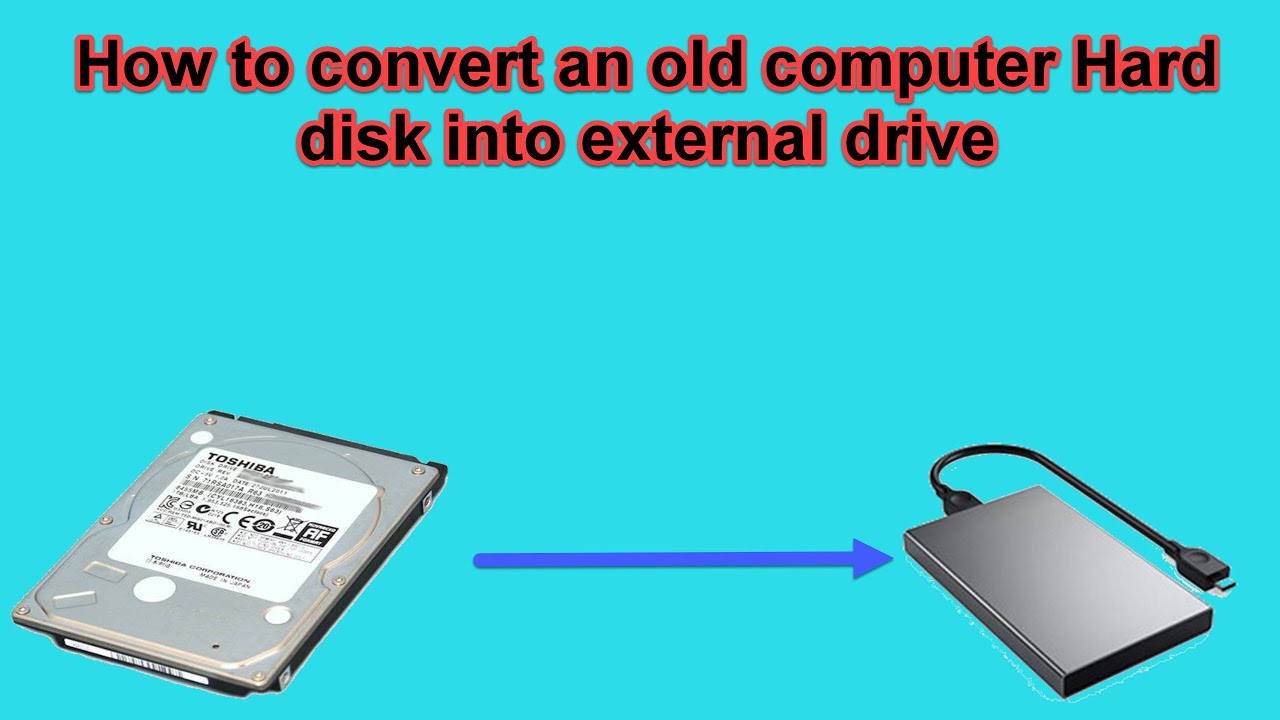
Are you looking for a cost-effective way to expand your computer’s storage space? Repurposing an old computer’s hard drive into an external hard drive is a great solution. Not only will it provide you with extra storage capacity, but it will also help you save money by utilizing existing resources.
By following a few simple steps, you can transform your old computer’s hard drive into a portable storage device that can be used with any computer. This DIY project is not only practical but also a fun way to put your old hardware to good use.
In this guide, we’ll walk you through the process of making an external hard drive from an old computer. We’ll cover all the necessary steps, from gathering the required materials to connecting the hard drive and formatting it for use.
Before we dive into the steps, it’s essential to note that the process may vary depending on the type of computer and hard drive you have. Additionally, some steps may require a basic understanding of computer hardware and software. However, don’t worry – we’ll explain everything in detail, making it easy for beginners to follow along.
So, let’s get started on repurposing that old computer’s hard drive and turning it into a useful external storage device. Get ready to expand your computer’s storage capabilities without breaking the bank!
Step 1: Gather the Required Materials
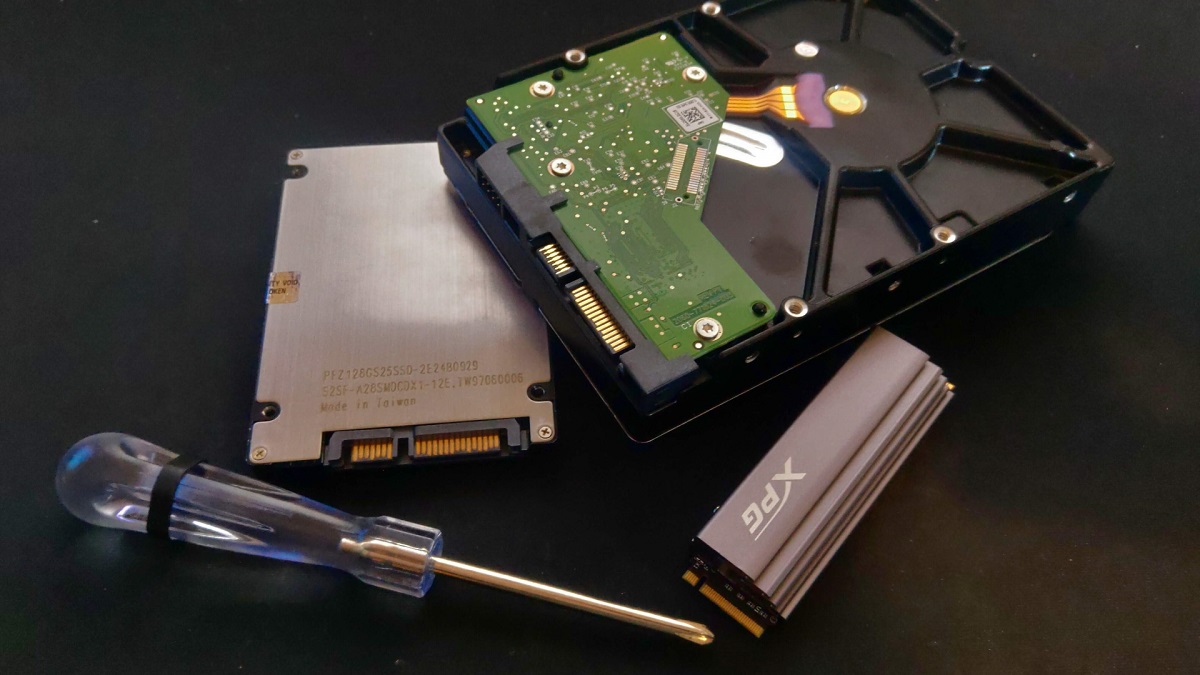
Before you begin repurposing your old computer’s hard drive, you need to gather a few materials to ensure a smooth and successful process. Here are the essential items you’ll need:
1. Old Computer: This is where your hard drive is currently installed. Make sure it is no longer in use and that you can safely remove the hard drive without any data loss.
2. Screwdriver: Depending on the type of computer, you may need a specific screwdriver to remove the hard drive. Check the specifications of your computer or consult the manufacturer’s website to determine the type of screwdriver required.
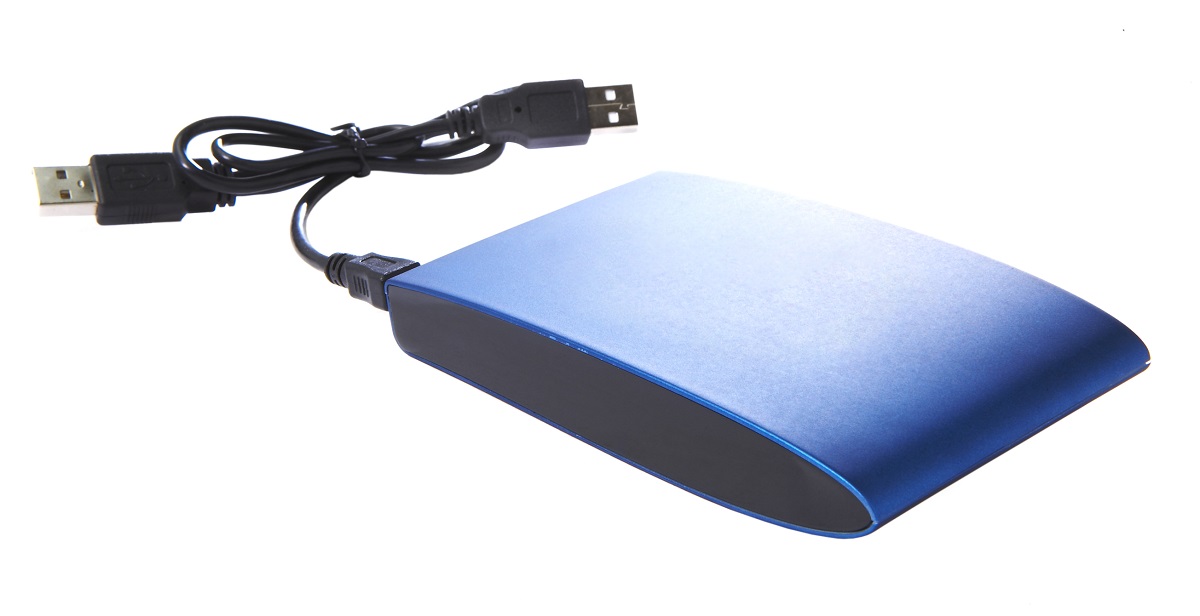
3. External Hard Drive Enclosure: This is a device that allows you to connect your old computer’s hard drive to your current computer via USB. It provides power, protection, and connectivity for the hard drive. Ensure that the enclosure is compatible with your hard drive’s interface (e.g., SATA or IDE).
4. USB Cable: The enclosure typically comes with a USB cable for connecting it to your current computer. If not, make sure you have a USB cable that matches the ports on the enclosure and your computer.
5. Power Adapter (optional): Some enclosures require an external power source to operate the hard drive. If your enclosure doesn’t come with a power adapter, check if your enclosure supports USB power alone. If not, you’ll need to purchase a compatible power adapter.
6. Additional Screwdriver (optional): In some cases, the enclosure may require screws to secure the hard drive inside. Check if your enclosure includes screws, and if not, have a screwdriver on hand that’s suitable for the screws that come with your enclosure.
Ensure that you have all the necessary materials on hand before proceeding to the next steps. This will save you time and frustration during the installation process. Once you’ve gathered the required materials, you’re ready to move on to the next step: ensuring your old computer is compatible.
Step 2: Ensure Your Old Computer is Compatible
Before you proceed with repurposing your old computer’s hard drive, it’s important to verify that it is compatible with the external hard drive enclosure and your current computer. Here’s how to ensure compatibility:
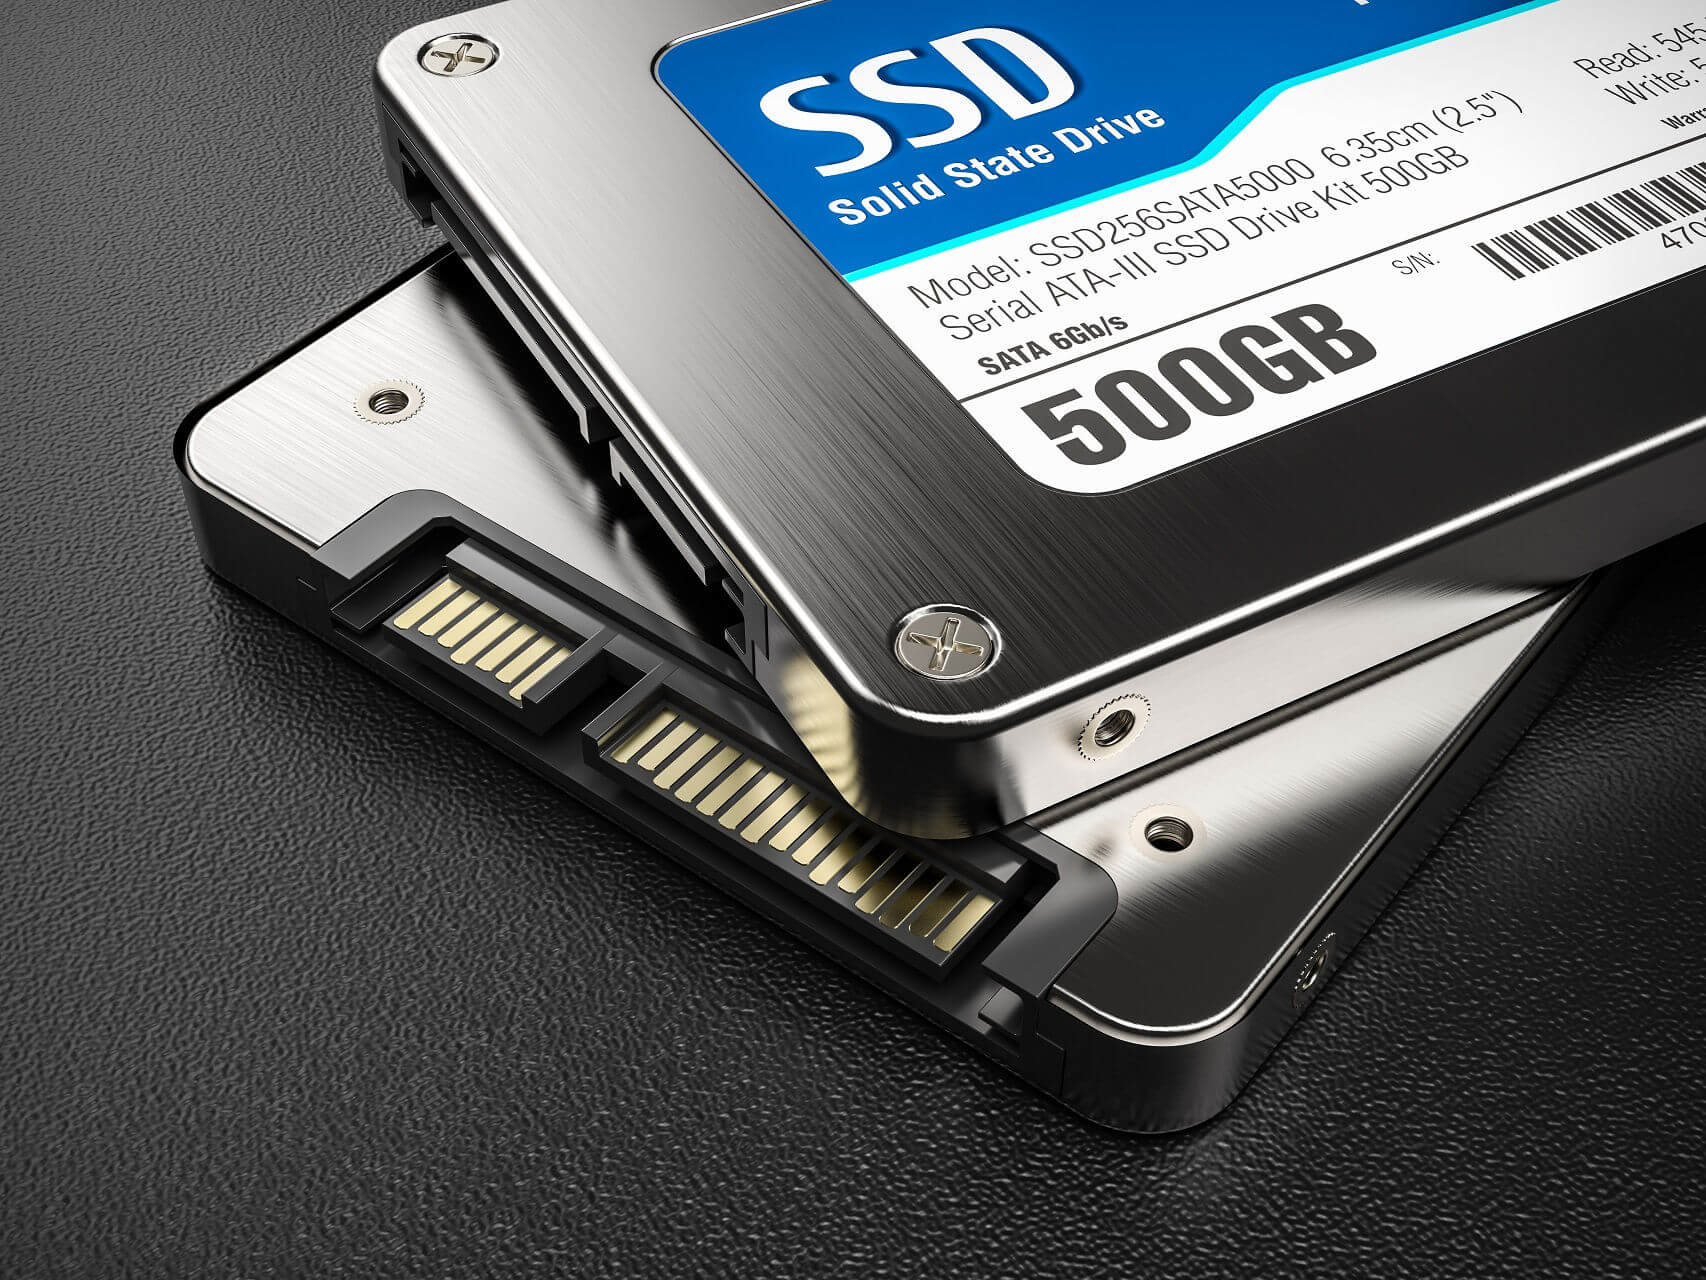
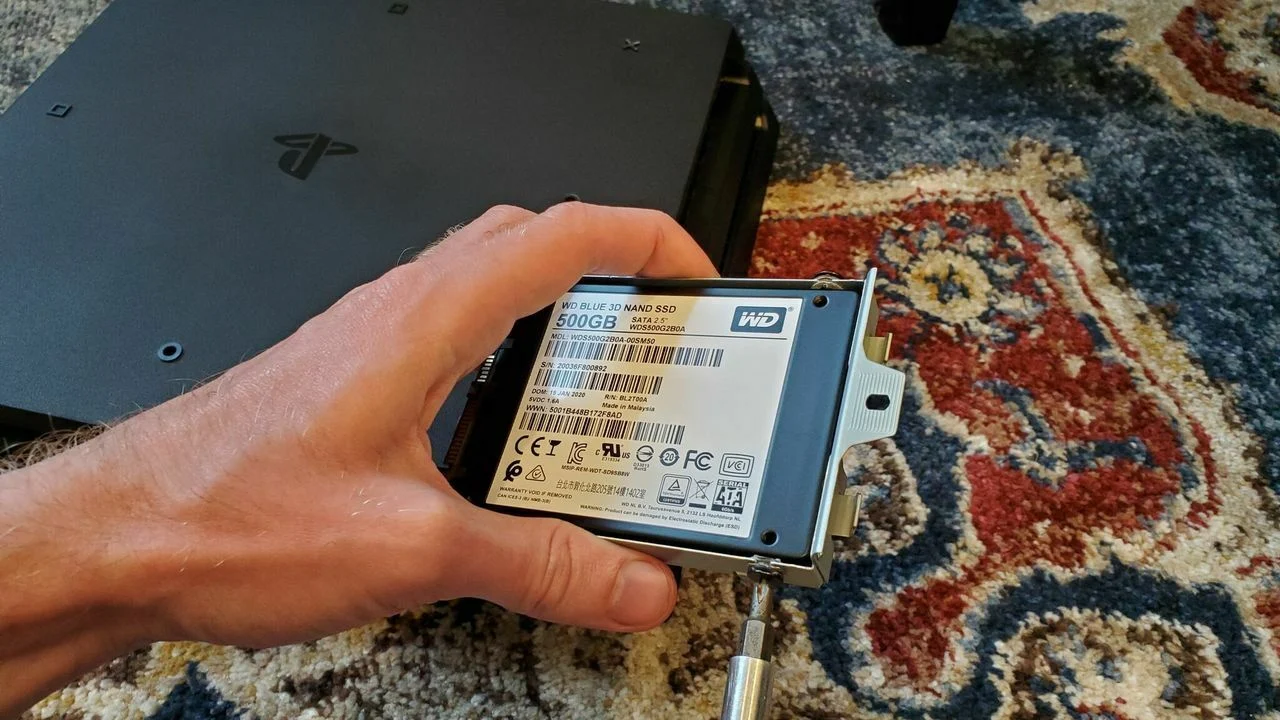
1. Check the Hard Drive Interface: Identify the type of interface used by your old computer’s hard drive. It could be SATA (Serial ATA) or IDE (Integrated Drive Electronics). The external hard drive enclosure you choose must match the interface of your hard drive for them to connect successfully.
2. Determine the Size of the Hard Drive: Take note of the physical size of your hard drive. The most common sizes are 3.5 inches for desktop computers and 2.5 inches for laptops. This information will help you choose the appropriate external hard drive enclosure that accommodates your hard drive’s size.
3. Verify the Operating System Compatibility: Check if the external hard drive enclosure is compatible with your current computer’s operating system. Most enclosures support Windows, macOS, and Linux, but it’s always best to double-check the manufacturer’s specifications to ensure compatibility.
4. Consider the Connection Type: Determine the type of connection your current computer supports. USB 3.0 is highly recommended for faster data transfer speeds, but backward compatibility with USB 2.0 is also important if you plan to connect the external hard drive to older computers.
By making sure your old computer’s hard drive is compatible with the external hard drive enclosure and your current computer, you can avoid any compatibility issues when connecting the hard drive later on. Take the time to gather all the necessary information regarding your hard drive’s interface, size, and compatibility requirements before proceeding to the next step.
Step 3: Remove the Hard Drive from the Old Computer
Now that you’ve ensured the compatibility of your old computer’s hard drive, it’s time to remove it from the computer. Follow these steps to safely detach the hard drive:
1. Power Off the Computer: Shut down the old computer completely and unplug it from the power source. This is crucial to avoid any electrical shocks or damage to the hardware.
2. Open the Computer Case: Depending on the type of computer, you may need to remove screws or use a latch mechanism to access the internal components. Consult the user manual or search online for specific instructions on how to open your computer case.
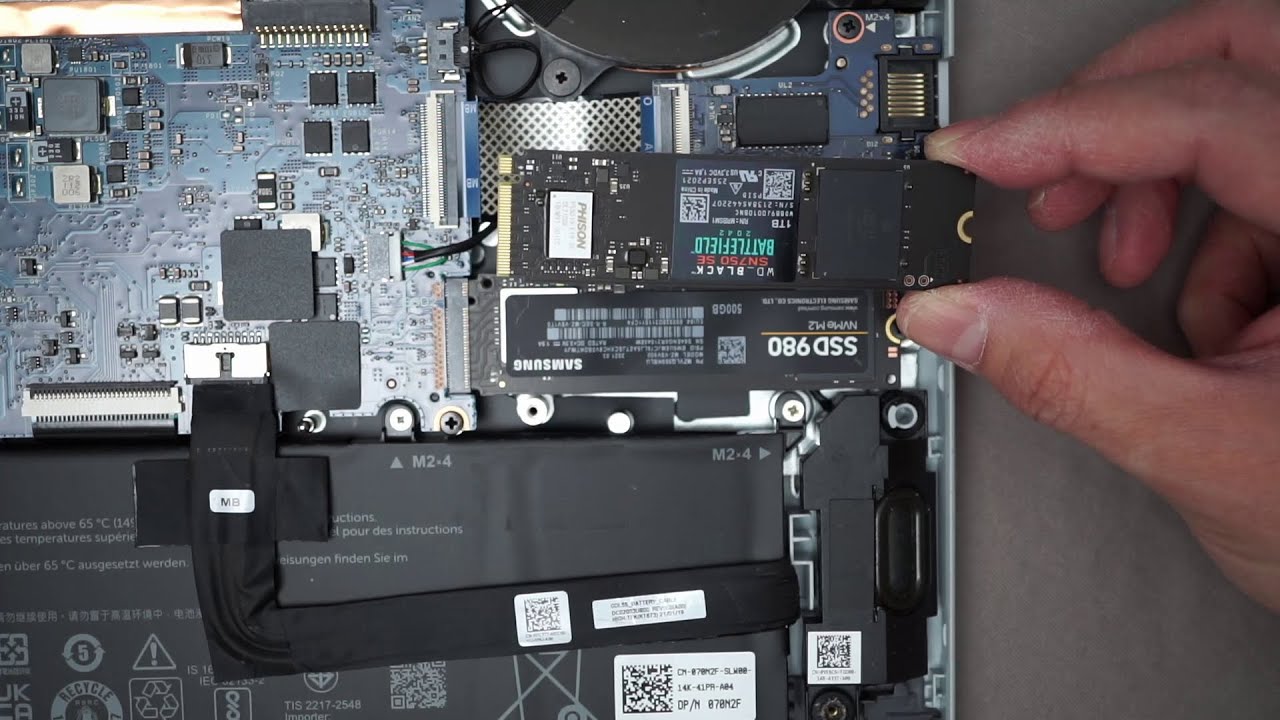
3. Locate the Hard Drive: Once the computer case is open, locate the hard drive. It is typically located towards the front or rear of the computer, secured with screws or mounting brackets.
4. Disconnect Cables: Carefully disconnect the cables connected to the hard drive. These cables include the power cable and the data cable (SATA or IDE cable). Gently remove the cables by pulling on the connectors, not the cables themselves.
5. Remove Mounting Screws: If the hard drive is secured with screws or mounting brackets, use a screwdriver to remove them. Keep the screws in a safe place as you will need them later to secure the hard drive in the external enclosure.
6. Remove the Hard Drive: Once all cables and mounting screws are detached, slide or lift the hard drive out of its slot or bay. Be cautious not to force or drop the hard drive to prevent any damage.
With the hard drive successfully removed from the old computer, you’re one step closer to transforming it into an external hard drive. Keep the hard drive in a safe and static-free environment until you’re ready to proceed with the next steps.
Step 4: Obtain an External Hard Drive Enclosure
With the hard drive safely removed from your old computer, the next step is to obtain an external hard drive enclosure. This enclosure is essential for connecting and protecting your old hard drive when it becomes an external storage device. Here’s what you need to do:
1. Research and Purchase: Begin by researching different external hard drive enclosures available in the market. Look for enclosures that are compatible with your hard drive’s interface (SATA or IDE) and size (3.5 inches or 2.5 inches). Read customer reviews and check product specifications to ensure you choose a reliable enclosure.
2. Consider Features: Pay attention to the features offered by the enclosures, such as USB compatibility (USB 3.0 or USB 2.0), additional connectivity options (e.g., eSATA), and built-in cooling systems. These features can enhance the performance and convenience of using your external hard drive.
3. Purchase the Enclosure: Once you’ve found the suitable enclosure, purchase it from a reputable store or online retailer. Make sure to double-check the compatibility details to avoid any compatibility issues.
4. Check the Contents: After receiving the enclosure, open the package and check its contents. It should include the external hard drive enclosure, a USB cable for connection, and any additional accessories or cables mentioned in the product description.
By obtaining the right external hard drive enclosure, you can ensure that your old computer’s hard drive is protected and can be easily connected to your current computer. Take your time to research and choose the best enclosure that meets your requirements, as this will greatly impact the functionality and durability of your new external hard drive.
Step 5: Connect the Hard Drive to the Enclosure
With the external hard drive enclosure in hand, it’s time to connect your old computer’s hard drive to it. Follow these steps to ensure a proper and secure connection:
1. Select the Correct Enclosure Interface: Identify the interface on the back of the enclosure that matches your hard drive’s interface (SATA or IDE). Make sure to align the connectors properly before attempting to connect them.
2. Connect the Data Cable: Take the data cable (SATA or IDE) that came with the enclosure and connect it to the corresponding port on the hard drive and the enclosure. Ensure it is securely plugged in, but be gentle to avoid damaging the connectors.
3. Connect the Power Cable (if applicable): If your enclosure requires an external power source, connect the power cable to the power port on the enclosure and plug it into a power outlet. If your enclosure is powered solely by the USB connection, you can skip this step.
4. Optional: Secure the Hard Drive: Some enclosures come with mounting brackets or screws to secure the hard drive inside. If your enclosure includes these accessories, follow the manufacturer’s instructions to mount the hard drive securely. This step helps to prevent any movement or damage during use.
5. Close the Enclosure: Once the hard drive is connected and secured, carefully close the enclosure by aligning the top and bottom parts and fastening any clasps or screws. Ensure that the enclosure is closed properly to provide optimal protection for the hard drive.
By following these steps, you will successfully connect your old computer’s hard drive to the external hard drive enclosure. Double-check all the connections to make sure they are securely plugged in. Now that the hard drive is securely connected, you’re ready to move on to the next step: securing the hard drive inside the enclosure.
Step 6: Secure the Hard Drive in the Enclosure
Securing the hard drive inside the external hard drive enclosure is crucial to ensure its stability and prevent any damage during use. Follow these steps to secure the hard drive properly:
1. Check for Mounting Brackets: Open the enclosure and check if it includes any mounting brackets or trays that are designed to hold the hard drive securely. These brackets or trays are typically located inside the enclosure.
2. Align the Hard Drive: Place the hard drive onto the mounting brackets or trays in the correct orientation. Ensure that the connectors on the hard drive align with the ports in the enclosure.
3. Attach Mounting Screws: If your enclosure includes mounting screws, use them to secure the hard drive to the brackets or trays. Insert the screws into the designated holes on the enclosure and tighten them gently with a screwdriver. Be careful not to overtighten, as it may damage the hard drive or the enclosure.
4. Verify Stability: Once the mounting screws are in place, gently wiggle the hard drive to ensure that it is securely fastened. It should not move or shake inside the enclosure. If there is any movement, double-check the mounting screws and make sure they are tightened properly.
5. Close the Enclosure: Once the hard drive is securely mounted, carefully close the enclosure by aligning and fastening any clasps or screws. Make sure that the enclosure is properly closed to provide protection for the hard drive.
By following these steps, you will securely fasten the hard drive inside the external hard drive enclosure. This step is essential to prevent any movement or damage during transportation or regular use. Once the hard drive is securely in place, you can proceed to connect the enclosure to your current computer in the next step.
Step 7: Close the Enclosure
Closing the external hard drive enclosure properly is important to ensure the protection and stability of your hard drive. Follow these steps to securely close the enclosure:
1. Align the Enclosure Parts: Ensure that the top and bottom parts of the enclosure are aligned properly. The enclosure should fit together seamlessly without any gaps or misalignment.
2. Fasten Clasps or Screws: Depending on the design of your enclosure, you may have clasps or screws to secure the top and bottom parts together. Use the provided clasps or screws to fasten the enclosure securely. If there are multiple screws, start with one corner and gradually work your way around, tightening each screw evenly until they are all secure.
3. Confirm the Closure: After fastening the clasps or screws, check the enclosure to ensure that it is tightly closed. Gently try to open the enclosure to confirm that it is properly sealed. There should be no movement or gaps between the enclosure parts.
4. Check for Power and Data Cables: Ensure that the power and data cables connected to the hard drive within the enclosure are not interfering with the closing mechanism. Adjust the cables if necessary to prevent any strain or damage.
5. Test the Closure: Before moving on, give the enclosure a gentle shake to see if there is any rattling or movement inside. If you hear any loose components or the hard drive shifting, double-check the closure and fastening to ensure it is secure.
Properly closing the enclosure provides essential protection for the hard drive from external elements and physical damage. It also ensures that the internal components remain in place during transportation and use. Once the enclosure is closed securely, you are ready to connect the enclosure to your current computer in the next step.
Step 8: Connect the Enclosure to Your Current Computer
Now that you have closed the external hard drive enclosure, it’s time to connect it to your current computer. Follow these steps to establish a connection:
1. Find an Available USB Port: Locate an available USB port on your current computer. USB 3.0 ports are recommended for faster data transfer speeds, but if your enclosure only supports USB 2.0, any available USB port will work.
2. Plug in the USB Cable: Take the USB cable that came with the enclosure and connect one end to the USB port on your computer. Insert the other end into the USB port on the enclosure. Ensure that both ends are securely plugged in.
3. Power on the Enclosure: If your enclosure requires an external power source, make sure the power adapter is connected to the enclosure and plugged into a power outlet. The enclosure should power on, indicating a successful connection.
4. Wait for Recognition: Depending on your operating system, it may take a few moments for your computer to recognize the external hard drive. You may see a notification or a new drive icon appearing in your file explorer.
5. Access the External Hard Drive: Once the external hard drive is recognized by your computer, open your file explorer and navigate to the newly detected drive. You can now access and use the external hard drive to store, transfer, or backup your files.
6. Safely Eject the External Hard Drive: Before disconnecting the enclosure, ensure that you safely eject the external hard drive from your computer. This is an important step to prevent any data corruption or loss. Right-click on the drive in your file explorer and select the “Eject” option.
By following these steps, you can establish a successful connection between the external hard drive enclosure and your current computer. Once the connection is established, you can begin using the external hard drive for storage and file management. Remember to safely eject the drive before disconnecting it to protect your data.
Step 9: Format and Partition the External Hard Drive
After connecting the external hard drive, the next step is to format and partition it. Formatting prepares the hard drive for use with your operating system, while partitioning allows you to divide the drive into separate sections. Here’s how you can format and partition the external hard drive:
1. Backup Important Data: Before proceeding with formatting and partitioning, ensure that you have backed up any important data from the external hard drive. Formatting will erase all existing data on the drive.
2. Open Disk Management (Windows) or Disk Utility (Mac): On Windows, right-click on the Start menu and select “Disk Management.” On Mac, go to “Applications” > “Utilities” > “Disk Utility.”
3. Select the External Hard Drive: In Disk Management or Disk Utility, locate your external hard drive. It should be listed as a new disk with unallocated space.
4. Format the Drive: Right-click on the external hard drive and select the “Format” option. Choose the desired file system format (e.g., NTFS for Windows or APFS for Mac) and give the drive a name. Click “OK” or “Format” to begin the formatting process.
5. Partition the Drive (Optional): If you wish to divide the external hard drive into multiple partitions, right-click on the unallocated space and select “New Simple Volume” (Windows) or “Partition” (Mac). Follow the on-screen instructions to specify the partition size, format, and name. Repeat this step for each partition you want to create.
6. Confirm the Changes: Once the formatting and partitioning process is completed, review the changes on the screen and confirm the actions before proceeding. Ensure that you have selected the correct drive and the desired settings.
7. Wait for the Process: Depending on the size of the drive and the formatting option chosen, the process may take a few minutes to complete. Stay patient and avoid interrupting the process.
After the formatting and partitioning process is finished, your external hard drive is ready for use. You can now store your files, transfer data, and organize the drive into separate partitions if desired. Remember to safely eject the drive before disconnecting it from your computer to avoid any potential data loss.
Step 10: Test and Use Your New External Hard Drive
After formatting and partitioning your new external hard drive, it’s important to test its functionality and ensure that it is working properly. Here’s how you can test and use your new external hard drive:
1. Copy Files to the Drive: Start by copying a few files or folders from your computer to the external hard drive. This will test the transfer speed and validate that the drive can successfully store data.
2. Open Files from the Drive: Double-click on a file stored on the external hard drive to ensure that it opens properly. Try opening various file types, such as documents, images, or videos, to verify that the drive is accessible and functioning correctly.
3. Perform a Speed Test: Use a disk speed testing tool to gauge the read and write speed of your external hard drive. This will give you an idea of its performance and help you understand if it meets your expectations.
4. Transfer Additional Files: For a thorough test, transfer a larger file or a larger number of files from your computer to the external hard drive. Monitor the speed and check for any performance issues during the process.
5. Eject the Drive Properly: When you’re done testing and using the external hard drive, make sure to safely eject it from your computer. Right-click on the drive in your file explorer and select the “Eject” option. This ensures that all pending write operations are completed and that it is safe to disconnect the drive.
6. Regularly Back up Your Data: To protect your important files and prevent data loss, establish a regular backup routine for your external hard drive. Consider using backup software or cloud storage solutions to automate the process and keep your data safe.
By testing your new external hard drive, you can ensure its reliability and functionality. If you encounter any issues during the testing phase, consult the manufacturer’s website or support resources for troubleshooting guidance. Enjoy the expanded storage capacity and convenience that your new external hard drive offers.
Conclusion
Congratulations! You have successfully repurposed your old computer’s hard drive into a functional external hard drive. By following the step-by-step process outlined in this guide, you have expanded your computer’s storage capacity at a fraction of the cost of buying a new external hard drive.
Throughout the process, you learned how to gather the necessary materials, ensure compatibility, remove the hard drive from the old computer, obtain an external hard drive enclosure, connect the hard drive to the enclosure, secure the hard drive, and close the enclosure. You also learned how to format and partition the external hard drive, and finally, how to test and use your new storage device.
As you begin using your external hard drive, remember to regularly back up your important files to prevent data loss. Additionally, follow proper data safety practices such as safely ejecting the drive before disconnecting it from your computer.
Repurposing old hardware not only benefits your wallet but also reduces electronic waste by extending the life of existing resources. You can take pride in your efforts to be environmentally conscious while fulfilling your storage needs.
If you encounter any issues or have further questions, consult the manufacturer’s instructions or seek support from their customer service. Remember, technology is constantly evolving, and it’s essential to keep up with any firmware updates or new features that might enhance the performance or security of your external hard drive.
Thank you for following this guide, and we hope your new external hard drive brings you ample storage space and convenience for all your computing needs.