Introduction
When it comes to the smooth functioning of your computer, one of the most crucial components is the Hard Disk Drive (HDD). The HDD stores and retrieves all your important data, from operating system files to personal documents and media files. Given its importance, it is essential to regularly check the health of your HDD to ensure its optimal performance and prevent any potential issues.
In this article, we will guide you on how to check your Hard Disk Drive on both Windows and Mac operating systems. We will provide step-by-step instructions on how to run diagnostics tools specific to each platform. By following these procedures, you can identify any underlying problems with your HDD, such as bad sectors or file system errors.
Regularly checking your HDD will not only help prolong its lifespan but also minimize the risk of data loss. By addressing any issues in the early stages, you can take the necessary measures to safeguard your valuable information and avoid potential system crashes or failures.
Whether you are a casual computer user or rely heavily on your device for work, this guide will equip you with the knowledge to assess and maintain the health of your HDD. So let’s dive in and learn how to perform an efficient and effective checkup on your Hard Disk Drive.
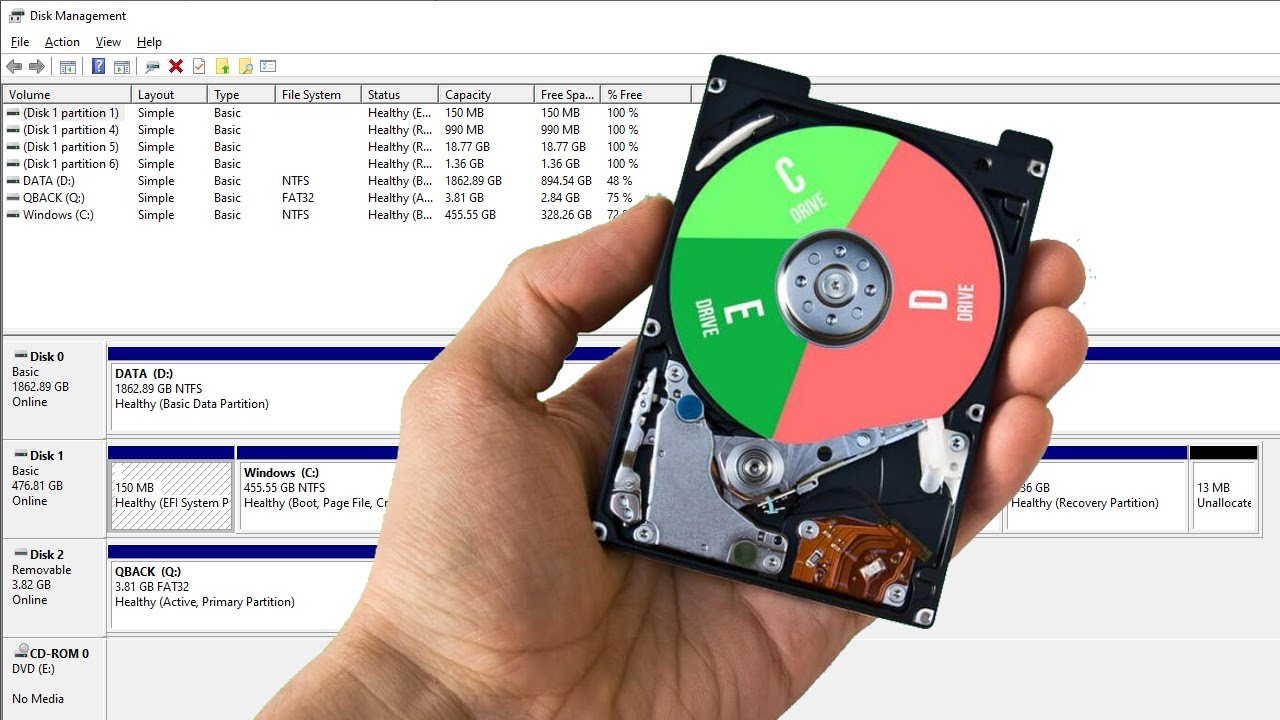
What is a Hard Disk Drive (HDD)?
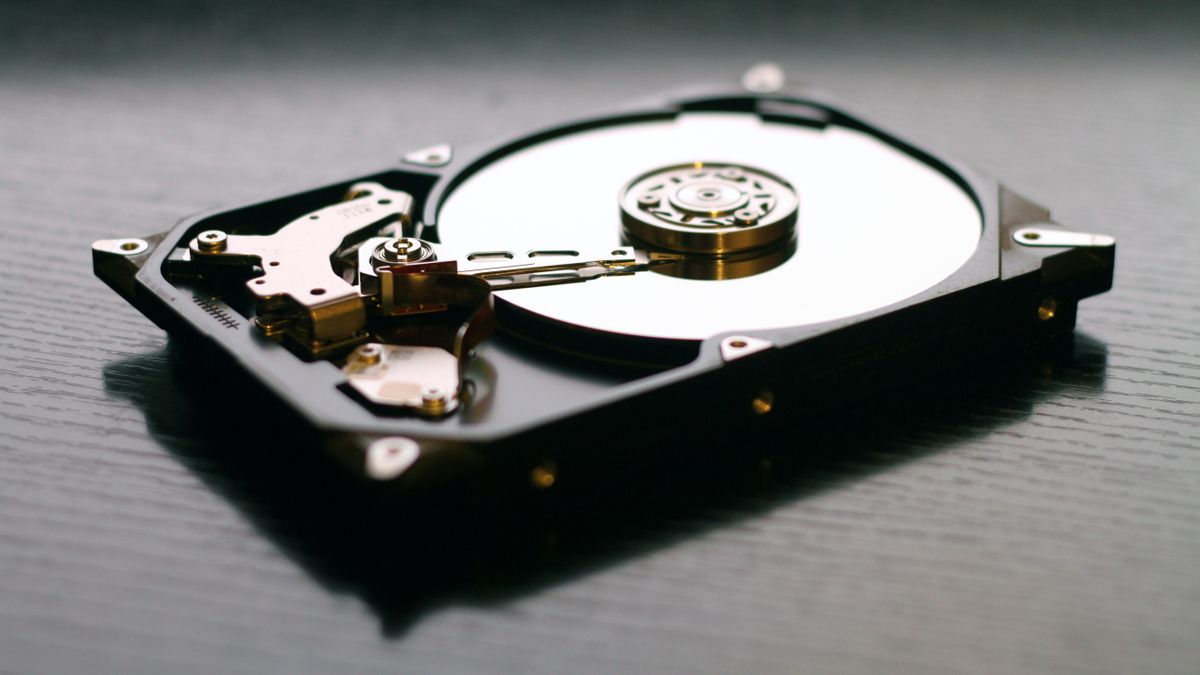
A Hard Disk Drive (HDD) is a non-volatile storage device that is commonly used in computers to store and retrieve digital information. It is usually the primary storage device in a computer, holding the operating system, applications, and user data.
An HDD consists of one or more rigid rotating disks, known as platters, which are coated with a magnetic material. The platters are stacked on top of each other and rotate at high speeds. Data is read from and written to the platters using a magnetic head that moves back and forth across the surface.
One of the key components of the HDD is the read/write arm, which positions the magnetic head accurately above the desired location on the platter. The data is stored in concentric circles, known as tracks, and sectors, which are spaces within the tracks where the data is written.
HDDs have been the traditional choice for computer storage due to their high capacity, affordable pricing, and durability. They come in various sizes, typically ranging from 2.5 inches for laptops to 3.5 inches for desktop computers. The storage capacity of an HDD can range from a few hundred gigabytes (GB) to several terabytes (TB).
However, while HDDs have been reliable and widely used for a long time, they do have some limitations. Because they rely on mechanical parts, they are susceptible to wear and tear, leading to potential failures. They are also slower compared to Solid State Drives (SSDs), which use flash memory instead of rotating platters. Nonetheless, HDDs continue to be a popular choice for many users, especially for storing large amounts of data.
Understanding the basics of how an HDD works is important when it comes to checking its health. By being aware of its internal components and functions, you will be better equipped to diagnose any potential issues and take appropriate actions to maintain the performance and longevity of your Hard Disk Drive.
Why is it important to check your HDD?
The Hard Disk Drive (HDD) is a critical component of your computer system. It is responsible for storing and retrieving all your data, including the operating system, software applications, and personal files. Regularly checking the health of your HDD is essential for several reasons:
1. Early detection of potential issues:
By regularly checking your HDD, you can identify any underlying problems before they escalate into major issues. Detecting issues early allows you to take proactive steps to address them, preventing data loss or system failures.
2. Maximizing performance:
A well-maintained HDD performs better, resulting in faster access to files and applications. Checking your HDD helps ensure its optimal performance by identifying and resolving any performance-related issues, such as bad sectors or fragmented files.
3. Avoiding data loss:
Your HDD stores valuable data, including documents, photos, videos, and other important files. Regular checks can help prevent data loss by identifying and rectifying potential issues that could lead to data corruption or loss.
4. Extending HDD lifespan:
Through regular checks, you can identify signs of wear and tear or other mechanical issues that could cause premature failure of your HDD. By taking prompt action and addressing these issues, you can prolong the lifespan of your HDD and avoid the need for costly replacements.
5. Maintaining system stability:
A healthy HDD contributes to the overall stability of your computer system. By ensuring your HDD is in good condition, you can minimize the risk of system crashes, freezes, or other issues that can disrupt your work or daily activities.
Checking your HDD regularly is a proactive measure to ensure the smooth functioning of your computer system and protect your valuable data. By identifying and resolving potential issues early on, you can maintain the performance, reliability, and longevity of your Hard Disk Drive.
How to check your HDD on Windows
Windows provides built-in tools that allow you to check the health of your Hard Disk Drive (HDD). Follow these steps to perform a checkup on your HDD:
Step 1: Opening the Command Prompt
Click on the Start menu and type “cmd” in the search bar. Right-click on “Command Prompt” and select “Run as administrator” to open the Command Prompt with administrative privileges.
Step 2: Running the CHKDSK command
In the Command Prompt window, type the following command and press Enter:
chkdsk C:
Note: Replace “C:” with the drive letter of the HDD you want to check.
Step 3: Analyzing the scan results
The CHKDSK utility will scan your HDD for any errors and display the results. If any issues are found, CHKDSK will attempt to fix them. It may take some time to complete the scan, depending on the size of your HDD and the number of errors detected.
Alternatively, you can also use third-party disk checking tools such as CrystalDiskInfo or HD Tune to check the health and S.M.A.R.T. (Self-Monitoring, Analysis, and Reporting Technology) status of your HDD.
Regularly performing these checks on your HDD will help you identify any potential issues and take appropriate measures to ensure the optimal performance and longevity of your Hard Disk Drive.
Step 1: Opening the Command Prompt
Before you can check the health of your Hard Disk Drive (HDD) on Windows, you need to open the Command Prompt with administrative privileges. Here’s how you can do it:
- Click on the Start menu located in the bottom left corner of your desktop.
- In the search bar, type “cmd” without the quotation marks.
- From the search results, right-click on “Command Prompt” and select “Run as administrator.” This will open the Command Prompt with elevated privileges, allowing you to perform administrative tasks.
By running the Command Prompt as an administrator, you gain access to advanced commands and settings that are necessary for checking your HDD.
It’s important to note that you need administrative privileges to perform certain actions on your computer, including checking the health of your HDD. Opening the Command Prompt with administrative privileges ensures that you have the necessary permissions to execute disk checking commands and view detailed information about your HDD.
Remember, it is crucial to perform the disk check on your HDD with elevated privileges to obtain accurate results and make any necessary repairs or fixes. By following this first step, you are ready to proceed with the next steps in checking your HDD on Windows.
Step 2: Running the CHKDSK command
Once you have opened the Command Prompt with administrative privileges, you can proceed to run the CHKDSK command to check the health of your Hard Disk Drive (HDD). Follow these steps:
- In the Command Prompt window, type the following command:
- Press Enter to run the CHKDSK command.
chkdsk C:
Note: Replace “C:” with the drive letter of the HDD you want to check. If your HDD is labeled as a different letter, make sure to use that letter instead.
The CHKDSK command is a powerful tool in Windows that scans your HDD for errors and attempts to fix them. It performs various checks, such as verifying the file system integrity, detecting bad sectors, and resolving disk-related issues.
During the scan, you may see a progress percentage indicating the completion status. The scanning process may take some time, depending on the size of your HDD and the number of errors detected. It is important to be patient and allow the scan to complete.
If the CHKDSK command finds any errors or issues, it will display a summary of the scan results once the process is complete. It will provide information on the number of files scanned, any errors found, and whether any repairs were made. This summary will help you assess the health of your HDD and identify any potential problem areas.
Running the CHKDSK command is a crucial step in checking the health of your HDD on Windows. It ensures that any existing errors or corruptions are detected and repaired, improving the overall performance and stability of your Hard Disk Drive.
Step 3: Analyzing the scan results
After running the CHKDSK command to check the health of your Hard Disk Drive (HDD), it is important to analyze the scan results to gain insights into the condition of your HDD. Here’s how you can interpret the information provided:
- Once the scan is complete, the Command Prompt will display a summary of the scan results. Look for any error messages or warnings highlighted during the scan. These can indicate potential issues with your HDD.
- If the scan results indicate that errors were found and fixed, it is a good sign that the CHKDSK command was able to resolve those issues. This can help improve the performance and stability of your HDD.
- Pay attention to any references to “bad sectors” in the scan results. Bad sectors are areas on the HDD that are physically damaged and unable to store data properly. If bad sectors are detected, it may be an indication of potential disk failure.
- If the CHKDSK command was unable to fix certain errors or encountered other issues, consider seeking further assistance or professional help. These unresolved errors may require advanced troubleshooting or repair methods.
- Make note of any specific file names or paths mentioned in the scan results. If certain files are consistently causing errors or issues, you may need to take corrective measures, such as repairing or deleting those files.
Interpreting the scan results allows you to assess the current state of your HDD and make informed decisions about the next steps. If the scan results reveal significant errors or disk-related problems, it is recommended to back up your important data and consult a professional for further assistance.
Regularly analyzing the scan results and taking necessary actions based on the findings will ensure that your Hard Disk Drive remains in optimal condition, reducing the risk of data loss and improving the overall functionality of your computer system.
How to check your HDD on Mac
If you are using a Mac computer, you can easily check the health of your Hard Disk Drive (HDD) by following these steps:
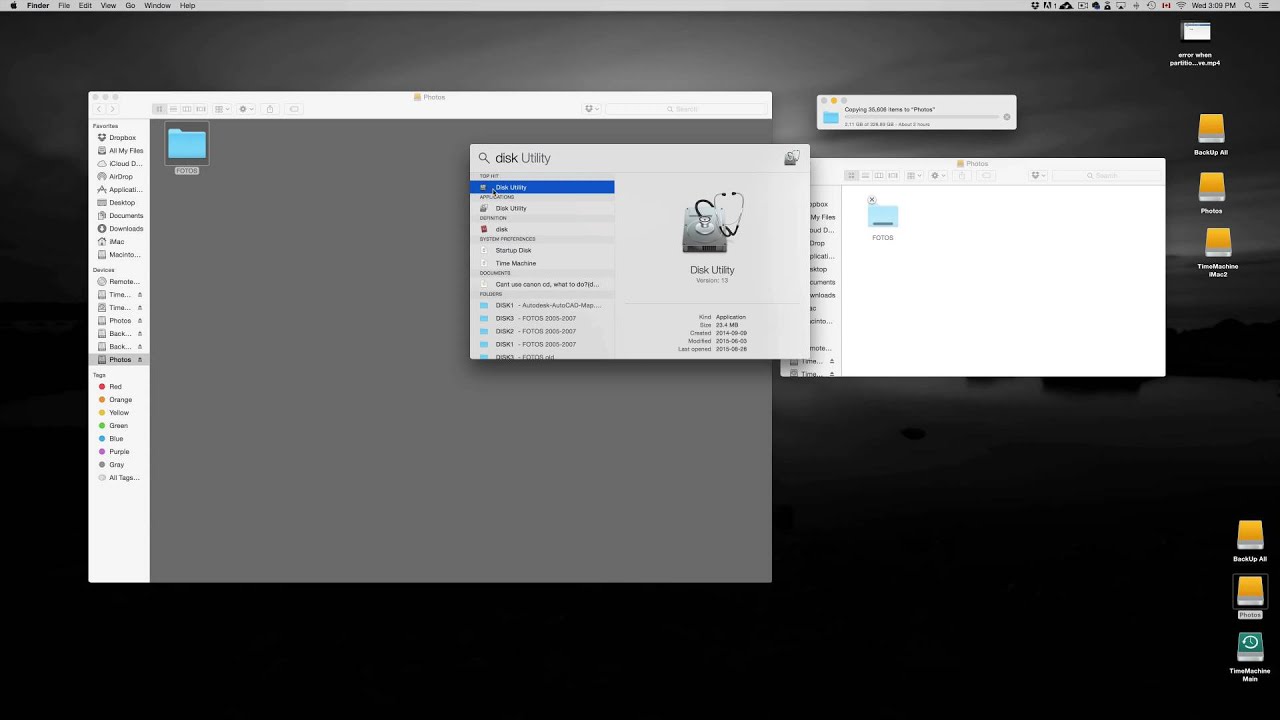
Step 1: Launching Disk Utility
Click on the “Finder” icon in your Dock or press Command + Spacebar to open Spotlight Search. Type “Disk Utility” and select the application from the search results.
Step 2: Selecting the HDD you want to check
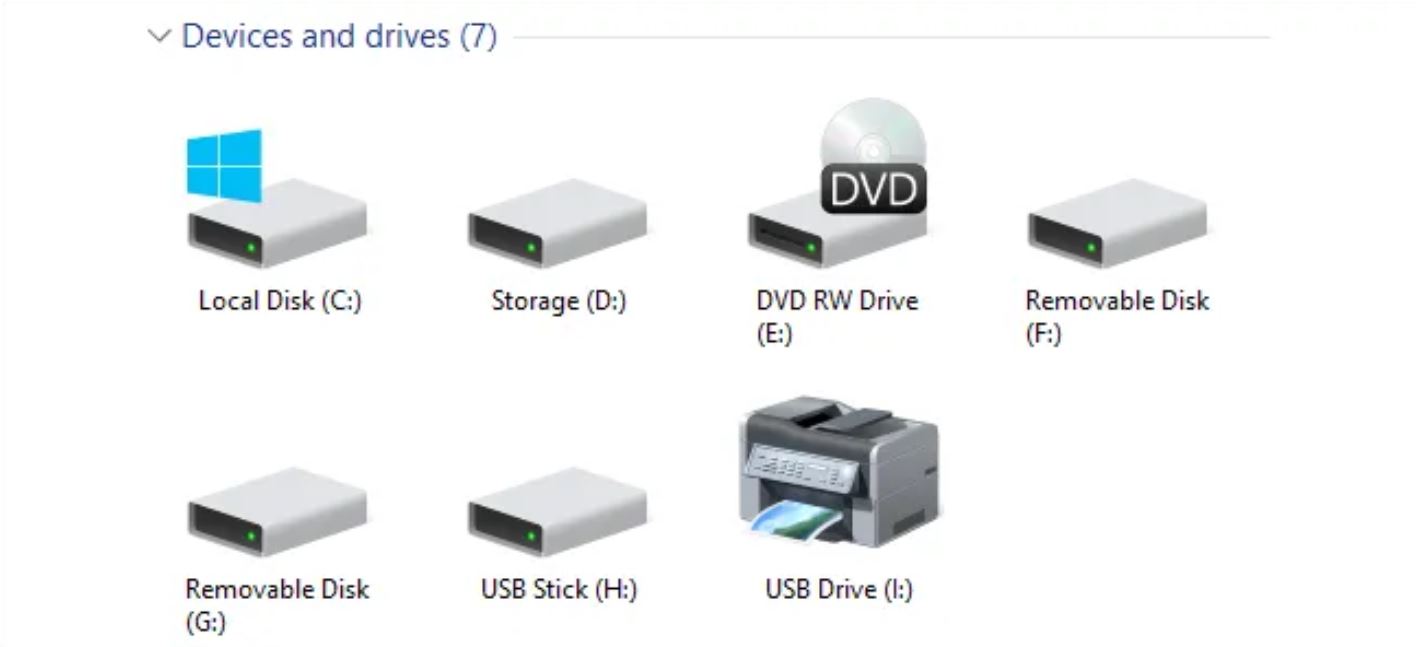
In the Disk Utility window, you will see a list of connected storage devices on the left-hand side. Select your HDD from the list by clicking on its name. Make sure you choose the correct device if you have multiple drives connected to your Mac.
Step 3: Running the First Aid tool
Once you have selected your HDD, click on the “First Aid” button located at the top of the Disk Utility window. This tool will scan your HDD for any errors and fix them if possible.
Step 4: Reviewing the repair summary
After the scanning and repair process is complete, Disk Utility will provide a summary of the repairs performed. Review this repair summary to ensure that any identified issues have been resolved successfully. If there are still errors or problems persist, additional actions may be required.
Disk Utility is a powerful built-in tool in macOS that allows you to manage and troubleshoot storage devices, including your HDD. It provides a user-friendly interface to check the health of your HDD and address any potential issues that may affect its performance.
By regularly checking your HDD using Disk Utility on your Mac, you can ensure the integrity of your data and the overall health of your Hard Disk Drive.
Step 1: Launching Disk Utility
To check the health of your Hard Disk Drive (HDD) on a Mac, you will utilize the built-in Disk Utility tool. Follow these steps to launch Disk Utility:
- Click on the “Finder” icon situated in the Dock, or you can use the Command + Spacebar shortcut to open Spotlight Search.
- In the Search bar, type “Disk Utility,” and you will see the application appear in the search results. Click on it to launch Disk Utility.
Alternatively, you can access Disk Utility by navigating through the Finder:
- Click on the “Finder” icon positioned in the Dock to open a new Finder window.
- In the menu at the top of your screen, click on “Go,” then select “Utilities” from the dropdown menu.
- From the Utilities folder, locate and double-click on “Disk Utility.”
Once launched, Disk Utility will provide you with a comprehensive overview of the storage devices connected to your Mac, including your HDD.
By launching Disk Utility, you gain access to a range of features and tools that allow you to manage and troubleshoot your storage devices effectively. It is the starting point for checking the health of your HDD and resolving any issues that may affect its performance.
Remember to use Disk Utility periodically to ensure that your HDD is functioning optimally and to proactively address any potential problems that may arise. The ability to launch Disk Utility and access its diagnostic capabilities is an invaluable resource for maintaining the health and stability of your Hard Disk Drive on your Mac.
Step 2: Selecting the HDD you want to check
After launching Disk Utility on your Mac, the next step in checking the health of your Hard Disk Drive (HDD) is to select the specific drive you want to inspect. Follow these steps to choose your HDD in Disk Utility:
- In the Disk Utility window that opens, you will see a list of connected storage devices displayed on the left-hand side.
- Scroll through the list and locate the name of your HDD. It will typically appear as the manufacturer’s name followed by the capacity of the drive.
- Click on the name of your HDD to select it. The selected drive will be highlighted in blue to indicate that it is active.
It is important to ensure that you are selecting the correct HDD, especially if you have multiple drives connected to your Mac, such as external storage devices or additional internal drives.
By selecting the specific HDD you want to inspect, you can focus on analyzing and diagnosing the health of that particular storage device. Disk Utility will provide detailed information about the selected drive, including its type, capacity, and current status.
Remember to choose the correct HDD before proceeding to the next steps in checking its health. Selecting the wrong drive can lead to unintended consequences or inaccurate diagnoses.
By following this second step in Disk Utility, you are ready to move forward and use the available tools to assess the health of your selected Hard Disk Drive on your Mac.
Step 3: Running the First Aid tool
Once you have selected the Hard Disk Drive (HDD) you want to check in Disk Utility on your Mac, the next step is to use the First Aid tool to scan and repair any potential issues. Follow these steps to run the First Aid tool:
- In the Disk Utility window, you will see a row of buttons at the top of the window. Click on the “First Aid” button.
- After clicking on the “First Aid” button, Disk Utility will begin analyzing the selected HDD for any errors or discrepancies.
- If any issues are detected, Disk Utility will attempt to repair them automatically. It may take some time, depending on the size of the HDD and the extent of the issues found.
- During the repair process, Disk Utility will provide you with a progress bar and status updates indicating the repair’s completion.
- Once the repair is finished, Disk Utility will display a summary of the actions taken and whether any errors were successfully resolved.
The First Aid tool in Disk Utility is designed to scan your HDD for common problems, including disk errors, file system inconsistencies, and other issues that may affect its performance and data integrity. It is a powerful tool that can help fix minor errors and improve the overall health of your HDD.
By running the First Aid tool, you can proactively identify and address any potential issues with your HDD, ensuring that it is in optimal condition and functioning at its best capacity.
Remember to regularly run the First Aid tool on your selected HDD to maintain its health and prevent further complications. The ability to use this tool effectively allows you to troubleshoot and resolve common problems that may arise with your Hard Disk Drive on your Mac.
Step 4: Reviewing the repair summary
After running the First Aid tool in Disk Utility to check the health of your Hard Disk Drive (HDD) on your Mac, it is important to review the repair summary provided. Follow these steps to review the repair summary:
- Once the repair process is complete, Disk Utility will display a summary of the actions taken and the results of the repair.
- Review the repair summary to check if any errors were detected and successfully fixed by the First Aid tool.
- Take note of any specific issues mentioned in the repair summary, such as file system inconsistencies, disk errors, or repaired sectors.
- If the repair summary indicates that issues were successfully resolved, this is a positive outcome and indicates an improvement in the health of your HDD.
- If the repair summary reveals that certain issues could not be fixed, additional actions might be necessary. Consider seeking further assistance from a professional or utilizing advanced troubleshooting methods.
By reviewing the repair summary, you gain valuable insights into the overall state of your HDD and any repairs or fixes performed by the First Aid tool.
If the repair summary indicates successful repairs, it is a positive indication that your HDD’s health has improved and potential issues have been addressed. This can lead to better performance and increased data integrity.
However, if the repair summary reveals unresolved issues or persistent errors, further investigation or expert assistance may be required. Advanced troubleshooting or specialized tools may be necessary to diagnose and rectify complex problems that the First Aid tool could not resolve.
Regularly reviewing the repair summary after running the First Aid tool ensures that you stay informed about the health of your HDD and take appropriate actions to maintain its functionality and reliability.
Additional Tips and Recommendations
When it comes to checking the health of your Hard Disk Drive (HDD), there are several additional tips and recommendations to keep in mind. These can further enhance the process and help ensure the optimal performance and longevity of your HDD:
1. Regularly back up your data:
Backing up your important files and data is crucial to safeguard against potential HDD failures and data loss. Consider using cloud storage services or external storage devices to create frequent backups of your valuable information.
2. Monitor your HDD’s temperature:
HDDs can generate heat during operation, and excessive heat can impact their performance and lifespan. Use monitoring software to keep an eye on your HDD’s temperature and take necessary steps to prevent overheating, such as ensuring proper ventilation and cooling.
3. Keep your operating system and drivers updated:
Regularly installing updates for your operating system and device drivers can help maintain compatibility, improve system stability, and ensure optimal performance of your HDD.
4. Minimize vibrations and impacts:
Excessive vibrations and impacts can cause damage to your HDD. Avoid placing your computer in areas prone to vibrations and handle your device with care to mitigate the risk of physical damage.
5. Be cautious when handling your computer:
Avoid moving or jostling your computer while it is in operation. Sudden movements can lead to read/write errors and data corruption. Whenever possible, it’s best to shut down your computer before transporting it.
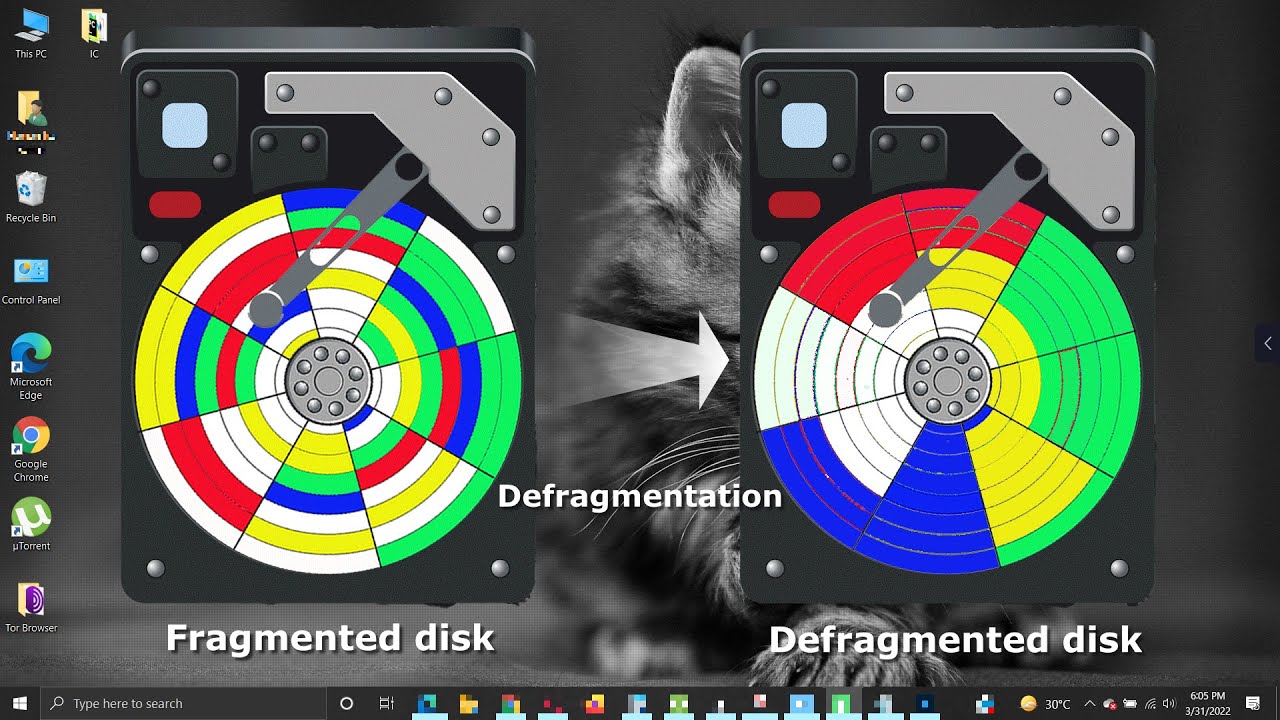
6. Consider using disk maintenance tools:
Utilize disk maintenance tools, such as disk cleanup utilities or defragmentation tools, to keep your HDD organized and free from unnecessary files or fragmented data that can impact its performance.
By following these additional tips and recommendations, you can complement the process of checking your HDD’s health and take proactive measures to ensure the optimal functioning and durability of your Hard Disk Drive.
Conclusion
Regularly checking the health of your Hard Disk Drive (HDD) is essential for maintaining the performance, stability, and longevity of your computer system. By following the steps outlined in this guide, you can effectively assess the condition of your HDD on both Windows and Mac platforms.
By opening the Command Prompt on Windows or launching Disk Utility on Mac, you gain access to powerful tools that allow you to scan and repair any potential issues with your HDD. Running the CHKDSK command on Windows or using the First Aid tool on Mac can help identify and fix errors, bad sectors, and file system inconsistencies.
Analyzing the scan results and reviewing the repair summary provided by the diagnostics tools will give you valuable insights into the overall health of your HDD. This information can help you take appropriate actions to improve performance, prevent data loss, and extend the lifespan of your Hard Disk Drive.
Additionally, implementing additional tips and recommendations, such as regularly backing up data, monitoring temperature, and keeping your operating system up to date, can further enhance the health and functionality of your HDD. Remember to handle your computer with care, minimize vibrations, and consider using disk maintenance tools.
By incorporating these practices into your routine, you can ensure that your HDD remains in optimal condition, reducing the risk of system crashes, data loss, and other issues. Regularly checking your HDD is a proactive approach that helps maintain a smooth computing experience and protects your valuable data.
So, take the time to check your Hard Disk Drive regularly and implement the necessary measures to keep it healthy. Your computer system will thank you for it.