Introduction
Welcome to our step-by-step guide on how to replace your iMac hard drive with a solid-state drive (SSD). Upgrading to an SSD can significantly enhance your iMac’s performance and speed, providing faster startup times and improved data transfer rates. By following this guide, you’ll be able to enjoy these benefits and give your iMac a new lease on life.
Before we dive into the process, it’s essential to understand the importance of backing up your data. Swapping out the hard drive involves removing and replacing internal components, which can potentially result in data loss. Taking the time to make a proper backup ensures that you won’t lose any valuable files or information during the upgrade process.
In this guide, we’ll walk you through each step of the process, from gathering the necessary tools and materials to installing the SSD and restoring your data. While the process may seem a bit daunting, with a little patience and attention to detail, even non-technical users can successfully upgrade their iMac’s hard drive.
Before we begin, make sure you have enough time set aside for this task. Depending on your familiarity with iMac internals and the speed of your backups and data transfer, the entire process could take a few hours. It’s crucial to be patient and meticulous to ensure a smooth and successful upgrade.
Now, let’s dive in and get started on replacing your iMac hard drive with an SSD. Remember, take your time, follow the steps carefully, and soon, you’ll be enjoying the improved performance of your upgraded iMac.
Backup your data
Before proceeding with any hardware modifications, it’s crucial to back up your iMac’s data. This ensures that in the event of any unforeseen issues or data loss during the upgrade process, you won’t lose any important files or documents.
There are several ways to back up your data. One option is to use Apple’s built-in Time Machine feature. Time Machine allows you to create a complete backup of your iMac’s data onto an external hard drive. This way, you can easily restore your files and settings once the SSD installation is complete.
To use Time Machine, connect an external hard drive to your iMac and open the Time Machine preferences in the System Preferences menu. Select the external hard drive as the backup disk, and Time Machine will automatically begin backing up your files. This process may take some time, depending on the size of your data.
If you prefer a more manual approach, you can also copy your important files to an external storage device, such as a USB flash drive or an external hard drive. Simply locate your files, such as documents, photos, videos, and music, and copy them onto the external device. Remember to organize the files into folders for easier restoration later.
In addition to backing up your files, don’t forget to also make a note of any important settings or preferences you have customized on your iMac. This includes network settings, application preferences, and any custom configurations you may have made. Taking note of these settings will make it easier to set up your iMac quickly after the SSD installation.
Once you have completed the backup process, double-check to ensure that all your important files and settings have been successfully copied to the external storage device. Take your time to verify that everything is in order before proceeding with the next steps in the upgrade process.
Having a backup of your data provides peace of mind and ensures that you can recover your files in case of any issues during the SSD installation. With your data securely backed up, you can proceed confidently to the next steps of replacing the iMac hard drive with a speedy SSD.
Gather the necessary tools and materials
Before you begin replacing your iMac’s hard drive with an SSD, it’s essential to gather all the necessary tools and materials. Having everything ready beforehand will ensure a smooth and efficient upgrade process. Here’s a list of items you’ll need:
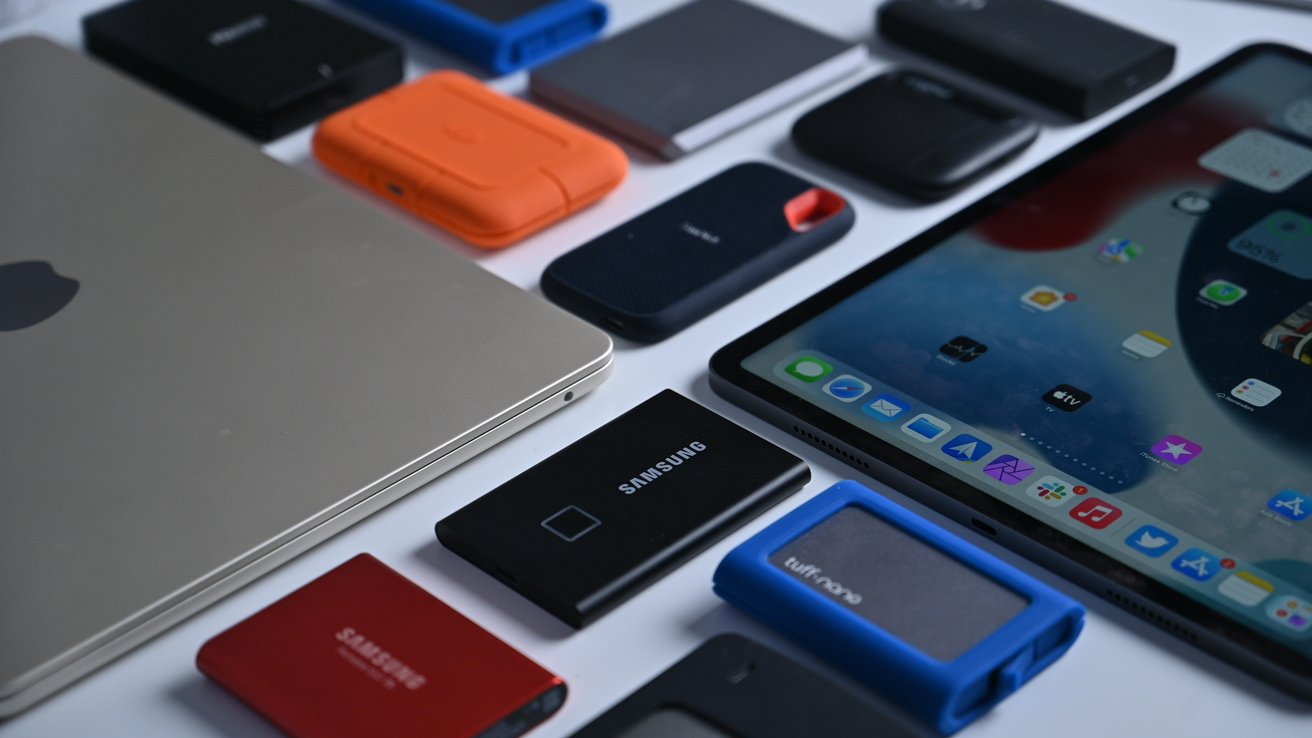
- SSD: Choose a compatible SSD that meets your storage needs. Consider factors such as storage capacity, brand, and performance specifications to find the best option for your iMac.
- Screwdrivers: You’ll need a set of precision screwdrivers, including a Phillips #00 and a Torx T6 or T8 screwdriver. These will be used to remove the screws securing the display and internal components of your iMac.
- External storage device: You’ll need an external storage device to perform the data backup and restore process. This can be an external hard drive, USB flash drive, or a NAS device.
- Static wrist strap: An anti-static wrist strap is crucial to prevent electrostatic discharge (ESD) and protect your iMac’s delicate electronic components. This will ensure that you don’t accidentally damage any internal hardware.
- Microfiber cloth: A microfiber cloth is useful for cleaning the iMac’s display and removing any dust or fingerprints. This will help maintain the clarity and quality of the screen during the upgrade process.
- Plastic card or thin spatula: A plastic card or thin spatula can be handy for separating the display from the iMac’s body. This helps avoid damaging the display or the surrounding components.
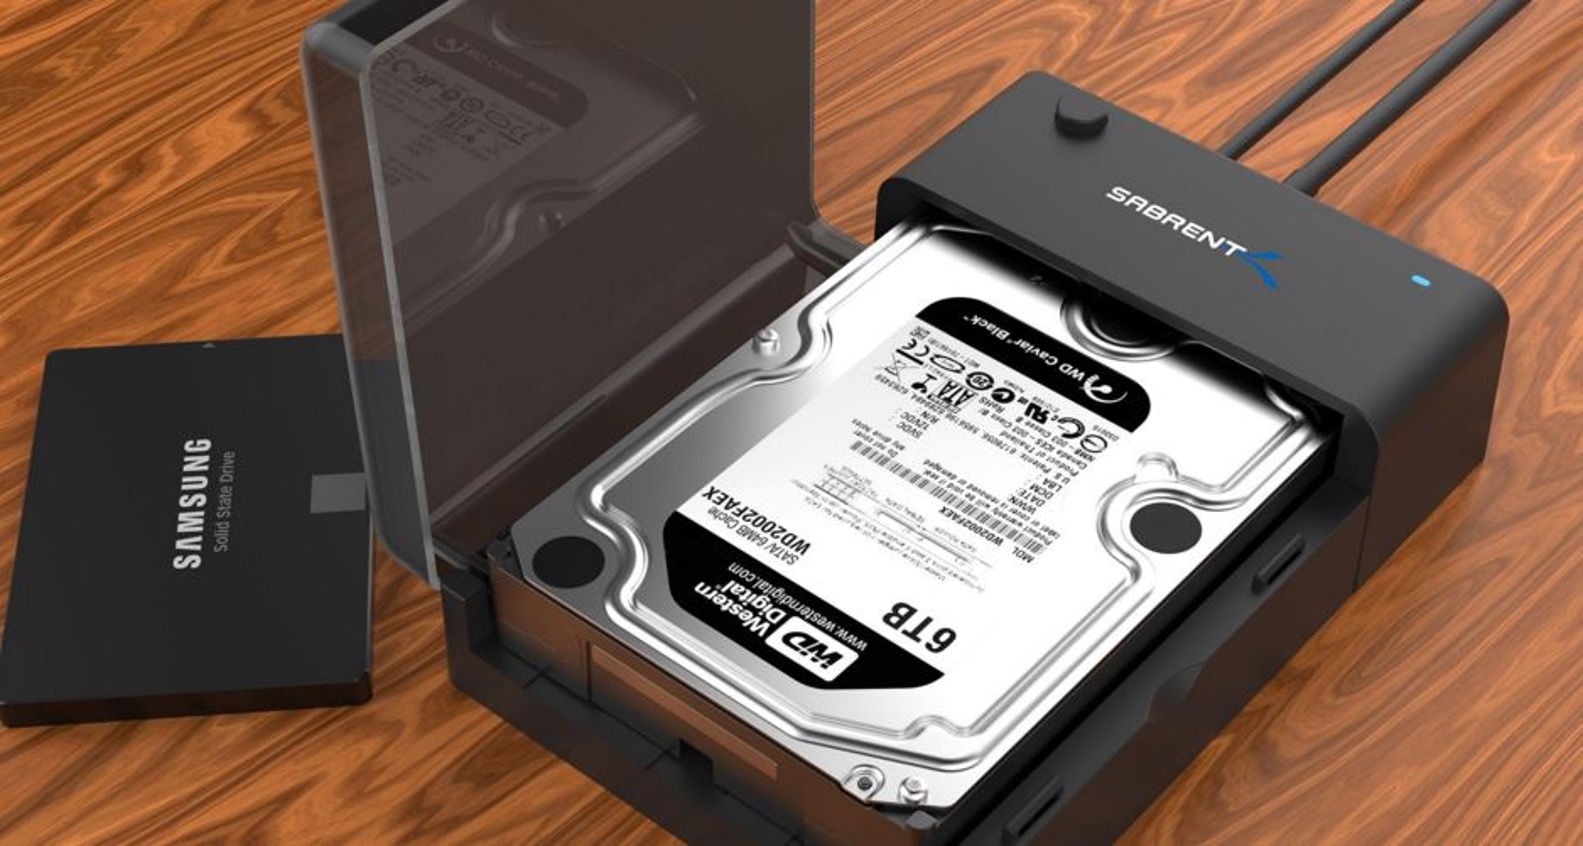
- Optional: USB enclosure: If you want to repurpose your old hard drive as external storage, consider getting a USB enclosure to house the drive. This will allow you to continue using it as an additional storage device.
Ensure that you have all the necessary tools and materials readily available before starting the upgrade process. Double-check that your SSD is compatible with your iMac model to avoid any compatibility issues. Additionally, it’s a good idea to work in a clean and well-lit area to minimize the risk of losing or damaging small screws or components.
Now that you have everything you need, it’s time to move on to the next steps of the iMac hard drive replacement process. Gather your tools, prepare your workspace, and get ready to give your iMac a performance boost with a new SSD.
Turn off and unplug your iMac
Before you begin working on your iMac’s internal components, it’s crucial to turn off and unplug the machine. This ensures your safety and prevents any unwanted damage to the iMac or yourself during the upgrade process.
Follow these steps to properly turn off and unplug your iMac:
- Save and close all open applications: Make sure you save any ongoing work and close all open applications on your iMac. This prevents any data loss or potential issues when shutting down.
- Shut down your iMac: Click on the Apple menu in the top-left corner of the screen, then select “Shut Down” from the drop-down menu. Wait for your iMac to completely shut down before proceeding to the next step.
- Unplug all cables: Carefully unplug all cables connected to your iMac, including the power cord, peripherals, and any other external devices. Take your time to ensure that no cables are still attached to the iMac.
- Wait a few minutes: It’s essential to let the iMac sit disconnected from the power source for a few minutes. This allows any residual electrical charge to dissipate, reducing the risk of electrical shock or damage to internal components.
Once you have completed these steps, you can proceed to the next phase of the iMac SSD upgrade process. Ensuring that your iMac is turned off and unplugged guarantees a safe work environment, minimizing the chances of accidental damage or injury.
Remember, never attempt to work on your iMac while it is still plugged in or powered on. Always prioritize your safety and follow the proper shutdown procedures before starting any hardware modifications.
With your iMac turned off and unplugged, you’re ready to move on to the next steps of replacing the hard drive with a shiny new SSD.
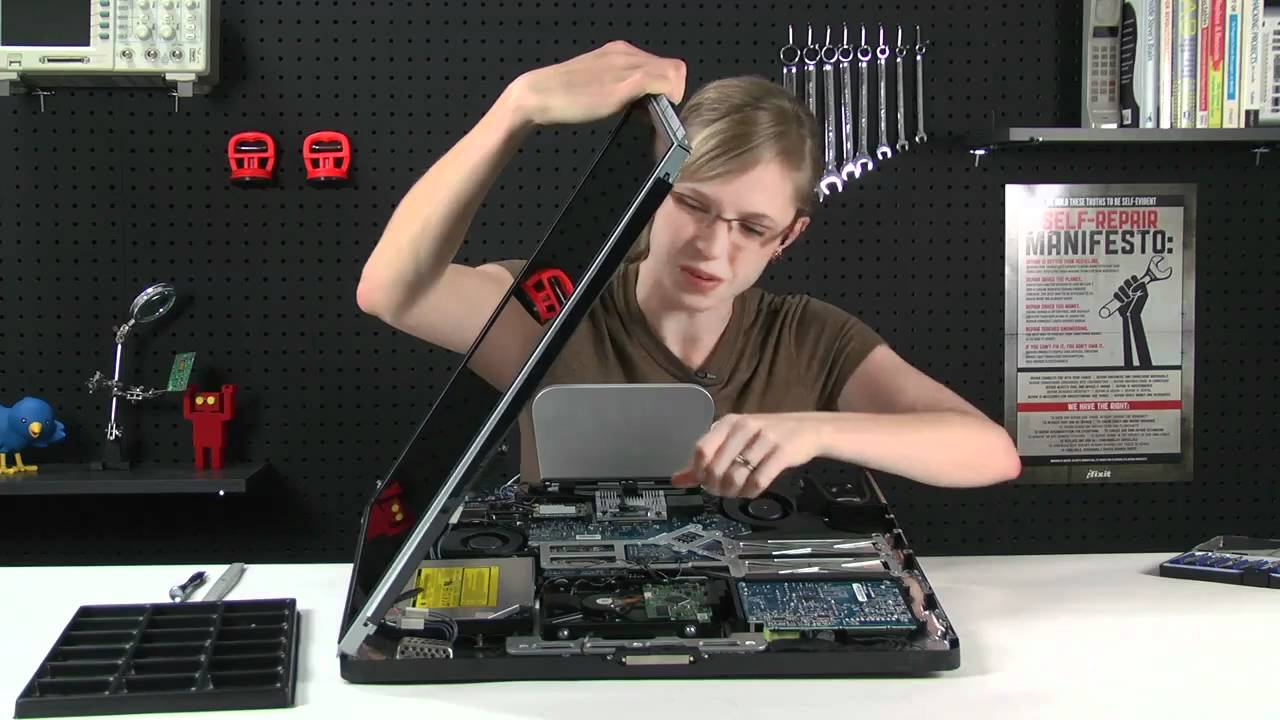
Remove the display
Now that your iMac is turned off and unplugged, it’s time to remove the display. Removing the display gives you access to the internal components needed to replace the hard drive with an SSD. Follow the steps below to safely remove the display:
- Prepare a clean workspace: Find a clear, well-lit area to work on your iMac. Lay a soft cloth or towel on the workspace to protect the display from scratches or damage during the removal process.
- Locate the display release buttons: On the back of the iMac, near the bottom, you’ll find two small buttons on either side. These are the display release buttons that will help detach the display from the iMac’s body.
- Press and hold the display release buttons: Simultaneously press and hold both display release buttons while gently leaning the iMac backward. You should feel the display disengage from the iMac’s body.
- Secure the iMac in a tilted position: With the display partially disconnected, use a soft object, such as a book or box, to prop up the iMac at a slight angle. This ensures that the display stays in place while you work on the internal components.
- Disconnect the display data cable: With the display tilted, locate the display data cable connector on the logic board. Carefully disconnect the cable by pulling it straight out. Be cautious and avoid applying excessive force.
- Remove the display from the iMac: Once the display data cable is disconnected, you can gently lift the display straight up and remove it from the iMac’s body. Take your time to avoid any accidental damage to the display or internal components.
Remember, the display is a delicate component, so handle it with care throughout this process. Avoid touching the display surface and use caution when disconnecting cables to prevent any damage.
By following these steps, you have successfully removed the display from your iMac. Now you can proceed to the next phase of the SSD installation process, which involves removing the old hard drive. Stay focused and take your time to ensure a smooth and successful upgrade.
Remove the old hard drive
With the display removed, you now have access to the internal components of your iMac, including the old hard drive. Follow the steps below to safely remove the old hard drive from your iMac:
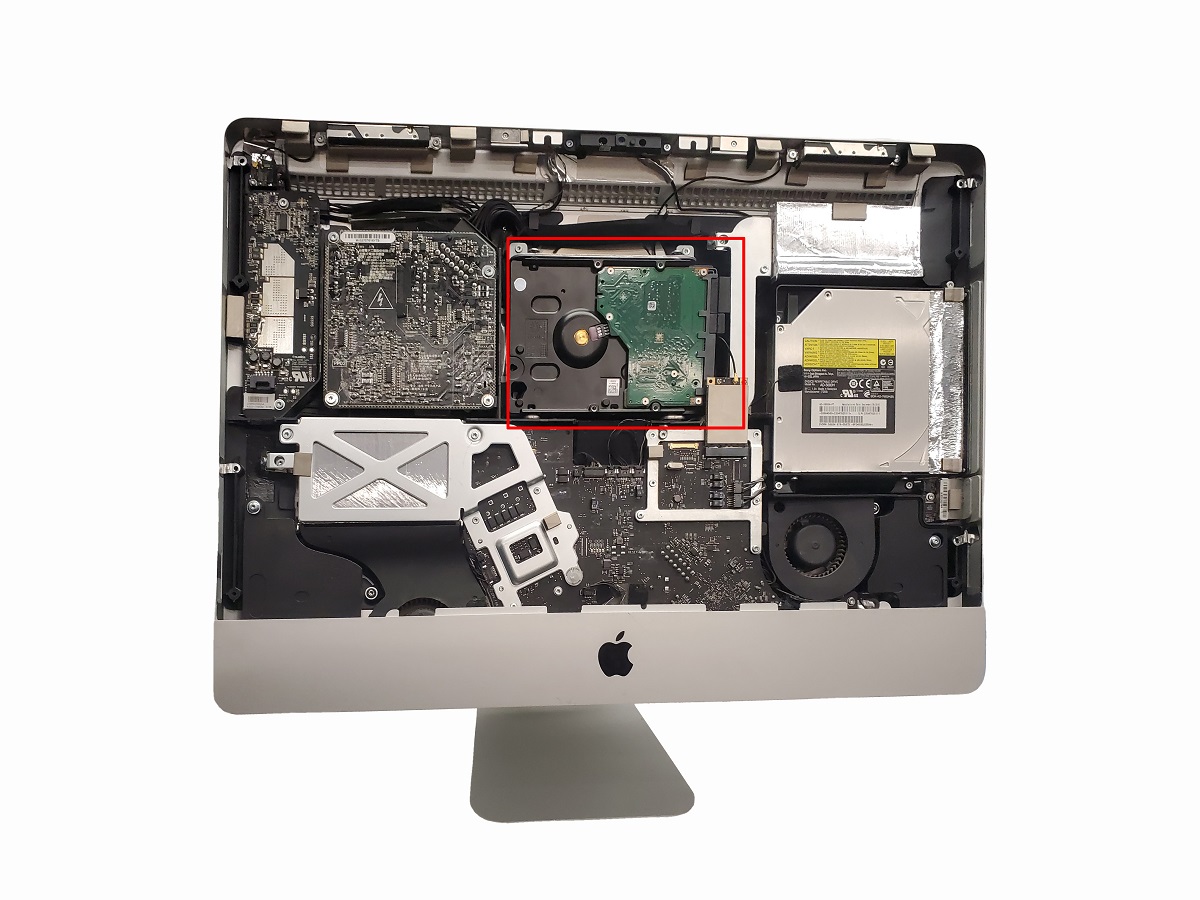
- Locate the hard drive bracket: Inside your iMac, you’ll find the hard drive bracket, which secures the hard drive in place. It’s typically located in the center or towards the bottom of the iMac’s body.
- Remove the screws securing the hard drive bracket: Use your Phillips #00 screwdriver to carefully remove the screws that secure the hard drive bracket. Set the screws aside in a safe place as you will need them later.
- Disconnect the data and power cables: Locate the data and power cables connected to the old hard drive. Gently disconnect both cables by pulling them straight out from their connectors. Take care not to damage the cables or connectors.
- Remove the old hard drive from the bracket: With the cables disconnected, slide the old hard drive out of the bracket. Be gentle and ensure that you don’t force or damage any surrounding components during the process.
- Set aside the old hard drive: Once the old hard drive is removed from the bracket, place it in a safe and secure location as a backup or for future use if desired.
Now that you have successfully removed the old hard drive from your iMac, you’re one step closer to installing the new SSD. Take a moment to inspect the inside of your iMac, ensuring that there are no loose screws or cables that may interfere with the installation process.
Keep the screws and cables from the old hard drive in a safe place, as you may need them during the SSD installation. It’s essential to maintain an organized workspace to prevent any confusion or misplacement of small components.
Now, let’s move on to the next phase of the upgrade process, where we’ll install the SSD into your iMac and enjoy improved speed and performance.
Install the SSD
Now that you’ve removed the old hard drive from your iMac, it’s time to install the new solid-state drive (SSD) that will give your iMac a significant performance boost. Follow these steps to properly install the SSD:
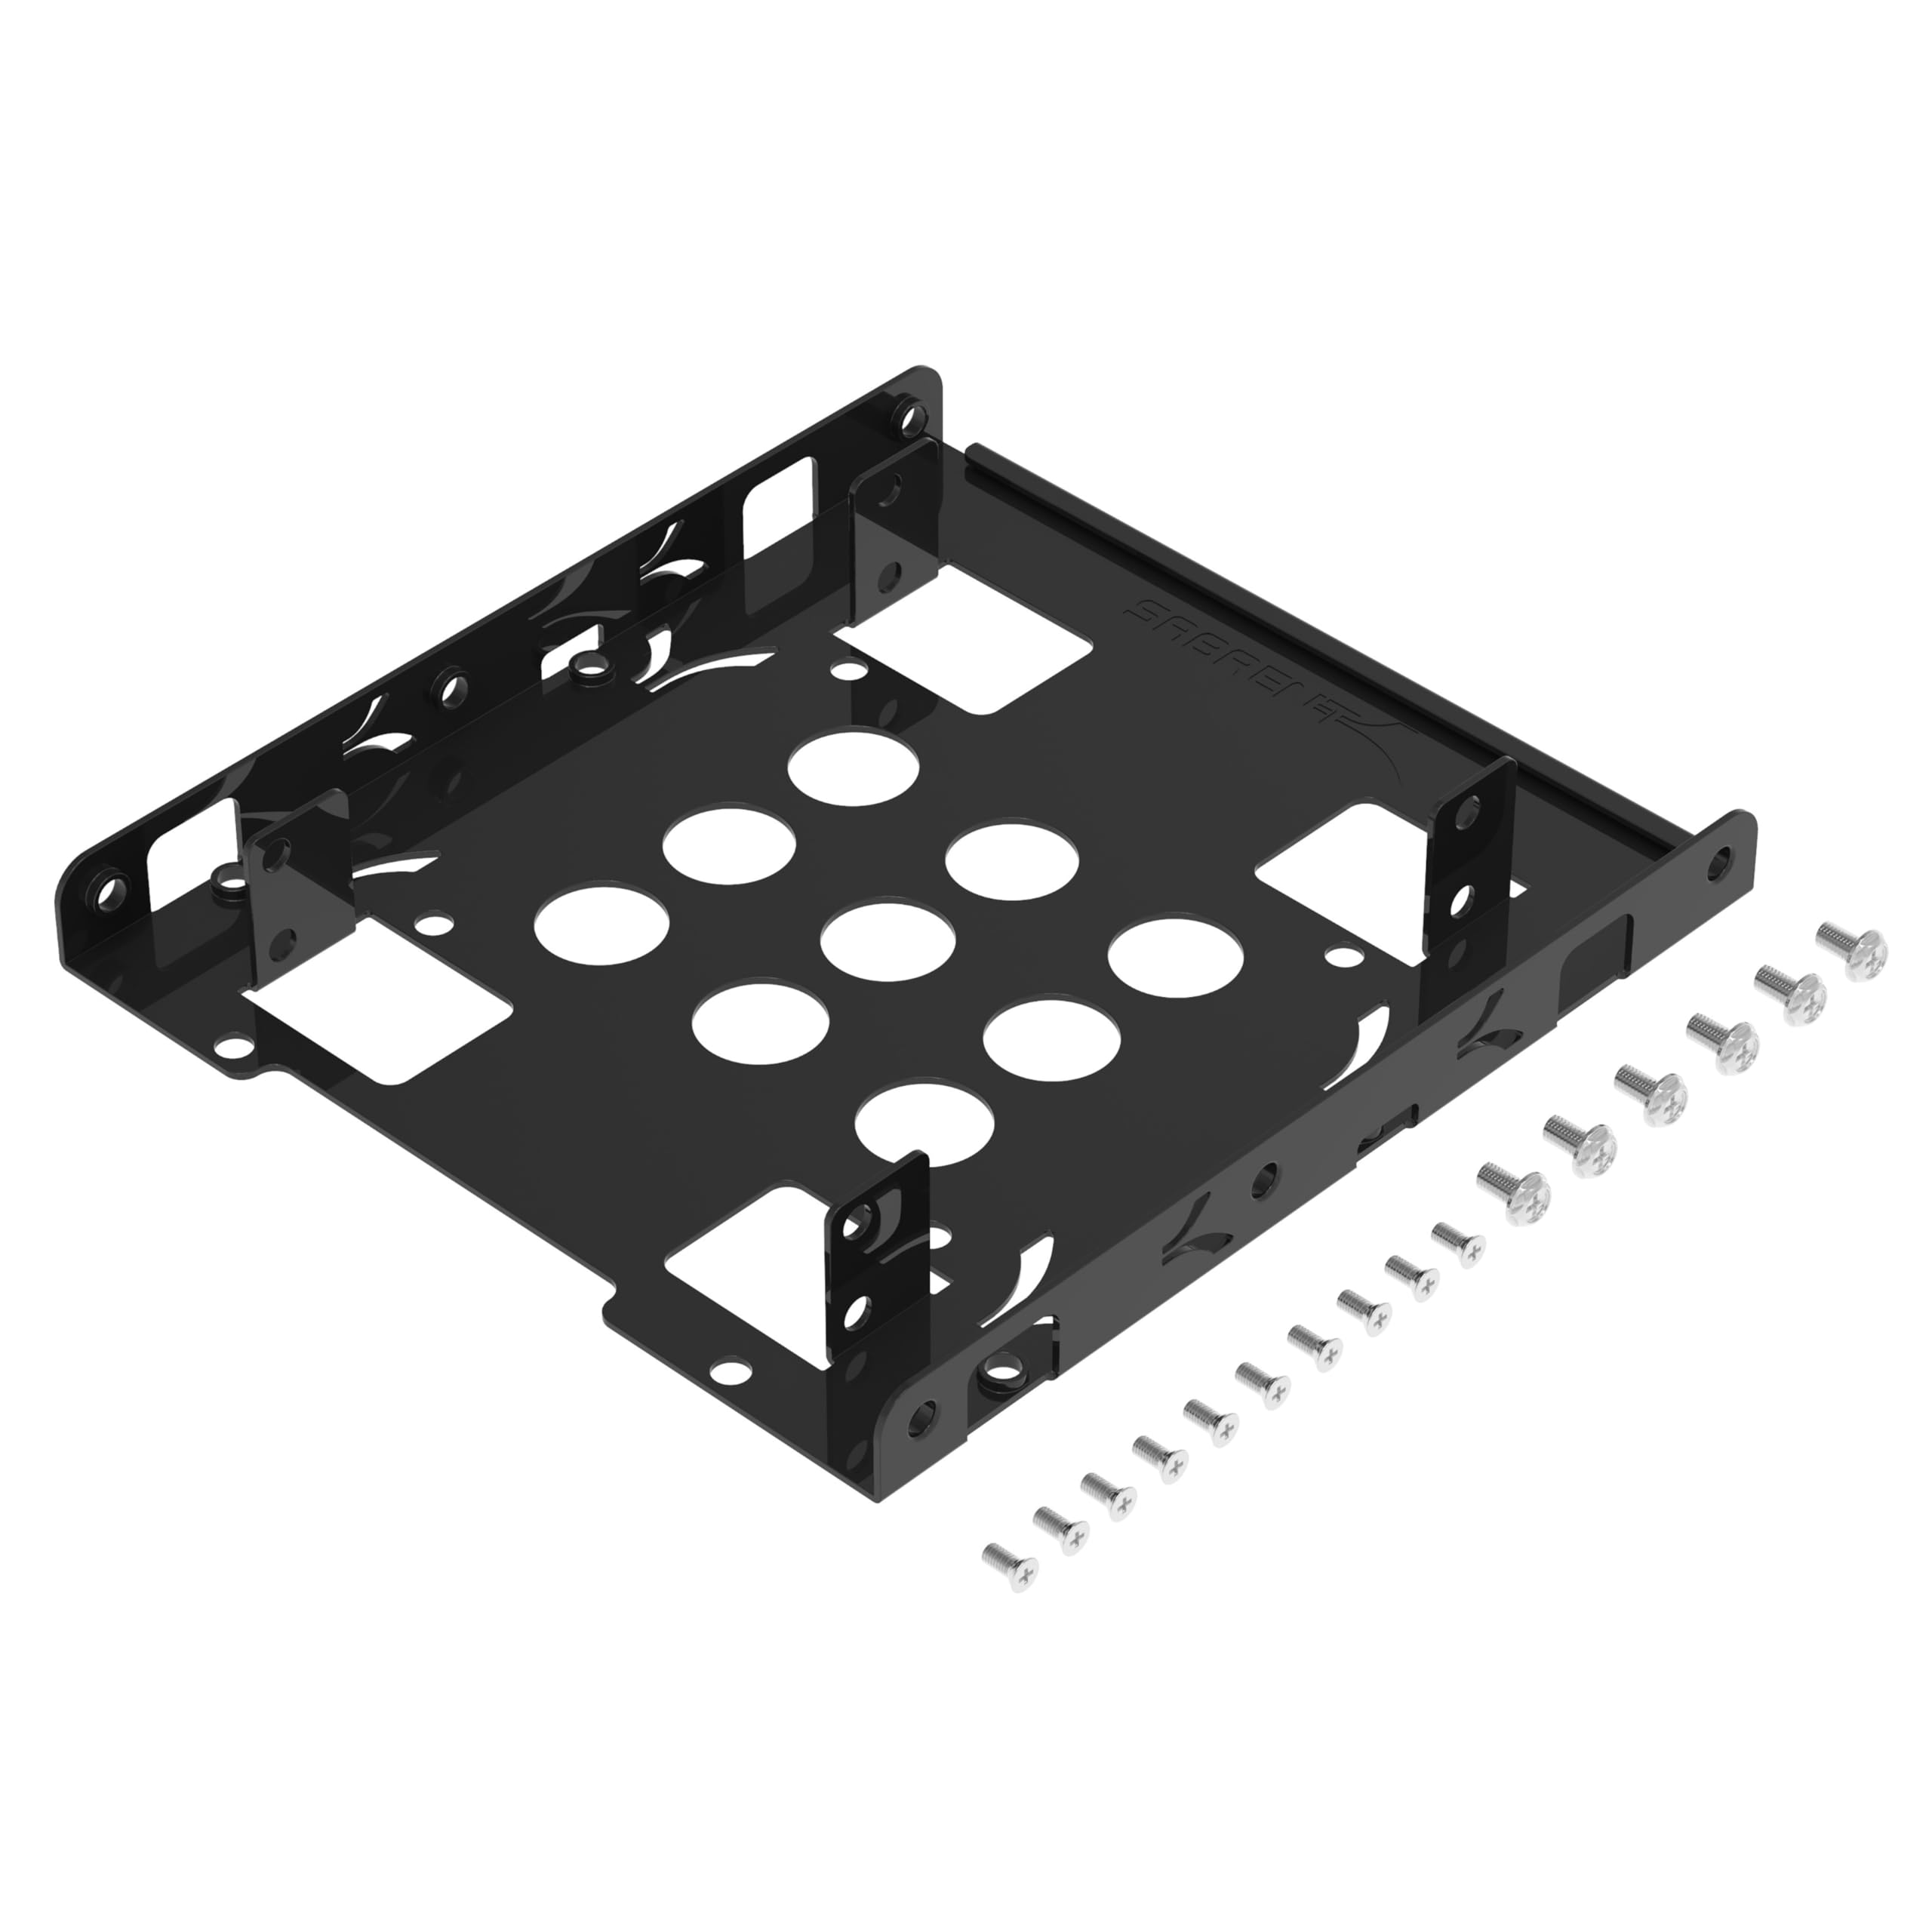
- Prepare the SSD: If your SSD didn’t come pre-installed in a bracket, attach it to the bracket from the old hard drive. Ensure that it is securely fastened and aligned properly.
- Align the SSD with the bracket: Carefully align the SSD with the vacant slot in the hard drive bracket. Ensure that the connectors on the SSD are facing the correct direction, allowing for easy connection to the data and power cables.
- Slide the SSD into the bracket: Gently slide the SSD into the vacant slot in the bracket, ensuring that it is securely in place. Take care not to apply excessive force or damage any surrounding components.
- Reconnect the data and power cables: Connect the data and power cables to the corresponding ports on the SSD. Ensure that the connections are secure and properly aligned, avoiding any unnecessary strain on the cables.
- Secure the SSD in place: Use the screws you set aside earlier to secure the SSD and the bracket in place. Tighten the screws firmly, but be cautious not to apply too much pressure as it may damage the SSD or bracket.
Once you have completed these steps, the SSD is securely installed in your iMac. Take a moment to inspect the installation, ensuring that the connections are secure and the SSD is properly aligned.
With the new SSD in place, your iMac is now ready to experience improved speed and performance. However, before reassembling your iMac, it’s essential to conduct a quick test to ensure that everything is working correctly.
Now, let’s move on to the next phase, where we’ll reinstall the display and connect and test the new SSD in your iMac.
Reinstall the display
With the SSD successfully installed in your iMac, it’s time to reattach the display. Follow the steps below to properly reinstall the display:
- Ensure the iMac is in a tilted position: If you haven’t already, make sure the iMac is still propped up at a slight angle to provide easier access to the internal components.
- Align the display: Hold the display with both hands and carefully align it with the iMac’s body. Make sure the display connectors align with the corresponding ports on the logic board.
- Connect the display data cable: Gently insert the display data cable into its connector on the logic board. Ensure that it is properly aligned and securely connected. Be cautious and avoid applying excessive force.
- Lower the display into place: Slowly and carefully lower the display towards the iMac’s body, ensuring that it is properly aligned. Take your time to avoid any accidental damage to the display or internal components.
- Ensure the display is fully seated: Press firmly but gently on the edges of the display to ensure that it is fully seated and properly attached to the iMac’s body.
- Double-check the connections: Verify that all the cables and connectors are properly connected and secure. Take a moment to inspect the display and ensure that it is flush with the iMac’s body.
Once you have completed these steps, the display is reinstalled in your iMac. Take a moment to admire your progress and ensure that all connections are secure and properly aligned.
Now that the display is back in place, you’re almost ready to power on your iMac and test the new SSD. However, before doing so, it’s important to conduct a few final checks to ensure that everything is in order.
In the next section, we’ll connect and test the new SSD to ensure that it is functioning correctly in your iMac.
Connect and test the new SSD
After reinstalling the display, it’s time to connect and test the new solid-state drive (SSD) in your iMac. Follow these steps to ensure that the SSD is functioning correctly:
- Reconnect all cables: Carefully reconnect any cables that were disconnected during the removal and installation process. This includes power cables, peripherals, and any external devices that were previously connected.
- Plug in the power cord: Connect the power cord to your iMac and plug it into a power outlet. Ensure that the power cord is securely connected and that there are no loose connections.
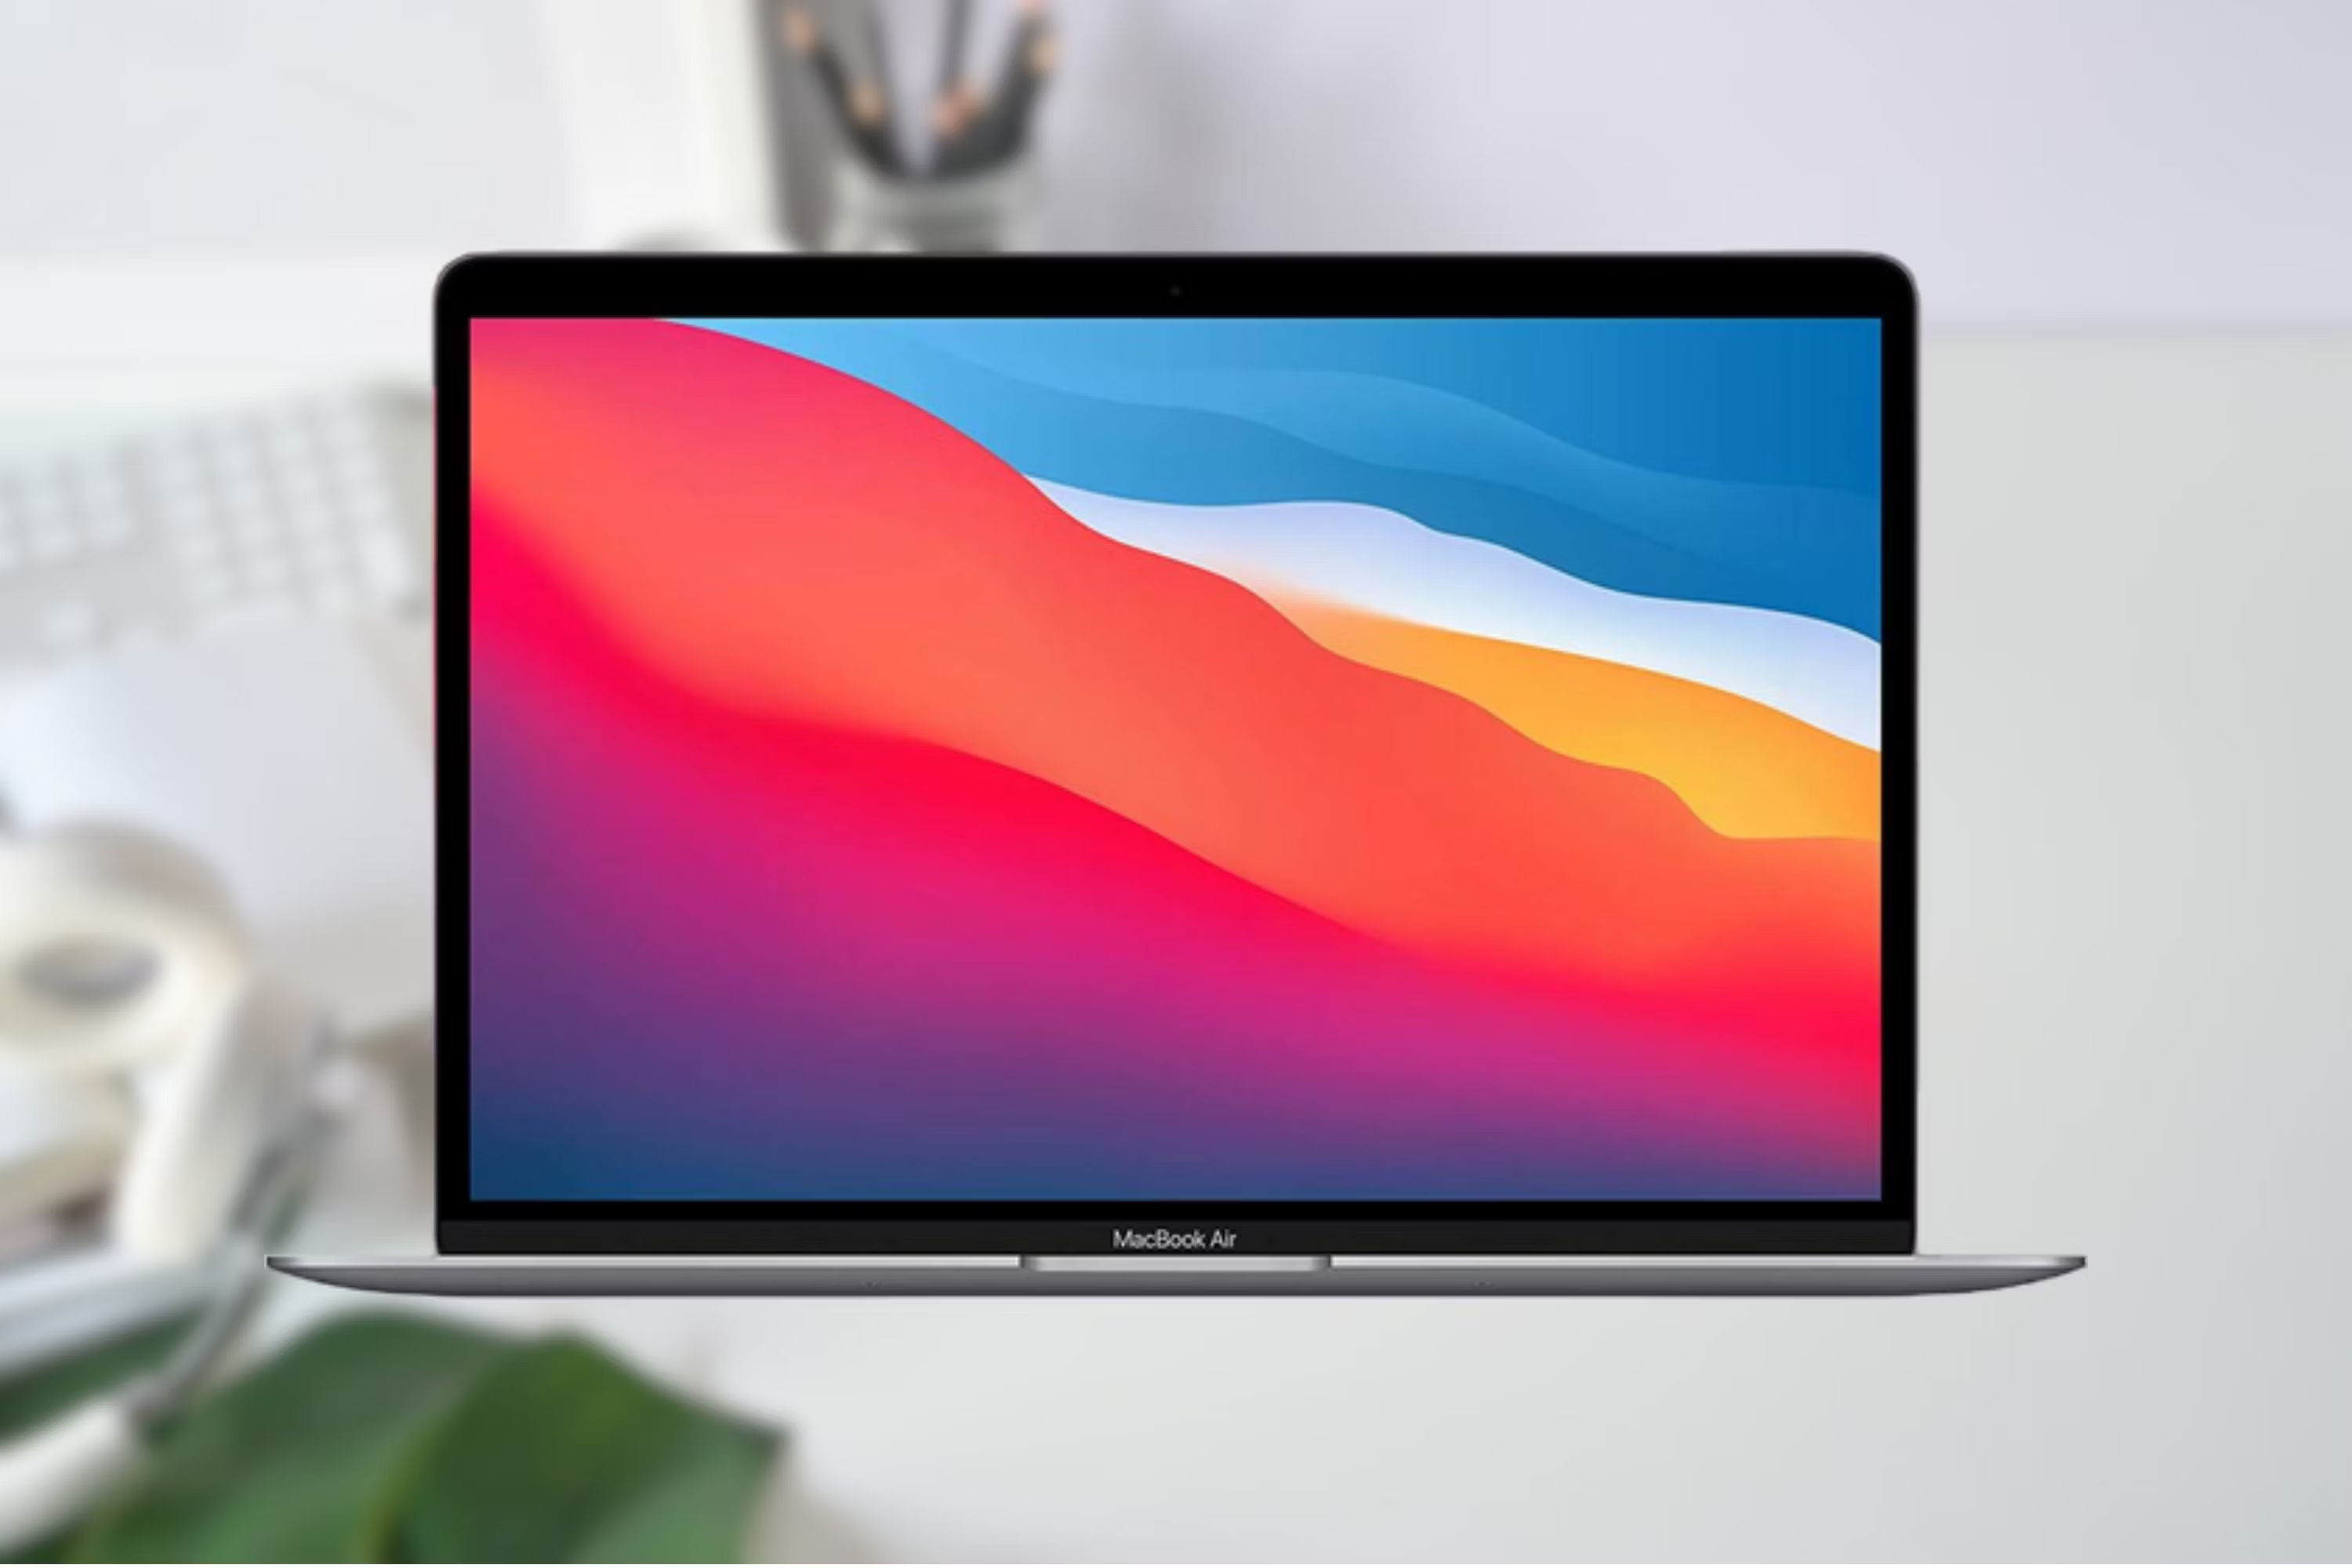
- Power on your iMac: Press the power button on your iMac to turn it on. Wait for your iMac to boot up, and you should see the familiar Apple logo and startup screen.
- Check for SSD recognition: Once your iMac has booted up, go to the “About This Mac” section in the Apple menu. From there, click on the “System Report” button, and under the “Hardware” section, look for the SSD. It should be listed as one of the storage devices.
- Test the SSD’s performance: Open up some applications or launch a few files to test the speed and performance of the new SSD. You should notice a significant improvement in the overall responsiveness and loading times compared to the previous hard drive.
- Verify data restoration: If you backed up your data before the SSD installation, now is the time to restore your files and settings. Use the backup method you chose earlier, such as Time Machine or manual copy, to transfer your files back to your iMac.
By following these steps, you will ensure that the new SSD is recognized by your iMac and functioning properly. If there are any issues or if your iMac does not recognize the SSD, double-check all connections and consult the SSD manufacturer’s instructions or support resources for troubleshooting steps.
Once you have confirmed that the new SSD is working flawlessly and your data has been successfully restored, you can proceed to the final phase of the upgrade process.
In the next section, we’ll cover how to restore your data and settings to your iMac’s new SSD, allowing you to fully enjoy the enhanced performance and improved speed.
Restore your data
With the new SSD successfully installed and your iMac up and running, it’s time to restore your data and settings. Follow these steps to ensure a smooth and successful data restoration process:
- Choose your preferred data restoration method: Depending on how you backed up your data, you can now choose the method to restore your files. If you used Apple’s Time Machine, connect the backup device and follow the prompts to restore your data.
- Select the files for restoration: In the data restoration process, you may have the option to choose specific files or folders to restore. Select the files you want to retrieve from the backup and proceed with the restoration.
- Restore your applications and settings: Along with your files, you may also need to reinstall and reconfigure your applications and settings. Use any installation files or original media you have for your applications and follow the setup instructions.
- Configure your preferences: Take the time to configure your preferences and settings according to your preferences. This includes network settings, display preferences, sound settings, and any other personalized configurations that you had on your previous setup.
- Verify the data restoration: Once the data restoration is complete, double-check that all your files and settings have been successfully transferred to the new SSD. Open some files, launch applications, and test any specific settings to ensure that everything is working as expected.
During the data restoration process, it’s essential to take a calculated approach to ensure that all your important files and settings are successfully restored. Pay attention to any error messages or prompts that may require your action or clarification to complete the restoration smoothly.
Now that your data and settings have been restored to the new SSD, take a moment to explore your iMac and appreciate the improved speed, responsiveness, and overall performance that the SSD has brought to your machine.
Congratulations! You have successfully replaced your iMac’s old hard drive with a new SSD and restored your data. Enjoy the enhanced performance and efficiency of your upgraded iMac.
Conclusion
Congratulations on successfully replacing your iMac’s hard drive with a solid-state drive (SSD)! This upgrade can significantly enhance the performance and speed of your iMac, providing faster startup times, quicker data transfer rates, and an overall smoother user experience.
In this comprehensive guide, we covered each step of the process, from backing up your data to removing the old hard drive, installing the new SSD, and restoring your files and settings. By following the detailed instructions and tips provided, even non-technical users can successfully perform this upgrade.
Remember, before starting the upgrade process, it’s crucial to back up your data using Apple’s Time Machine or manually copying your important files to an external storage device. This ensures that you won’t lose any valuable data during the hardware modifications.
Gathering the necessary tools and materials, turning off and unplugging your iMac, removing the display, and replacing the old hard drive with the new SSD were critical steps to guarantee a successful upgrade.
After installing the SSD, it’s essential to reconnect all cables, power on your iMac, verify the SSD recognition, and test the new SSD’s performance. Completing these steps ensures that the SSD is functioning correctly and provides the desired performance boost.
Once the SSD installation is complete, restoring your data and settings is the final step. Choose your preferred method of data restoration, select the files you want to retrieve, and reinstall and reconfigure your applications and settings as necessary.
By following this guide, you have effectively upgraded your iMac’s hard drive to an SSD, taking full advantage of the improved speed and performance. Enjoy the enhanced computing experience with faster load times, smoother multitasking, and improved productivity.
If you encountered any difficulties or issues during the upgrade process, consult the manufacturer’s instructions or seek assistance from a professional to ensure a successful and seamless upgrade.
Thank you for following along with this guide. We hope that it has empowered you to enhance your iMac’s performance and enjoy the benefits of a new SSD. Happy computing!