Ingredients:
Creating a delicious homemade orange sherbet is easier than you may think. With just a few simple ingredients, you can whip up a refreshing and tangy treat that is perfect for those hot summer days. Here’s what you’ll need to get started:
– Freshly squeezed orange juice: To achieve the best flavor, opt for freshly squeezed orange juice rather than store-bought varieties. The natural sweetness and vibrant taste of freshly squeezed oranges will enhance the overall flavor of the sherbet.
– Orange zest: The zest of the oranges adds a burst of citrusy aroma and flavor. Make sure to use a fine grater or a zester to carefully remove the outermost layer of the orange peel while avoiding the bitter white pith.
– Granulated sugar: Sugar plays a crucial role in balancing the tartness of the orange juice and providing a hint of sweetness. You can adjust the amount of sugar according to your preference, but keep in mind that too much sugar can overpower the natural citrus flavors.
– Heavy cream: Adding a touch of heavy cream to the sherbet mixture helps create a creamy texture and smooth mouthfeel. It adds richness to the final product and balances out the tanginess of the orange juice.
– Vanilla extract: A dash of vanilla extract complements the citrus flavors and gives the sherbet a subtle, aromatic twist. Choose pure vanilla extract for the best results.
– Salt: A pinch of salt may seem like an odd addition, but it actually enhances the overall taste of the sherbet. It helps bring out the flavors and adds a subtle depth to the sweetness and tang of the oranges.
– Ice: Ice is essential for the freezing process. It helps turn the sherbet mixture into a smooth and creamy dessert by rapidly cooling it.
Step 1: Zesting and Juicing the Oranges:
To begin making your homemade orange sherbet, you’ll need to zest and juice the oranges. Follow these simple steps:
1. Start by washing the oranges thoroughly under running water to remove any dirt or residue. Pat them dry with a clean towel.
2. Using a fine grater or a zester, carefully remove the zest from the oranges. Be sure to grate only the outermost layer of the orange peel, avoiding the bitter white pith which can give your sherbet an unpleasant taste. Set the zest aside for later use.
3. Once you’ve zested the oranges, it’s time to juice them. Roll each orange on a hard surface, applying gentle pressure to help release the juice. Cut the oranges in half and use a citrus juicer or your hands to extract the juice. Strain the juice to remove any pulp or seeds.
4. Measure the required amount of freshly squeezed orange juice and set it aside. The amount will vary depending on the recipe you’re following, but approximately 1 cup of orange juice should be enough for a flavorful sherbet.
Freshly squeezed orange juice is key to achieving the best flavor in your sherbet. The natural sweetness and tanginess of freshly juiced oranges will really elevate the taste of your homemade treat. If possible, try to use oranges that are ripe and juicy for the best results.
Remember to store any leftover orange zest and juice in airtight containers in the refrigerator for future use. You can use them to add a burst of citrus flavor to other recipes or even to garnish your orange sherbet when serving.
Step 2: Preparing the Sugar Syrup:
Once you have your freshly squeezed orange juice and zest ready, it’s time to prepare the sugar syrup. This simple syrup will help sweeten and bind the ingredients in your orange sherbet. Follow these steps to create the perfect sugar syrup:
1. In a small saucepan, combine equal parts granulated sugar and water. For example, if you’re using 1 cup of sugar, add 1 cup of water.
2. Place the saucepan over medium heat and stir continuously until the sugar has completely dissolved. This will create a clear, sweet syrup.
3. Bring the sugar syrup to a gentle boil, then reduce the heat and simmer for about 2 minutes. This short cooking time will help thicken the syrup slightly and enhance its sweet flavor.
4. Remove the saucepan from the heat and let the sugar syrup cool completely. This will prevent it from melting the ice and help maintain the desired consistency of your sherbet.
The sugar syrup serves two purposes in your orange sherbet. First, it adds sweetness to balance the tangy flavors of the orange juice. Second, it helps prevent the sherbet from freezing too hard, resulting in a smoother and creamier texture.
Note that you can customize the sweetness of your sherbet by adjusting the amount of sugar syrup used. If you prefer a less sweet sherbet, you can reduce the amount of sugar syrup. Conversely, if you have a sweet tooth, you can increase the amount of syrup. Just be mindful of not overpowering the natural flavors of the oranges.
Once the sugar syrup has cooled, it is ready to be incorporated into the sherbet mixture. The next step will guide you through combining all the ingredients to create a delicious orange sherbet from scratch.
Step 3: Combining the Ingredients:
With the sugar syrup prepared and cooled, it’s time to bring together all the ingredients to create the delightful flavors of your orange sherbet. Follow these steps to combine the ingredients:
1. In a mixing bowl, combine the freshly squeezed orange juice, the grated orange zest, and the cooled sugar syrup. Stir well to ensure that the syrup is evenly distributed throughout the mixture.
2. Slowly pour in the heavy cream and add a dash of vanilla extract. Mix everything together until the ingredients are well combined.
3. At this stage, you can also add a pinch of salt to enhance the overall flavor of the sherbet. The salt will help balance the sweetness and tanginess of the oranges, resulting in a more well-rounded taste.
4. Taste the mixture and adjust the sweetness or tanginess by adding more sugar syrup or freshly squeezed orange juice, if desired. Keep in mind that the flavors will become slightly less pronounced once the sherbet is frozen, so it’s better to slightly overemphasize the taste at this point.
Combining the ingredients thoroughly is essential to ensure an even distribution of flavors throughout the sherbet. Make sure to mix well until all the ingredients are fully incorporated and there are no lumps or clumps remaining.
Once the ingredients are combined, it’s time to chill the mixture in preparation for the freezing process. The next step will guide you on how to properly chill the sherbet mixture to achieve the best results.
Step 4: Chilling the Mixture:
After combining all the ingredients for your homemade orange sherbet, it’s important to chill the mixture before moving on to the freezing process. This step helps the flavors meld together and ensures a smoother texture in the final product. Follow these steps to properly chill the sherbet mixture:
1. Transfer the sherbet mixture to a covered container or a mixing bowl with a tight-fitting lid. This will prevent any unwanted flavors or odors from seeping into the mixture while it chills.
2. Place the container in the refrigerator and allow the sherbet mixture to chill for at least 2 to 4 hours, or preferably overnight. This extended chilling time allows the flavors to develop and infuse into the mixture, resulting in a more flavorful and refreshing sherbet.
3. During the chilling process, it’s important to keep the mixture covered to prevent any contamination or moisture absorption from the refrigerator. This will help maintain the quality and integrity of the sherbet mixture.
Chilling the mixture is a crucial step in the sherbet-making process. It allows the flavors to meld together and ensures that the mixture is thoroughly cold before freezing. This will help achieve a smoother and creamier texture in the final product.
While chilling the mixture, you may notice that it thickens slightly due to the presence of the heavy cream. This is normal and desired, as the thicker consistency will help maintain a smooth sherbet texture once frozen.
Once the sherbet mixture has thoroughly chilled, it’s time to move on to the final step: freezing the orange sherbet. The next section will guide you through this last step to enjoy your homemade sherbet in no time!
Step 5: Freezing the Orange Sherbet:
Now that your sherbet mixture has chilled and the flavors have melded together, it’s time to transform it into a frozen delight. Follow these steps to freeze your orange sherbet:
1. Take the chilled sherbet mixture out of the refrigerator and give it a gentle stir to ensure it’s well mixed. This will help distribute any settled ingredients and ensure a consistent texture.
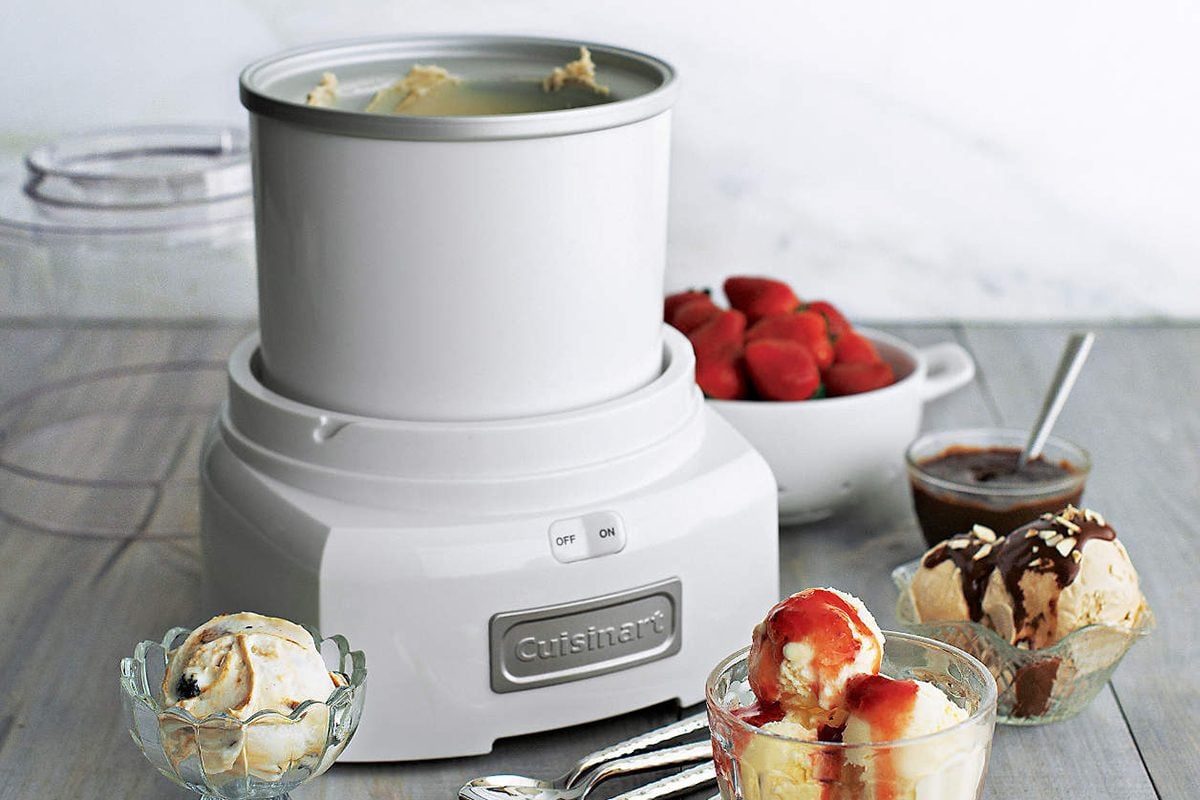
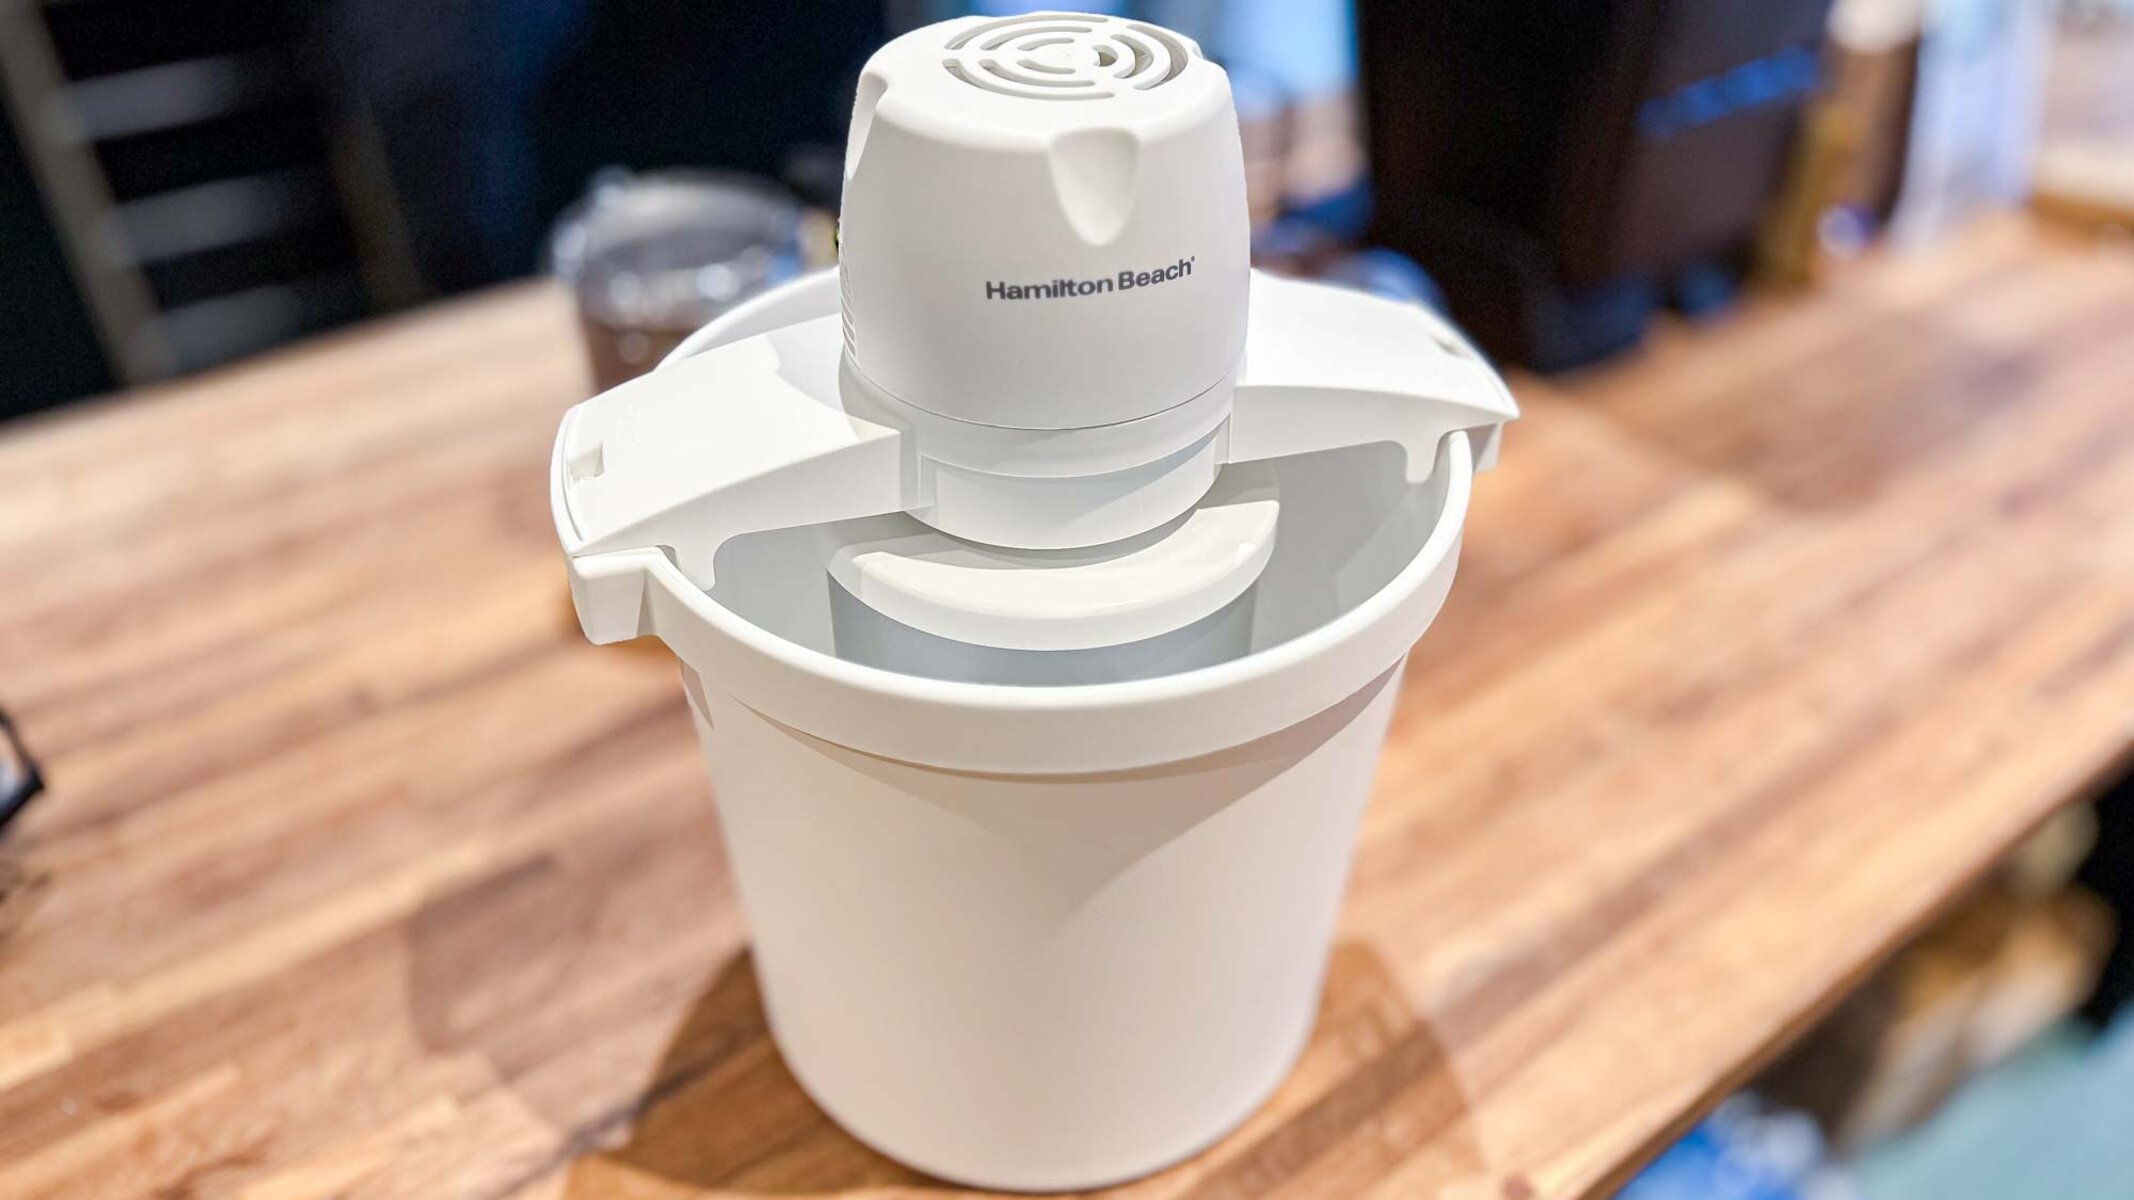
2. Pour the mixture into an ice cream maker. Follow the manufacturer’s instructions for your specific model on how to freeze the sherbet. Typically, it takes about 20 to 30 minutes in the ice cream maker to achieve a creamy and frozen consistency.
3. If you don’t have an ice cream maker, don’t worry! You can still make orange sherbet without one. Simply pour the mixture into a shallow, freezer-safe container. Place the container in the freezer and set a timer for 45 minutes.
4. After 45 minutes, remove the container from the freezer and use a fork or a whisk to break up any ice crystals that may have formed. Repeat this process every 30 minutes for about 2 to 3 hours until your sherbet reaches the desired consistency. This manual method helps prevent large ice crystals from forming and results in a smoother texture.
5. Once the sherbet reaches a firm yet creamy consistency, transfer it to a lidded container for long-term storage. Make sure to press a sheet of plastic wrap directly onto the surface of the sherbet to prevent ice crystals from forming.
After freezing, the sherbet will harden more in the freezer. To make it easier to scoop, let it sit at room temperature for a few minutes before serving.
Congratulations! You have successfully frozen your homemade orange sherbet. Now it’s time to indulge in this refreshing treat and enjoy the fruits of your labor.
Step 6: Serving and Enjoying:
The moment has finally arrived to savor your homemade orange sherbet. Follow these steps to serve and enjoy your delicious frozen treat:
1. Retrieve the container of frozen orange sherbet from the freezer and let it sit at room temperature for a few minutes, allowing it to soften slightly. This will make it easier to scoop and ensure a smooth and creamy texture.
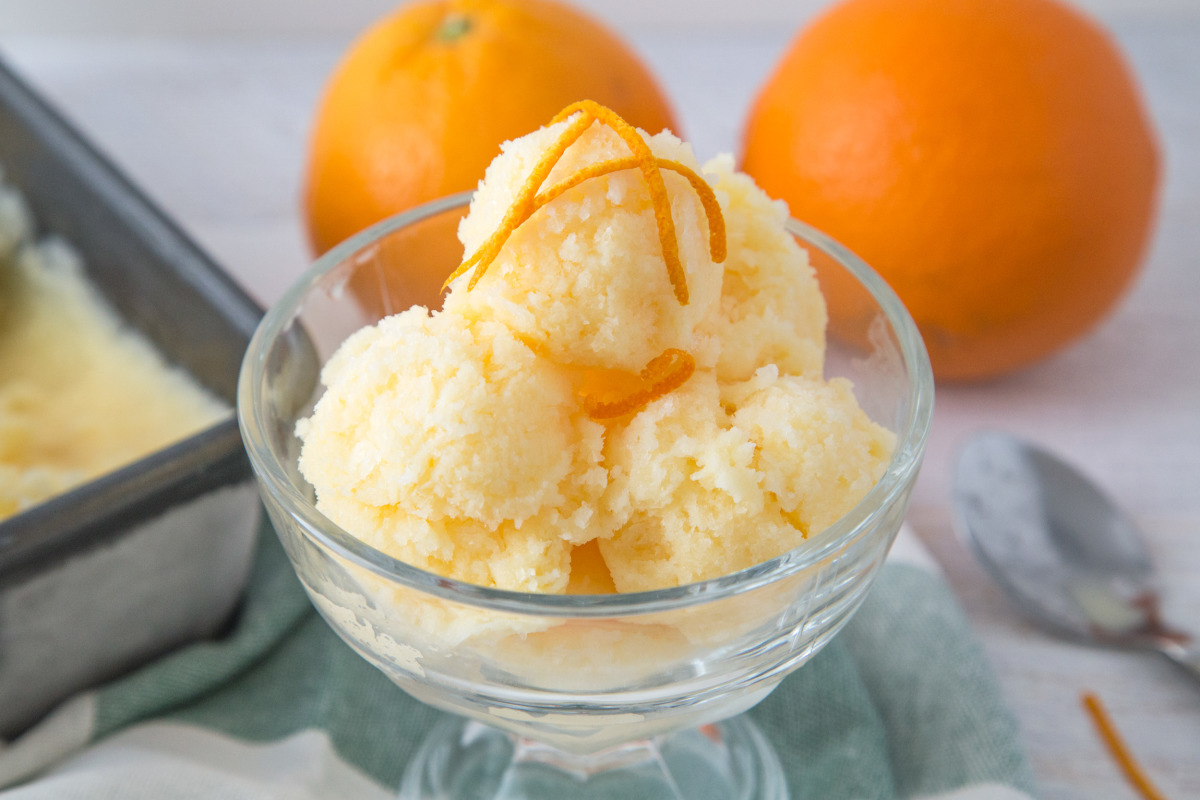
2. Grab an ice cream scoop or a spoon and dig into the sherbet. Scoop it into bowls, cones, or serving dishes of your choice.
3. To enhance the presentation, you can garnish your orange sherbet with fresh orange slices or a sprinkle of grated orange zest. These additions not only add a pop of color but also intensify the citrusy flavors.
4. Take a moment to appreciate the vibrant color, enticing aroma, and refreshing taste of your homemade orange sherbet before taking your first bite.
5. Indulge in the creamy and tangy goodness of the sherbet. Let the flavors dance on your taste buds and enjoy the delightful combination of citrusy sweetness and velvety texture.
6. Repeat step 5 as necessary! Feel free to savor another serving or treat yourself to seconds. After all, this delicious homemade dessert was made with love and care.
Remember to store any leftover orange sherbet in an airtight container in the freezer to maintain its freshness and prevent freezer burn. As the sherbet sits in the freezer, it may become harder, so you may need to let it soften for a few minutes before serving.
Now that you know how to make orange sherbet without an ice cream maker, you can enjoy this delightful treat at any time. Whether it’s a sunny summer afternoon or a cozy winter evening, your homemade orange sherbet is sure to bring a smile to your face and satisfy your sweet tooth.