Introduction
The Auto-Sensing Secondary Master Hard Disk Drive Error is a common issue that many computer users encounter. This error message usually appears during the startup process and indicates a problem with the secondary hard drive connected to the system. The error can prevent your computer from booting up properly and accessing the data on the affected hard drive.
This error can be frustrating and alarming, but fortunately, there are several troubleshooting steps you can follow to resolve the issue. In this article, we will guide you through the process of fixing the Auto-Sensing Secondary Master Hard Disk Drive Error, helping you get your computer back up and running.
It’s important to note that while the specific steps may vary depending on your system’s configuration and operating system, the general troubleshooting methods discussed here can be applied to most situations. By following these steps, you should be able to resolve the Auto-Sensing Secondary Master Hard Disk Drive Error and regain access to your data.
Before we dive into the troubleshooting steps, let’s take a closer look at the causes of this error. Understanding the root causes can help you better diagnose and fix the problem.
What is the Auto-Sensing Secondary Master Hard Disk Drive Error?
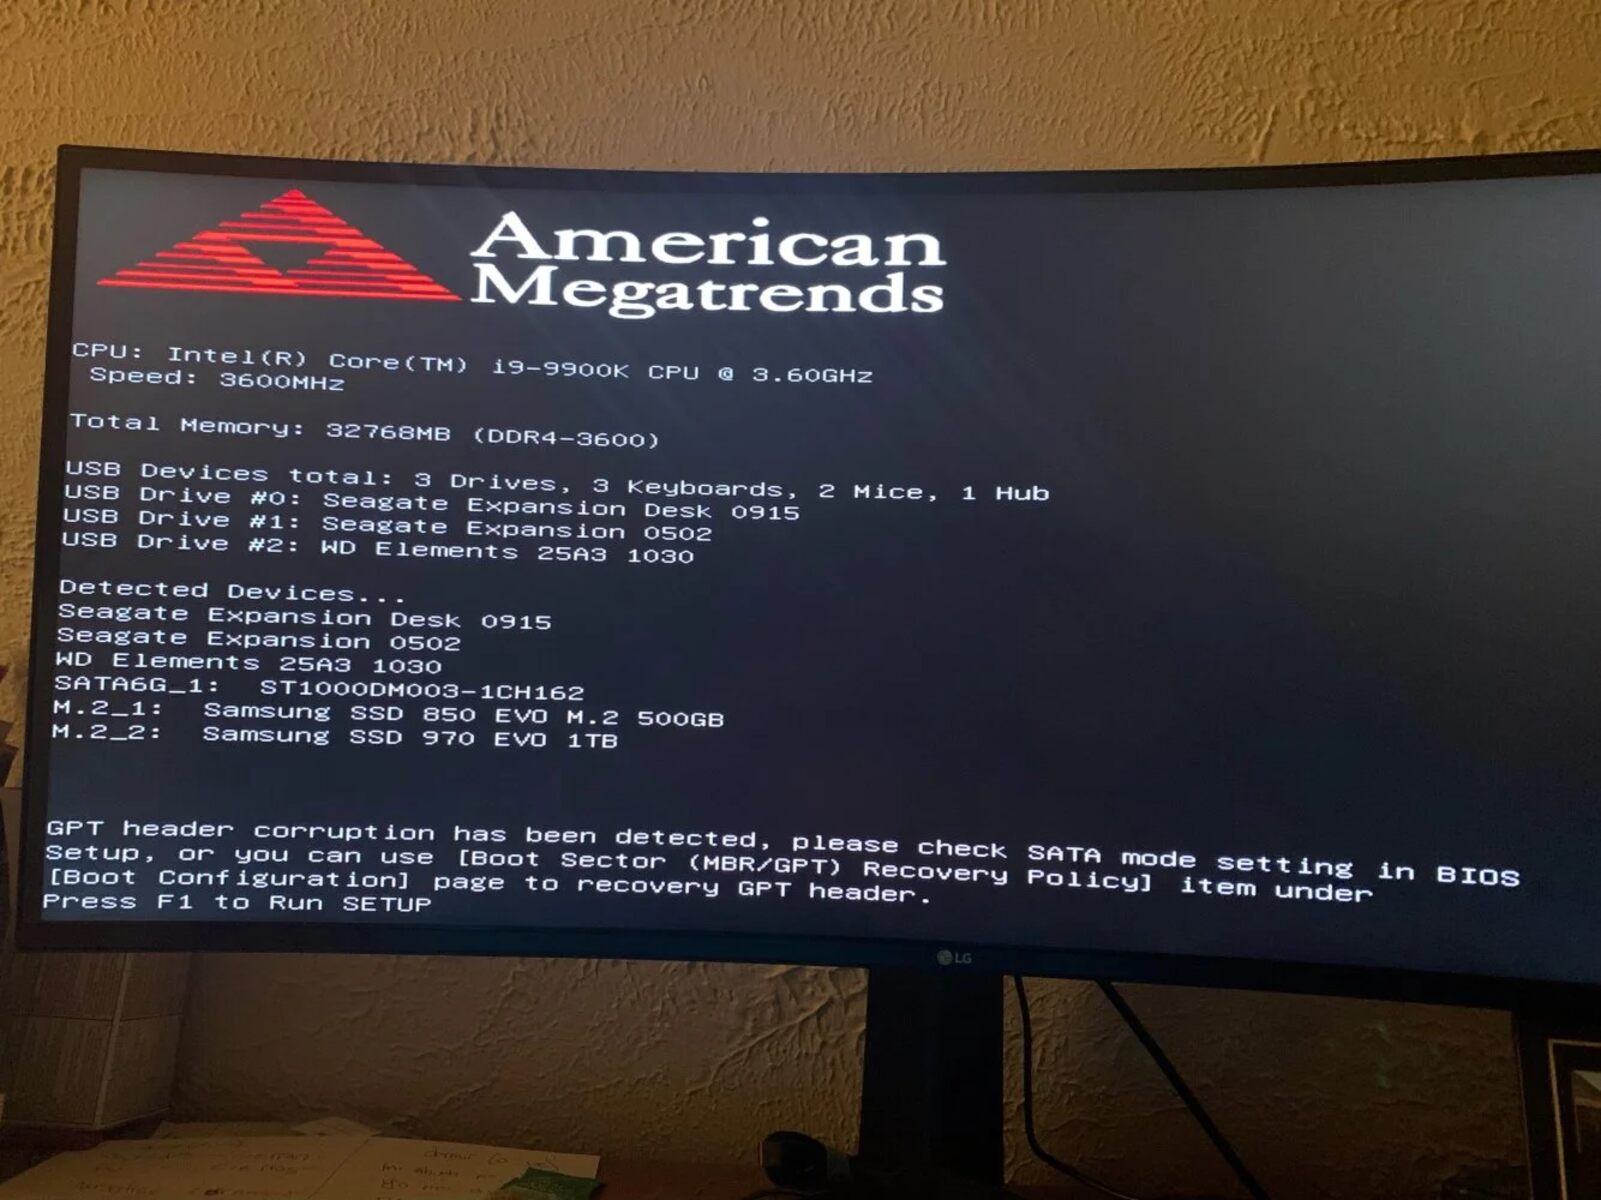
The Auto-Sensing Secondary Master Hard Disk Drive Error is an error message that typically occurs during the computer’s boot-up process. It indicates a problem with the secondary hard drive connected to the system. The primary hard drive is usually designated as the Master, while the secondary hard drive is referred to as the Slave or Secondary Drive.
This error can occur due to various reasons, including faulty cable connections, incorrect jumper settings, power supply issues, outdated or malfunctioning hard drive drivers, or a defective hard drive itself.
When this error occurs, your computer may fail to boot up or may experience significant delays in the startup process. You may also notice that the affected hard drive is not recognized by the system, making it inaccessible for data retrieval or storage.
It’s important to address this error as soon as possible, as it can lead to data loss and prevent you from using the secondary hard drive effectively. By understanding the causes and following the troubleshooting steps outlined in this article, you can rectify the Auto-Sensing Secondary Master Hard Disk Drive Error and restore the functionality of your computer.
Now that we have a better understanding of what the Auto-Sensing Secondary Master Hard Disk Drive Error is, let’s explore some of the common causes that can trigger this error.
Common Causes of the Auto-Sensing Secondary Master Hard Disk Drive Error
The Auto-Sensing Secondary Master Hard Disk Drive Error can be caused by various factors. Understanding these common causes can help you identify and resolve the issue more effectively. Here are some of the most frequent culprits behind this error:
- Faulty IDE cable connections: Incorrect or loose connections between the secondary hard drive and the motherboard can lead to communication errors, resulting in the Auto-Sensing Secondary Master Hard Disk Drive Error.
- Power supply connections: Inadequate power supply or loose power cables can prevent the secondary hard drive from receiving enough power, causing the error message to appear during startup.
- Incorrect jumper settings: Jumper settings on the hard drive determine its role as a master or slave device. If the jumper settings are incorrect or improperly configured, the system may fail to recognize the secondary hard drive, leading to the error.
- Outdated or malfunctioning hard drive drivers: If the drivers responsible for communication between the operating system and the secondary hard drive are outdated or malfunctioning, it can result in the Auto-Sensing Secondary Master Hard Disk Drive Error.
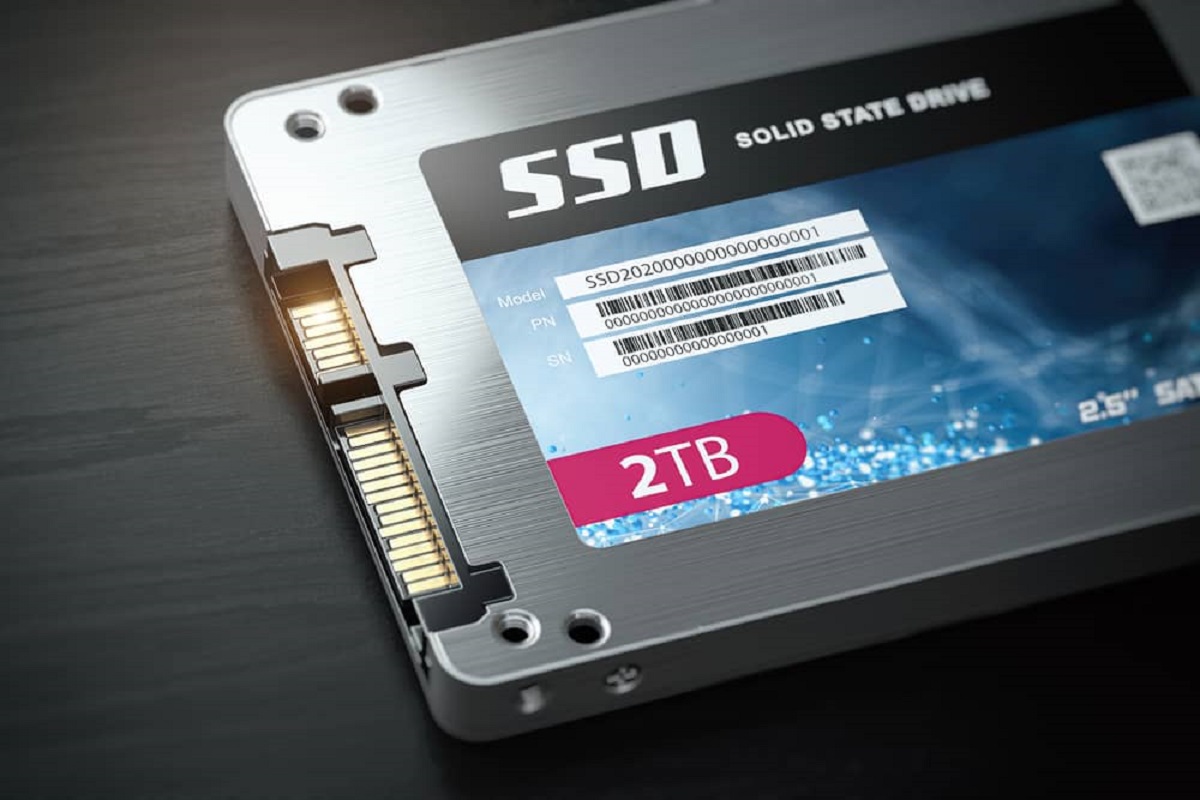
- Defective hard drive: In some cases, the error may be caused by a faulty or failing secondary hard drive. Physical damage, bad sectors, or mechanical issues can prevent the drive from being detected properly by the system.
By identifying the specific cause of the Auto-Sensing Secondary Master Hard Disk Drive Error, you can implement the appropriate troubleshooting steps to resolve the issue. In the following section, we will outline the steps you can take to fix this error and get your secondary hard drive functioning correctly.
Troubleshooting Steps to Fix the Auto-Sensing Secondary Master Hard Disk Drive Error
Facing the Auto-Sensing Secondary Master Hard Disk Drive Error can be frustrating, but rest assured that there are several troubleshooting steps you can follow to resolve the issue. By following these steps, you can regain access to your secondary hard drive and get your computer up and running again. Here are the troubleshooting steps:
- Check the IDE cable connections: Ensure that the IDE cables connecting the secondary hard drive to the motherboard are securely plugged in. If necessary, reseat the cables to establish a proper connection.
- Verify power supply connections: Check the power cables connected to the secondary hard drive and ensure they are firmly attached. If you suspect a power supply issue, consider connecting the hard drive to a different power connector.
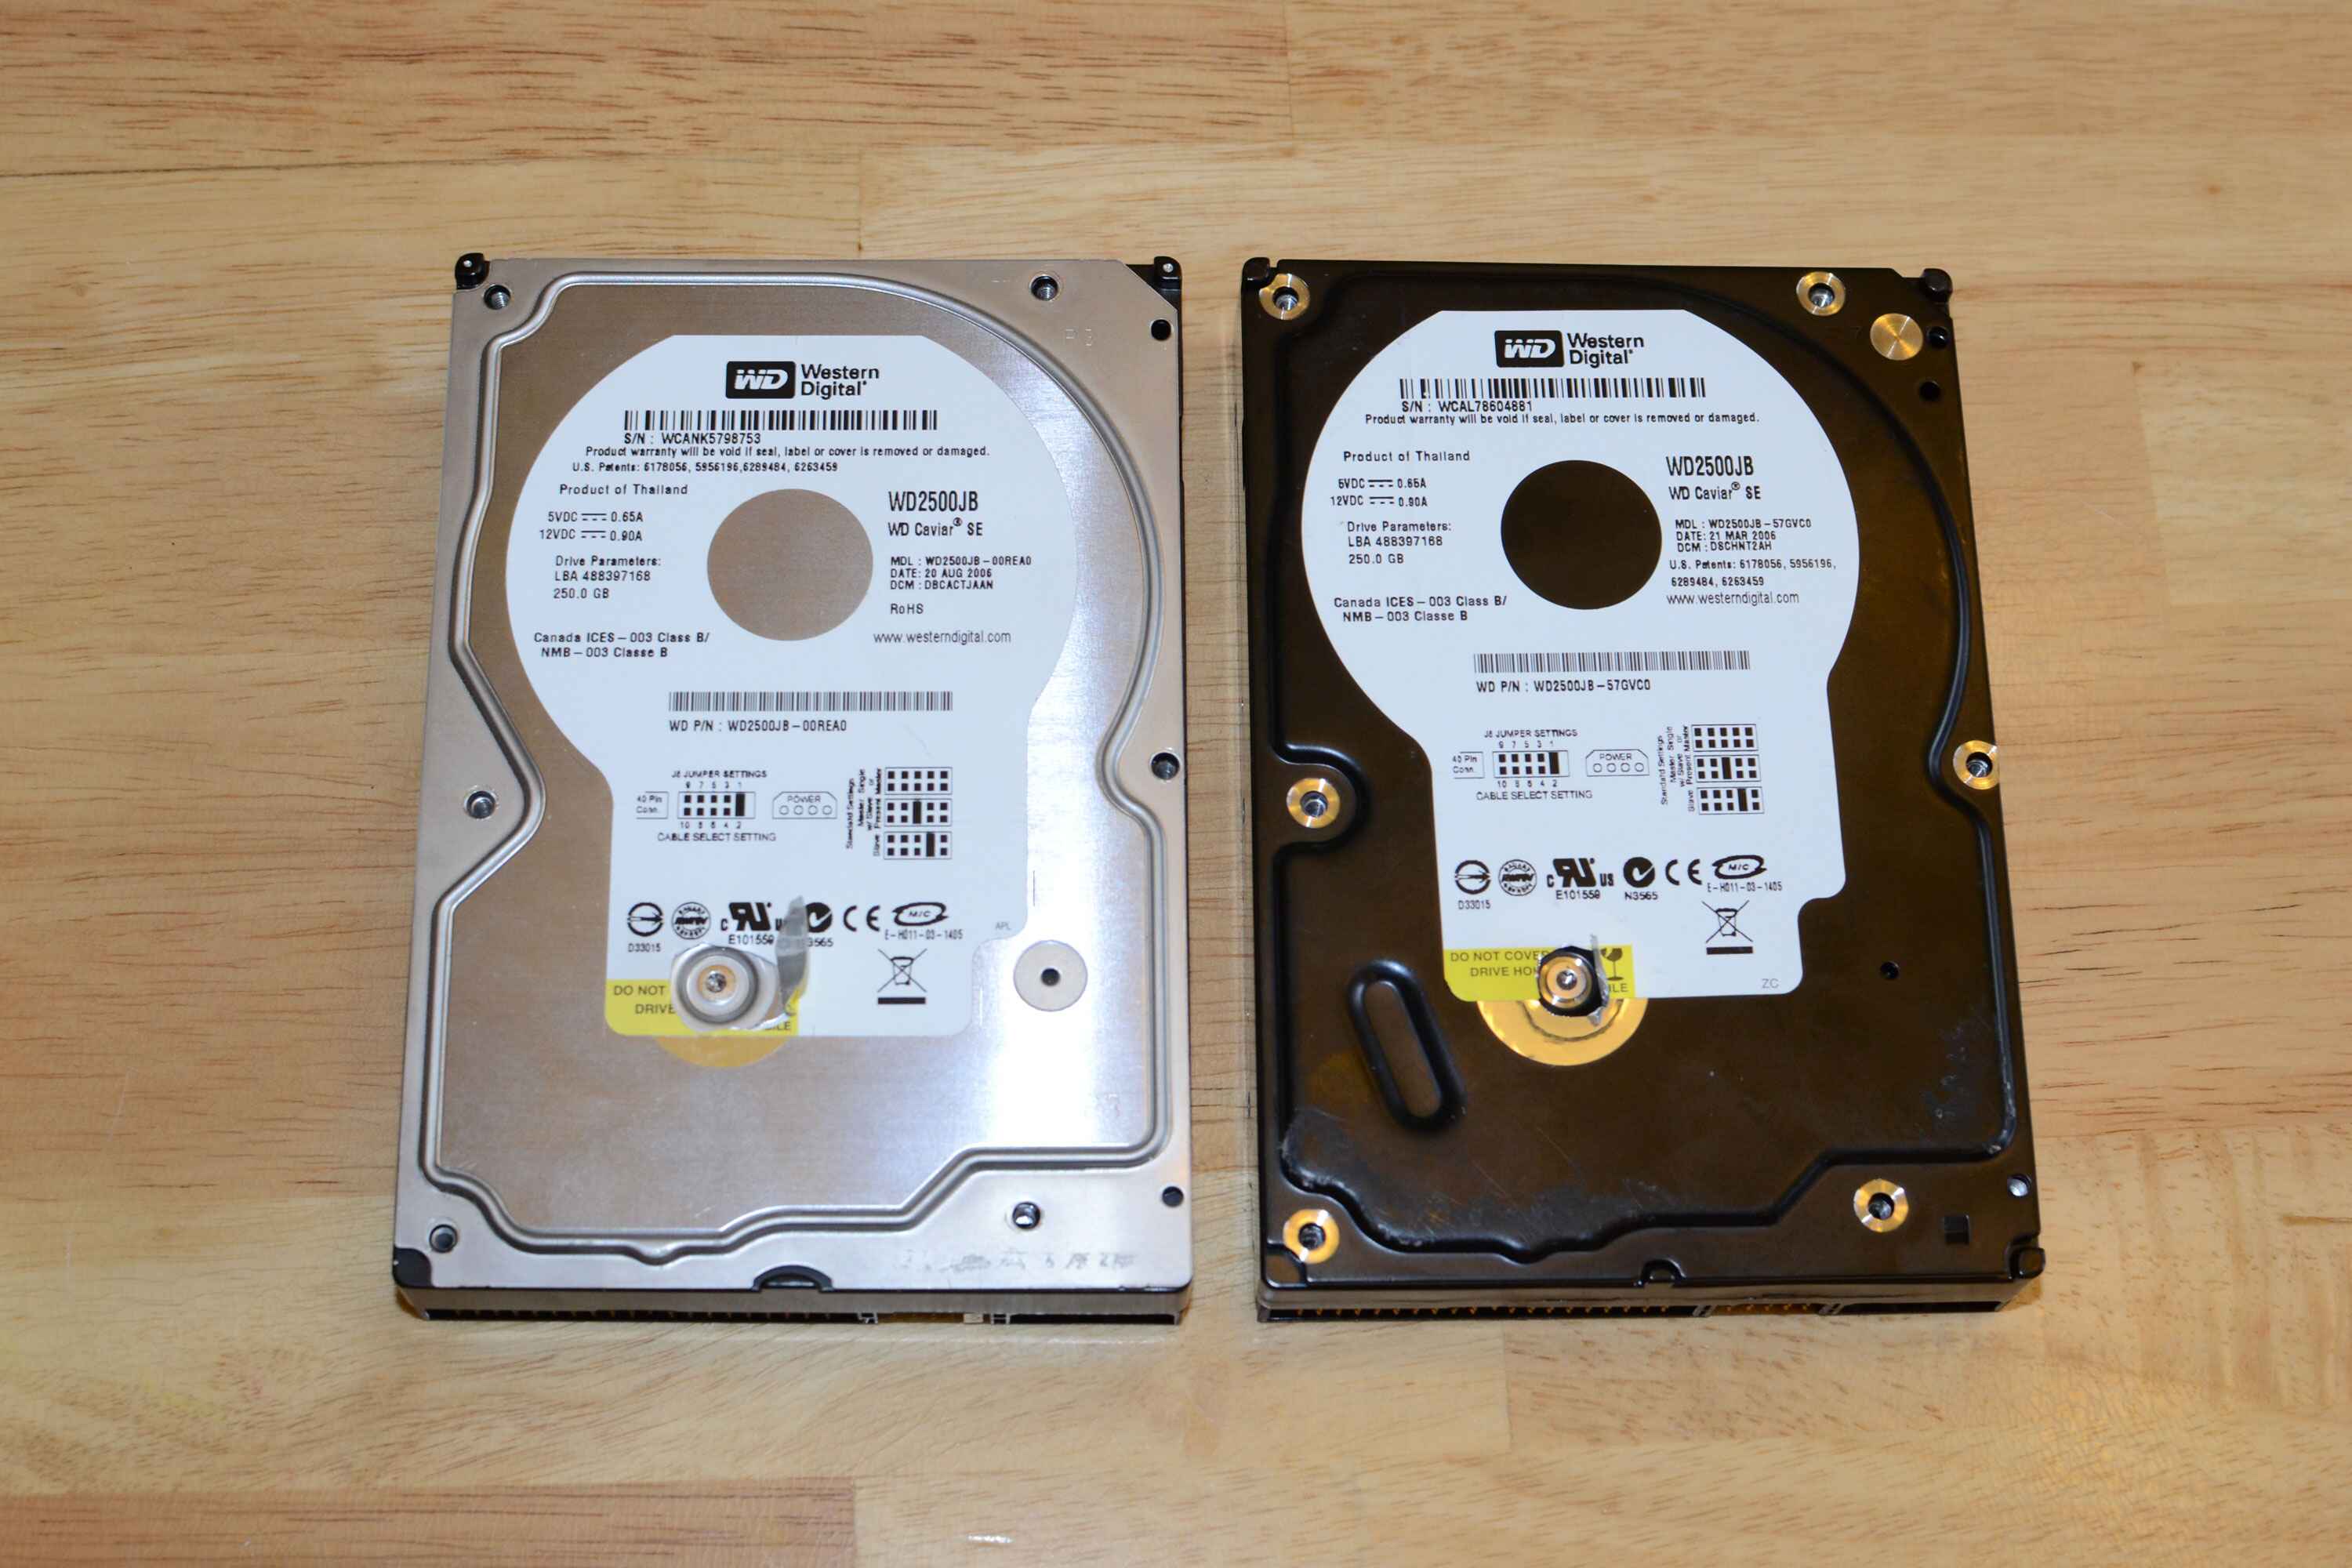
- Check the jumper settings on the hard drive: Ensure that the jumper settings on the back of the hard drive are correctly set. Refer to the hard drive’s manual or the manufacturer’s website for guidance on jumper configurations.
- Update or reinstall hard drive drivers: If outdated or malfunctioning drivers are causing the error, update them to the latest version or reinstall them. Visit the manufacturer’s website for driver updates and installation instructions.
- Run a diagnostic test on the hard drive: Use diagnostic tools provided by the hard drive manufacturer to perform a scan and identify any potential issues with the drive. Follow the instructions provided with the diagnostic software to address any problems found.
- Replace the faulty hard drive: If all the previous steps fail to resolve the error and you suspect a defective hard drive, consider replacing it with a new one. Ensure compatibility with your system and transfer any important data from the old drive if possible.
Remember to consult your computer or hard drive manufacturer’s documentation for detailed instructions specific to your device. By following these troubleshooting steps, you increase the chances of fixing the Auto-Sensing Secondary Master Hard Disk Drive Error and restoring your secondary hard drive’s functionality.
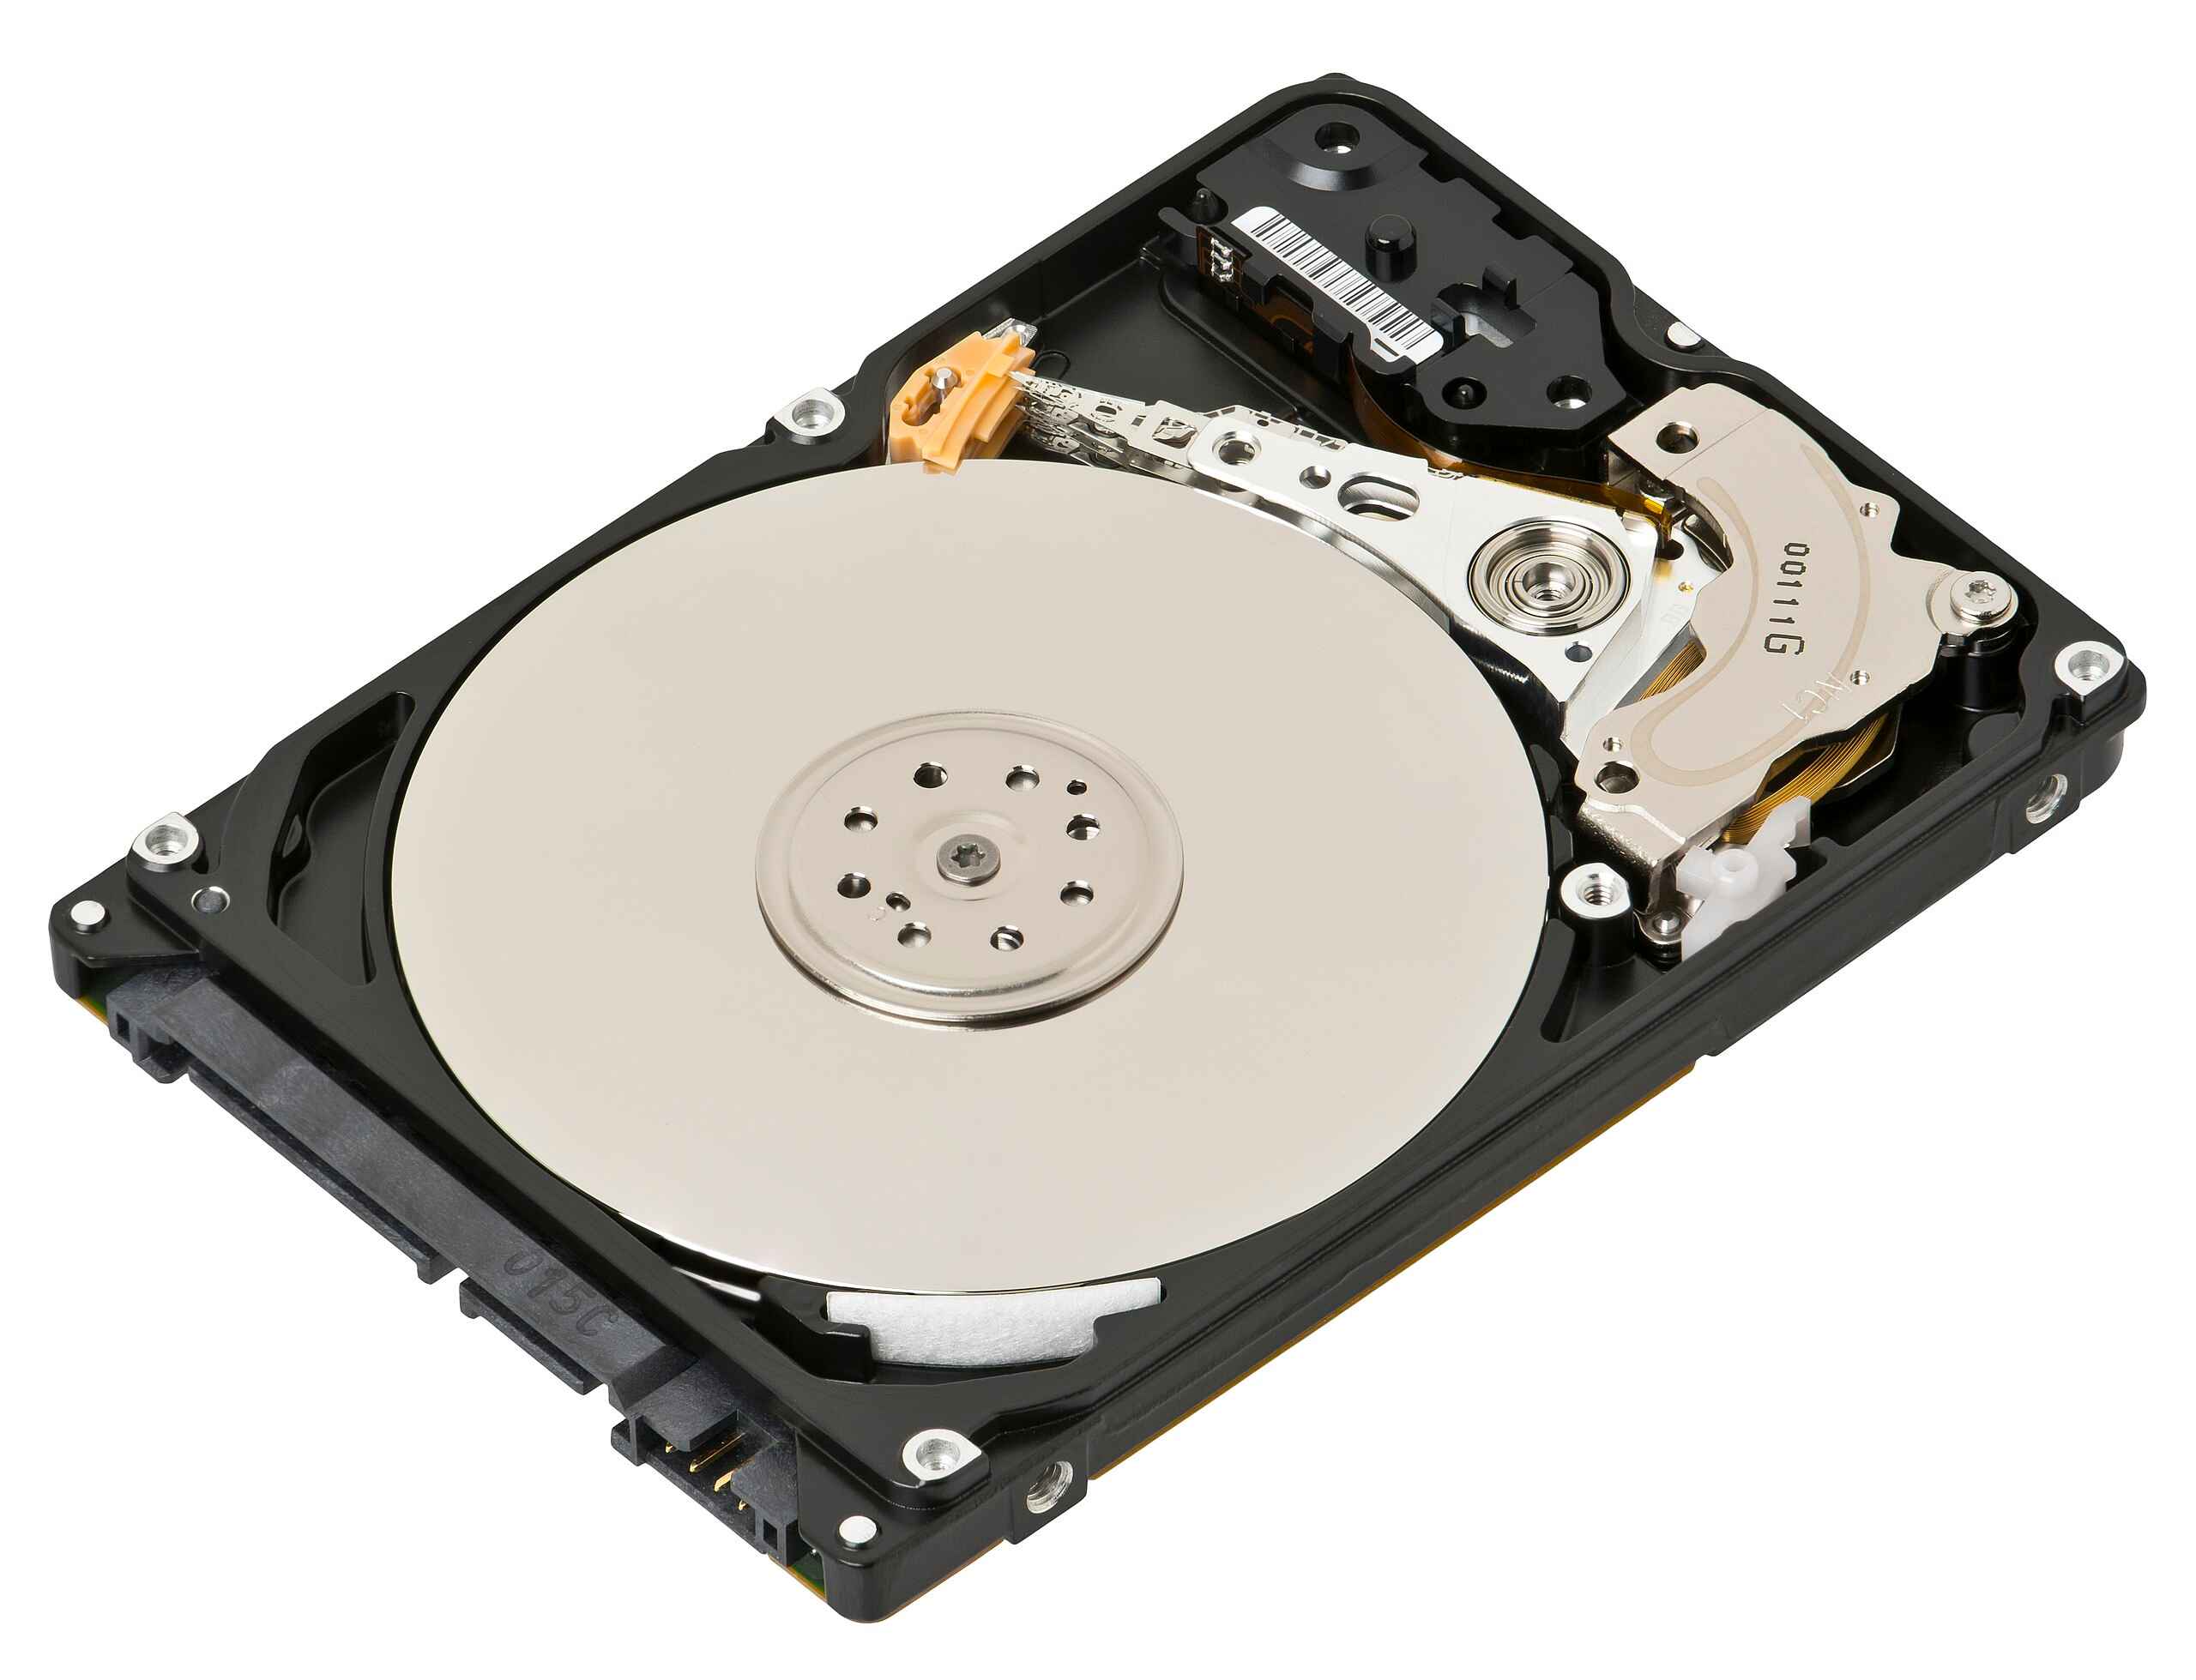
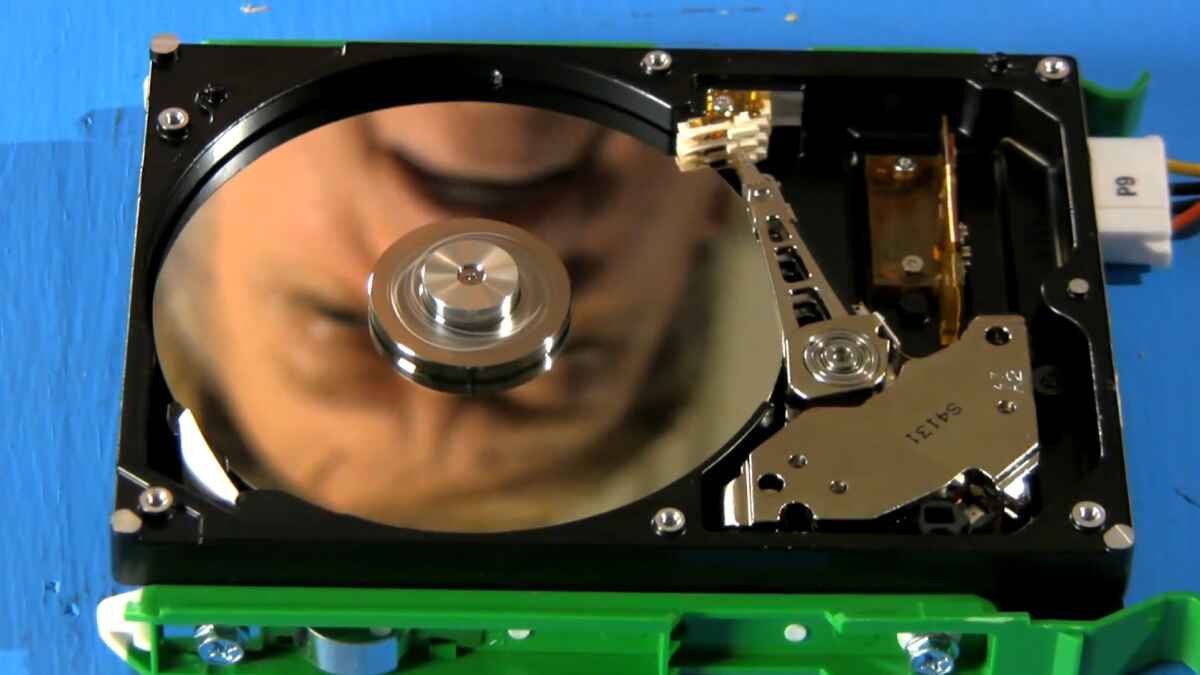
Step 1: Check the IDE Cable Connections
The first step in troubleshooting the Auto-Sensing Secondary Master Hard Disk Drive Error is to check the IDE cable connections. Incorrect or loose connections between the secondary hard drive and the motherboard can lead to communication errors and the error message. Follow these steps to ensure the IDE cable connections are properly set:
- Turn off your computer and unplug it from the power source for safety.
- Open the computer case to access the internal components.
- Locate the IDE cables connected to the secondary hard drive. These cables are flat and typically have a gray or black color.
- Ensure that the IDE cable is securely plugged into the secondary hard drive and the motherboard. Gently push the cable connectors to make sure they are firmly seated.
- Inspect the IDE cable for any signs of damage or fraying. If you notice any issues, consider replacing the cable.
- If your system has multiple IDE devices connected in a daisy-chain configuration, check the master/slave jumpers on each device to ensure they are set correctly. The primary hard drive should be set as the master, and the secondary hard drive as the slave.
- Once you have confirmed that the IDE cable connections are secure, reassemble the computer case.
- Plug your computer back into the power source and turn it on.
After checking the IDE cable connections, boot up your computer and see if the Auto-Sensing Secondary Master Hard Disk Drive Error persists. If the issue is resolved, you can continue using your secondary hard drive without any problems. If the error message still appears, proceed to the next troubleshooting step to further diagnose and resolve the issue.
Step 2: Verify Power Supply Connections
In the second step of troubleshooting the Auto-Sensing Secondary Master Hard Disk Drive Error, you need to verify the power supply connections. Inadequate power supply or loose power cables can prevent the secondary hard drive from receiving enough power, causing the error message during startup. Follow these steps to ensure the power supply connections are properly set:
- First, make sure your computer is turned off and unplugged from the power source.
- Open the computer case and locate the power cables connected to the secondary hard drive.
- Ensure that the power cables are securely plugged into both the secondary hard drive and the power supply. Gently push the connectors to ensure a snug fit.
- If you have multiple power cables connected in a daisy-chain configuration, check that each connection is properly made.
- Inspect the power cables for any signs of damage, such as frayed wires or loose connections. If you notice any issues, consider replacing the power cables.
- Reassemble the computer case once you have confirmed that the power supply connections are secure.
- Plug your computer back into the power source and turn it on.
After verifying the power supply connections, boot up your computer and check if the Auto-Sensing Secondary Master Hard Disk Drive Error still persists. If the issue is resolved, you can now use your secondary hard drive without encountering the error message. If the error persists, proceed to the next troubleshooting step to further diagnose and fix the issue.
Step 3: Check the Jumper Settings on the Hard Drive
In the third step of troubleshooting the Auto-Sensing Secondary Master Hard Disk Drive Error, you need to check the jumper settings on the hard drive. Jumper settings determine the role of the hard drive as either a master or a slave device. Incorrect jumper settings can prevent the system from recognizing the secondary hard drive, resulting in the error message. Follow these steps to ensure the jumper settings are correctly configured:
- Turn off your computer and unplug it from the power source.
- Open the computer case and locate the secondary hard drive.
- On the back of the hard drive, you will find a set of pins and a plastic jumper covering a specific pair of pins.
- Refer to the hard drive’s manual or the manufacturer’s website for the correct jumper settings. There are usually three possible configurations: master, slave, and cable select (CS).
- If the secondary hard drive is the only one connected to the IDE cable, set the jumper to the master position.
- If the secondary hard drive is connected as the secondary device in a daisy-chain configuration, set the jumper to the slave position.
- Some hard drives also have a cable select (CS) option, allowing the system to automatically determine the role based on the cable configuration. If this is the case, set the jumper to the CS position.
- Once you have set the jumper according to the desired configuration, ensure that it is securely in place.
- Reassemble the computer case.
- Plug your computer back into the power source and turn it on.
After checking the jumper settings on the hard drive, boot up your computer and observe if the Auto-Sensing Secondary Master Hard Disk Drive Error still persists. If the issue is resolved, you can now use your secondary hard drive without encountering the error message. If the error persists, proceed to the next troubleshooting step to further diagnose and fix the issue.
Step 4: Update or Reinstall Hard Drive Drivers
In the fourth step of troubleshooting the Auto-Sensing Secondary Master Hard Disk Drive Error, you need to update or reinstall the hard drive drivers. Outdated or malfunctioning drivers can cause communication errors and result in the error message during startup. Follow these steps to update or reinstall the hard drive drivers:
- Visit the website of your computer or hard drive manufacturer and navigate to the support or drivers section.
- Locate the appropriate drivers for your secondary hard drive model and operating system.
- Download the latest drivers for your hard drive.
- If you already have the drivers downloaded, right-click on the Start button, select “Device Manager,” and expand the “Disk Drives” category.
- Right-click on the secondary hard drive listed and select “Update Driver.”
- Choose the option to search automatically for updated driver software and follow the on-screen instructions.
- If the driver update does not resolve the issue, right-click on the secondary hard drive again and select “Uninstall Device.”
- Restart your computer.
- Upon restarting, your operating system should automatically detect the secondary hard drive and install the default drivers.
- If the default drivers do not install or you prefer to manually install the drivers, navigate to the location where you downloaded the drivers and run the installation file.
- Follow the prompts to complete the driver installation.
- Restart your computer once again and check if the Auto-Sensing Secondary Master Hard Disk Drive Error persists.
Updating or reinstalling the hard drive drivers can often resolve compatibility issues and communication errors. If the error message is no longer appearing, your secondary hard drive should be recognized by the system and accessible for use. If the error persists, continue to the next troubleshooting step to further diagnose and resolve the issue.
Step 5: Run a Diagnostic Test on the Hard Drive
In the fifth step of troubleshooting the Auto-Sensing Secondary Master Hard Disk Drive Error, you need to run a diagnostic test on the hard drive. Performing a diagnostic test can help identify any potential issues with the drive, such as physical damage or bad sectors. Follow these steps to run a diagnostic test on the hard drive:
- Visit the website of your hard drive manufacturer and search for diagnostic tools specific to your hard drive model. Most manufacturers provide these tools for free.
- Download and install the diagnostic software on your computer.
- Launch the diagnostic tool and select the option to perform a comprehensive scan or test on the hard drive.
- Follow the on-screen instructions provided by the diagnostic tool to initiate the test.
- The diagnostic tool will scan the hard drive for any issues, including bad sectors, errors, or physical damage.
- If any issues are detected, the diagnostic tool will provide instructions on how to troubleshoot and fix the problems.
- Follow the recommended steps to address the identified issues. This may involve repairing the drive, reformatting it, or replacing it if necessary.
- Once you have completed the necessary steps to resolve the issues, restart your computer.
- Upon restarting, check if the Auto-Sensing Secondary Master Hard Disk Drive Error still persists.
Running a diagnostic test on the hard drive can help pinpoint any underlying problems that may be causing the error. By addressing these issues, you can significantly increase the chances of resolving the error and restoring the functionality of your secondary hard drive. If the error message is no longer appearing and the drive is working properly, you can continue using it as intended. If the error persists, proceed to the next troubleshooting step to further diagnose and fix the issue.
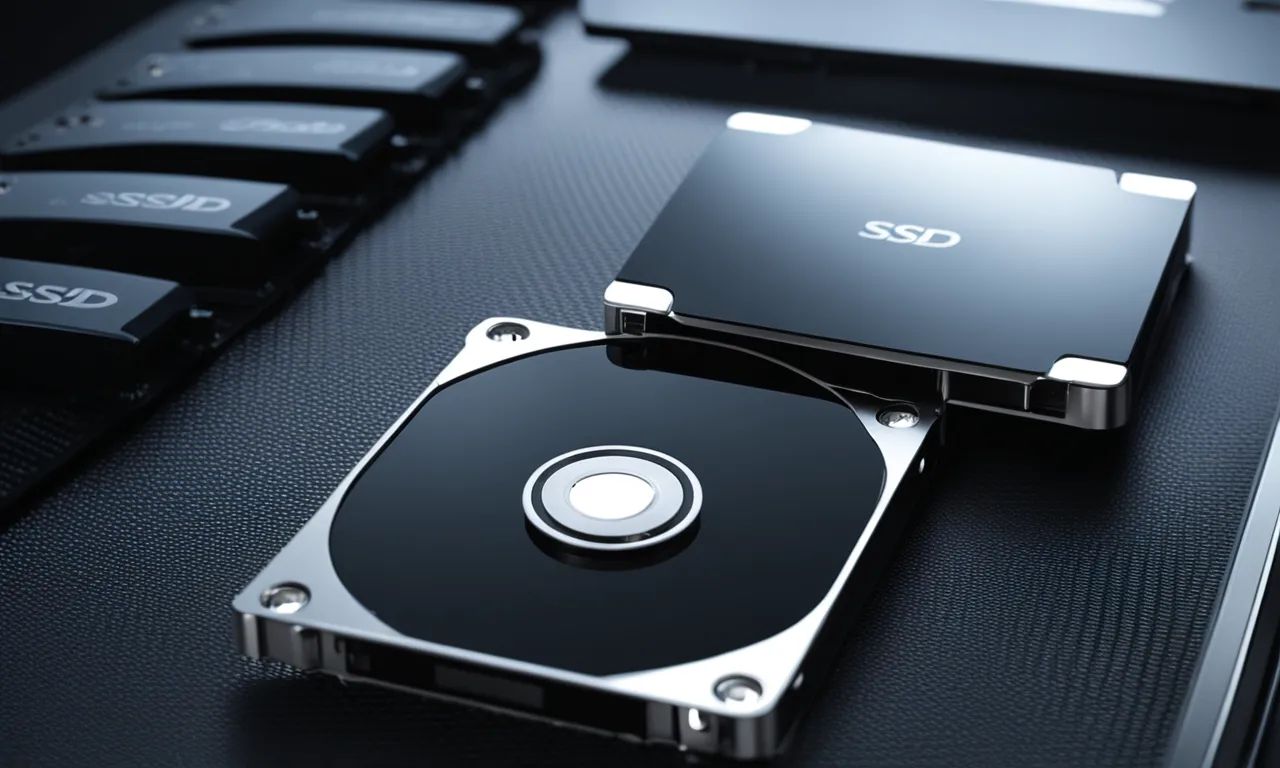
Step 6: Replace the Faulty Hard Drive
In the sixth and final step of troubleshooting the Auto-Sensing Secondary Master Hard Disk Drive Error, you may need to replace the faulty hard drive. If none of the previous steps have resolved the issue and you suspect that the secondary hard drive is defective, replacing it with a new one may be necessary. Here’s how to proceed:
- Ensure that you have backed up any important data from the faulty hard drive. If possible, transfer the data to another storage device.
- Obtain a new hard drive that is compatible with your system. Check the manufacturer’s specifications and your computer’s documentation for compatibility details.
- Once you have the new hard drive, power off your computer and unplug it from the power source.
- Open the computer case and locate the faulty hard drive.
- Disconnect the cables (power and data) that are connected to the faulty hard drive.
- Remove the faulty hard drive from its mounting bracket or drive bay. This may involve unscrewing screws or sliding the drive out of its slot.
- Install the new hard drive into the same mounting bracket or drive bay.
- Connect the necessary cables to the new hard drive, ensuring they are firmly attached.
- Close the computer case and reassemble any removed components.
- Plug your computer back into the power source and turn it on.
- Upon restarting, check if the Auto-Sensing Secondary Master Hard Disk Drive Error message still appears.
If the error message no longer appears and your computer recognizes the new hard drive, you have successfully replaced the faulty hard drive. Ensure that you format and partition the new hard drive if necessary, and transfer any backed-up data onto it.
In some cases, if your computer is under warranty, it may be best to contact the manufacturer or an authorized service center for assistance with replacing the faulty hard drive.
Remember, replacing a faulty hard drive should only be done if all other troubleshooting steps have been exhausted and you are confident that the hard drive is the root cause of the Auto-Sensing Secondary Master Hard Disk Drive Error.
Conclusion
The Auto-Sensing Secondary Master Hard Disk Drive Error can be a frustrating issue that prevents your computer from booting up properly and accessing data on the secondary hard drive. However, by following the troubleshooting steps outlined in this article, you can effectively resolve the error and regain functionality of your secondary hard drive.
Throughout the troubleshooting process, we covered several key steps:
- Checking the IDE cable connections to ensure they are properly connected.
- Verifying power supply connections to ensure the secondary hard drive is receiving adequate power.
- Checking the jumper settings on the hard drive to configure it correctly.
- Updating or reinstalling hard drive drivers to resolve any communication errors.
- Running a diagnostic test on the hard drive to identify and address any underlying issues.
- Replacing the faulty hard drive if all other troubleshooting steps were unsuccessful.
It’s essential to consult your computer or hard drive manufacturer’s documentation for specific instructions that may apply to your system.
Remember, troubleshooting may require technical expertise, and if you’re unsure or uncomfortable performing any of the steps, it’s recommended to seek professional assistance.
By following the troubleshooting steps and resolving the Auto-Sensing Secondary Master Hard Disk Drive Error, you can restore your secondary hard drive’s functionality and continue using it for storage, data retrieval, and other purposes.
Regular maintenance, such as keeping drivers up to date and performing periodic diagnostic tests, can help prevent similar issues in the future and ensure a smooth and uninterrupted computing experience.