Introduction
Welcome to our guide on how to change the BIOS hard disk drive setting to AHCI or IDE. The Basic Input/Output System (BIOS) is an essential component of any computer system. It is responsible for initializing and configuring various hardware components, including the hard disk drive.
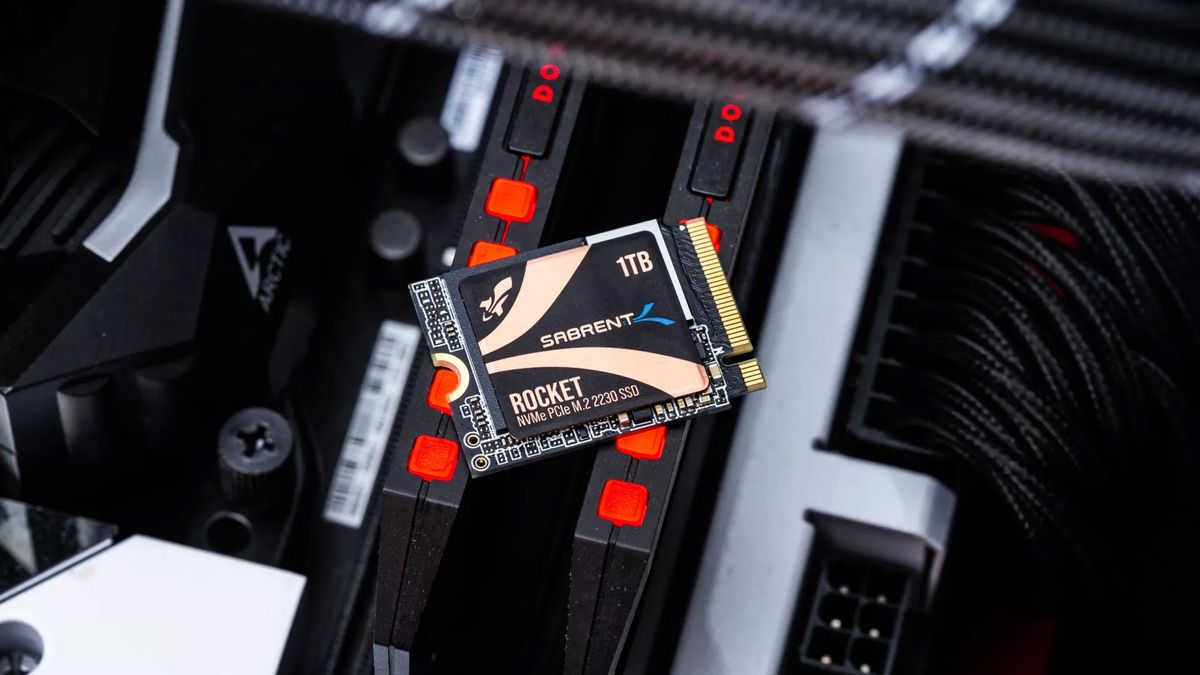
By default, the hard disk drive setting in the BIOS is usually set to IDE (Integrated Drive Electronics). IDE is an older technology that offers compatibility with a wide range of operating systems and hardware configurations. However, the Advanced Host Controller Interface (AHCI) is a newer and more advanced technology that offers improved performance, especially for newer solid-state drives (SSDs).
Changing the hard disk drive setting from IDE to AHCI can significantly improve the overall performance of your system, especially when using an SSD. However, it is important to understand the process and take the necessary precautions before making any changes to the BIOS settings.
In this guide, we will walk you through the process of accessing the BIOS menu, locating the hard disk drive setting, and changing it from IDE to AHCI or vice versa. We will also provide troubleshooting tips for common issues that may arise during the process.
Before we dive into the steps, it’s important to note that changing the BIOS settings incorrectly can cause system instability or even prevent your computer from booting. Therefore, it is crucial to follow the instructions carefully and make sure you understand the implications of the changes you are making.
Now, let’s get started with understanding the difference between AHCI and IDE and the preparation required before changing the BIOS hard disk drive setting.
What is BIOS and Why is it Important?
The Basic Input/Output System (BIOS) is a firmware that is embedded in the motherboard of a computer. It is the first software that runs when you power on your computer, and it is responsible for initializing and configuring the various hardware components before the operating system takes over.
The BIOS performs essential functions such as detecting and initializing the hardware, providing a basic interface for configuring the system settings, and ensuring the proper boot sequence. It acts as a bridge between the hardware and the operating system, allowing them to interact seamlessly.
Without the BIOS, your computer would not be able to start up or function properly. It provides the fundamental instructions that the hardware needs to operate, including the hard disk drive.
The hard disk drive is where all your data is stored, including the operating system, applications, and personal files. The BIOS is responsible for recognizing and communicating with the hard disk drive, allowing the operating system to access the stored data.
One of the critical settings in the BIOS related to the hard disk drive is the hard disk drive setting, which determines the mode in which the hard disk drive operates. The two common modes are AHCI and IDE.
The BIOS hard disk drive setting is important because it directly affects the performance and compatibility of the hard disk drive. Choosing the right setting can significantly impact the speed and functionality of your system, especially when using newer technologies such as SSDs.
Now that we have a basic understanding of what BIOS is and its importance, let’s delve into the difference between AHCI and IDE and how to change the hard disk drive setting in the BIOS.
Understanding AHCI and IDE
When it comes to the hard disk drive setting in the BIOS, the two common options are AHCI (Advanced Host Controller Interface) and IDE (Integrated Drive Electronics). Understanding the differences between these two modes is crucial in order to make an informed decision when changing the hard disk drive setting in the BIOS.
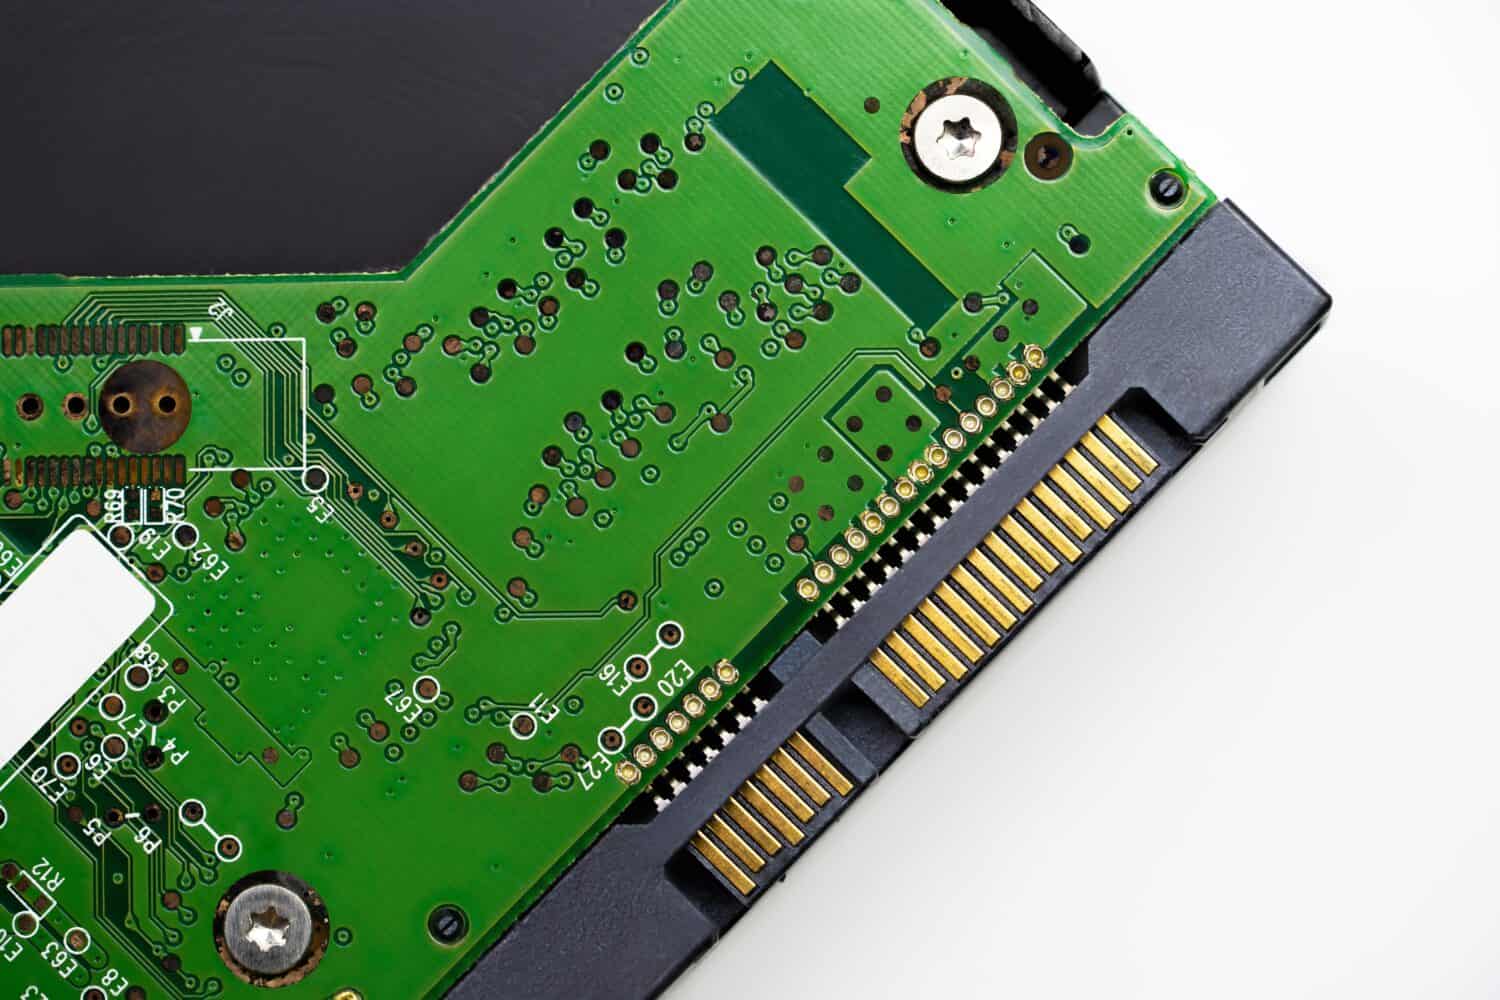
IDE, also known as IDE/ATA or Parallel ATA, is an older technology that has been in use for decades. It was introduced with the early PC systems and has since become a standard. IDE uses a parallel interface to connect the hard disk drive to the motherboard and allows for up to two drives per channel.
While IDE offers compatibility with a wide range of operating systems and hardware configurations, it has some limitations. One of the main drawbacks of IDE is its slower data transfer rate compared to newer technologies. IDE operates in a legacy mode that limits its maximum transfer speed and may not take full advantage of modern storage devices, such as solid-state drives (SSDs).
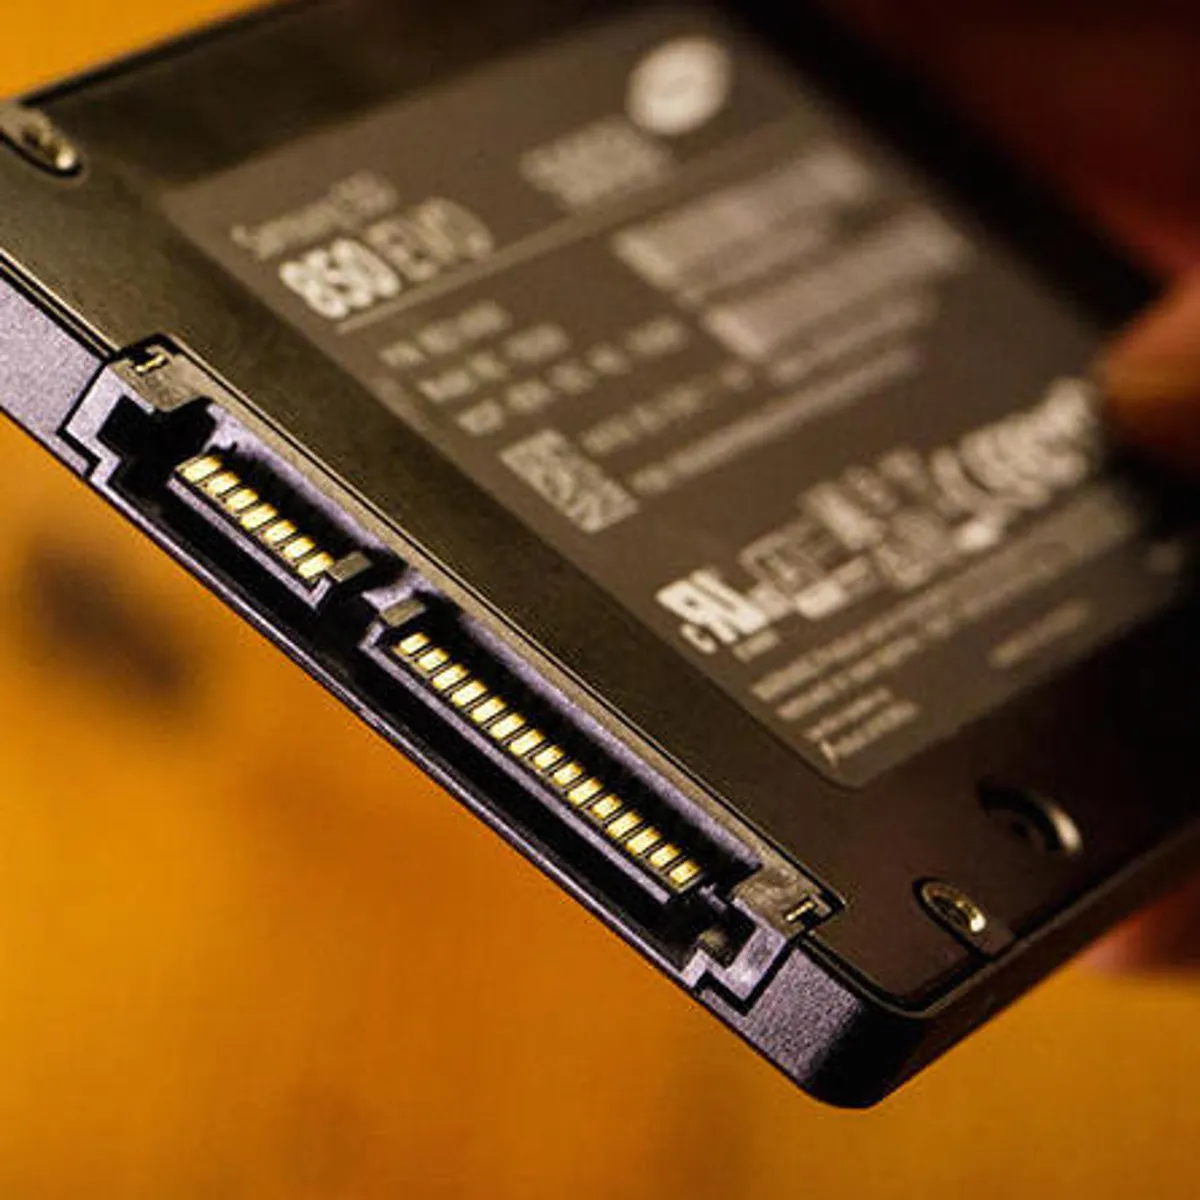
AHCI, on the other hand, is a newer and more advanced technology that was introduced to overcome the limitations of IDE. It provides better performance, especially for newer storage devices like SSDs. AHCI uses a serial interface, specifically SATA (Serial ATA), which allows for faster data transfer rates and improved overall system responsiveness.
One of the key advantages of AHCI is its support for advanced features such as Native Command Queuing (NCQ) and hot swapping. NCQ optimizes the order in which commands are executed, improving performance and reducing latency. Hot swapping enables you to connect or disconnect SATA devices without having to restart your computer.
When it comes to choosing between AHCI and IDE, there are a few factors to consider. If you are using an older hard disk drive or have specific compatibility requirements, IDE may be the better option. However, if you have a newer storage device like an SSD or want to take advantage of advanced features, AHCI is the recommended choice.
Now that we have a clear understanding of AHCI and IDE, let’s move on to the necessary preparations before changing the hard disk drive setting in the BIOS.
Preparation Before Changing the BIOS Hard Disk Drive Setting
Before diving into the process of changing the hard disk drive setting in the BIOS, it is important to take some preparatory steps. These steps will help ensure a smooth and successful transition without any adverse effects on your system.
1. Backup your data: Before making any changes to the BIOS settings, it is always recommended to create a backup of your important data. While changing the hard disk drive setting should not delete your files, unexpected issues can sometimes occur. Having a backup will give you peace of mind and protect your data from any potential loss.
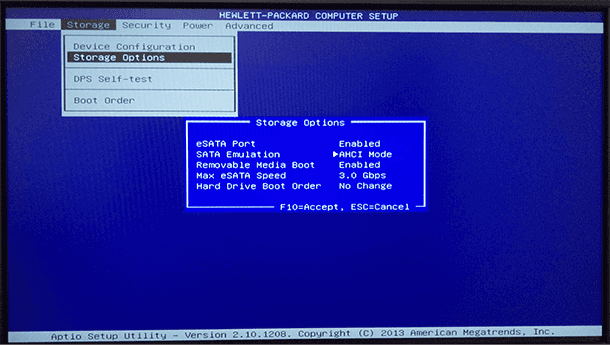
2. Identify your current hard disk drive setting: Before making any changes, it is important to determine the current hard disk drive setting in the BIOS. This information will help you understand the initial configuration and allow you to revert back to the previous setting if necessary. Look for the setting labeled as “SATA Mode,” “Drive Configuration,” or something similar in the BIOS menu.
3. Check for compatibility: It is crucial to ensure that your hardware, particularly the hard disk drive, motherboard, and operating system, is compatible with the desired hard disk drive setting. The manufacturer’s documentation and website can provide valuable information regarding compatibility. Making changes without proper compatibility can result in system instability or failure to boot.
4. Update your drivers and firmware: Updating your drivers and firmware to their latest versions can help ensure compatibility and improve overall performance. Visit the manufacturer’s website for your motherboard and hard disk drive to download and install any available updates.
5. Find the key to access the BIOS menu: Every computer manufacturer uses a different key to access the BIOS menu during startup. Common keys include Del, F2, F12, or Esc. Refer to your computer’s user manual or the manufacturer’s website for the specific key to press.
By following these preparatory steps, you can minimize the risk of encountering issues and ensure a successful transition when changing the hard disk drive setting in the BIOS. Once you have completed the necessary preparations, it’s time to move on to the step-by-step process of accessing the BIOS menu and changing the hard disk drive setting.
Step 1: Accessing the BIOS Menu
In order to change the hard disk drive setting in the BIOS, you first need to access the BIOS menu. The BIOS menu is where you can make various changes to the system configuration, including the hard disk drive setting.
1. Start your computer: Power on your computer or restart it if it is already turned on.
2. Look for the correct key: During the startup process, you will see a brief message indicating the key to press in order to access the BIOS menu. The key can vary depending on the computer manufacturer and model. Common keys include Del, F2, F12, and Esc. Pay attention to the screen and press the designated key as soon as you see the message.
3. Timing is crucial: The key needs to be pressed at the right moment, so it’s important to press it repeatedly or hold it down from the moment you start the computer until the BIOS menu appears. If you miss the timing, you can restart the computer and try again.
4. Enter the BIOS menu: Once you press the correct key at the right time, you will enter the BIOS menu. The layout and options of the BIOS menu can vary depending on the computer manufacturer, so it may look different for different systems.
It’s worth noting that some computers, especially laptops, have a special boot menu accessed by a different key. This boot menu allows you to temporarily change the boot device without modifying the BIOS settings. If you see a boot menu instead of the BIOS menu, refer to your computer’s user manual or the manufacturer’s website to find the correct key to access the BIOS menu.
Once you have successfully accessed the BIOS menu, you are ready to move on to the next step, which is locating the hard disk drive setting. In the following section, we will guide you through the process of finding the hard disk drive setting in the BIOS menu.
Step 2: Locating the Hard Disk Drive Setting
After accessing the BIOS menu, the next step is to locate the hard disk drive setting. This setting can sometimes be referred to as “SATA mode,” “Drive Configuration,” or something similar depending on the BIOS version and manufacturer.
Follow these steps to find the hard disk drive setting:
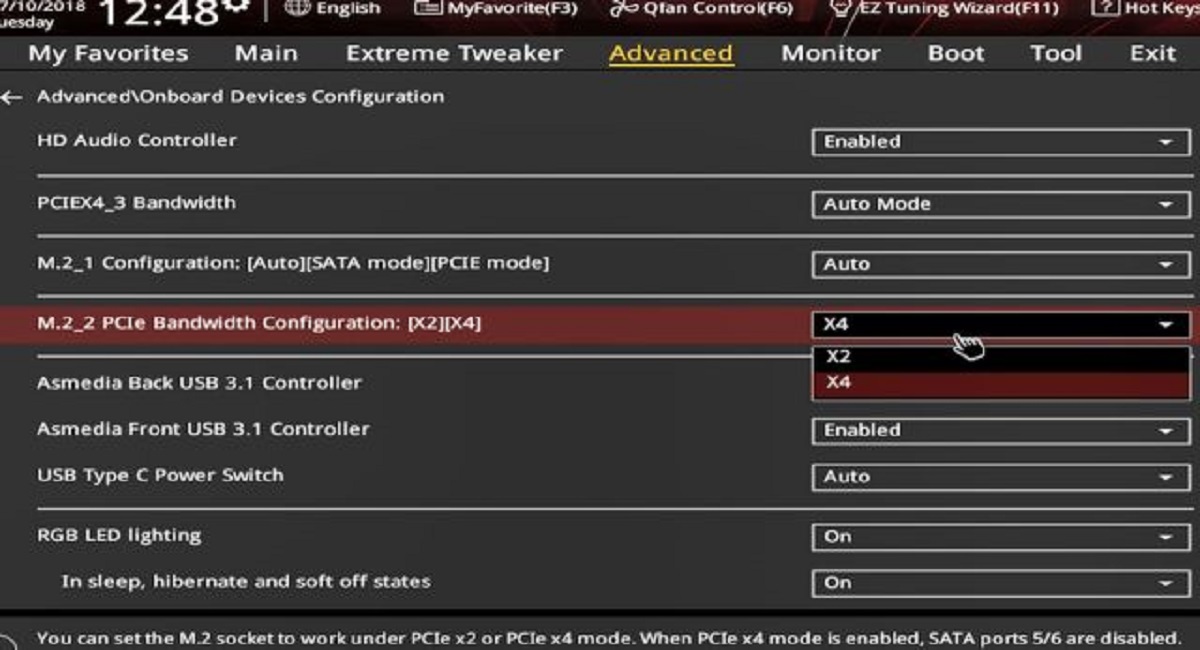
1. Navigate through the BIOS menu: Use the arrow keys on your keyboard to navigate through the BIOS menu options. Look for a section related to storage devices, SATA configuration, or advanced settings.
2. Look for the hard disk drive setting: Within the storage devices section, you should find the hard disk drive setting options. The options could be labeled as “SATA Mode,” “SATA Configuration,” or similar terms. Some commonly used options include IDE, AHCI, or RAID.
3. Explore submenus: In certain BIOS versions, the hard disk drive setting can be found in a submenu. In such cases, navigate to the submenu and look for the specific option related to the hard disk drive setting.
4. Read the description: Once you find the hard disk drive setting option, read the description or information provided. This will help you understand the current setting and the available options for configuring the hard disk drive.
5. Take note of the current setting: Before making any changes, take note of the current hard disk drive setting. This will allow you to revert back to the original setting if needed.
It’s important to note that the location and terminology of the hard disk drive setting can vary between different BIOS versions and computer manufacturers. If you have difficulty finding the setting, refer to your computer’s user manual or the manufacturer’s website for specific instructions.
Once you have successfully located the hard disk drive setting, you are ready to move on to the next step: changing the hard disk drive setting to AHCI. We will guide you through this process in the following section.
Step 3: Changing the Hard Disk Drive Setting to AHCI
Now that you have located the hard disk drive setting in the BIOS menu, you can proceed with changing it to AHCI. AHCI (Advanced Host Controller Interface) is a more advanced technology that offers better performance, especially for newer storage devices like SSDs.
Follow these steps to change the hard disk drive setting to AHCI:
1. Select the hard disk drive setting option: Use the arrow keys on your keyboard to highlight the hard disk drive setting option in the BIOS menu. It may be labeled as “SATA Mode,” “SATA Configuration,” or something similar.
2. Change the setting to AHCI: Once the hard disk drive setting option is highlighted, press Enter to access the available options. Choose AHCI from the list of options. If AHCI is not listed, you may need to navigate through submenus or advanced settings to find it.
3. Save the changes: After selecting AHCI as the desired hard disk drive setting, you need to save the changes. Look for the option to save the settings and exit the BIOS menu. It is usually labeled as “Save and Exit,” “Save Changes and Reset,” or similar.
4. Confirm the changes: Some BIOS versions may ask for confirmation before saving the changes. Review the confirmation message and select “Yes” or “OK” to confirm the change to AHCI.
5. Restart your computer: Restart your computer to apply the changes. The computer may take a moment longer to boot up as it adjusts to the new AHCI setting.
Once the computer restarts, the hard disk drive setting will be changed to AHCI. This will enable your system to take full advantage of the advanced features offered by AHCI, such as improved performance and compatibility with newer storage devices.
It’s important to note that changing the hard disk drive setting to AHCI may require reinstalling the operating system or updating drivers to ensure proper functionality. Consult your operating system documentation or manufacturer’s website for instructions on how to handle this.
In the next step, we will cover how to change the hard disk drive setting back to IDE, in case you encounter any issues or need to revert the changes.
Step 4: Changing the Hard Disk Drive Setting to IDE
In certain cases, you may need to change the hard disk drive setting back to IDE due to compatibility issues or specific hardware requirements. Thankfully, reverting the change and switching the hard disk drive setting from AHCI to IDE is relatively straightforward within the BIOS menu.
Follow these steps to change the hard disk drive setting to IDE:
1. Access the BIOS menu: Restart your computer and access the BIOS menu using the designated key as mentioned in Step 1.
2. Locate the hard disk drive setting: Navigate through the BIOS menu options until you locate the setting related to the hard disk drive. It may be labeled as “SATA Mode,” “Drive Configuration,” or similar terminology.
3. Change the setting to IDE: Select the hard disk drive setting option and choose IDE from the available options. If IDE is not listed, you may need to explore submenus or advanced settings to find it.
4. Save and exit the BIOS menu: Once you have selected IDE as the desired hard disk drive setting, save the changes by selecting the “Save and Exit” or similar option. Confirm any prompts that appear to save the changes.
5. Restart your computer: Restart your computer to apply the changes. The computer may take a moment longer to boot up as it adjusts to the new IDE setting.
After following these steps, your computer’s hard disk drive setting will be changed to IDE. This mode provides compatibility with a wider range of operating systems and hardware configurations, making it useful in certain scenarios.
It’s important to note that switching the hard disk drive setting from AHCI to IDE may require reinstalling the operating system or updating drivers to ensure proper functionality. Refer to your operating system documentation or the manufacturer’s website for the necessary steps to handle this.
In the next step, we will cover how to save and exit the BIOS menu, finalizing the changes made in the hard disk drive setting.
Step 5: Saving and Exiting the BIOS Menu
After making changes to the hard disk drive setting in the BIOS menu, it’s important to save the changes and exit the menu properly. This ensures that the modified setting takes effect and allows your computer to boot up with the new configuration.
Follow these steps to save and exit the BIOS menu:
1. Review the changes: Before proceeding, take a moment to review all the changes you have made in the BIOS menu. Ensure that the hard disk drive setting is configured as desired (AHCI or IDE) and that no other unintended changes were made.
2. Look for the save option: In the BIOS menu, there is usually an option to save the changes and exit. It is often labeled as “Save and Exit,” “Save Changes and Reset,” or something similar. Navigate to that option using the arrow keys on your keyboard.
3. Save the changes: Once you have selected the save option, press Enter to save the changes made in the BIOS menu. Depending on the BIOS version, you may be prompted to confirm the changes before proceeding.
4. Exit the BIOS menu: After saving the changes, select the option to exit the BIOS menu. It is typically labeled as “Exit,” “Exit without Saving Changes,” or similar. Confirm any prompts that may appear.
5. Restart your computer: Finally, restart your computer to apply the changes and boot up with the modified hard disk drive setting. Your computer may take slightly longer to boot as it adjusts to the new configuration.
By following these steps and properly saving and exiting the BIOS menu, you can ensure that the changes made in the hard disk drive setting take effect. This allows your system to operate with the desired configuration, whether it is AHCI or IDE.
In case you encounter any issues after saving the changes, refer to the troubleshooting section or consult your computer’s user manual or the manufacturer’s support resources for assistance.
Now that you have successfully changed the hard disk drive setting and saved the changes in the BIOS menu, you can enjoy the improved performance and compatibility offered by AHCI or revert back to the legacy compatibility of IDE.
Common Issues and Troubleshooting
While changing the hard disk drive setting in the BIOS can significantly improve the performance and compatibility of your system, there may be some issues that you could encounter during or after the process. Here are some common issues and troubleshooting steps to help you overcome them:
1. Inability to access the BIOS menu: If you are having trouble accessing the BIOS menu, double-check the key to access it and try again. Ensure that you are pressing the key at the right time, usually immediately after turning on or restarting the computer. If the problem persists, consult your computer’s user manual or the manufacturer’s support resources for specific instructions.
2. Unable to locate the hard disk drive setting: If you are unable to find the hard disk drive setting in the BIOS menu, refer to the manufacturer’s documentation or website for guidance. It is possible that the setting may be located in a different submenu or have a different label depending on the BIOS version and computer manufacturer.
3. Operating system compatibility issues: Changing the hard disk drive setting from IDE to AHCI or vice versa may require reinstalling the operating system or updating drivers to ensure proper functionality. Consult your operating system documentation or the manufacturer’s website for specific instructions on handling reinstallation or driver updates.
4. Boot failure or system instability: If you experience boot failure or system instability after changing the hard disk drive setting, it could be due to compatibility issues or erroneous configuration. Revert the changes by resetting the BIOS settings to their default values. You can typically find this option in the BIOS menu under the “Exit” or “Reset to Defaults” section.
5. Blue screen errors or system crashes: Blue screen errors or system crashes may occur after changing the hard disk drive setting if the correct drivers are not installed or if there are conflicts with other hardware components. Ensure that you have the latest drivers installed for your storage devices and other critical components, and consider updating the BIOS to the latest version available.
6. Driver issues with older operating systems: Some older operating systems may not natively support AHCI mode. In such cases, you may need to enable AHCI mode in the BIOS, install the appropriate AHCI driver during the operating system installation, or follow specific instructions provided by the operating system vendor.
If you encounter any other issues or have specific questions related to changing the hard disk drive setting in the BIOS, it is recommended to consult your computer’s user manual, the manufacturer’s support resources, or seek assistance from a knowledgeable professional.
Remember to exercise caution when making changes in the BIOS settings and ensure that you understand the implications of the changes before proceeding. Taking appropriate backups of your data and following the recommended troubleshooting steps can help you overcome any issues and ensure a smooth transition to the desired hard disk drive setting.
Conclusion
Changing the hard disk drive setting in the BIOS from IDE to AHCI or vice versa can have a significant impact on the performance and compatibility of your system, especially when using newer storage devices like SSDs. Understanding the difference between AHCI and IDE, as well as following the appropriate steps, is essential to ensure a smooth transition and avoid any complications.
In this guide, we have covered the steps necessary to change the hard disk drive setting in the BIOS, from accessing the BIOS menu to locating the setting and making the desired changes. We have also discussed the importance of preparation, common issues, and troubleshooting tips to overcome any challenges you may encounter along the way.
Remember, when changing the hard disk drive setting, it is crucial to take necessary precautions, such as backing up your data and ensuring compatibility with your hardware and operating system. Additionally, be aware that switching between the AHCI and IDE modes may require reinstalling the operating system or updating drivers in some cases.
Always consult the manufacturer’s documentation, your computer’s user manual, or the manufacturer’s support resources if you have any doubts or specific issues. It’s important to approach the process with caution and understanding to avoid any potential complications.
By accurately changing the hard disk drive setting and optimizing it for your system, you can unlock the full potential of your hard disk drive, improving overall performance and enhancing the compatibility with newer storage technologies.
With this guide, you should now be well-equipped to successfully change the hard disk drive setting in the BIOS, whether it’s switching to AHCI for enhanced performance or reverting back to IDE for specific compatibility requirements.