Introduction
Welcome to the world of solid state drives (SSDs)! These ingenious storage devices have revolutionized the way we store and access data. With their lightning-fast speeds and unmatched reliability, SSDs have become an essential component in modern computing systems. However, many users may wonder how to safely remove or eject an SSD from their computer.
In this article, we will guide you through the process of safely ejecting an SSD on different operating systems. Whether you are a Windows, Mac, or Linux user, we’ve got you covered. But before we delve into the specifics, let’s first gain a better understanding of what exactly a solid state drive is and why you might need to eject it.
Understanding Solid State Drives (SSDs)
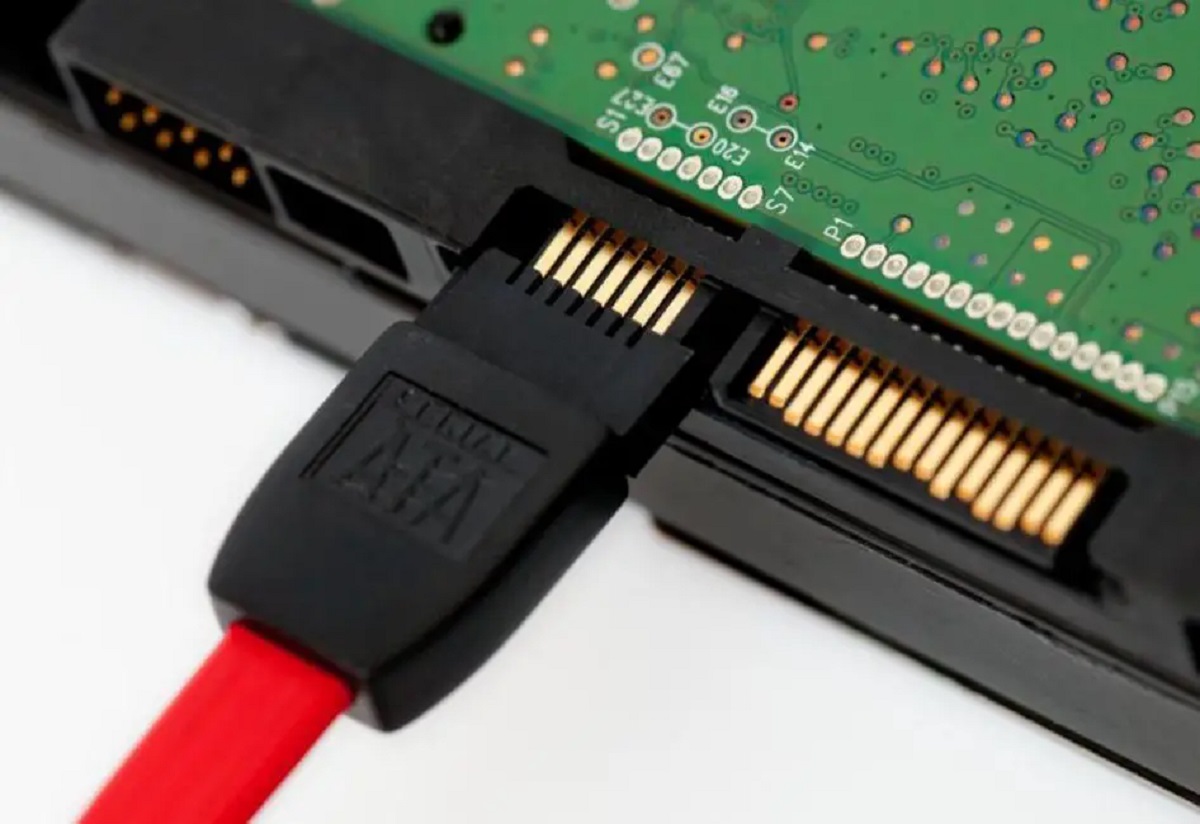
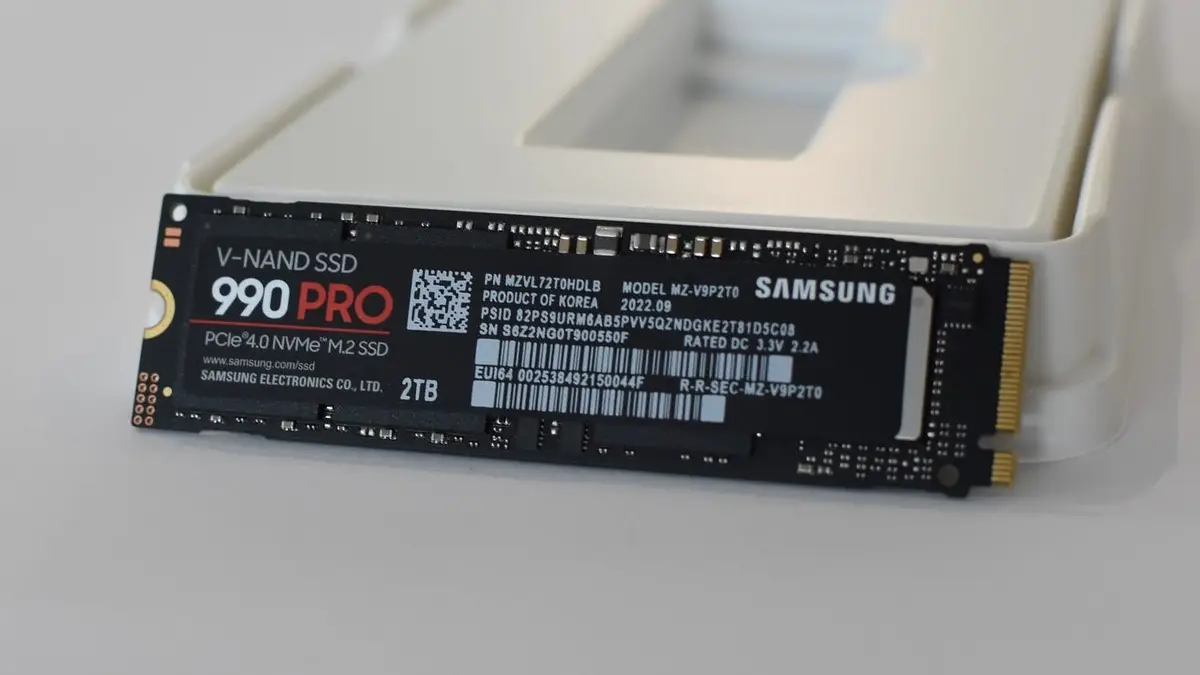
An SSD is a type of storage device that uses flash memory to store data. Unlike traditional hard disk drives (HDDs) that use spinning disks and read/write heads, SSDs have no moving parts. This characteristic makes them incredibly fast, durable, and energy-efficient compared to HDDs.
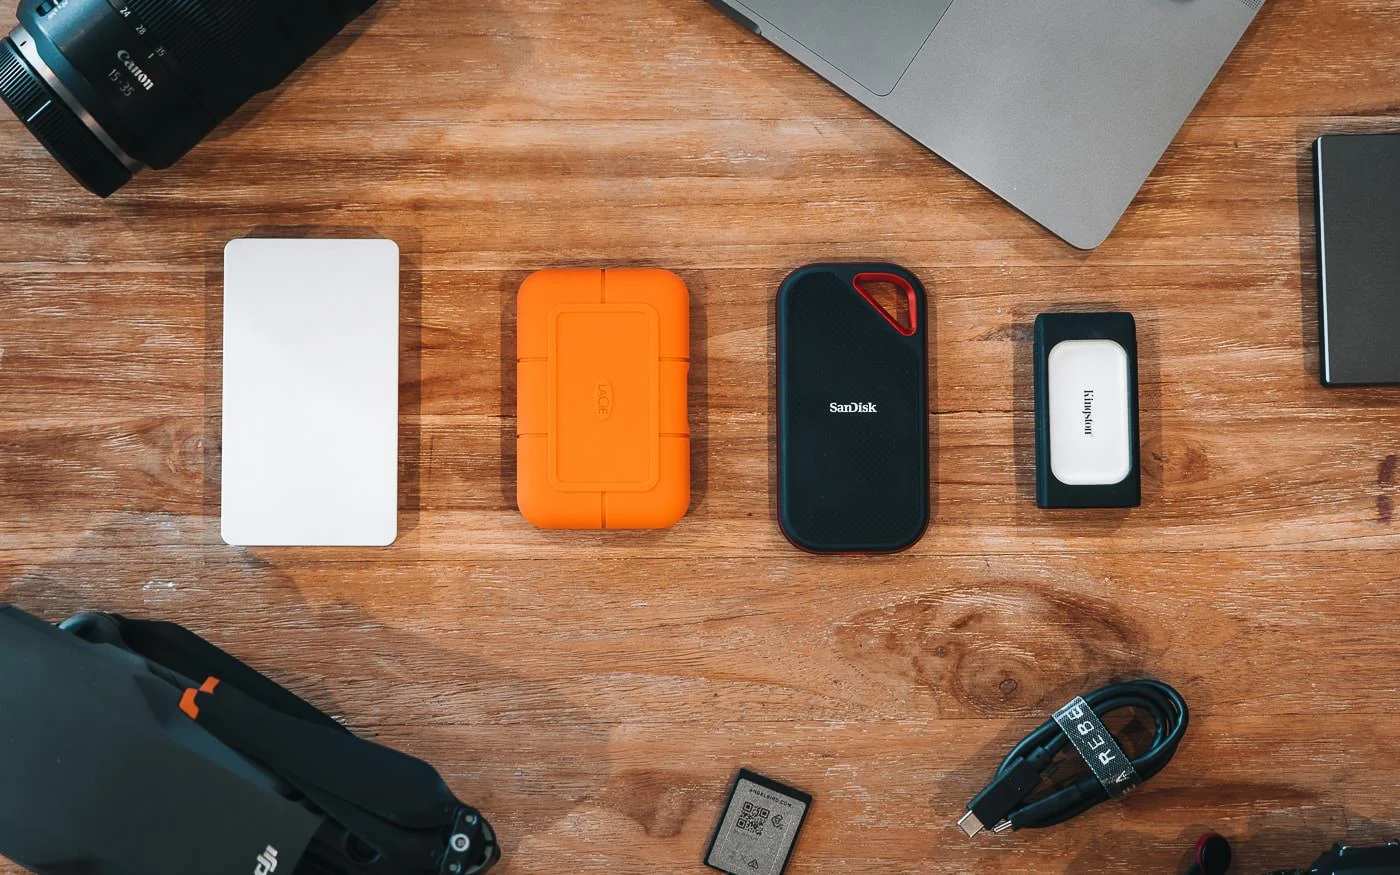
SSDs are commonly used in laptops, desktop computers, and even servers due to their numerous advantages. They offer faster boot times, quicker file transfers, and improved overall system performance. Additionally, SSDs are more resilient to physical shocks and vibrations, making them a popular choice for portable devices.
Reasons for Ejecting an SSD
While SSDs are designed to be always on and accessible, there are situations where you may need to eject or remove them. Here are a few common scenarios:
- Upgrading or replacing SSD: If you are upgrading your SSD to a larger capacity or switching to a different model, you will need to safely eject the old SSD before removing it from your system.
- Performing maintenance or troubleshooting: Sometimes, you may need to disconnect your SSD to perform maintenance tasks or diagnose and fix any issues related to the SSD or the system it’s connected to.
- Switching between multiple operating systems: If you have multiple operating systems installed on different SSDs or partitions, you may need to eject one SSD to boot from another operating system.
Now that we have a better understanding of what SSDs are and why you might need to eject them, let’s move on to the precautions you should take before ejecting an SSD.
Understanding Solid State Drives (SSDs)
When it comes to storage devices, solid state drives (SSDs) have gained immense popularity in recent years. Unlike traditional hard disk drives (HDDs), which rely on spinning disks and mechanical components, SSDs use flash memory to store data. This key difference gives SSDs a significant advantage in terms of speed, durability, and energy efficiency.
SSDs are built using NAND flash memory chips, which retain data even without power. These chips are organized in a grid-like structure, with each cell capable of storing multiple bits of information. This design allows SSDs to access data quickly and efficiently, resulting in faster boot times, reduced file transfer times, and improved overall system performance.
One of the major selling points of SSDs is their exceptional speed. Unlike HDDs, which require moving read/write heads to access data on spinning disks, SSDs can read and write data simultaneously across multiple memory cells. This enables them to deliver significantly faster data transfer rates, resulting in snappier system responsiveness and reduced loading times for applications and files.
Aside from speed, SSDs also offer superior durability. Since they have no moving parts, there is less risk of mechanical failure or damage due to shocks or vibrations. This makes SSDs an ideal choice for laptops and other portable devices that are frequently moved or subjected to rough handling.
Furthermore, SSDs are silent during operation. Unlike HDDs, which produce audible clicking and spinning noises when accessing data, SSDs operate silently. This not only enhances the overall user experience but also makes SSDs suitable for environments where noise is a concern, such as recording studios or quiet office spaces.
Energy efficiency is another notable advantage of SSDs. Since they do not rely on mechanical movements, SSDs consume less power compared to HDDs. This translates to longer battery life for laptops and reduced electricity costs for desktop computers, contributing to a more environmentally friendly computing experience.
Overall, SSDs have revolutionized the way data is stored and accessed. With their lightning-fast speeds, exceptional durability, and energy efficiency, SSDs have become the go-to choice for individuals and businesses looking to enhance their computing experience. As technology continues to advance, SSDs are expected to further evolve and become even faster, more reliable, and more affordable.
Reasons for Ejecting an SSD
While solid state drives (SSDs) are designed to be always-on and accessible, there are various scenarios where you may need to eject or remove an SSD from your computer system. Let’s explore a few common reasons why you might need to perform this action:
- Upgrading or replacing SSD: One of the primary reasons for ejecting an SSD is to upgrade or replace it with a larger capacity or a more advanced model. As technology advances, newer SSDs with improved performance and higher storage capacities become available, prompting users to upgrade their existing drives for enhanced functionality or increased storage space.
- Performing maintenance or troubleshooting: Sometimes, you may need to disconnect your SSD to perform maintenance tasks or troubleshoot any issues related to the SSD or the system it’s connected to. This could involve checking for firmware updates, running diagnostic tests, or fixing any hardware or software conflicts that might be affecting the performance of the SSD.
- Switching between multiple operating systems: If you have multiple operating systems installed on different SSDs or partitions, you may need to eject one SSD to boot from another operating system. This is particularly common in scenarios where users have a dual-boot setup, allowing them to switch between different operating systems based on their specific needs or preferences.
- Protecting sensitive data: In certain situations, you may need to eject an SSD to safeguard sensitive data. For example, if you are working on a shared computer or if your SSD contains confidential information, ejecting the drive ensures that unauthorized individuals cannot access or compromise your data while you are away from the computer.
- Transporting the computer: When you need to transport your computer, especially if it is a laptop or a small form-factor desktop, ejecting the SSD can prevent potential damage caused by physical shocks or vibrations during transportation. Removing the SSD and securely storing it separately can help minimize the risk of data loss or hardware damage.
These are just a few examples of why you may need to eject an SSD. It’s important to note that before ejecting an SSD, you should always ensure that you have properly saved and closed any open files or applications that are stored on the drive. This will help prevent data loss or corruption during the ejection process.
Now that we understand the reasons for ejecting an SSD, let’s move on to the precautions you should take before performing the ejection on your respective operating system.
Precautions Before Ejecting an SSD
Before ejecting a solid state drive (SSD) from your computer system, it’s important to take certain precautions to ensure a smooth and safe ejection process. Here are some essential steps to follow:
- Save and close all open files and applications: Before ejecting the SSD, make sure all your work is saved and any open files or applications stored on the drive are properly closed. This helps prevent data loss or corruption that can occur when abruptly disconnecting an active SSD.
- Check for any ongoing operations: Ensure that there are no ongoing read or write operations on the SSD. Some applications or background processes might be accessing the drive, which can cause issues if interrupted. Wait for any operations to complete before proceeding with the ejection process.
- Safely remove external devices: If your SSD is connected to an external enclosure or dock, make sure to safely remove it from the computer system before ejecting the drive. This involves using the appropriate hardware ejection method provided by the operating system or the device manufacturer.
- Follow the operating system’s ejection procedure: Different operating systems have specific methods for ejecting storage devices. Familiarize yourself with the ejection procedure for your particular operating system to avoid any potential data loss or damage to the SSD. This typically involves using the OS-provided ejection function, such as the “Safely Remove Hardware” feature on Windows or the “Eject” option on macOS.
- Wait for the SSD to power down: After initiating the ejection process, give the SSD sufficient time to power down completely. This helps ensure that all data has been safely written to the drive and avoids any data corruption or instability when disconnecting the SSD.
- Physically disconnect the SSD: Once the SSD has been safely ejected, you can physically disconnect it from the computer system. If you’re working with a laptop, make sure the system is powered off and unplugged before removing the SSD to avoid any electrical damage or accidents.
- Store the SSD securely: If you’re replacing the SSD or storing it for future use, make sure to store it in an anti-static bag or a safe place to protect it from electrostatic discharge or physical damage. Keeping it in a cool, dry environment away from direct sunlight is also recommended.
By following these precautions, you can minimize the risk of data loss, corruption, or damage when ejecting an SSD from your computer system. Taking the time to properly prepare for the ejection process ensures a smooth experience and maintains the integrity of your data.
Now that we’ve covered the precautions, let’s move on to the specific steps you need to follow to eject an SSD on different operating systems.
How to Eject an SSD on Windows Operating System
Ejecting a solid state drive (SSD) on the Windows operating system is a straightforward process. Here’s a step-by-step guide to safely eject an SSD:
- Ensure that all your work is saved and any open files or applications stored on the SSD are properly closed.
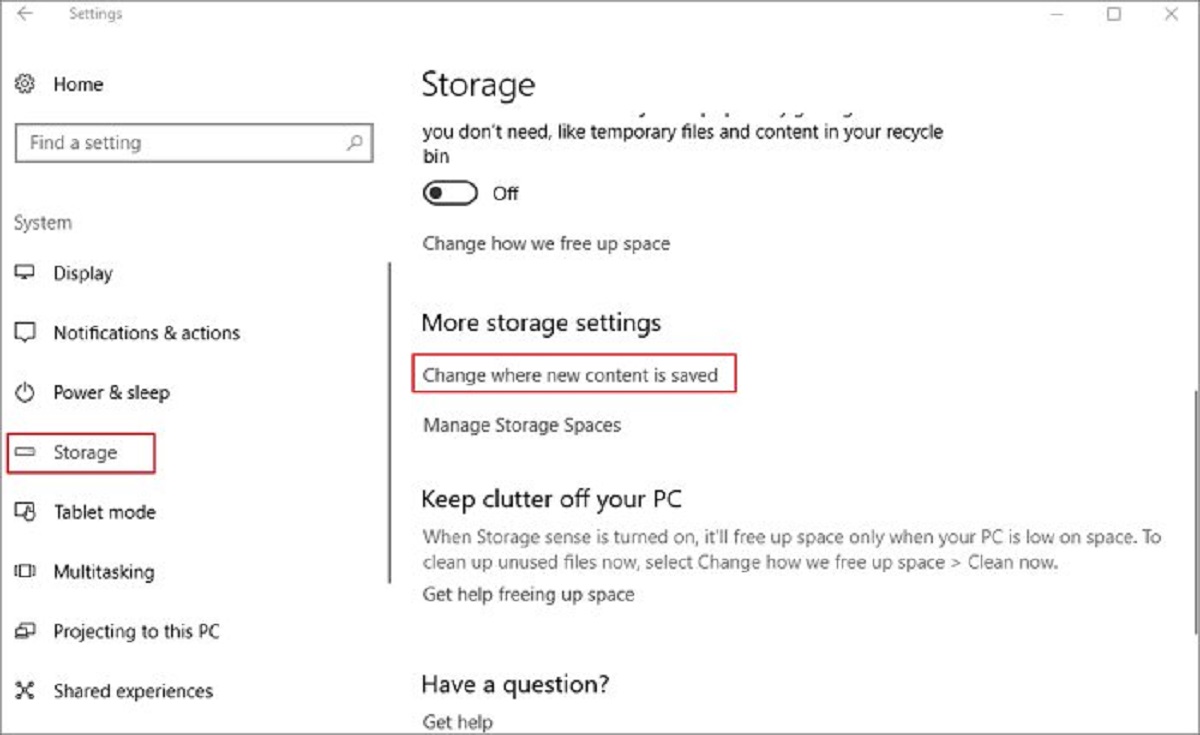
- Locate the “Safely Remove Hardware” icon in the system tray located at the bottom right corner of the desktop.
- Click on the “Safely Remove Hardware” icon to open a menu that displays the connected storage devices.
- Select the SSD you want to eject from the list of devices. The system will display a notification indicating that it is safe to remove the device.
- Wait for a few seconds to ensure that the SSD has powered down completely.
- Once the device has been safely ejected, you can physically disconnect the SSD from the computer.
It’s important to note that if you are using your SSD as the system drive or if any applications running on your computer are installed on the SSD, you might need to restart your computer after ejecting the SSD for the changes to take effect. This is especially true if you plan to replace the SSD or switch to a different storage device.
By following these steps, you can safely and properly eject an SSD on the Windows operating system. It’s always a good idea to double-check that the SSD has been safely ejected before physically disconnecting it from your computer to avoid any potential data loss or damage.
Next, let’s explore how to eject an SSD on the Mac operating system.
How to Eject an SSD on Mac Operating System
If you’re using a Mac operating system, ejecting a solid state drive (SSD) is a straightforward process. Here’s a step-by-step guide to safely eject an SSD on a Mac:
- Ensure that all your work is saved and any open files or applications stored on the SSD are properly closed.
- Locate the SSD icon on the desktop or in the Finder sidebar.
- Hover your cursor over the SSD icon and right-click (or control-click) to open a context menu.
- From the context menu, select “Eject [SSD Name]” or simply drag the SSD icon to the trash bin.
- Alternatively, you can also use the keyboard shortcut by selecting the SSD icon and pressing “Command” + “E” on your keyboard.
- Wait for a few seconds to ensure that the SSD has powered down completely.
- Once the device has been safely ejected, you can physically disconnect the SSD from the computer.
If you plan to replace the SSD or switch to a different storage device, it’s a good practice to restart your Mac after ejecting the SSD. This will ensure that any changes related to the storage device are properly recognized and established by the operating system.
Remember to check that the SSD has been safely ejected before physically disconnecting it from your Mac. This helps prevent any potential data loss or damage to the SSD.
Now that you know how to safely eject an SSD on a Mac, let’s explore the steps for ejecting an SSD on the Linux operating system.
How to Eject an SSD on Linux Operating System
Ejecting a solid state drive (SSD) on a Linux operating system is a straightforward process. Here’s a step-by-step guide to safely eject an SSD:
- Save any open work and properly close any files or applications stored on the SSD.
- Open a file manager application, such as Nautilus or Dolphin, and navigate to the location of the SSD.
- Right-click on the SSD icon and select the “Unmount” or “Eject” option from the context menu.
- Alternatively, you can also use the terminal by opening a terminal window and entering the following command:
sudo umount /dev/[device_name], replacing[device_name]with the appropriate device name for your SSD. - Wait for a few seconds to ensure that the SSD has been properly unmounted and powered down.
- Once the device has been safely ejected, you can physically disconnect the SSD from your computer.
It’s important to note that the steps for ejecting an SSD on Linux may vary depending on the distribution and desktop environment you are using. Some desktop environments, such as GNOME or KDE, may have their own tools or options for safely ejecting storage devices.
If you encounter any issues or errors while ejecting the SSD, you can try using the terminal command: sudo eject /dev/[device_name], replacing [device_name] with the appropriate device name for your SSD. This command forcefully ejects the device, but please note that it should only be used as a last resort if the regular unmount or eject commands are not working.
By following these steps, you can safely eject an SSD on a Linux operating system. Remember to always double-check that the SSD has been properly unmounted before physically disconnecting it to avoid any potential data loss or damage.
Now that you have learned how to eject an SSD on different operating systems, you are well-equipped to safely remove or replace your SSD whenever necessary.
Conclusion
Ejecting a solid state drive (SSD) is an important step when upgrading, maintaining, or troubleshooting your computer system. Whether you’re using Windows, Mac, or Linux, safely ejecting an SSD ensures the integrity of your data and prevents any potential damage to the drive. Understanding the process and taking necessary precautions is essential for a successful ejection.
We started by gaining a better understanding of SSDs and their advantages over traditional hard disk drives. SSDs offer lightning-fast speeds, exceptional durability, and improved energy efficiency, making them a popular choice for storage devices. We then explored the various reasons why you might need to eject an SSD, including upgrading or replacing the drive, performing maintenance or troubleshooting, switching between multiple operating systems, and protecting sensitive data.
Before ejecting an SSD, it’s crucial to take some precautions. Saving and closing all open files and applications, checking for ongoing operations, safely removing external devices, and following the correct ejection procedure for your operating system are fundamental steps to prevent data loss or hardware damage.
We provided step-by-step instructions for ejecting an SSD on different operating systems. On Windows, using the “Safely Remove Hardware” feature ensures a proper ejection. On Mac, you can right-click on the SSD icon or drag it to the trash bin. On Linux, unmounting or using terminal commands will safely eject the SSD.
Ejecting an SSD safely allows you to upgrade your storage, perform maintenance, switch between operating systems, or protect your data during transportation. By following the appropriate steps and precautions, you can ensure a smooth and secure ejection process.
Now you have the knowledge and understanding to confidently eject an SSD on your specific operating system. Remember to always double-check that the SSD has been properly ejected before physically disconnecting it. With these guidelines, you can navigate the process with ease and ensure the longevity and reliability of your SSD.