Introduction
Upgrading your computer’s storage can greatly improve its performance and speed. If you’re looking to add more storage to your setup, installing a PNY Solid State Drive (SSD) into an Anker enclosure is a great option. Not only will it give you additional storage space, but it will also provide faster read and write speeds compared to traditional hard drives.
In this guide, we will walk you through the step-by-step process of installing a PNY SSD into an Anker enclosure. Whether you’re a tech-savvy individual or a beginner, this guide will help you effortlessly complete the installation process.
Before we begin, it’s important to note that this guide assumes you have already purchased both the PNY SSD and the Anker enclosure. Additionally, make sure you have a basic understanding of computer hardware and are comfortable working with electronic components.
Now, without further ado, let’s dive into the installation process and get your PNY SSD up and running in no time!
Tools and Materials Needed
Before starting the installation process, gather the following tools and materials:
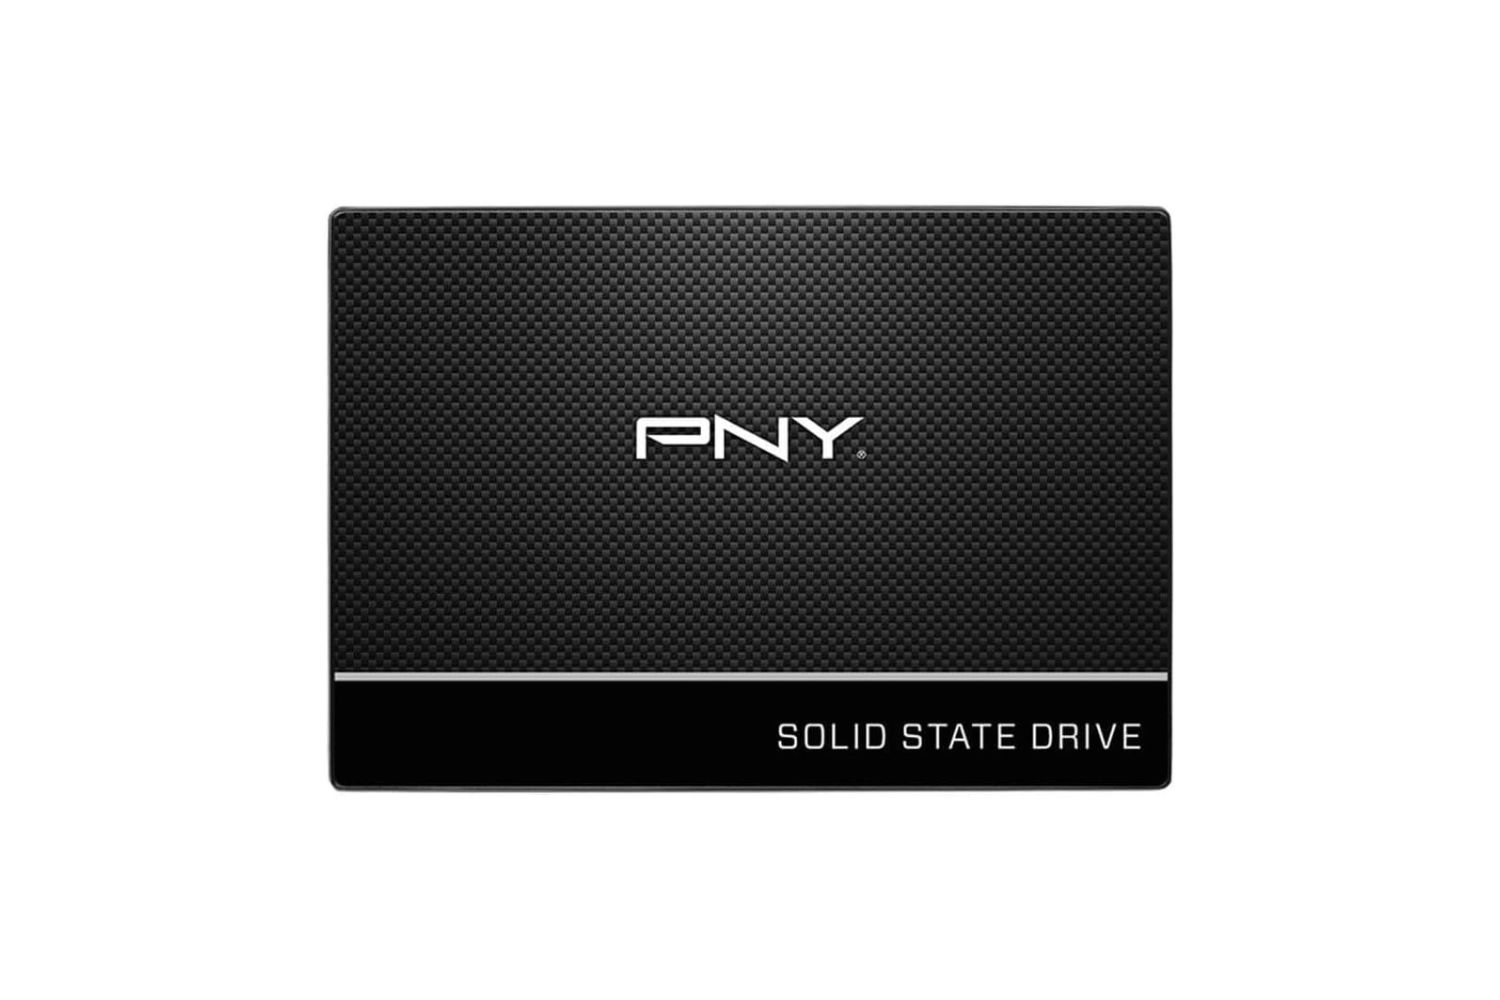
- PNY Solid State Drive (SSD)
- Anker enclosure
- Screwdriver (if required for enclosure)
- USB cable
- Computer or laptop
- Operating system installation media (if necessary)
- Stable internet connection (for driver updates, if needed)
Make sure you have all these items readily available before proceeding with the installation.
If you don’t have a PNY SSD or Anker enclosure, you can purchase them online or at your nearest computer hardware store. Ensure that the specifications of the SSD and enclosure are compatible with your computer system.
Additionally, it’s always a good idea to read the user manuals and documentation provided with the SSD and enclosure. This will give you a better understanding of their features, installation process, and any specific requirements.
Now that you have the necessary tools and materials, let’s move on to the step-by-step installation process.
Step 1: Unbox the PNY Solid State Drive and Anker Enclosure
The first step in installing your PNY SSD into the Anker enclosure is to unbox both items. Carefully open the packaging of the PNY SSD and Anker enclosure, making sure not to damage any components.
Once unboxed, check that all the included accessories are present. This may include screws, cables, and any instruction manuals or documentation. Keep these items handy as you will need them during the installation process.
Before proceeding, take a moment to familiarize yourself with the PNY SSD and the Anker enclosure. You can examine the different ports, connectors, and any buttons or switches on both devices. Understanding their layout will make the installation process smoother.
It’s important to handle the SSD and enclosure with care to avoid static electricity damage. To minimize the risk of static discharge, it’s recommended to ground yourself by touching a metal object before handling the components.
Now that you have unboxed and familiarized yourself with the PNY SSD and Anker enclosure, you’re ready to move on to the next step.
Step 2: Prepare the Solid State Drive
Once you have unboxed the PNY SSD, it’s time to prepare it for installation into the Anker enclosure. Follow these steps:
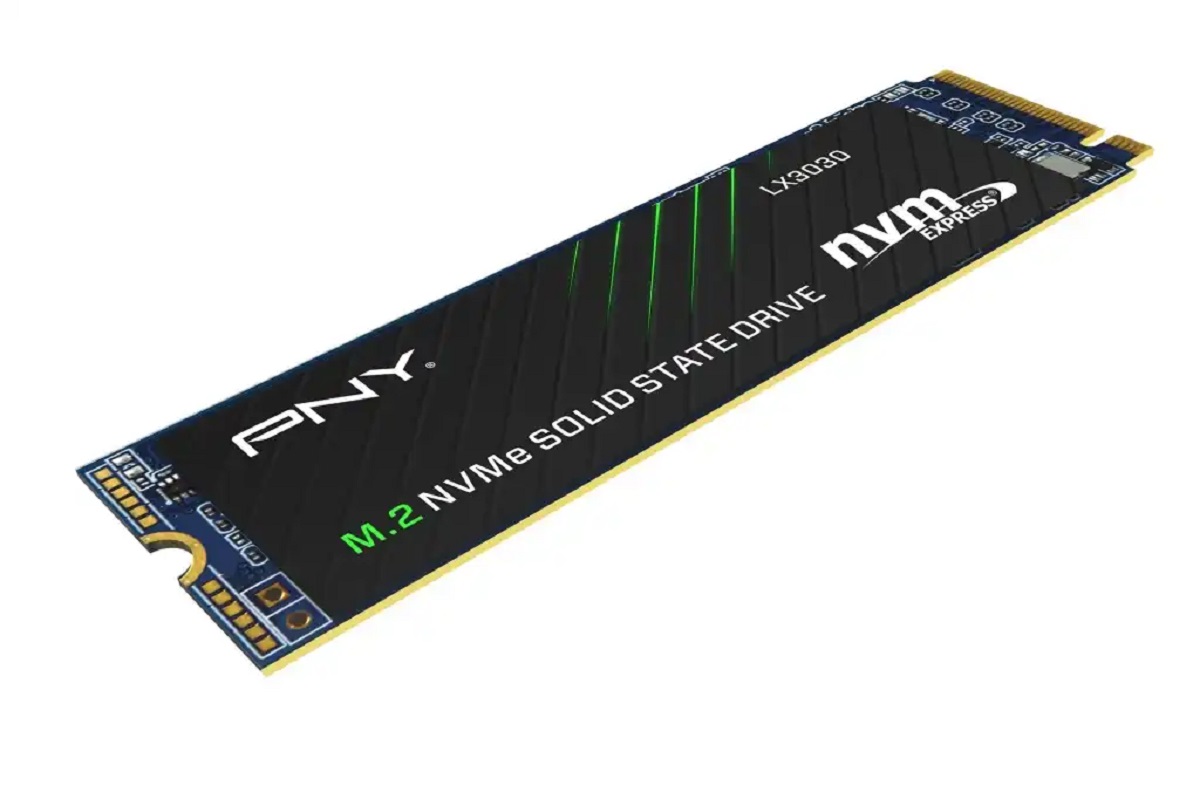
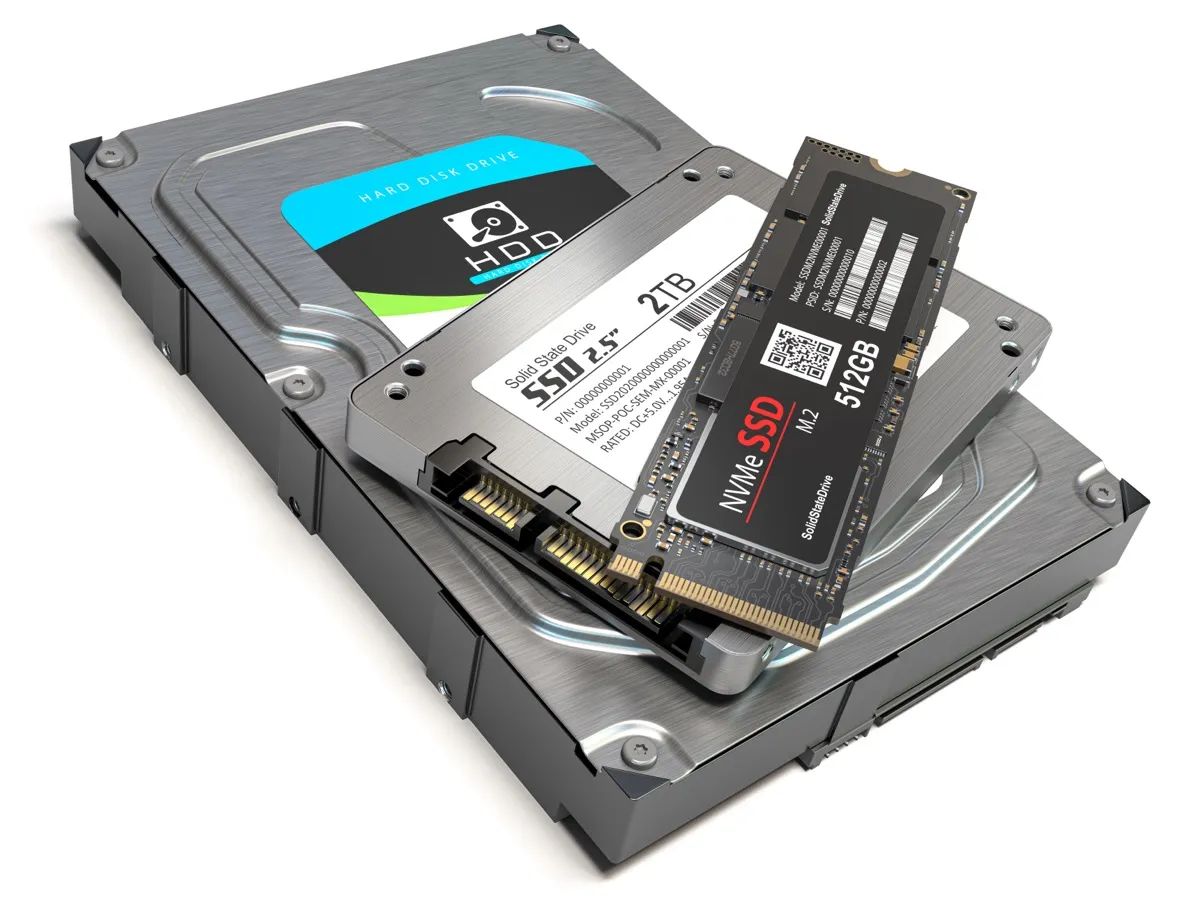
- Locate the connector on the PNY SSD. It is typically a SATA connector or an M.2 connector, depending on the model you have. Refer to the user manual or documentation for specific instructions.
- If your SSD requires screws to secure it in place, use the provided screws to attach the SSD to the mounting bracket or tray. If the SSD fits into an M.2 slot, skip this step.
- Gently insert the PNY SSD into the designated slot on the Anker enclosure. Ensure that it is firmly seated and properly aligned with the connector on the enclosure. Take care not to apply excessive force during this step.
- If your Anker enclosure has a screw or latch mechanism to secure the SSD in place, follow the manufacturer’s instructions to secure it properly.
- Double-check that the SSD is securely attached to the Anker enclosure. A loose connection can cause performance issues or malfunction.
Preparing the PNY SSD ensures a stable and secure connection with the Anker enclosure. It is essential to follow these steps meticulously to avoid any potential issues.
With the PNY SSD prepared, you are now ready to move on to the next step of the installation process.
Step 3: Open the Anker Enclosure
Before inserting the prepared PNY SSD into the Anker enclosure, you need to open the enclosure to access the internal components. Follow these steps:
- Inspect the Anker enclosure to locate the opening mechanism. It could be screws, tabs, or a sliding mechanism, depending on the specific model.
- If your enclosure has screws, use a screwdriver to carefully remove them. Set the screws aside in a safe place, as you will need them later to secure the enclosure.
- If the enclosure has tabs or a sliding mechanism, gently press or slide them to unlock and open the enclosure. Take your time to ensure you don’t force anything or damage the enclosure.
- Once the enclosure is open, you will be able to see the interior. Take note of any additional compartments or brackets designed to hold the SSD securely in place.
Opening the Anker enclosure allows you to access the internal components and properly position the PNY SSD. Ensure that you handle the enclosure with care to avoid any accidental damage or misalignment.
With the Anker enclosure opened, you are ready to proceed to the next step of the installation process.
Step 4: Insert the Solid State Drive into the Enclosure
With the Anker enclosure open, it’s time to insert the prepared PNY SSD into the enclosure. Follow these steps:
- Position the PNY SSD in the designated area within the enclosure. Ensure that the connector on the SSD aligns with the corresponding port on the enclosure.
- Gently slide or press the SSD into place until it is securely seated in the enclosure. Take care not to apply excessive force, as you could damage the SSD or the enclosure.
- If the enclosure has additional brackets or compartments designed to hold the SSD, follow the manufacturer’s instructions to secure the SSD in place using screws or any provided mechanisms.
- Double-check that the SSD is properly inserted and securely fastened within the Anker enclosure. This ensures a stable connection and prevents any movement or dislodging during operation.
Inserting the PNY SSD into the Anker enclosure is a critical step in the installation process. Take your time and be gentle to avoid any potential damage or misalignment.
Now that the PNY SSD is securely inserted into the enclosure, you are ready to move on to the next step.
Step 5: Close the Enclosure
After inserting the PNY SSD into the Anker enclosure, the next step is to close the enclosure to secure the components and protect them. Follow these steps:
- If you previously removed screws to open the enclosure, start by reinserting and tightening them securely. Ensure that the enclosure is held together firmly but not overly tightened, as it may cause damage.
- If your enclosure has tabs or a sliding mechanism, carefully align and push them back into place to close the enclosure. Make sure each tab locks into position or the sliding mechanism clicks into place.
- Gently give the enclosure a slight shake or tap to verify that it is properly closed and there are no loose or rattling components inside.
- Visually inspect the enclosure to confirm that all edges align correctly and there are no gaps or openings.
Closing the Anker enclosure ensures that the PNY SSD is securely enclosed and protected from any accidental damage or dislodging. Taking the time to ensure a proper closure is essential for the stability and longevity of the installation.
With the enclosure closed, you are now ready to proceed to the next step of the installation process.
Step 6: Connect the Enclosure to Your Computer
Now that the Anker enclosure is securely closed, it’s time to connect it to your computer. Follow these steps:
- Locate an available USB port on your computer or laptop.
- Take the USB cable that came with the Anker enclosure and connect one end to the port on the enclosure.
- Connect the other end of the USB cable to the USB port on your computer. Ensure it is firmly plugged in.
- You should see your computer recognize the newly connected storage device.
Depending on your computer’s operating system, you may need to install specific drivers or software to ensure proper functionality. Most modern operating systems will recognize the device automatically without the need for additional drivers.
If the SSD does not appear on your computer, try the following troubleshooting steps:
- Ensure the USB cable is securely connected to both the enclosure and your computer.
- Try using a different USB port on your computer.
- Restart your computer and check if the SSD is recognized upon reboot.
- If the issue persists, consult the user manual or documentation for your Anker enclosure or PNY SSD for further troubleshooting steps.
Successfully connecting the enclosure to your computer is a crucial step before moving on to the next stage of the installation process.
Now that the enclosure is connected, you’re ready to proceed to the next step.
Step 7: Format and Initialize the Solid State Drive
After connecting the Anker enclosure to your computer, the next step is to format and initialize the PNY Solid State Drive (SSD) to make it ready for use. Follow these steps:
- Open the Disk Management utility on your computer. In Windows, you can access it by right-clicking on the Start button and selecting “Disk Management” from the menu.
- In the Disk Management window, you should see the newly connected SSD listed as a disk. It may appear as unallocated space or without a drive letter.
- Right-click on the unallocated space or the SSD and select “New Simple Volume” from the context menu.
- Follow the on-screen instructions to create a new partition and allocate drive space for the SSD. You can choose the desired file system and assign a drive letter.
- Once the partition creation process is complete, the SSD will be assigned a drive letter and will show up in File Explorer or the Finder on Mac.
It’s important to note that formatting and initializing the SSD will erase any existing data on it. Therefore, make sure that you have backed up any important data before proceeding.
If you encounter any issues or are unsure about the formatting process, consult the user manual or documentation for your specific operating system or seek assistance from a knowledgeable individual.
With the PNY SSD formatted and initialized, it is now ready to be used for storage or as an additional drive on your computer.
Proceed to the next step once the formatting and initialization process is complete.
Step 8: Test the Solid State Drive
Now that the PNY Solid State Drive (SSD) is formatted and initialized, it’s time to test its functionality to ensure everything is working correctly. Follow these steps:
- Open File Explorer (Windows) or Finder (Mac) and navigate to the newly assigned drive letter of the SSD.
- Create a new folder and copy some files to it to verify that you can read and write data to the SSD.
- Try accessing the files you copied to ensure there are no issues with read and write operations.
- If you experience any performance issues or unusual behavior, make sure to update the SSD firmware and drivers. Visit the PNY website or check the included documentation for any available updates.
- Consider running a benchmarking tool to test the speed and performance of the SSD. This will provide you with valuable information about its capabilities and help you assess its performance against industry standards.
If the SSD is functioning as expected, you can proceed with using it as additional storage for your computer or for specific applications and data.
In the event that you encounter any issues or errors during testing, consult the user manual or documentation for troubleshooting steps. You may also consider reaching out to the PNY customer support for further assistance.
With the solid state drive successfully tested and confirmed to be working properly, you are ready to move on to the next step of the installation process.
Step 9: Safely Eject the Enclosure
Before disconnecting the Anker enclosure from your computer, it’s essential to safely eject it to prevent any potential data loss or damage. Follow these steps:
- Make sure all active file transfers or operations involving the SSD are completed.
- If you have any open files or applications stored on the SSD, close them to ensure that they are not in use.
- In the system tray (Windows) or menu bar (Mac), locate the “Safely Remove Hardware” or “Eject” icon. Click on it to bring up the list of removable devices.
- Find the Anker enclosure in the list and select it to initiate the ejection process.
- Wait for a confirmation message to appear, indicating that it is safe to disconnect the enclosure.
- Gently unplug the USB cable connected to the enclosure, ensuring that you do not accidentally pull or strain the cable.
By following the proper ejection procedure, you reduce the risk of data corruption and ensure the longevity of your PNY SSD and Anker enclosure.
It’s important to note that if you plan on reconnecting the enclosure later, remember to safely eject it every time you disconnect it from your computer.
Now that you have safely ejected the enclosure from your computer, you can proceed to disconnect the USB cable and store the Anker enclosure and PNY SSD in a safe location.
Conclusion
Congratulations! You have successfully installed a PNY Solid State Drive (SSD) into an Anker enclosure. By following the step-by-step installation process, you have expanded your computer’s storage capacity and improved its performance with faster read and write speeds.
Throughout this guide, you learned how to unbox the PNY SSD and Anker enclosure, prepare the SSD, open and close the enclosure, connect it to your computer, format and initialize the SSD, test its functionality, and safely eject the enclosure.
Remember to regularly check for firmware and driver updates for your PNY SSD to ensure optimal performance. Additionally, it’s important to handle both the SSD and enclosure with care to prevent any damage during installation or removal.
We hope this guide has been helpful to you in installing your PNY SSD into the Anker enclosure. With your new storage solution in place, you can enjoy increased storage space and enhanced speed for your computer tasks and applications.
If you have any further questions or encounter any issues, refer to the user manuals and documentation for your specific devices or consult with their respective manufacturers.
Thank you for choosing PNY and Anker for your storage solution needs. Enjoy the improved performance and efficiency of your computer!