Introduction
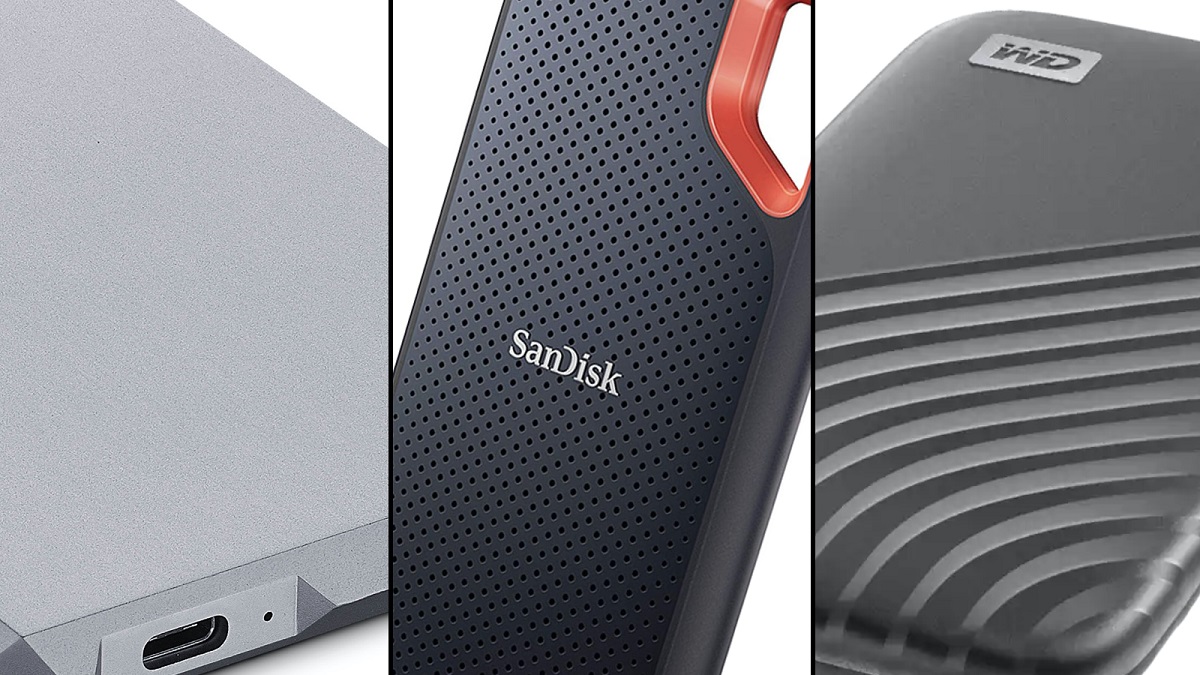
Have you ever found your iPhone running out of storage space due to a plethora of photos? If so, you’re not alone. With the increasing popularity of smartphone photography, it’s common for iPhones to quickly fill up with thousands of precious memories captured through the lens. To free up space and ensure your photos are safely stored, transferring them to a solid-state drive (SSD) is an excellent solution.
Transferring iPhone photos to an SSD offers several benefits. Firstly, it provides additional storage space on your iPhone, allowing you to continue capturing new moments without worrying about storage limitations. Secondly, SSDs are known for their reliability and durability, ensuring that your photos are securely backed up and protected from loss. Furthermore, SSDs offer faster transfer speeds, enabling you to quickly and effortlessly transfer large batches of photos from your iPhone to the drive.
While the process of transferring iPhone photos to an SSD may seem daunting at first, rest assured that it is a straightforward process that can be easily completed by anyone with a basic understanding of technology. In this article, we will guide you through the steps involved in transferring your iPhone photos to an SSD, empowering you to take control of your photo storage and enjoy the peace of mind that comes with knowing your memories are safe and easily accessible.
So, without further ado, let’s dive into the process of transferring your precious iPhone photos to an SSD, and discover the freedom and convenience that can be achieved by managing your photo storage in a smart and efficient way.
Understanding the Benefits of Transferring iPhone Photos to SSD
Transferring iPhone photos to a solid-state drive (SSD) offers numerous advantages that go beyond simply freeing up storage space on your device. Let’s explore the key benefits of this process:
1. Extra Storage Space: iPhones often come with limited storage capacities, and photos can quickly consume a significant portion of that space. By transferring your photos to an SSD, you instantly free up valuable storage on your iPhone, allowing you to continue taking new pictures and videos without worrying about running out of storage. This ensures that you never miss a memorable moment due to limited space.
2. Enhanced Reliability and Durability: Unlike traditional hard drives, SSDs have no moving parts, resulting in improved reliability and durability. This means that your precious memories are safe from data loss caused by mechanical failures. By storing your photos on an SSD, you can enjoy peace of mind knowing that your memories are securely backed up.
3. Faster Transfer Speeds: SSDs are renowned for their fast transfer speeds. This is particularly advantageous when you need to transfer large batches of photos from your iPhone to your computer. Say goodbye to long waiting times and sluggish transfers. With an SSD, the process is quick and seamless, allowing you to transfer your photos efficiently and conveniently.
4. Easy Accessibility: With your photos stored on an SSD, you gain the freedom to access them whenever and wherever you want. Whether you are at home, traveling, or visiting friends, all your images are readily accessible on your SSD. You can easily view, share, and organize your photos without the need for an internet connection, ensuring that your memories are always at your fingertips.
5. Flexibility and Expandability: SSDs come in various sizes and capacities, allowing you to choose the one that best suits your needs. Whether you have a vast collection of photos or prefer to store only a select few, there is an SSD available to accommodate your specific requirements. Additionally, SSDs often offer expandable storage options, allowing you to effortlessly increase your storage capacity as needed.
In summary, transferring your iPhone photos to an SSD offers significant benefits. You can free up storage space on your iPhone, enjoy enhanced reliability, experience faster transfers, and have easy accessibility to your photos. Moreover, the flexibility and expandability of SSDs ensure that you can adapt your storage needs over time. Now that we understand the advantages of this process, let’s dive into the step-by-step guide on how to transfer your iPhone photos to an SSD.
Step 1: Prepare Your iPhone and SSD for the Transfer
Before you can begin transferring your iPhone photos to an SSD, there are a few preliminary steps you need to take to ensure a smooth and successful transfer. Follow these instructions to prepare your devices:
1. Update Your iPhone: It’s crucial to have the latest software version on your iPhone to ensure compatibility and optimal performance during the transfer process. Check for any available updates by going to Settings > General > Software Update, and install any pending updates if required.
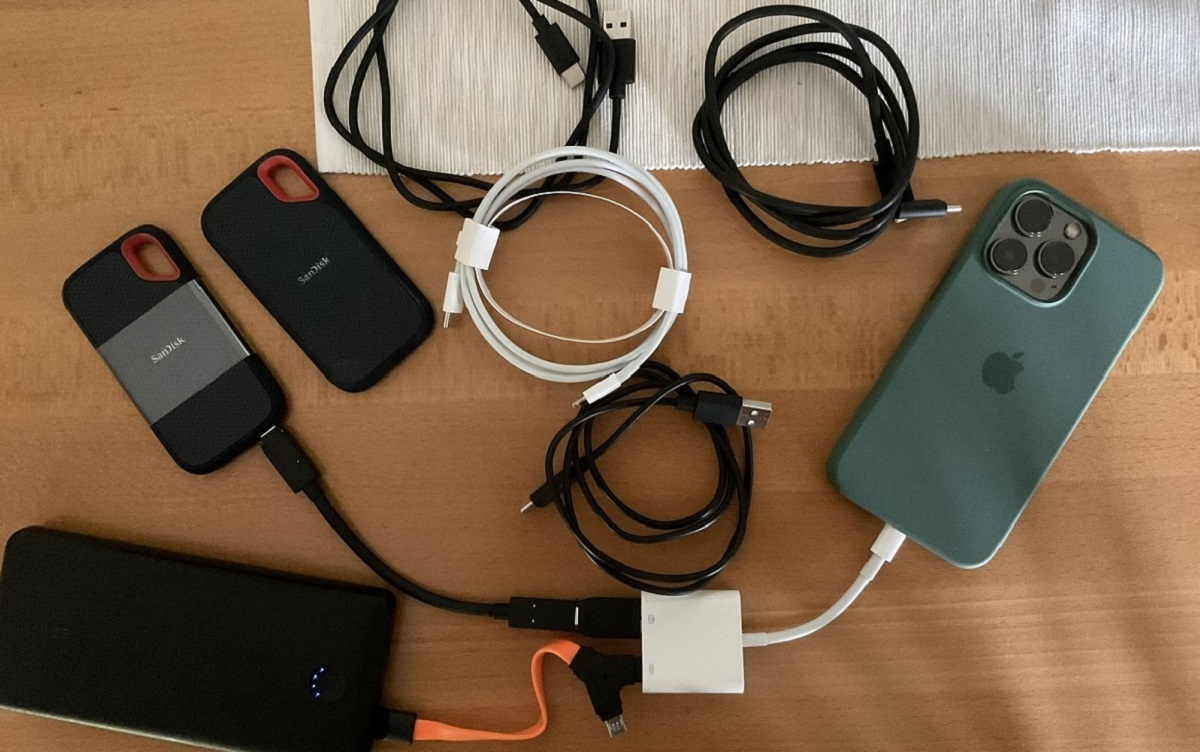
2. Connect Your SSD: Connect your SSD to your computer using a USB cable or the appropriate connector. Ensure that your SSD is recognized by your computer and appears as an available storage option.
3. Install the Necessary Software: Some SSDs may come with specific software or drivers that need to be installed on your computer for seamless integration. Check the manufacturer’s website or the accompanying documentation for instructions on installing any required software.
4. Prepare Your SSD: It’s a good practice to format your SSD before initiating the transfer to ensure optimum performance and compatibility. Refer to the user manual or the manufacturer’s website for instructions on how to format your particular SSD model.
5. Create a Backup: While the transfer process is generally safe, it’s always a good idea to create a backup of your iPhone photos before starting the transfer. You can use iCloud, iTunes, or any other reliable backup method to ensure that your precious memories are securely stored. This backup will serve as an additional layer of protection in case of any unforeseen issues during the transfer process.
6. Clear Out Unnecessary Photos: To streamline the transfer process and optimize storage space, consider deleting any duplicate, blurry, or unnecessary photos from your iPhone beforehand. This will not only save time during the transfer but also ensure that you are transferring only the photos that hold sentimental or practical value to you.
By following these preparatory steps, you are setting the stage for a smooth and hassle-free transfer of your iPhone photos to your SSD. Once you have completed these preparations, you are ready to move on to the next step: connecting your iPhone to your computer.
Step 2: Connect Your iPhone to Your Computer
Now that you have prepared your iPhone and SSD, it’s time to connect your iPhone to your computer. Follow these steps to establish a connection:
1. Use an Apple Lightning Cable: Grab your Apple Lightning cable, which typically comes with your iPhone. Ensure that it is in good condition without any visible damage.
2. Plug the Lightning Cable into Your iPhone: Locate the charging port on your iPhone and insert one end of the Lightning cable into it. Make sure the connection is secure.
3. Connect the USB End to Your Computer: Take the other end of the Lightning cable, which has a USB connector. Connect it to an available USB port on your computer.
4. Unlock Your iPhone: If your iPhone is locked with a passcode or Face ID, unlock it to allow the computer to access the device.
5. Trust This Computer: When you connect your iPhone to a new computer, it may prompt you with a message on your iPhone that asks if you trust the computer. Tap “Trust” to establish a trusted connection between your iPhone and the computer.
6. Launch iTunes or Finder: Upon connecting your iPhone to the computer, iTunes (for Windows users or macOS Mojave and earlier) or Finder (for macOS Catalina and later) should automatically open. If they don’t, manually open the respective application.
Once the connection is established, you should see your iPhone listed within iTunes or Finder, indicating that the computer recognizes your device.
It’s worth noting that if you have previously connected your iPhone to your computer, it may automatically trust the connection without any additional prompts or steps. However, if you encounter any issues with establishing the connection, ensure that your cable is functioning correctly and try a different USB port on your computer if possible.
With your iPhone successfully connected to your computer, you are ready to move on to the next step: transferring photos from your iPhone to your computer using either iTunes or Finder, depending on your operating system.
Step 3: Use iTunes or Finder to Transfer Photos to Your Computer
With your iPhone connected to your computer, you can now proceed to transfer your photos using either iTunes or Finder, depending on your operating system. Follow these steps:
Using iTunes:
- Open iTunes on your computer.
- Select your iPhone within iTunes by clicking on the device icon in the upper left corner of the iTunes window.
- In the sidebar, click on “Photos” under the device summary.
- Check the box next to “Sync Photos” and choose the application or folder that contains the photos you want to transfer.
- Specify whether you want to sync all photos or only selected albums or folders.
- Click on the “Apply” button in the lower right corner to initiate the photo transfer process.
Using Finder (macOS Catalina and later):
- Open Finder on your Mac.
- In the sidebar, under “Locations,” select your iPhone.
- Click on the “Photos” tab.
- Choose the option to “Sync Photos to your device from” and select the application or folder where your photos are stored.
- Select whether you want to sync all photos or only specific albums and folders.
- Click on the “Apply” button to start the photo transfer process.
Both iTunes and Finder provide options to customize your photo transfer settings, allowing you to select specific albums, folders, or even individual photos to be synced. This flexibility ensures that you have full control over which photos are transferred from your iPhone to your computer.
Depending on the size of your photo library and the transfer speed, the process may take some time. It’s important to be patient and avoid disconnecting your iPhone during the transfer to prevent any data corruption or loss.
Once the transfer is complete, you can proceed to the next step: creating a new folder on your SSD to store the transferred photos.
Step 4: Create a New Folder on Your SSD to Store Photos
Now that you have successfully transferred your photos from your iPhone to your computer, it’s time to create a new folder on your solid-state drive (SSD) to store these photos. Follow these steps:
1. Open File Explorer (Windows) or Finder (Mac): Depending on your operating system, open the file management application that allows you to navigate through the files and folders on your computer.
2. Locate Your SSD: In the file management application, navigate to the section or sidebar where your SSD is listed. It is usually labeled with the name or brand of your SSD.
3. Right-Click (Windows) or Control-Click (Mac): Right-click on an empty space within the SSD folder, or control-click if you’re using a Mac, to open a context menu.
4. Select “New Folder”: From the context menu, choose the option to create a new folder.
5. Name Your New Folder: A new folder will appear, awaiting a name. Give it a descriptive name, such as “iPhone Photos” or any other label that makes sense to you.
6. Press Enter (Windows) or Return (Mac): After giving the folder a name, press the “Enter” key on Windows or the “Return” key on Mac to confirm and save the new folder name.
7. Open the New Folder: Double-click on the newly created folder to open it. This is where you will store your transferred iPhone photos.
By creating a separate folder on your SSD to store your iPhone photos, you can easily locate and organize them. This also ensures that your photos are kept in a designated location, making them easier to back up, access, and manage.
Now that you have prepared your SSD by creating a dedicated storage folder, you are ready to move on to the next step: copying and pasting the transferred photos from your computer to the SSD folder.
Step 5: Copy and Paste Photos from Your Computer to the SSD
After successfully transferring your iPhone photos to your computer and creating a new folder on your solid-state drive (SSD) to store them, it’s time to copy and paste the photos from your computer to the SSD folder. Follow these steps to complete the process:
1. Open File Explorer (Windows) or Finder (Mac): Launch the file management application on your computer to navigate through your files and folders.
2. Locate the Folder with the Transferred Photos: Using File Explorer (Windows) or Finder (Mac), navigate to the location on your computer where the transferred photos are stored. This is usually the default folder that you selected during the transfer process.
3. Open the SSD Folder: In another window or tab of File Explorer (Windows) or Finder (Mac), navigate to the newly created folder on your SSD where you want to store the photos.
4. Select the Photos: Click and drag your mouse cursor to select all the transferred photos in the source folder. Alternatively, you can hold the “Ctrl” key (Windows) or “Command” key (Mac) and click on individual photos to select them one by one.
5. Copy the Selected Photos: Right-click on the selected photos and choose the “Copy” option from the context menu. Alternatively, you can use the shortcut key combination “Ctrl+C” (Windows) or “Command+C” (Mac) to copy the photos.
6. Paste the Photos into the SSD Folder: Go to the SSD folder and right-click on an empty space within it. Select the “Paste” option from the context menu. Alternatively, you can use the shortcut key combination “Ctrl+V” (Windows) or “Command+V” (Mac) to paste the photos into the SSD folder.
7. Wait for the Photos to Copy: Depending on the number and size of the photos, it may take some time for the copying process to complete. Be patient and avoid interrupting the process to prevent any data loss or corruption.
Once the copying process is finished, you will find the photos from your iPhone now residing in the designated folder on your SSD. Congratulations! You have successfully transferred and stored your precious memories on the SSD, ensuring that they are easily accessible and securely backed up.
Now that your photos are safely stored on the SSD, you can proceed to the final step: safely disconnecting your iPhone and SSD from your computer.
Step 6: Safely Disconnect Your iPhone and SSD
After transferring your iPhone photos to your solid-state drive (SSD) and ensuring that they are safely stored, it’s important to properly disconnect your devices to prevent any potential data loss or damage. Follow these steps to safely disconnect your iPhone and SSD from your computer:
1. Eject your iPhone:
- For Windows: In the system tray, located in the lower right corner of the screen, click on the “Safely Remove Hardware and Eject Media” icon. Locate your iPhone in the list of removable devices and select it to eject. Wait until you see a notification confirming that it is safe to disconnect the device.
- For Mac: In Finder, under the “Locations” section on the sidebar, click on the eject icon next to your iPhone’s name. Alternatively, you can right-click on your iPhone and select the “Eject” option.
2. Safely remove your Lightning cable:
- For Windows: Gently pull out the Lightning cable from the USB port of your computer.
- For Mac: Remove the Lightning cable from the USB port by gently pulling it out.
3. Eject your SSD:
- For Windows: In the system tray, click on the “Safely Remove Hardware and Eject Media” icon again. Locate your SSD in the list of removable devices and select it to eject. Wait for the notification confirming that it is safe to disconnect the SSD.
- For Mac: In Finder, under the “Locations” section on the sidebar, click on the eject icon next to your SSD’s name. Alternatively, you can right-click on your SSD and select the “Eject” option.
4. Safely remove your SSD:
- For Windows: Disconnect your SSD from the USB port of your computer by gently removing the cable.
- For Mac: Disconnect your SSD from the USB port by gently removing the cable.
It’s crucial to follow these steps and safely eject your iPhone and SSD from your computer to avoid any potential data corruption or damage. By taking the extra time to disconnect your devices properly, you can ensure that your iPhone photos and SSD remain intact and accessible for future use.
With your iPhone and SSD safely disconnected from your computer, you have successfully completed the process of transferring and storing your iPhone photos on your SSD. Enjoy the additional storage space, faster transfer speeds, and easy access to your precious memories, knowing that they are securely backed up on your SSD.
Now that you have mastered the art of transferring iPhone photos to an SSD, you can confidently manage and organize your photo library, freeing up space on your iPhone and ensuring that your memories are always protected.
Conclusion
Congratulations! You have successfully learned how to transfer your iPhone photos to a solid-state drive (SSD), unlocking a world of benefits and possibilities for your photo storage. By following the step-by-step guide outlined in this article, you have gained the knowledge and skills needed to free up space on your iPhone, enhance reliability and durability, enjoy faster transfer speeds, and easily access and manage your photos.
Throughout the process, you learned the importance of keeping your devices updated, establishing a trusted connection between your iPhone and computer, using iTunes or Finder to transfer photos, creating a new folder on your SSD, and finally, safely disconnecting your devices to prevent any data loss or damage.
Transferring your iPhone photos to an SSD not only provides you with extra storage space but also offers a reliable and secure backup solution for your precious memories. With the flexibility and expandability of SSDs, you can easily adapt to your storage needs and ensure that your photos are always easily accessible and protected.
Remember, it’s essential to regularly back up your SSD and consider additional backup solutions to further safeguard your photos. Whether you choose cloud storage, external hard drives, or redundant SSDs, creating multiple copies of your photo library is crucial to ensure the longevity and preservation of your memories.
Now that you’ve mastered the art of transferring iPhone photos to an SSD, continue exploring new ways to optimize your photo management. Consider organizing your photos into albums, using editing tools to enhance your images, and utilizing photo management software to streamline your workflow.
By taking control of your photo storage, you can enjoy a clutter-free iPhone, enhanced reliability and accessibility, and a seamless experience when capturing and cherishing your precious moments. So, go ahead, transfer your iPhone photos to an SSD, and embark on a journey of efficient photo management and limitless possibilities.