Introduction
Formatting an external Solid State Drive (SSD) is an essential step when setting up storage for your computer or other devices. The process ensures that the SSD is properly prepared for use, allowing you to store and access your files efficiently.
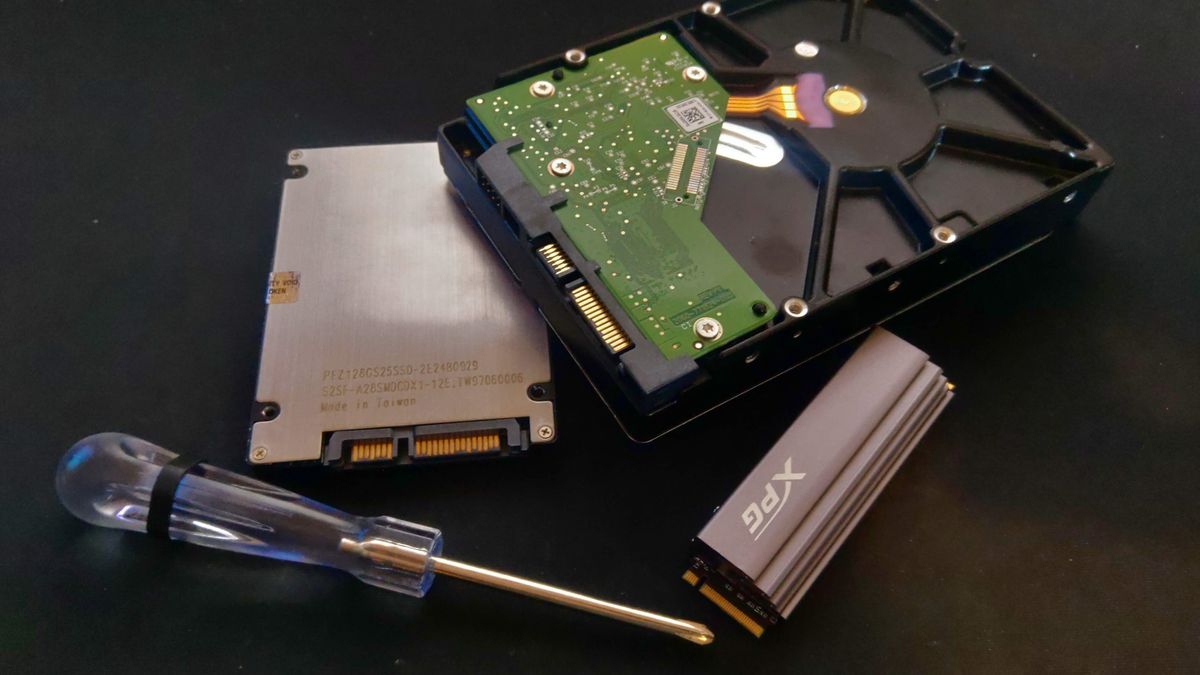
External SSDs have gained popularity due to their compact size, high-speed data transfer capabilities, and durability. They are commonly used for backup, file storage, and even running operating systems. However, before you can start using an external SSD, it must be formatted to a compatible file system.
In this article, we will provide an overview of external SSD formats and guide you through the process of choosing the right file system for your needs. We will then walk you through the step-by-step instructions to format an external SSD on Windows, Mac, and Linux.
Whether you’re setting up a new external SSD or reformatting an existing one, this guide will help you ensure that your device is correctly formatted, optimized for performance, and ready to store your valuable data.
Overview of External SSD Formats
External SSDs can be formatted with different file systems, which determine how data is stored and organized on the drive. The choice of file system depends on the intended use of the SSD and the operating systems you plan to use it with. Here are some of the most common file systems used for external SSDs:
- FAT32: FAT32 is a widely supported file system that is compatible with various operating systems, including Windows, Mac, and Linux. It has a maximum file size limit of 4GB, which can be a limitation when dealing with large files. However, FAT32 is suitable for general data storage and sharing between different devices.
- NTFS: NTFS is the default file system for Windows operating systems. It supports large file sizes and offers advanced features such as file encryption and disk compression. However, NTFS is not natively supported by Mac and requires additional software for full read and write access.
- exFAT: exFAT is another file system that offers compatibility with both Windows and Mac operating systems. It provides support for large file sizes, making it ideal for storing multimedia files and backups. exFAT is also supported by some Linux distributions.
- APFS: APFS, which stands for Apple File System, is the default file system for Mac computers. It is optimized for solid-state drives and offers features such as native encryption, snapshotting, and improved file system performance. APFS is not compatible with Windows systems.
- EXT4: EXT4 is a popular file system used in Linux distributions. It provides advanced features such as journaling for improved data integrity and support for file permissions and symbolic links. EXT4 is not natively supported by Windows and Mac, but there are software solutions available for accessing EXT4 drives on these systems.
When choosing the format for your external SSD, consider the compatibility with your devices, the size and type of files you’ll be working with, and any specific features or requirements you may have. Now that you have an understanding of the different file systems, let’s proceed to the next section to learn how to choose the right format for your external SSD.
How to Choose the Right File System
Choosing the right file system for your external SSD is crucial to ensure optimal performance and compatibility with your devices. Here are some factors to consider when making your decision:
- Operating System Compatibility: Determine which operating systems you’ll be using your external SSD with. If you need cross-platform compatibility, consider file systems like FAT32 or exFAT that can be read and written by both Windows and Mac.
- File Size Limitations: Consider the size of the files you’ll be storing on your external SSD. If you work with large multimedia files, you may want to choose a file system that supports larger file sizes, such as exFAT or NTFS.
- Advanced Features: Some file systems offer advanced features that may be important to you. For example, if you’re using a Mac, the APFS file system provides benefits like native encryption and improved performance on SSDs. On the other hand, if you’re using Linux, EXT4 offers features like journaling for enhanced data integrity.
- Data Security: Consider the level of data security you require. Certain file systems, like NTFS and APFS, offer built-in encryption features to protect your sensitive files. If data security is a top priority, choose a file system that provides encryption options.
- Third-Party Software: Keep in mind that certain file systems might require additional third-party software to be installed on your system to ensure full compatibility and read/write access. This can be a consideration if you prefer to use native file system support without relying on additional tools.
By assessing these factors, you can determine which file system best suits your needs and make an informed decision. Remember that you can always reformat your external SSD if your requirements change in the future.
In the following sections, we will provide step-by-step instructions on how to format an external SSD on Windows, Mac, and Linux. These instructions will help you select the appropriate file system during the formatting process.
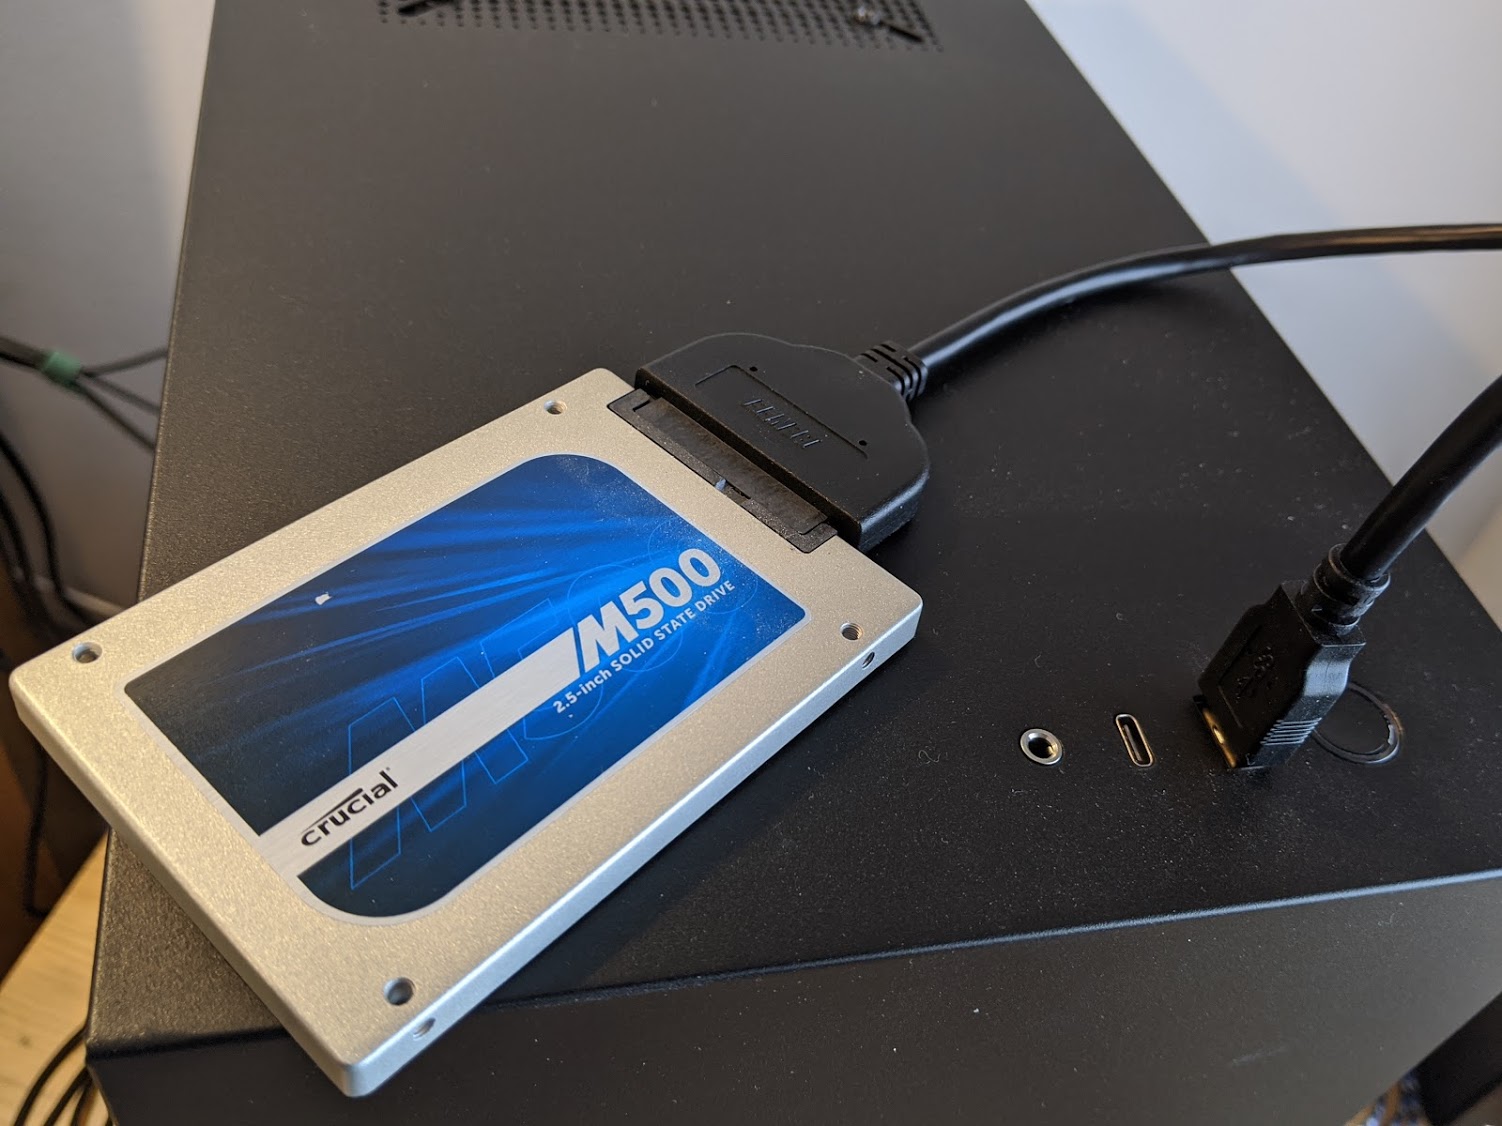
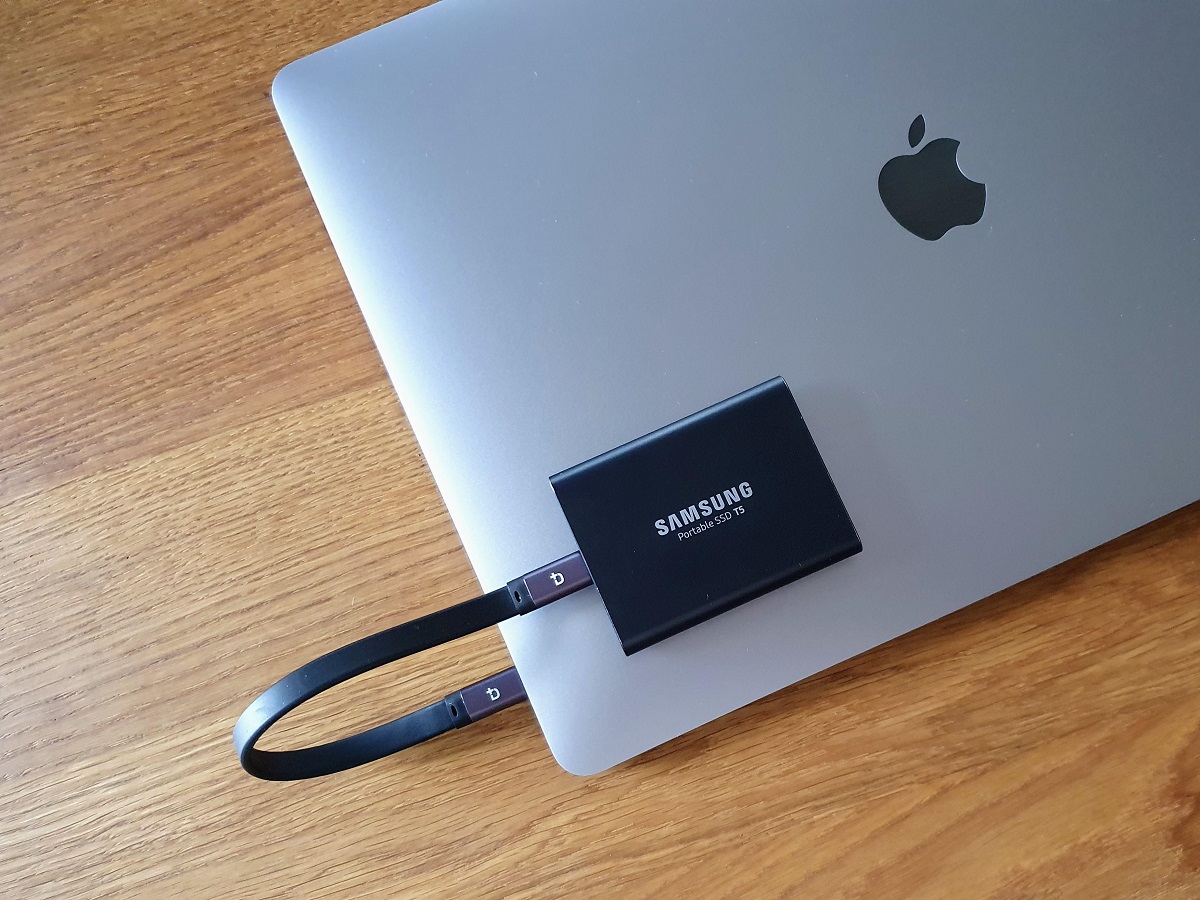
Step 1: Connect the External SSD to Your Computer
The first step in formatting an external SSD is to ensure that it is properly connected to your computer. Follow these instructions to connect your external SSD:
- Locate an available USB port on your computer. Depending on the type of SSD and your computer’s ports, you may need a USB-A, USB-C, or Thunderbolt cable.
- Insert one end of the cable into the external SSD’s port. Ensure a secure connection.
- Insert the other end of the cable into the corresponding USB port on your computer. Again, ensure a secure and snug connection.
- If your external SSD requires a power source, make sure it is connected to a power outlet or your computer’s USB port for power.
Once the external SSD is connected to your computer, it should be recognized as a new storage device. The next steps will guide you through the process of formatting the SSD on different operating systems.
Note: Before proceeding with the formatting steps, make sure to backup any important data on the external SSD. Formatting will erase all existing data on the drive.
In the following sections, we will provide detailed instructions on how to format the external SSD on Windows, Mac, and Linux operating systems.
Step 2: Backup Important Data (Optional)
Before formatting your external SSD, it is highly recommended to backup any important data that is currently stored on the drive. This step is optional but crucial to prevent permanent data loss. Here’s how you can backup your data:
- Connect the external SSD to your computer as described in the previous step.
- Open File Explorer (Windows) or Finder (Mac) and navigate to the external SSD to access its contents.
- Select and copy the files or folders that you want to backup.
- Paste the copied files or folders to another location on your computer’s internal storage or an external backup device.
Alternatively, you can use specialized backup software or services to automate the process of backing up your data. These tools often provide additional features like scheduling backups and incremental backups.
By backing up your data, you ensure that even if something goes wrong during the formatting process, your important files will be safe and easily restorable. Once you have successfully backed up your data, you can proceed to the next step, which explains how to format the external SSD on Windows.
Step 3: Format the External SSD on Windows
Formatting an external SSD on Windows is a straightforward process. Follow these steps to format your SSD:
- Ensure that your external SSD is properly connected to your Windows computer.
- Open File Explorer by pressing the Windows key + E or by clicking on the File Explorer icon on the taskbar.
- In the File Explorer window, locate and right-click on the external SSD drive letter. It will be listed under the “This PC” or “Computer” section.
- In the right-click menu, select “Format…” This will open the Format window.
- In the Format window, choose the desired file system from the “File System” drop-down menu. You can choose NTFS, FAT32, or exFAT depending on your needs.
- Provide a new name for the drive in the “Volume label” field. This is optional but can help you identify the drive easily.
- Choose the desired allocation unit size. It is recommended to leave it as the default, but you can change it based on specific requirements.
- Check the “Quick Format” option if you want to speed up the formatting process. Note that this option does not fully erase the data, so sensitive data may still be recoverable.
- Click on the “Start” button to begin the formatting process. A warning message will appear, notifying you that all data on the drive will be deleted. Make sure you have backed up any important data before proceeding.
- Wait for the formatting process to complete. The duration will depend on the size of the drive and the chosen file system.
- Once the formatting process is finished, you will see a confirmation message. Click “OK” to close the Format window.
Your external SSD is now formatted and ready to be used on your Windows computer. You can repeat this process if you want to change the file system in the future.
Next, we will guide you through the steps to format an external SSD on a Mac.
Step 4: Format the External SSD on Mac
Formatting an external SSD on a Mac is a simple process. Follow these steps to format your SSD:
- Make sure your external SSD is connected to your Mac.
- Open Finder by clicking on the Finder icon in the dock or by pressing Command + Space and searching for “Finder”.
- In the Finder window, click on “Applications” in the sidebar and then open the “Utilities” folder.
- Open the “Disk Utility” application from the Utilities folder.
- In the Disk Utility window, you’ll see a list of drives and volumes on the left-hand side. Select the external SSD from the list.
- Click on the “Erase” tab located at the top of the Disk Utility window.
- Choose the desired format for your external SSD from the “Format” drop-down menu. You can choose between APFS and Mac OS Extended (Journaled), depending on your preferences and requirements.
- Provide a new name for the drive in the “Name” field. This is optional but can help you identify the drive easily.
- Click on the “Erase” button to begin the formatting process. A warning message will appear, notifying you that all data on the drive will be erased. Make sure you have backed up any important data before proceeding.
- Wait for the formatting process to complete. The duration will depend on the size of the drive.
- Once the formatting is finished, you will see a confirmation message. Click “Done” to close the Disk Utility window.
Your external SSD is now formatted and ready to be used on your Mac. Remember that the chosen file system (APFS or Mac OS Extended) may affect compatibility with other operating systems. If cross-platform compatibility is important, consider formatting the SSD as exFAT or FAT32, as mentioned earlier in this guide.
Next, we will explain how to format an external SSD on a Linux system.
Step 5: Format the External SSD on Linux
Formatting an external SSD on a Linux system can be done through the command-line interface. Here are the steps to format your SSD:
- Connect your external SSD to your Linux computer.
- Open a terminal window by pressing Ctrl + Alt + T or searching for “Terminal” in the applications menu.
- In the terminal, use the command
lsblkto list all the connected storage devices. Identify the external SSD based on its size and partition layout. - Once you have identified the external SSD, use the
umountcommand followed by the device location to unmount any mounted partitions on the SSD. For example, if the SSD is located at/dev/sdb, you can use the commandsudo umount /dev/sdb*(replace*with the specific partition number if necessary). - To format the external SSD, use the appropriate command based on the desired file system. For example, to format as exFAT, use the command
sudo mkfs.exfat /dev/sdb. - If you prefer to format as a different file system like EXT4, use the respective command. For example, to format as EXT4, use
sudo mkfs.ext4 /dev/sdb. - After entering the command, confirm your action by typing “y” when prompted. Please note that formatting will erase all data on the SSD, so make sure to back up any important files beforehand.
- Once the formatting process is complete, you will see a success message in the terminal.
Your external SSD is now formatted and ready to use on your Linux system. Depending on the file system you chose, it may be compatible with other operating systems as well.
Now that you have successfully formatted your external SSD on Windows, Mac, and Linux, you can proceed to the next step to verify the formatting.
Step 6: Verify the Formatting
After formatting your external SSD, it’s essential to verify that the formatting process was successful. Verifying the formatting ensures that the file system is intact and compatible with your devices. Follow these steps to verify the formatting:
- Connect your external SSD to your computer.
- Navigate to your file explorer or Finder and locate the external SSD.
- Open the SSD and create a new folder or file to test write access. If you can create a new folder or file without any error messages, it indicates that the formatting was successful.
- Try copying a file to the SSD and then accessing it. If you can read and write files without any issues, it confirms that the formatting is functioning correctly.
- If you encounter any problems during these tests, consider reformatting the external SSD using the appropriate steps mentioned earlier. Make sure to back up any important data before proceeding.
Verifying the formatting allows you to ensure that your external SSD is ready for use and will properly store and access your files. It also gives you peace of mind that the formatting process was completed successfully.
With the formatting successfully verified, you can now start using your external SSD for data storage, backups, or any other intended purpose.
Congratulations! You have completed all the necessary steps to format and verify your external SSD on Windows, Mac, and Linux. By following these instructions, you can make sure that your SSD is properly prepared for storing and accessing your important files.
Conclusion
Formatting an external Solid State Drive (SSD) is a crucial step in preparing it for use, ensuring compatibility, and optimizing performance. By following the steps outlined in this guide, you can successfully format your external SSD on Windows, Mac, and Linux systems.
First, we provided an overview of different external SSD formats, such as FAT32, NTFS, exFAT, APFS, and EXT4, highlighting their compatibility and features. We then discussed the factors to consider when choosing the right file system for your specific needs.
We walked you through the step-by-step instructions for formatting an external SSD on Windows, Mac, and Linux systems. These instructions included connecting the SSD, backing up important data (optional), formatting the drive using the appropriate tools, and verifying the formatting to ensure successful completion.
Remember, before formatting your external SSD, it is crucial to back up any important data to prevent permanent data loss. Additionally, be mindful of the chosen file system’s compatibility with different operating systems to facilitate seamless file sharing and accessibility.
By properly formatting your external SSD, you ensure that it is optimized for performance, ready to store your files securely, and compatible with your devices. Whether you use the SSD for backup purposes, file storage, or running operating systems, following these formatting steps will help you make the most of your external storage solution.
Now that you are familiar with the formatting process, you can confidently set up your external SSD and start taking advantage of its benefits. Enjoy the enhanced storage capacity, speedy file transfers, and reliable data storage provided by your freshly formatted external SSD!