Introduction
Welcome to the world of NVMe SSDs! If you are looking for lightning-fast speed and high-performance storage, then NVMe (Non-Volatile Memory Express) SSDs are the way to go. Until recently, NVMe SSDs were mainly used as internal drives in desktops and laptops. However, with advancements in technology, it is now possible to use NVMe SSDs externally, offering even more flexibility and convenience.
So, what exactly is an NVMe SSD? NVMe is a protocol designed for efficient communication between the host system and the storage device. Unlike traditional SATA-based SSDs, which have a limited bandwidth due to their outdated interface, NVMe SSDs utilize the PCIe (Peripheral Component Interconnect Express) interface, enabling them to deliver unparalleled read and write speeds, significantly reducing data transfer times.
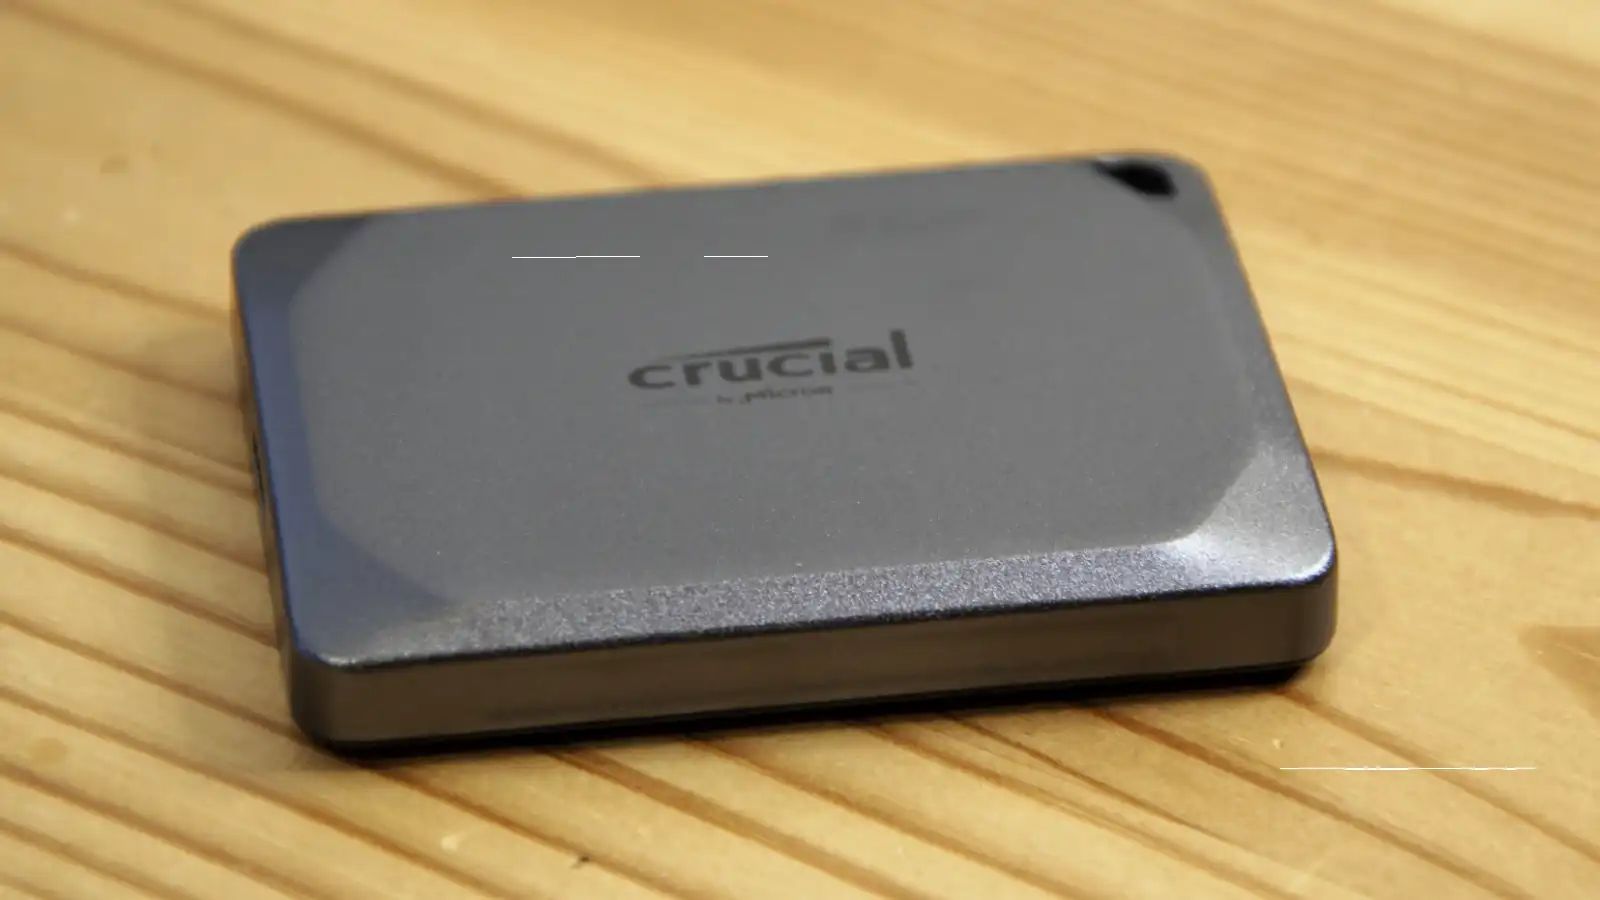
There are several reasons why you might want to use an NVMe SSD externally. Firstly, it allows you to easily expand your storage capacity without opening up your computer or laptop. This is especially useful for those working with large multimedia files, such as photographers, videographers, and content creators. Additionally, external NVMe SSDs are portable, making them ideal for on-the-go professionals who need to access their data from multiple devices.
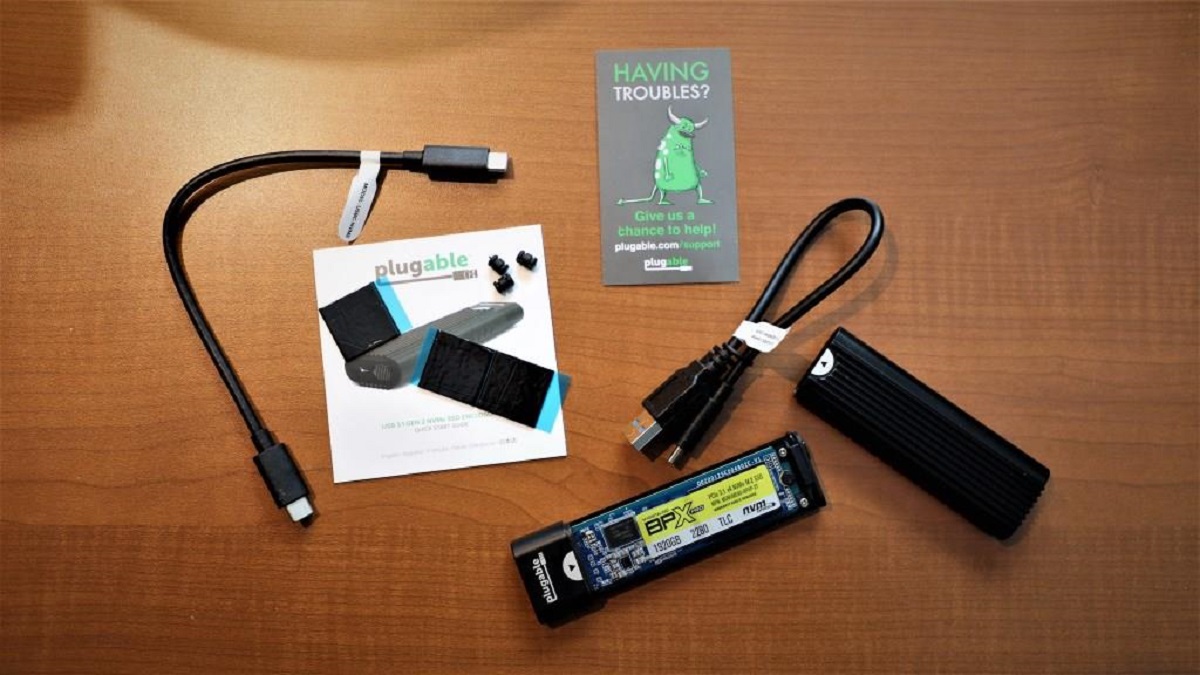
If you have decided that an external NVMe SSD is the right choice for you, the next step is to choose an appropriate NVMe SSD enclosure. The enclosure is a device that houses the NVMe SSD and connects it to your computer or laptop via a USB Type-C or Thunderbolt connection. It is essential to select a high-quality enclosure that supports the NVMe protocol and offers fast data transfer speeds to fully utilize the performance benefits of your NVMe SSD.
In this article, we will guide you through the process of using an NVMe SSD externally. From choosing the right enclosure to transferring data and safely ejecting the SSD, you’ll learn everything you need to know to harness the power of NVMe storage. So, let’s dive in and unlock the potential of NVMe SSDs!
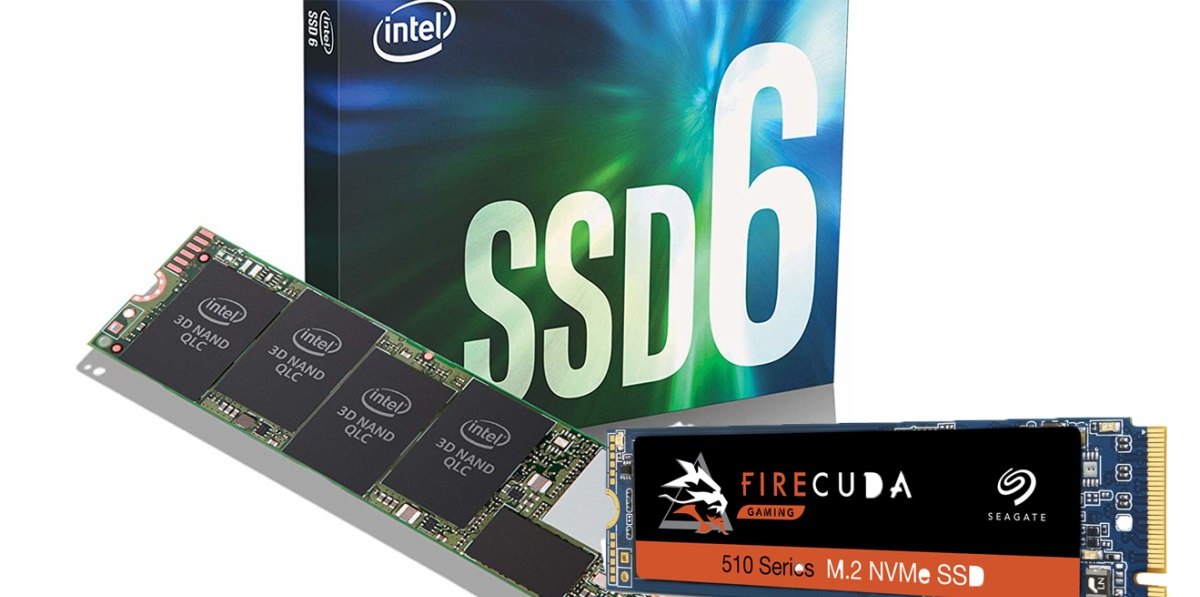
What is NVMe SSD?
If you are new to the world of solid-state drives (SSDs), you may be wondering what makes NVMe SSDs so special. NVMe, which stands for Non-Volatile Memory Express, is a protocol that allows for faster communication between the storage device and the host system.
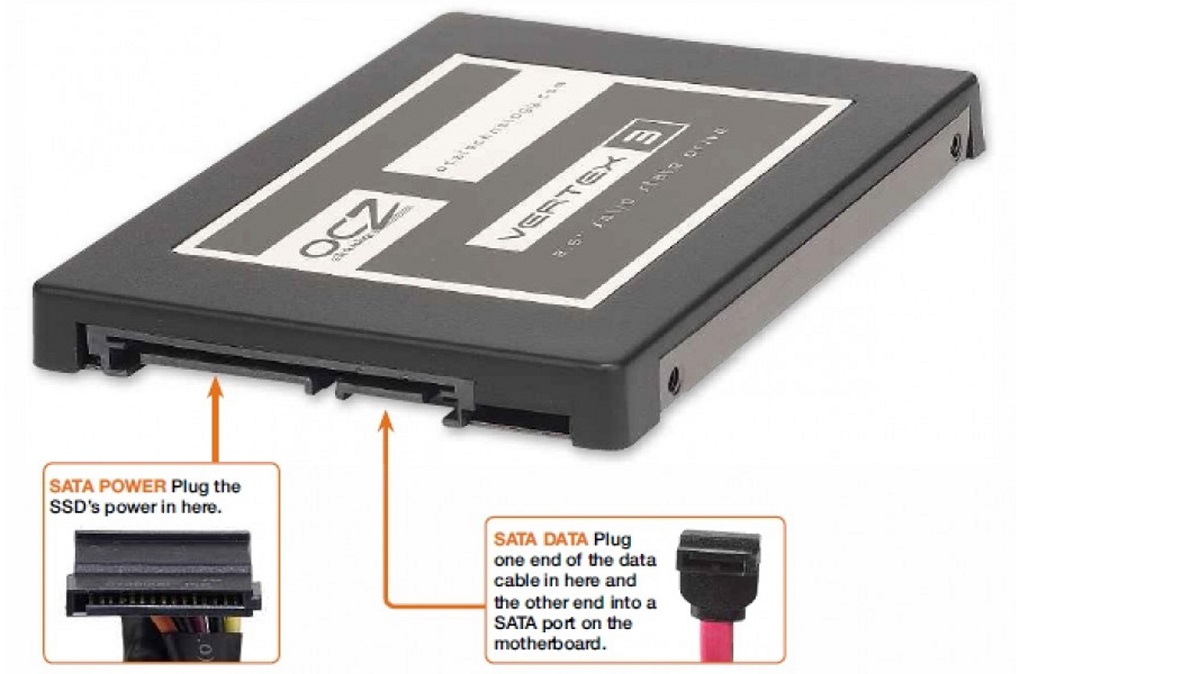
Traditional SSDs, known as SATA-based SSDs, use the Serial ATA (SATA) interface, which was designed for mechanical hard drives. While SATA SSDs are much faster than traditional hard drives, they still face limitations in terms of bandwidth and latency.
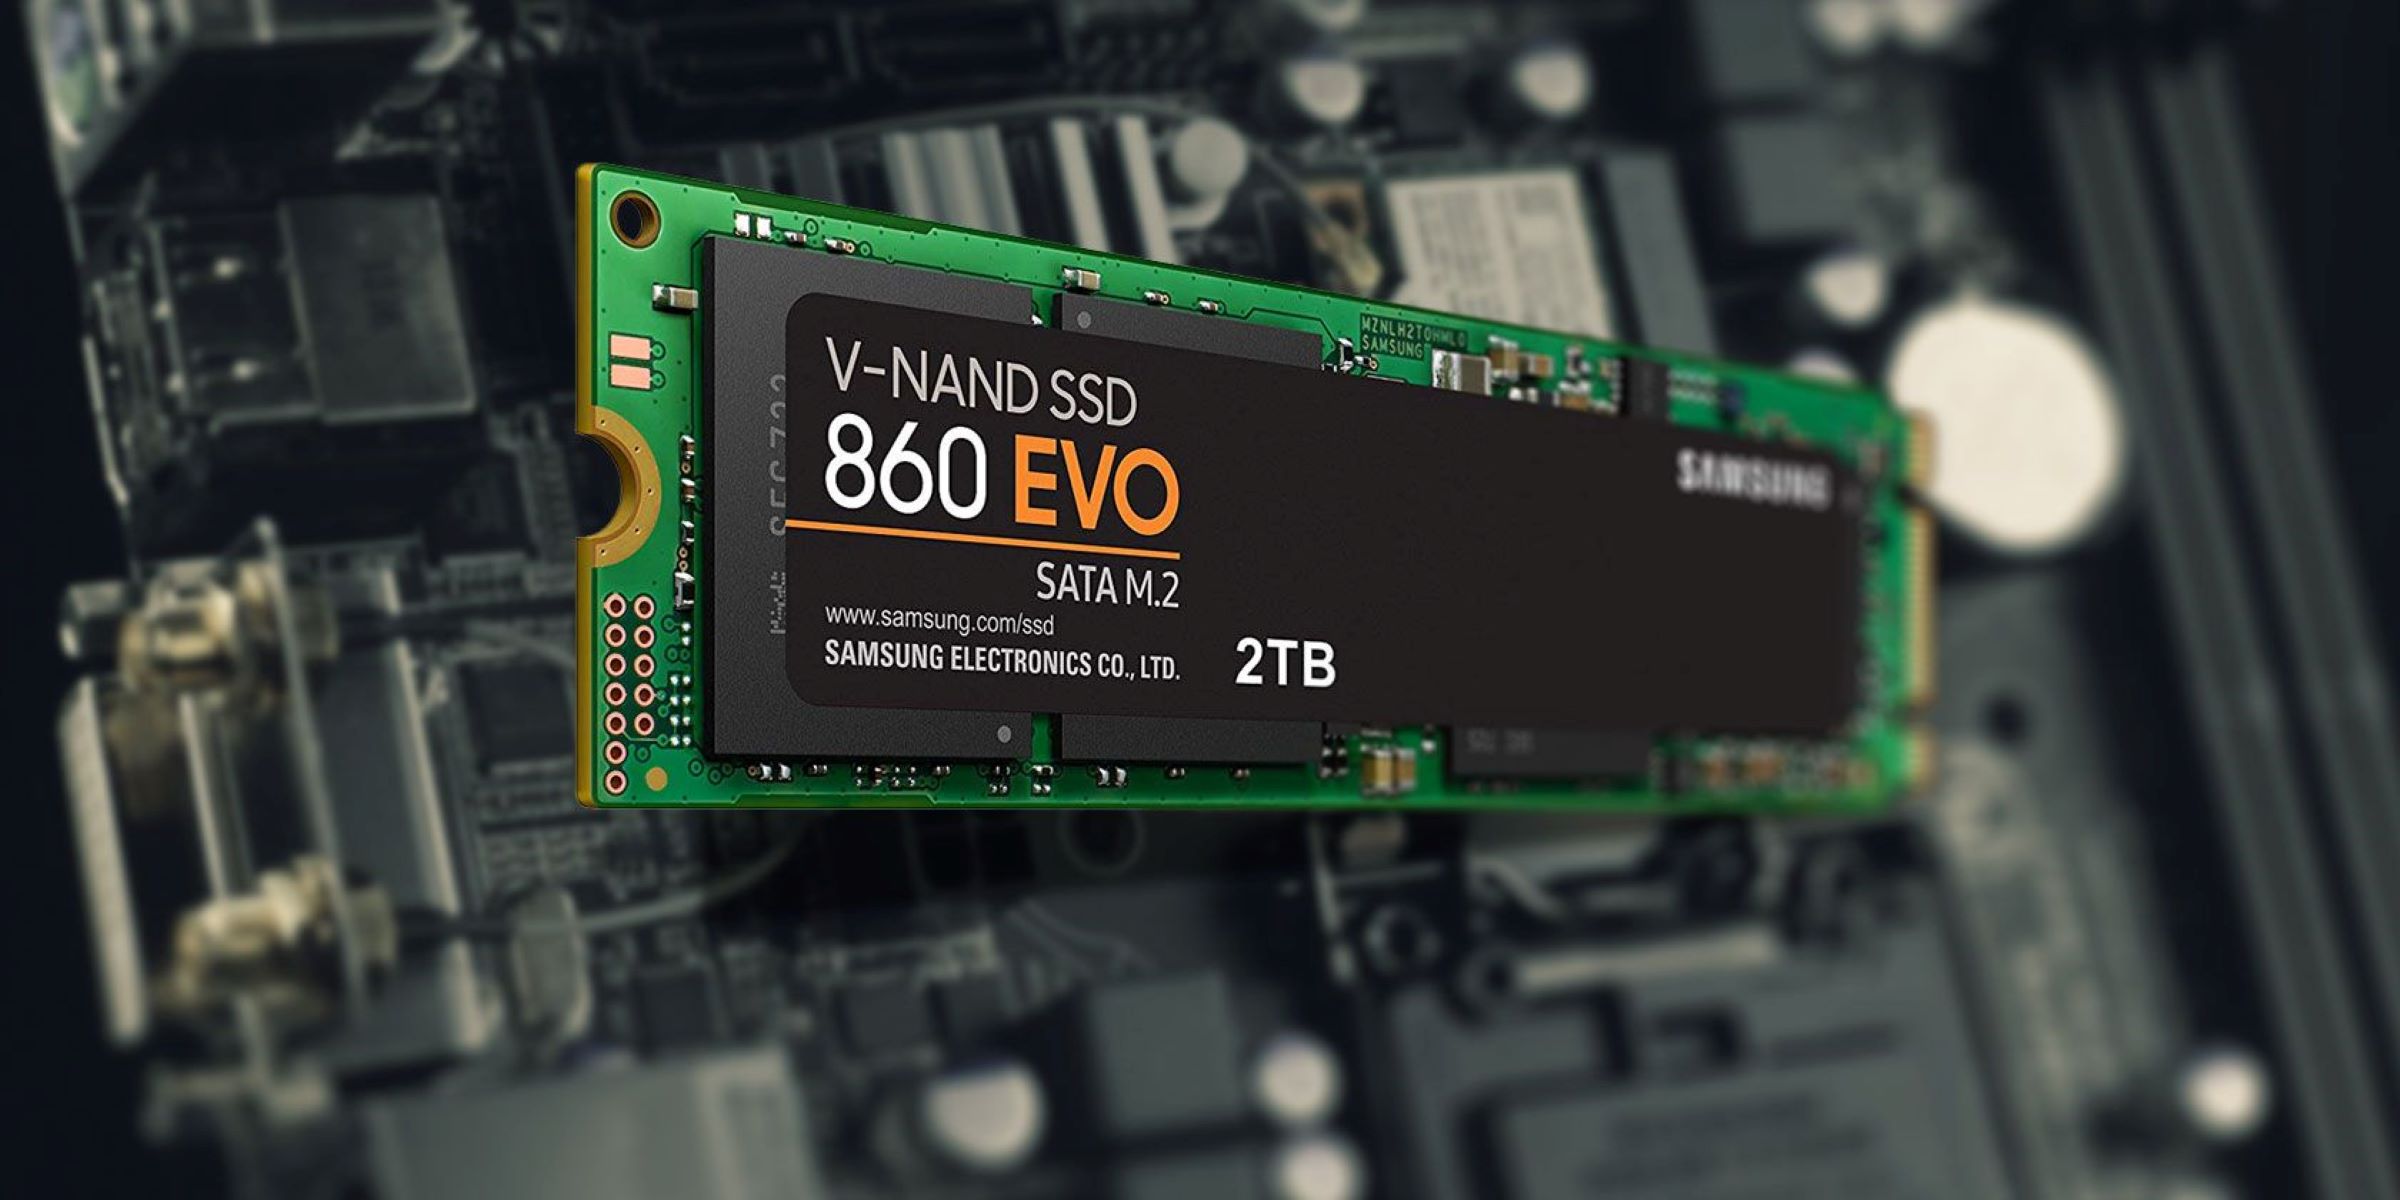
NVMe SSDs, on the other hand, use the PCIe (Peripheral Component Interconnect Express) interface, which provides a direct connection between the SSD and the CPU. This direct connection enables NVMe SSDs to achieve incredible speeds and low latency, making them the ideal storage solution for demanding applications and high-performance tasks.
One of the key advantages of NVMe SSDs is their impressive read and write speeds. While the exact speeds can vary depending on the specific model and configuration, NVMe SSDs can generally achieve sequential read and write speeds of several gigabytes per second. This means that you can transfer large files and load applications incredibly quickly, resulting in a smoother and more efficient computing experience.
Another advantage of NVMe SSDs is their ability to handle multiple input and output operations simultaneously. This is known as parallelism and is made possible by the NVMe protocol. Traditional SSDs, limited by the SATA interface, cannot fully take advantage of parallelism. NVMe SSDs, on the other hand, can handle a higher number of requests at once, which further boosts their performance and responsiveness.
In addition to their impressive speed and parallelism, NVMe SSDs also offer low latency. Latency refers to the time it takes for a storage device to respond to a request. NVMe SSDs have much lower latency compared to SATA SSDs, which means that data can be accessed and loaded much more quickly. This reduced latency is particularly noticeable when it comes to accessing small, random files, such as when launching applications or booting up your system.
In summary, NVMe SSDs are the next generation of solid-state drives, offering unparalleled speed, parallelism, and low latency. Their use of the NVMe protocol and PCIe interface allow for lightning-fast data transfer speeds, making them the preferred choice for professionals who require high-performance storage for demanding tasks.
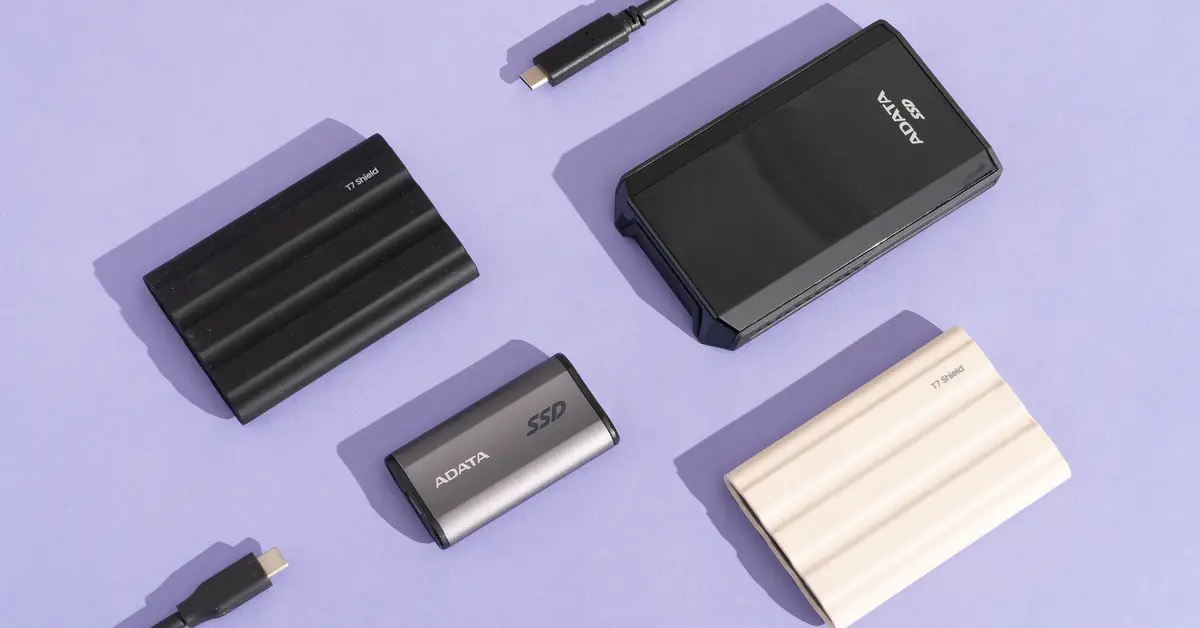
Why use NVMe SSD externally?
While NVMe SSDs are commonly used as internal drives in desktops and laptops, there are several compelling reasons why you might want to use them externally as well.
First and foremost, using an NVMe SSD externally allows you to easily expand your storage capacity without the need to open up your computer or laptop. This is particularly beneficial for those working with large multimedia files or handling data-intensive tasks. By connecting an external NVMe SSD, you can instantly increase the available storage space without worrying about compatibility or hardware limitations.
External NVMe SSDs are also highly portable. Their compact and lightweight design makes it convenient to carry them around and use them with multiple devices. Whether you’re a photographer, videographer, or content creator who needs to access and transfer large files on the go, an external NVMe SSD provides the flexibility and convenience you need.
Another advantage of using NVMe SSDs externally is the ability to leverage their blazing-fast speeds on different systems. If you have a powerful workstation at the office and a laptop for travel, using the same NVMe SSD externally allows you to enjoy consistent high-performance storage across all your devices. You can easily connect and disconnect the external NVMe SSD as needed, ensuring seamless and efficient data access and transfer.
In addition, external NVMe SSDs are well-suited for professional applications that require high-speed data transfer, such as video editing, 3D rendering, and virtual machine storage. The rapid read and write speeds of NVMe SSDs can dramatically reduce workflows, allowing you to work more efficiently and effectively.
Furthermore, using an NVMe SSD externally can free up valuable internal storage space in your computer or laptop. By offloading large files and applications to an external NVMe SSD, you can optimize your system’s performance and ensure smoother operation. This is particularly advantageous for laptops with limited storage capacity, as it allows you to keep your internal drive clutter-free and maximize available space for essential applications and files.
Overall, using an NVMe SSD externally provides the benefits of expanded storage capacity, portability, consistent high-speed performance across multiple devices, and the ability to optimize internal storage. Whether you’re a professional in need of fast and flexible storage solutions or a regular user looking to enhance your computing experience, an external NVMe SSD is an excellent choice.
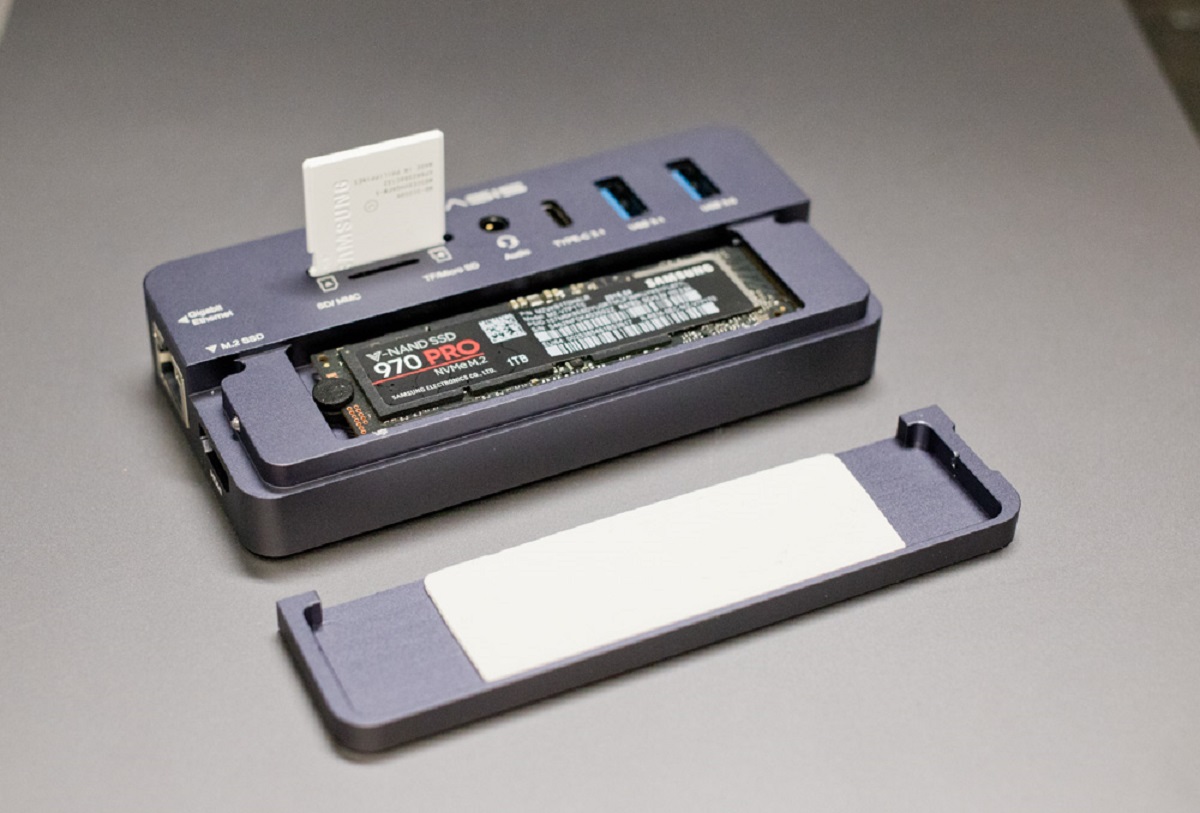
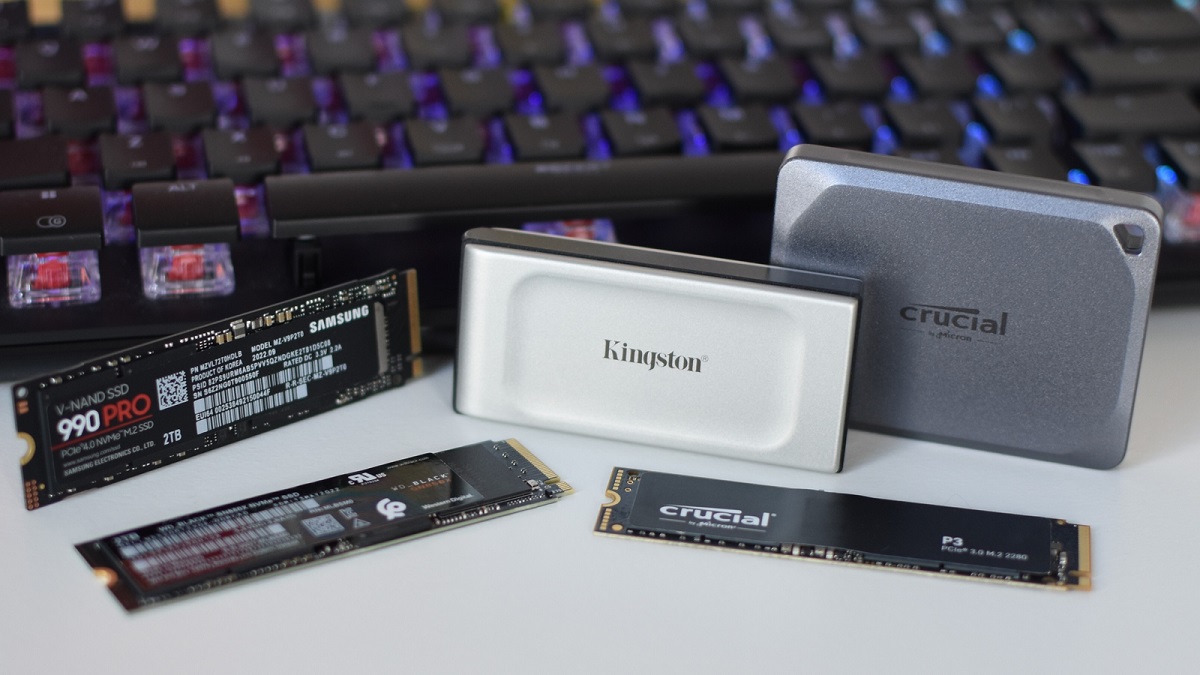
Choosing an NVMe SSD enclosure
Now that you’ve made the decision to use an NVMe SSD externally, it’s important to choose the right enclosure to house and connect your SSD. The enclosure plays a crucial role in ensuring the optimal performance and compatibility of your external NVMe SSD. Here are some factors to consider when selecting an NVMe SSD enclosure:
1. Supported Interface: Check the specifications of the enclosure to ensure that it supports the NVMe protocol. NVMe SSDs require an enclosure with an NVMe-capable interface, such as USB Type-C or Thunderbolt. It’s best to choose an enclosure that specifically mentions NVMe compatibility to avoid any compatibility issues.
2. Data Transfer Speed: To fully utilize the speed capabilities of your NVMe SSD, look for an enclosure that supports high-speed data transfer. USB 3.1 Gen 2 or Thunderbolt 3 interfaces are ideal for achieving fast transfer rates. Make sure the enclosure’s specifications mention the supported data transfer speeds.
3. Form Factor Compatibility: NVMe SSDs come in different form factors, such as M.2 and U.2. Ensure that the enclosure you choose is compatible with the form factor of your NVMe SSD. Most enclosures are designed to accommodate multiple form factors, but it’s essential to double-check compatibility to avoid any issues.
4. Power Delivery: If you’re planning to use the NVMe SSD enclosure with a laptop or other portable devices, look for an enclosure that supports power delivery. This feature allows the enclosure to draw power from the host device, eliminating the need for an external power source. It adds an extra level of convenience when using the NVMe SSD on the go.
5. Build Quality and Heat Dissipation: An enclosure with a sturdy build quality and effective heat dissipation is essential for maintaining the performance and longevity of your NVMe SSD. Look for enclosures made from durable materials that can effectively dissipate heat generated by the SSD during operation. This will help prevent thermal throttling and ensure optimal performance.
6. Price: Consider your budget when choosing an NVMe SSD enclosure. The price range for enclosures can vary significantly depending on the brand, features, and build quality. It’s important to strike a balance between your requirements and budget to ensure you get the best value for your money.
By considering these factors, you can select an NVMe SSD enclosure that meets your specific needs and ensures a seamless and high-performance external storage experience. Remember to read product reviews and user feedback to gain insights into the reliability and performance of different enclosure options. Taking the time to research and choose the right enclosure will help you make the most of your NVMe SSD and enjoy its benefits to the fullest.
Step-by-step guide to using NVMe SSD externally
Now that you have the perfect NVMe SSD enclosure, it’s time to put your external NVMe SSD to use. Follow this step-by-step guide to set up and utilize your NVMe SSD externally:
- Select the right enclosure: Ensure that the enclosure you have chosen is compatible with your NVMe SSD’s form factor. This information can be found in the specifications of both the SSD and the enclosure.
- Prepare the NVMe SSD: If your NVMe SSD is brand new, check if it requires any firmware updates. Visit the manufacturer’s website to download and install any necessary updates. Ensure that the SSD is properly inserted into the enclosure according to the instructions provided.
- Connect the NVMe SSD to the enclosure: Use the provided connector (usually USB Type-C or Thunderbolt) to connect the NVMe SSD to the enclosure. Make sure the connection is secure and properly aligned.
- Connect the enclosure to your computer: Plug the enclosure into a vacant USB Type-C or Thunderbolt port on your computer. If the enclosure uses Thunderbolt, make sure your computer supports Thunderbolt connectivity. This step establishes the connection between the NVMe SSD and your computer.
- Power on the enclosure: If your enclosure requires external power, ensure that it is connected to a power source. Some enclosures may draw power from the host device, eliminating the need for external power.
- Format the NVMe SSD: Open the Disk Management utility on your computer (Windows) or the Disk Utility (macOS) and locate the NVMe SSD. Follow the on-screen instructions to format the SSD with a compatible file system, such as NTFS (Windows) or APFS/HFS+ (macOS). Be cautious not to format any existing drives accidentally.
- Transfer data to the NVMe SSD: Once the NVMe SSD has been formatted, you can begin transferring data to it. Simply drag and drop files or use the copy-paste function to move files from your computer to the NVMe SSD. You can organize the data into folders for easy accessibility.
- Safely eject the NVMe SSD: Before disconnecting the NVMe SSD, make sure to safely eject the drive. On Windows, right-click on the drive in the File Explorer and select “Eject.” On macOS, drag the drive icon to the trash can or right-click and select “Eject.” This ensures that all cached data is written to the NVMe SSD, preventing data loss or file corruption.
By following these steps, you can effectively set up and utilize your NVMe SSD externally. Remember to refer to the user manual provided with your specific NVMe SSD and enclosure for any additional instructions or troubleshooting tips. Enjoy the lightning-fast speeds and convenience of using your NVMe SSD externally!
Connecting the NVMe SSD to the enclosure
Now that you have your NVMe SSD enclosure and NVMe SSD ready, the next step is to connect the SSD to the enclosure. Follow these steps to ensure a proper and secure connection:
- Ensure the NVMe SSD and enclosure are compatible: Verify that the form factor of your NVMe SSD matches the enclosure’s compatibility. Common form factors for NVMe SSDs include M.2 and U.2. This compatibility information can typically be found in the SSD and enclosure specifications.
- Insert the NVMe SSD into the enclosure: Open the enclosure according to the manufacturer’s instructions. Align the pins on the NVMe SSD with the connector in the enclosure and insert the SSD into the slot. Gently press down until the SSD is securely in place. Ensure that the SSD is properly seated and making a connection with the enclosure.
- Secure the NVMe SSD in the enclosure: Depending on the design of the enclosure, you may need to use screws or clips to secure the NVMe SSD in place. Follow the manufacturer’s instructions to ensure the SSD is held securely within the enclosure, avoiding any loose connections or movements that could potentially damage the SSD.
- Connect the enclosure to your computer or device: Locate the appropriate cable provided with your enclosure. Common connection options include USB Type-C and Thunderbolt. Plug one end of the cable into the enclosure and the other end into a vacant USB Type-C or Thunderbolt port on your computer or device. Ensure the connection is secure.
- Power on the enclosure: Check if your enclosure requires external power. Some enclosures draw power directly from the host device, while others may require an external power source. Connect the power cable to the enclosure if necessary and ensure it is securely plugged into a power outlet.
- Check for SSD recognition: Once the enclosure is powered on and connected to your computer, check if the NVMe SSD is recognized. Open the Disk Management utility on Windows or the Disk Utility on macOS to confirm that the SSD is detected. If the SSD is not recognized, double-check the connection and ensure all cables are properly connected.
- Format the NVMe SSD (if necessary): If the NVMe SSD is not formatted or if you wish to change the file system, you can use the disk management tools on your operating system to format the SSD. Be cautious when formatting as it will erase all data on the drive. Follow the on-screen instructions to format the SSD with a compatible file system.
By following these steps, you can successfully connect your NVMe SSD to the enclosure. Remember to refer to the user manual provided with your specific enclosure for any additional instructions or troubleshooting tips. A secure and proper connection is essential for the optimal performance and reliability of your external NVMe SSD.
Formatting the NVMe SSD
When connecting a new or unformatted NVMe SSD to your computer, it is crucial to format the drive before you can start using it. Formatting prepares the SSD for data storage and ensures compatibility with your operating system. Follow these steps to format your NVMe SSD:
- Open the disk management utility: On Windows, right-click on the Start button and select “Disk Management” from the context menu. On macOS, go to “Applications” > “Utilities” > “Disk Utility.”
- Locate the NVMe SSD: In the disk management utility, look for the NVMe SSD. It should be listed as a new or unallocated drive.
- Right-click on the NVMe SSD: On Windows, right-click on the NVMe SSD and select “New Simple Volume.” On macOS, click on the NVMe SSD and select the “Erase” tab.
- Follow the formatting wizard: On Windows, a formatting wizard will guide you through the process. Select the desired file system (e.g., NTFS) and assign a drive letter. On macOS, choose the desired file system (e.g., APFS or HFS+) and provide a name for the drive.
- Confirm and proceed with formatting: Double-check the formatting settings and click “Finish” (Windows) or “Erase” (macOS) to start the formatting process. Note that formatting will erase all existing data on the NVMe SSD, so ensure you have a backup if necessary.
- Wait for the formatting to complete: The formatting process may take a few minutes. Once completed, you will receive a message indicating successful formatting.
- Verify the formatted NVMe SSD: Check the disk management utility or disk utility to ensure that the NVMe SSD is now listed as a formatted drive with the selected file system.
By following these steps, you can easily format your NVMe SSD and ensure it is ready for use. Remember that formatting will erase all existing data on the NVMe SSD, so be cautious and back up any important files before proceeding. Once formatted, your NVMe SSD is ready to store and transfer data promptly and efficiently.
Transferring data to the NVMe SSD
Now that your NVMe SSD is formatted and ready for use, it’s time to start transferring your data onto the drive. Follow these steps to transfer data to your NVMe SSD:
- Open the file explorer or finder: On Windows, open the File Explorer by clicking on the folder icon in the taskbar or pressing the Windows key + E. On macOS, open the Finder by clicking on the smiley face icon in the dock or pressing Command + Space and typing “Finder.”
- Navigate to the files or folders you want to transfer: Browse through your computer’s directories to locate the files or folders you wish to move to the NVMe SSD.
- Select the files or folders: Click and drag your mouse to select multiple files or use Ctrl (Windows) or Command (macOS) while clicking to select specific files. Alternatively, you can click on a file or folder to select it individually.
- Copy the selected files or folders: Right-click on the selected items and choose “Copy.” Alternatively, use the Ctrl + C (Windows) or Command + C (macOS) keyboard shortcuts.
- Navigate to the NVMe SSD: In the file explorer or finder, locate the NVMe SSD. It should be listed as a drive with the assigned drive letter or name.
- Paste the copied files or folders: Right-click on the NVMe SSD drive and choose “Paste.” Alternatively, use the Ctrl + V (Windows) or Command + V (macOS) keyboard shortcuts.
- Wait for the transfer to complete: The time required to transfer the files or folders will depend on their size and the speed of your NVMe SSD. Larger files may take longer to transfer. Ensure that the transfer process is complete before disconnecting the NVMe SSD.
- Verify the transferred data: Once the transfer is complete, navigate to the NVMe SSD and verify that the transferred files or folders are present and accessible.
By following these steps, you can easily transfer your data onto the NVMe SSD. Remember to organize your files and folders in a way that suits your needs for easy accessibility. With the fast read and write speeds of NVMe SSDs, you’ll enjoy swift data transfer and quick access to your files.
Safely ejecting the NVMe SSD
Once you have finished using your NVMe SSD and no longer need it connected to your computer, it is important to safely eject the drive to prevent data loss or corruption. By following these steps, you can safely disconnect your NVMe SSD:
- Save and close any open files or applications: Before ejecting the NVMe SSD, ensure that you have saved and closed any files or applications that were being accessed from the drive. This prevents any potential data loss or file corruption.
- Locate the NVMe SSD: In the file explorer or finder, navigate to the NVMe SSD and ensure that you have selected the correct drive that you wish to eject.
- Eject the NVMe SSD: On Windows, right-click the NVMe SSD and select “Eject” or “Safely Remove Hardware.” On macOS, either click and drag the NVMe SSD icon to the trash can in the dock or right-click and select “Eject.” Alternatively, you can also find the “Eject” option in the sidebar of the finder window.
- Wait for the confirmation: After initiating the eject process, wait for the system to confirm that it is safe to remove the NVMe SSD. This confirmation message ensures that all data has been written to the drive and there are no active processes or connections.
- Physically disconnect the NVMe SSD: Once you have received the confirmation message, you can safely disconnect the NVMe SSD from your computer. Gently remove any cables or connectors attached to the drive, ensuring no unnecessary force is applied.
By following these steps, you can ensure the safe disconnection of your NVMe SSD, preventing any potential data loss or damage to the drive. It is important to always wait for the system’s confirmation before physically disconnecting the drive to ensure all data has been written and all processes have ended.
Conclusion
Using an NVMe SSD externally is a great way to expand your storage capacity, enhance your data transfer speeds, and enjoy the portability and convenience of a high-performance storage solution. NVMe SSDs, with their lightning-fast speeds and low latency, offer significant advantages over traditional SATA-based SSDs.
In this article, we explored the benefits of using NVMe SSDs externally, including the ability to easily increase storage capacity, portability for professionals on the go, and consistent high-performance storage across multiple devices. We also discussed the importance of choosing a compatible and high-quality NVMe SSD enclosure to ensure optimal performance and reliability.
We provided a step-by-step guide on how to set up and utilize an NVMe SSD externally, covering the crucial steps of connecting the NVMe SSD to the enclosure, formatting the drive, transferring data, and safely ejecting the SSD. Following these steps will help you leverage the full potential of your NVMe SSD and enjoy fast and efficient storage for your files and applications.
Remember to always refer to the user manual provided with your specific NVMe SSD and enclosure for any additional instructions or troubleshooting tips. Properly maintaining and caring for your NVMe SSD will ensure its longevity and continued performance.
In conclusion, by harnessing the power of NVMe SSDs externally, users can experience the remarkable speed, parallelism, and low latency that these cutting-edge storage solutions offer. Whether you are a professional working with resource-intensive applications or a regular user seeking a storage upgrade, NVMe SSDs provide a compelling solution for fast and reliable storage performance.