Introduction
A solid state drive (SSD) is a powerful upgrade that can significantly enhance the performance and speed of your gaming laptop. Unlike traditional hard drives, SSDs do not have any moving parts, which allows them to deliver faster read and write speeds, quicker boot times, and seamless gaming experiences.
Whether you’re an avid gamer or a casual player, the benefits of installing an SSD in your gaming laptop are undeniable. In this article, we will explore the advantages of SSDs, discuss important factors to consider before installing one, and provide you with a comprehensive step-by-step guide to successfully installing an SSD into your gaming laptop.
By making this upgrade, you can expect improved loading times in games, faster system responsiveness, reduced lag, and overall smoother gameplay. Additionally, an SSD can enhance your productivity by decreasing the time it takes to launch applications and access files. It’s a worthwhile investment that can take your gaming and computing experience to the next level.
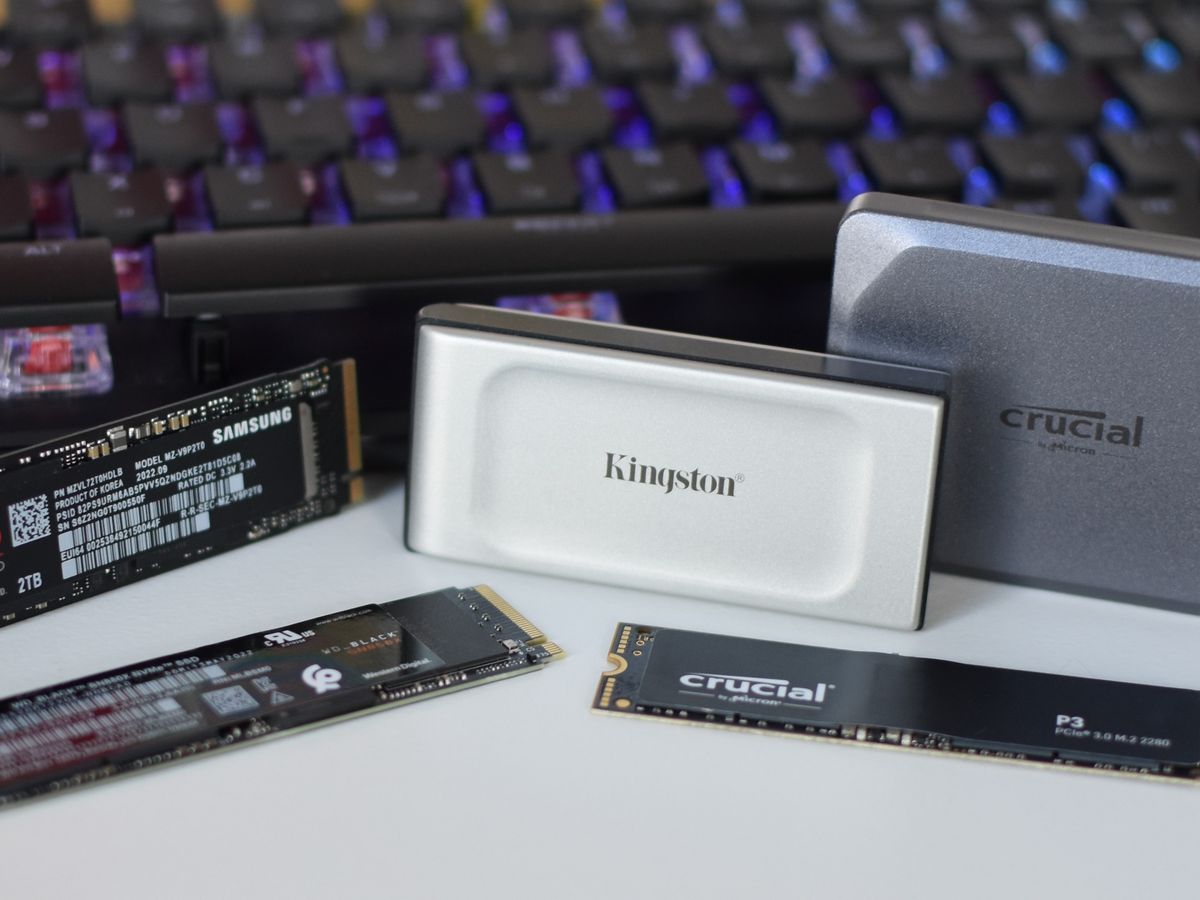
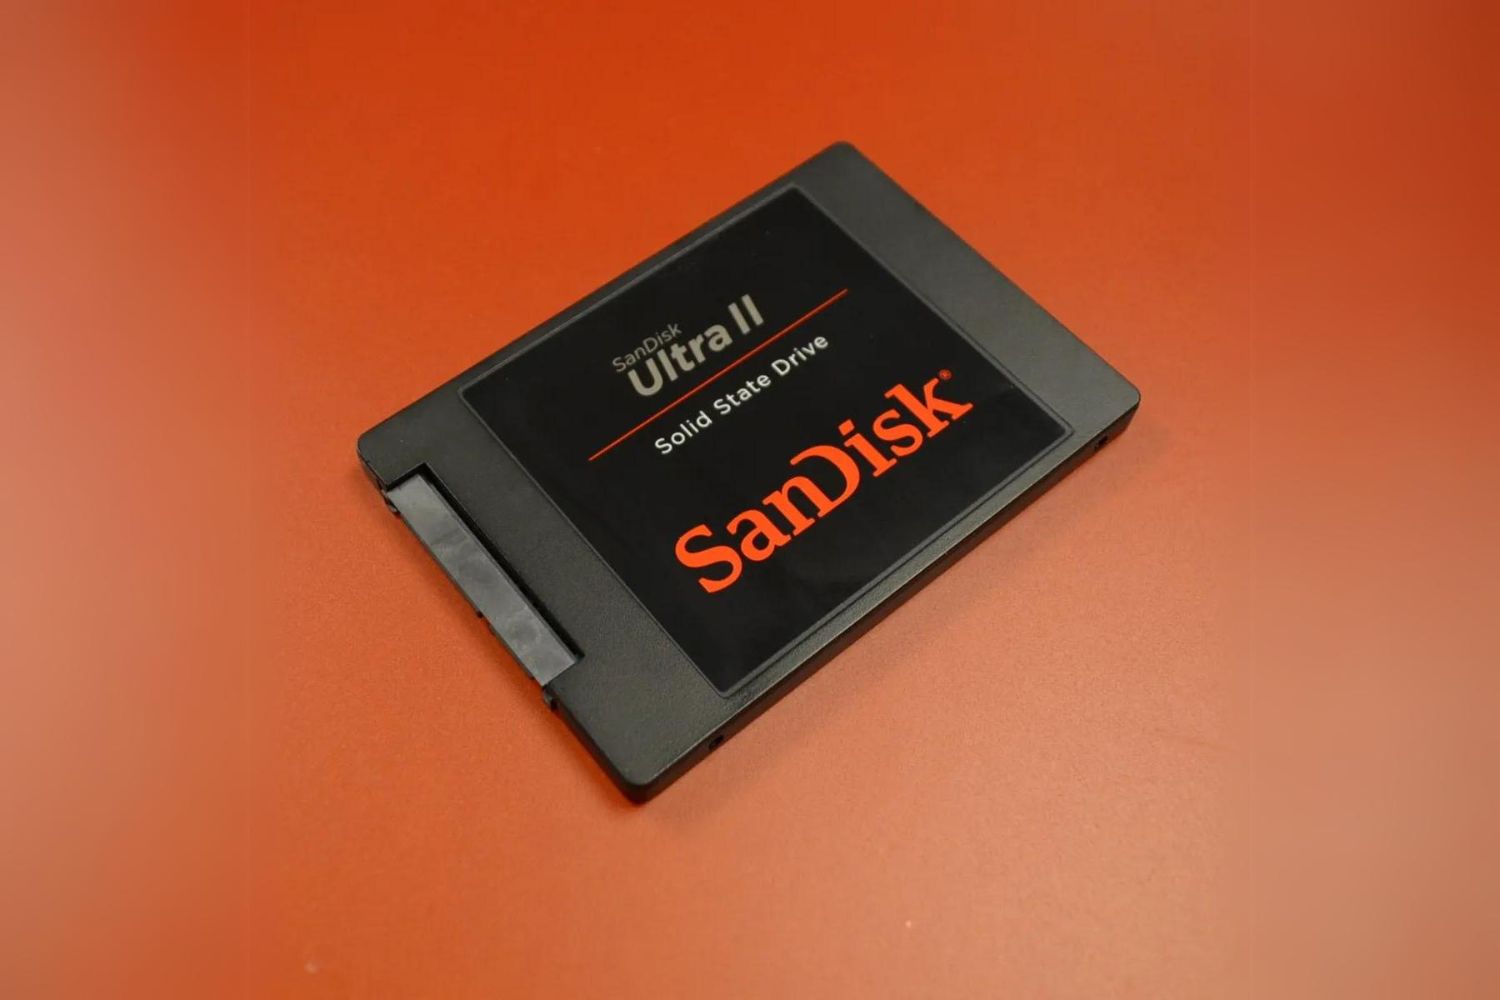
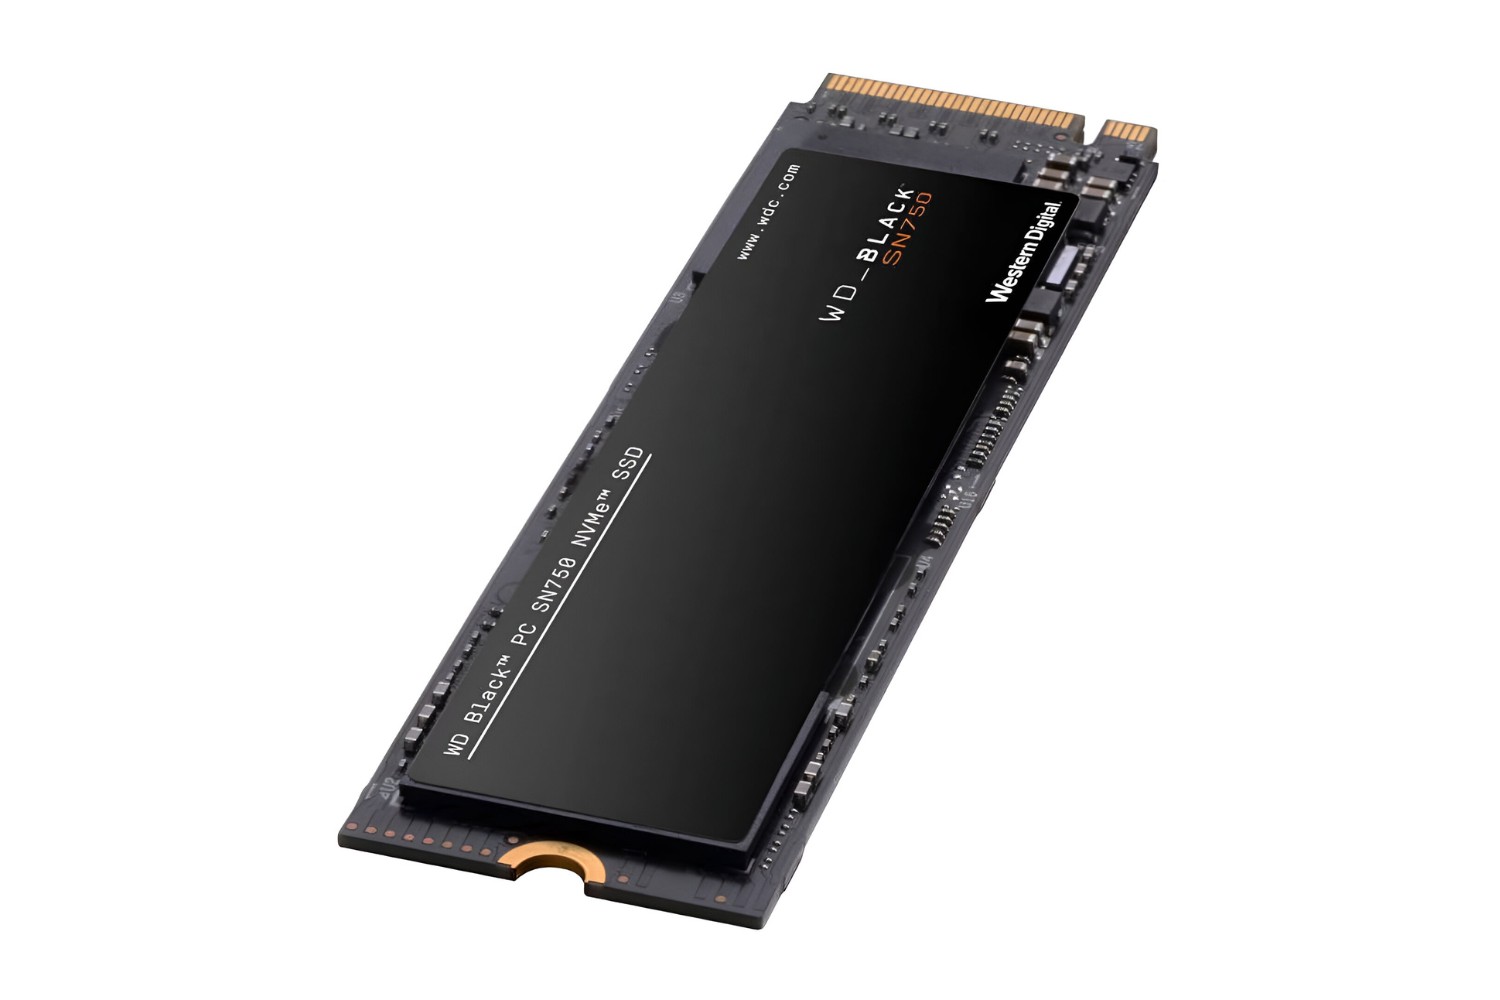
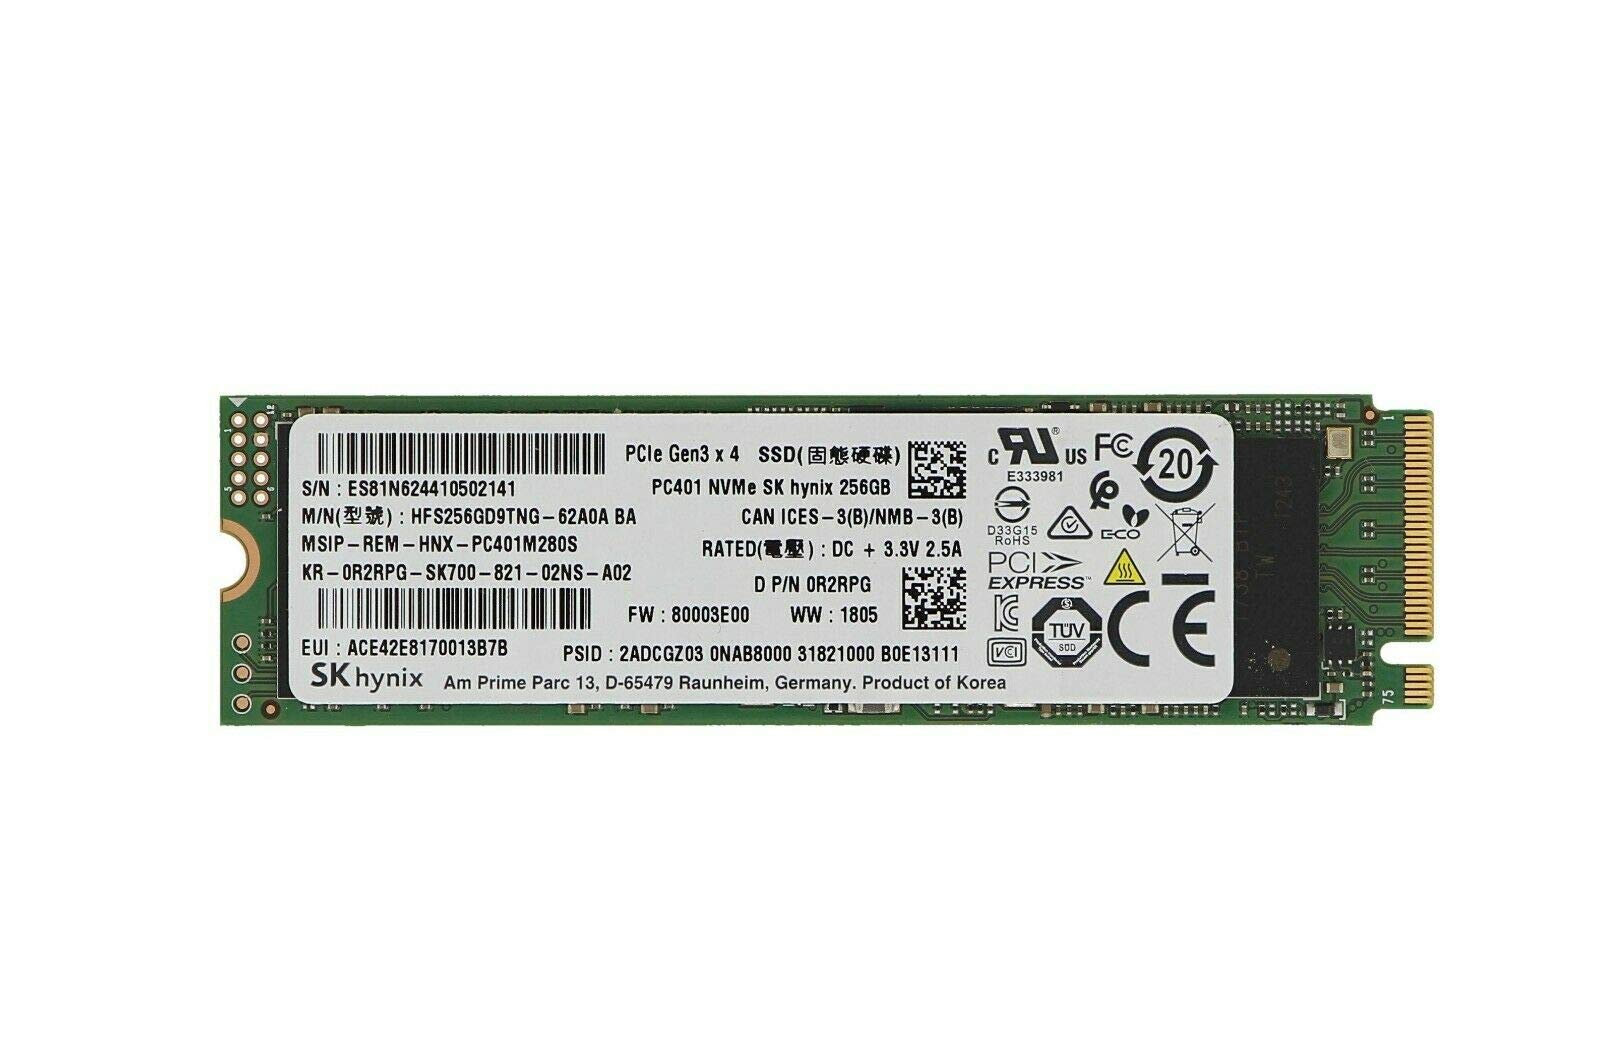
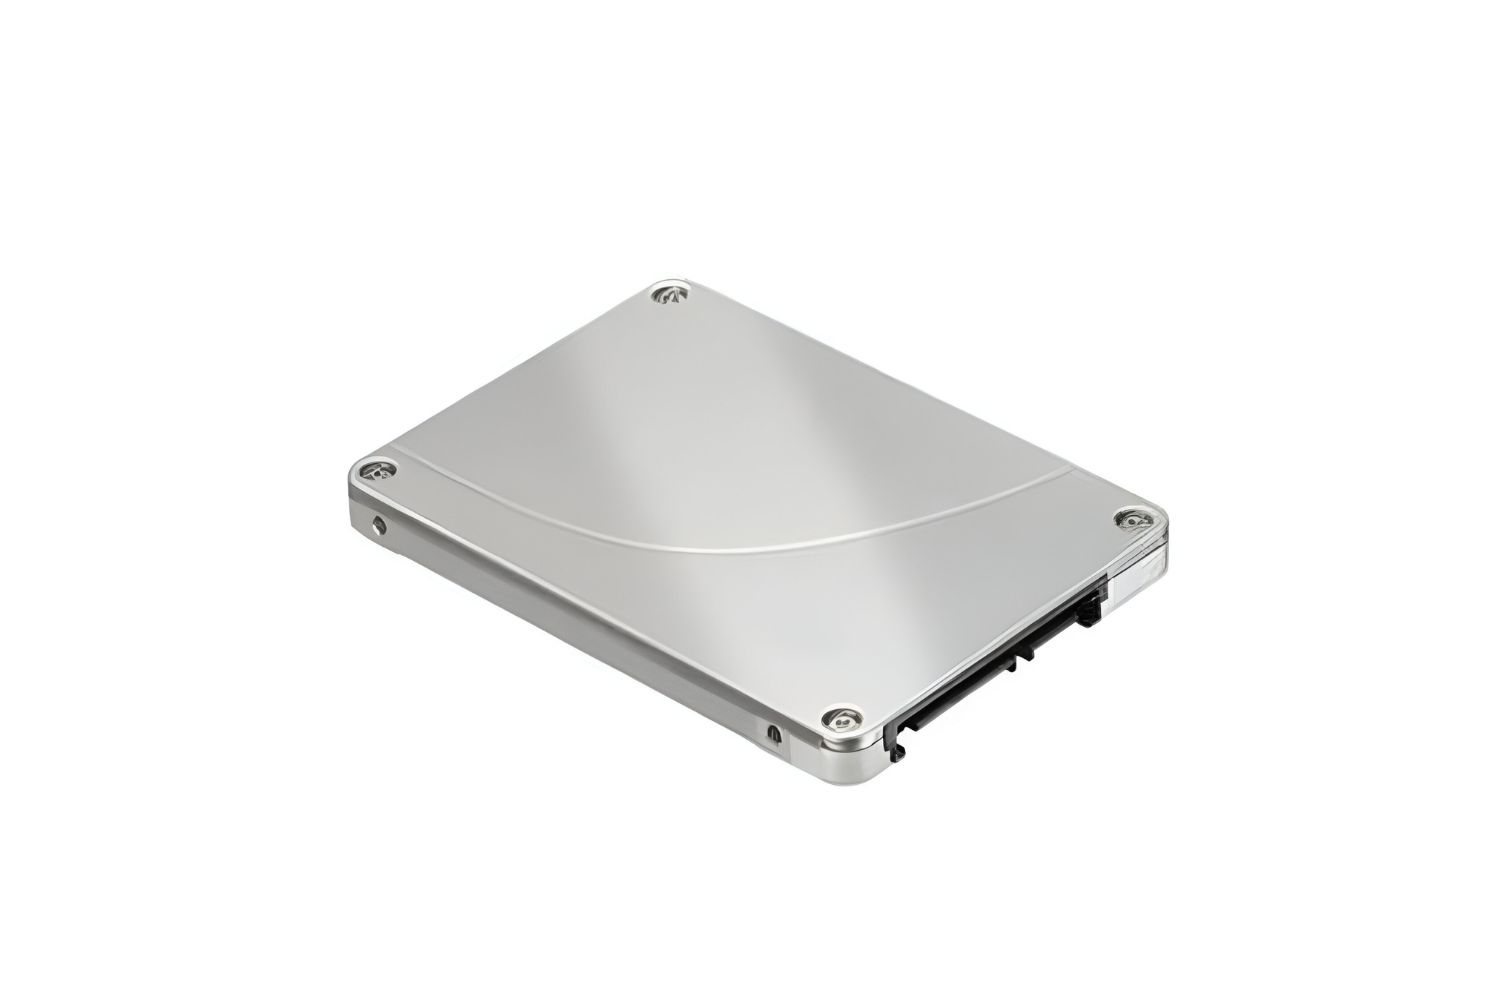
However, before delving into the installation process, it is important to consider a few key factors. Firstly, be sure to check the compatibility of the SSD with your gaming laptop. You will need to ensure that your laptop has the required connection interface, such as SATA or NVMe, to support the SSD. Additionally, consider the storage capacity you need, as SSDs come in various sizes ranging from 128GB to several terabytes.
In the following sections, we will guide you through each step of the installation process, providing detailed instructions and important tips along the way. Whether you’re a tech-savvy individual or a beginner, this guide will help you confidently upgrade your gaming laptop with an SSD.
Benefits of Installing a Solid State Drive (SSD)
There are numerous advantages to installing a solid state drive (SSD) in your gaming laptop. Let’s delve into some of the key benefits:
1. Enhanced Performance: One of the biggest advantages of using an SSD is the significant improvement in performance. With faster read and write speeds compared to traditional hard drives, an SSD can dramatically reduce loading times in games. This means you can quickly jump into your favorite gaming sessions without frustrating delays. Furthermore, SSDs provide faster data transfer rates, allowing you to move files and load applications more efficiently.
2. Quicker Boot Times: SSDs boast impressive boot times, enabling your gaming laptop to start up in a matter of seconds. Say goodbye to the long wait times and hello to a seamless gaming experience. The faster boot times also enhance the overall responsiveness of your system, ensuring smoother multitasking and faster navigation.
3. Improved Game Load Times: Load times can have a significant impact on your overall gaming experience. With an SSD, you’ll experience shorter load times, allowing you to jump right into the action without sitting through lengthy loading screens. Whether you’re exploring immersive open-world games or engaging in competitive multiplayer matches, an SSD ensures you spend more time playing and less time waiting.
4. Seamless Game Transfers: Upgrading to an SSD provides a seamless process for transferring your games from your previous hard drive. By utilizing software like Steam Mover or manually moving game files, you can easily migrate your games to the SSD without losing progress or needing to reinstall them. This means you can continue your gaming adventures without any interruptions.
5. Durability and Reliability: Unlike traditional hard drives, which rely on mechanical components that can wear out over time, SSDs have no moving parts. This makes them more resistant to physical damage and less likely to experience mechanical failure. Additionally, solid state drives are better equipped to handle shocks, vibrations, and extreme temperature variations, ensuring your valuable gaming data remains safe and intact.
6. Energy Efficiency: SSDs consume less power compared to traditional hard drives. This means your gaming laptop will run cooler and have extended battery life. Not only will you benefit from longer gaming sessions, but you’ll also be saving on electricity bills in the long run.
These are just a few of the many benefits you can enjoy by installing an SSD in your gaming laptop. Upgrading to solid state storage will undoubtedly enhance your gaming experience, providing you with faster load times, quicker boot times, and improved overall performance.
Things to Consider Before Installing an SSD
Before diving into the installation process, there are several important factors to consider when installing a solid state drive (SSD) in your gaming laptop. These considerations will ensure a smooth and successful upgrade:
1. Compatibility: Ensure that your gaming laptop is compatible with the type of SSD you plan to install. Check the available connection interfaces, such as SATA or NVMe, and make sure your laptop supports the chosen interface. It’s also important to verify that your laptop’s BIOS is up to date to ensure compatibility with the SSD.
2. Capacity: Determine the storage capacity you need for your gaming needs. SSDs come in various sizes ranging from 128GB to several terabytes. Consider the size of your existing hard drive and evaluate how much storage space you require for your games, applications, and files. It’s always a good idea to choose a slightly larger capacity than you currently need to allow for future growth.
3. Budget: SSDs can vary in price based on storage capacity and performance. Determine your budget and select an SSD that strikes the right balance between performance and affordability. Consider the specific needs of gaming, such as faster read and write speeds, when evaluating options.
4. Backup Data: Before proceeding with the installation, it’s crucial to create a backup of your important data. While the installation process itself shouldn’t cause data loss, it’s always better to be safe than sorry. Store your data on an external storage device or use a cloud storage service to ensure that your files are secure.
5. Software Tools: Familiarize yourself with the necessary software tools for transferring your data from the old hard drive to the new SSD. Depending on your preferences and needs, you can either clone the existing drive or do a fresh installation of the operating system and applications. Research and choose the appropriate software tools that best suit your requirements.
6. Warranty: Consider the warranty provided by the SSD manufacturer. It’s always a good idea to opt for an SSD that offers a longer warranty period, as it provides peace of mind and ensures the long-term reliability of your storage solution.
By taking these factors into account, you can ensure a successful and hassle-free installation process for your SSD. Careful planning and preparation will help you make informed decisions and set you up for a smooth transition to the improved performance and speed of an SSD.
Step-by-Step Guide to Installing an SSD in a Gaming Laptop
Installing a solid state drive (SSD) in your gaming laptop can be a straightforward process when following a step-by-step guide. Here is a comprehensive guide to help you successfully install an SSD:
Step 1: Preparation: Start by gathering all the necessary tools and equipment, including the new SSD, a small Phillips screwdriver, and an anti-static wrist strap. It’s also advisable to have a backup of your important data before proceeding with the installation.
Step 2: Removing the Existing Hard Drive: Power down your gaming laptop and disconnect it from all power sources. Remove the screws that secure the bottom panel of the laptop and gently pry it open. Locate the existing hard drive and disconnect the SATA cable and power cable that are connected to it. Carefully remove the hard drive from its bay.
Step 3: Installing the SSD: Take the new SSD and gently insert it into the empty drive bay of your laptop. Make sure it is securely seated. Connect the SATA cable and power cable to the SSD, ensuring a snug connection. Some laptops may require an adapter or bracket to properly secure the SSD in place. If needed, attach the adapter or bracket firmly.
Step 4: Cloning or Fresh Installation: Now comes the decision of whether to clone your existing hard drive or do a fresh installation. Cloning allows you to transfer your entire system, including the operating system and applications, to the new SSD. If you choose to clone, use software like Clonezilla or Macrium Reflect to create a full copy of your current drive onto the SSD. Alternatively, if you prefer a fresh installation, you can create a bootable USB drive with the operating system installer and follow the installation prompts.
Step 5: Transferring Data: Once you have cloned your existing drive or completed a fresh installation, you can transfer your data to the new SSD. If you cloned the drive, all your data should now be on the SSD. If you did a fresh installation, connect your external storage device or cloud storage service to transfer your backed-up data to the SSD.
Step 6: Optimizing the SSD for Gaming: After the installation and data transfer, it’s essential to optimize your SSD for gaming. This includes enabling TRIM support in your operating system settings, disabling hibernation to reduce unnecessary disk writes, and ensuring that you have the latest firmware and drivers for your SSD. You can also consider adjusting power settings to maximize performance while gaming.
Following these step-by-step instructions will help you effortlessly install an SSD in your gaming laptop. Remember to handle the components with care, take necessary precautions to prevent electrostatic discharge, and consult your laptop’s user manual for any specific instructions or considerations. With an SSD installed, you’ll enjoy faster load times, improved performance, and an overall enhanced gaming experience.
Preparing for the Installation
Before diving into the installation process of a solid state drive (SSD) in your gaming laptop, it’s important to take some necessary steps to ensure a smooth and successful upgrade. Here’s a guide to help you prepare for the installation:
1. Backup Your Data: Before making any changes to your gaming laptop, it’s crucial to create a backup of your important data. This includes game saves, documents, photos, and any other files you want to keep. Use an external hard drive, cloud storage service, or other backup methods to ensure that your data is safely stored and can be easily restored if needed.
2. Gather the Necessary Tools: To perform the installation, gather the required tools and equipment. You will typically need a small Phillips screwdriver for removing screws from the laptop’s chassis and potentially an anti-static wrist strap to protect the components from electrostatic discharge (ESD). Ensure that you have these tools ready before starting the installation process.
3. Read the Laptop’s User Manual: Familiarize yourself with your gaming laptop’s user manual or online support documentation. Each laptop model may have specific instructions or considerations for installing an SSD. Knowing the specific requirements and steps for your laptop will help ensure a successful and hassle-free installation.
4. Check Compatibility: Verify the compatibility of the SSD with your gaming laptop. Ensure that the SSD has the appropriate form factor to fit into your laptop’s drive bay. Additionally, check if your laptop supports the required interface (e.g., SATA, NVMe) for the SSD. Confirming compatibility ahead of time will prevent any surprises or issues during the installation process.
5. Update Laptop BIOS and Drivers: Before proceeding with the installation, it’s recommended to update your laptop’s BIOS and drivers to their latest versions. This step ensures that your laptop is equipped with any necessary firmware updates or software enhancements for optimal compatibility and performance with the SSD.
6. Create a Clean Workspace: Find a clean, well-lit workspace with ample room for your laptop and tools. Prepare a soft, static-free surface to place your laptop on during the installation process. Avoid working on surfaces that generate static electricity, such as carpet or plastic, as it can potentially damage the components.
By following these preparation steps, you’ll be ready to proceed with confidence and reduce the likelihood of encountering issues during the installation. Taking the time to backup your data, gather the necessary tools, review the user manual, check compatibility, update the laptop’s BIOS and drivers, and create a clean workspace will help ensure a smooth and successful SSD installation.
Removing the Existing Hard Drive
To install a solid state drive (SSD) in your gaming laptop, you first need to remove the existing hard drive. Follow these steps to safely remove the old hard drive:
Step 1: Power Down and Disconnect: Shut down your laptop and disconnect it from all power sources. This will prevent any electrical accidents and ensure your safety while handling the internal components.
Step 2: Locate the Hard Drive Bay: Remove the bottom panel of your laptop to access the internal components. The hard drive bay is typically located on one side and is secured with screws. Consult your laptop’s user manual or online resources for specific instructions on locating the hard drive bay for your model.
Step 3: Remove Screws: Carefully unscrew the screws that secure the hard drive bay cover. Place the screws in a safe location, as you will need them later to secure the SSD. Set aside the cover for now.
Step 4: Disconnect Cables: Locate the existing hard drive inside the bay. It will be connected to the laptop via two cables: a SATA data cable and a power cable. Gently unplug both cables from the hard drive. Take note of how the cables are connected so that you can easily connect them to the new SSD.
Step 5: Remove the Hard Drive: With the cables disconnected, carefully slide the existing hard drive out of its slot. Be cautious not to apply excessive force or damage any other components while doing so. Place the hard drive in an anti-static bag or set it aside in a safe place, as it may serve as a backup or storage device in the future.
Step 6: Prepare the SSD: Take the new SSD and inspect it for any protective covers or brackets that need to be removed. Some SSDs may come with additional components that you will need to transfer from the old hard drive to the SSD, such as mounting brackets or thermal pads. Follow the manufacturer’s instructions for any necessary preparations.
By carefully following these steps, you can safely remove the existing hard drive from your gaming laptop in preparation for installing the new SSD. Take your time, be gentle with the cables and components, and consult your laptop’s user manual or online resources if you encounter any difficulties during the removal process.
Installing the SSD
Now that you have removed the existing hard drive from your gaming laptop, it’s time to install the new solid state drive (SSD). Follow these steps to ensure a successful installation:
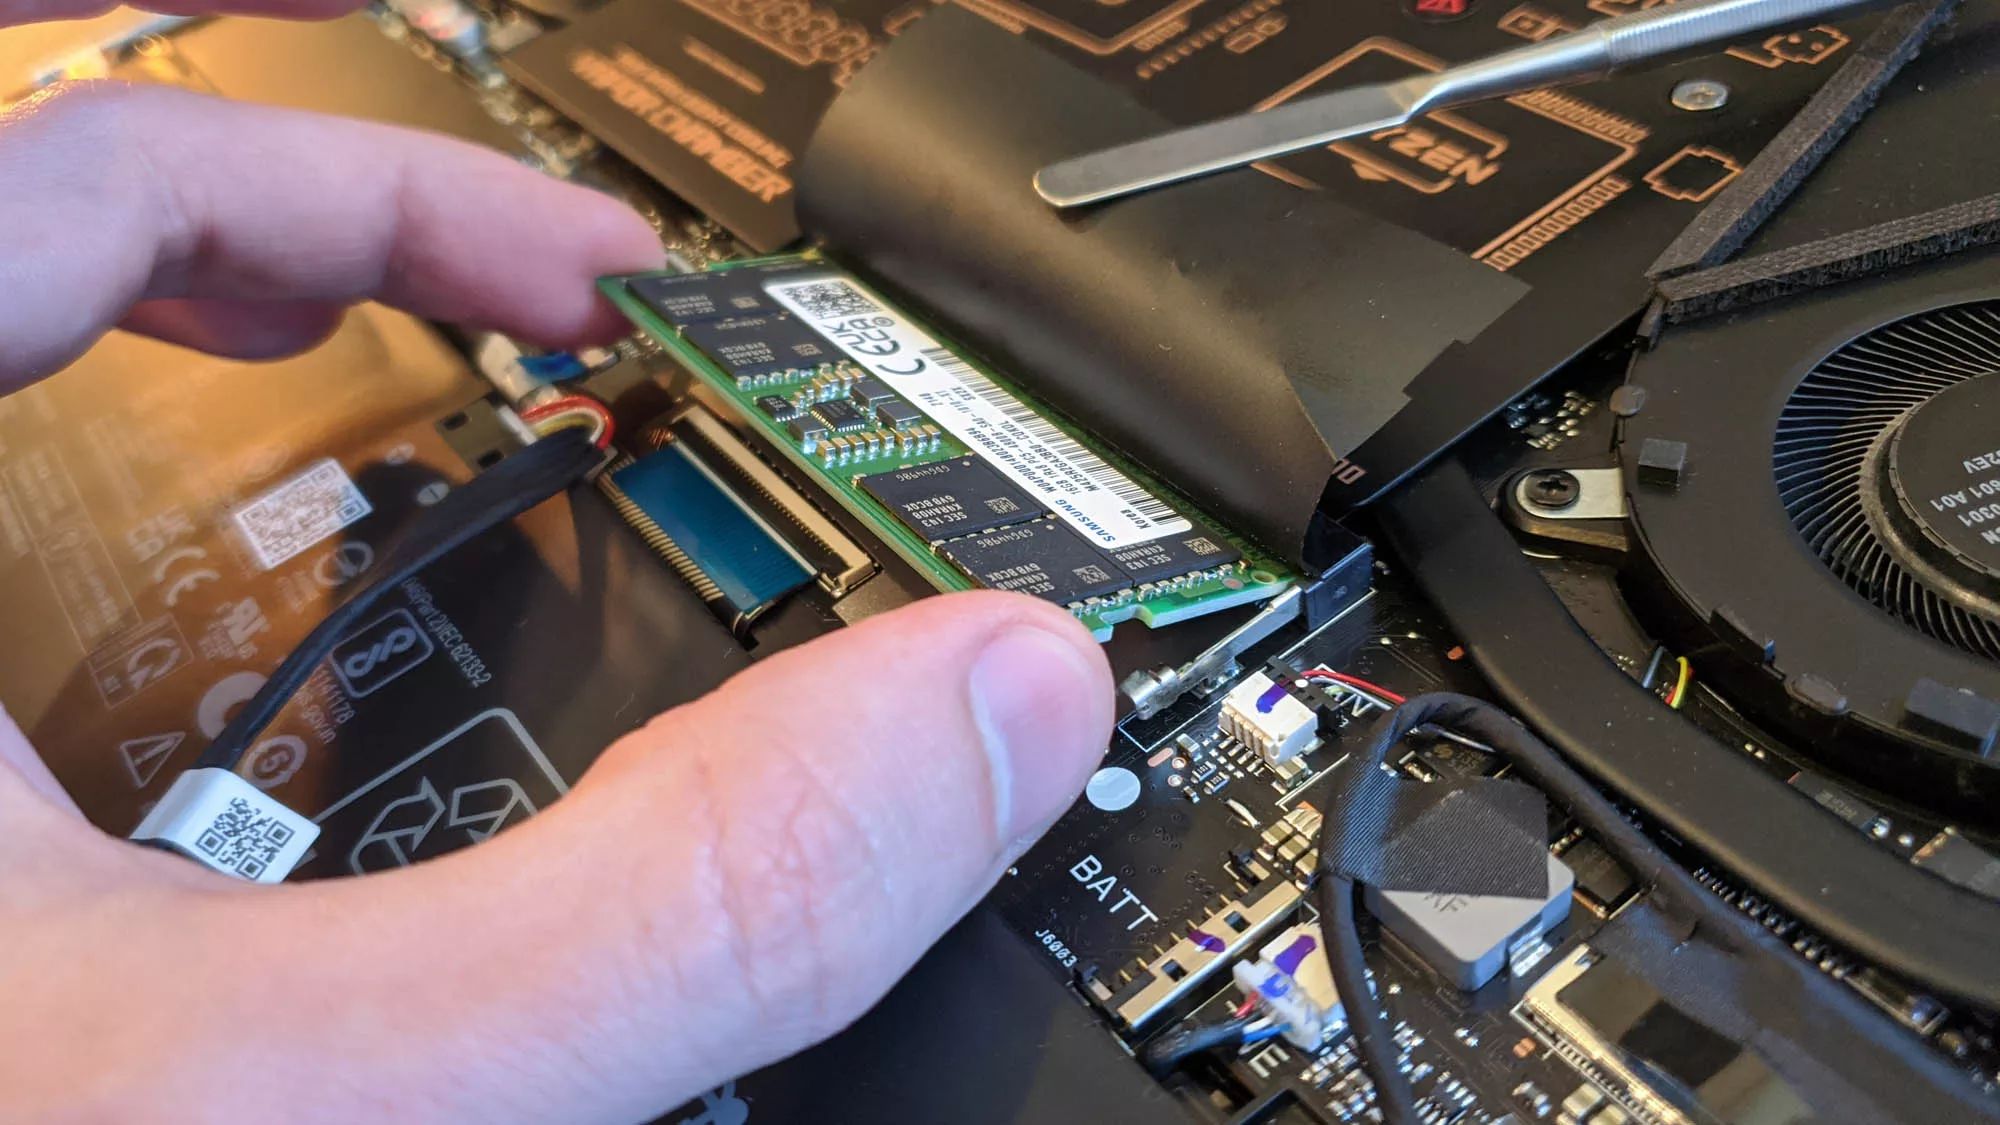
Step 1: Align the SSD: Take the new SSD and align it with the empty drive bay in your laptop. Ensure that the connectors on the SSD, such as the SATA or NVMe interface, are properly aligned with the corresponding ports in the bay. Gently slide the SSD into the bay until it is properly seated.
Step 2: Secure the SSD: Depending on your laptop and SSD model, you may need to use additional brackets or adapters to secure the drive in place. Consult your laptop’s user manual or online resources for specific instructions on securing the SSD. Make sure to fasten any screws or clips tightly to secure the SSD firmly in the drive bay.
Step 3: Connect the Cables: Locate the SATA data cable and power cable that you previously disconnected from the old hard drive. Connect the SATA data cable from the SSD to the corresponding SATA port on the motherboard. Connect the power cable from the SSD to the appropriate power connector. Ensure that both connections are tight and secure.
Step 4: Replace the Hard Drive Bay Cover: Retrieve the cover that you removed in Step 3 of the previous section. Align it with the hard drive bay and gently press it into place. Tighten the screws you previously removed to secure the cover in place. Ensure that the cover is even and flush with the laptop’s casing.
Step 5: Double-Check Connections: Take a moment to double-check all cable connections and ensure that they are securely fastened. Any loose connections may lead to issues or errors later on. Make sure the SATA data cable and power cable are properly seated on both the SSD and the motherboard.
Step 6: Confirm SSD Detection: Power on your laptop and enter the BIOS or UEFI settings. Verify that the SSD is being detected by the system. In the BIOS/UEFI settings, you may need to change the boot order to prioritize the SSD as the primary boot device. Save any changes made in the BIOS/UEFI settings before exiting.
By following these steps, you can successfully install the new SSD into your gaming laptop. Take care to handle the SSD and cables gently, double-check connections, and ensure proper securing of the drive in the bay. Once completed, you can move on to the next steps of transferring your data or installing the operating system, depending on your chosen method.
Cloning or Fresh Installation: Which Option to Choose?
When installing a new solid state drive (SSD) in your gaming laptop, you have two primary options: cloning or performing a fresh installation of the operating system and applications. Each method has its advantages and considerations. Let’s explore the factors to help you decide which option is best for your situation:
1. Cloning: Cloning involves creating an exact copy of your existing hard drive onto the new SSD. This means that all your current files, operating system, settings, and applications will be transferred to the SSD, allowing you to continue where you left off without the need for reinstallation or data migration. Cloning is a quicker and more convenient option, especially if you have numerous applications or a complex setup.
Advantages of Cloning:
- Time-Saving: Cloning ensures that all your data and settings are transferred to the new SSD in a single process, saving you time and effort.
- Familiar Environment: Cloning allows you to maintain your existing operating system and applications, keeping everything familiar and avoiding the need for reinstallation
- Preservation of Settings: By cloning, you can carry over personalized settings, configurations, and preferences to the new SSD, ensuring a seamless transition.
Considerations for Cloning:
- Storage Size: Ensure that the new SSD has sufficient storage capacity to accommodate the data from your existing hard drive. If your current hard drive is larger than the SSD, you may need to remove or compress files before cloning.
- Incompatibility Issues: Some cloning software may encounter compatibility issues with certain operating systems or configurations. Research and select a reliable cloning tool that will work seamlessly with your specific setup.
- Data Transfer Errors: Cloning is generally a straightforward process, but errors can occur during the transfer. It’s essential to have a backup of your data before starting the cloning process to mitigate the risk of data loss.
- Frozen State: Cloning captures an exact image of the existing hard drive, including any system errors or freezes. If your current hard drive has performance issues or errors, they may be carried over to the SSD.
2. Fresh Installation: A fresh installation involves installing the operating system and applications from scratch onto the new SSD. While this method requires more time and effort, it allows for a clean, optimized system without any potential issues or bloatware that may have accumulated over time on the old hard drive.
Advantages of Fresh Installation:
- Optimized Performance: A fresh installation ensures that your operating system is free from unnecessary files and software, resulting in a more efficient and optimized system and potentially better gaming performance.
- Clean Start: Starting fresh allows you to reconsider your application choices, avoid reinstalling unnecessary software, and customize your setup to suit your current needs.
- No Carryover of Issues: Fresh installations eliminate any issues or errors that may have been present on the previous hard drive, providing a clean slate for your gaming laptop.
Considerations for Fresh Installation:
- Data Backup: Since a fresh installation erases all data, ensure you have a backup of your important files and game saves before proceeding.
- Application Reinstallation: You will need to reinstall all your applications manually, which can be time-consuming, especially if you have a large number of software titles.
- Customization and Configuration: Fresh installations require you to reconfigure your system settings, personalize preferences, and set up applications according to your preferences.
Consider your specific needs, time constraints, and preferences when deciding between cloning or a fresh installation. Both options have their benefits and considerations, so choose the method that aligns best with your requirements and ensures a smooth transition to your new SSD.
Transferring Data to the SSD
Once you have installed the new solid state drive (SSD) in your gaming laptop, the next step is to transfer your data from the old hard drive. Depending on whether you chose to clone your existing drive or perform a fresh installation, the process and considerations for transferring data may vary. Here are some steps to help you efficiently transfer your data to the SSD:
Cloning Method:
If you opted to clone your existing hard drive onto the SSD, follow these steps:
Step 1: Acquire Cloning Software: Obtain reliable cloning software such as Clonezilla, Macrium Reflect, or EaseUS Todo Backup. Install and launch the cloning software on your gaming laptop.
Step 2: Connect the SSD: Connect the new SSD to your laptop using the appropriate interface, either internally or via an external dock or enclosure. Ensure the SSD is recognized by the cloning software.
Step 3: Select Source and Target Drives: In the cloning software, select the old hard drive as the source drive and the new SSD as the target drive. Confirm the settings to start the cloning process.
Step 4: Start the Cloning Process: Follow the on-screen instructions in the cloning software to initiate the cloning process. The software will copy all data from the source drive to the target SSD. Depending on the size and amount of data, the cloning process may take some time.
Step 5: Verify Cloning Success: After the cloning process completes, verify that the SSD contains an exact copy of your old hard drive. Disconnect the old hard drive and boot your laptop from the SSD. Ensure that all files, applications, and settings are present and functioning correctly on the SSD.
Fresh Installation Method:
If you chose a fresh installation of the operating system and applications, follow these steps to transfer your data:
Step 1: Backup Your Data: Before starting the fresh installation, ensure you have backed up your important data from the old hard drive. Store them on an external drive, cloud storage, or another secure location.
Step 2: Reinstall Applications: After installing the operating system on the SSD, reinstall your desired applications one by one. Use the original installation media or download them from official sources. Customize the application settings as needed.
Step 3: Copy Files and Data: Connect the external drive or access the backed-up data, and copy the files and folders to the appropriate locations on the SSD. This includes documents, photos, videos, game saves, and other personal data. Organize them in the same directory structure as before.
Step 4: Import Settings and Preferences: Some applications allow you to export and import settings or preferences. Utilize these options to import your custom settings and preferences from the old hard drive. Check the documentation or support resources for each application for specific instructions.
Step 5: Verify Data Transfer and Functionality: Double-check that all data has been transferred successfully and that your applications and files are functioning as expected on the SSD. Test the functionality of games and applications to ensure a smooth transition.
Following these steps will help you efficiently transfer your data from the old hard drive to the new SSD. Whether through cloning or a fresh installation, take your time to ensure that all files, settings, and applications have been successfully migrated, ensuring a seamless transition to the improved performance of your gaming laptop with the new SSD.
Optimizing the SSD for Gaming
After successfully installing a solid state drive (SSD) in your gaming laptop, you can further optimize its performance specifically for gaming. Here are some steps to maximize the benefits of your SSD for an enhanced gaming experience:
1. Enable TRIM Support: Verify that TRIM support is enabled on your SSD. TRIM is a feature that helps maintain the performance and longevity of the SSD by cleaning up deleted data. You can check and enable TRIM in your operating system settings, typically in the storage or device management section.
2. Disable Hibernation: Hibernation allocates disk space for storing system state and can lead to unnecessary disk writes. Disabling hibernation can help minimize the usage of your SSD’s write cycles. In the Windows operating system, you can disable hibernation through the command prompt by typing “powercfg -h off”.
3. Keep Your SSD Firmware Up to Date: Regularly check for firmware updates from the SSD manufacturer. Firmware updates often include performance enhancements, bug fixes, and improved compatibility with the latest technologies. Visit the manufacturer’s website and follow their instructions to update your SSD’s firmware.
4. Optimize Power Settings: Adjust your laptop’s power settings to optimize performance while gaming. Choose the high-performance power plan to ensure the SSD operates at its full potential. Be aware that high-performance settings may increase power consumption and reduce battery life, so it is recommended to use this mode when connected to a power source.
5. Update Device Drivers: Ensure that you have the latest device drivers installed for your motherboard, chipset, and other hardware components. Updated drivers can improve compatibility and performance, enhancing the gaming experience on your SSD-equipped laptop.
6. Manage Background Processes: Minimize the number of unnecessary background processes running on your laptop while gaming. Some programs and applications can consume resources and impact overall performance. Use the task manager or system settings to identify and disable unnecessary startup programs or background processes.
7. Optimize Game Settings: Adjust the in-game settings to take advantage of your SSD’s faster read speeds. Install games directly on the SSD and adjust the game’s preferences to load game assets from the SSD rather than the slower HDD. This can reduce loading times and improve overall game performance.
8. Regularly Perform Disk Cleanup: Perform regular disk cleanup to free up space on your SSD. The Windows operating system has a built-in Disk Cleanup utility that can remove temporary files, old installations, and unnecessary system files. Regularly clearing these files can help maintain optimal SSD performance.
9. Consider Overprovisioning: Overprovisioning is reserving a portion of your SSD’s storage space for background tasks and wear-leveling algorithms, which can enhance the performance and longevity of your SSD. Check if your SSD firmware or manufacturer’s software allows for overprovisioning and allocate an appropriate amount of space.
10. Monitor Health and Performance: Utilize SSD monitoring software provided by the manufacturer to keep an eye on the health and performance of your SSD. These tools can provide valuable insights into the SSD’s temperature, remaining lifespan, and performance metrics, allowing you to take proactive steps if any issues arise.
By following these optimization tips, you can fully harness the power of your SSD for gaming. These optimizations will help maximize the speed, responsiveness, and overall performance of your gaming laptop, providing you with an exceptional gaming experience on your SSD-equipped machine.
Conclusion
Upgrading your gaming laptop with a solid state drive (SSD) can unlock a plethora of benefits, significantly enhancing your gaming experience. The installation process, preparation, and considerations discussed in this guide can help you seamlessly integrate an SSD into your gaming setup.
By installing an SSD, you can enjoy faster load times, quicker boot times, and improved overall performance. The enhanced speed and responsiveness of an SSD will enable you to jump right into your favorite games without frustrating delays. Additionally, you’ll experience smoother gameplay, reduced lag, and quicker access to applications and files.
Before installing an SSD, it’s essential to consider the compatibility, storage capacity, budget, and conduct necessary preparations, such as data backup and software updates. Depending on your needs, you can choose between cloning your existing drive or performing a fresh installation. Cloning can save time and retain your system settings, while a fresh installation can provide a clean start and optimized performance.
To ensure a successful installation, follow the step-by-step guide provided in this article, from removing the existing hard drive to transferring data and optimizing the SSD for gaming. Taking care during each stage of the process will help you avoid common pitfalls and achieve the desired results.
Once the SSD is installed and optimized, you’ll experience faster load times, improved system responsiveness, and an overall enhanced gaming experience. Your laptop will be equipped to handle the demands of modern games and applications, allowing you to maximize your gaming potential.
Remember to regularly update your SSD firmware, device drivers, and optimize your system settings to maintain peak performance. By implementing these recommendations, you can enjoy the full benefits of your SSD over the long term.
Upgrade your gaming laptop with an SSD and embrace the world of faster load times, smoother gameplay, and improved overall performance. Unlock the full potential of your gaming experience and elevate your enjoyment to new heights with an SSD-equipped gaming laptop.


