Introduction
Updating the BIOS (Basic Input/Output System) of a motherboard is a crucial task for ensuring the stability, compatibility, and performance of your computer system. The BIOS is responsible for initializing and configuring the hardware components of your computer during the boot process. It also provides the necessary instructions for the operating system to interact with the hardware.
Traditionally, updating the BIOS required a compatible CPU to be installed on the motherboard. However, there are situations where you may need to update the motherboard’s BIOS without a CPU, such as when you have purchased a new processor that is not compatible with the current BIOS version.
In this article, we will explore various methods you can use to update your motherboard BIOS without a CPU. These methods can be helpful if you’re planning to upgrade your processor or if you’ve encountered compatibility issues with a new CPU.
It’s important to note that updating the BIOS carries some risks, as it involves modifying essential firmware. If not done correctly, it can potentially render your motherboard unusable. Therefore, it’s crucial to understand the process and follow the instructions carefully.
Before we delve into the methods, it’s essential to emphasize the importance of preparing for the BIOS update. This includes backing up your current BIOS settings, ensuring that you have a stable power supply, and verifying the compatibility of the new BIOS version with your motherboard.
Now, let’s explore the different methods you can use to update your motherboard BIOS without a CPU.
What is a BIOS and why is it important?
The BIOS (Basic Input/Output System) is a firmware embedded on a motherboard that serves as the interface between the computer’s hardware and the operating system. It is responsible for initializing hardware components, conducting a power-on self-test (POST), and loading the operating system into the computer’s memory.
The BIOS is essential for the proper functioning of a computer system as it provides the foundational instructions that enable the hardware to communicate with the software. Without a BIOS, a computer would not be able to boot up and run the operating system.
Here are some key reasons why the BIOS is important:
- Hardware configuration: The BIOS contains settings that allow you to configure various hardware components of your computer. This includes options to adjust the CPU frequency, memory timings, and storage configuration. These settings can help optimize performance and compatibility.
- Boot process: During the boot process, the BIOS performs a power-on self-test (POST) to ensure that the hardware components are functioning correctly. It also identifies and initializes devices such as the hard drive, graphics card, and peripherals, allowing the operating system to be loaded and executed.
- Compatibility: The BIOS plays a crucial role in ensuring compatibility between the hardware and the operating system. It provides the necessary drivers and protocols that allow the operating system to communicate with the hardware devices. Upgrading the BIOS can sometimes be necessary to improve compatibility with new hardware or software.
- Security: The BIOS can also provide security features such as password protection and secure boot. These features help protect the system from unauthorized access and prevent malicious software from being loaded during the boot process.
Overall, the BIOS is a critical component of a computer system, responsible for initializing the hardware and facilitating communication between the hardware and software. Keeping the BIOS up to date is important to ensure the stability, compatibility, and security of your computer system.
Why would you want to update your motherboard BIOS without a CPU?
There are several reasons why you may want to update your motherboard BIOS without a CPU:
- Processor upgrade: One common scenario where you may need to update the BIOS without a CPU is when you’re upgrading to a new processor that is not compatible with the current BIOS version. A newer processor may have different requirements or features that are not supported by the current BIOS, necessitating an update to ensure compatibility.
- Compatibility issues: In some cases, you may encounter compatibility issues between your motherboard and certain hardware components. Updating the BIOS can sometimes resolve these compatibility issues by providing the necessary firmware updates, bug fixes, or support for newer technologies.
- Enhanced functionality: Manufacturers often release BIOS updates to add new features, improve system performance, or address known issues. These updates can introduce enhancements such as improved memory compatibility, overclocking options, or better power management. Updating the BIOS without a CPU allows you to take advantage of these enhancements without the need for a compatible processor.
- Preparing for future upgrades: Updating the BIOS in advance can be beneficial when you’re planning to upgrade your hardware in the future. By ensuring that your motherboard has the latest firmware, you can minimize potential compatibility issues with upcoming processor releases or other hardware upgrades.
It’s crucial to note that updating the BIOS without a CPU can be a complex process and is not supported by all motherboards. Additionally, it’s important to carefully follow the instructions provided by the motherboard manufacturer to avoid any potential issues or damaging your hardware.
Before attempting to update the BIOS without a CPU, it’s recommended to thoroughly research the specific motherboard model, check for official documentation and support from the manufacturer, and ensure that you have a clear understanding of the procedure involved.
In the following sections, we will explore several methods that can be used to update the motherboard BIOS without a CPU. These methods vary depending on the specific motherboard model and its available features. It’s crucial to identify the most suitable method for your situation and follow the instructions carefully.
Preparing for the update
Before proceeding with the BIOS update, it’s essential to take certain precautions and thoroughly prepare to ensure a smooth and successful update process. Here are some important steps to follow:
- Research your motherboard: Gather information about your motherboard model, such as the manufacturer, version, and specific chipset. Visit the manufacturer’s website to find the latest BIOS updates, documentation, and any relevant instructions or requirements.
- Backup your current BIOS settings: Before updating the BIOS, it’s highly recommended to backup your current BIOS settings. This will allow you to revert to your previous configuration if any issues arise during or after the update process. Most motherboards provide an option to save or export the current BIOS settings to a USB drive or other storage device.
- Check compatibility: Ensure that the new BIOS version is compatible with your motherboard and any other hardware components you plan to use. Verify the compatibility of your processor, memory modules, graphics card, and other devices with the specific BIOS version you intend to install. If any compatibility issues are detected, consider contacting the motherboard manufacturer for further assistance.
- Power supply: Maintain a stable power supply during the BIOS update process. Sudden power interruptions or surges can cause irreversible damage to the motherboard and may result in a failed update. Make sure your computer is connected to a reliable power source, and consider using a UPS (Uninterruptible Power Supply) to protect against power fluctuations.
- Read the instructions: Carefully read and understand the instructions provided by the motherboard manufacturer for updating the BIOS without a CPU. Follow the recommended steps, precautions, and any specific requirements outlined in the documentation or support materials.
- Prepare required tools: Depending on the method chosen for updating the BIOS without a CPU, you may need additional tools or equipment. For example, some methods may require a USB drive, a separate programming device, or the availability of specific features on your motherboard, such as BIOS flashback or recovery functions. Ensure that you have the necessary tools and equipment ready before proceeding.
- Take note of the risks: Understand that updating the BIOS carries some risks, and there is a potential for errors or unforeseen issues to occur. It is crucial to proceed with caution and be prepared for potential complications. If you are unsure or uncomfortable with the process, it’s advisable to seek assistance from a knowledgeable technician or contact the motherboard manufacturer’s support team for guidance.
By following these preparation steps, you can minimize the chances of encountering problems during the BIOS update process and ensure a higher likelihood of a successful update. Once you have completed the preparation phase, you can proceed to the specific method that suits your motherboard to update the BIOS without a CPU.
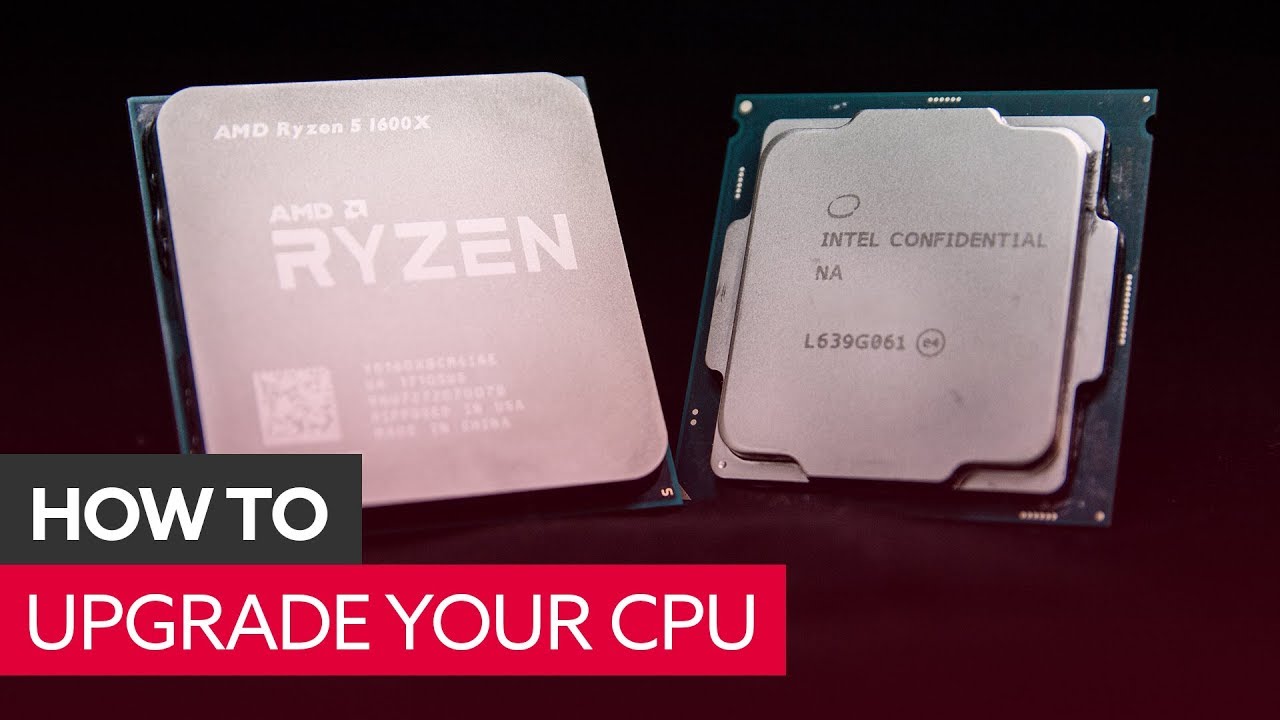
Method 1: Using a compatible CPU to update BIOS
One of the most straightforward methods to update the BIOS of your motherboard is by using a compatible CPU. This method is applicable if you have access to a processor that is supported by both your current BIOS version and the updated BIOS version you intend to install.
Here’s how you can use a compatible CPU to update your motherboard BIOS:
- Obtain a compatible CPU: Determine the CPU model that is supported by both your current BIOS and the updated BIOS version you want to install. If you don’t have a compatible CPU, consider borrowing one from a friend or checking with your local computer hardware store for rental options.
- Install the compatible CPU: Remove your current CPU from the socket carefully and install the compatible CPU in its place. Ensure that the CPU is correctly aligned with the socket and properly seated. Follow the instructions in your motherboard’s manual for CPU installation.
- Power on the system: Connect all the necessary power cables, including the CPU power connector. Turn on your computer and enter the BIOS setup by pressing the designated key during the boot process (typically Del, F2, or F10). Refer to your motherboard’s manual to identify the correct key.
- Download and install the new BIOS: Access the manufacturer’s website and locate the appropriate BIOS update for your motherboard model. Download the update file and follow the instructions provided by the manufacturer to install it. Pay careful attention to any specific steps or precautions outlined in the documentation.
- Restart and verify: After the BIOS update is complete, save the changes and exit the BIOS setup. Power off your computer, remove the compatible CPU, and reinstall your original CPU. Ensure that the CPU is properly seated and all power connections are secure. Power on your system and enter the BIOS setup again to confirm that the new BIOS version has been successfully installed.
Using a compatible CPU to update the BIOS offers a relatively straightforward approach, provided you have access to a compatible processor. However, it does require temporarily swapping CPUs, so it’s important to handle the processors with care and strictly follow the manufacturer’s instructions to avoid any potential damage.
If this method is not feasible or you do not have access to a compatible CPU, there are alternative methods available that allow you to update the BIOS without a CPU, which we will explore in the following sections.
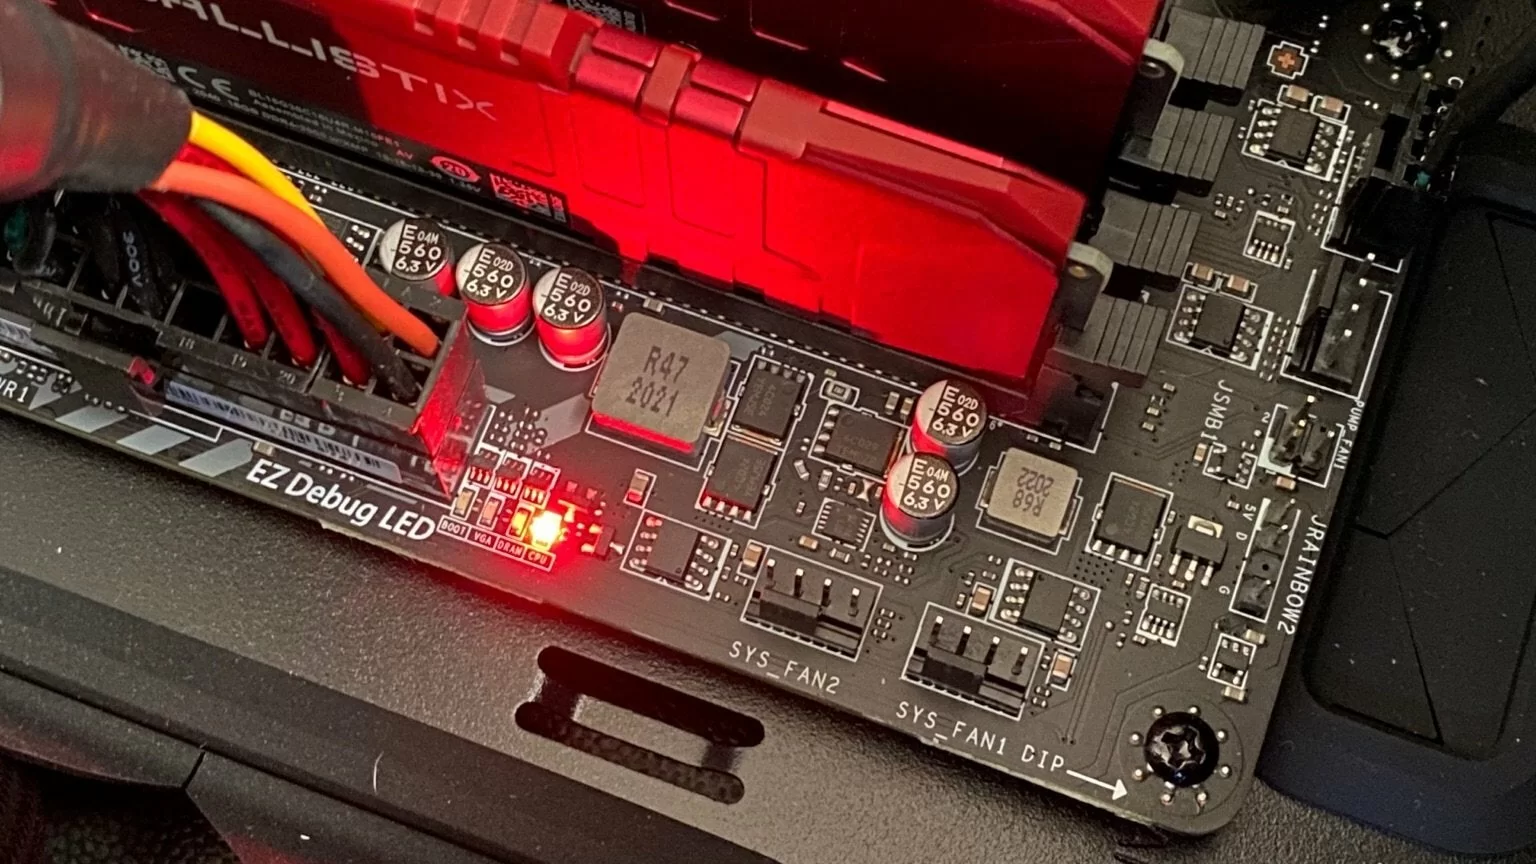
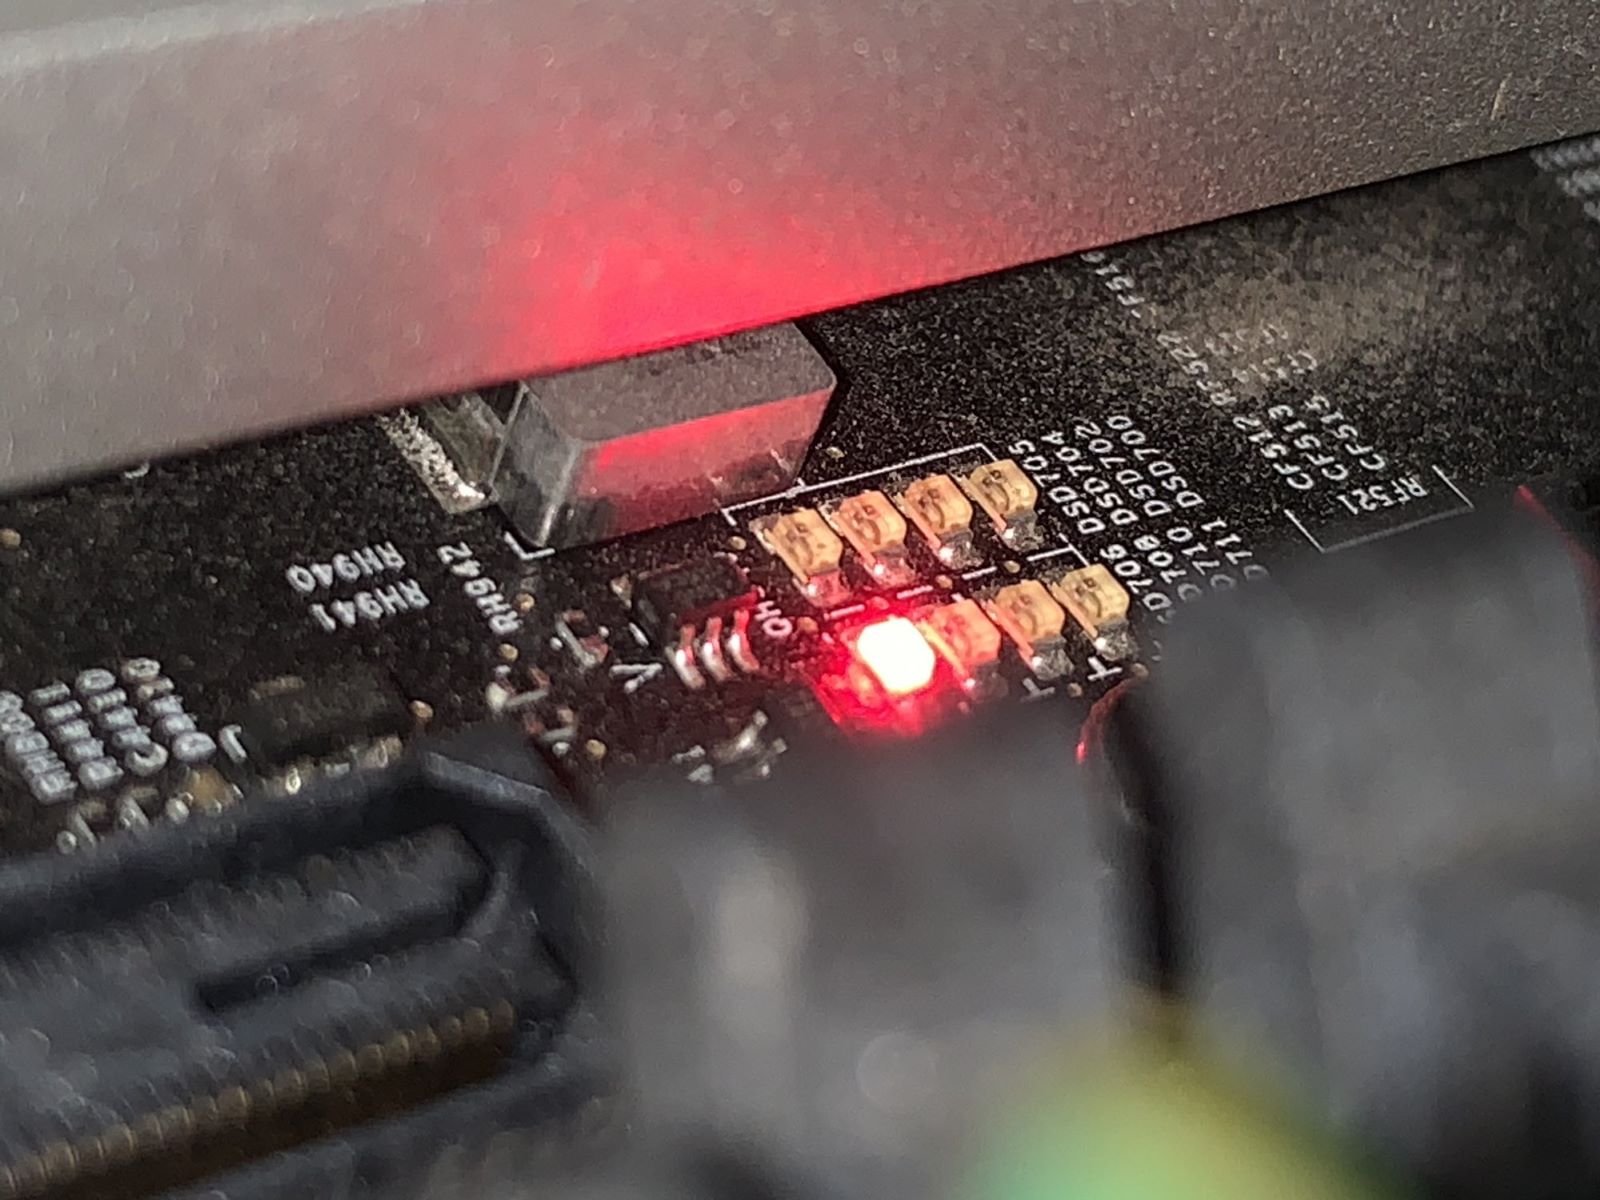
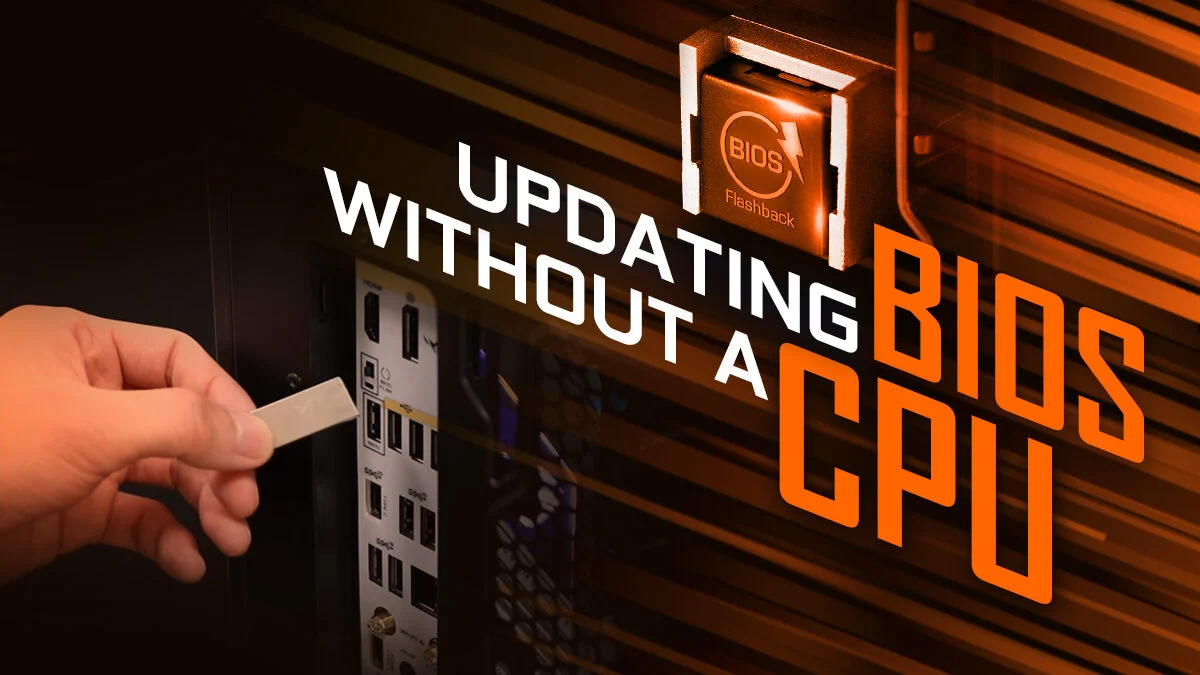
Method 2: Using a BIOS flashback feature
Many modern motherboards come equipped with a BIOS flashback feature, which allows you to update the BIOS without requiring a CPU. This method is particularly useful if your motherboard supports this feature, as it eliminates the need for a compatible processor during the update process.
Here’s how you can use the BIOS flashback feature to update your motherboard BIOS:
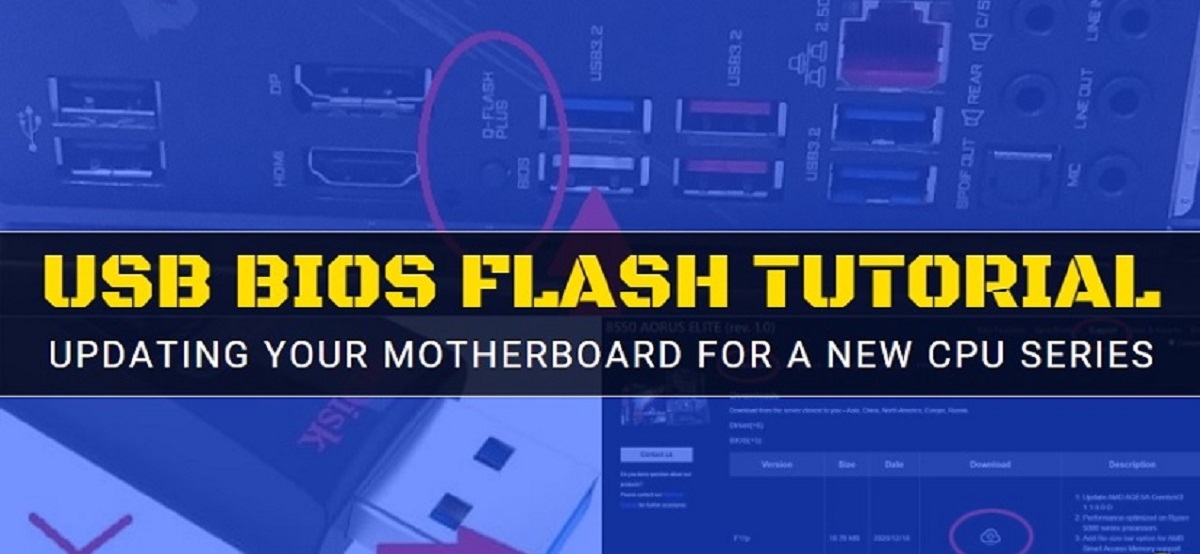
- Confirm motherboard support: Check your motherboard’s specifications or documentation to verify if it has a BIOS flashback feature. This feature may have different names depending on the manufacturer, such as BIOS Flashback+, USB BIOS Flashback, or Q-Flash Plus. It’s important to ensure that your motherboard supports this feature before proceeding.
- Prepare a USB drive: Obtain a USB drive with sufficient capacity and format it to a compatible file system, such as FAT32. Make sure to backup any existing data on the USB drive, as the flashing process will erase its contents.
- Download the BIOS update: Visit the manufacturer’s website and download the latest BIOS update for your specific motherboard model. Ensure that you select the correct version and follow any guidelines or recommendations provided by the manufacturer.
- Copy the BIOS update to the USB drive: Once the BIOS update file is downloaded, copy it to the root directory of the prepared USB drive. Rename the BIOS file to a specific name supported by your motherboard’s BIOS flashback feature. Consult your motherboard’s manual or manufacturer’s website to determine the appropriate file name format.
- Securely connect the USB drive: Connect the USB drive to the dedicated BIOS flashback USB port on your motherboard. This port is usually labeled clearly and is separate from the regular USB ports.
- Initiate the BIOS flashback process: Refer to your motherboard’s manual to identify the specific steps for initiating the BIOS flashback process. Typically, you need to press a dedicated button or use a specific combination of keys to activate the feature. Follow the instructions carefully and wait for the process to complete.
- Verify the updated BIOS: Once the BIOS flashback process is finished, power off your system and remove the USB drive. Restart your computer and enter the BIOS setup to confirm that the new BIOS version has been successfully updated.
Using the BIOS flashback feature simplifies the BIOS update process as it eliminates the need for a CPU and allows for a quicker and more convenient update procedure. However, it’s crucial to ensure that your motherboard supports this feature and to carefully follow the manufacturer’s instructions to avoid any potential issues.
If your motherboard does not include a BIOS flashback feature or if this method does not work for you, there are alternative methods available, which we will explore in the following sections.
Method 3: Using a pre-programmed BIOS chip
If your motherboard does not support BIOS flashback and you don’t have access to a compatible CPU, another method to update the BIOS is by using a pre-programmed BIOS chip. This method involves physically replacing the existing BIOS chip on your motherboard with a new chip that already contains the updated BIOS version.
Here’s how you can use a pre-programmed BIOS chip to update the BIOS:
- Identify the correct BIOS chip: Determine the specific BIOS chip used on your motherboard. This information can usually be found in the motherboard manual or by inspecting the existing BIOS chip physically.
- Obtain a pre-programmed BIOS chip: Contact the motherboard manufacturer or a specialized supplier to acquire a pre-programmed BIOS chip with the updated firmware. Make sure to provide the correct specifications and model details to ensure compatibility.
- Prepare for the replacement: Before replacing the BIOS chip, ensure that you have the necessary tools, such as a chip puller or fine-tipped soldering iron, to safely remove and install the chip. Take precautions to avoid static electricity, and consider grounding yourself to prevent any damage to sensitive electronic components.
- Replace the BIOS chip: Carefully remove the existing BIOS chip from its socket, taking note of its orientation and position. Insert the new pre-programmed BIOS chip into the socket, aligning it properly. Apply gentle pressure to ensure that it is firmly seated in place.
- Test the new BIOS chip: Power on your system to verify that the new BIOS chip is working correctly. Enter the BIOS setup and check for the presence of the updated BIOS version. Ensure that the computer is functioning as expected and that all components are recognized.
Using a pre-programmed BIOS chip offers a direct and reliable method to update the BIOS without requiring a CPU. However, it requires careful handling and proper identification of the correct BIOS chip. It is recommended to seek assistance from a professional if you are unfamiliar with the process of replacing the BIOS chip.
If the previous methods are not suitable for your situation, or if you prefer a simpler solution, there is one more method to update the BIOS without a CPU, which we will explore in the next section.
Method 4: Using a BIOS recovery feature
If your motherboard has a BIOS recovery feature, you can utilize it to update the BIOS without the need for a CPU. This method relies on the motherboard’s built-in recovery mechanism to restore the BIOS to a functional state using a specific procedure and a USB drive.
Here’s how you can use the BIOS recovery feature to update your motherboard BIOS:
- Check motherboard support: Ensure that your motherboard supports a BIOS recovery feature. Check the documentation, manufacturer’s website, or technical specifications to confirm if this feature is available.
- Prepare a USB drive: Format a USB drive to FAT32 and ensure it is empty. Backup any important data as the process may require formatting the USB drive.
- Download the correct BIOS file: Visit the motherboard manufacturer’s website and download the correct BIOS file for your specific motherboard model.
- Rename and copy the BIOS file: Rename the downloaded BIOS file to a specific name as instructed by the motherboard manufacturer. Copy the renamed BIOS file to the root directory of the prepared USB drive.
- Enter BIOS recovery mode: Power off your computer and connect the USB drive to a specific USB port designated for BIOS recovery, usually labeled clearly. Follow the motherboard manufacturer’s instructions to enter the BIOS recovery mode.
- Initiate the recovery process: Start the BIOS recovery process as per the manufacturer’s instructions. This process can vary depending on the motherboard model, but typically involves pressing a specific key or combination of keys during the power-on process.
- Wait for completion: Allow the motherboard’s recovery mechanism to detect and process the BIOS file from the USB drive. The process may take several minutes, and it’s crucial to avoid interrupting it by powering off the system or removing the USB drive prematurely.
- Restart and verify: Once the BIOS recovery process is complete, power off your system, remove the USB drive, and then power it on again. Enter the BIOS setup to ensure that the updated BIOS version is successfully installed.
The BIOS recovery feature provides a reliable way to update the BIOS without a CPU. However, it’s important to carefully follow the manufacturer’s instructions to avoid any interruptions or potential issues during the recovery process.
Keep in mind that not all motherboards have a BIOS recovery feature. If your motherboard lacks this capability or if the recovery process fails, it’s advisable to consult the manufacturer’s support team for further assistance or consider alternative methods of updating the BIOS.
Conclusion
Updating the BIOS of your motherboard is an essential task for ensuring the stability, compatibility, and performance of your computer system. While the traditional method of updating the BIOS required a compatible CPU, there are several alternative methods available to update the BIOS without a CPU.
In this article, we explored four methods to update the motherboard BIOS without a CPU. These methods include using a compatible CPU, utilizing the BIOS flashback feature, replacing the BIOS chip with a pre-programmed one, and utilizing the BIOS recovery feature. Each method offers its own advantages and requirements, so it’s important to choose the most suitable one based on your specific motherboard model and available features.
Regardless of the method you choose, it’s essential to thoroughly prepare for the BIOS update by researching your motherboard, backing up your current BIOS settings, ensuring power stability, and following the manufacturer’s instructions carefully. Updating the BIOS carries some risks, so it’s important to proceed with caution and seek assistance if needed.
Remember, the BIOS is a critical component that provides the foundational instructions for your computer system. Keeping it up to date is crucial for ensuring compatibility with new hardware, improving performance, and resolving any potential issues.
If you’re not comfortable performing a BIOS update yourself or if you encounter any difficulties, it’s always advisable to consult the motherboard manufacturer’s support team or seek professional assistance. They can provide guidance and assistance to ensure a successful BIOS update process.
By staying informed about the latest BIOS updates and utilizing the available methods to update the BIOS without a CPU, you can ensure that your computer system remains up to date, stable, and compatible with the latest hardware and software advancements.