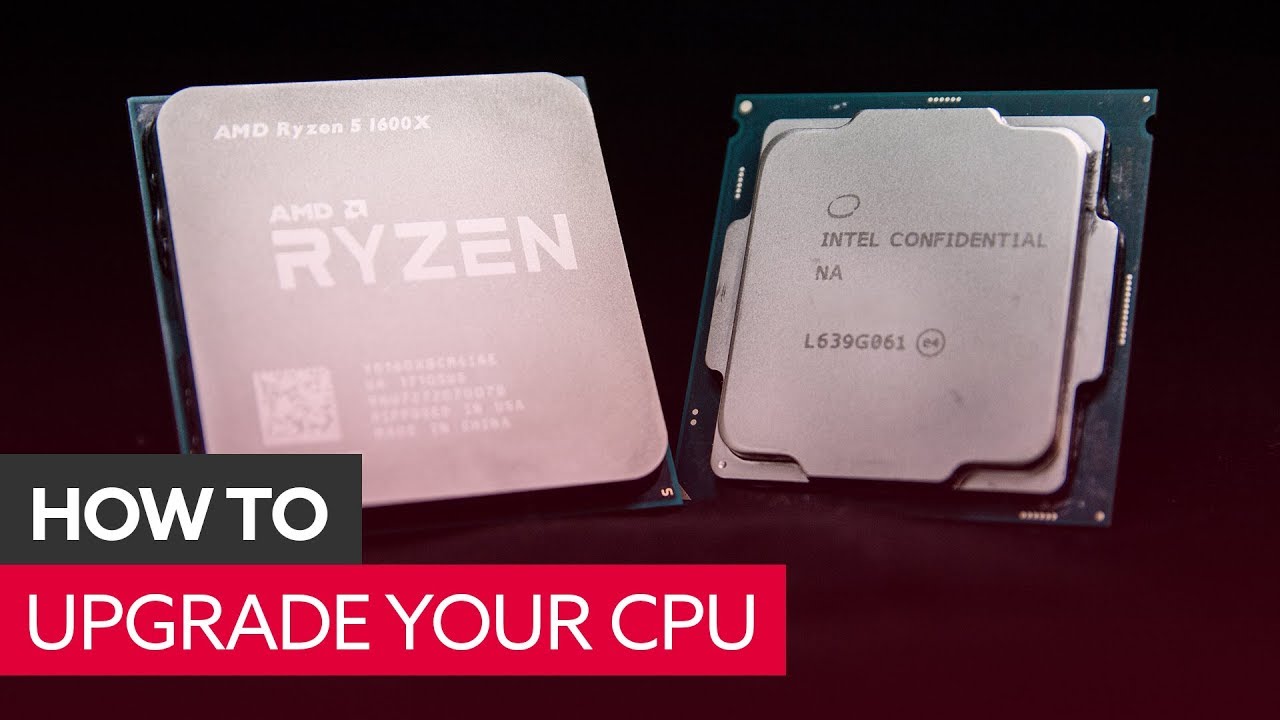
Introduction
Upgrading the BIOS (Basic Input Output System) is an essential step when installing a new CPU (Central Processing Unit) in your computer. The BIOS is responsible for initializing hardware components and settings, including the CPU, and keeping them in sync with the operating system. Without a compatible BIOS version, your new CPU may not function properly or may not be recognized at all.
In this article, we will guide you through the process of upgrading your BIOS to support a new CPU. We will cover the essential steps and precautions to take before proceeding with the upgrade. Additionally, we will provide troubleshooting tips for common issues that might arise during the process.
Before diving into the technical aspects, it’s important to note that updating the BIOS requires careful attention and may involve some risks. It is crucial to follow the instructions provided by your computer or motherboard manufacturer and back up your data before attempting any BIOS modification.
By following this guide, you will gain the necessary knowledge to successfully upgrade your BIOS for your new CPU, ensuring compatibility and optimal performance.
Preparing for the Upgrade
Before beginning the BIOS upgrade process, there are a few important steps you should take to ensure a smooth and successful upgrade:
1. Research compatibility: Start by checking the compatibility of your new CPU with your computer’s motherboard and BIOS version. Consult the documentation provided by the CPU manufacturer or visit the motherboard manufacturer’s website for compatibility information.
2. Gather necessary information: Identify the exact model and version of your motherboard. This information is usually found on the motherboard itself or in the system BIOS. Make a note of it as you will need it to download the correct BIOS update.
3. Read the documentation: Visit the motherboard manufacturer’s website and locate the documentation for your specific model. Read the instructions carefully to understand the BIOS upgrade process and any specific requirements or precautions.
4. Backup your data: It’s always a good practice to back up your important data before making any changes to your computer’s BIOS. This acts as a safety net in case anything goes wrong during the upgrade process.
5. Gather necessary tools: You will need a USB drive with sufficient storage capacity to create a bootable drive for the BIOS update. Ensure that the USB drive is blank and formatted correctly before proceeding.
6. Power and stability: It is recommended to perform the BIOS upgrade process when your computer is connected to a stable power source. Any sudden power interruptions or fluctuations during the upgrade could lead to system instability or even permanent damage.
By following these preparatory steps, you will be well-prepared and minimize the risk of encountering any issues during the BIOS upgrade process. In the next sections, we will cover the steps to check for BIOS updates, download the latest version, and create a bootable USB drive for the upgrade.
Checking for BIOS Updates
Before proceeding with the BIOS update, it’s important to check if there is a newer version available for your motherboard’s BIOS. The manufacturer often releases updates to improve compatibility, stability, and performance, especially when new CPUs are released.
Follow these steps to check for BIOS updates:
1. Visit the manufacturer’s website: Go to the website of your motherboard manufacturer. Locate the support or downloads section, which typically provides firmware updates.
2. Enter your motherboard details: Enter the model or serial number of your motherboard to access the relevant product page. This page usually contains information about the latest BIOS versions available for your specific model.
3. Check for BIOS updates: Look for a section that specifically mentions BIOS updates. Check if there is a newer version available than the one currently installed on your system.
4. Review the release notes: It’s important to read the release notes accompanying the BIOS update. This will provide information about the changes and improvements included in the update. Pay particular attention to any notes related to CPU compatibility or functionality.
5. Determine if an update is necessary: Assess whether the available BIOS update is necessary for your new CPU to function properly. If the release notes mention improvements or fixes related to CPU compatibility, it is highly recommended to proceed with the update.
6. Note the download location: Make note of the download location for the BIOS update file. This information will be needed in the next section when you download the file to update the BIOS.
Checking for BIOS updates is a critical step to ensure compatibility between your new CPU and the motherboard. By staying up-to-date with the latest BIOS version, you can ensure optimal performance and stability. In the next section, we will discuss the process of downloading the latest BIOS version.
Downloading the Latest BIOS Version
Once you have identified a newer BIOS version for your motherboard, it’s time to download the update file. Follow these steps to download the latest BIOS version:
1. Visit the manufacturer’s website: Go to the website of your motherboard manufacturer and navigate to the support or downloads section.
2. Locate the BIOS update: Look for the specific BIOS update that matches your motherboard model and the version you noted in the previous section.
3. Download the update file: Click on the download link for the BIOS update file. Some manufacturers may require you to agree to their terms and conditions before allowing the download.
4. Choose the correct file format: Manufacturers may offer multiple file formats for the BIOS update, such as .exe, .bin, or .zip. Choose the appropriate file format for your operating system and download it to your computer.
5. Prepare the USB drive: Connect the USB drive that you prepared earlier and make sure it is empty. Format the USB drive with the FAT32 file system if it is not already formatted in that format.
6. Transfer the update file: Copy the downloaded BIOS update file to the root directory of the USB drive. Ensure that the file is not placed in any folders or subdirectories on the USB drive.
7. Safely remove the USB drive: Eject or safely remove the USB drive from your computer to prevent any data corruption or loss.
By downloading the latest BIOS version and preparing the update file on a USB drive, you are one step closer to upgrading the BIOS for your new CPU. In the next section, we will discuss how to create a bootable USB drive to perform the BIOS update.
Creating a Bootable USB Drive
To perform the BIOS update, you will need to create a bootable USB drive that contains the necessary files. Follow these steps to create a bootable USB drive:
1. Insert the USB drive: Insert the USB drive that you prepared earlier into an available USB port on your computer.
2. Locate the BIOS update tool: Open the folder where you downloaded the BIOS update file. Look for any accompanying documentation or files that contain the BIOS update tool.
3. Run the BIOS update tool: Double-click on the BIOS update tool to launch it. Follow the on-screen instructions provided by the tool to create a bootable USB drive. The process may vary depending on the manufacturer’s tool.
4. Select the USB drive: During the process, you will be prompted to select the USB drive as the destination for the bootable files. Choose the correct USB drive from the list if you have multiple drives connected.
5. Start the creation process: Start the creation process by clicking on the appropriate button or following the instructions provided by the tool. This will copy the necessary BIOS update files to the USB drive and make it bootable.
6. Wait for the process to complete: Allow the tool to complete the creation process. This may take a few minutes, depending on the size of the BIOS update files and the speed of your computer.
7. Safely remove the USB drive: Once the bootable USB drive has been created, eject or safely remove the USB drive from your computer. This ensures that the files on the drive are not corrupted during the removal process.
By creating a bootable USB drive, you are now ready to update your BIOS with the latest version. In the next section, we will guide you through the process of updating the BIOS for your new CPU.
Updating the BIOS
Now that you have prepared a bootable USB drive with the necessary BIOS update files, it’s time to proceed with updating your BIOS. Follow these steps to update the BIOS:
1. Power off your computer: Ensure that your computer is powered off completely before proceeding with the BIOS update.
2. Insert the bootable USB drive: Insert the bootable USB drive that you created in the previous section into an available USB port on your computer.
3. Power on your computer: Turn on your computer and immediately access the BIOS settings. This is usually done by pressing a specific key (such as Del, F2, or F12) during the booting process. The specific key may vary depending on your computer or motherboard model. Refer to the manufacturer’s documentation for the exact key to press.
4. Access the BIOS settings: Once inside the BIOS settings, navigate to the “Boot” or “Advanced” tab. Look for an option that allows you to select the boot device or boot priority.
5. Choose the USB drive: Set the USB drive as the first boot device or prioritize it over other boot devices. This ensures that your computer will boot from the USB drive when you restart it.
6. Save and restart: Save the changes you made to the BIOS settings and exit the BIOS. Your computer will restart and boot from the USB drive.
7. Follow the on-screen instructions: The BIOS update process will begin automatically. Follow the on-screen instructions to proceed with the update. Do not interrupt the update process or power off your computer during this time, as it can lead to damage to the BIOS.
8. Wait for the update to complete: The BIOS update may take a few minutes to complete. You may see progress indicators or messages on your screen. Be patient and allow the update to finish.
9. Restart your computer: Once the BIOS update is complete, your computer will automatically restart. The BIOS will be updated to the latest version, ready to support your new CPU.
By following these steps, you have successfully updated the BIOS of your computer. In the next section, we will discuss the importance of verifying the BIOS update to ensure its successful installation.
Verifying the BIOS Update
After updating the BIOS, it is essential to verify that the update was successful and that the new BIOS version is properly installed. This verification process ensures that your new CPU will function optimally with the updated BIOS. Follow these steps to verify the BIOS update:
1. Check the BIOS version: Restart your computer and access the BIOS settings again. Navigate to the “Main” or “System Information” section to check the BIOS version. Ensure that the displayed version matches the latest version you downloaded and installed.
2. Verify CPU compatibility: Refer to the documentation provided by your CPU manufacturer or the motherboard manufacturer to confirm that your new CPU is now supported by the updated BIOS version. Look for any notes or compatibility lists that mention support for your specific CPU model.
3. Monitor system stability: After updating the BIOS, monitor your system for stability. Run stress tests or demanding tasks to ensure that your computer performs as expected and does not experience any crashes, freezes, or abnormal behavior. This will help ensure that the updated BIOS is functioning correctly with your new CPU.
4. Check for BIOS-related improvements: Review the release notes for the updated BIOS version to see if any specific improvements or fixes were included that relate to CPU performance, stability, or compatibility. If there are optimizations mentioned specifically for your new CPU, you can expect better performance and compatibility with the updated BIOS.
5. Consult manufacturer support: If you encounter any issues or have doubts about the BIOS update, consider reaching out to the manufacturer’s support team. They can provide guidance and assistance to address any concerns or problems you may have experienced during the BIOS update process.
By verifying the BIOS update, you ensure that your computer is running the latest version with proper support for your new CPU. Any necessary adjustments can be made promptly to ensure optimal performance. In the next section, we will discuss common troubleshooting tips for potential issues that may arise during the BIOS update.
Troubleshooting Common Issues
During the BIOS update process, you may encounter some common issues. It’s important to be aware of these potential problems and understand how to troubleshoot them. Here are some common issues and their troubleshooting solutions:
1. Power loss during the update: If your computer loses power or shuts down while the BIOS update is in progress, it can lead to a corrupt BIOS and potential system instability. To prevent this, ensure that your computer is connected to a stable power source and consider using a UPS (Uninterruptible Power Supply) for added protection.
2. Incompatible or incorrect BIOS version: If you mistakenly download and install an incompatible or incorrect BIOS version, it may cause issues with your system. Always double-check the model and version of your motherboard and verify that you are downloading the correct BIOS update from the manufacturer’s official website.
3. Failed BIOS update: In rare cases, the BIOS update may fail to complete or install properly, leading to a non-bootable system. If this happens, consult the manufacturer’s documentation for specific instructions on recovering from a failed BIOS update. This often involves using a backup BIOS or a recovery tool provided by the manufacturer.
4. System instability or crashes: If you experience system instability or crashes after updating the BIOS, it could indicate a problem with the compatibility between the BIOS and the new CPU. To address this, check for any updated drivers or firmware for the CPU and install them accordingly. You may need to consult the manufacturer’s support or forums for further guidance.
5. Incorrect BIOS settings: Sometimes, after a BIOS update, certain settings in the BIOS may revert to default or incompatible values, leading to problems. Review the BIOS settings and make sure they are configured correctly for your specific CPU and system requirements. Refer to the manufacturer’s documentation for guidance if needed.
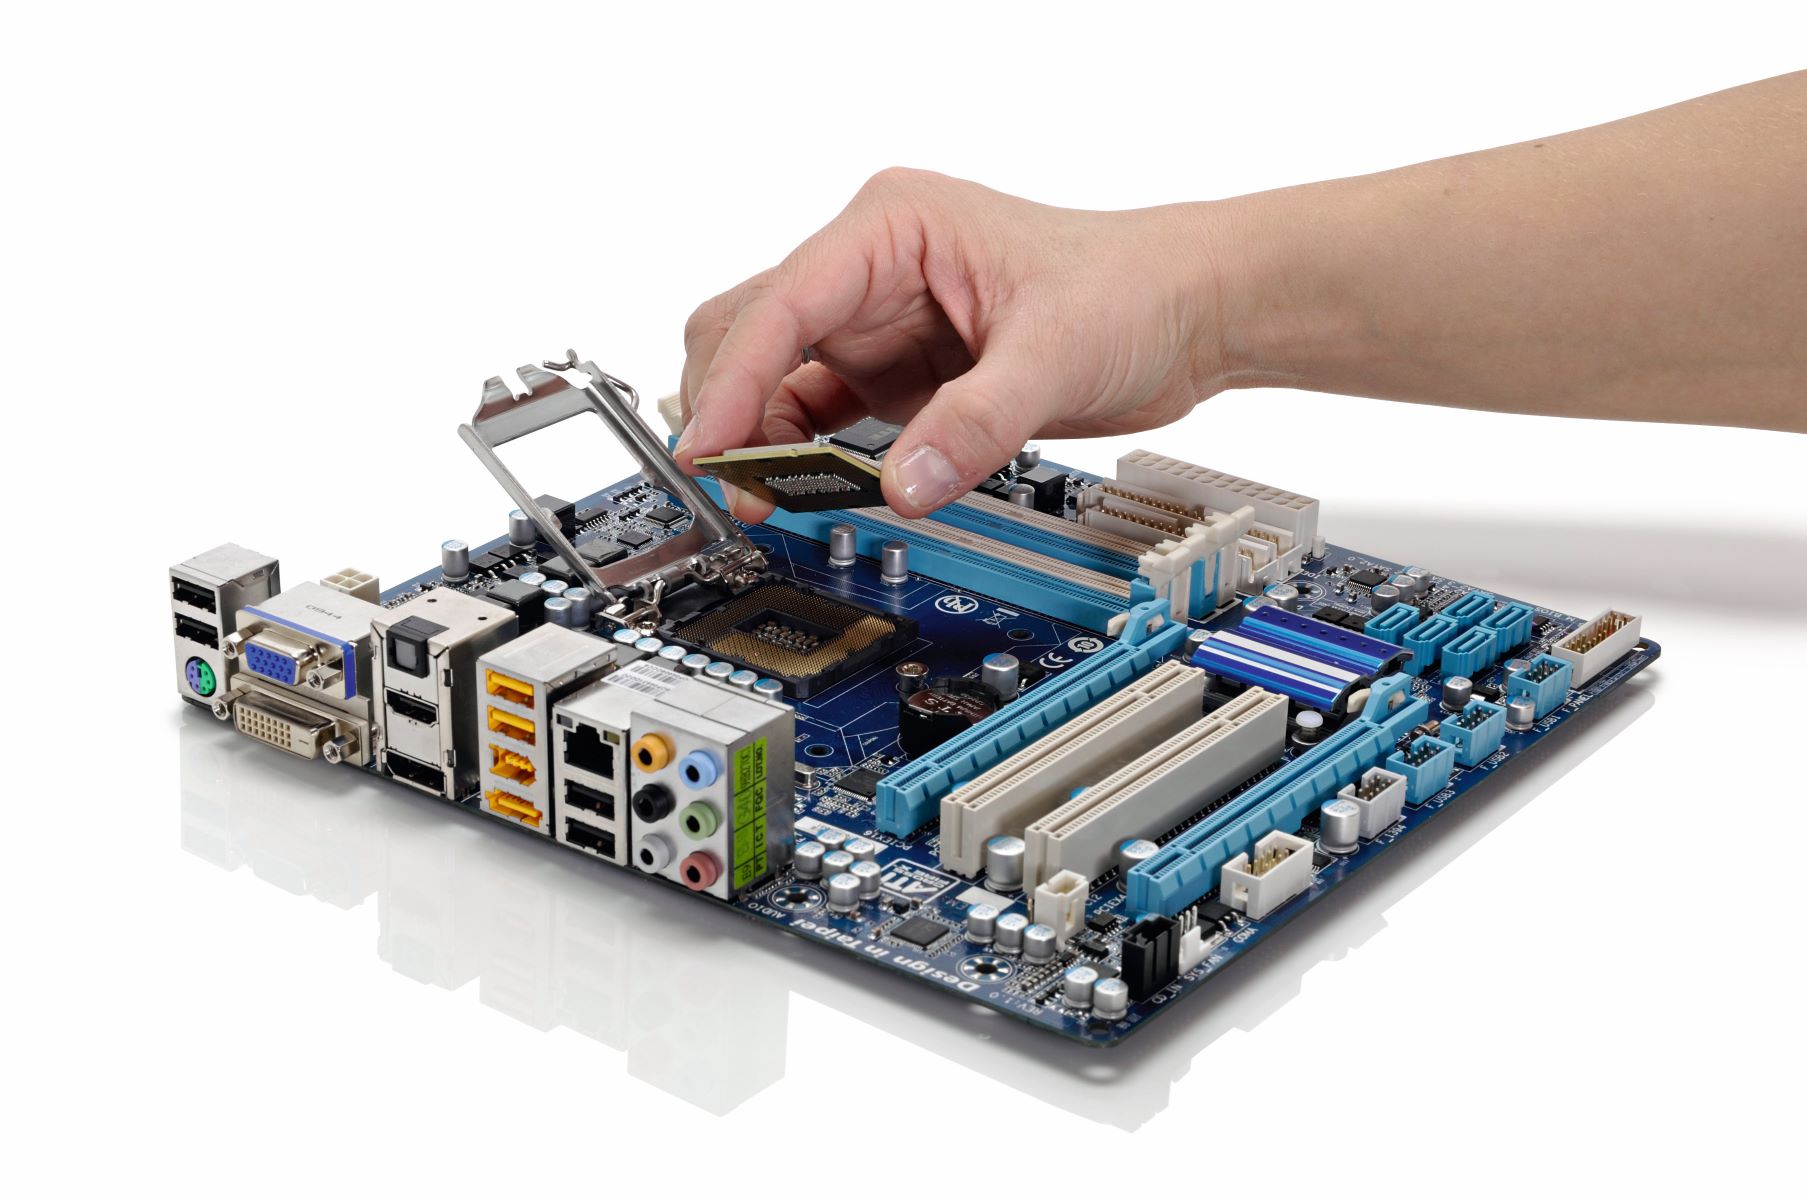
6. System not recognizing the new CPU: If your system does not recognize or properly detect the new CPU after the BIOS update, ensure that the CPU is installed correctly and firmly seated in the socket. Double-check the compatibility between the CPU and the motherboard, and verify that the CPU is officially supported by the BIOS version you installed.
Remember, if you encounter any issues during the BIOS update or post-update process, it’s always recommended to consult the manufacturer’s documentation, support channels, or online forums for assistance. Their expertise can guide you in resolving any problems and ensuring the successful functioning of the new CPU with the updated BIOS.
Conclusion
Upgrading the BIOS for a new CPU is a crucial step to ensure compatibility, stability, and optimal performance. By following the steps outlined in this guide, you can successfully navigate the process of upgrading your BIOS. Here’s a recap of the key points discussed:
– Preparing for the upgrade involves researching compatibility, gathering necessary information, reading documentation, and backing up your data.
– Checking for BIOS updates involves visiting the manufacturer’s website, entering your motherboard details, and reviewing the available updates.
– Downloading the latest BIOS version entails visiting the manufacturer’s website, locating the specific update, and downloading the appropriate file format.
– Creating a bootable USB drive involves inserting the USB drive, running the BIOS update tool, selecting the USB drive, and transferring the update file.
– Updating the BIOS requires powering off your computer, inserting the USB drive, accessing the BIOS settings, choosing the USB drive as the boot device, and following the on-screen instructions.
– Verifying the BIOS update involves checking the BIOS version, confirming CPU compatibility, monitoring system stability, and consulting the manufacturer support if needed.
– Troubleshooting common issues includes addressing power loss, verifying the correct BIOS version, dealing with failed updates, ensuring system stability, double-checking BIOS settings, and resolving recognition problems with the new CPU.
Remember that BIOS updates should be approached with caution and care. Always follow the manufacturer’s instructions and consult their support channels if you encounter any issues or have doubts. By taking these precautions and following the recommended steps, you can successfully upgrade your BIOS and enjoy the enhanced performance and compatibility of your new CPU.