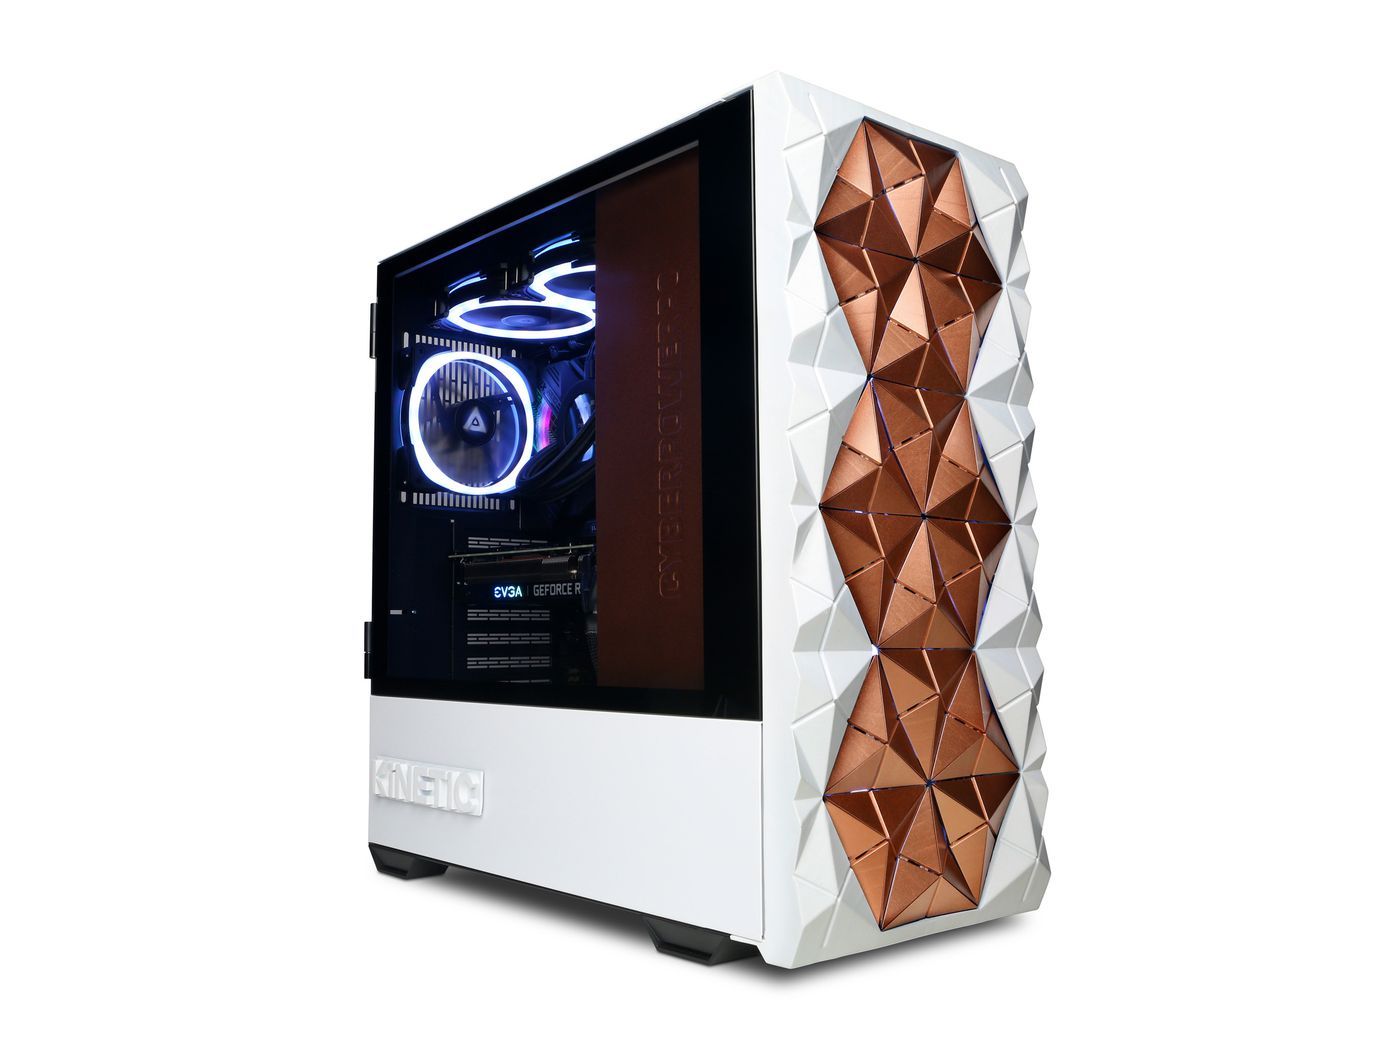
Introduction
Welcome to the world of PC upgrades! Whether you’re a seasoned tech enthusiast or a curious beginner, upgrading your computer can be an exciting endeavor. An upgraded PC can give you a significant boost in performance, allowing you to run demanding software, play the latest games, or simply enjoy a smoother and more responsive computing experience.
In this article, we will guide you through the process of upgrading your PC, step by step. From selecting the right components to installing and configuring them, we will cover everything you need to know to successfully upgrade your computer.
Before diving into the process, it’s essential to understand that upgrading a PC requires some technical knowledge and careful consideration. It’s crucial to identify the components that are holding back your system’s performance and select suitable replacements.
Additionally, it’s important to note that upgrading your PC may void any existing warranties, so proceed with caution. If you’re unsure about any step in the process, it’s recommended to consult with a professional or seek guidance from online communities and forums.
Upgrading your PC can bring numerous benefits. It can improve overall system performance, reduce loading times, and allow you to run newer applications and games that may have been incompatible or sluggish on your previous hardware.
Not only that, but upgrading your PC can also be more cost-effective than buying a new one. Instead of spending a significant amount of money on a brand new system, you can selectively upgrade specific components that are limiting your PC’s capabilities.
In the following sections, we will cover the necessary preparations for a PC upgrade, including selecting the right components, gathering the necessary tools, and backing up your data. We will then proceed with the step-by-step process of disconnecting and removing old components, installing the new ones, and verifying the connections.
Once the physical installation is complete, we will guide you through the essential steps of powering on your PC, configuring the BIOS, and installing the necessary drivers and software. We will also cover stress testing your system to ensure stability and troubleshoot common issues that may arise during or after the upgrade.
So, if you’re ready to take your PC to the next level, let’s dive into the exciting world of PC upgrades!
Preparing for the Upgrade
Before diving into the exciting process of upgrading your PC, it’s important to make some necessary preparations. Taking the time to plan and prepare will help ensure a smooth and successful upgrade experience. Here are some essential steps to follow:
Step 1: Evaluate your current system: Start by assessing your current PC’s specifications and identifying the areas that need improvement. Determine which components are the most limiting factors in terms of performance and decide which ones you want to upgrade.
Step 2: Consider your budget: Set a budget for your upgrade project. This will help you prioritize which components to upgrade and how much you are willing to spend. Keep in mind that spending more doesn’t always guarantee better performance, so strike a balance between your needs and budget.
Step 3: Research compatible components: Once you’ve identified the components you want to upgrade, research the compatible options available. Compatibility is essential to ensure that the new components will work seamlessly with the rest of your system. Check your motherboard’s specifications and seek recommendations from reliable sources or experts.
Step 4: Check power requirements: Upgrading certain components, such as the graphics card or processor, may require more power than your current power supply can handle. Check the power requirements of the new components and ensure that your power supply unit (PSU) can provide sufficient power. If necessary, consider upgrading your PSU as well.
Step 5: Create a backup: Before starting the upgrade process, it is crucial to back up your important data. While the chances of data loss during an upgrade are relatively low, unforeseen issues can arise. Creating a backup ensures that you have a copy of your files and settings. You can use external storage devices, cloud services, or backup software to create a backup.
Step 6: Organize your workspace: Clear your workspace and ensure you have enough room to work comfortably. Set up an anti-static work mat or use an anti-static wristband to protect your components from static electricity. Gather the necessary tools, such as screwdrivers, cable ties, and thermal paste, for the installation process.
Step 7: Familiarize yourself with the upgrade process: Before starting the upgrade, read the manuals and guides for the components you’re installing. Familiarize yourself with the installation process and any specific requirements or precautions. This will help you avoid mistakes and ensure a smooth installation.
By following these preparation steps, you will be well-equipped and ready to embark on your PC upgrade journey. Taking the time to plan and prepare will not only make the upgrade process smoother but also increase the chances of a successful and enjoyable upgrade experience.
Selecting the Right Components
When upgrading your PC, selecting the right components is crucial for achieving the desired performance improvements. Each component plays a vital role in your system’s overall functionality, so it’s essential to choose wisely. Here are some factors to consider when selecting components:
Compatibility: Ensure that the components you choose are compatible with your current system. Check the specifications of your motherboard, including its socket type, RAM compatibility, and available expansion slots. Compatibility issues can cause frustration and hinder the success of your upgrade.
Performance requirements: Consider your specific needs and the applications or games you plan to use. Look for components that meet or exceed the recommended system requirements of the software you intend to run. For example, if you’re a gamer, consider a graphics card with sufficient VRAM and processing power.
Budget: Determine how much you’re willing to spend on the upgrade and prioritize your components accordingly. Allocate more of your budget to the components that will have the most significant impact on your system’s performance. For example, if you primarily use your PC for gaming, you might want to invest more in a powerful graphics card.
Reviews and recommendations: Read customer reviews and seek recommendations from reputable sources or knowledgeable individuals. Look for components with positive feedback and a track record for reliability and performance. This can help you make informed decisions and avoid potential issues down the line.
Future-proofing: Consider the longevity of the components you’re selecting. While it’s impossible to future-proof completely, choosing components with good upgrade paths and compatibility can extend the lifespan of your system. Opt for components that offer room for expansion, such as extra RAM slots or multiple PCIe slots.
Brand and warranty: Brand reputation and warranty coverage are important factors to consider. Established brands often provide better customer support and longer warranty periods. This can offer peace of mind and protection against potential defects or failures in your components.
Remember that upgrading your PC is not just about buying the most expensive components on the market. It’s about finding the right balance between your budget and the performance improvements you seek. By considering compatibility, performance requirements, budget, reviews, future-proofing, and brand reputation, you can make informed decisions and select the right components for your upgrade.
Gathering the Necessary Tools
Before you begin the process of upgrading your PC, it’s important to gather the necessary tools to ensure a smooth and efficient installation. Having the right tools at your disposal will make the task easier and help prevent damage to your components. Here are some essential tools to gather:
Screwdrivers: A set of precision screwdrivers is essential for removing and installing various components. Make sure you have a variety of sizes, including both flathead and Phillips head screwdrivers. This will allow you to tackle different types of screws commonly found in PCs.
Cable ties and zip ties: These are useful for organizing cables and ensuring a clean and clutter-free installation. Use cable ties to secure cables and prevent them from obstructing airflow or getting tangled within the case. Zip ties can also help manage excess cable length.
Thermal paste: If you’re replacing the CPU or reseating the heatsink, thermal paste is crucial for ensuring optimal heat transfer between the CPU and the heatsink. Make sure to have a small tube of high-quality thermal paste on hand.
Anti-static wristband or mat: Static electricity can damage sensitive computer components. To protect your components from static discharge, use an anti-static wristband that connects you to the case or an anti-static mat on your work surface.
Cleaning materials: A can of compressed air can help remove dust and debris from your components and the inside of your PC case. Additionally, a microfiber cloth or lint-free cloth can be used to wipe down surfaces and keep things clean.
Extra cables and adapters: Depending on the upgrades you’re installing, you may need extra cables or adapters. For example, if you’re adding additional storage drives, make sure you have the necessary SATA or power cables. Check the specifications of your new components to determine if any additional cables or adapters are required.
Flashlight: A flashlight can be handy for illuminating the interior of your PC case, especially if you’re working in a dimly lit area. It can help you identify connectors, locate screws, and ensure that everything is properly installed.
Reference materials: Keep any manuals, user guides, or online resources handy for the components you’re installing. These resources can provide valuable information, such as installation steps, specific requirements, and troubleshooting tips.
Gathering these tools beforehand will save you time and frustration during the upgrade process. By having the right tools on hand, you’ll be prepared to tackle any challenges that may arise and ensure a successful PC upgrade.
Backing Up Your Data
One essential step before embarking on a PC upgrade is to back up your data. While performing hardware upgrades generally doesn’t affect your files, it’s always wise to take precautions to avoid any potential data loss. Here’s why backing up your data is important and how you can do it:
Data protection: Backing up your data provides a safety net in case anything goes wrong during the upgrade process. This can include accidental file deletion, errors in the installation, or unexpected hardware failures. By having a backup, you can ensure the preservation of your important files and prevent potential disruptions to your work or personal life.
Data loss prevention: Although rare, there is always a risk of data loss during hardware upgrades due to unforeseen circumstances. Hardware failures, power outages, or compatibility issues can occasionally lead to data corruption or loss. Having a backup ensures that even if something goes wrong, your files are safely stored and can be recovered.
Types of backups: There are different methods you can use to back up your data. One common approach is to use external storage devices such as external hard drives or USB flash drives. You can manually copy and paste your important files to these devices as a backup. Alternatively, you can utilize cloud storage services that offer automatic backups, allowing you to access your files from anywhere with an internet connection. You can also use backup software that offers more advanced features such as scheduling regular backups and incremental backups.
Important files to back up: Prioritize backing up your important files such as documents, photos, videos, and any other files that hold sentimental or significant value. Also, consider backing up application settings and profiles, browser bookmarks, and email configurations. Make sure to identify the folders and files that are critical to you and include them in your backup process.
Test your backup: Once you have completed your backup, it’s crucial to verify its integrity. Take the time to test the backup by restoring a sample file or accessing it to ensure it was successfully backed up and can be accessed without any issues. This way, you can have confidence in the backup and know that your files are secure.
Regular backups: It’s important to establish a habit of regularly backing up your data, not just before a PC upgrade. Set a schedule for periodic backups to ensure that your data is continuously protected. Regular backups will give you peace of mind knowing that even in the event of hardware failures or other unforeseen circumstances, you have a recent backup to rely on.
By taking the time to back up your data before a PC upgrade, you can protect yourself against potential data loss and ensure a smooth transition. Remember, it’s always better to be safe than sorry when it comes to your important files and personal data.
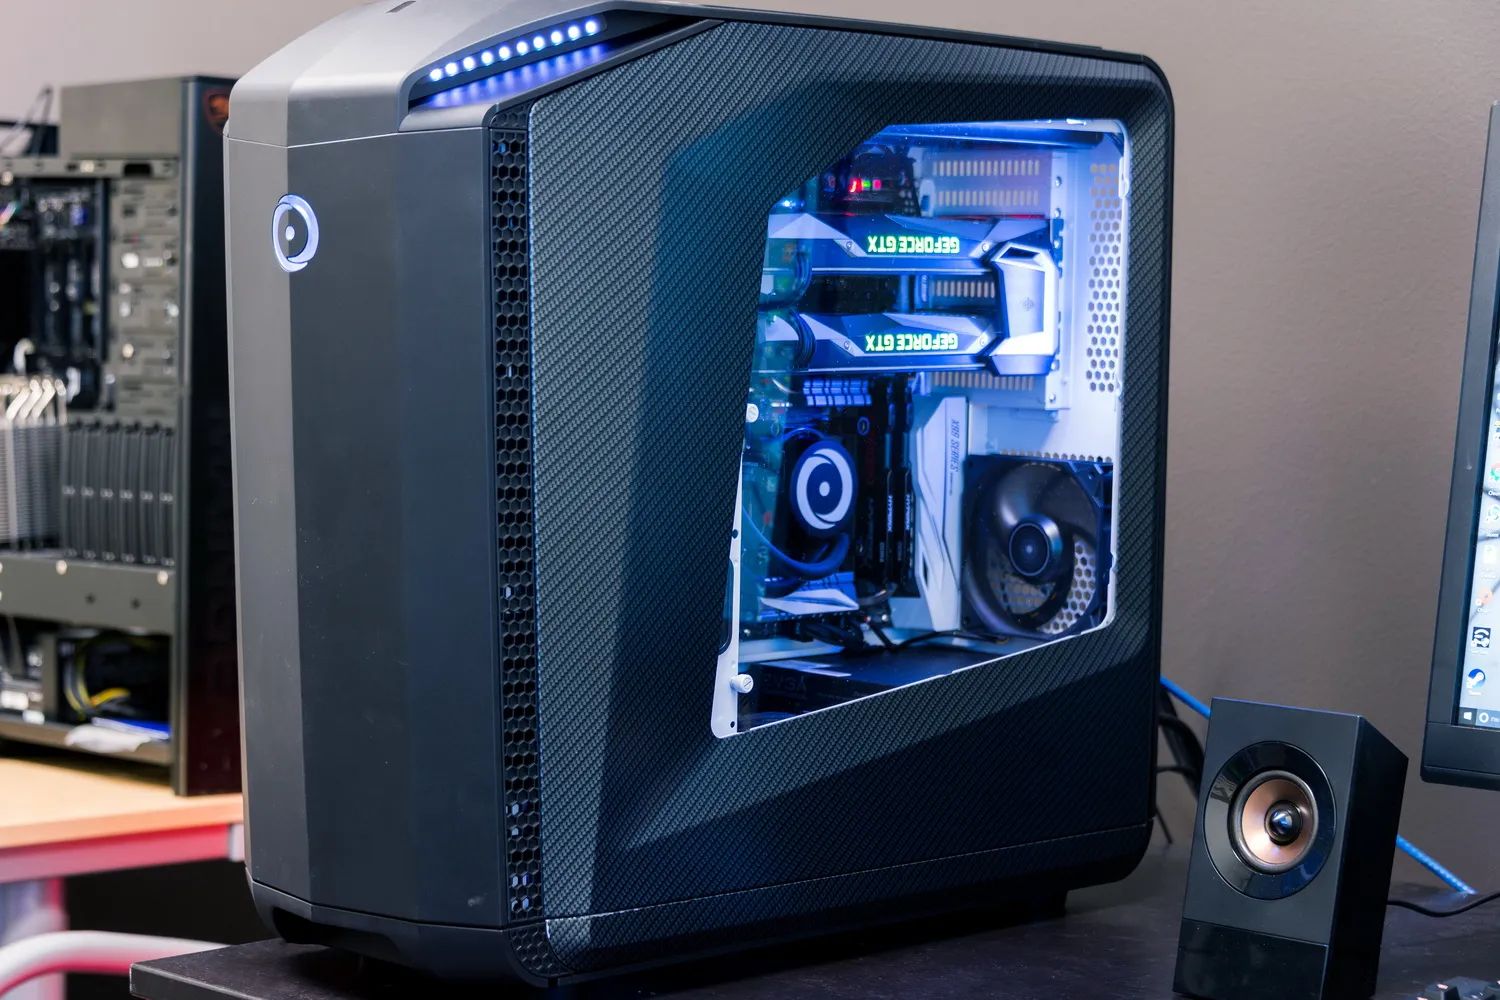
Disconnecting and Removing Components
When upgrading your PC, one of the initial steps is to disconnect and remove the existing components that you’re replacing. Properly disconnecting and removing components is vital to ensure a smooth and successful upgrade. Here’s a step-by-step guide on how to do it:
1. Shut down your PC: Before working on the internal components, make sure to shut down your PC properly. It’s important to turn off the power and unplug the power cord from the wall outlet to avoid any electrical hazards.
2. Ground yourself: Before touching any internal components, ground yourself by touching a metal surface or wearing an anti-static wristband. This helps to discharge any static electricity and prevents damage to sensitive components.
3. Remove the PC case panel: Most PC cases have removable side panels that provide access to the internal components. Carefully remove the screws or clips securing the side panel and slide it off to expose the motherboard and other components.
4. Disconnect power cables: Start by disconnecting the power cables from the components. This includes the motherboard’s main power connector, CPU power cables, and any additional power cables connected to components such as the graphics card or storage drives. Press the release latch or gently wiggle the connectors while pulling them free.
5. Disconnect data cables: Depending on the components you’re removing, you may have data cables connected to them. Common examples include SATA cables for storage drives or ribbon cables for older IDE devices. Carefully disconnect these cables by squeezing the release tabs or gently pulling them out.
6. Remove expansion cards: If you’re upgrading or replacing expansion cards such as a graphics card or sound card, carefully remove them next. Press the release latch on the PCIe slot and gently lift the card out of the slot. Make sure to lift straight up to avoid damaging the card or the slot.
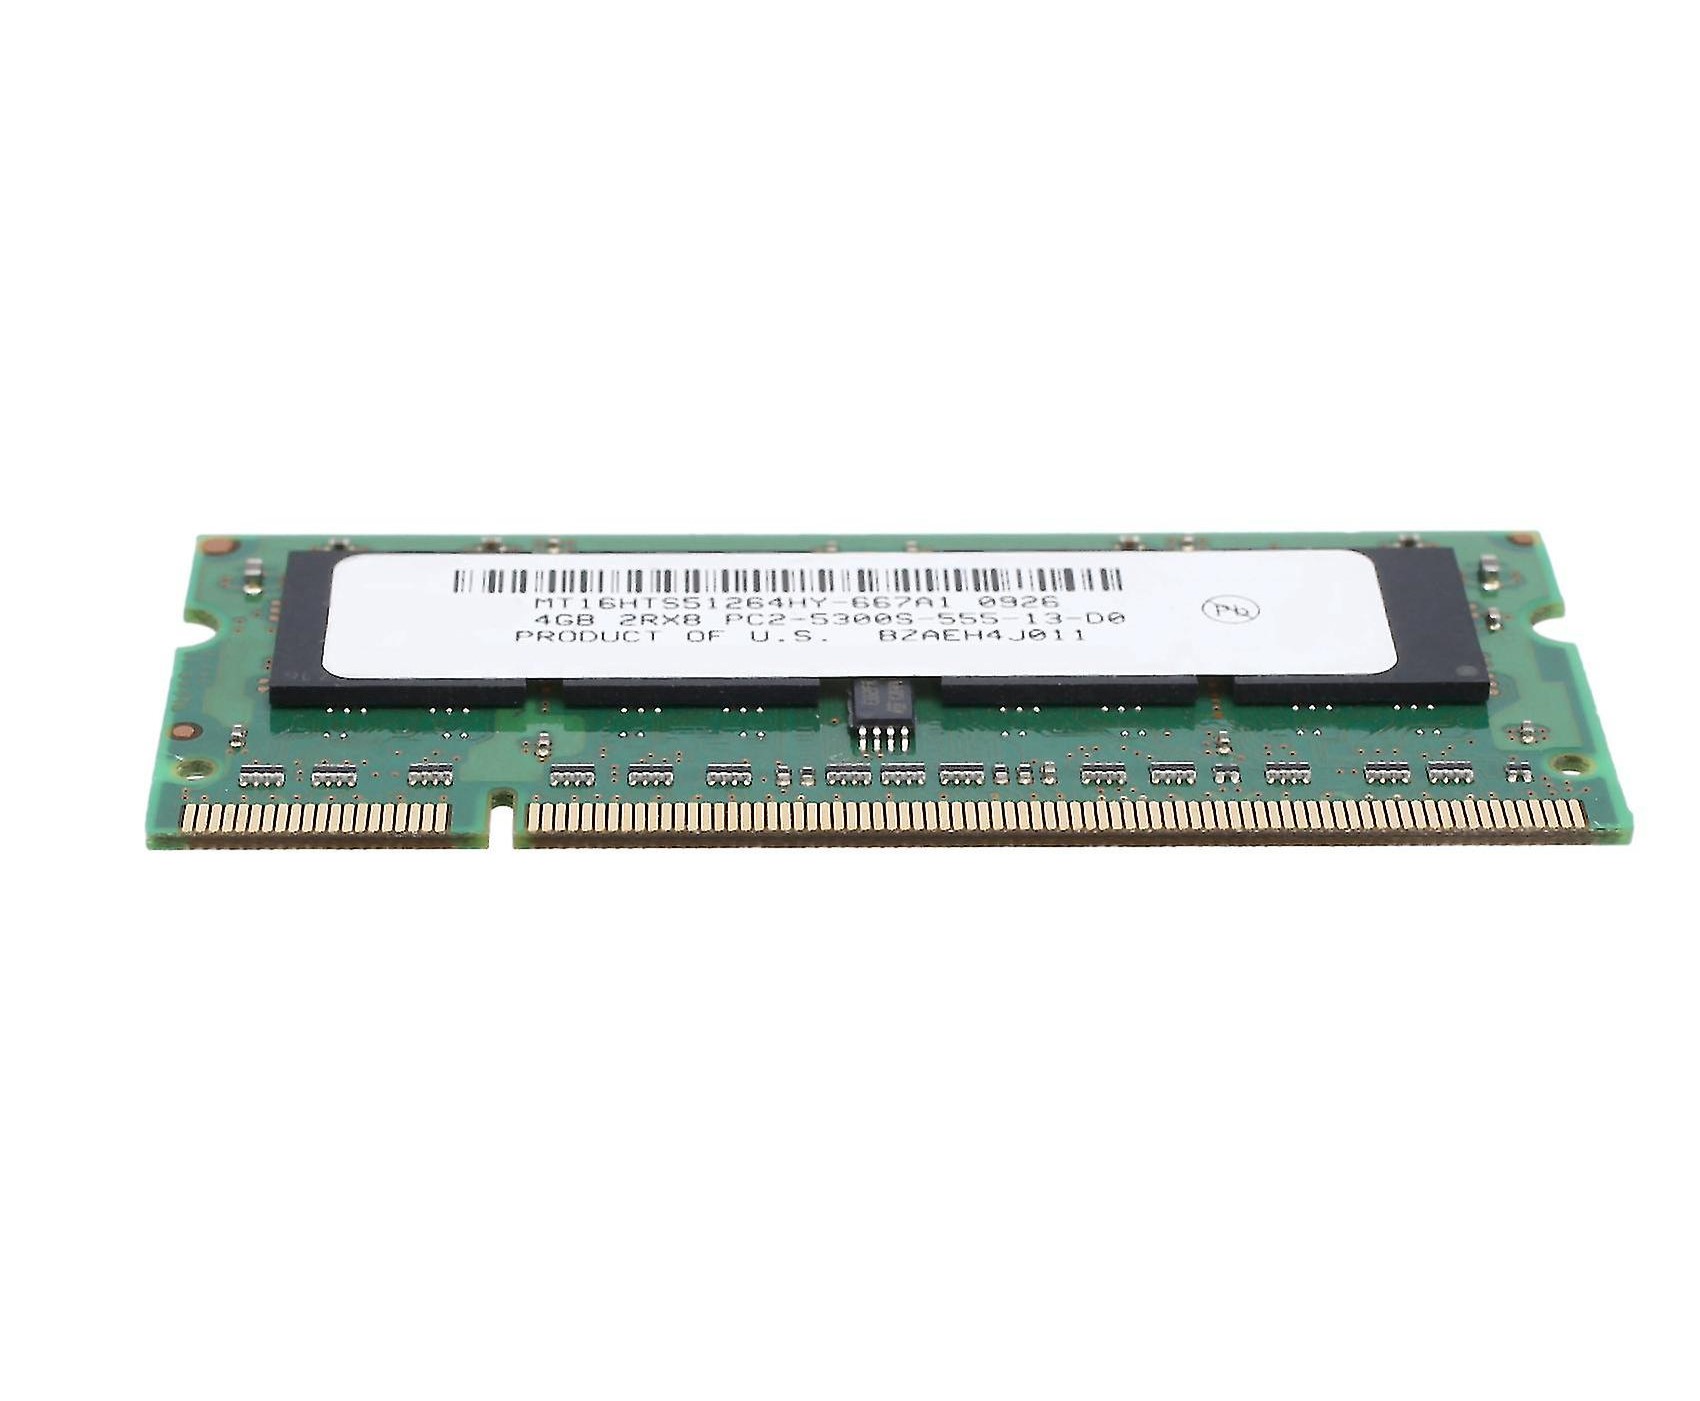
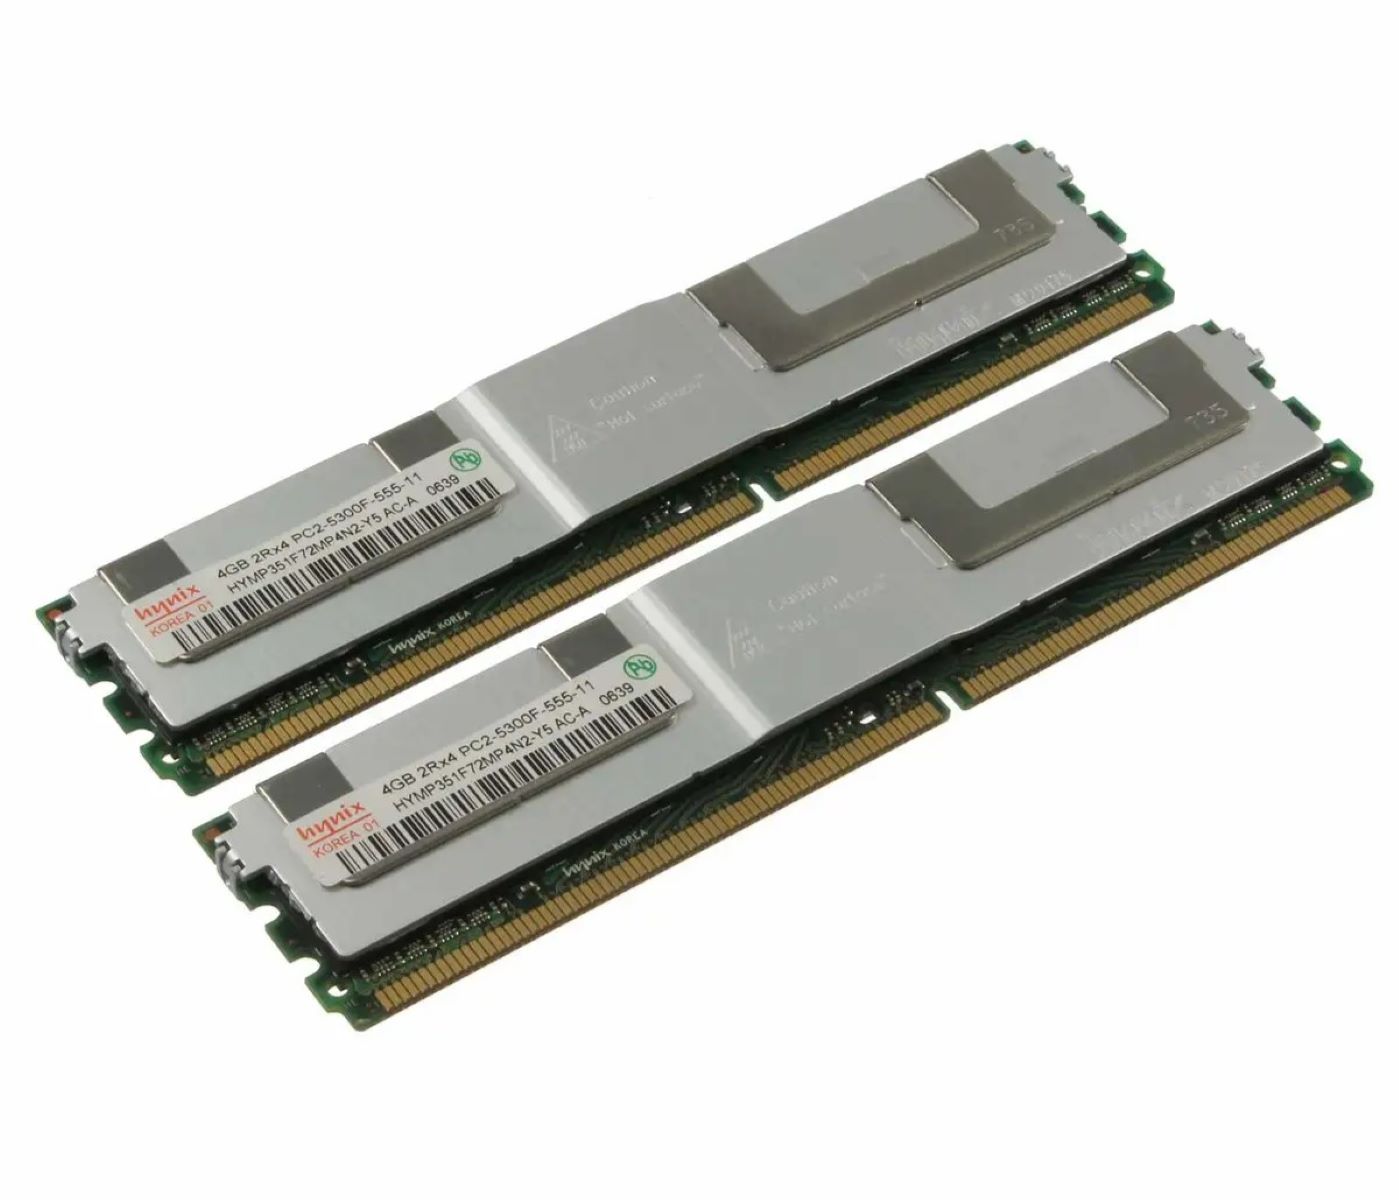
7. Remove RAM modules: If you’re upgrading or replacing RAM modules, press the release latches on the side of the RAM slots to free the modules. Gently pull the RAM modules straight out of the slots, being careful not to apply excessive force.
8. Remove other peripherals: If you have any other peripherals or components you’re replacing, such as a CPU cooler or storage drives, follow the specific instructions provided for their removal. Consult the manuals or online guides to ensure you’re disconnecting them correctly.
9. Keep track of screws and components: As you remove components, keep track of any screws or brackets that may be holding them in place. Store these in a safe place or use small plastic bags to keep them organized. This will make reassembly easier later.
10. Organize removed components: Once you’ve removed the components, place them in an anti-static bag or on an anti-static mat to protect them from static electricity. Keep them in a safe and clean area until you’re ready to install the new components.
By following these steps and taking your time, you can confidently disconnect and remove the components from your PC. Remember to handle the components with care and keep track of any screws or small parts to ensure a smooth and successful upgrade process.
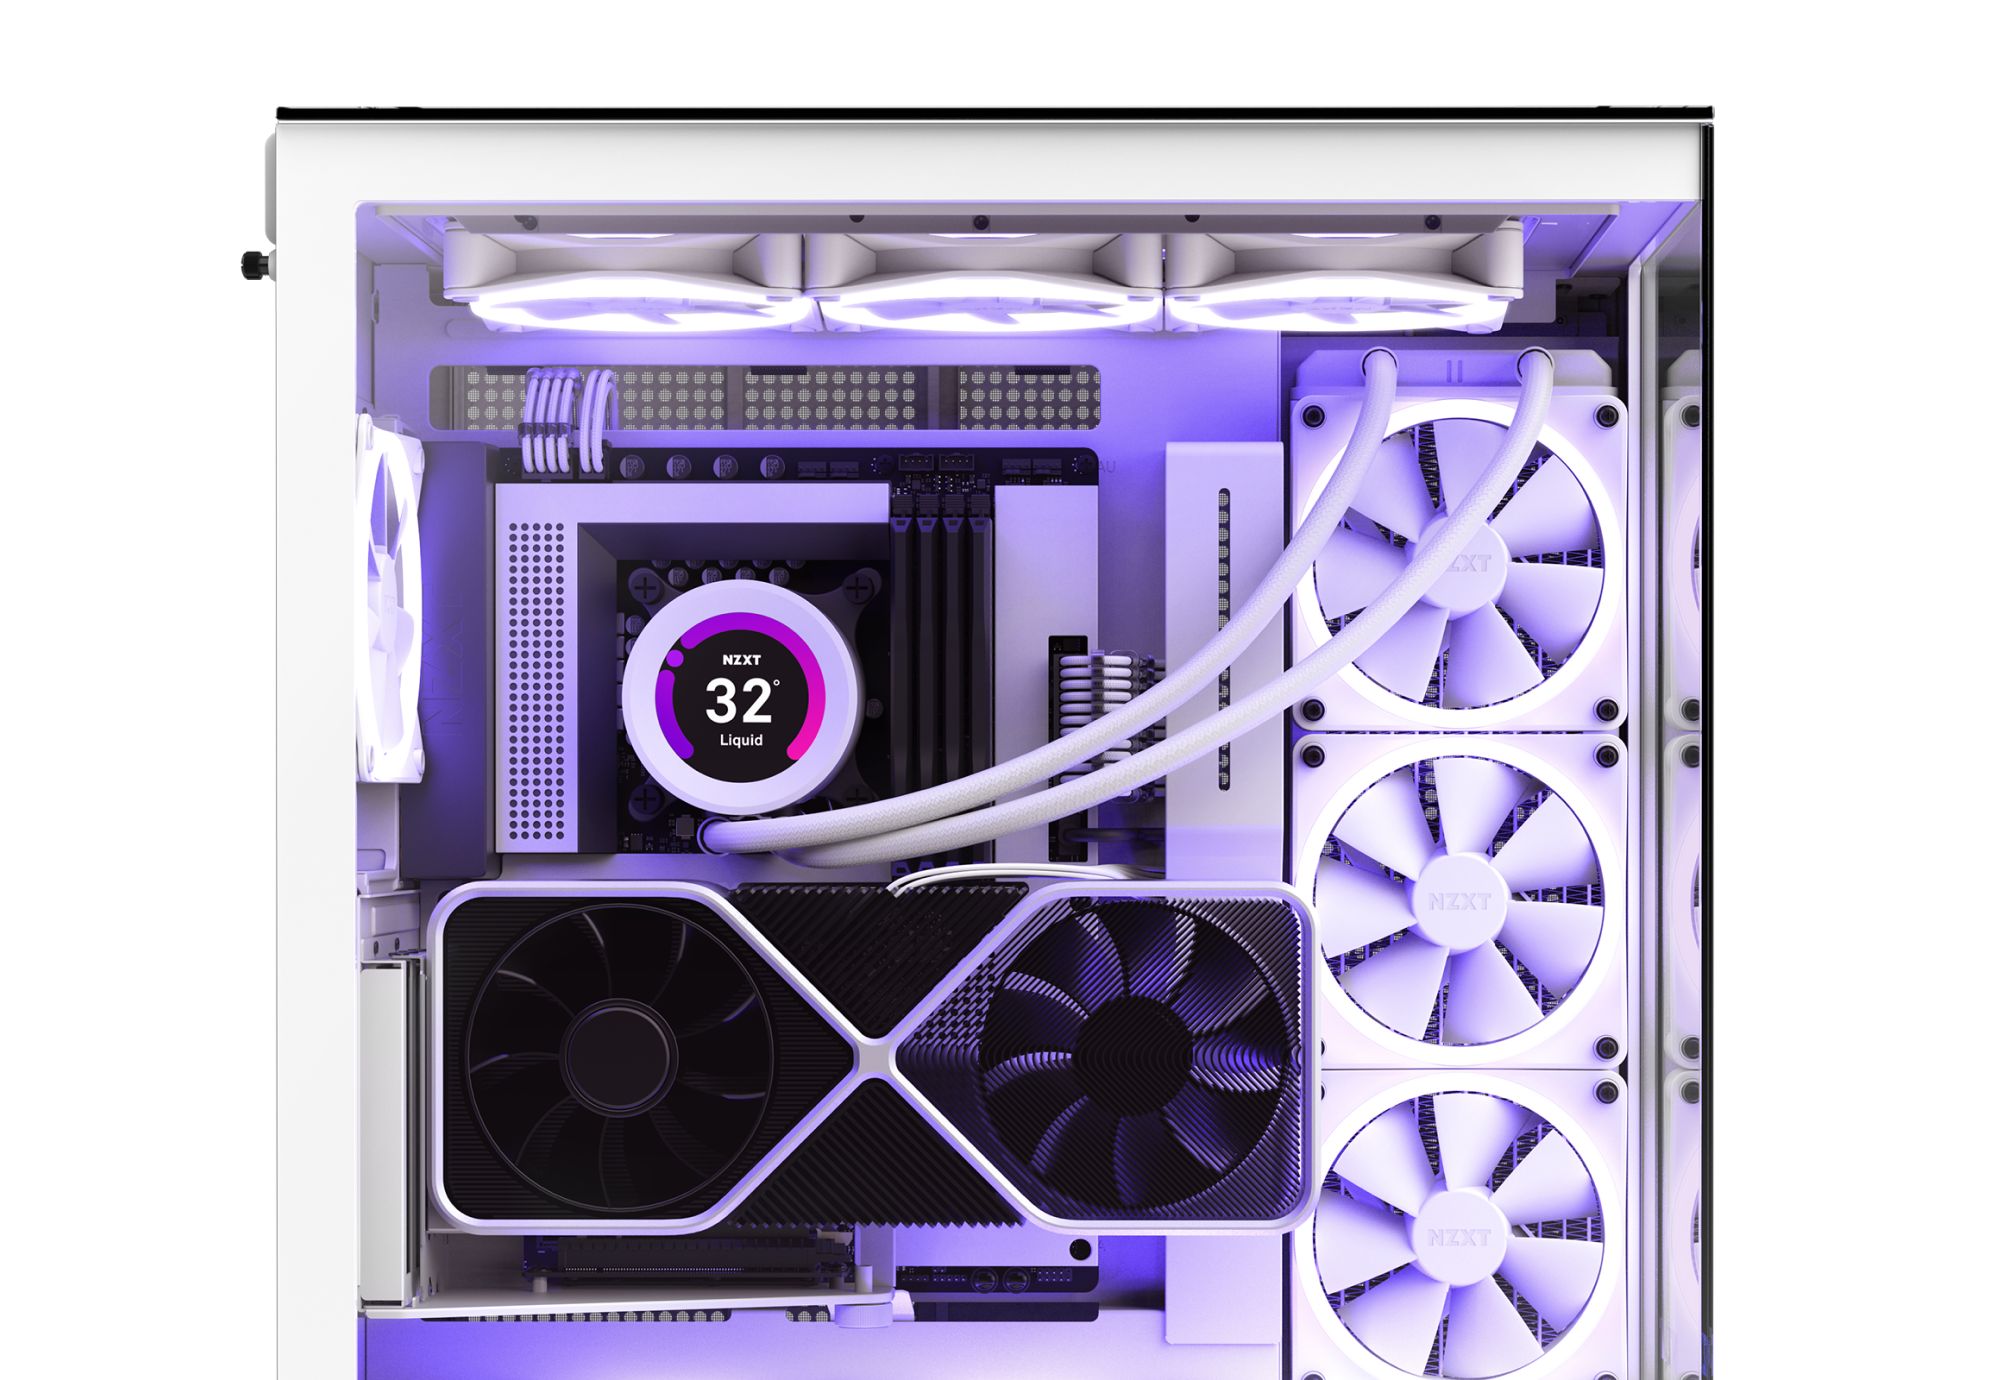
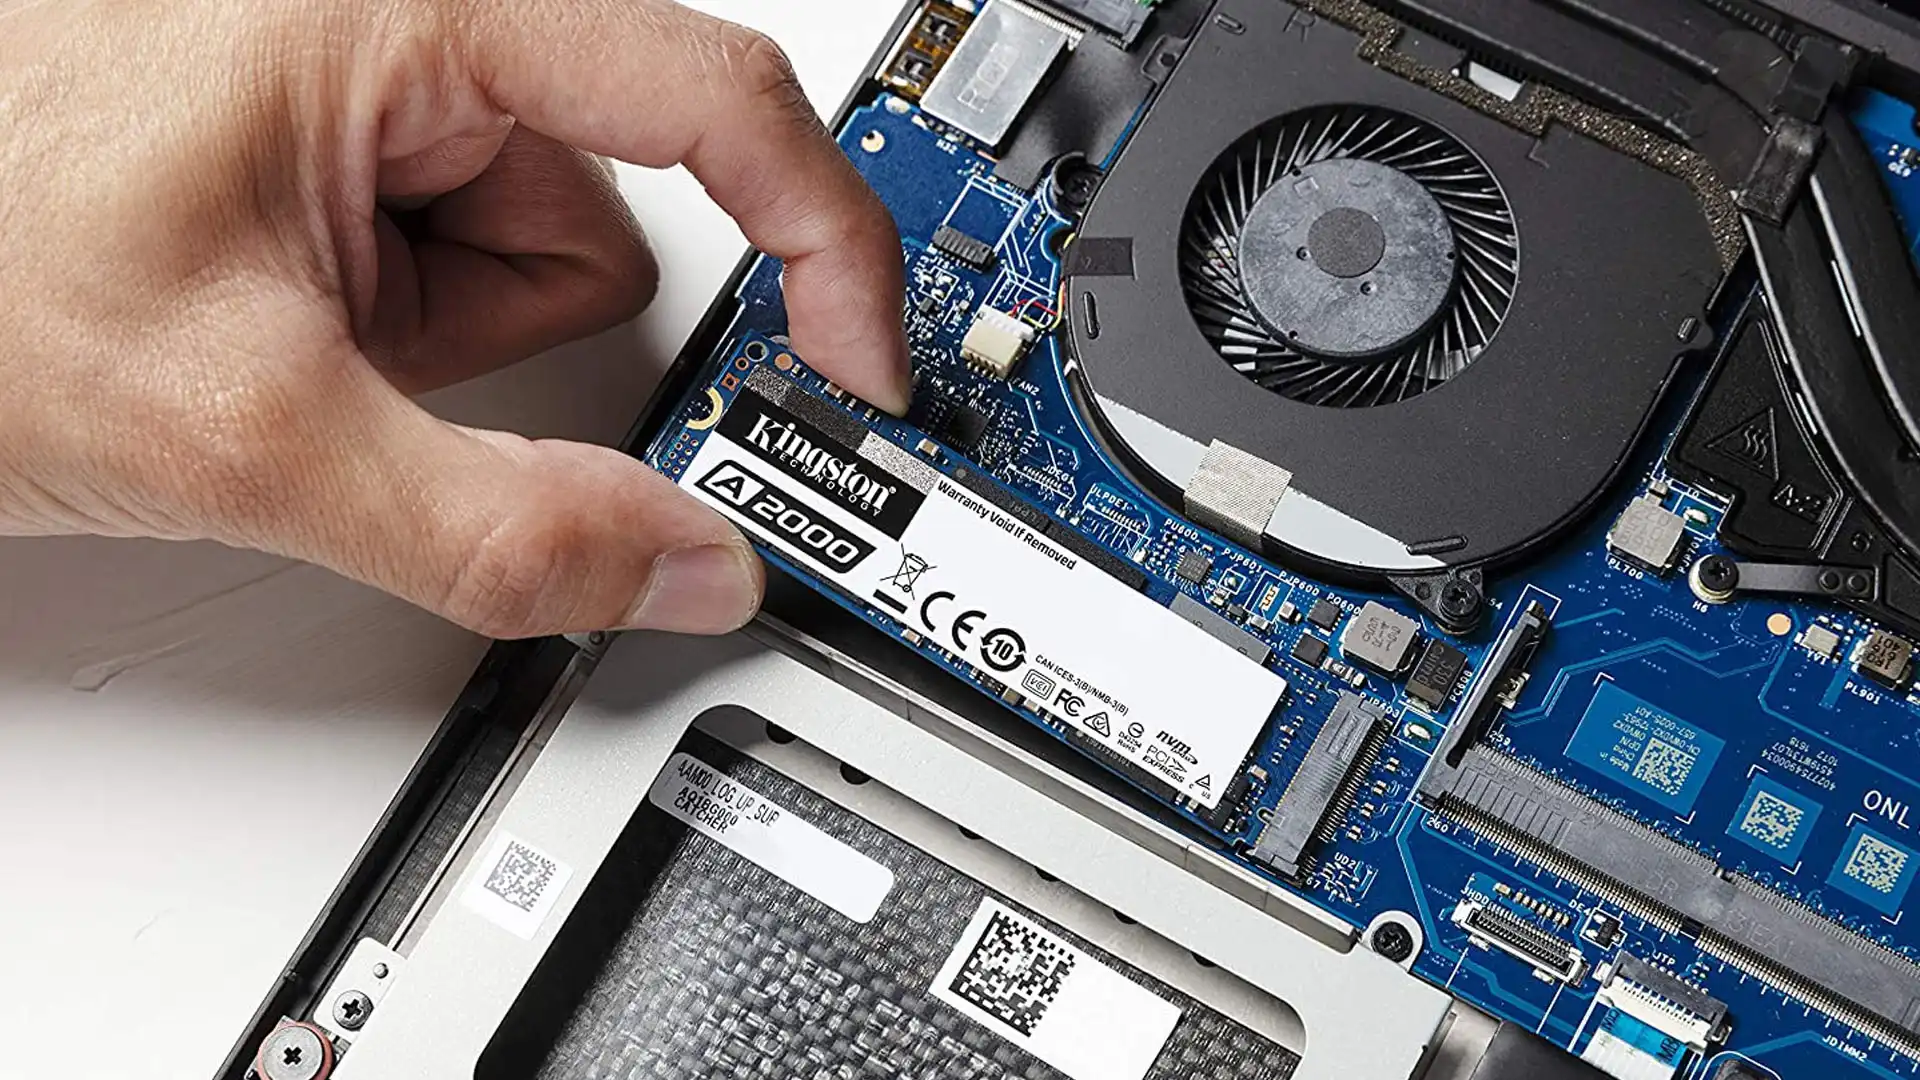
Installing the New Components
Once you have successfully disconnected and removed the old components from your PC, it’s time to install the new components. Proper installation is crucial to ensure optimal performance and compatibility. Here’s a step-by-step guide on how to install the new components:
1. Refer to the manuals: Before installing any new components, carefully read the manuals and installation guides provided by the manufacturers. Each component may have specific instructions or requirements that you need to follow for proper installation.
2. Install the CPU: If you’re upgrading your CPU, start by carefully aligning the CPU with the socket. Pay attention to the notches and marks on both the CPU and socket, ensuring they match. Gently place the CPU into the socket, avoiding any unnecessary force. Secure the CPU by closing the retention mechanism or securing the lever, depending on your motherboard design.
3. Install the RAM: If you’re upgrading or adding RAM modules, align the notch on the module with the corresponding slot on the motherboard. Press firmly but gently until the module clicks into place. Ensure that the retaining clips on both sides fully engage with the module, indicating a secure connection.
4. Install expansion cards: If you’re installing new expansion cards, carefully align the card with an available PCIe slot on the motherboard. Insert the card straight into the slot, applying gentle pressure until it is fully seated. Secure the card using the retention mechanism or screw provided, depending on your motherboard’s design.
5. Install storage drives: If you’re replacing or adding storage drives, consult the manufacturer’s instructions. Secure the drives into the appropriate drive bays using screws or tool-less mechanisms, ensuring a snug fit. Connect the necessary cables, such as SATA or power cables, to the drives and the appropriate connectors on the motherboard or power supply.
6. Install CPU cooler: If you’re upgrading or installing a new CPU cooler, follow the instructions provided by the manufacturer. Apply a thin, even layer of thermal paste to the CPU’s surface. Attach the heatsink or cooling block to the CPU, ensuring it is properly aligned and secured with the provided mounting brackets or retention mechanism.
7. Connect data and power cables: Reconnect the data cables, such as SATA cables, to the storage drives and other devices. Make sure to connect them to the appropriate connectors on both the drives and the motherboard. Also, connect the power cables to all the newly installed components, ensuring a secure and proper connection.
8. Double-check connections and reassemble: Take a moment to double-check all the connections. Verify that all components are properly seated, and all cables are securely connected. Once you’re confident that everything is in place, reattach the PC case panel, securing it with screws or clips as necessary.
9. Power on and test: Plug in the power cord and turn on your PC. Verify that all the newly installed components are properly detected by the system. Enter the BIOS settings to ensure that the CPU and memory are recognized correctly. If everything appears to be functioning properly, proceed with the next steps of configuring the BIOS, installing drivers, and testing the system’s stability.
By following these installation steps and referring to the provided manuals, you can successfully install your new components. Take your time, be cautious, and ensure that all connections are secure to ensure optimal performance and reliability of your upgraded PC.
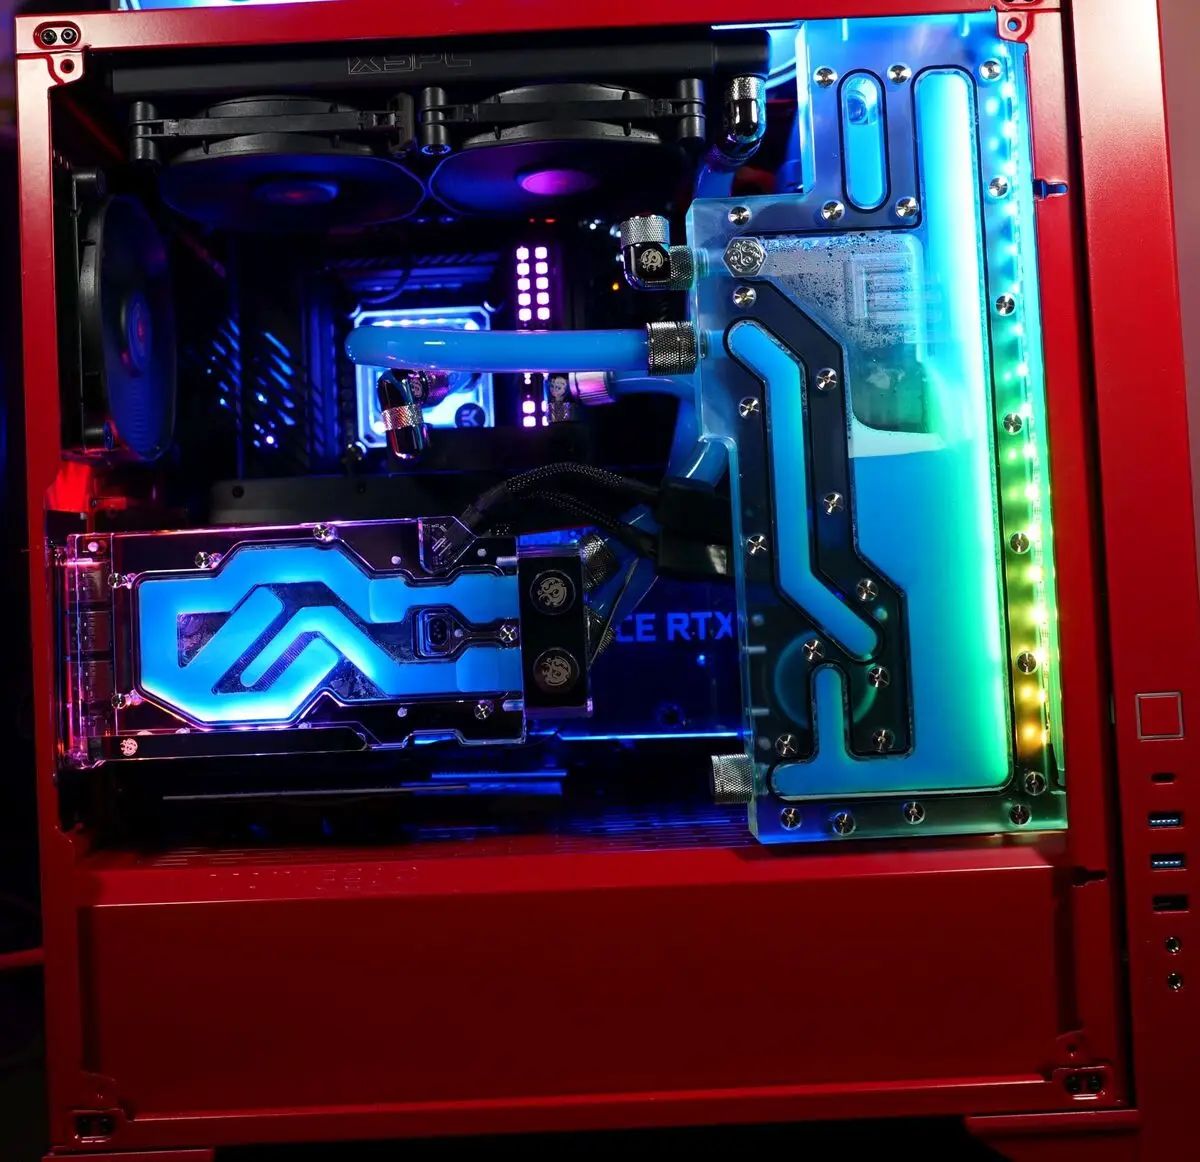
Connecting the New Components
After installing the new components into your PC, the next step is to connect them properly to ensure they function correctly. Proper connection is essential to ensure optimal performance and compatibility. Here’s a step-by-step guide on how to connect the new components:
1. Review the manuals: Before connecting any new components, review the manuals and installation guides provided by the manufacturers. Pay close attention to the specific connection requirements and recommendations for each component.
2. Connect the power supply cables: Begin by connecting the necessary power supply cables to the components. Ensure that the main motherboard power connector and the CPU power connector are securely plugged into their corresponding ports on the motherboard. Connect any additional power cables required for the graphics card, drives, or other components.
3. Connect the data cables: If you have added new storage drives or devices, connect the appropriate data cables. SATA cables are commonly used for connecting storage drives. Connect one end of the SATA cable to the drive and the other end to the corresponding SATA port on the motherboard. Ensure a snug and secure connection.
4. Connect front panel cables: If you have replaced or added a new case, connect the front panel cables. These cables include the power switch, reset switch, power LED, HDD LED, and any other buttons or indicators on the front of the case. Refer to the motherboard manual to identify the correct pins for each connection.
5. Connect audio and USB ports: If your case has front audio ports or USB ports, connect them to the corresponding headers on the motherboard. Refer to the motherboard manual to identify the correct pins and wiring. This will allow you to utilize the front audio jacks and USB ports without needing to reach behind the PC to connect devices.
6. Connect additional peripherals: If you have other peripherals such as a monitor, keyboard, mouse, or speakers, connect them to the appropriate ports on your PC. Ensure that the connections are secure and that the devices are properly detected by the system.
7. Secure excess cables: Once all the cables are connected, organize them and secure any excess cables using cable ties or clips. This helps keep the interior of the PC clean and ensures that cables do not obstruct airflow or get tangled up.
8. Double-check connections: Take a moment to double-check all the connections. Ensure that all cables are securely plugged in and that there are no loose connections. Verify that the components are properly connected to the motherboard and power supply.
9. Close the PC case: Once you’re satisfied with all the connections, carefully close the PC case panel and secure it with screws or clips. Ensure that the panel is properly aligned and that it does not put pressure on any components inside the case.
10. Power on and test: Plug in the power cord and turn on your PC. Verify that all the components are receiving power and that there are no unusual sounds or smells. Test the functionality of the newly connected components, such as the audio ports, USB ports, storage drives, and other peripherals.
By following these steps and referring to the manuals, you can ensure that your new components are properly connected to your PC. Double-checking the connections will help avoid any potential issues and ensure that your upgraded PC functions as expected.
Verifying the Connections
After connecting the new components in your PC, it’s essential to verify the connections to ensure that everything is properly set up. Verifying the connections is crucial to avoid any potential issues, conflicts, or performance bottlenecks. Here’s a step-by-step guide on how to verify the connections:
1. Physical inspection: Begin by visually inspecting the connections you’ve made. Examine all the cables, ensuring they are securely plugged in and properly seated. Check for any loose connections or cables that may have come undone during the installation process.
2. Check cable orientations: Make sure that the data and power cables are correctly oriented and connected in the appropriate ports. Data cables, such as SATA cables, should be connected to the corresponding connectors on the motherboard and drives. Power cables should be securely inserted into the power supply and components.
3. Verify BIOS recognition: Power on your PC and enter the BIOS settings to ensure that all connected components are recognized. Check if the CPU, RAM, storage drives, and other peripherals are properly detected by the BIOS. If any components are not recognized, double-check the connections and consult the component manuals for troubleshooting steps.
4. Test external connections: If you have connected external devices, such as monitors, keyboard, mouse, or speakers, test their functionality. Verify that the devices are working correctly and communicating with the PC as intended. Ensure that the appropriate drivers are installed to support all the connected devices.
5. Check component temperature: Use monitoring software or the BIOS to check the temperatures of the CPU and GPU. Higher than normal temperatures can indicate potential issues with cooling or inadequate thermal paste application. Ensure that the cooling solutions, such as fans or liquid coolers, are functioning properly and provide adequate cooling for the components.
6. Test storage drives: Verify that all the connected storage drives are recognized by the operating system. Check their availability, capacity, and ensure that they can be accessed without any issues. Format and partition the drives if necessary to prepare them for use.
7. Test audio and USB ports: Plug in headphones, speakers, or other audio devices into the audio ports to ensure their functionality. Test the USB ports by connecting USB devices such as flash drives or external hard drives. Verify that audio devices and USB devices are detected and working properly.
8. Test network connectivity: If you have connected your PC to a network, ensure that the network adapter is recognized and functioning correctly. Test the network connectivity by accessing the internet or connecting to other devices on the network.
9. Run benchmark or stress tests: To further validate the performance and stability of your new components, consider running benchmark or stress tests. This will help identify any potential issues, such as overheating, instability, or compatibility problems. Benchmarking software can provide valuable insights into the performance improvements achieved through the upgrade.
10. Monitor for any abnormalities: Keep an eye on your PC’s performance, temperature, and any abnormal behavior after verifying the connections. Check for any error messages, system crashes, or performance bottlenecks that may indicate issues with the connections or new components. Troubleshoot and address any problems that arise promptly.
By following these steps and thoroughly verifying the connections, you can ensure that your new components are functioning properly and that your PC is ready for use. Detecting and fixing any issues early on will help you avoid potential headaches and improve the overall stability and performance of your upgraded system.
Powering On and Configuring the BIOS
After verifying the connections and ensuring that everything is properly set up in your PC, it’s time to power on the system and configure the BIOS (Basic Input/Output System). Configuring the BIOS is crucial for optimizing performance, adjusting hardware settings, and ensuring proper functionality. Here’s a step-by-step guide on how to power on and configure the BIOS:
1. Connect the power cord: Ensure that your PC is connected to a power source by plugging in the power cord. Make sure the power supply switch is turned on.
2. Press the power button: Press the power button on your PC to initiate the booting process. Your system should start powering on, and the fans and lights should come to life.
3. Enter the BIOS: As your PC starts up, you will see a prompt or key combination displayed on the screen to enter the BIOS setup. This can be a key like “Del”, “F2”, or “F10”. Press the indicated key repeatedly during the boot process to access the BIOS.
4. Familiarize yourself with the BIOS interface: Once you’re inside the BIOS, take some time to familiarize yourself with the interface. The BIOS interface may vary depending on your motherboard manufacturer. Use the arrow keys, Enter key, and other designated keys to navigate through the available settings and options.
5. Adjust date and time: Check and adjust the date and time settings in the BIOS if they are incorrect. This ensures accurate time tracking for your system and is essential for proper functionality of certain applications and services.
6. Adjust boot order: Navigate to the boot settings in the BIOS and set the boot order according to your preferences. Typically, it’s advisable to set the boot order to prioritize your primary storage drive, such as an SSD or HDD, where the operating system is installed.
7. Enable XMP/DOCP: If you have installed high-performance RAM modules, look for the XMP (Extreme Memory Profile) or DOCP (Direct OverClock Profile) settings in the BIOS. Enabling XMP/DOCP will allow the RAM to run at its rated speed and timings, maximizing performance.
8. Adjust fan profiles: Depending on your motherboard, you may have options to adjust fan curves, enabling more precise control over fan speeds. This can help optimize cooling performance and reduce noise levels. Experiment with the settings that suit your preferences and system requirements.
9. Save and exit: Once you have made the necessary changes in the BIOS, navigate to the exit or save settings section. Save the changes and exit the BIOS. Confirm any prompts to save your changes.
10. System restart: After exiting the BIOS, your system will restart. Allow it to boot up normally. Check if any error messages or warnings appear during the boot process. If everything looks good, proceed to the next steps of installing drivers and software for your components.
Configuring the BIOS is an important step to optimize your system’s performance and ensure proper functionality. By adjusting settings such as the boot order, date and time, XMP/DOCP profiles, and fan profiles, you can create a personalized and efficient setup. Remember to save your changes in the BIOS and monitor your system’s performance for any unexpected behavior.
Installing Drivers and Software
After powering on your PC and configuring the BIOS, the next step in the upgrade process is to install the necessary drivers and software. Installing drivers ensures that your hardware components are recognized and can function correctly, while installing software provides additional functionality and enhances your computing experience. Here’s a step-by-step guide on how to install drivers and software:
1. Identify the drivers you need: Start by determining the drivers required for your new components. Visit the manufacturers’ websites to download the latest drivers for your motherboard, graphics card, sound card, network adapter, and any other peripherals you have installed. Note down the names and download links for the drivers.
2. Install motherboard drivers: Begin by installing the motherboard drivers. These include chipset drivers, USB drivers, audio drivers, and LAN drivers. Run the installer files downloaded from the motherboard manufacturer’s website and follow the on-screen instructions to install the drivers. Reboot your system if prompted.
3. Install graphics drivers: Download the latest graphics drivers specific to your graphics card model from the manufacturer’s website. Run the installer and follow the prompts to install the drivers. Restart your system when prompted to ensure the proper functioning of the graphics card.
4. Install other hardware drivers: Proceed to install drivers for other hardware components such as sound cards, network adapters, printers, scanners, or any other peripherals you have installed. Follow the same process of downloading the appropriate drivers from the manufacturer’s website and running the installer files.
5. Install essential software: Install any essential software that you need for your computing needs. This can include productivity suites, internet browsers, media players, antivirus software, and other commonly used applications. Ensure that you download the software from trusted sources to avoid potential security risks.
6. Update existing software: If you already had software installed on your previous system, check for updates to ensure you have the latest versions. Update your existing software to benefit from bug fixes, security patches, and performance improvements. Most software applications have an automatic update feature, or you can manually check for updates within each application.
7. Configure software settings: Take the time to configure the settings of the newly installed software according to your preferences. Customize options such as display settings, privacy settings, security preferences, and any other settings that are relevant to the software to enhance your user experience.
8. Install additional software: Install any additional software that is specific to your needs or interests. This can include games, multimedia editing tools, graphics design software, or any other applications that enhance your PC usage. Be sure to download these applications from reliable sources.
9. Create system restore point: After installing the necessary drivers and software, create a system restore point. This serves as a backup in case any issues or conflicts arise later. In the event of problems, you can restore your system to this point and undo any changes made since the restore point was created.
10. Regularly update drivers and software: To maintain smooth performance and security, it is essential to keep your drivers and software up to date. Regularly check for updates from the manufacturers and install newer versions as they become available. This will help ensure compatibility and take advantage of the latest improvements and features.
By following these steps to install drivers and software, you can ensure that your system is equipped with the necessary components to function optimally. Regularly updating drivers and software will help you stay up to date with the latest enhancements, bug fixes, and security patches, providing a seamless and secure computing experience.
Running Stress Tests
Once you have completed the installation of drivers and software on your newly upgraded PC, it’s important to perform stress tests to ensure system stability and identify any potential issues. Stress testing pushes your hardware components to their limits, allowing you to assess their performance, cooling efficiency, and overall system stability. Here’s a step-by-step guide on how to run stress tests:
1. Select stress testing software: Research and choose a reputable stress testing software that suits your needs. Some popular options include Prime95, FurMark, AIDA64, and MemTest86+. Make sure the software is compatible with your hardware components and supports the operating system you’re using.
2. Read the user guide: Familiarize yourself with the user guide or documentation provided with the stress testing software. Understand the testing parameters, features, and any specific instructions for your chosen software. This will help you configure the stress tests effectively.
3. Perform a system check-up: Before running any stress tests, ensure that your system is properly configured and optimized. Verify that all fans are functioning correctly, cooling solutions are properly installed, and temperatures are within acceptable ranges. Clean any dust buildup from fans, heatsinks, and other crucial components for efficient heat dissipation.
4. Configure stress test settings: Launch the stress testing software and configure the testing parameters according to your specific needs. You may choose to stress test individual components such as the CPU, GPU, or RAM, or run tests that stress the system as a whole. Adjust settings such as test duration, load levels, and the number of iterations based on your preferences.
5. Run the stress tests: Start the stress tests and monitor the system’s performance. Observe the temperatures, fan speeds, and system stability as the tests run. Pay attention to any warning signs such as abnormal temperatures, excessive noise, system crashes, or error messages. These indicators can help identify potential issues that need further investigation.
6. Monitor system metrics: Use monitoring tools that come with the stress testing software or third-party applications to track crucial system metrics such as CPU usage, GPU temperatures, and RAM utilization. Real-time monitoring allows you to identify any abnormalities or performance bottlenecks that may require adjustments or further investigation.
7. Record and analyze results: Take note of the stress test results, including temperatures, performance metrics, and any observed issues or anomalies. Analyze the data to identify any patterns, such as components reaching their maximum thresholds or system instabilities during specific test scenarios.
8. Address identified issues: If any issues arise during the stress tests, troubleshoot and address them accordingly. Investigate potential causes and explore possible solutions. This may involve adjusting component settings, ensuring proper cooling, or even contacting technical support for specific hardware components.
9. Repeat stress tests: If you make changes to the system configuration or address identified issues, consider rerunning the stress tests to verify if the changes have resolved the problems. Performing multiple iterations of stress tests helps ensure that your system remains stable under prolonged and intense usage.
10. Regularly test system stability: Even after the initial stress testing, it’s a good practice to periodically run stress tests to monitor system stability and performance over time. Regular testing provides reassurance and allows you to address any potential issues before they escalate and impact your computing experience.
By following these steps and running stress tests on your upgraded PC, you can identify potential issues, optimize performance, and ensure reliable system stability. Regular stress testing can help you address any underlying problems and fine-tune your system for optimal performance and longevity.
Troubleshooting Common Issues
During the process of upgrading your PC, you may encounter common issues that can affect performance, stability, or functionality. Troubleshooting these issues is essential to ensure smooth operation and maximize the benefits of your upgrade. Here are some common problems and their corresponding troubleshooting steps:
1. Incompatibility issues: If you experience compatibility issues after upgrading your PC, ensure that all components are compatible with each other and with your operating system. Check for updated drivers and firmware from the manufacturers’ websites. Consider reaching out to online communities or technical support for assistance.
2. Driver conflicts: Conflicting or outdated drivers can cause various issues. Use the Device Manager or third-party driver management software to identify any problematic drivers. Update drivers to the latest versions or uninstall and reinstall them to resolve conflicts. Be cautious when using third-party driver managers and only download drivers from trusted sources.
3. Hardware connectivity issues: Check that all cables, connectors, and components are securely connected. Loose cables or improperly seated components can cause intermittent issues or even complete system failures. Recheck all connections, including internal cables and external peripherals.
4. Blue screen of death (BSOD) errors: If your PC encounters BSOD errors after upgrading, it may indicate hardware or software issues. Take note of the error code displayed on the screen and search for specific troubleshooting steps related to that error code. It could be a driver issue, faulty RAM, inadequate power supply, or other factors.
5. Overheating and cooling issues: An upgrade can cause changes in heat generation and dissipation. Monitor temperatures using software or BIOS tools to ensure that components are running within safe limits. Verify that cooling solutions such as CPU coolers, case fans, and thermal paste are properly installed and functioning correctly. Consider cleaning dust buildup to improve airflow.
6. Performance bottleneck: If you notice that certain tasks or applications don’t perform as expected after upgrading, identify potential performance bottlenecks. It could be due to an underperforming component or insufficient resources. Check CPU, GPU, and RAM usage to determine if any components are limiting performance. Consider upgrading those components if necessary.
7. RAM issues: If you experience system crashes, random freezes, or frequent error messages, it could indicate faulty RAM. Run memory diagnostics (such as MemTest86+) to check for any errors or issues with the RAM modules. If errors are detected, try reseating the modules or consider replacing them.
8. Power supply problems: Ensure that your power supply unit (PSU) is capable of providing sufficient power to all the components. Inadequate power supply can lead to system instability or failure under heavy load. Verify that all power connectors are correctly connected and that the PSU is functioning correctly. Consider upgrading the PSU if necessary.
9. Software compatibility issues: Certain software applications may not be fully compatible with your upgraded system. Check for software updates, patches, or compatibility settings specific to the software. If problems persist, consider alternative software solutions or consult with the software vendor for assistance.
10. Restore system from backup: If all troubleshooting steps fail and you’re unable to resolve the issues, restore your system to a previous backup. This can help revert the system to a known stable state before the upgrade. Ensure that you have a recent backup available that includes all essential files and settings.
By following these troubleshooting steps, you can address common issues that may arise during or after the PC upgrade process. Remember to be methodical and patient in your approach, and seek assistance from technical support or online communities if needed.
Conclusion
Upgrading your PC can be a rewarding experience, allowing you to unleash its full potential and enjoy improved performance. By following the steps outlined in this guide, from preparing for the upgrade to troubleshooting common issues, you can successfully upgrade your PC and optimize its functionality.
Remember to carefully research and select the right components that suit your needs and budget. Take the time to gather the necessary tools and ensure a clean and organized workspace. Backing up your data before the upgrade is essential to protect your important files and settings.
During the upgrade process, pay attention to every step, from disconnecting and removing old components to installing and connecting the new components. Configuring the BIOS, installing drivers and software, and running stress tests will ensure system stability and optimal performance.
Inevitably, challenges may arise, such as compatibility issues, driver conflicts, or hardware connectivity problems. Troubleshooting these issues requires patience and thorough investigation. By following the recommended troubleshooting steps, you can overcome common obstacles and resolve any issues that may arise.
Ultimately, with a newly upgraded and optimized PC, you can enjoy a faster, more efficient, and enjoyable computing experience. Stay vigilant in keeping your drivers and software up to date to benefit from improvements and security patches.
Continue to monitor your system’s performance, regularly run stress tests, and pay attention to any signs of trouble. By actively maintaining and troubleshooting your PC when needed, you can ensure its longevity and continued high performance.
Remember, if at any point you feel uncertain or encounter significant difficulties during the PC upgrade process, don’t hesitate to seek help from professional technicians or online communities. Their expertise and experience can guide you through any challenges that may arise.
With careful planning, thorough execution, and diligent maintenance, you can enjoy the benefits of your newly upgraded PC and unlock its full potential for many years to come.