Introduction
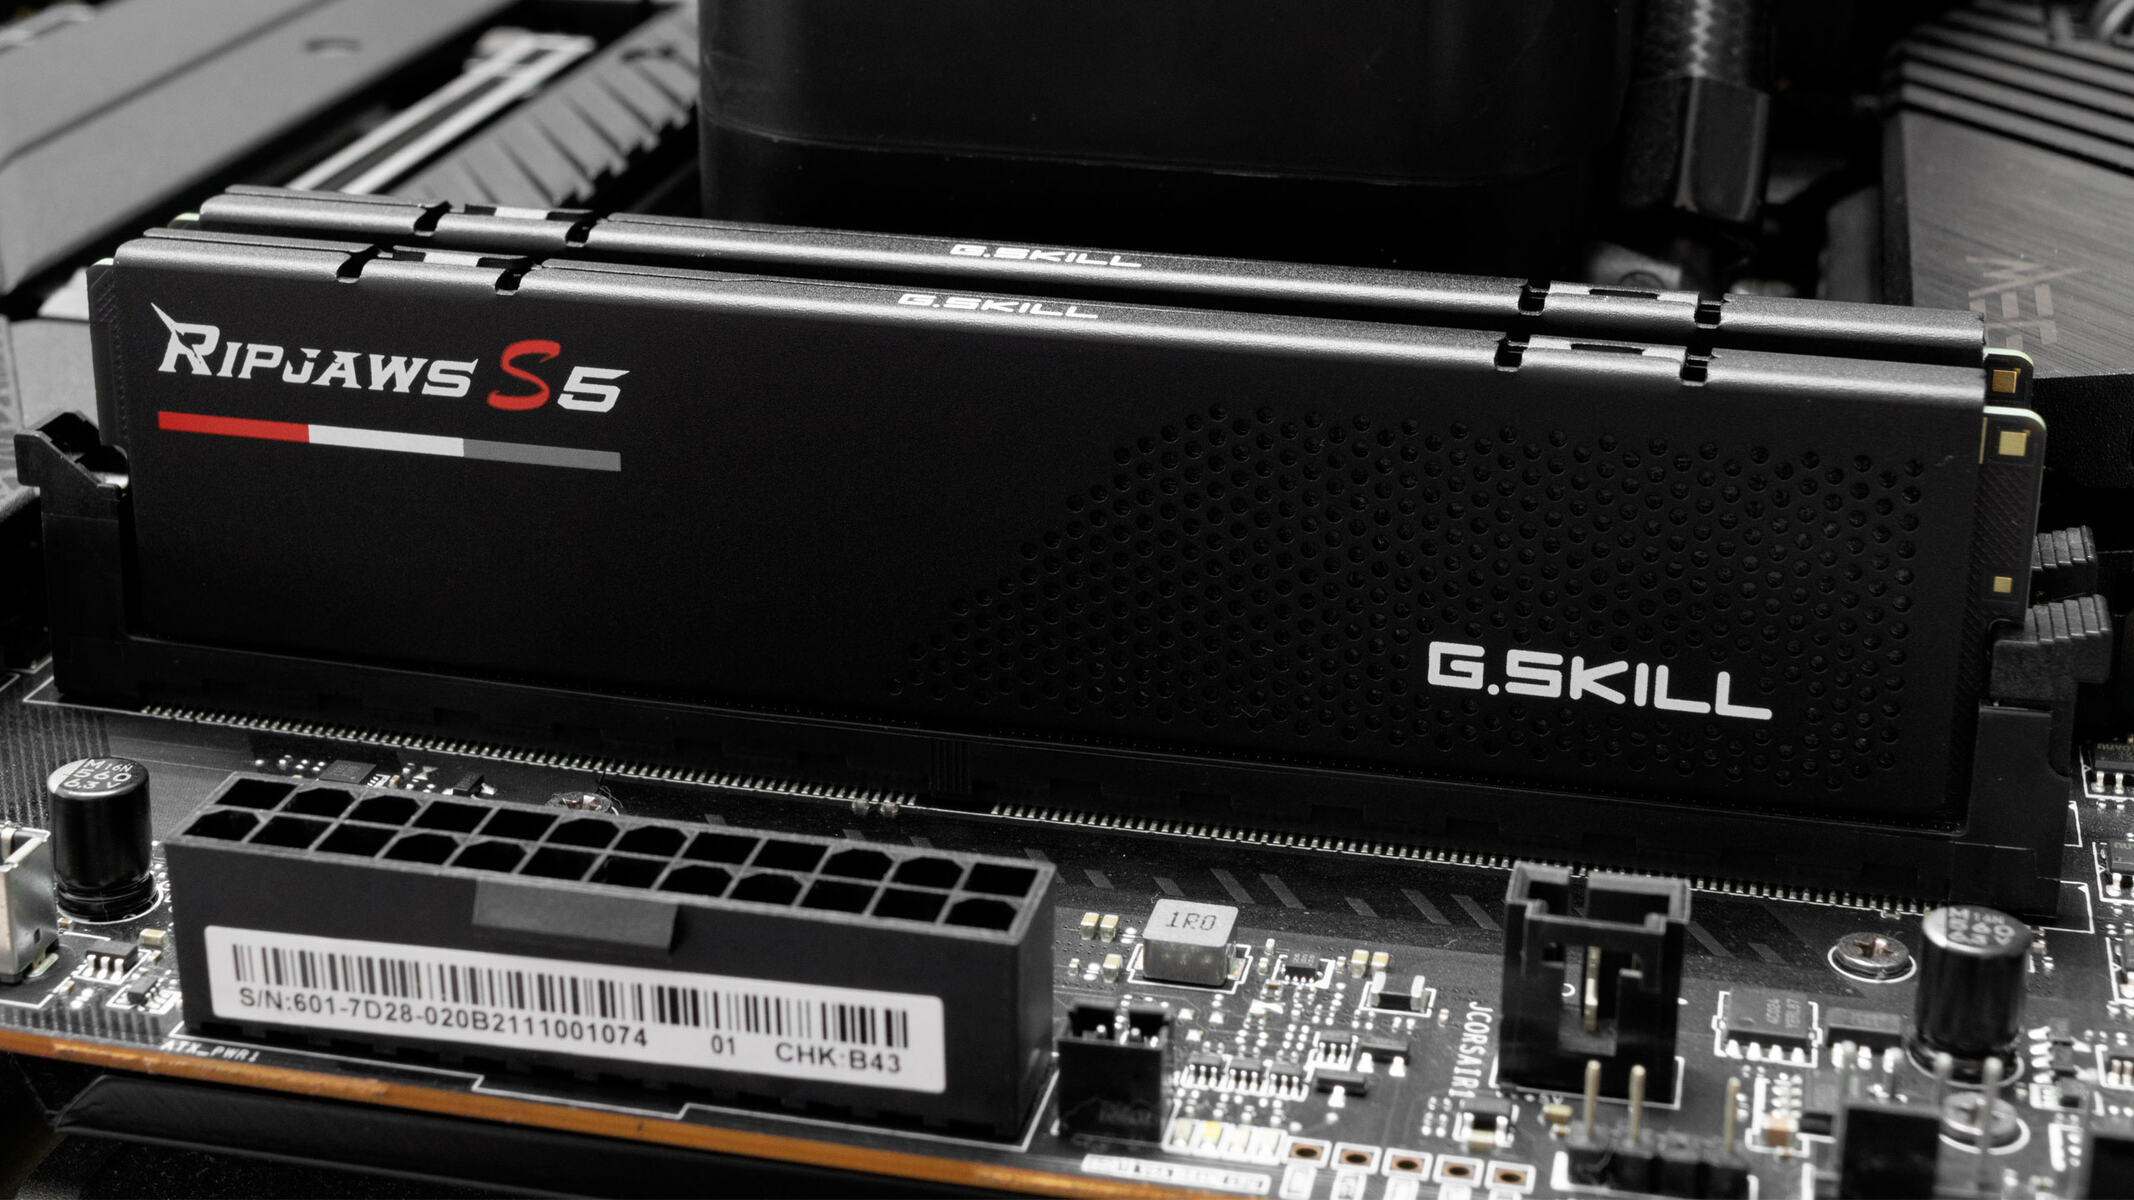
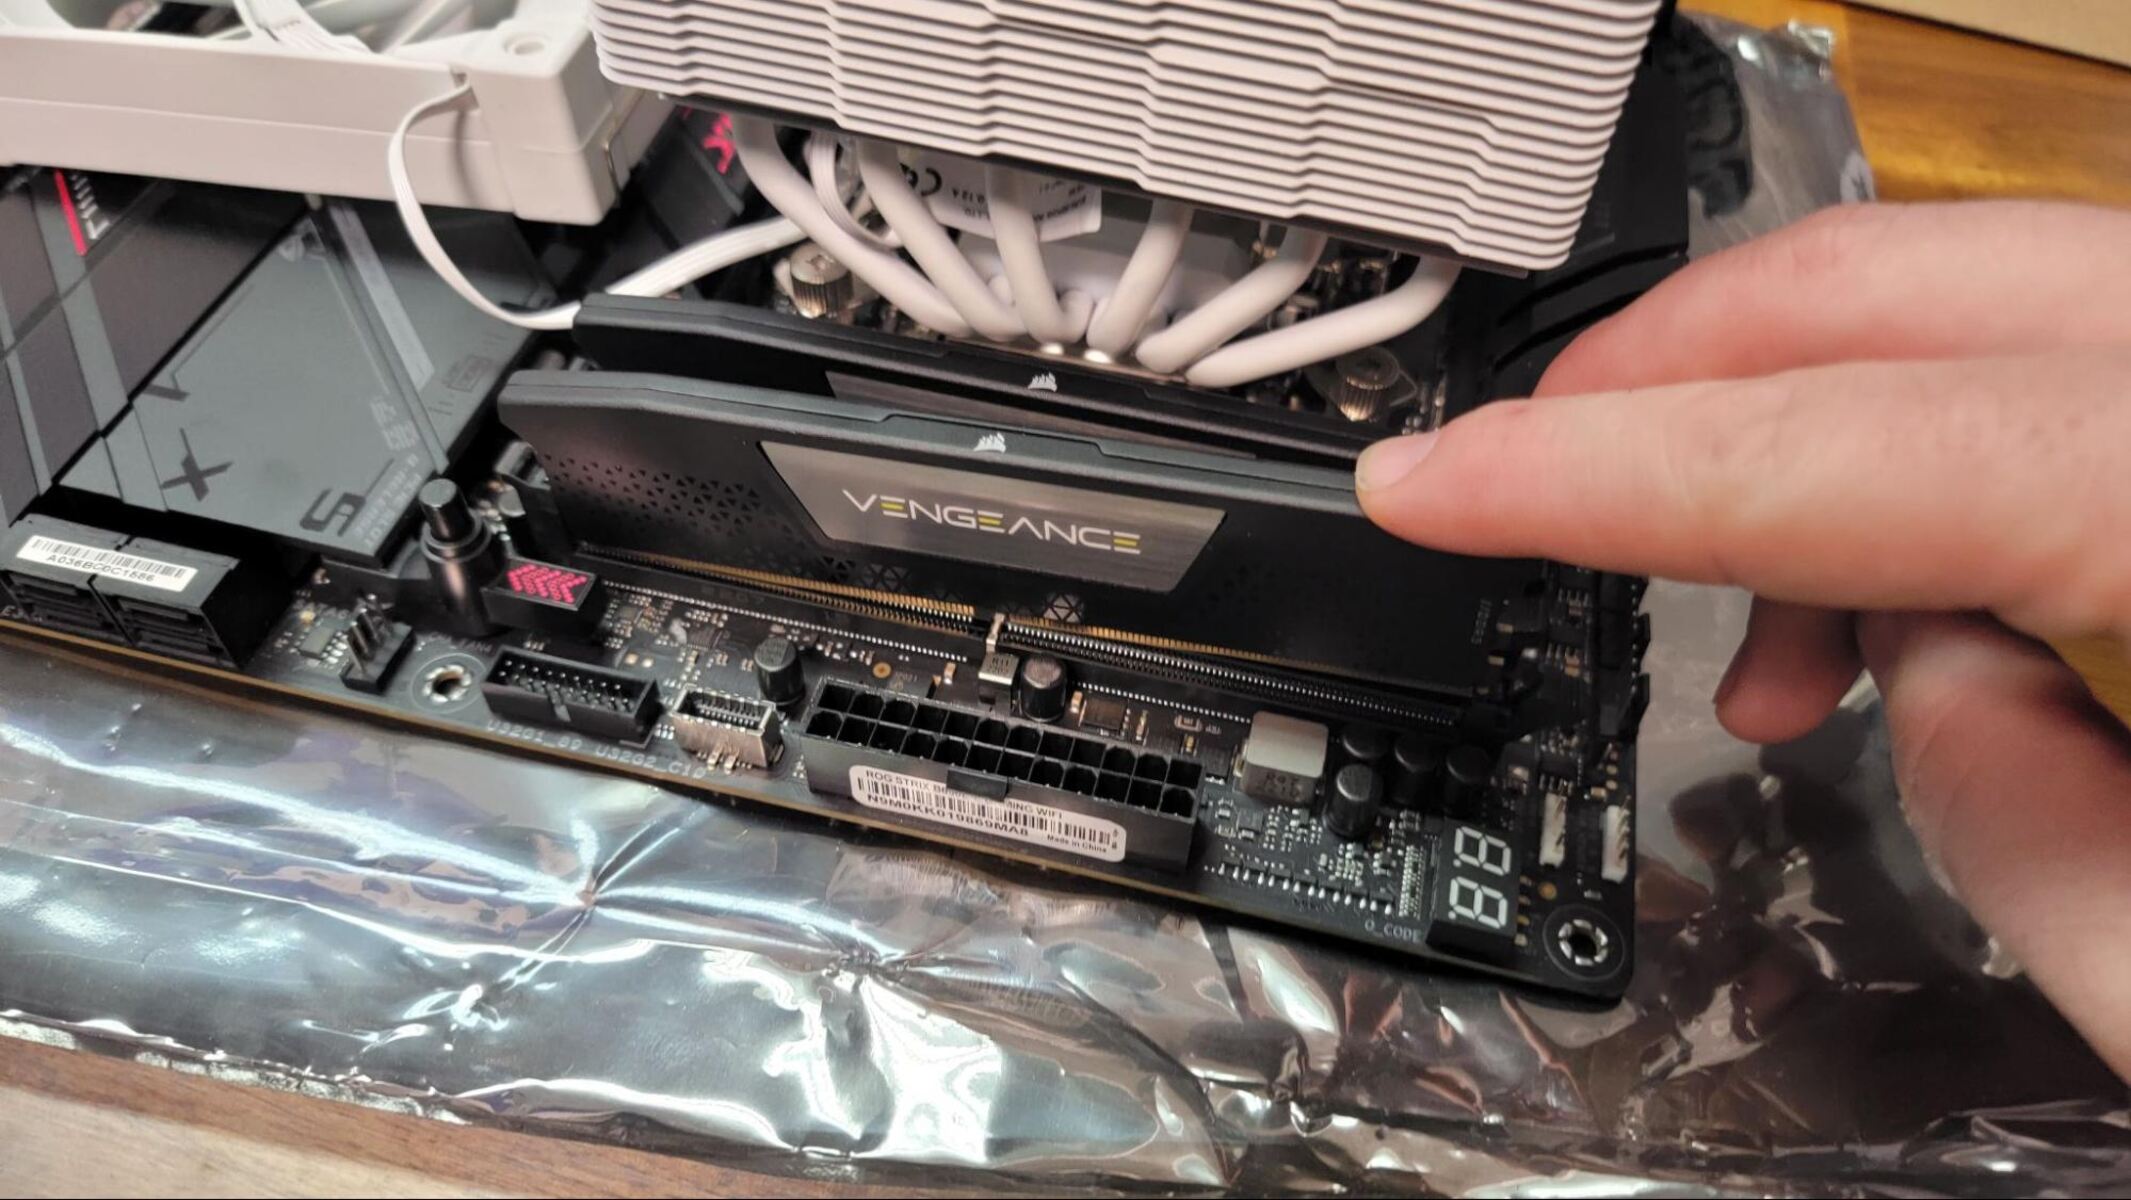
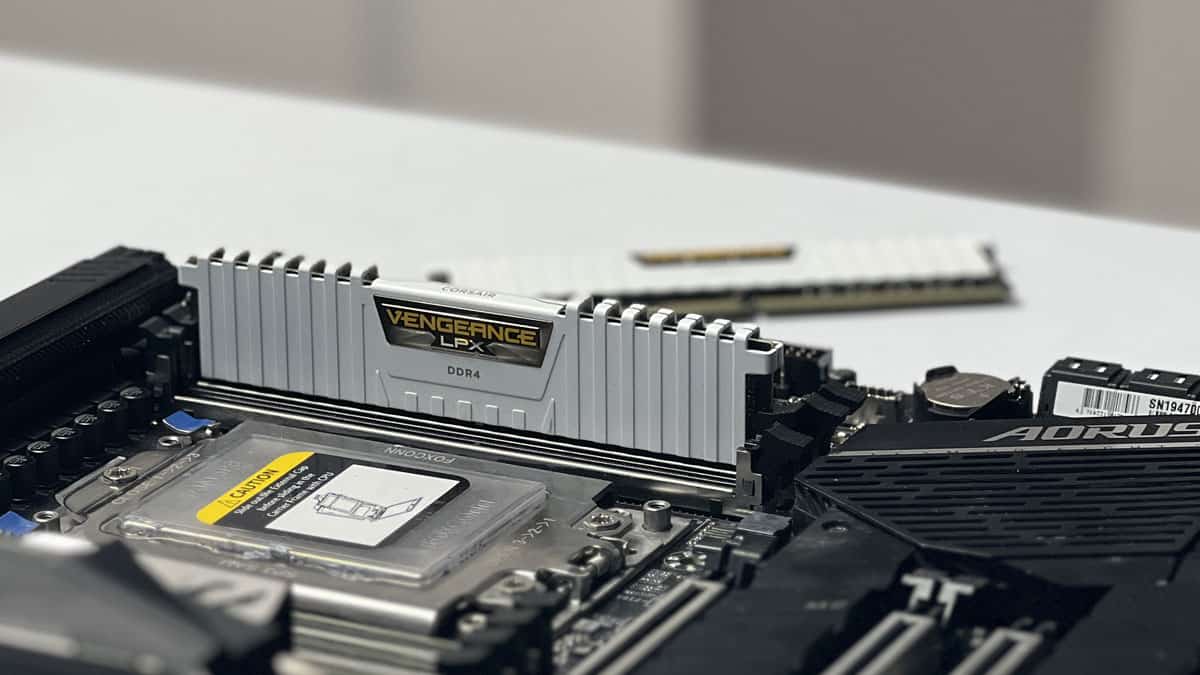
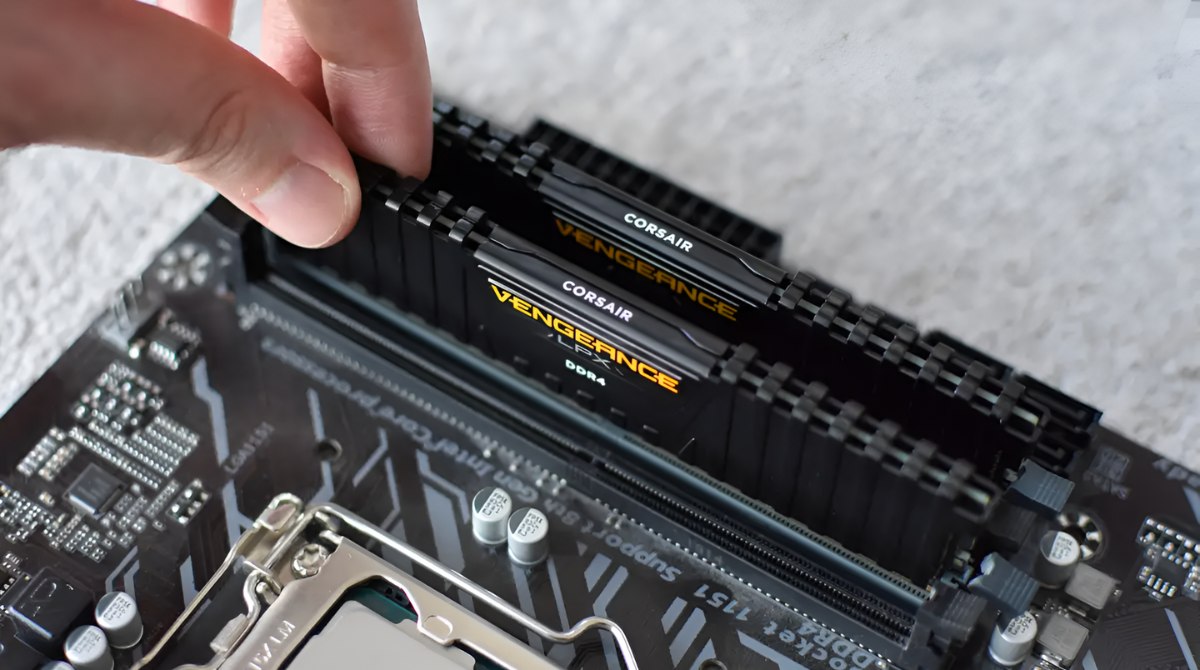
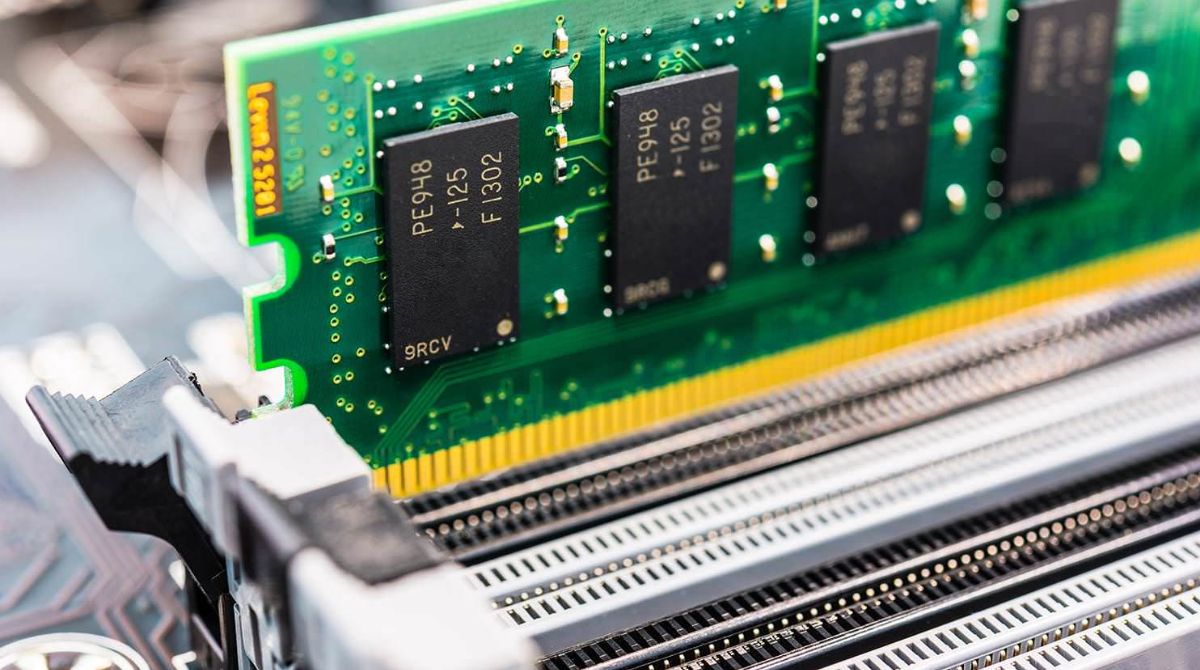
When it comes to troubleshooting computer issues, one common culprit is faulty RAM (Random Access Memory). RAM is a critical component in any computer system, responsible for temporarily storing data that the CPU (Central Processing Unit) needs to access quickly. Over time, RAM can become corrupted or fail, resulting in system instability and performance issues. To ensure optimal performance and avoid crashes, it is important to periodically test the RAM in your Windows computer.
Testing the RAM helps to identify any potential issues before they cause serious problems. By running diagnostic tests, you can determine whether the RAM is functioning properly or if it requires replacement. Fortunately, there are several methods available in Windows that allow you to test the RAM and assess its health.
In this article, we will explore various methods to test RAM in Windows. From built-in tools to third-party software, each method offers its own advantages and can help you identify any potential issues with your computer’s RAM. Whether you are experiencing system crashes, frequent BSODs (Blue Screen of Death), or unusual sluggishness, testing your RAM can provide valuable insights into the root cause of these problems.
It is worth mentioning that the methods described in this article are applicable to Windows operating systems, including Windows 10, Windows 8, and Windows 7. Regardless of your version, the steps outlined here will help you diagnose RAM-related issues effectively and efficiently.
Why Test RAM in Windows?
RAM is a vital component of any computer system, playing a crucial role in its overall performance. It serves as a temporary storage space for data that the CPU needs to access quickly. Over time, RAM can develop faults or become corrupted, leading to a range of issues that can severely impact your computer’s performance and stability.
Testing your RAM in Windows is essential for several reasons:
1. Identify Potential Issues:
By testing your RAM, you can identify potential problems before they escalate into more serious issues. Faulty RAM can cause random system crashes, frequent applications freezing, or even the dreaded Blue Screen of Death (BSOD). Regularly testing your RAM allows you to catch any malfunctions early and take appropriate measures to rectify the problem.
2. Diagnose Performance Problems:
If your computer is experiencing sluggishness, slow program execution, or delayed response times, the RAM could be the culprit. Testing the RAM can help you determine if it is causing performance bottlenecks and address the issue accordingly. By diagnosing and resolving RAM-related performance problems, you can restore your computer’s speed and efficiency.
3. Ensure System Stability:
Unstable RAM can lead to unexpected system crashes, causing frustration and potential data loss. By testing your RAM, you can detect and resolve any stability issues, ensuring that your computer operates smoothly and reliably. A stable system enhances productivity and allows you to work without interruptions or disruptions.
4. Optimize Gaming Experience:
If you are an avid gamer, having a robust and reliable RAM is crucial for an optimal gaming experience. Games often require substantial amounts of memory to run smoothly, and faulty RAM can lead to lags, stuttering, and crashes during gameplay. By testing your RAM, you can identify any issues and replace faulty modules to enhance your gaming performance.
5. Maximize System Lifespan:
Regularly testing your RAM can help prolong the lifespan of your entire system. Faulty RAM can cause other components, such as the CPU or hard drive, to work harder to compensate for the memory-related issues. This additional strain can lead to premature hardware failure. By ensuring that your RAM is in good health, you can extend the lifespan of your computer system and avoid costly repairs or replacements.
Overall, testing the RAM in your Windows computer is crucial for maintaining system stability, diagnosing performance problems, and maximizing the lifespan of your system. By proactively addressing RAM-related issues, you can ensure a smooth and efficient computing experience.
Common Symptoms of Faulty RAM
Faulty RAM can manifest itself in various ways, causing a range of issues that can disrupt your computer’s performance and user experience. If you suspect that your RAM might be faulty, watch out for the following common symptoms:
1. System Crashes:
If your computer frequently crashes or reboots unexpectedly, faulty RAM could be the underlying cause. RAM-related issues can result in system instability, leading to sudden shutdowns or the dreaded Blue Screen of Death (BSOD). If you notice consistent crashes, especially during resource-intensive tasks or random occurrences, testing your RAM is a necessary step toward resolving the problem.
2. Application Freezing:
When your RAM is faulty, it can cause applications to freeze or become unresponsive. You may experience delays in opening or closing programs, and they may hang or freeze during use. If application freezing is a recurring issue, it is worth investigating the RAM as a potential culprit.
3. Slow or Laggy Performance:
If your computer starts running slower than usual or experiences noticeable lag even during routine tasks, faulty RAM could be to blame. RAM-related issues can lead to decreased system responsiveness, leading to delays when opening files or switching between applications. If your computer’s performance consistently falls below expectations, testing the RAM is a recommended course of action.
4. Memory Errors:
Faulty RAM can trigger memory-related errors, causing programs to crash and display error messages. These errors may indicate that the RAM is failing to store and retrieve data correctly. If you encounter frequent memory errors or application-specific error messages, it is worth investigating the RAM as a potential cause.
5. File Corruption:
Faulty RAM can result in data corruption, leading to files becoming unreadable or displaying unusual behavior. You may encounter missing data, distorted graphics, or files that refuse to open altogether. If your files consistently exhibit signs of corruption, testing your RAM can help determine if memory issues are at fault.
6. Random Reboots:
When RAM is malfunctioning, your computer may experience random reboots, even during tasks that are not particularly resource-intensive. If your computer frequently restarts without any apparent reason, it is crucial to investigate the RAM as a possible cause.
These are some of the common symptoms that indicate faulty RAM in a Windows computer. If you experience any of these issues, it is advisable to test your RAM using the methods outlined in this article to identify and resolve any potential memory-related problems.
Method 1: Using Windows Memory Diagnostic Tool
Windows provides a built-in tool called Windows Memory Diagnostic that allows you to test your computer’s RAM for errors. This tool is designed to identify potential memory issues and provide a report with the results of the diagnostic tests. To use the Windows Memory Diagnostic Tool, follow these steps:
Step 1: Open Windows Memory Diagnostic Tool
Press the Windows key + R to open the Run dialog box. Type “mdsched.exe” and click OK or press Enter. This will open the Windows Memory Diagnostic Tool.
Step 2: Choose Testing Option
In the Windows Memory Diagnostic Tool window, you have the option to choose between two testing options: “Restart now and check for problems (recommended)” or “Check for problems the next time I start my computer.” Select the option that suits your preference.
Step 3: Restart and Begin Testing
If you choose the first option, your computer will restart immediately, and the tool will start testing your RAM for errors. During the testing process, your screen will display a progress bar indicating the status of the test. It is important not to interrupt the testing process to ensure accurate results.
Step 4: View Test Results
Once the testing is complete (usually takes several minutes), your computer will automatically restart, and the Windows Memory Diagnostic Tool will display the test results. It will indicate whether any errors were detected during the testing phase.
If no errors are found, it is unlikely that your RAM is the cause of any system issues you are experiencing. However, if errors are detected, it is recommended to replace the faulty RAM module(s) to resolve the problem.
The Windows Memory Diagnostic Tool offers a convenient and straightforward way to test your RAM for errors. By following these steps, you can quickly determine the health of your computer’s memory and take appropriate actions to address any issues that may arise.
Method 2: Using Windows Resource and Performance Monitor
Another method to test your RAM in Windows is by utilizing the Windows Resource and Performance Monitor. This powerful tool allows you to monitor various aspects of your computer’s performance, including RAM usage and performance. By analyzing the data provided by the Resource and Performance Monitor, you can identify potential issues with your RAM. Follow these steps to use the Windows Resource and Performance Monitor:
Step 1: Open Resource and Performance Monitor
Press the Windows key + R to open the Run dialog box. Type “perfmon.exe” and press Enter or click OK. This will launch the Windows Resource and Performance Monitor.
Step 2: Expand Monitoring Tools
In the left navigation pane, expand the “Monitoring Tools” folder by clicking on the arrow next to it. Then, click on “Performance Monitor” to open the Performance Monitor window.
Step 3: Create a New Data Collector Set
In the Performance Monitor window, click on “Data Collector Sets” and then right-click on “User Defined.” Select “New” and then “Data Collector Set.”
Step 4: Configure the Data Collector Set
Provide a name for the data collector set and choose the “Create manually (Advanced)” option. Click Next and select “Performance counter” as the type of data to collect. Click Next again.
Step 5: Add Counters for RAM Monitoring
In the “Add Counters” window, scroll down and select the following counters related to RAM:
- Available MBytes
- Pages/sec
- Page Faults/sec
Step 6: Start the Data Collector Set
Click Finish to create the data collector set. Then, right-click on the newly created set and select “Start.” The tool will begin collecting data on your computer’s RAM performance.
Step 7: Analyze the Performance Monitor Data
Allow the Windows Resource and Performance Monitor to run for a sufficient period, such as several hours or a day. Once you have collected enough data, you can analyze it to determine if any RAM-related issues exist.
By monitoring counters such as “Available MBytes,” you can identify if your computer is experiencing low memory issues. Additionally, counters like “Pages/sec” and “Page Faults/sec” can indicate if your RAM is performing optimally or if it is struggling to keep up with demands. If you notice significant fluctuations or consistently high values in these counters, it may indicate potential RAM problems.
The Windows Resource and Performance Monitor offers a comprehensive way to monitor and analyze your computer’s performance, including RAM usage. By utilizing this tool, you can gain valuable insights into your RAM’s performance and take appropriate measures to address any identified issues.
Method 3: Using Windows Command Prompt
The Windows Command Prompt provides a convenient and efficient way to test your RAM without the need for third-party tools. By utilizing specific commands and tools available in the Command Prompt, you can run memory diagnostics to identify potential issues. Follow these steps to test your RAM using the Windows Command Prompt:
Step 1: Open Command Prompt
Press the Windows key + R to open the Run dialog box. Type “cmd” and press Enter or click OK. This will open the Command Prompt window.
Step 2: Run the Windows Memory Diagnostic Tool
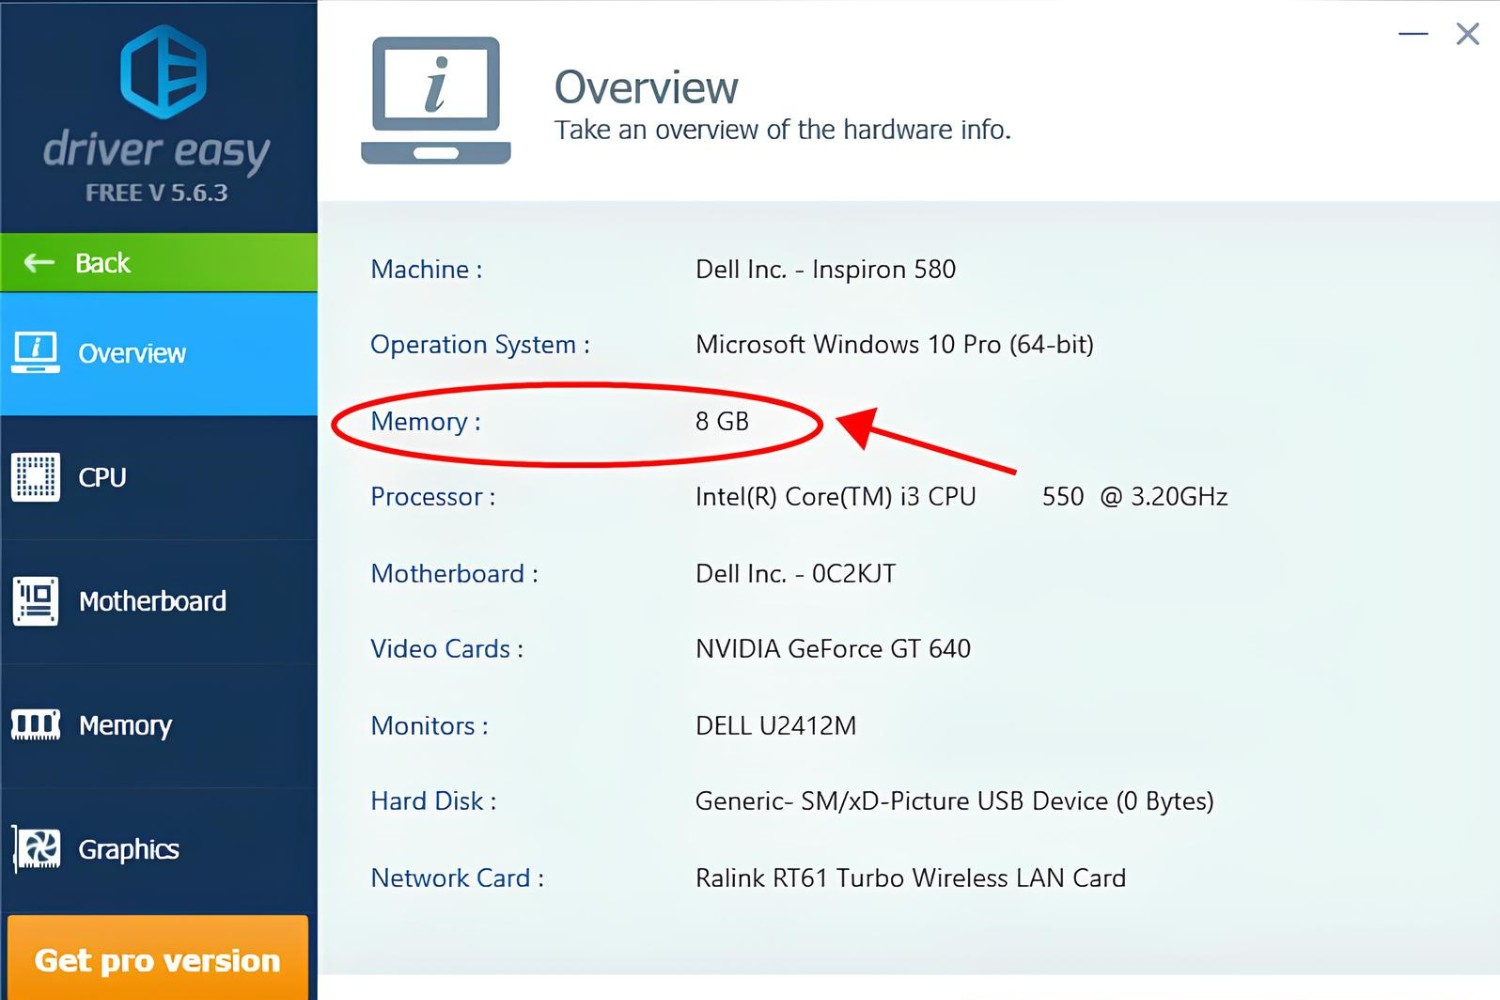
Type the following command and press Enter: wmic MEMORYCHIP get BankLabel, DeviceLocator, Capacity, Speed
This command will provide detailed information about your installed RAM modules, including their capacity and speed. Ensure the information displayed matches your system configuration properly.
Step 3: Run the Memory Diagnostic Tool
Type the following command and press Enter: wmic MEMORYCHIP where "(Manufacturer != 'Unknown')" set ConfiguredClockSpeed=1600
This command sets the RAM’s clock speed to 1600 MHz for more accurate diagnostics. Adjust the value accordingly based on your RAM’s specifications if necessary.
Step 4: Restart your Computer
To apply the changes and initiate the memory test, you need to restart your computer. Type shutdown -r into the Command Prompt and press Enter. Your computer will restart and begin the memory test process.
Step 5: Check the Test Results
Upon restarting, your computer will perform a memory test. This process may take several minutes. Once the test is complete, your computer will boot up normally.
To view the results of the memory test, open the Event Viewer by typing eventvwr into the Command Prompt and pressing Enter. In the Event Viewer window, navigate to “Windows Logs” and click on “System.” Look for the results of the memory test, which will be labeled as “MemoryDiagnostics-Results.”
If the results indicate any errors, it is likely that your RAM has issues and may need to be replaced. On the other hand, if no errors are found, it suggests that your RAM is functioning correctly and is not the cause of any system issues you may be experiencing.
Using the Windows Command Prompt to test your RAM provides a straightforward and efficient method to diagnose any potential memory-related problems. By following these steps and analyzing the test results, you can gain valuable insights into the health and performance of your computer’s RAM.
Method 4: Using Third-Party RAM Testing Software
In addition to the built-in tools provided by Windows, there are numerous third-party software options available for testing your RAM. These dedicated RAM testing programs offer extensive features and advanced testing capabilities, providing a more comprehensive analysis of your computer’s memory. Follow these steps to test your RAM using third-party RAM testing software:
Step 1: Research and Choose a Reliable RAM Testing Software
Do some research and choose a reputable and reliable third-party RAM testing software. Look for software that is compatible with your Windows version and has positive reviews from users. Memtest86, PassMark MemTest, and HCI MemTest are some popular options worth considering.
Step 2: Download and Install the Software
Visit the official website of the selected RAM testing software and download the appropriate version for your Windows operating system. Follow the installation instructions provided by the software to install it on your computer.
Step 3: Prepare a Bootable Device
Most RAM testing software requires creating a bootable device to run the tests outside of the Windows environment. This ensures a more thorough and accurate testing process. Follow the instructions provided by the software to create a bootable USB or CD/DVD drive using the downloaded software.
Step 4: Boot from the Bootable Device
Insert the bootable USB or CD/DVD drive into your computer and restart it. Enter the BIOS settings by pressing the appropriate key (usually F12, F2, or Del) during the startup process. Change the boot order to prioritize the bootable device, enabling your computer to boot from it.
Step 5: Run the RAM Test
With your computer booted from the bootable device, the RAM testing software will load automatically. Follow the on-screen instructions provided by the software to run the RAM test. The test may take some time to complete, depending on the size of your RAM and the testing options you have selected.
Step 6: Review the Test Results
After the RAM test is complete, the software will provide a detailed report of the test results. Pay attention to any errors or issues identified during the testing process. If errors are detected, it typically indicates faulty RAM modules that may need to be replaced.
Third-party RAM testing software offers advanced features and extensive testing capabilities, allowing for a more thorough analysis of your computer’s RAM. By utilizing these tools, you can gain deeper insights into the health and performance of your RAM, helping to identify any potential issues and take appropriate steps to address them.
Conclusion
Testing your RAM is an essential step in maintaining the stability and performance of your Windows computer. Faulty RAM can cause a range of issues, including system crashes, freezing applications, slow performance, and data corruption. By utilizing the various methods outlined in this article, you can effectively diagnose and address any potential RAM-related problems.
The built-in tools provided by Windows, such as the Windows Memory Diagnostic Tool and Windows Resource and Performance Monitor, offer convenient options for testing your RAM. These tools allow you to identify memory issues, view test results, and take appropriate action to resolve any detected problems.
If you require more advanced features and comprehensive testing capabilities, third-party RAM testing software is available. These software options provide in-depth analysis and thorough testing of your computer’s memory, offering a more comprehensive assessment of RAM health and performance.
Whether you choose to use the built-in Windows tools or opt for third-party software, regularly testing your RAM is crucial for system stability, diagnosis of performance issues, and maximizing the lifespan of your computer. By identifying and resolving RAM-related problems, you can ensure a smooth and efficient computing experience.
Remember to follow the instructions provided by each method carefully and allow sufficient time for the tests to complete. If errors are detected during testing, it is advisable to consult with a professional or contact the manufacturer for further assistance.
Take proactive measures to keep your RAM in good health by implementing regular testing. By doing so, you can enjoy a reliable and high-performing Windows computer for all your computing needs.