Introduction
RAM, or Random Access Memory, is an essential component of any computer system. It stores data that is actively being used by the computer’s processor, allowing for quick access and retrieval. Over time, however, RAM modules can develop faults or errors which can lead to system crashes, freezes, and overall performance issues. It is crucial to regularly test the RAM on your PC to identify and resolve any potential problems.
In this article, we will explore various methods to test the RAM on your PC. These methods will help you diagnose any issues and ensure that your computer’s RAM is running efficiently. From built-in tools provided by the Windows operating system to third-party software, we will cover multiple options for testing the health and performance of your RAM modules.
Before we dive into the different testing methods, it’s important to understand why testing RAM is necessary. With the increasing demands of modern software and applications, faulty RAM can lead to system instability, data corruption, and even program crashes. By regularly testing your RAM, you can identify any issues early and take appropriate action to prevent further damage.
It’s worth mentioning that testing RAM can be a time-consuming process, depending on the size of your system’s RAM and the testing method you choose. However, investing some time in testing your RAM can save you hours of frustration in the long run. So, without further ado, let’s explore the methods to test RAM on your PC and ensure the smooth functioning of your computer.
Why do you need to test RAM?
Testing RAM is an essential task for any computer user, whether you are a casual internet browser or a professional gamer. Here are a few reasons why you should consider testing your system’s RAM:
1. Identifying hardware issues: Over time, RAM modules can develop faults or errors. By testing your RAM, you can detect any hardware issues and address them promptly. This can help prevent system crashes, freezes, and other performance-related problems.
2. Optimizing system performance: Faulty or malfunctioning RAM can significantly impact your computer’s performance. By testing your RAM, you can determine if it is working optimally or if it needs to be replaced or repaired. This can ensure that your computer runs smoothly and efficiently, improving your overall user experience.
3. Preventing data corruption: RAM errors can lead to data corruption, which can result in the loss or corruption of important files and documents. By regularly testing your RAM, you can minimize the risk of data loss and ensure the integrity of your stored information.
4. Enhancing stability: A system with faulty RAM may experience frequent crashes or blue screen errors. By testing your RAM, you can identify and resolve any issues that may be causing system instability. This can provide you with a stable and reliable computing environment.
5. Troubleshooting software issues: RAM problems can sometimes manifest as software issues, such as application crashes or errors. By testing your RAM, you can rule out any potential RAM-related issues and focus your troubleshooting efforts on other areas.
6. Saving time and money: Regularly testing your RAM can help you catch issues early on, preventing them from escalating into more significant problems. By addressing problems promptly, you can save time and money that would otherwise be spent on costly repairs or potential data recovery.
Overall, testing your RAM is crucial for maintaining a stable and reliable computer system. It allows you to identify any hardware issues, optimize system performance, prevent data corruption, enhance stability, troubleshoot software issues, and ultimately save time and money. Now that we understand the importance of testing RAM, let’s explore the different methods you can use to test the RAM on your PC.
Precautions before testing RAM
Before you begin testing your PC’s RAM, it is essential to take some precautions to ensure a smooth and safe testing process. Here are a few precautions to keep in mind:
1. Backup your data: Testing RAM involves making changes to the system’s memory, which can potentially lead to data loss or corruption. It is always a good practice to back up your important files and documents before proceeding with any RAM testing activities. This way, you can restore your data in case anything goes wrong during the testing process.
2. Close unnecessary programs: To ensure accurate test results, it is recommended to close all unnecessary programs and processes running on your computer. This will free up system resources and minimize interference with the RAM testing process. It is especially important to close resource-intensive applications, such as video editors or games, as they can affect the accuracy of the test results.
3. Use a stable power source: RAM testing can be a resource-intensive process that puts a strain on your computer’s power supply. To avoid any sudden power outages or disruptions during the testing process, make sure your PC is connected to a stable power source. This will help prevent any data loss or system instability that may occur due to unexpected power interruptions.
4. Follow manufacturer’s instructions: Different RAM modules may have specific testing instructions provided by the manufacturer. It is important to consult the documentation that came with your RAM modules or visit the manufacturer’s website for any specific guidelines or recommendations regarding RAM testing. Following these instructions will ensure that you test your RAM correctly and effectively.
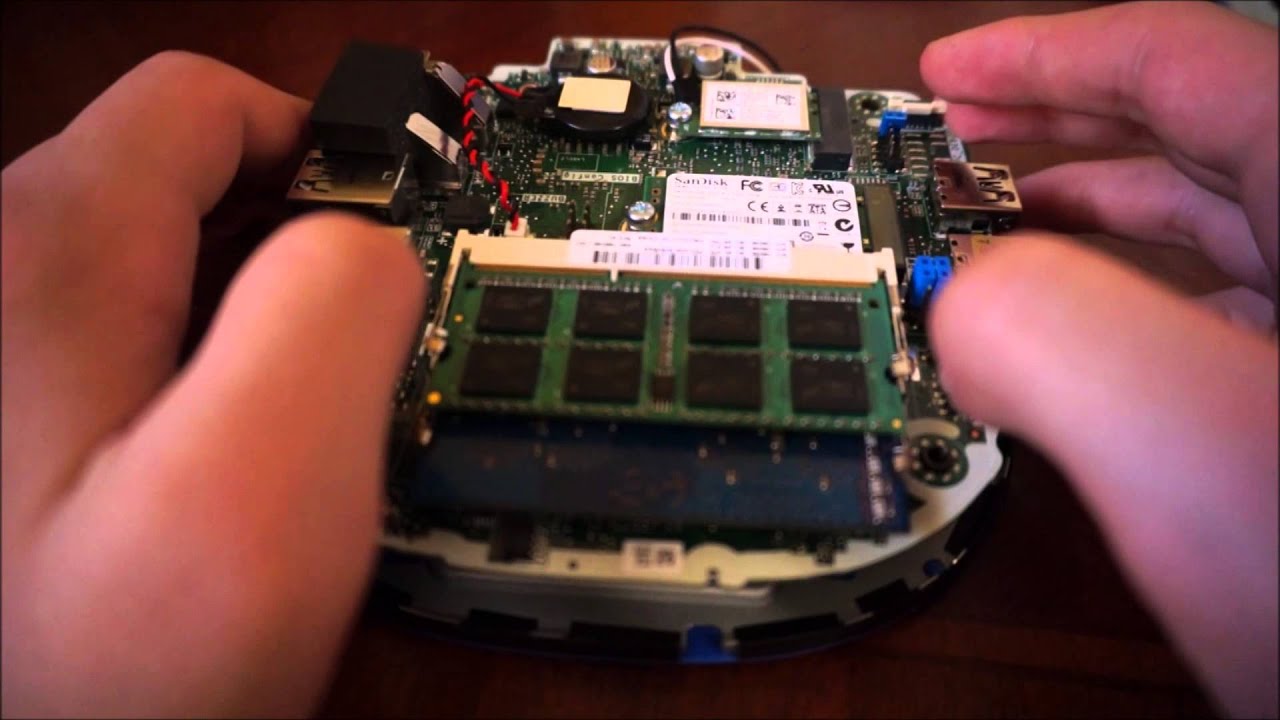
5. Test individual RAM modules: If your computer has multiple RAM modules installed, it is advisable to test each module individually. This will help identify if any specific module is causing issues rather than assuming all modules are faulty. Testing individual modules can also help determine the exact location of the problem, making troubleshooting easier.
6. Allow sufficient time for testing: Depending on the testing method you choose, RAM testing can take some time to complete. It is important to allocate enough time for the testing process to ensure accurate results. Avoid interrupting or abruptly terminating the test to prevent incomplete data or inaccurate diagnoses.
7. Keep track of any errors: During the RAM testing process, make note of any errors or issues encountered. This will help you identify patterns or recurring problems that may highlight specific faulty RAM modules or other underlying issues. Keeping track of errors will enable you to provide accurate information when seeking technical support or troubleshooting assistance.
By following these precautions, you can ensure a smooth and successful RAM testing process. Now that you are aware of the necessary steps to take before testing your RAM let’s explore the different methods available to test the RAM on your PC.
Method 1: Windows Memory Diagnostic Tool
One of the most convenient and built-in options for testing your RAM on a Windows PC is the Windows Memory Diagnostic tool. This tool is designed to scan and diagnose any issues with your computer’s RAM. Here’s how you can use it:
Step 1: Open Windows Memory Diagnostic: Press the Windows key + R to open the Run dialog box. Type “mdsched.exe” and press Enter. This will launch the Windows Memory Diagnostic tool.
Step 2: Choose a testing option: You will be presented with two options: “Restart now and check for problems (recommended)” or “Check for problems the next time I start my computer.” Choose the appropriate option based on your preference and availability of computer restart.
Step 3: Allow the tool to run tests: If you chose the “Restart now” option, your computer will restart and the Windows Memory Diagnostic tool will start running comprehensive tests on your RAM. Be patient as this process can take some time to complete.
Step 4: Check the test results: Once the tests are completed, your computer will restart again, and the test results will be displayed. If any issues are found, they will be listed, indicating potential problems with your RAM modules.
Step 5: Resolve any detected issues: If the Windows Memory Diagnostic tool detects any errors, it is recommended to take appropriate action to resolve the issues. This may involve replacing faulty RAM modules or seeking professional assistance for further troubleshooting.
The advantage of using the Windows Memory Diagnostic tool is that it is a straightforward and reliable built-in option provided by Microsoft. It is designed to identify potential RAM issues and provide you with a starting point for resolving them.
However, it is important to note that the tool may not always detect all RAM-related problems. In some cases, more advanced and specialized diagnostic tools may be required for a thorough analysis of the RAM. Additionally, the Windows Memory Diagnostic tool may require a system restart, which can be inconvenient if you need to save any unsaved work.
Overall, the Windows Memory Diagnostic tool is a good starting point for testing your RAM. It provides a simple and convenient way to identify potential issues and take appropriate action. If the tool detects any errors, it is recommended to further investigate using additional methods or seek technical assistance for a more comprehensive analysis of your RAM.
Method 2: MemTest86
If you’re looking for a more comprehensive and advanced RAM testing method, MemTest86 is a widely trusted option. It is a standalone memory diagnostic tool that runs outside of the operating system, providing a thorough analysis of your computer’s RAM. Follow these steps to use MemTest86:
Step 1: Download and prepare MemTest86: Visit the official MemTest86 website and download the appropriate version for your computer. You can choose either the free version or the paid Pro version with additional features. Once downloaded, unzip the file and create a bootable USB drive or a CD/DVD using the provided instructions.
Step 2: Boot your computer from the MemTest86 media: Insert the bootable USB drive or CD/DVD into your computer and restart it. Make sure that your computer is set to boot from the external media. MemTest86 will automatically start running the tests once your computer boots from the media.
Step 3: Allow MemTest86 to complete the tests: MemTest86 will conduct a series of comprehensive tests on your RAM, checking for any errors or issues. These tests include various patterns and data-intensive operations to thoroughly examine the memory modules. Be patient as the tests may take several hours to complete, depending on the size of your RAM.
Step 4: Monitor the test progress: MemTest86 provides real-time updates on the test progress, including the number of passes completed and any errors detected. Take note of any errors found as they can indicate potential problems with your RAM modules. If no errors are detected after several passes, it is a good indication that your RAM is functioning properly.
Step 5: Analyze the test results: Once the tests are completed, MemTest86 will display a summary of the test results. If any errors are detected, they will be highlighted, providing specific details about the problematic memory addresses or modules. This information can help you identify the faulty RAM module(s) or underlying issues for further troubleshooting.
MemTest86 is highly regarded for its thorough testing capabilities, accuracy, and reliability. It is designed to detect even the smallest errors in your RAM, ensuring a comprehensive analysis of your system’s memory. The tool operates independently of the operating system, allowing it to access and test the RAM without any interference.
By utilizing MemTest86, you can gain a more in-depth understanding of your RAM’s health and pinpoint any problematic areas. This can help you make informed decisions regarding repairs, replacements, or further diagnostic steps necessary to resolve the RAM-related issues.
It’s important to note that MemTest86 is a more advanced testing method that requires technical knowledge to create the bootable media and interpret the test results. If you are unsure or uncomfortable with these aspects, seeking professional assistance can ensure accurate testing and interpretation of the results.
Overall, MemTest86 is a powerful tool for testing your RAM, providing a comprehensive and detailed examination of your computer’s memory. Consider using this method if you require a thorough assessment and diagnosis of your RAM modules.
Method 3: Windows Memory Diagnostic
Another option provided by the Windows operating system for testing your RAM is the Windows Memory Diagnostic tool. This tool is a basic version of the previously discussed Windows Memory Diagnostic tool, but it is still a useful option for troubleshooting RAM issues. Here’s how to utilize it:
Step 1: Open Windows Memory Diagnostic: Press the Windows key + R to open the Run dialog box. Type “mdsched.exe” and press Enter. This will launch the Windows Memory Diagnostic tool, which is different from the Windows Memory Diagnostic tool discussed earlier.
Step 2: Choose a testing option: You will be given two options: “Restart now and check for problems” or “Check for problems the next time I start my computer.” Select the option that best suits your needs and availability to restart your computer.
Step 3: Allow the tool to run tests: If you choose the “Restart now” option, your computer will automatically restart, and the Windows Memory Diagnostic tool will start scanning your RAM for potential errors. This process may take some time, so be patient and let it complete.
Step 4: Check the test results: After the tests are finished, your computer will restart again, and the results will be displayed. If any issues are found, they will be listed, indicating potential problems with your RAM.
Step 5: Take appropriate action: If the Windows Memory Diagnostic tool detects any errors, it is advisable to address them accordingly. This may involve replacing faulty RAM modules, adjusting BIOS settings, or seeking professional assistance for further analysis and troubleshooting.
The Windows Memory Diagnostic tool is user-friendly, as it comes pre-installed with the Windows operating system. This makes it easily accessible and convenient for users to check the health of their RAM modules without the need for third-party software.
However, it is important to note that the Windows Memory Diagnostic tool has limitations compared to more advanced RAM testing methods. It may not detect certain types of errors or provide as detailed analysis as specialized tools like MemTest86. Therefore, if you suspect severe RAM issues or require more in-depth testing, it is recommended to consider alternative methods for a comprehensive examination of your system’s memory.
Nonetheless, the Windows Memory Diagnostic tool can provide a quick and reasonably reliable way to test your RAM and identify any major issues. It is a good starting point for troubleshooting RAM-related problems and can help you determine if further action is necessary.
Now that we have explored the Windows Memory Diagnostic tool, let’s move on to another method that involves using third-party software for testing your RAM on a PC.
Method 4: Using Third-Party Software
In addition to the built-in tools provided by the Windows operating system, there are numerous third-party software options available for testing your RAM on a PC. These tools often offer more advanced features and flexibility. Here’s how you can use third-party software to test your RAM:
Step 1: Choose a reputable third-party RAM testing software: Conduct research to find trusted and reliable third-party software specifically designed for testing RAM. Some popular options include MemTest86, PassMark MemTest, and HCI Design Memtest.
Step 2: Download and install the selected software: Visit the official website of the software you have chosen and download the appropriate version. Follow the installation instructions provided by the software developer to install it on your computer.
Step 3: Open the software and configure the testing options: Launch the installed software and navigate through the settings to configure the testing options according to your preferences. You can specify the number of passes, choose specific testing algorithms, and customize other parameters as needed.
Step 4: Initiate the RAM testing process: Start the RAM testing process by clicking on the appropriate button or option in the software’s user interface. The software will perform various tests on your RAM modules, checking for errors, and providing detailed reports on the results.
Step 5: Analyze the test results: After the tests are complete, review the test results provided by the software. Look for any errors or issues detected during the testing process. The software may present information such as the specific memory addresses affected or provide a summary of the overall health of your RAM.
Step 6: Take necessary actions based on the results: If the third-party software detects any errors or issues with your RAM, consider taking appropriate actions to resolve the problems. This may involve troubleshooting the specific faulty RAM modules, seeking professional assistance, or considering replacement options if necessary.
Third-party RAM testing software offers advanced features and comprehensive testing capabilities that can provide in-depth analysis of your RAM modules. These tools often have options to customize the testing parameters and provide detailed reports, enabling you to make informed decisions about your system’s memory health.
It is important to choose reputable and reliable third-party software from trusted sources. Reading user reviews, checking for software updates, and researching the software’s reliability can help ensure accurate and reliable test results.
Keep in mind that some third-party RAM testing software may require a paid license for full functionality, while others offer free versions with limited features. Consider your specific needs and budget when selecting the most suitable third-party software for testing your RAM.
By utilizing third-party software for RAM testing, you can access more advanced features and detailed reports, allowing for a comprehensive analysis of your computer’s RAM. These tools can be particularly helpful if you require more in-depth diagnostics or if the built-in Windows tools do not provide adequate information.
Now that we have explored the various methods for testing RAM on a PC, you can choose the one that best suits your needs and proceed with testing your system’s memory.
Conclusion
Testing your RAM is crucial for maintaining the performance and stability of your PC. It helps identify any hardware issues, optimize system performance, prevent data corruption, enhance stability, and troubleshoot software problems. By regularly testing your RAM, you can identify and resolve any issues early on, ensuring a smooth and reliable computing experience.
In this article, we explored various methods for testing RAM on a PC. The built-in options provided by the Windows operating system, such as the Windows Memory Diagnostic tool, offer convenient and user-friendly ways to test your RAM. These tools can quickly scan your RAM and provide basic diagnostic information.
For more comprehensive and advanced testing, third-party software like MemTest86 and other reputable options can offer more detailed analysis and customizable testing options. These tools provide comprehensive testing capabilities, helping you to identify and troubleshoot any RAM-related issues effectively.
Before conducting RAM testing, it is essential to take precautions, such as backing up your data, closing unnecessary programs, and ensuring a stable power source. These measures help minimize the risk of data loss and ensure accurate testing results.
Remember that testing RAM can be a time-consuming process, depending on the size of your RAM and the testing method chosen. Allocate sufficient time for the tests to complete, and carefully analyze the results to determine any errors or issues found.
Ultimately, by regularly testing your RAM, you can ensure optimal performance, stability, and reliability of your PC. If you encounter persistent issues or are unsure about the results of your tests, seeking professional assistance can help identify and resolve any underlying problems effectively.
Now that you have a better understanding of the available methods for testing RAM on a PC, choose the one that suits your needs and begin the process of ensuring that your computer’s memory is functioning optimally.