Why Testing RAM is Important
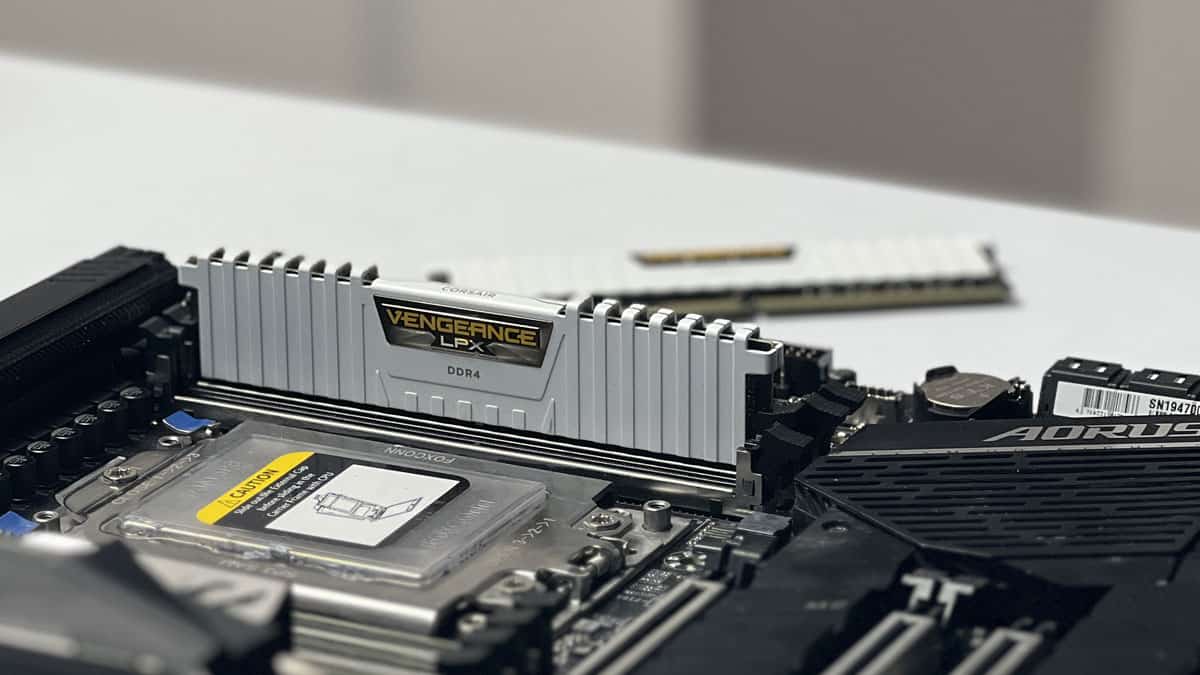
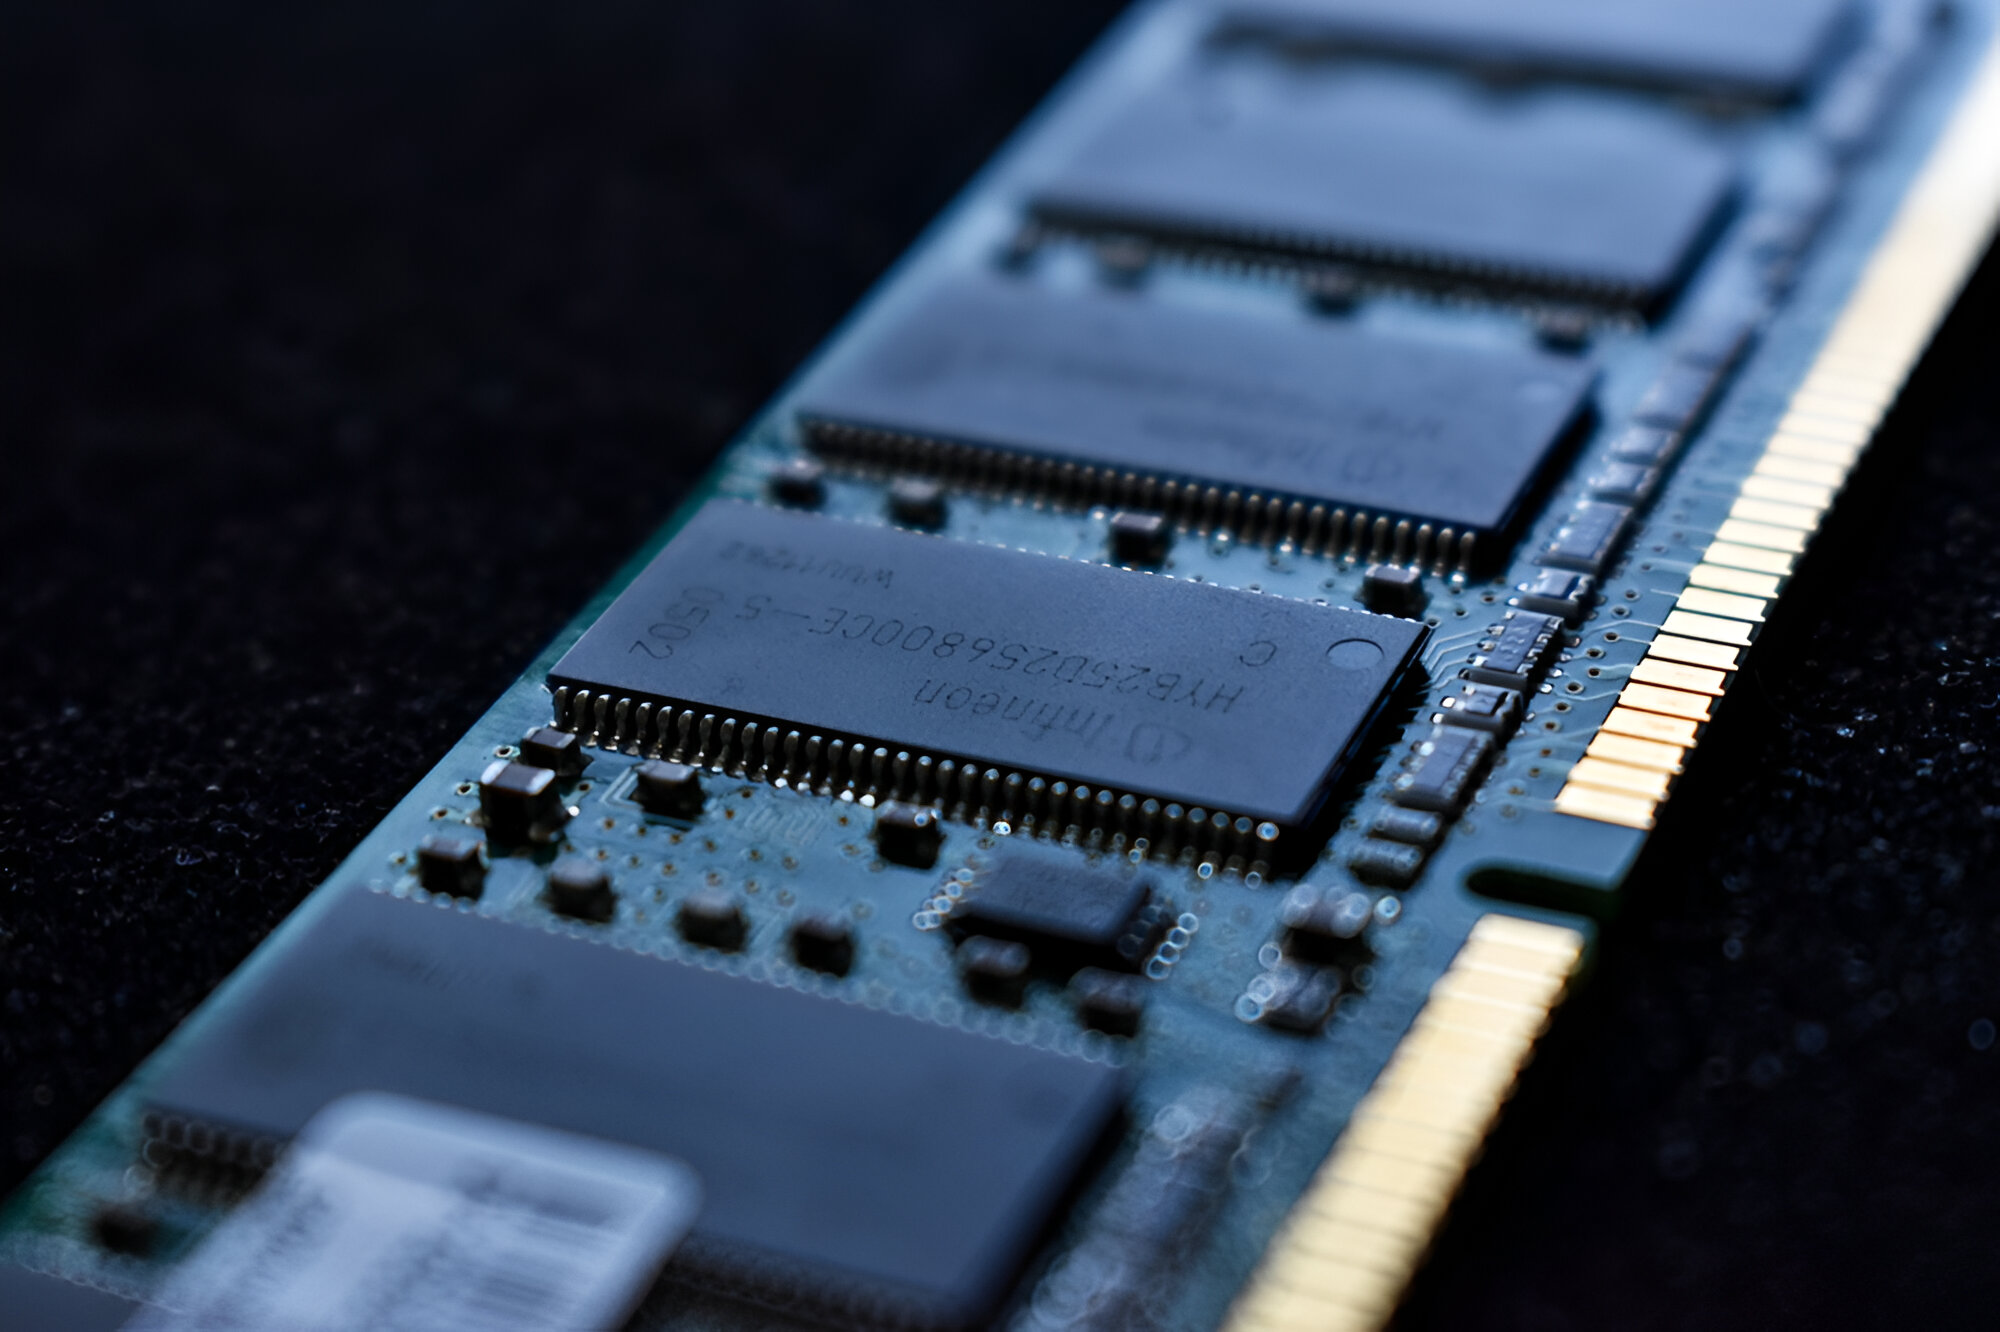
Random Access Memory (RAM) is a crucial component of any computer system. It acts as a temporary storage space for data that the computer needs to access quickly. Testing the RAM is important for several reasons:
- Ensuring System Stability: RAM issues can cause system instability, leading to frequent crashes, freezes, and even the dreaded “blue screen of death.” By testing the RAM, you can identify and address any underlying issues that may be affecting your computer’s performance.
- Preventing Data Loss: Faulty RAM can cause data corruption or loss. When the RAM malfunctions, it may not properly write data to the storage device, leading to incomplete or damaged files. Testing the RAM can help you identify potential problems before they result in irreversible data loss.
- Improving System Performance: A faulty RAM module can significantly impact the overall performance of your computer. It can slow down your system’s speed, making even simple tasks take longer to complete. By testing the RAM, you can pinpoint any performance-related issues and take appropriate action to resolve them.
- Diagnosing Hardware Problems: RAM-related issues are often confused with other hardware or software problems. By accurately testing the RAM, you can eliminate or confirm it as the source of the problem. This can save you time and effort in troubleshooting other components unnecessarily.
Regularly testing your RAM is particularly important if you frequently use resource-intensive applications or engage in memory-intensive tasks such as gaming, video editing, or running virtual machines. These activities put a significant strain on the RAM, increasing the chances of errors or failures.
It’s essential to note that RAM testing should be done as part of routine computer maintenance, even if you haven’t experienced any issues. By proactively testing your RAM, you can detect and address potential problems before they escalate into more severe and costly issues.
In the next sections, we will explore the common signs of a bad RAM module and delve into different methods to thoroughly test your computer’s RAM.
Signs of a Bad RAM
Random Access Memory (RAM) is a critical component of a computer system, and when it starts to fail, it can have a significant impact on the overall performance and stability. Here are some common signs that indicate you may have a bad RAM module:
- Frequent System Crashes: If your computer frequently crashes or displays the dreaded “blue screen of death” (BSOD), it could be due to faulty RAM. When the RAM is malfunctioning, it can cause the operating system to crash, resulting in sudden restarts or system failures.
- Unexpected Freezes: Another sign of a bad RAM module is when your computer freezes frequently and becomes unresponsive, requiring a forced restart. These freezes can happen randomly or during specific tasks or applications that require substantial memory usage.
- Application Errors: If you experience frequent application errors, such as programs unexpectedly closing or displaying error messages, it could be a result of faulty RAM. The RAM’s inability to properly store and retrieve data can cause applications to behave erratically or fail altogether.
- Slow Performance: A bad RAM module can significantly impact the performance of your computer. You may notice slower startup times, longer loading times for applications, and overall sluggishness when performing tasks that require memory usage. This slow performance can be frustrating and negatively affect your productivity.
- Corrupted Data: Faulty RAM can lead to data corruption. You may encounter files that fail to open or display errors, or documents that become corrupted and lose content. These issues can occur when the RAM fails to write or retrieve data correctly, resulting in imperfect or damaged files.
It’s important to note that these signs may also indicate other hardware or software issues. Therefore, it’s crucial to systematically diagnose and rule out other potential causes before attributing the problems solely to the RAM.
In the next sections, we will discuss different methods you can use to test your RAM and confirm whether it’s the source of your computer issues.
Different Methods to Test RAM
If you suspect that your computer’s RAM is causing performance issues or experiencing failures, there are several methods you can use to test it. These methods will help you determine if your RAM module is indeed faulty. Here are some common methods to test RAM:
- Method 1: MemTest86: MemTest86 is a popular and reliable tool for testing RAM. It runs outside of your operating system and thoroughly checks each memory address for errors. You can create a bootable USB or CD/DVD with MemTest86 and let it run for several hours to perform an extensive RAM test.
- Method 2: Windows Memory Diagnostic Tool: Windows users can utilize the built-in Windows Memory Diagnostic tool. To access it, simply type “Windows Memory Diagnostic” in the Start menu search bar and follow the on-screen instructions to run the test. This tool will check for errors and provide a report you can review.
- Method 3: Windows Memory Diagnostic: Another built-in option for Windows users is the Windows Memory Diagnostic. To access this tool, press the Windows key + R, type “mdsched.exe,” and hit Enter. You can then choose to restart your computer and let it run a thorough memory check during the reboot process.
- Method 4: Testing RAM with Third-Party Software: There are several third-party software options available for testing RAM, such as MemTest, PassMark Memtest86, and HCI MemTest. These tools provide comprehensive testing options and customizable settings to suit your specific needs.
Regardless of the method you choose, it’s important to let the tests run for an extended period to ensure accurate results. Testing for a minimum of 4-6 hours is recommended, as it provides sufficient time to detect any potential issues.
By using these methods, you can identify if your RAM is faulty and take the necessary steps to resolve the problem. Remember to consult the documentation or online guides specific to the testing method you choose to ensure you follow the correct procedures.
In the next section, we will discuss how to interpret the results of these RAM tests and what actions you can take if your RAM is found to be bad.
Method 1: MemTest86
MemTest86 is a widely used tool for testing RAM modules and identifying potential errors or failures. It is considered one of the most reliable methods for thorough RAM testing. Here’s how you can use MemTest86 to test your RAM:
- Create a Bootable MemTest86 USB or CD/DVD: Visit the official MemTest86 website and download the latest version of the tool. Follow the instructions provided to create a bootable USB drive or burn a CD/DVD with the MemTest86 image file.
- Boot your Computer from the MemTest86 Drive: Insert the bootable USB or CD/DVD into your computer and restart it. Access the boot menu by pressing the appropriate key (usually F12 or Esc) and select the USB or CD/DVD drive to boot from. MemTest86 will start running automatically.
- Run the MemTest: Once MemTest86 starts, it will begin testing your RAM by performing a series of comprehensive memory tests. These tests include different patterns and algorithms to thoroughly check for any errors or failures in your RAM.
- Monitor the Test Progress: MemTest86 will display the progress of the test in real-time, showing the number of passes completed and any errors detected. It will run multiple passes to ensure accurate results. It is recommended to let the test complete at least 4-6 passes to obtain reliable results.
- Interpret the Results: After the test completes, you will see the test results displayed on the screen. If there are no errors detected, your RAM is likely functioning properly. However, if errors are reported, it indicates that there are issues with your RAM module.
If MemTest86 detects errors, note down the specific details provided, such as the memory address or module number. This information will be useful for further troubleshooting or when discussing the issue with technical support or professionals.
Keep in mind that MemTest86 is an intensive test that can take several hours to complete, depending on the size and speed of your RAM. It is best to run the test overnight or during a time when your computer is not needed for other tasks.
In the next section, we will explore another built-in method for testing RAM on Windows systems using the Windows Memory Diagnostic tool.
Method 2: Windows Memory Diagnostic Tool
If you’re using a Windows operating system, you have access to a built-in tool called the Windows Memory Diagnostic. This tool can help you test your RAM for potential errors or failures. Follow the steps below to use the Windows Memory Diagnostic tool:
- Access the Windows Memory Diagnostic Tool: Press the Windows key to open the Start menu, type “Windows Memory Diagnostic” in the search bar, and select the Windows Memory Diagnostic tool from the search results.
- Choose the Diagnostic Option: In the Windows Memory Diagnostic tool window, you will be presented with two options: “Restart now and check for problems (recommended)” and “Check for problems the next time I start my computer.” Choose the option that suits your preference.
- Restart your Computer: Depending on the option you selected, your computer will either restart immediately or the memory test will run during the next startup. If you choose the first option, ensure you save any important files and close any running applications before proceeding.
- Monitor the Memory Test: During the memory test, the Windows Memory Diagnostic tool will display the progress and any errors detected on the screen. It will perform various memory tests and report the results accordingly.
- Review the Test Results: Once the memory test completes, your computer will automatically restart, and you will be able to see the test results. The Windows Memory Diagnostic tool will display if any errors were detected during the test.
If the Windows Memory Diagnostic tool detects errors in your RAM, it indicates that there are issues with your RAM module. Note down the specific details provided, such as the error codes or descriptions, as this information will be helpful for troubleshooting or seeking further assistance.
It’s worth mentioning that the Windows Memory Diagnostic tool may not be as thorough as third-party tools like MemTest86, but it can still provide valuable insights into the condition of your RAM. For more in-depth and extensive testing, you may consider using additional tools.
In the next section, we will cover another built-in method for testing RAM on Windows systems known as the Windows Memory Diagnostic.
Method 3: Windows Memory Diagnostic
Another built-in option for testing RAM on Windows systems is the Windows Memory Diagnostic. This tool allows you to perform an extensive memory check during the reboot process. Here’s how you can use the Windows Memory Diagnostic tool:
- Access the Windows Memory Diagnostic Tool: Press the Windows key + R on your keyboard to open the Run dialog box. Type “mdsched.exe” in the box and hit Enter or click OK. The Windows Memory Diagnostic tool will open.
- Choose the Memory Test Option: In the Windows Memory Diagnostic tool window, you will have the option to either restart your computer and check for memory problems or check for problems the next time you start your computer. Select the option that suits your requirements.
- Restart your Computer: Depending on the option you selected, your computer will either restart immediately or the memory test will run during the next startup. Make sure to save any unsaved work before proceeding.
- Run the Memory Test: During the reboot process, the Windows Memory Diagnostic tool will automatically start testing your RAM for potential errors. It will perform multiple passes, checking different patterns and algorithms to thoroughly analyze your memory module.
- Monitor the Test Progress: The Windows Memory Diagnostic tool will display the progress of the memory test on a blue screen. You can track the number of passes completed and any errors detected during the process.
- Review the Test Results: Once the memory test completes, your computer will restart, and the Windows Memory Diagnostic tool will display the test results. If any errors are found, it indicates that there are issues with your RAM module.
If the Windows Memory Diagnostic tool detects errors, note down the specific details provided, such as the error codes or descriptions. This information will be useful when troubleshooting or seeking further assistance.
The Windows Memory Diagnostic tool provides a convenient way to test your RAM without the need for additional software. However, for more comprehensive and in-depth testing, you may consider using third-party tools like MemTest86 or MemTest.
In the next section, we will discuss how to interpret the results of RAM tests and what steps to take if your RAM is found to be faulty.
Method 4: Testing RAM with Third-Party Software
In addition to the built-in tools provided by the operating system, there are several third-party software options available for testing your RAM. These tools offer advanced features and customizable settings to ensure a thorough examination of your memory module. Here’s how you can test your RAM with third-party software:
- Select a Reliable Third-Party RAM Testing Tool: There are various third-party software options available, such as MemTest, PassMark Memtest86, and HCI MemTest. Research and choose a tool that is highly regarded and has positive user reviews.
- Download and Install the Chosen Software: Visit the official website of the selected software and download the latest version. Follow the provided instructions to install the software on your computer.
- Configure the Testing Parameters (Optional): Some third-party RAM testing tools allow you to customize the testing parameters, such as the number of test passes, test patterns, and memory regions to test. Adjust these parameters according to your preferences, or you can opt for the default settings if you’re unsure.
- Initiate the RAM Test: Launch the installed third-party software and start the RAM test. The test will begin examining your memory module, performing various tests and checks to detect any errors or failures.
- Monitor the Test Progress and Errors: Throughout the RAM test, the software will display the progress, indicating the number of passes completed and any errors detected. Monitor the test results closely for any reported errors.
- Interpret the Test Results: Once the test completes, the third-party software will provide you with the test results. Examine the specific details, such as the error messages or codes, to determine if any problems were found with your RAM module.
Third-party RAM testing software provides a comprehensive assessment of your memory module and offers detailed information about any potential issues. These tools are often more thorough and customizable than the built-in options.
It’s important to note that using third-party software for RAM testing may require some technical knowledge and understanding. Follow the documentation or user guide provided by the software to ensure you perform the test correctly and interpret the results accurately.
In the next section, we will discuss how to interpret the results of RAM tests and explore the steps you can take if your RAM is found to be faulty.
How to Interpret the Results of RAM Tests
Interpreting the results of RAM tests is crucial to understanding the health of your memory module. Whether you used a built-in tool or third-party software, here are some key points to consider when interpreting the results:
- No Errors Found: If the RAM test reports no errors, it indicates that your RAM module is functioning properly. This is an ideal outcome, and it means that other factors should be investigated if you are experiencing computer issues.
- Errors Detected: If errors are reported during the RAM test, it indicates that there are problems with your RAM module. The specific error messages or codes provided by the test are important for further analysis and troubleshooting.
- Type of Errors: Pay attention to the type of errors detected, as this can help identify the underlying issue. Common types of errors include bit errors, address errors, and pattern errors. Each type may point to a different problem, such as a faulty memory cell or compatibility issues.
- Error Frequency and Occurrence: Take note of the frequency and occurrence of errors. If errors consistently appear in the same memory address or module, it may indicate a specific hardware problem. Random and infrequent errors could be a sign of intermittent issues or thermal-related problems.
- Severity of Errors: Assess the severity of the errors reported. Minor errors that occur rarely may not significantly impact system stability or performance. However, frequent or critical errors can lead to stability issues, crashes, and data loss, requiring immediate attention.
- Validation with Multiple Tests: Consider running multiple RAM tests using different tools or methodologies to validate the results. If different tests consistently report errors in the same areas, it strengthens the likelihood that there are indeed issues with your RAM module.
Interpreting the results of RAM tests can be complex, especially if you’re unsure about the specific error codes or messages. If you’re not confident in deciphering the results, it’s recommended to consult with a professional technician or seek assistance from the technical support of the software or device manufacturer.
In the next section, we will explore the steps you can take if your RAM is found to be faulty and needs fixing or replacement.
How to Fix or Replace a Bad RAM
If your RAM is found to be faulty or experiencing errors, it’s important to take appropriate steps to resolve the issue. Here are some methods you can try to fix or replace a bad RAM module:
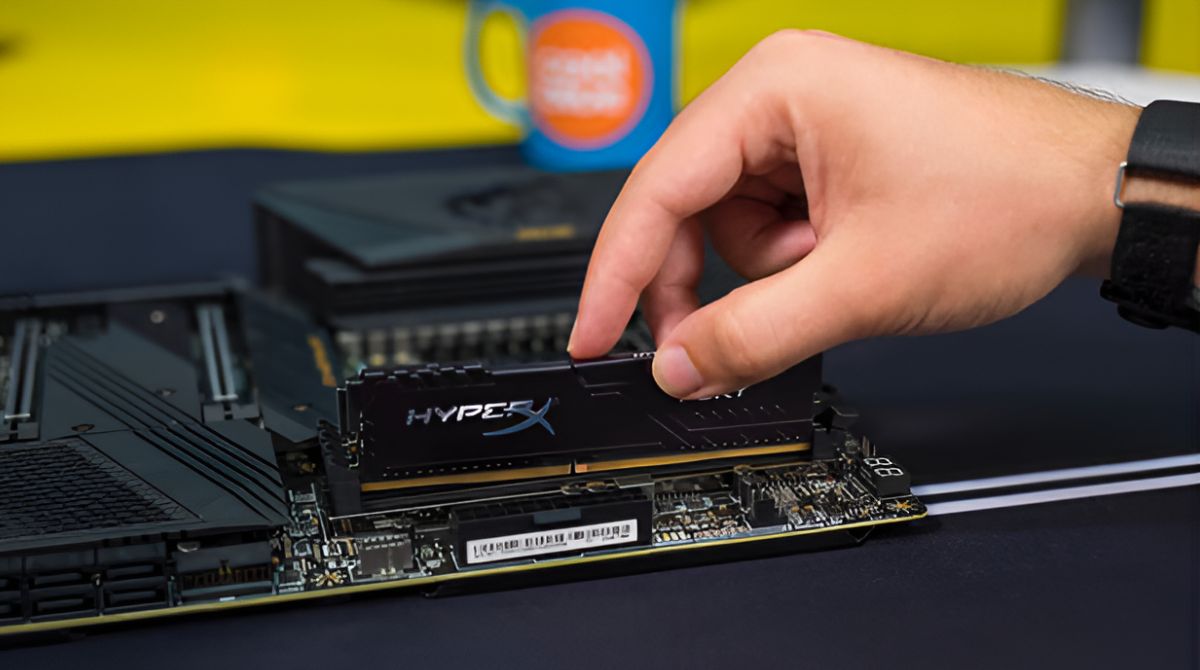
- Cleaning and Reinstalling RAM: Sometimes, the connection between the RAM module and the motherboard can become loose or dirty, causing issues. Turn off your computer, unplug the power cable, and carefully remove the RAM module. Clean the gold contacts with a soft eraser and reseat the module firmly in the memory slot. Then, restart your computer and run another RAM test to see if the issue persists.
- Testing Individual RAM Modules: If you have multiple RAM modules installed, it’s essential to identify if the issue lies with a specific module. Test each module individually by removing all but one module and performing the RAM test. If errors occur with only one module, it’s likely that module is faulty and needs to be replaced.
- Replacing the Faulty RAM Module: If a specific RAM module is determined to be faulty, you will need to replace it. Remove the faulty module from the memory slot and purchase a compatible replacement with the same specifications. Install the new module following the manufacturer’s instructions. Make sure the new module is firmly seated and properly aligned.
- Upgrading or Adding RAM: If you are experiencing frequent errors or your current RAM capacity is insufficient for your needs, it may be an opportune time to upgrade or add more RAM to your system. Check the maximum supported capacity and type of RAM for your motherboard, and purchase compatible modules. Install the additional or upgraded RAM according to the manufacturer’s instructions.
- Consulting a Professional: If you’re unsure about fixing or replacing the RAM module yourself, or if the issue persists even after attempting the above methods, it is recommended to seek help from a professional technician. They can provide expert guidance and ensure proper troubleshooting and replacement, if required.
Remember to run another RAM test after fixing or replacing the RAM to verify that the issues have been resolved. This will help ensure the stability and performance of your computer.
By identifying and addressing faulty RAM, you can improve system stability, prevent data loss, and enhance overall performance. Regularly testing your RAM is important to catch any errors or failures early on and take prompt action to resolve them.
In the next section, we will summarize the key points covered in this article and reiterate the importance of testing and maintaining a healthy RAM module.


