Introduction
Welcome to our guide on how to manually overclock RAM. If you’re looking to enhance the performance of your computer, overclocking your RAM can be a great option. When properly overclocked, RAM can deliver faster data transfer rates, improve multitasking capabilities, and enhance overall system responsiveness. In this article, we will explain what RAM overclocking is, why it can be beneficial, and provide you with a step-by-step guide to manually overclocking your RAM.
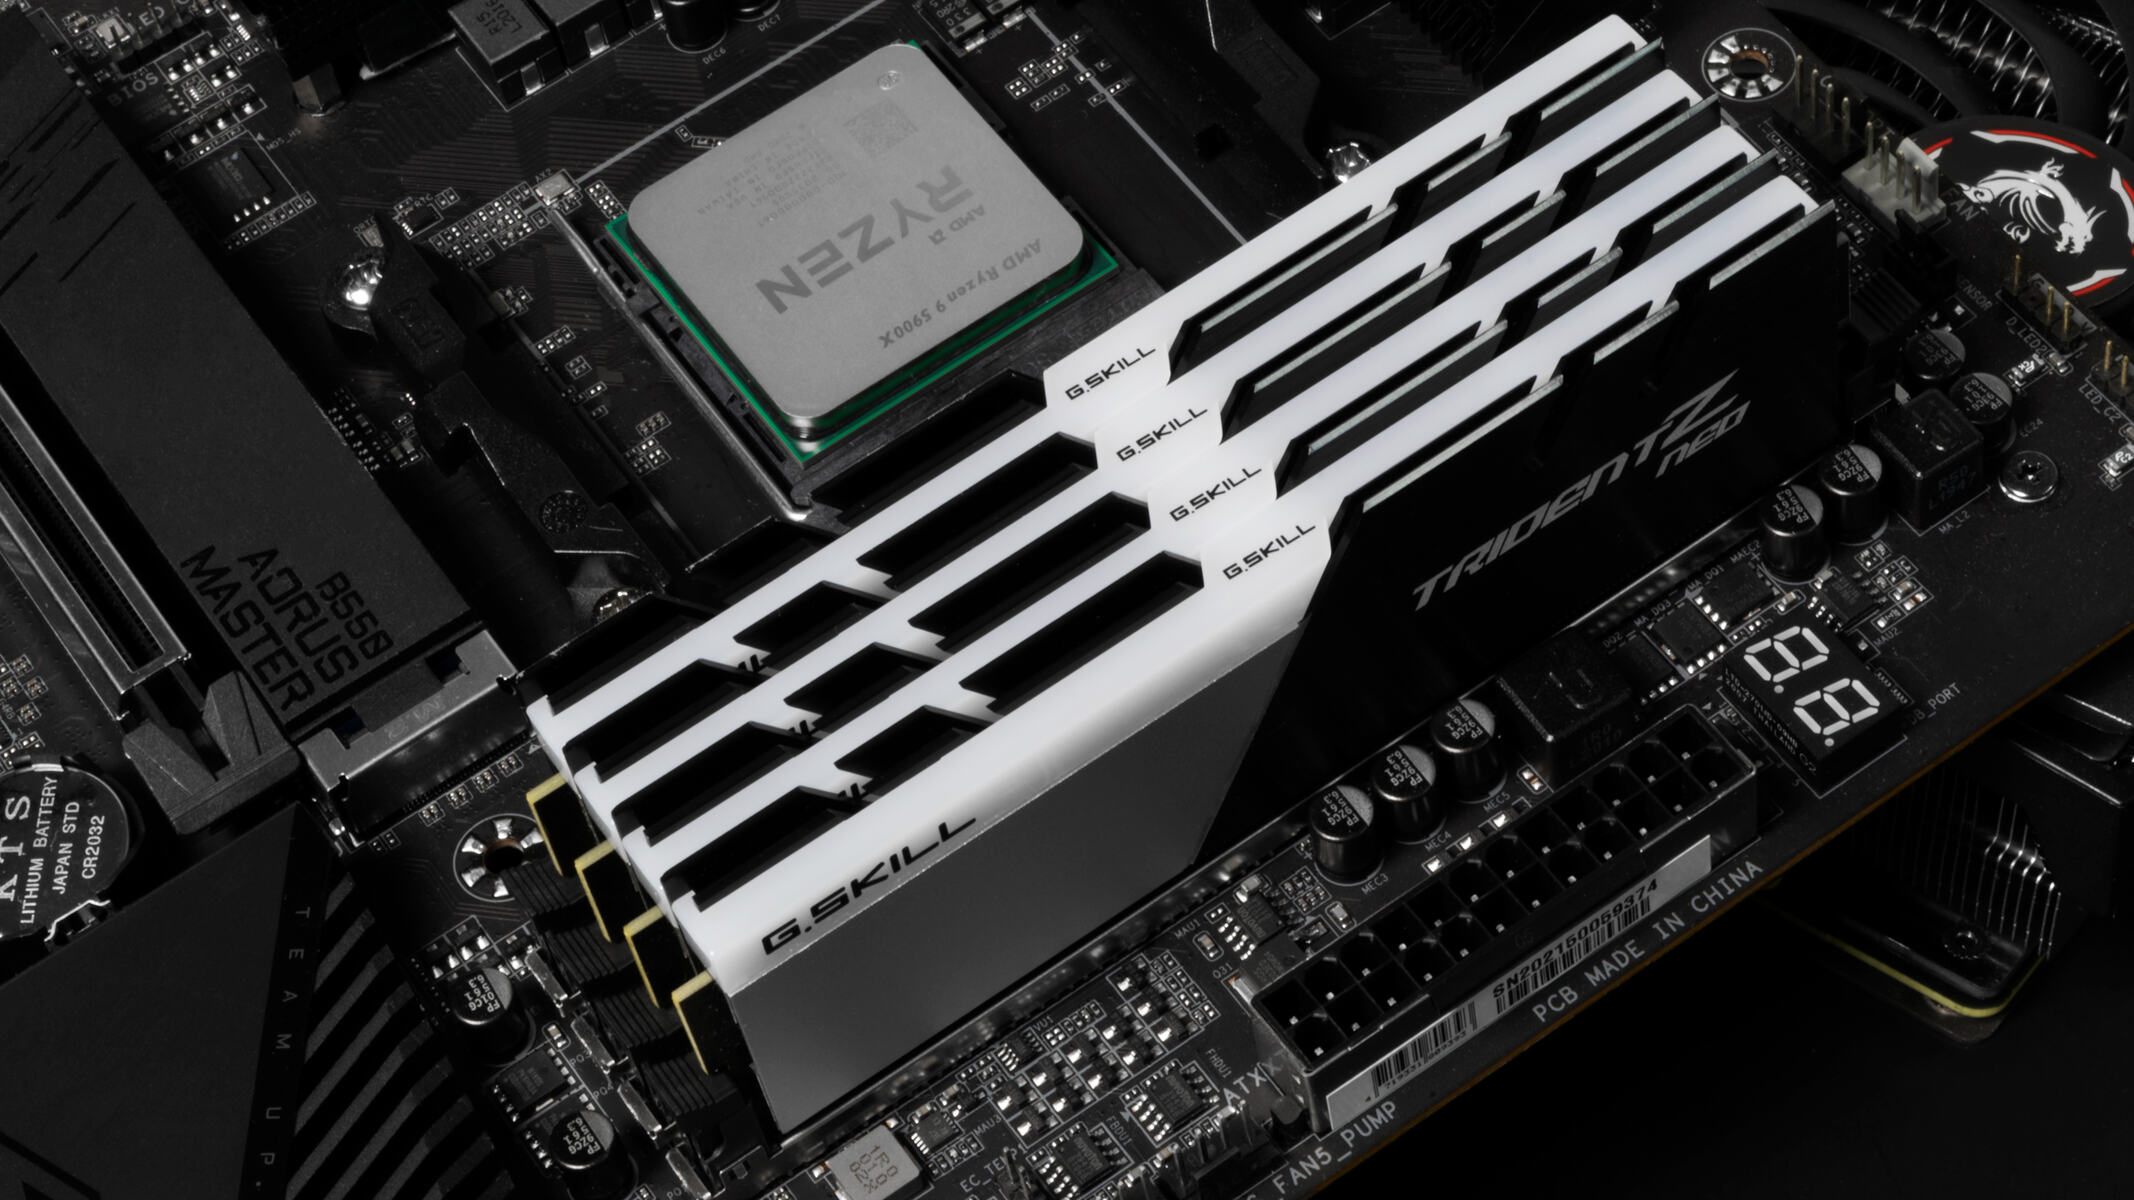
RAM (Random Access Memory) is a crucial component of your computer that stores data being actively used by the operating system and applications. The speed of your RAM determines how quickly data can be read from and written to memory, allowing for smoother and faster computing experiences.
While RAM usually comes with predefined speed settings, overclocking allows you to push your RAM beyond these factory-set limits. By increasing the voltage and frequency of your RAM modules, you can achieve higher data transfer rates and improve system performance.
While it is essential to note that RAM overclocking carries some risks, including potential instability and overheating, if done correctly, it can offer significant performance benefits. However, before diving into the process, it is crucial to understand the factors to consider and precautions to take before undertaking a RAM overclocking project.
In the following sections, we will discuss the reasons why you might want to overclock your RAM, factors to consider before starting the process, and provide you with a step-by-step guide to manually overclock your RAM.
What is RAM Overclocking?
RAM overclocking refers to the process of increasing the operating speed of your computer’s memory beyond its default settings. By adjusting the voltage and frequency of your RAM modules, you can achieve higher data transfer rates and potentially improve overall system performance.
When you purchase RAM, it comes with a set speed rating, typically measured in megahertz (MHz). This rating indicates the maximum speed at which the RAM can operate reliably without any overclocking. However, it’s important to note that RAM modules are often capable of operating at higher speeds than their default settings.
Overclocking your RAM allows you to push its performance limits and unlock the full potential of your computer’s memory. By increasing the voltage, which supplies power to the RAM, and adjusting the frequency, which determines how quickly data can be read from and written to memory, you can achieve faster data transfer rates and potentially improve system responsiveness.
One of the key benefits of RAM overclocking is improved multitasking capabilities. When you have more demanding tasks running simultaneously, such as video editing, gaming, and streaming, faster RAM can help ensure that your computer can handle these tasks with ease and without any noticeable lag.
In addition, overclocking your RAM can lead to faster loading times for applications and games, as data can be retrieved from memory more quickly. This can result in a smoother and more responsive user experience, especially for resource-intensive tasks or demanding games.
However, it’s important to note that while overclocking can offer performance benefits, it also carries some risks. Overclocking your RAM beyond its rated specifications can lead to instability, crashes, or even damage to your components if not done correctly. It’s crucial to proceed with caution and follow proper steps and precautions to ensure a successful and stable overclock.
In the following sections, we will explore why overclocking your RAM can be beneficial and discuss the factors you should consider before embarking on the process.
Why Overclock RAM?
The decision to overclock your RAM is a personal one, as it depends on your specific needs and goals. However, there are several key reasons why you might consider overclocking your RAM:
1. Performance Boost: Overclocking your RAM can provide a noticeable performance boost, especially in resource-intensive applications and games. By increasing the data transfer rates, you can improve overall system responsiveness and reduce loading times.
2. Enhanced Multitasking: If you frequently find yourself running multiple applications simultaneously or performing tasks that require a significant amount of memory, overclocking your RAM can allow for smoother multitasking. This can also help prevent your system from becoming sluggish or experiencing lag.
3. Cost-Effective Upgrade: Overclocking your RAM is a relatively affordable way to improve your system’s performance compared to purchasing higher-speed RAM modules. It allows you to maximize the potential of your current RAM without the need for a complete hardware upgrade.
4. Future-Proofing: Overclocking your RAM can help future-proof your system in terms of performance. As software and applications become more demanding over time, having faster RAM can ensure that your computer can handle these advancements without the need for immediate hardware upgrades.
5. Tinkering and Experimentation: Overclocking your RAM can be a fun and rewarding experience for tech enthusiasts. It allows you to explore the limits of your hardware, fine-tune settings, and optimize performance based on your preferences and specific usage requirements.
It’s important to note that while overclocking can offer these benefits, it is not a guaranteed solution for all performance issues. In some cases, other components such as the CPU or graphics card may be the bottleneck, and overclocking the RAM alone may not provide significant improvements. Before deciding to overclock your RAM, it is essential to assess your specific hardware configuration and consider if overclocking the RAM will provide substantial benefits.
In the next section, we will discuss the factors you should consider before overclocking your RAM to ensure a safe and successful overclocking process.
Factors to Consider Before Overclocking RAM
While overclocking RAM can offer performance benefits, it’s important to consider several factors before embarking on the overclocking process. Taking these factors into account will help you make an informed decision and ensure a safe and successful overclock.
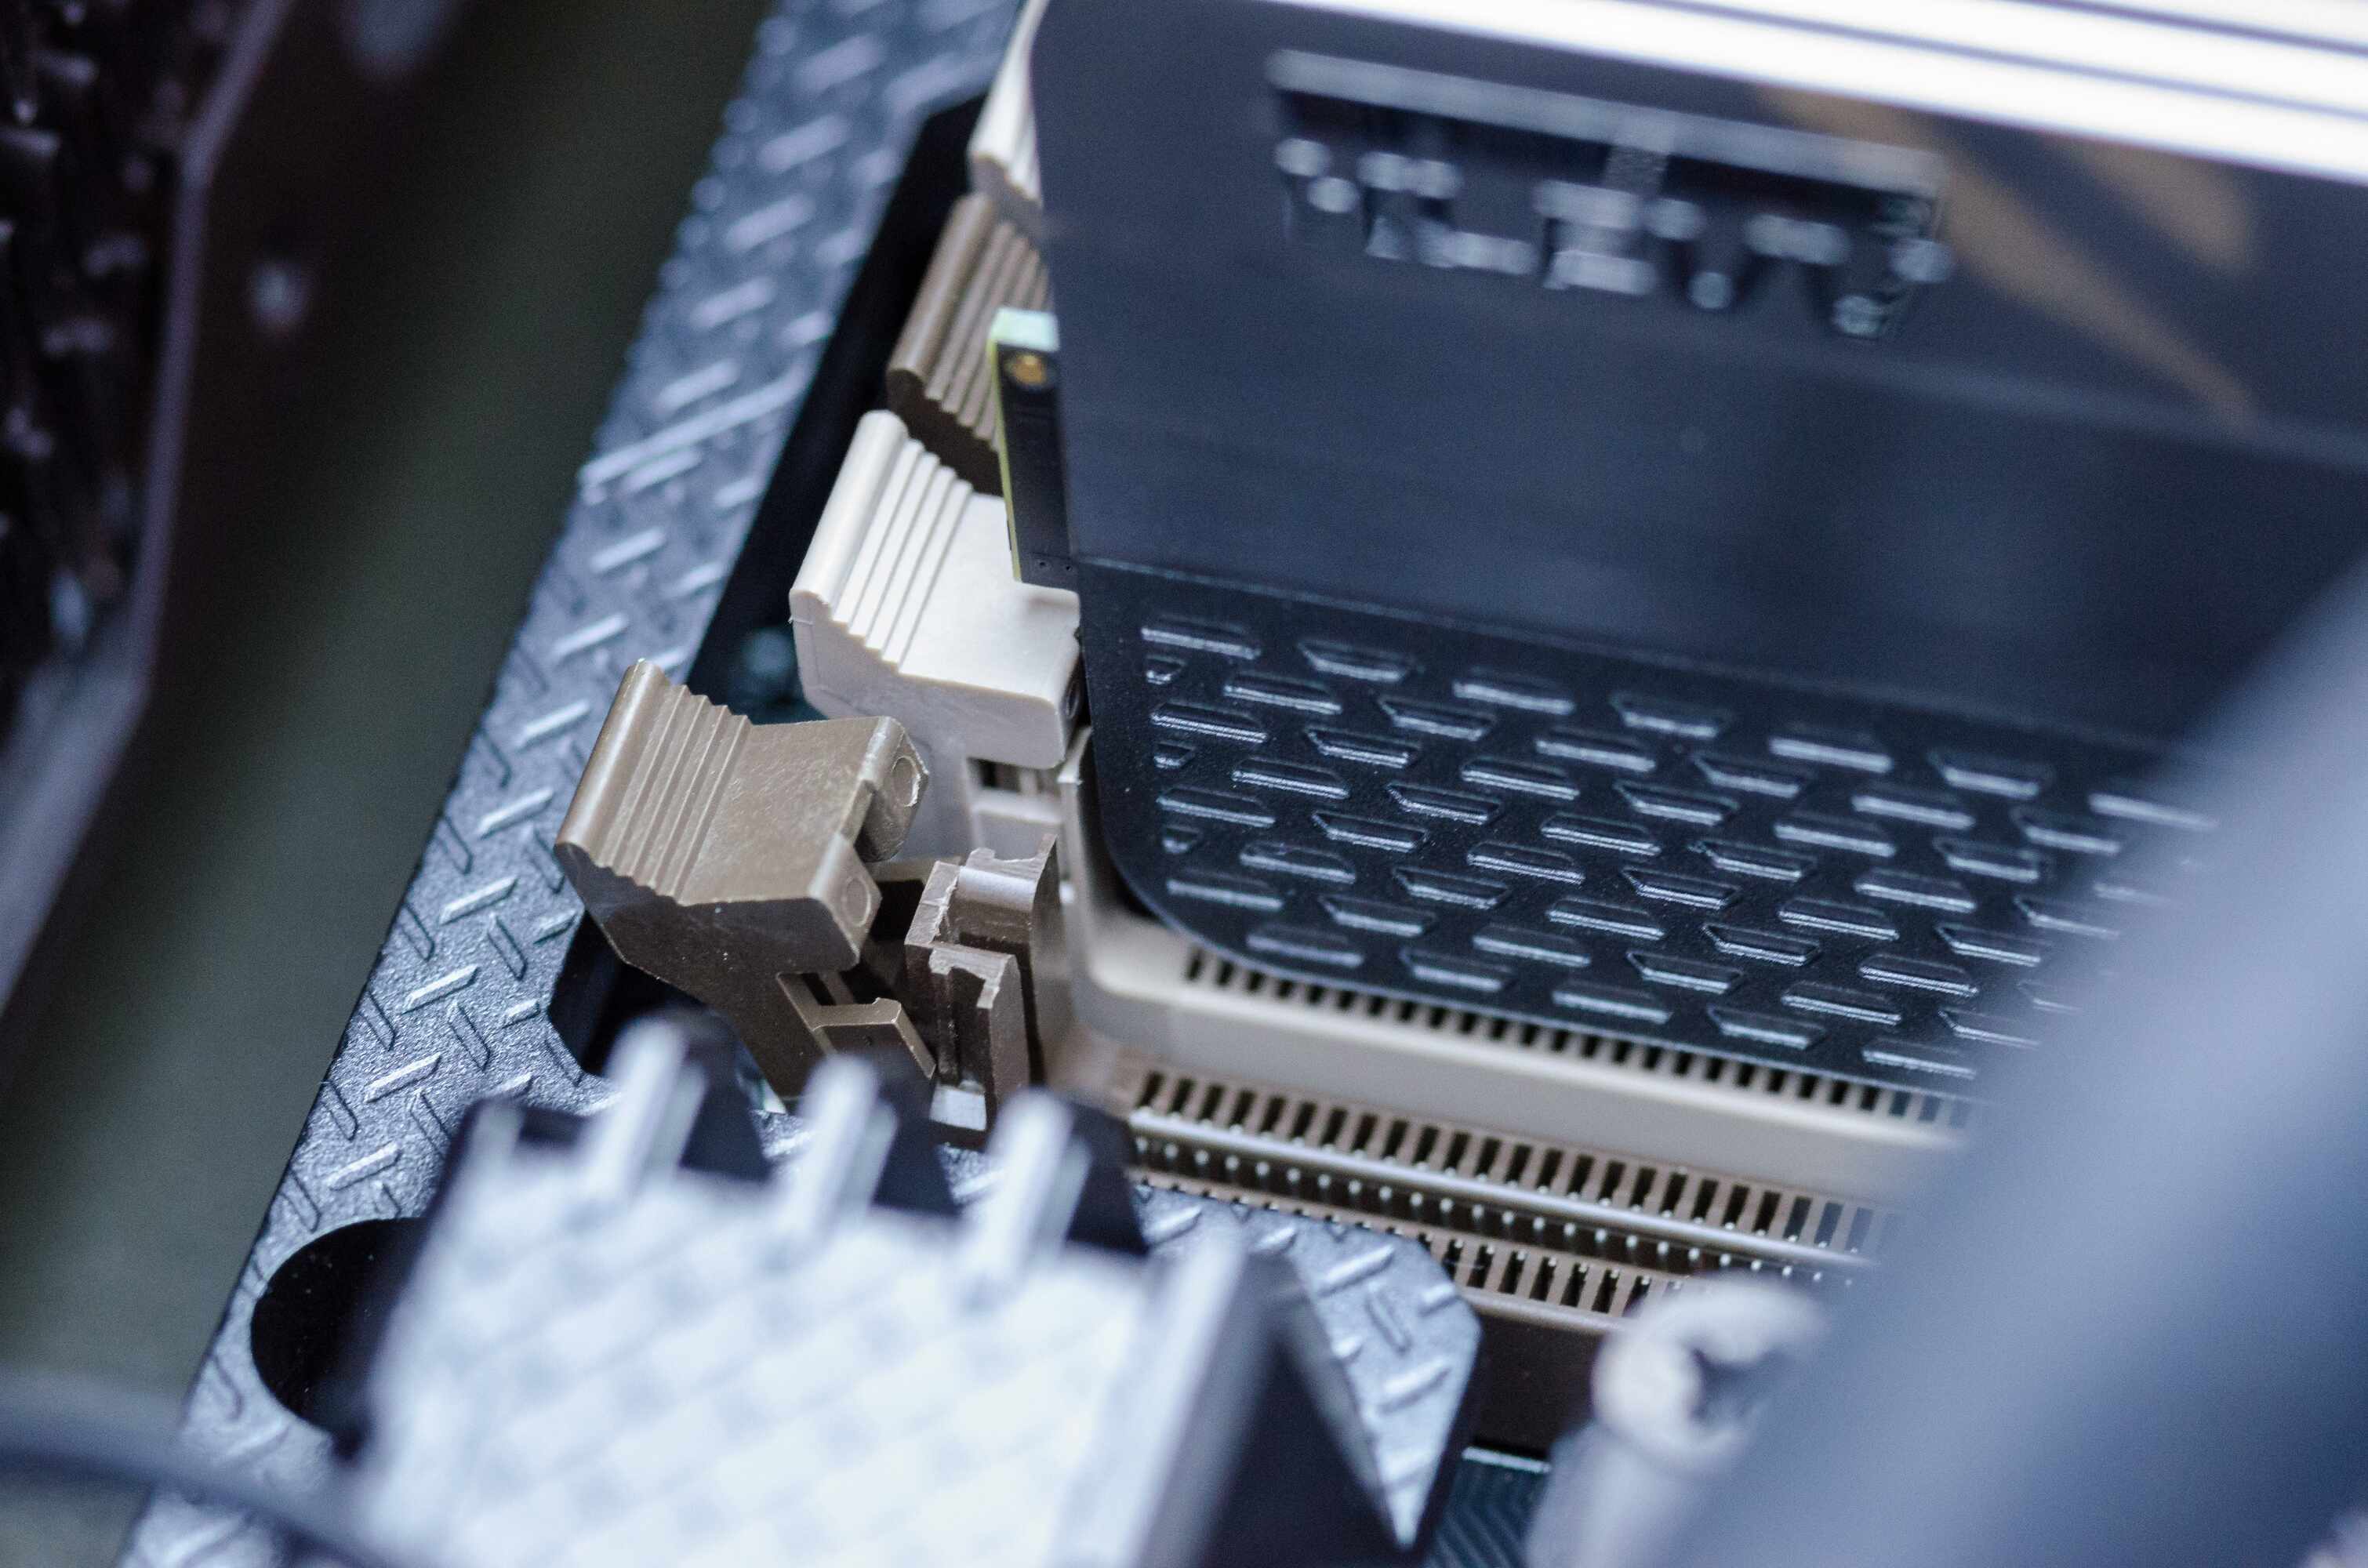
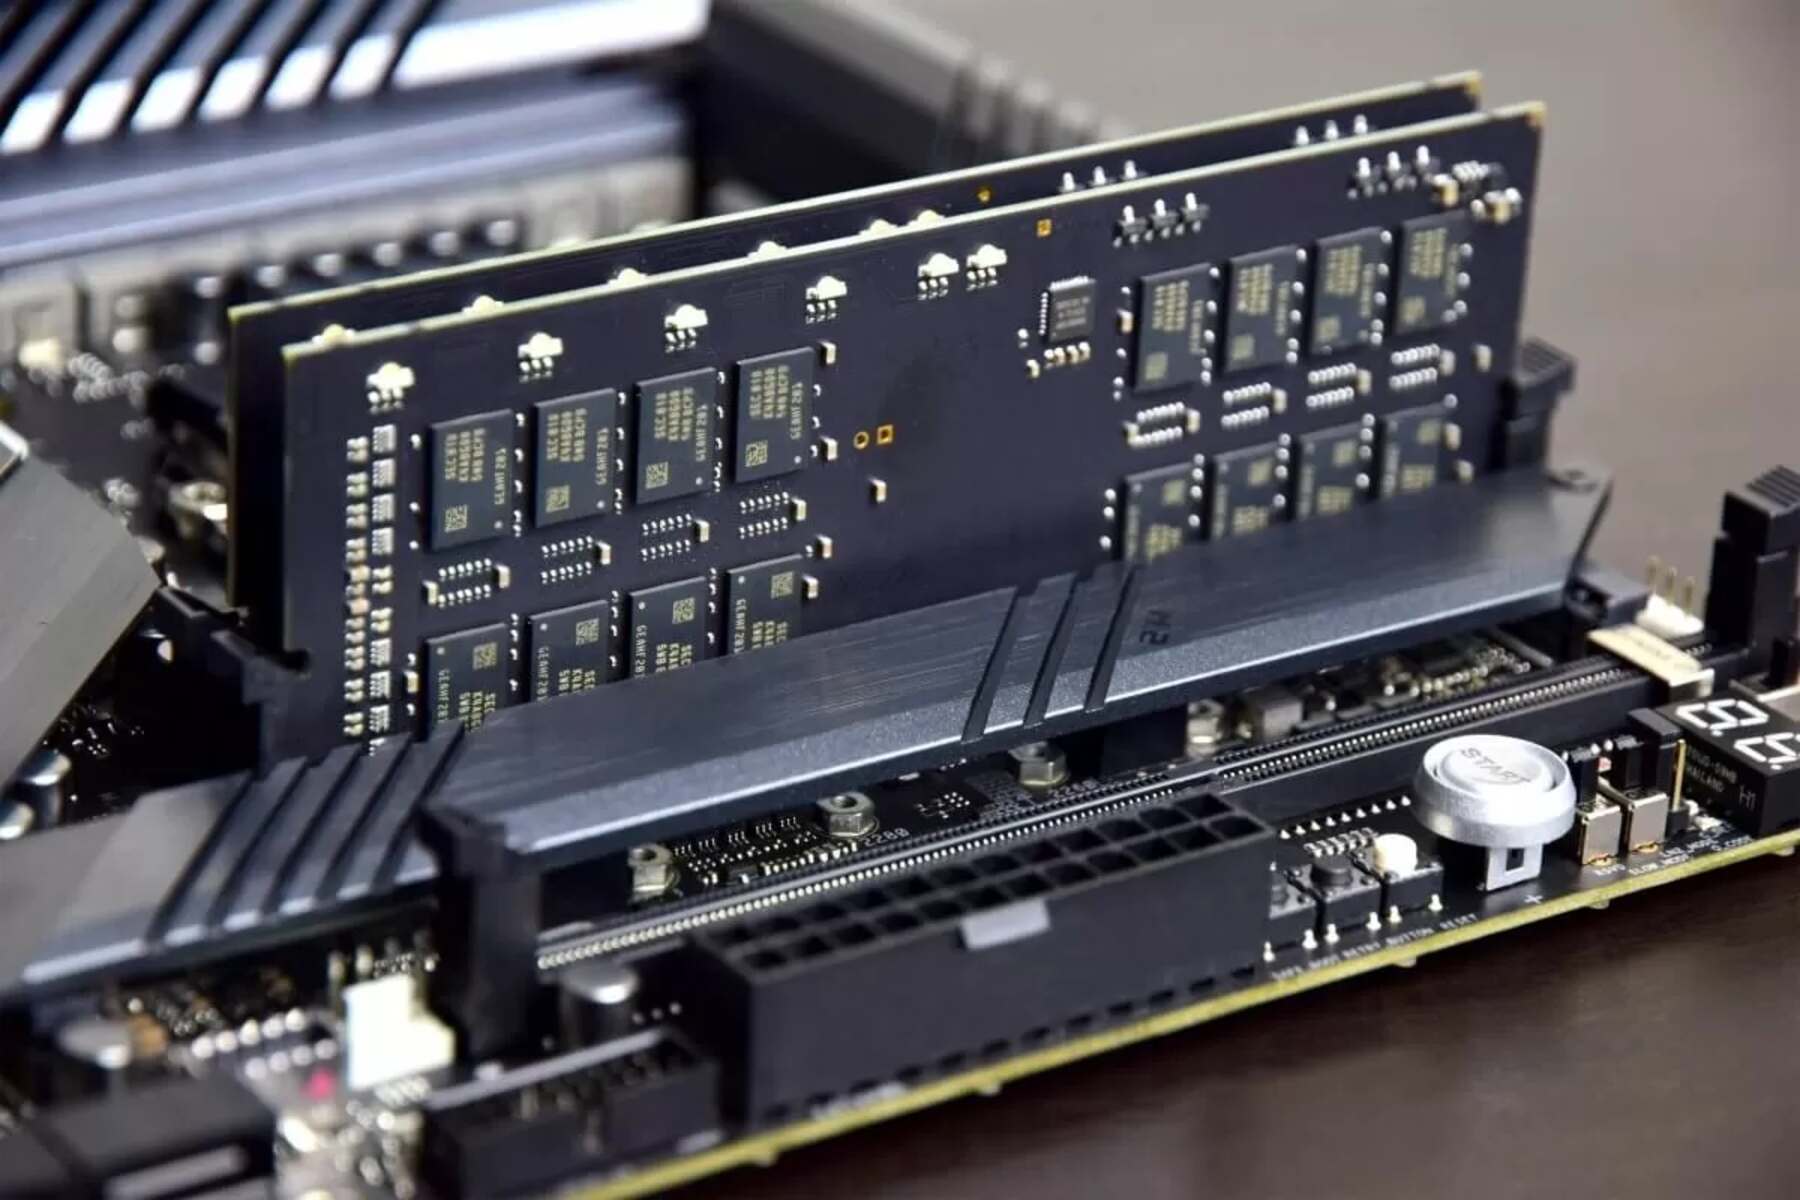
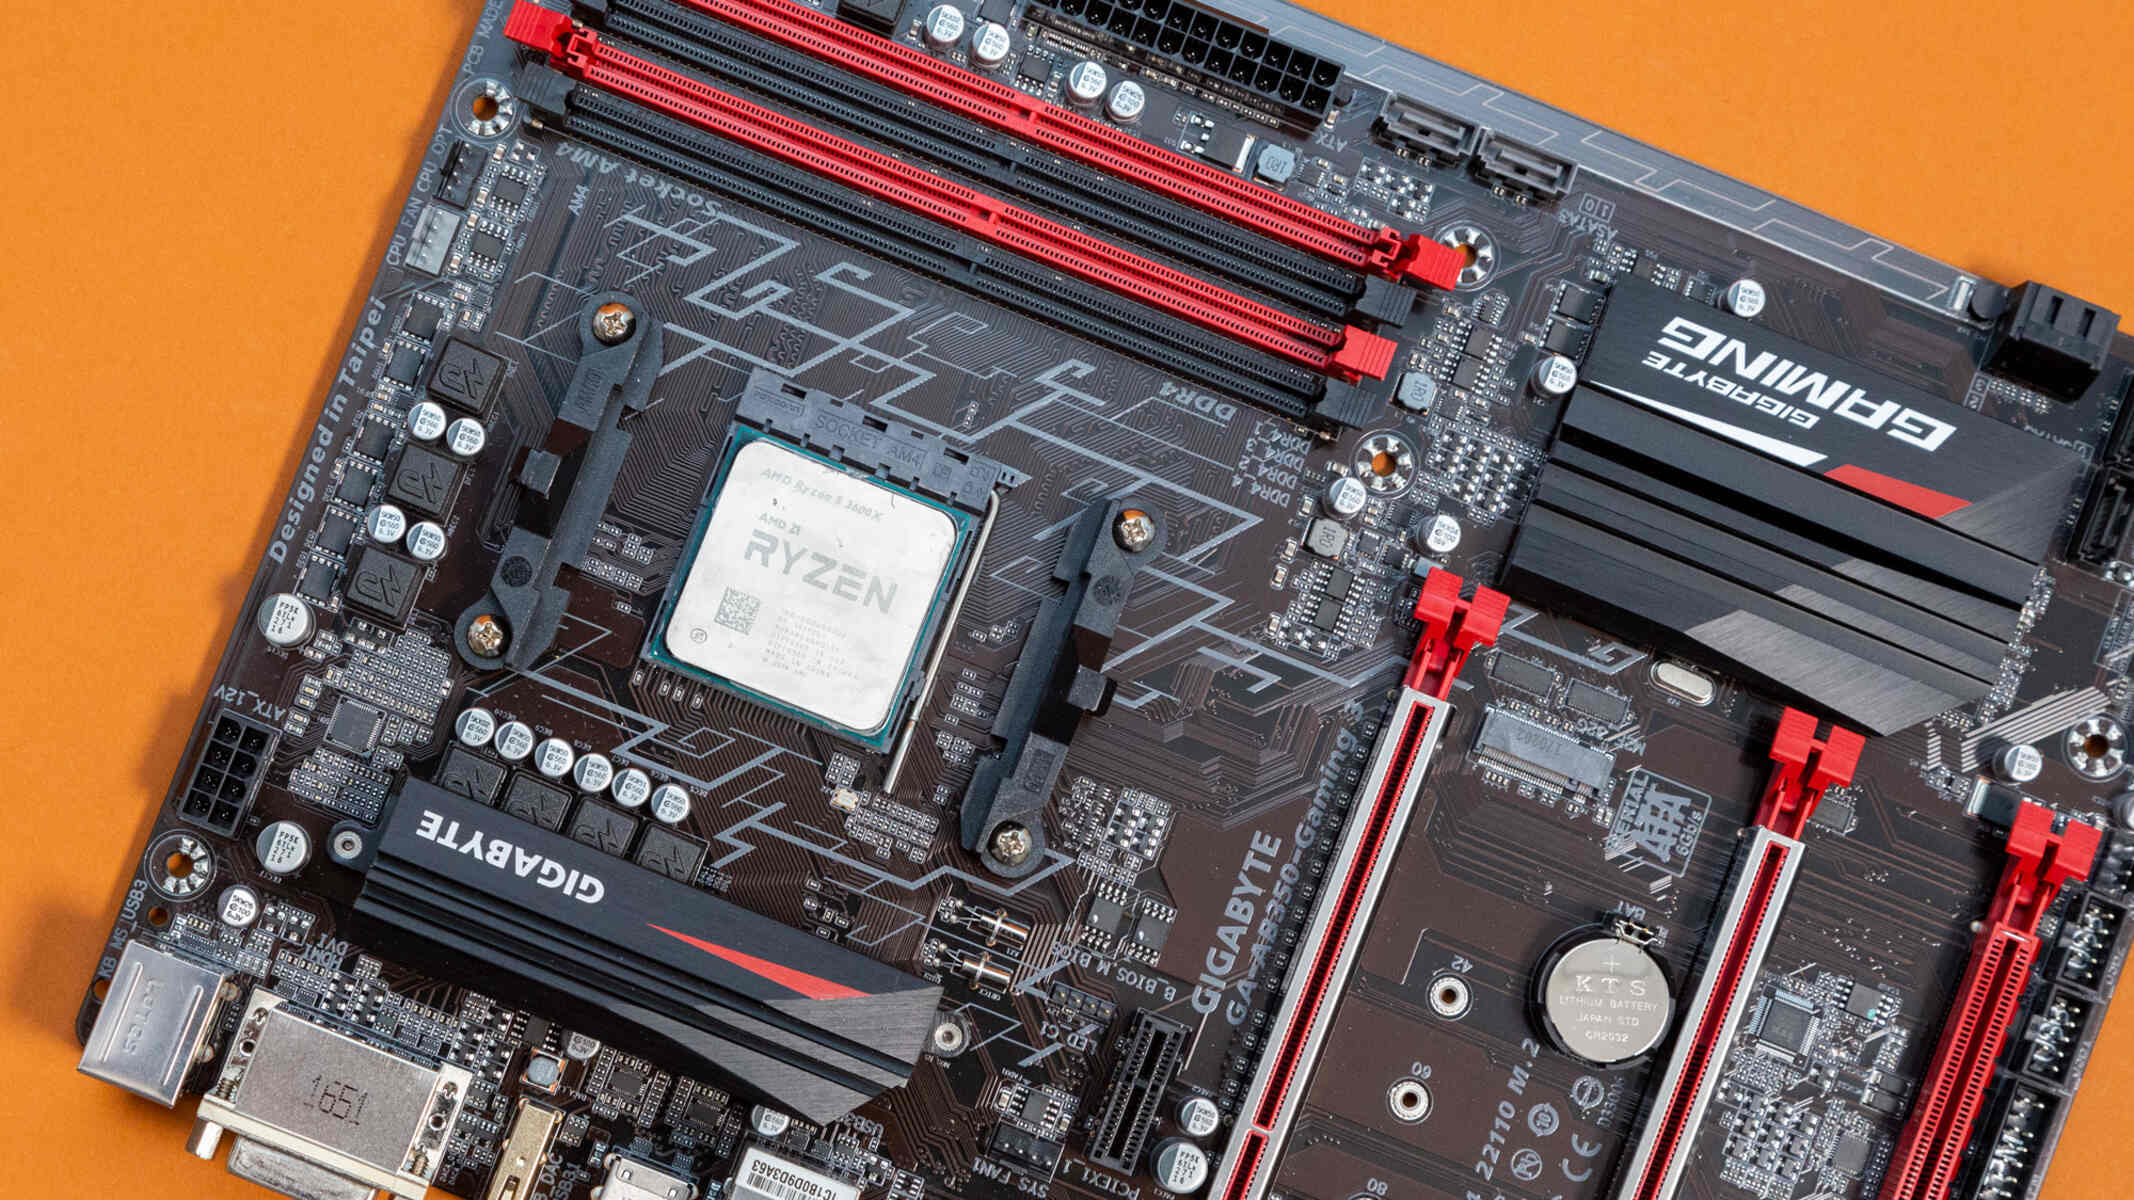
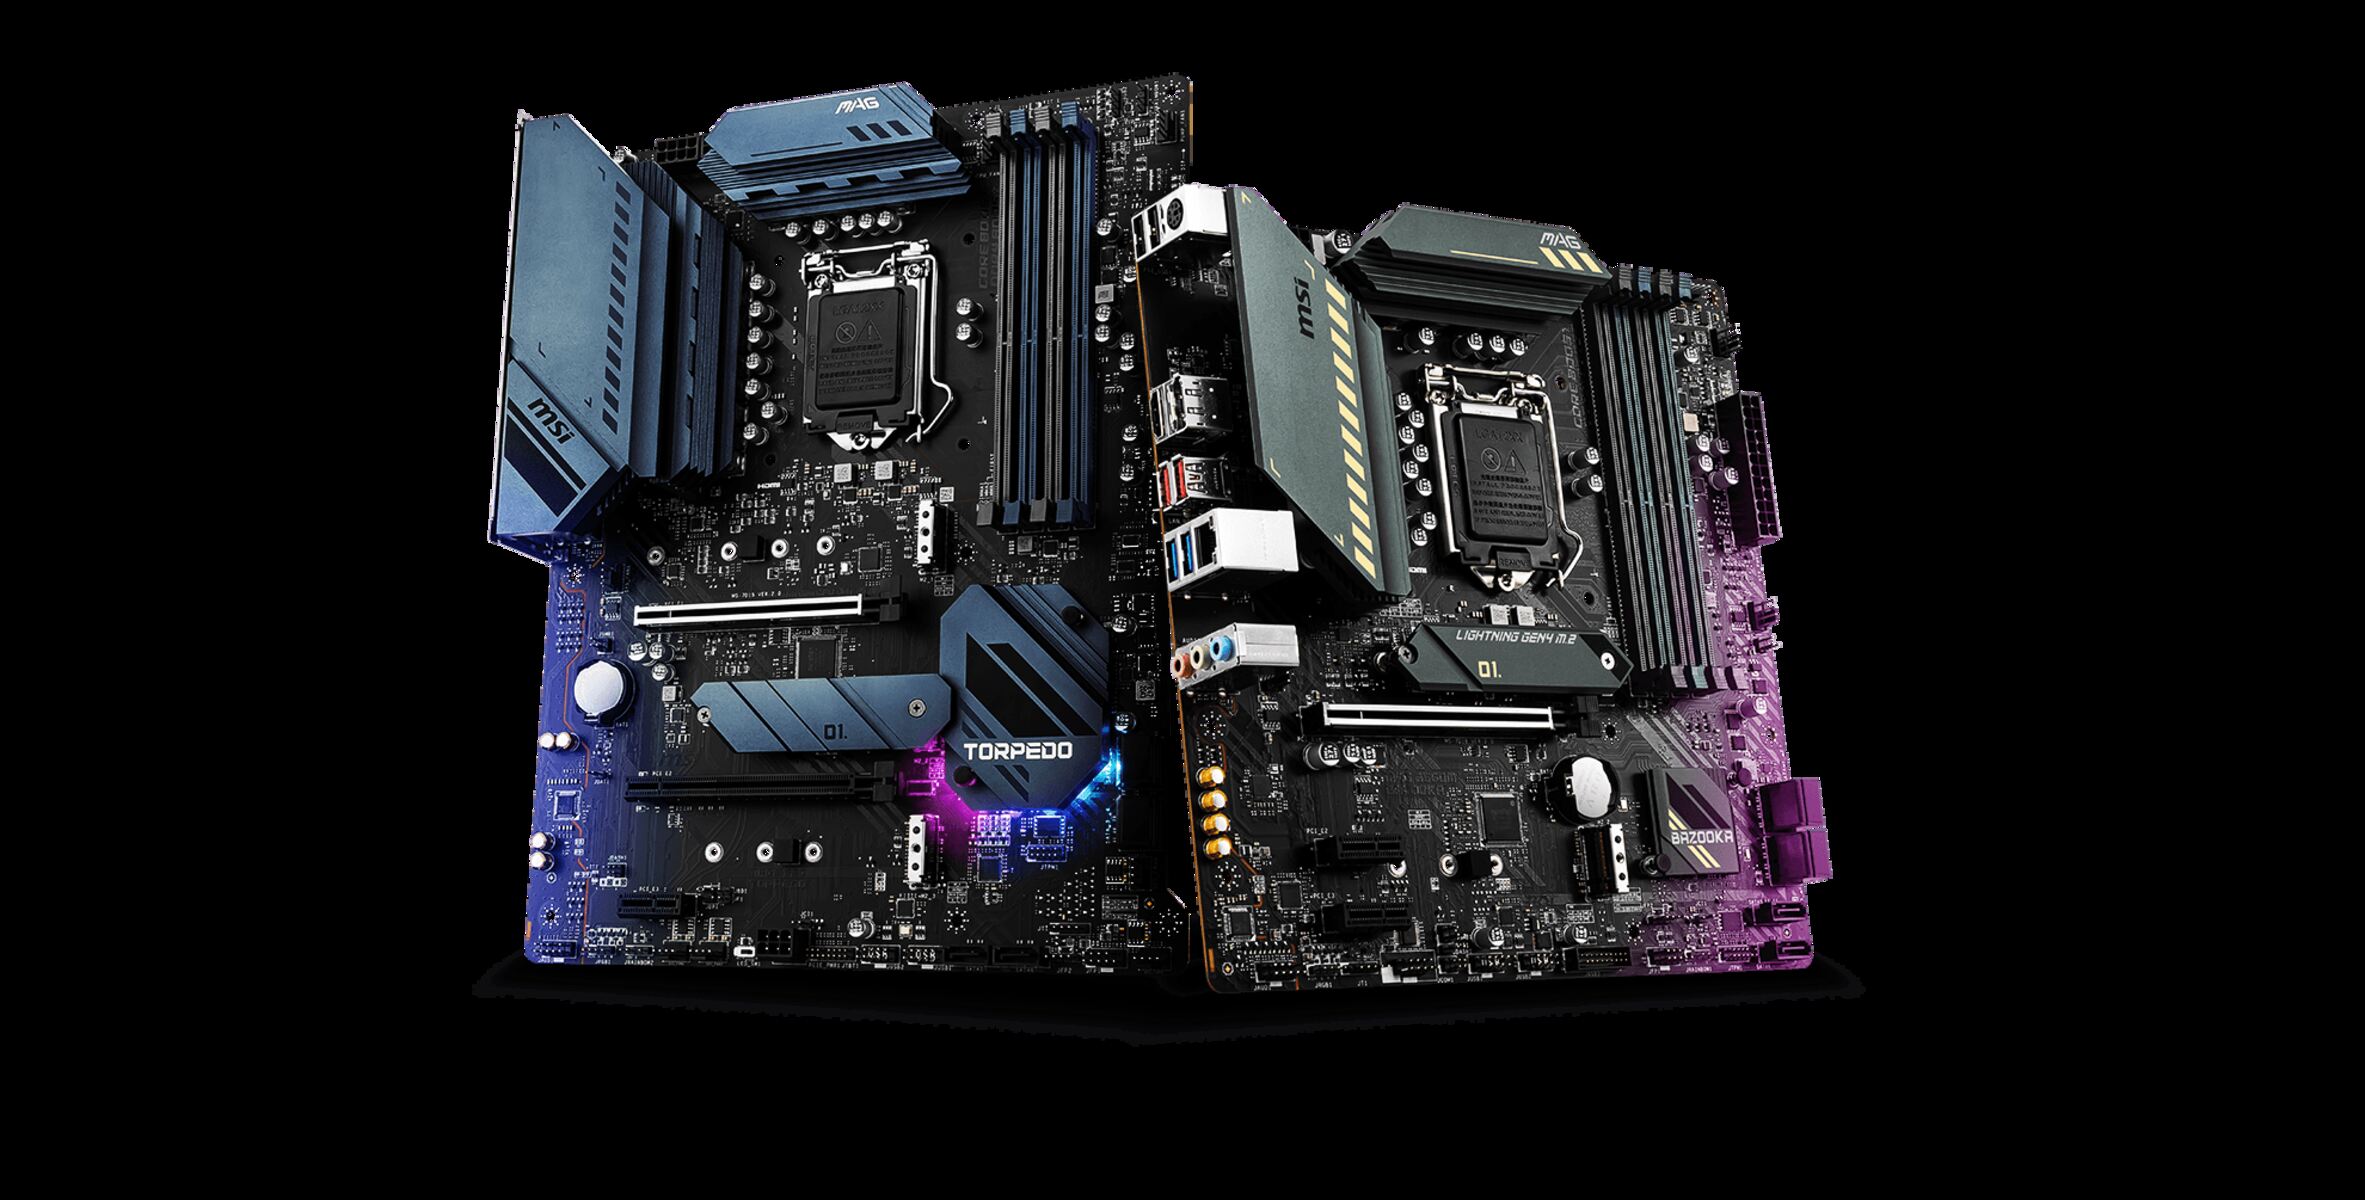
1. Compatibility: Check the compatibility of your RAM modules with your motherboard and CPU. Not all RAM modules and motherboards are capable of overclocking, so make sure your components support overclocking before proceeding.
2. Heat Dissipation: Overclocking generates more heat, so adequate heat dissipation is crucial. Ensure that your computer has proper cooling solutions, including fans or liquid cooling, to keep the temperature of your RAM modules within acceptable limits.
3. Voltage Tolerance: Verify the voltage tolerance of your RAM. Increasing the voltage is necessary for overclocking, but exceeding the recommended limits can lead to instability or even damage. Refer to the manufacturer’s specifications to ensure you stay within safe voltage ranges.
4. System Stability: Consider the overall stability of your system. Overclocking introduces a level of instability, and if your system is already prone to crashes or instability, overclocking may exacerbate these issues. It’s advisable to have a stable system before attempting RAM overclocking.
5. Power Supply: Ensure that your power supply unit (PSU) can handle the increased power demands of overclocked RAM. Insufficient power supply can cause instability or system crashes during operation.
6. Backup: Back up important data before overclocking your RAM. While the risk of data loss is minimal, it’s always a good practice to have a backup in case any unexpected issues arise during the overclocking process.
7. Time and Patience: Overclocking requires time and patience to fine-tune settings and test for stability. Be prepared to invest time in the process, including running stability tests and tweaking settings to achieve optimal performance.
8. Warranty: Check if overclocking your RAM voids any warranty. Some manufacturers may consider overclocking as a violation of warranty terms, so make sure to understand the implications before proceeding.
By considering these factors, you can assess whether overclocking your RAM is a suitable choice for your system. If you are unsure or inexperienced with overclocking, it may be prudent to seek advice from experienced overclockers or consult professional guidance.
In the next section, we will provide you with a step-by-step guide on how to manually overclock your RAM, taking into account the factors discussed here.
Step-by-Step Guide to Manually Overclock RAM
Now that you’ve considered the important factors, let’s dive into a step-by-step guide on how to manually overclock your RAM. This guide assumes you have a basic understanding of computer hardware and BIOS/UEFI settings.
Step 1: Prepare for Overclocking
Make sure you have a stable system with updated drivers and firmware. Create a backup of your important data to ensure you can restore it if any issues arise during the overclocking process.
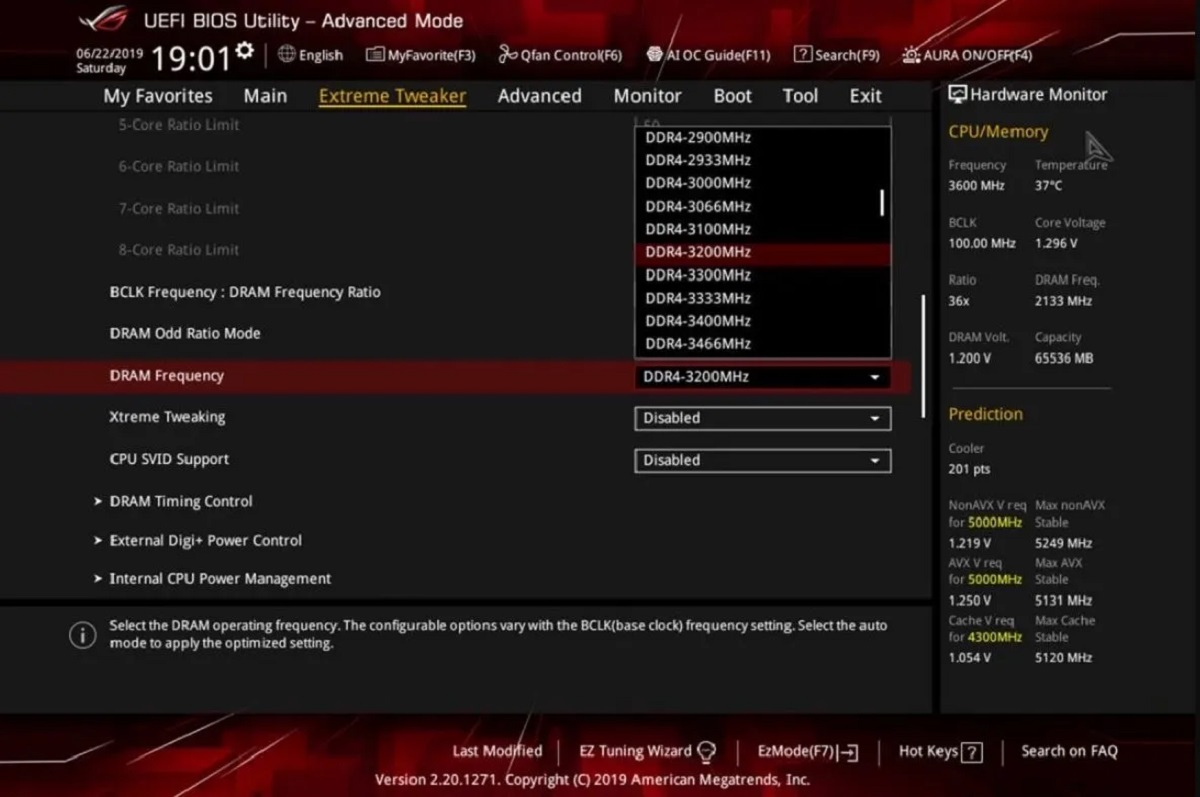
Step 2: Enter BIOS/UEFI Settings
Restart your computer and enter the BIOS/UEFI settings by pressing the appropriate key during startup (usually Del, F2, or Esc). Consult your motherboard manual or manufacturer’s website for specific instructions on how to access the settings.
Step 3: Adjust RAM Voltage
Locate the RAM voltage settings in the BIOS/UEFI settings. Increase the voltage gradually by small increments (e.g., 0.05V) to provide your RAM with the necessary power for stable overclocking. Monitor the temperature to ensure it stays within safe limits.
Step 4: Adjust RAM Frequency and Timing
Find the RAM frequency and timing settings in the BIOS/UEFI settings. Increase the frequency gradually by small increments (e.g., 100MHz) while keeping an eye on system stability. You may need to adjust timings as well, following manufacturer recommendations or experimenting for optimal performance.
Step 5: Test for Stability
Run stress tests such as MemTest86 or Prime95 to check the stability of your overclocked RAM. If errors or crashes occur, go back to the previous settings and reduce the overclock. Continue testing until you find a stable configuration.
Step 6: Monitor Temperatures
Keep an eye on the temperatures of your RAM and other components during stress testing. High temperatures can indicate inadequate cooling. Consider adjusting cooling solutions or reducing the overclock if temperatures exceed safe limits.
Step 7: Document Your Settings
Once you have achieved a stable overclock, document your settings for future reference. Note the voltage, frequency, and timings that worked best for your system. This will help you revert to stable settings in case you need to reset your BIOS/UEFI or make changes later.
Remember, every system is unique, and what works for one may not work for another. Experimentation and fine-tuning are key to finding the optimal settings for your particular hardware configuration.
It’s important to mention that overclocking introduces some level of risk, and proper precautions should be taken. Ensure you understand the limitations of your hardware, monitor temperatures, and always proceed with caution.
In the next section, we will discuss stability testing and common troubleshooting techniques when overclocking your RAM.
Preparing for Overclocking
Before you begin the process of overclocking your RAM, it’s important to make adequate preparations to ensure a smooth and successful overclock. These preparations will help minimize risks and increase your chances of achieving a stable and reliable overclock.
1. Gather Necessary Information:
Start by researching your specific RAM model and its overclocking potential. Check the manufacturer’s specifications and online forums to gather information and user experiences related to overclocking your RAM model. This will give you insights into the recommended voltage range, maximum frequency, and timing settings.
2. Ensure Sufficient Cooling:
Overclocking generates additional heat, which can potentially lead to instability or even damage to your RAM. Ensure that your computer’s cooling system is capable of handling the increased heat generated during overclocking. Consider installing additional case fans or a liquid cooling solution to maintain optimal temperatures.
3. Verify Hardware Compatibility:
Check the compatibility of your RAM modules with your motherboard and CPU. Ensure that they are capable of supporting overclocking before proceeding. Consult the manufacturer’s documentation or their website to confirm compatibility between your components.
4. Update Firmware and Drivers:
Make sure to update your motherboard firmware or BIOS to the latest version. Updated firmware often provides improved stability and may include specific settings related to overclocking. Additionally, ensure that you have the latest drivers installed for your motherboard and other relevant hardware components.
5. Back Up Important Data:
Prior to overclocking, back up any critical data on your computer. While the risk of data loss during the overclocking process is relatively low, unforeseen issues can sometimes arise. Having a backup ensures that you can restore your important files in case of any unexpected issues or instability during the overclock.
6. Understand BIOS/UEFI Settings:
Familiarize yourself with the BIOS/UEFI settings of your motherboard. Each motherboard manufacturer may have slightly different interfaces and settings, so take the time to understand how to navigate through the BIOS/UEFI and locate the relevant settings for overclocking your RAM.
By following these preparatory steps, you can approach the overclocking process with confidence and a higher chance of success. Remember that overclocking carries some level of risk, and it’s important to proceed cautiously and take necessary precautions to ensure the stability and longevity of your system.
Adjusting RAM Voltage
When overclocking your RAM, adjusting the voltage is an important step to provide the necessary power for stable operation at higher frequencies. However, it’s essential to approach this step with caution, as excessive voltage can lead to instability or even damage to your RAM modules. Here’s a step-by-step guide on how to adjust the RAM voltage:
1. Enter BIOS/UEFI Settings:
Restart your computer and enter the BIOS/UEFI settings by pressing the appropriate key during startup (usually Del, F2, or Esc). Consult your motherboard manual or manufacturer’s website for specific instructions on how to access the settings.
2. Locate Voltage Settings:
Navigate through the BIOS/UEFI settings to find the voltage settings for your RAM. Look for options labeled “DRAM Voltage” or similar. Note that the exact naming and location of these settings may vary depending on the motherboard model and BIOS/UEFI version.
3. Increase Voltage Gradually:
Once you’ve located the voltage settings, increase the voltage gradually by small increments (e.g., 0.05V). Start with a conservative increase to provide your RAM with a slight voltage boost without jumping to excessive levels. It’s important to strike a balance between providing enough voltage for stability and avoiding unnecessary stress on the RAM modules.
4. Monitor System Stability:
After adjusting the voltage, save your settings and exit the BIOS/UEFI. Boot into your operating system and monitor the system for stability. Run stress tests, such as MemTest86 or Prime95, to check for any errors, crashes, or instability. If issues arise, reduce the voltage to the previous stable setting.
5. Repeat Adjustments if Necessary:
If the system remains stable after the voltage increase, you can continue to gradually raise the voltage in small increments until you reach the desired overclocking stability. However, be mindful of the recommended voltage range provided by the RAM manufacturer to avoid exceeding safe limits.
6. Monitor Temperatures:
Throughout the overclocking process, make sure to monitor the temperatures of your RAM modules and other system components. Increased voltage can generate more heat, so ensure that your cooling solution is sufficient to keep temperatures within safe limits.
Remember that every system is unique, and what works for one may not work for another. It’s crucial to experiment, test for stability, and find the optimal voltage settings for your specific hardware configuration. Proceed with caution, document your changes, and always keep an eye on system temperatures to ensure a safe and stable overclock.
Adjusting RAM Frequency
Adjusting the RAM frequency is a key component of overclocking your RAM as it directly impacts the speed at which data can be read from and written to memory. By increasing the frequency, you can achieve faster data transfer rates and potentially improve overall system performance. Here’s a step-by-step guide on how to adjust the RAM frequency:
1. Enter BIOS/UEFI Settings:
Restart your computer and enter the BIOS/UEFI settings by pressing the appropriate key during startup (usually Del, F2, or Esc). Consult your motherboard manual or manufacturer’s website for specific instructions on how to access the settings.
2. Locate Frequency Settings:
Navigate through the BIOS/UEFI settings to find the frequency settings for your RAM. Look for options labeled “DRAM Frequency” or something similar. Note that the exact naming and location of these settings may vary depending on the motherboard model and BIOS/UEFI version.
3. Increase Frequency Gradually:
Once you’ve located the frequency settings, increase the frequency gradually by small increments (e.g., 100MHz). Start with a conservative increase to ensure stability. It’s important to strike a balance between higher frequencies and system stability.
4. Adjust Timings if Necessary:
When you increase the RAM frequency, you may need to adjust the timings to maintain stability. RAM timings refer to the delays and settings that control how memory functions. These settings are also found in the BIOS/UEFI settings, often labeled as “DRAM timings” or similar. Consult the RAM manufacturer’s specifications for recommended timings, or experiment with slight adjustments for improved performance.
5. Monitor System Stability:
After adjusting the frequency and timings, save your settings and exit the BIOS/UEFI. Boot into your operating system and monitor the system for stability. Run stress tests, such as MemTest86 or Prime95, to check for any errors, crashes, or instability. If issues arise, reduce the frequency or revert to previous stable settings.
6. Repeat Adjustments and Testing:
If the system remains stable after the frequency increase, you can continue to gradually raise the frequency in small increments until you reach the desired overclocking stability. However, be aware that higher frequencies may require increased voltage and can lead to higher temperatures, so monitor these aspects carefully.
7. Document Your Settings:
Once you have achieved a stable frequency overclock, document your settings for future reference. Note the frequency, timings, and any other relevant adjustments that worked best for your system. This will help you revert to stable settings or make changes in the future.
Remember that overclocking entails some level of risk, and not all systems or RAM modules can handle significant frequency increases. It’s important to experiment, test for stability, and find the optimal frequency settings for your specific hardware configuration. Proceed with caution, monitor temperatures, and ensure adequate cooling to maintain stability during the overclocking process.
Overclocking Stability Testing
Stability testing is a critical step in the process of overclocking your RAM. It helps ensure that your system can handle the increased voltage, frequency, and timings without encountering crashes, errors, or other stability issues. Here’s a guide on how to test the stability of your overclocked RAM:
1. MemTest86:
MemTest86 is a popular software tool specifically designed to test the stability of your RAM. It runs comprehensive memory tests and identifies any errors or issues. Download MemTest86 from its official website and create a bootable USB drive or CD using the provided instructions. Restart your computer with the bootable drive and let MemTest86 conduct multiple passes of memory tests. If errors occur, it indicates instability, and you may need to adjust your overclocked settings.
2. Prime95:
Prime95 is a stress testing utility that can help identify system stability issues caused by overclocking. It puts a heavy load on both the CPU and RAM, which can reveal any instability in your overclocked settings. Download Prime95 from its official website and run the “Blend” test, which stresses both the CPU and RAM simultaneously. Monitor the system for any errors, crashes, or unexpected behavior. If stability issues arise, you may need to further fine-tune your overclocked settings.
3. Real-World Testing:
Performing real-world tasks that put a strain on your system can also help identify stability issues. This can include running resource-intensive applications, rendering videos, or playing demanding games for an extended period. Observe the system for crashes, freezes, or any other indications of instability. If issues arise, it may be necessary to adjust your overclocked settings accordingly.
4. Temperature Monitoring:
Throughout the stability testing process, closely monitor the temperatures of your CPU and RAM modules. Overclocking generates more heat, and excessive temperatures can lead to instability. Use software utilities like HWMonitor or Core Temp to monitor the temperatures and ensure they remain within safe limits. If temperatures exceed acceptable thresholds, consider improving your cooling solution or dialing back your overclocked settings.
5. Incremental Adjustments:
If you encounter stability issues during testing, make incremental adjustments to your overclocked settings. Fine-tune the voltage, frequency, or timings by small increments and retest for stability each time. Document your changes, allowing you to revert to previously stable settings if necessary.
Remember that stability testing is an ongoing process. Even if your system appears stable after initial testing, it’s advisable to periodically run stability tests to ensure the long-term stability of your overclocked RAM. Finding the perfect balance between performance and stability may require multiple iterations of testing and adjustments.
If you consistently encounter instability issues despite making adjustments, it might indicate that your chosen overclock settings are not compatible with your hardware. In such cases, it’s recommended to revert to the default settings or consult with experienced overclockers for further guidance.
Troubleshooting Overclocking Issues
Overclocking your RAM can sometimes lead to various issues such as instability, crashes, or unexpected behavior. When encountering these issues, it’s important to troubleshoot and identify the root cause to achieve a stable and successful overclock. Here are some common troubleshooting steps to help you address overclocking issues:
1. Revert to Default Settings:
If you experience instability or other issues after overclocking your RAM, the first step is to revert to the default settings. Reset your BIOS/UEFI settings to their original values and check if the system stabilizes. This will help determine if the overclocking settings were the cause of the problem.
2. Adjust Voltage:
If stability issues persist, you may need to adjust the RAM voltage. Try increasing or decreasing the voltage by small increments to find the optimal value for stability. Monitor the system for any improvements or changes in stability while adjusting the voltage. Keep in mind not to exceed manufacturer-recommended or safe voltage limits.
3. Fine-Tune Frequency and Timings:
Unstable overclocks can also be due to an excessively high RAM frequency or incorrect timings. Consider lowering the frequency or adjusting the timings to more conservative values. Test for stability after each adjustment to identify the optimal settings that work best for your system.
4. Test RAM Modules Individually:
If you suspect that one or more RAM modules may be causing instability, you can try testing each module individually. Remove all but one RAM module and test it with a stability test, such as MemTest86. If errors occur, that specific module may be faulty. Repeat the process with each module to identify the problematic one. Replace the faulty module or consider running your system with the stable modules.
5. Improve Cooling Solution:
Overclocked RAM can generate more heat. If you’re experiencing stability issues, it may be caused by overheating. Ensure that your cooling solution is adequate and that there is proper airflow within your system. Consider adding additional fans, improving your CPU cooler, or ensuring proper cable management within the case.
6. Update BIOS/UEFI and Drivers:
Ensure that your motherboard’s BIOS or UEFI firmware is up to date as newer versions often include stability improvements. Similarly, update your motherboard and other relevant component drivers to the latest versions. Sometimes, compatibility issues or bugs within the firmware or drivers can contribute to instability.
7. Seek Professional Help:
If you’ve tried troubleshooting the overclocking issues on your own without success, consider seeking assistance from experienced overclockers or professionals. They may be able to provide additional insight, guidance, or specific recommendations based on their experience and knowledge.
Remember that overclocking carries some level of risk, and not all scenarios can be resolved with troubleshooting alone. In some cases, specific hardware limitations or incompatibilities may prevent achieving a stable overclock. Always proceed cautiously, document any changes made, and be prepared to revert to default settings if necessary.
Conclusion
Congratulations! You have reached the end of our guide on how to manually overclock RAM. We have covered the basics of RAM overclocking, discussed why it can be beneficial, and provided you with a step-by-step guide to help you overclock your RAM successfully.
RAM overclocking can offer significant performance boosts by increasing data transfer rates, enhancing multitasking capabilities, and improving overall system responsiveness. However, it’s important to approach overclocking with caution and consider various factors such as compatibility, heat dissipation, system stability, and power supply before proceeding.
Throughout the overclocking process, it’s essential to monitor temperatures, perform stability testing, and make incremental adjustments to voltage, frequency, and timings to achieve stable and reliable overclocked settings. Remember that overclocking is an iterative process that requires experimentation, testing, and fine-tuning to find the optimal balance between performance and stability for your specific hardware configuration.
If you encounter any stability issues or unexpected behavior during the overclocking process, we have provided troubleshooting steps to help you address these issues and achieve a stable overclock. It’s crucial to revert to default settings, adjust voltage, fine-tune frequency and timings, and ensure proper cooling to resolve any instability concerns.
However, it’s important to note that overclocking carries some level of risk and may void warranties of certain components. Proceed with caution, understand the limitations of your hardware, and always prioritize the stability and longevity of your system.
We hope that this guide has provided you with the necessary knowledge and confidence to embark on your RAM overclocking journey. Remember to conduct thorough research, stay informed about your specific RAM and motherboard compatibility, and follow proper precautions throughout the process.
Happy overclocking and enjoy the enhanced performance of your RAM!