Introduction
Welcome to the world of XMP RAM, a cutting-edge technology that takes your computer’s performance to new heights. In today’s fast-paced digital age, having a powerful and responsive computer is essential for efficiency and productivity. With XMP RAM, you can experience lightning-fast speeds and fluid multitasking like never before.
XMP, short for eXtreme Memory Profile, is an Intel-developed technology that allows computer enthusiasts and gamers to unlock the full potential of their RAM modules. Traditional RAM modules operate at standard frequencies and timings, but XMP RAM lets you overclock your memory, pushing it beyond its default settings for enhanced performance.
Gone are the days when RAM was simply a means to store and retrieve data. XMP RAM revolutionizes the way RAM interacts with your computer, unleashing its true capabilities. Whether you’re a gamer craving a seamless gaming experience, a professional working with resource-intensive applications, or a content creator looking to optimize rendering times, XMP RAM can give you the edge you need.
In this article, we will explore what XMP RAM is, how it works, the benefits it offers, compatibility requirements, and how it compares to regular RAM. We will also learn how to enable XMP in the computer’s BIOS settings, discuss overclocking with XMP RAM, and provide some tips for choosing the right XMP RAM.
So, if you’re ready to supercharge your computer’s performance and take it to the next level, let’s dive into the exciting world of XMP RAM.
What is XMP RAM?
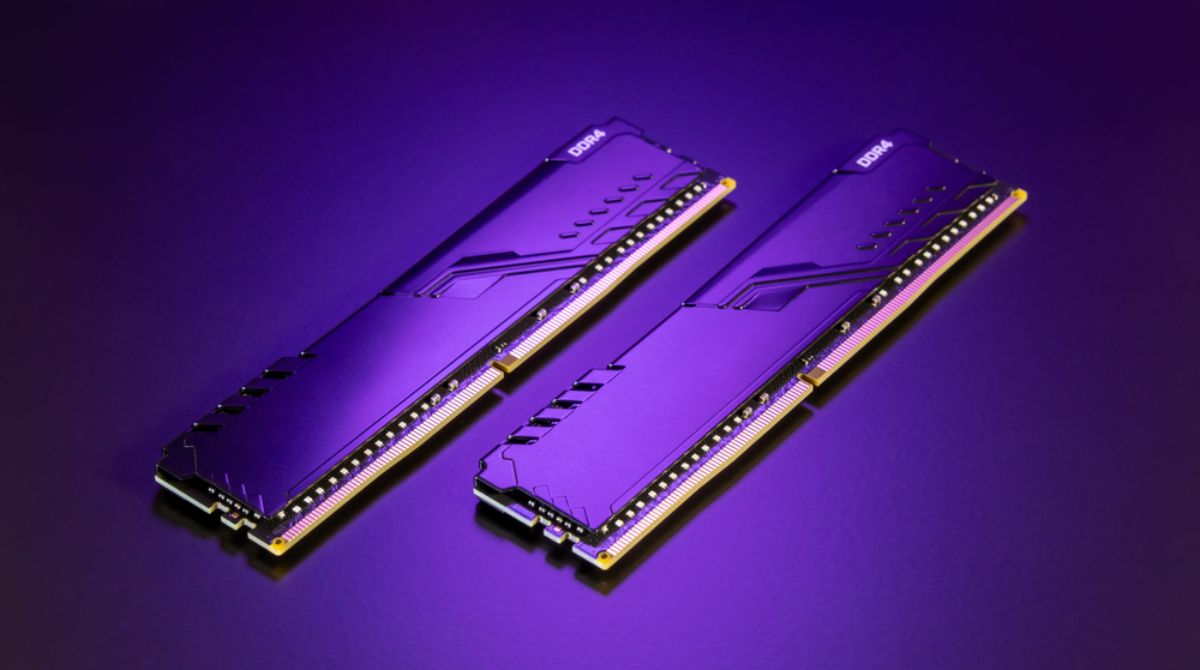
XMP RAM, or eXtreme Memory Profile RAM, is a type of computer memory that can be overclocked to achieve higher performance levels than standard RAM modules. It is a technology developed by Intel to allow users to unleash the full potential of their RAM and optimize system performance.
Unlike traditional RAM modules that operate at standard frequencies and timings, XMP RAM allows the user to adjust these settings to achieve faster speeds and lower latencies. Essentially, XMP RAM enables users to push their memory modules beyond their default settings to achieve better performance in various applications and tasks.
Overclocking, in the context of XMP RAM, refers to increasing the frequency at which the memory operates. By increasing the clock speed, data transfer rates and overall system responsiveness can be improved. However, it’s important to note that not all RAM modules are capable of running at higher frequencies, and the success of overclocking depends on various factors, including the quality of the RAM itself and the compatibility of the motherboard.
Enabling XMP on your computer allows your system to read the overclocking settings stored on the RAM, ensuring that it runs at the desired frequency and timings. This simple configuration change can significantly enhance your computer’s performance, making it ideal for gaming, video editing, rendering, and multitasking.
It’s worth mentioning that XMP RAM is primarily designed for enthusiasts and power users who are willing to fine-tune their system for optimal performance. If you’re not familiar with hardware overclocking or do not require the extra boost in performance, regular RAM modules will serve you well for everyday computing tasks.
In the next section, we will explore how XMP RAM works and delve deeper into its benefits.
How Does XMP RAM Work?
XMP RAM operates by allowing users to customize the operating frequency and timings of their memory modules, pushing them beyond their default settings. These customized settings are stored in the XMP profile, which is embedded in the memory module itself. When XMP is enabled in the computer’s BIOS settings, the system reads these profiles and applies the specified overclocked settings to the RAM.
The XMP profile contains information such as the desired frequency, voltage, and timings for the RAM module. The manufacturer optimizes these settings to ensure stability and performance, and they can vary depending on the specific RAM module and its capabilities. It’s important to note that enabling XMP does not guarantee successful overclocking, as it also depends on the motherboard’s compatibility and the quality of the RAM modules.
When the XMP profile is enabled, the computer’s BIOS adjusts the memory controller settings to match the specified frequency and timings. This adjustment allows the RAM modules to operate at higher speeds, resulting in improved data transfer rates and reduced latency. Faster memory speeds can have a significant impact on system performance, especially in tasks that rely heavily on memory, such as gaming, video editing, and 3D rendering.
It’s essential to ensure that the XMP profile settings are compatible with the other components in your system, particularly the motherboard. Some motherboards may have limitations on the supported RAM frequencies or may require manual tweaking of settings to achieve stability. It’s recommended to consult the motherboard’s manual or visit the manufacturer’s website for compatibility information before enabling XMP.
In certain cases, XMP profiles may include multiple options, such as different frequency levels or timings. This allows users to choose the desired level of overclocking based on their specific requirements and the capabilities of their system. Experimenting with different settings can help find the optimal balance between performance and stability.
Overall, XMP RAM provides users with the flexibility to push their memory modules beyond their default settings and harness the full potential of their computer. In the next section, we will explore the benefits of using XMP RAM and how it can enhance your computing experience.
Benefits of XMP RAM
XMP RAM offers several benefits that can greatly enhance your computer’s performance and overall user experience. Here are some of the key advantages of using XMP RAM:
1. Increased Performance: One of the primary benefits of XMP RAM is the ability to achieve higher memory speeds. By overclocking the RAM modules, you can experience faster data transfer rates, reduced latency, and improved system responsiveness. This is particularly beneficial in tasks that involve heavy multitasking, gaming, video editing, and 3D rendering.
2. Seamless Gaming: Gamers can greatly benefit from XMP RAM. The faster memory speeds and lower latencies can result in smoother gameplay, reduced stuttering, and faster loading times. It allows gamers to fully utilize high-resolution textures, complex shaders, and other resource-intensive gaming elements, providing a more immersive and enjoyable gaming experience.
3. Efficient Multitasking: XMP RAM enables users to handle multiple applications simultaneously with ease. The increased bandwidth and improved memory speeds allow for seamless switching between programs, reducing lag and enhancing productivity. This is particularly useful for professionals working with resource-intensive applications like video editing software, 3D modeling software, and virtual machines.
4. Optimized Content Creation: Content creators, such as video editors and graphic designers, can benefit greatly from XMP RAM. The increased memory speeds can enhance rendering and exporting times, reducing workflow bottlenecks and improving overall productivity. It allows for smoother scrubbing through high-resolution timelines and enables faster preview rendering.
5. Flexibility and Customization: XMP RAM provides users with the flexibility to fine-tune their system’s performance. The ability to adjust frequency and timings allows for customization based on specific requirements. Users can experiment with different overclocking settings to find the optimal balance between performance and stability.
6. Future-Proofing: Investing in XMP RAM ensures that your system is equipped to handle future hardware advancements. As software and applications become more demanding, having a higher-performing memory can help future-proof your system and extend its lifespan.
7. Easy Configuration: Enabling XMP RAM is a relatively straightforward process. By accessing your computer’s BIOS settings, you can enable the XMP profile and apply the desired overclocked settings. Most modern motherboards have user-friendly BIOS interfaces that make the configuration process hassle-free.
While XMP RAM offers numerous benefits, it’s important to consider the compatibility requirements and ensure that your system can handle the increased overclocking. Additionally, it’s essential to monitor the temperature and stability of your system when using XMP RAM to avoid any potential issues.
In the next section, we will discuss the compatibility and requirements for using XMP RAM in your system.
Compatibility and Requirements
Before diving into the world of XMP RAM, it’s crucial to ensure that your system meets the necessary compatibility and requirements. Here are some key factors to consider:
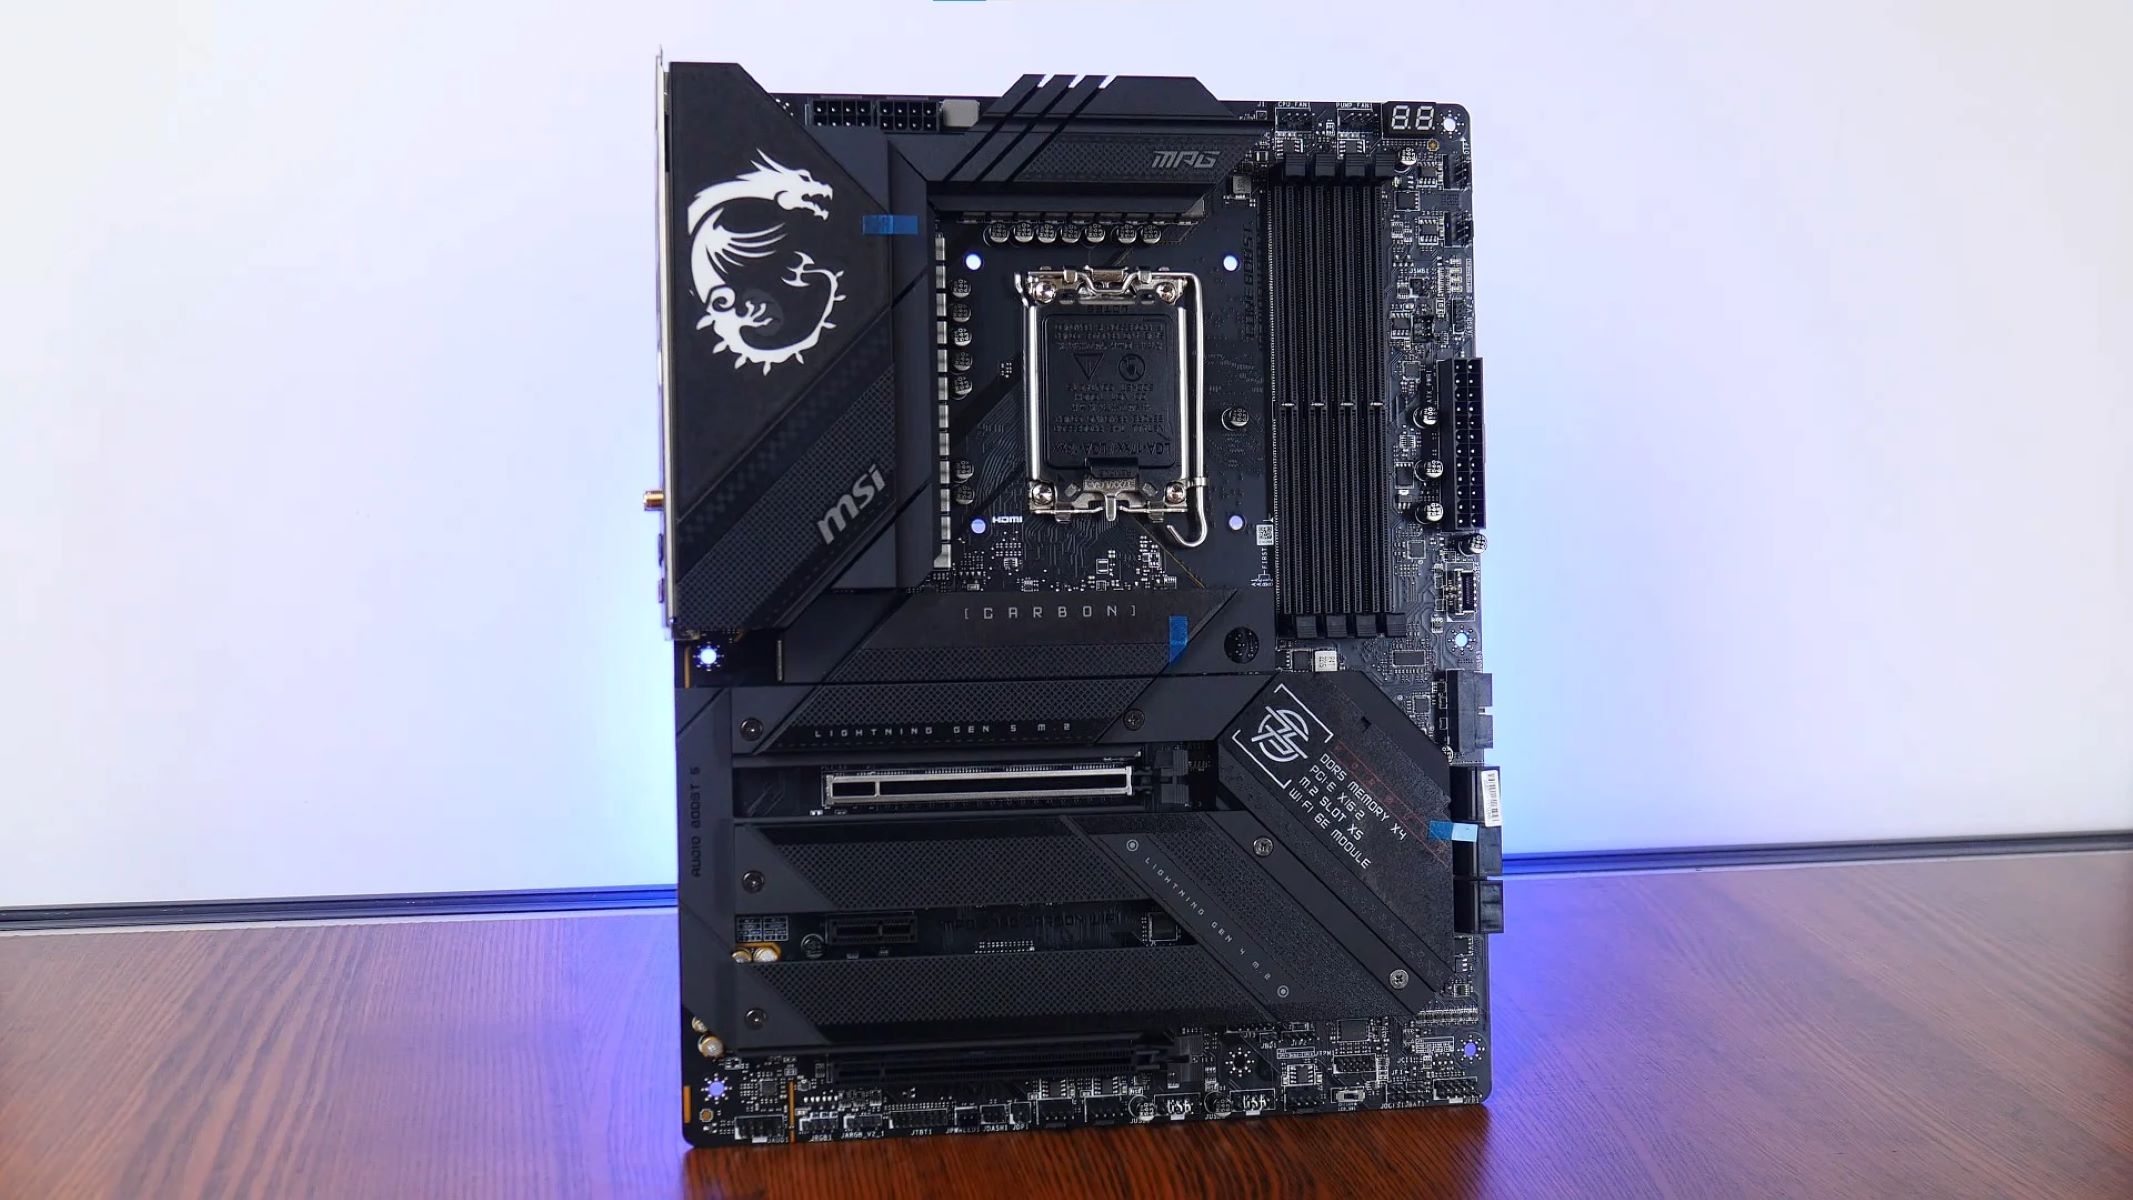
1. Motherboard Support: XMP RAM requires motherboard support to enable the XMP profile. Check your motherboard’s specifications and documentation to verify if it supports XMP profiles. Some older or entry-level motherboards may not have this feature, so it’s important to check before investing in XMP RAM.
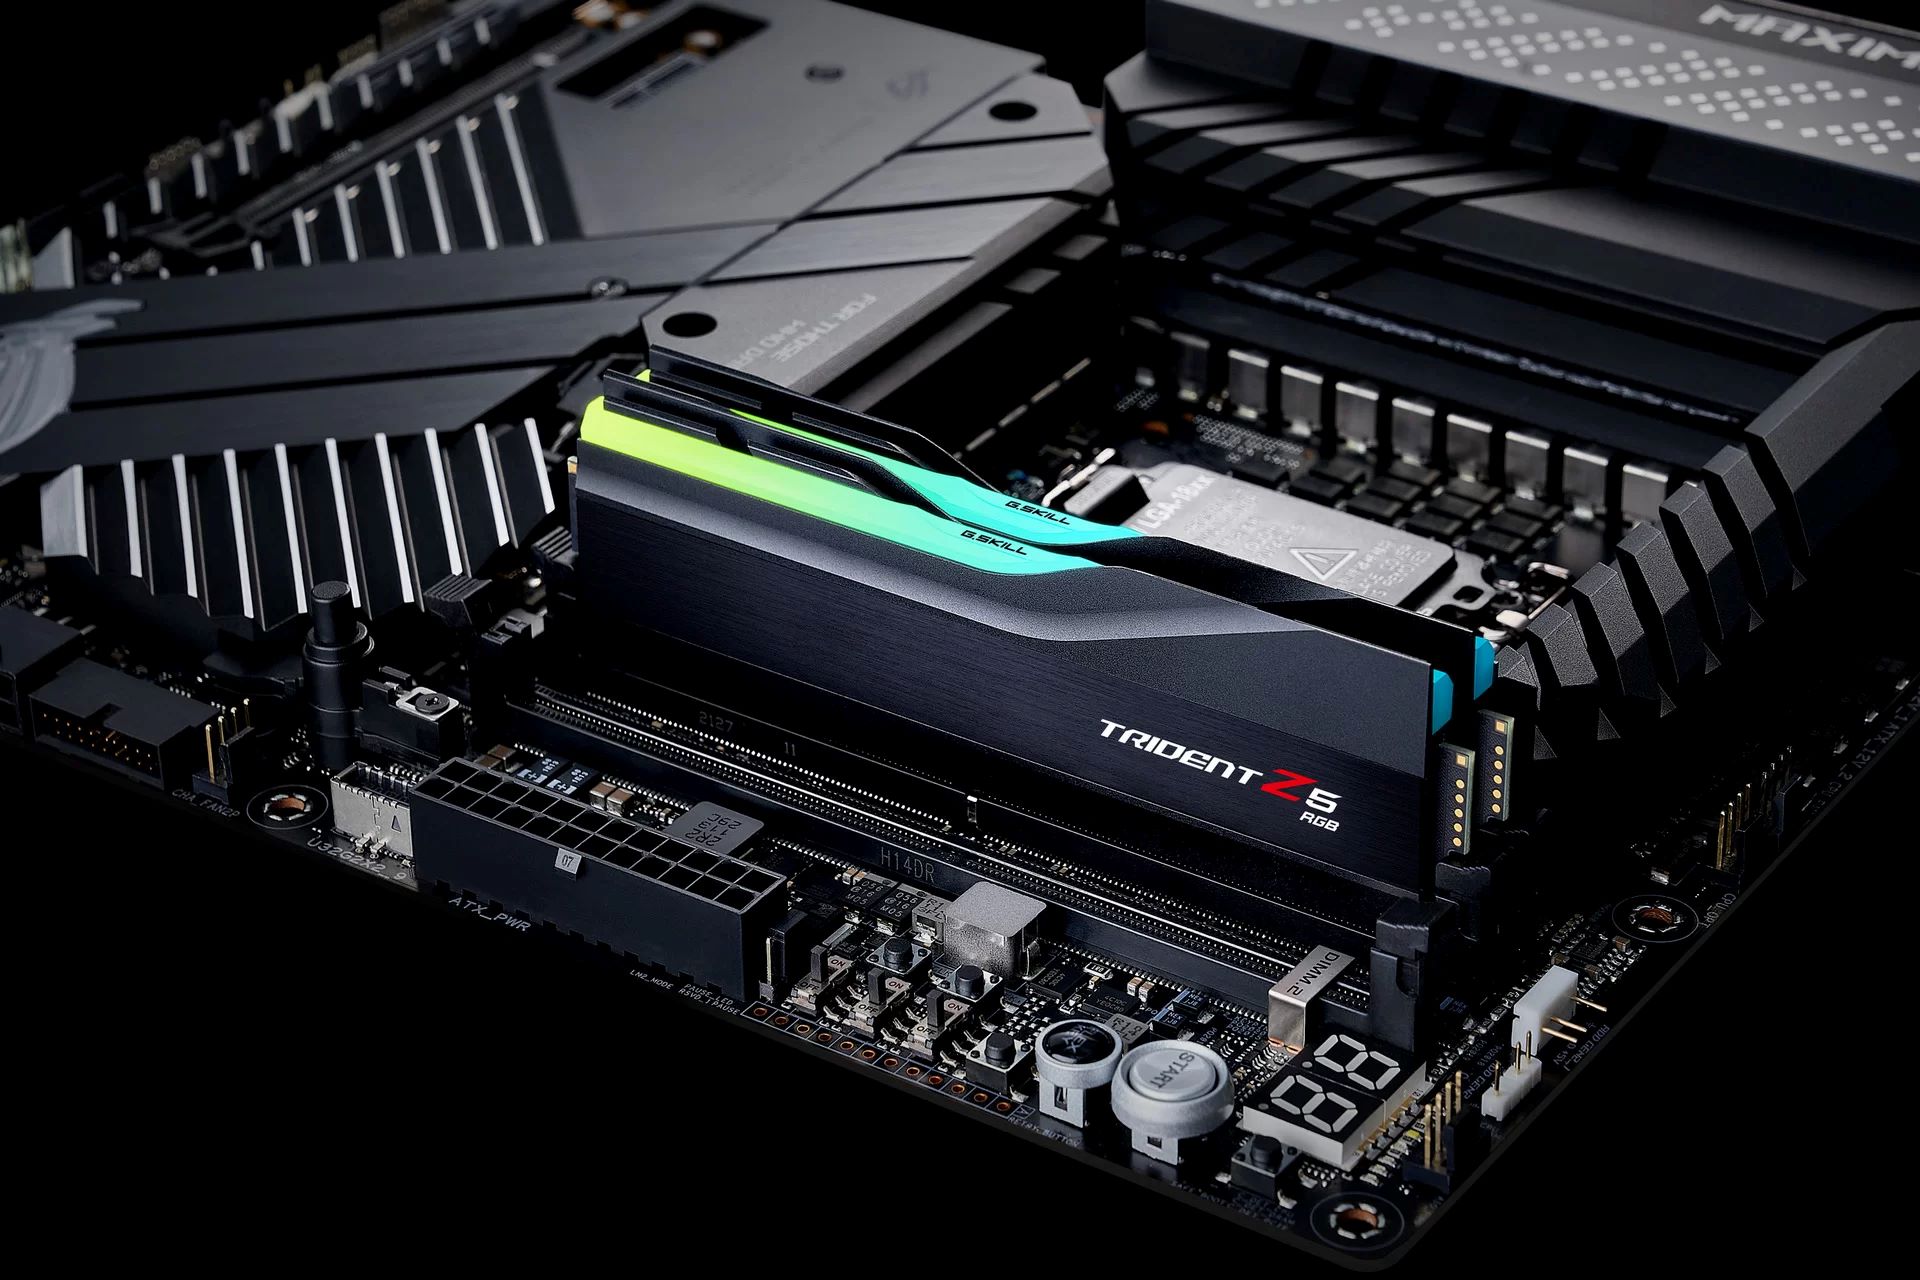
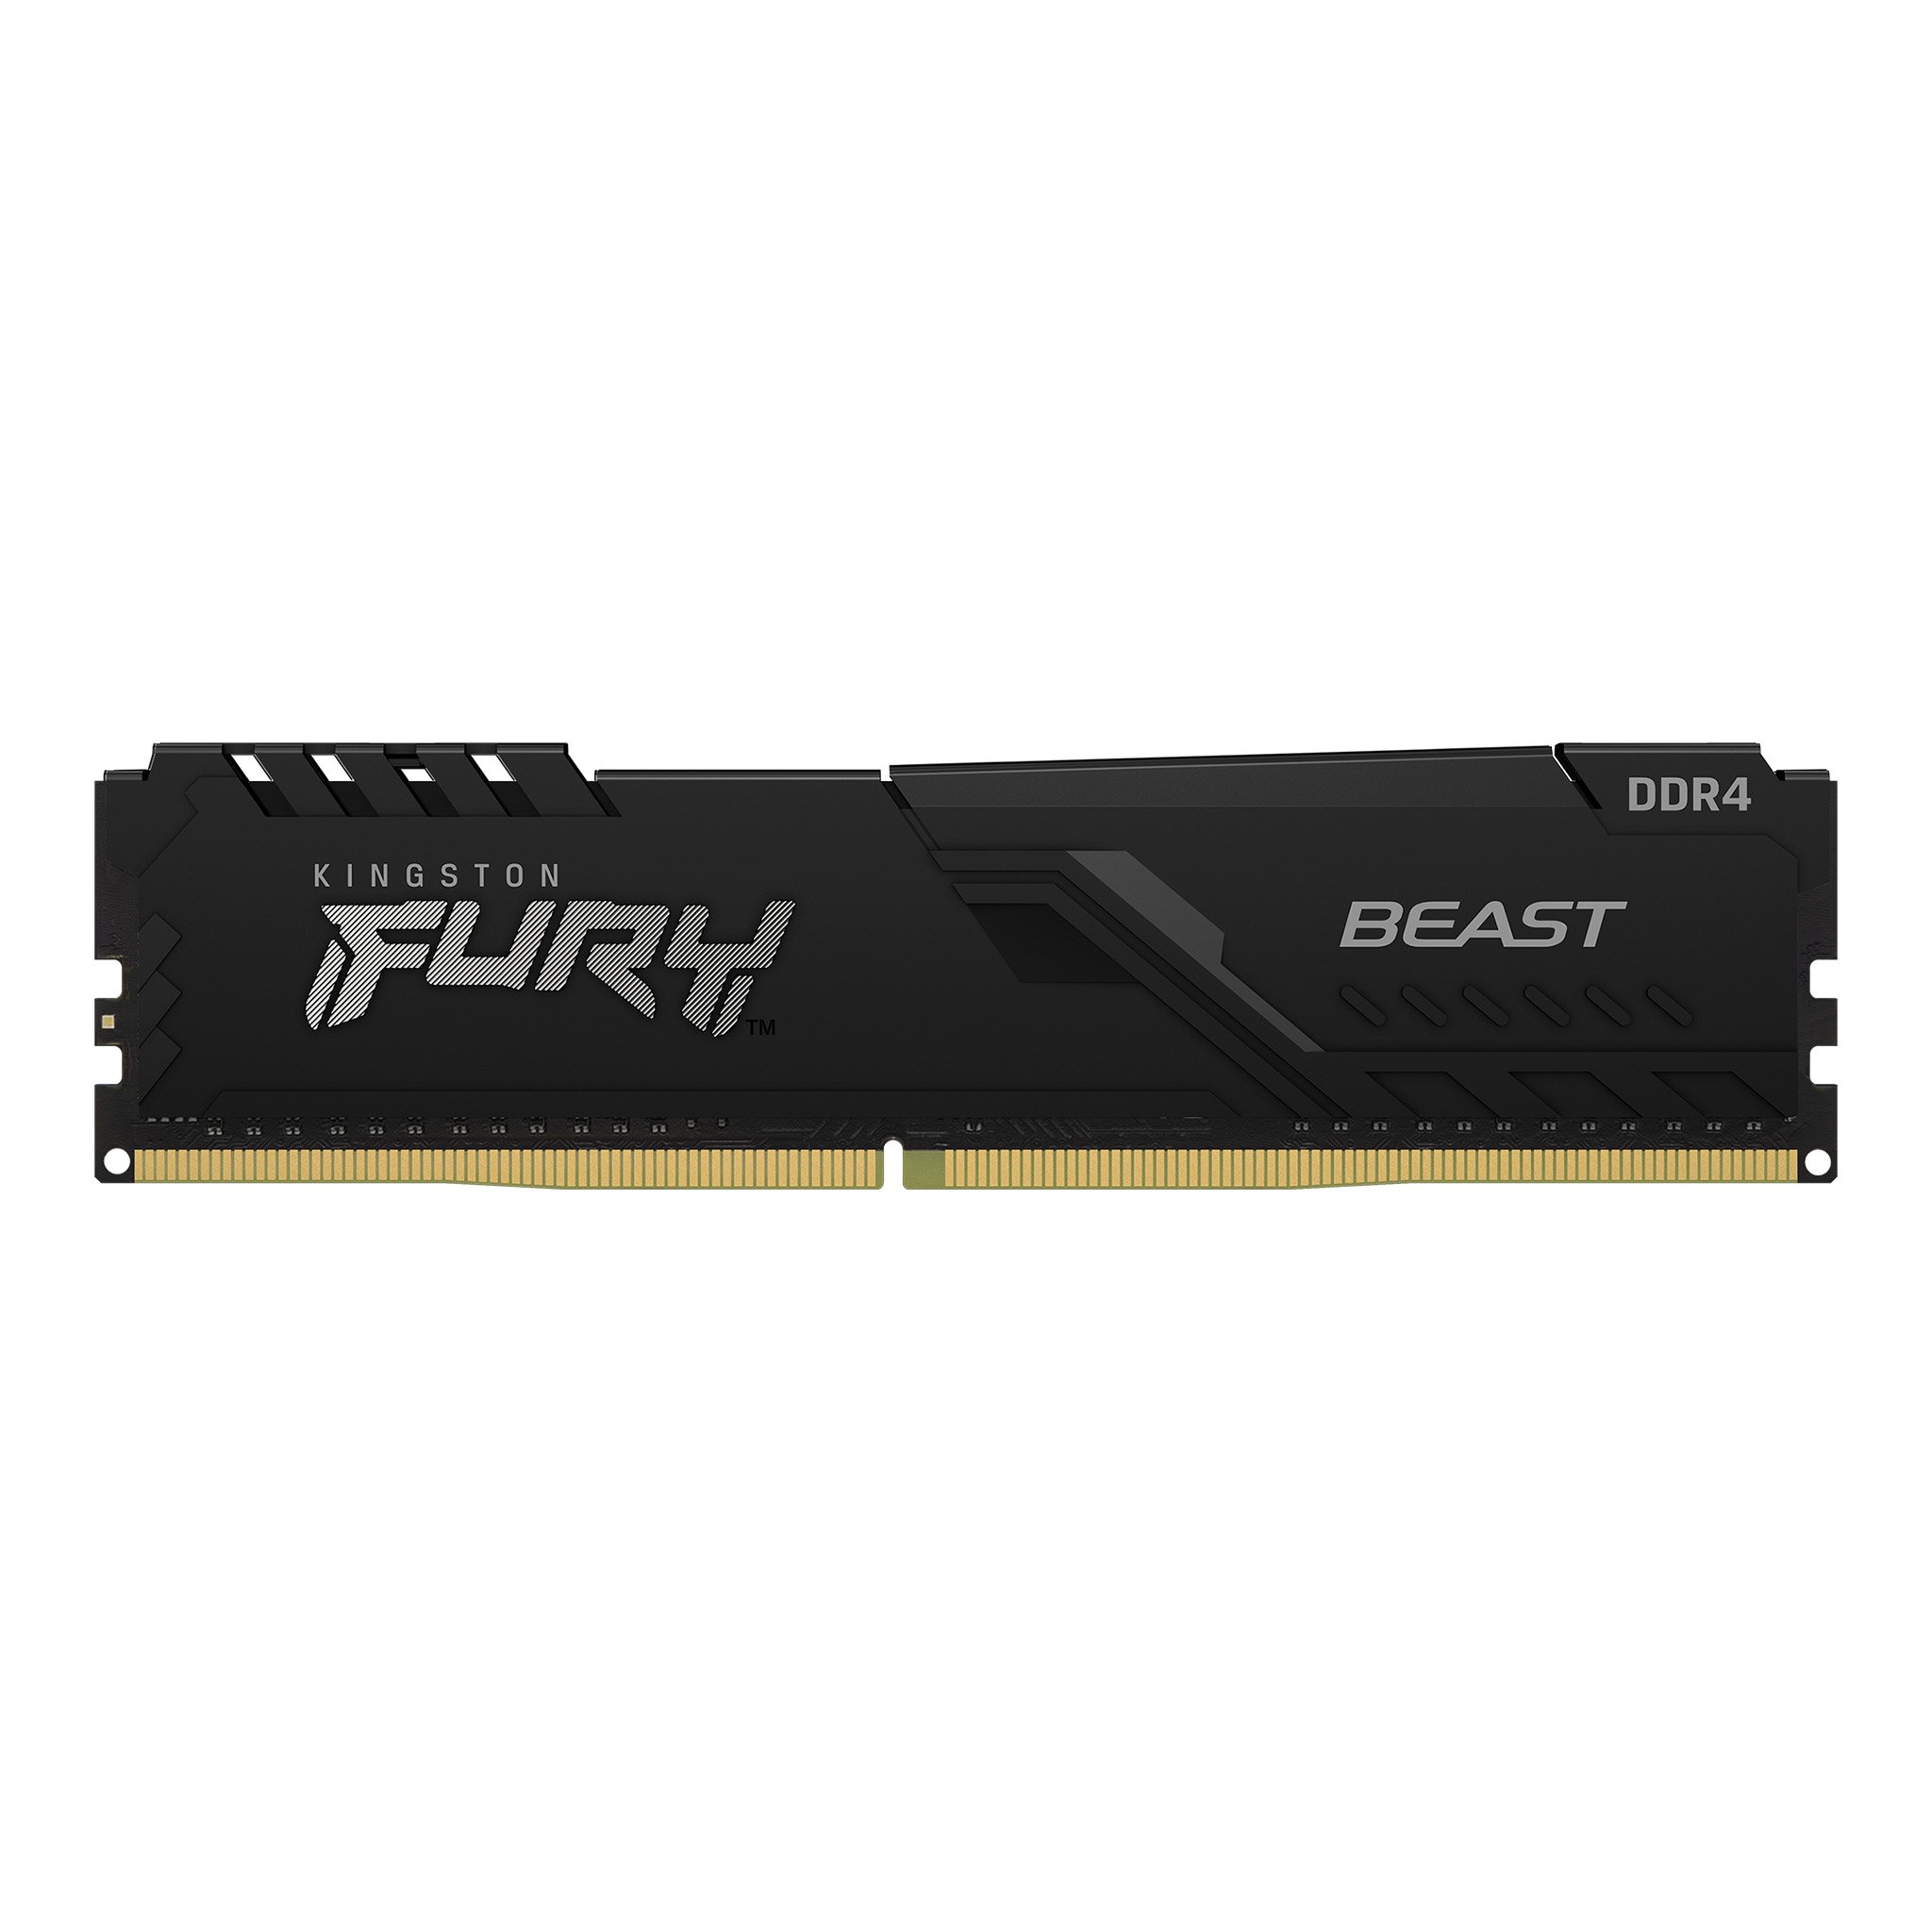
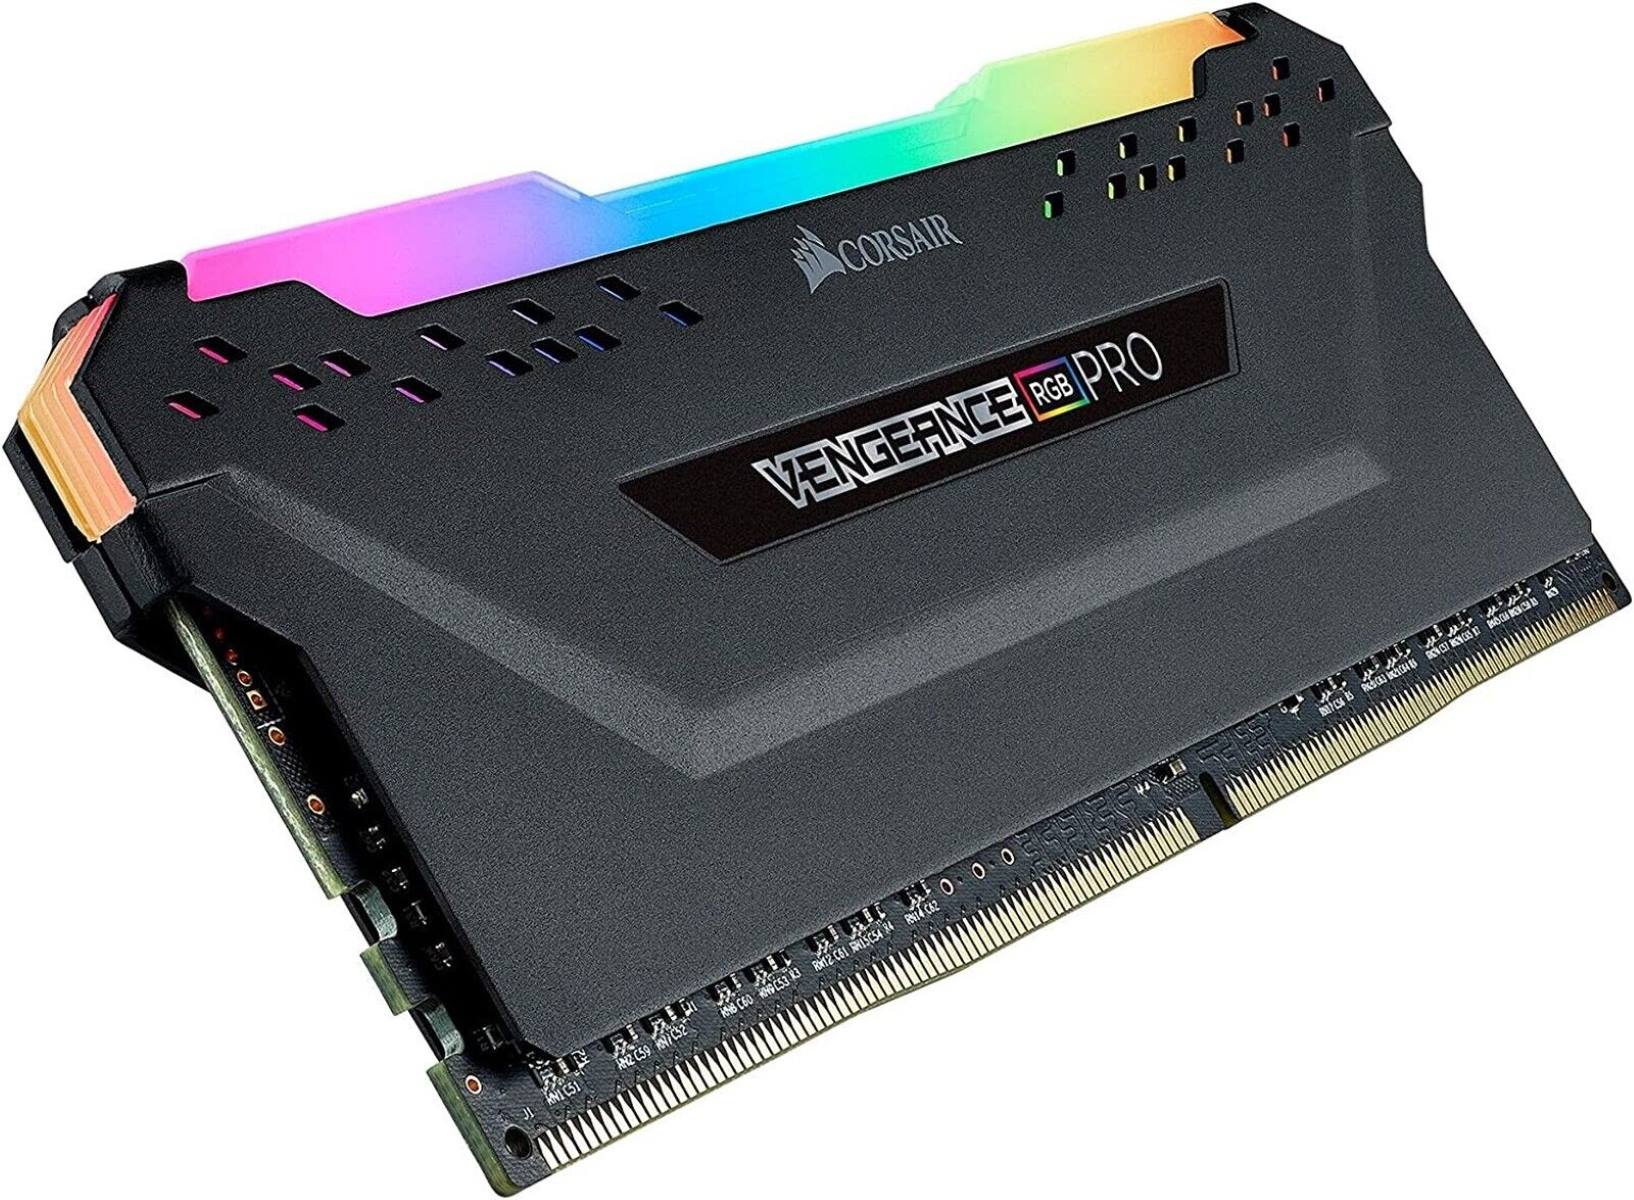
2. RAM Module Compatibility: XMP RAM is primarily designed for DDR3 and DDR4 memory modules. Ensure that your RAM modules are compatible with XMP profiles. Look for RAM modules that explicitly state XMP support in their specifications. It’s also essential to check the maximum supported frequency of your RAM modules to ensure compatibility with the desired overclocked settings.
3. Bios Update: In some cases, you may need to update your motherboard’s BIOS to ensure compatibility with XMP RAM. Check the manufacturer’s website for any available BIOS updates and follow their instructions to update the BIOS safely.
4. Power Supply: Overclocking the RAM increases power consumption. Ensure that your power supply can handle the increased load to avoid any stability issues. It’s recommended to have a power supply with a sufficient wattage rating to support the overall system’s needs.
5. Cooling: Overclocking RAM can increase heat generation. It’s important to have adequate cooling in your system to prevent overheating. Proper airflow within the case, along with CPU and GPU cooling solutions, can help maintain stable temperatures during prolonged usage.
6. System Stability: Overclocking can potentially affect system stability. It’s necessary to stress-test your system after enabling XMP RAM to ensure that it can handle the increased frequencies and timings. Use stability testing software such as Prime95 or Memtest86 to check for any potential instability or memory errors.
By considering these compatibility and requirements, you can ensure a smooth transition to XMP RAM and enjoy the benefits it offers. It’s always recommended to consult the motherboard’s manual and the RAM manufacturer’s specifications for detailed compatibility information.
In the next section, we will explore the differences between XMP RAM and regular RAM to help you understand the advantages of using XMP RAM in your system.
XMP RAM vs Regular RAM
When comparing XMP RAM and regular RAM, it’s important to understand the key differences and advantages that XMP RAM brings to the table. Here are some factors to consider:
1. Performance: XMP RAM offers higher performance compared to regular RAM. By overclocking the memory modules, XMP RAM enables faster data transfer rates and lower latencies. This results in improved system responsiveness and enhanced performance in tasks that rely heavily on memory, such as gaming, video editing, and multitasking.
2. Clock Speeds: Regular RAM modules operate at standard frequencies defined by JEDEC standards. These frequencies may not always maximize the memory module’s capabilities. On the other hand, XMP RAM allows users to manually set higher frequencies and timings, taking advantage of the overclocking potential of the RAM module.
3. Compatibility: Regular RAM modules are generally compatible with a wide range of motherboards and systems. XMP RAM, on the other hand, requires motherboard support for enabling and applying the XMP profile. It’s essential to check the compatibility of your motherboard and RAM modules to ensure successful configuration and stable operation.
4. Overclocking: XMP RAM is specifically designed for overclocking. It provides a user-friendly way to achieve higher memory speeds without delving into complex manual overclocking techniques. Regular RAM modules can also be manually overclocked, but it requires advanced knowledge and expertise in hardware overclocking.
5. Warranty and Support: XMP RAM modules often have official support and warranty from the manufacturer for running at their specified XMP profiles. Regular RAM modules may not have official support and warranty coverage if they are overclocked or operated at higher frequencies than their default settings.
6. Price: XMP RAM modules are typically priced slightly higher than regular RAM modules due to the added features and performance benefits they offer. The cost difference may vary depending on the brand, capacity, and specific specifications of the RAM modules.
It’s important to note that not all systems and users may require the performance boost provided by XMP RAM. Regular RAM modules are sufficient for everyday computing tasks and can offer stable and reliable performance. XMP RAM is primarily targeted towards enthusiasts, gamers, content creators, and users who prioritize high-performance computing.
When deciding between XMP RAM and regular RAM, consider your specific needs, budget, and the compatibility of your system. If you require enhanced performance for gaming, professional work, or resource-intensive applications, XMP RAM may be worth the investment. However, for general computing tasks, regular RAM modules are typically more than capable.
Next, we will discuss how to enable XMP in the BIOS settings to take advantage of the overclocking capabilities of XMP RAM.
How to Enable XMP in BIOS
Enabling XMP in the BIOS settings is a straightforward process that allows you to unlock the full potential of your XMP RAM modules. Here’s a step-by-step guide on how to enable XMP in your computer’s BIOS:
1. Restart your computer: Begin by restarting your computer and accessing the BIOS settings. The key to enter the BIOS may vary depending on the motherboard manufacturer, but common keys include Del, F2, F10, or F12. Refer to your motherboard’s manual or look for on-screen prompts during boot-up to identify the correct key.
2. Enter the BIOS: Once you have identified the correct key, press it repeatedly as soon as your computer starts up until the BIOS menu appears. Timing is crucial, so make sure you press the key at the right moment.
3. Navigate to the memory settings: Use the arrow keys on your keyboard to navigate through the BIOS menu. Look for options related to memory settings, frequency, or overclocking. The exact location of these settings may vary depending on the motherboard manufacturer.
4. Locate the XMP profile settings: Within the memory settings, you should find an option related to XMP or memory profiles. This option may be named differently depending on the motherboard manufacturer, such as “DRAM Configuration” or “A-XMP.” Select this option to access the XMP profile settings.
5. Select the desired XMP profile: Once in the XMP profile settings, you should see a list of available profiles for your XMP RAM modules. Typically, there will be different profiles that offer varying frequencies and timings. Choose the desired profile that matches your RAM specifications and performance requirements.
6. Save and exit: After selecting the desired XMP profile, navigate to the “Save and Exit” or “Exit” menu within the BIOS. Select the option to save the changes you’ve made and exit the BIOS configuration.
7. Restart your computer: Your computer will now restart with the XMP profile enabled. The BIOS settings will be configured to run your RAM modules at the specified frequency and timings.
It’s important to note that enabling XMP and overclocking your RAM may affect system stability. If you encounter any stability issues or unexpected behavior after enabling XMP, try using a lower XMP profile or consider consulting a hardware expert for assistance.
By following these steps, you can easily enable XMP in the BIOS settings and unleash the full potential of your XMP RAM modules. In the next section, we will explore overclocking with XMP RAM and its implications.
Overclocking with XMP RAM
Overclocking with XMP RAM allows you to push your memory modules beyond their default settings to achieve higher performance levels. When overclocking, it’s important to understand the implications and follow best practices to ensure stability and longevity. Here’s what you need to know:
1. Understand the Risks: Overclocking involves running your RAM modules at higher frequencies and timings than their default specifications. While this can result in improved performance, it can also introduce instability and potential hardware issues. Make sure you understand the risks involved and proceed with caution.
2. Start Conservative: When overclocking with XMP RAM, it’s best to start with conservative overclocking settings. Select a lower XMP profile or manually adjust the frequency and timings to a level slightly above the default specifications. This helps minimize the chances of instability and allows for gradual testing and optimization.
3. Stress Test and Monitor Stability: After enabling XMP overclocking, it’s crucial to stress test your system to ensure stability. Use software such as Prime95 or Memtest86 to test the system’s stability and check for memory errors. Monitor temperatures and keep an eye on system stability during stress testing and prolonged usage.
4. Adjust Voltages if Necessary: In some cases, overclocking may require adjusting the RAM voltage to maintain stability. However, increasing voltage should be done cautiously, as excessive voltage can lead to increased heat generation and potential damage to the RAM modules. Refer to your RAM module’s specifications and consult overclocking guides for safe voltage adjustments.
5. Gradual Tweaking and Optimization: Overclocking is a process of trial and error. Once you have established a stable overclock, you can gradually fine-tune the frequency and timings to optimize performance. Keep in mind that not all RAM modules may overclock to the same extent, so the optimal settings may vary depending on your specific hardware.
6. Ensure Adequate Cooling: Overclocking increases heat generation, so it’s vital to have proper cooling in place. Ensure sufficient airflow within your computer case, consider using high-quality CPU and GPU coolers, and monitor temperatures during overclocking. Excessive heat can lead to instability and shorten the lifespan of your components.
7. Back up Important Data: Overclocking can introduce instability, and in rare cases, it may result in data corruption. It’s always a good practice to back up important files and data to a separate storage device before overclocking your system.
By following these guidelines and practicing responsible overclocking, you can safely and effectively optimize your system’s performance with XMP RAM. It’s important to note that the extent of overclocking will vary depending on individual hardware and other system components.
In the next section, we will provide some tips for choosing the right XMP RAM modules for your system.
Choosing the Right XMP RAM
When selecting XMP RAM modules for your system, there are several factors to consider to ensure compatibility and optimal performance. Here are some key tips for choosing the right XMP RAM:
1. Compatibility: Ensure that the XMP RAM you choose is compatible with your motherboard. Check your motherboard’s specifications and look for supported RAM speeds and capacities. Verify that the RAM modules you select have XMP support and are compatible with your motherboard’s XMP profiles.
2. Frequency and Timings: Consider the desired frequency and timings for your XMP RAM. Higher frequency RAM modules offer faster data transfer rates, but they may come at a higher price. Timings, such as CAS latency (CL), affect memory response times, so choose RAM modules with lower latency for optimal performance.
3. Capacity and Dual-Channel Configuration: Determine your system’s RAM requirements based on your computing needs. Consider the capacity you require, such as 8GB, 16GB, or 32GB. Additionally, if your motherboard supports dual-channel memory configurations, opting for a matched pair of RAM modules can provide a slight boost in performance.
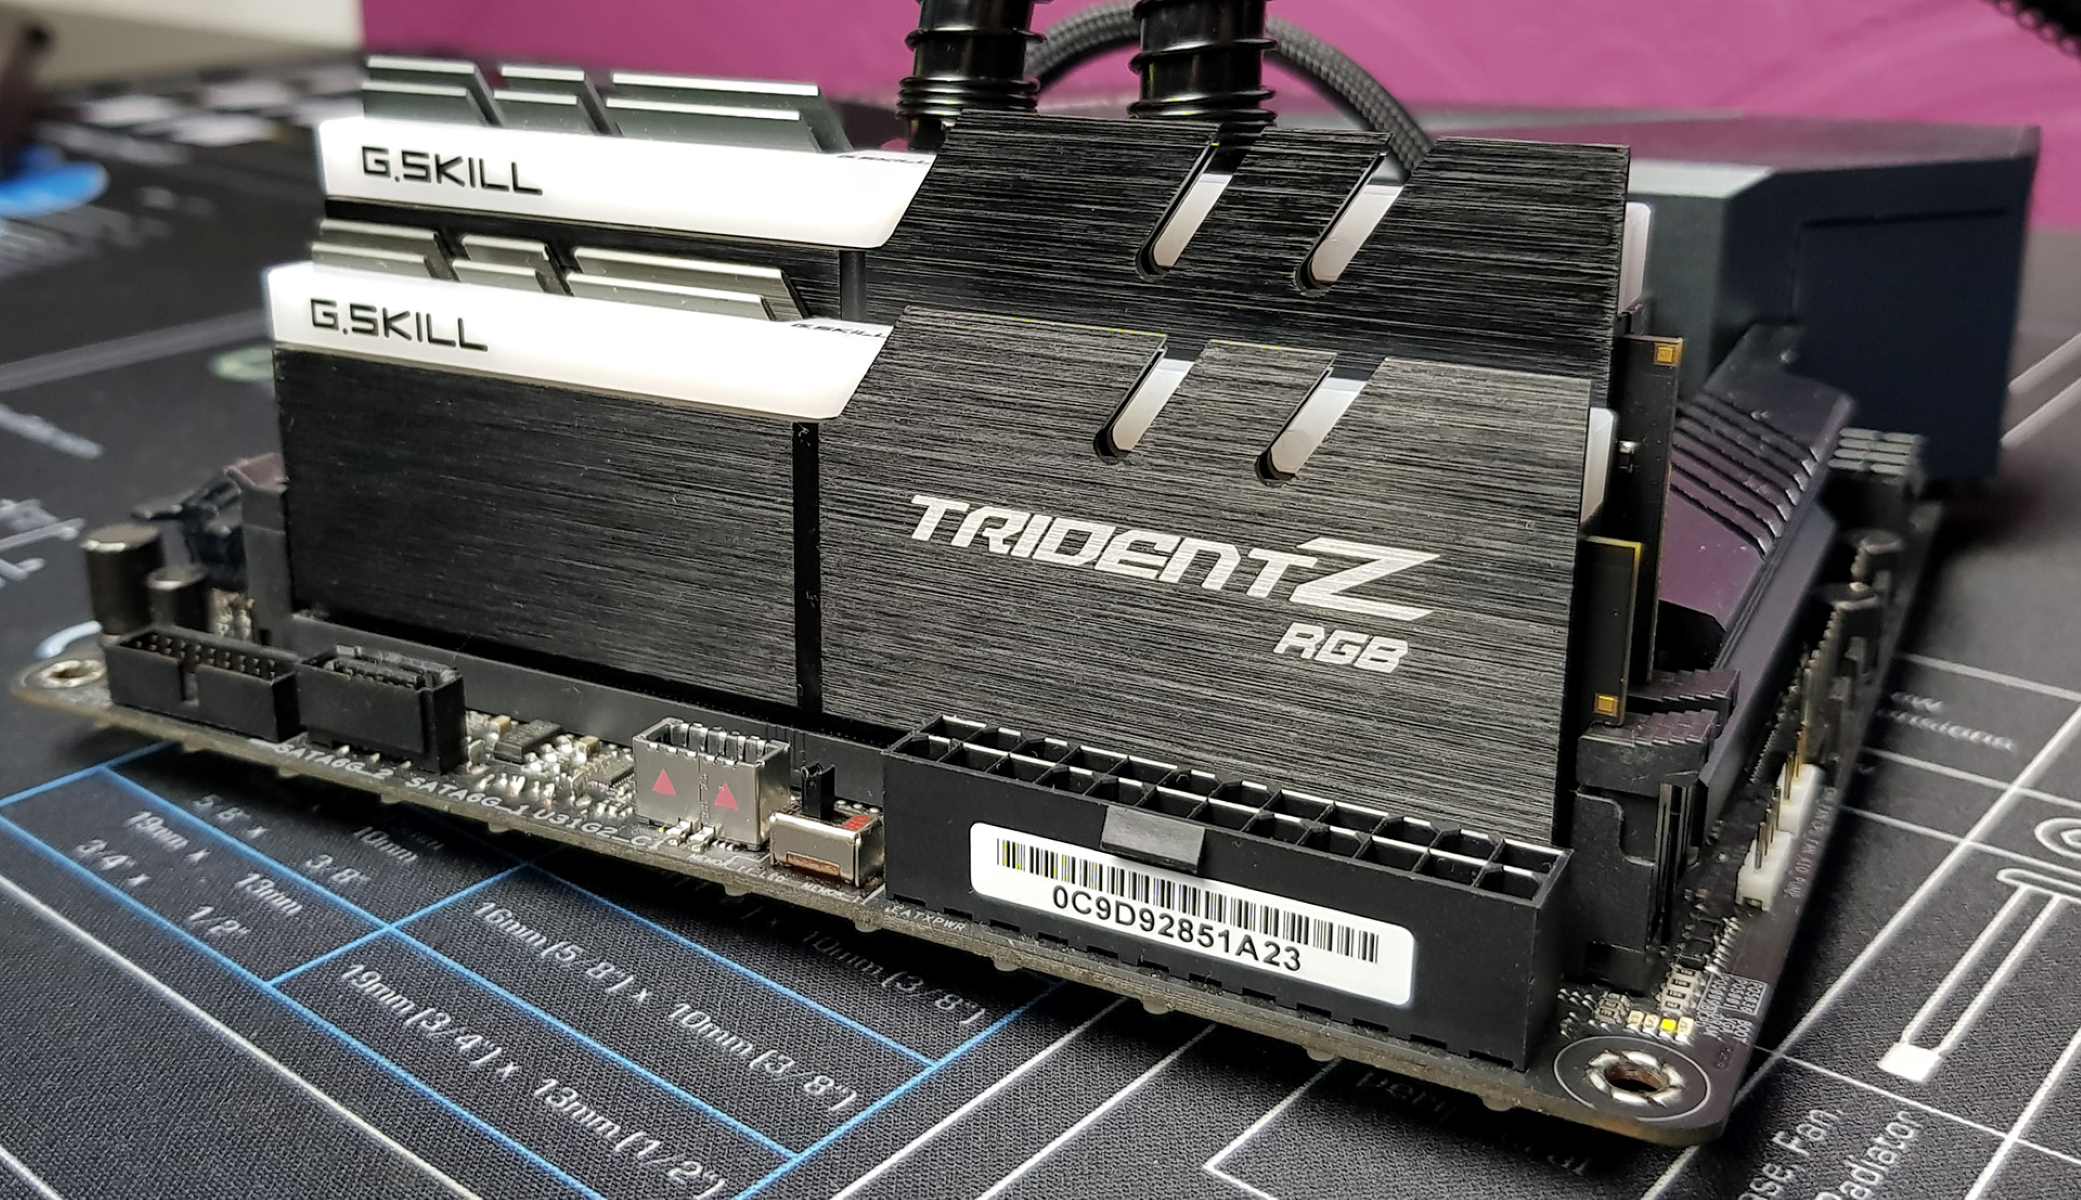
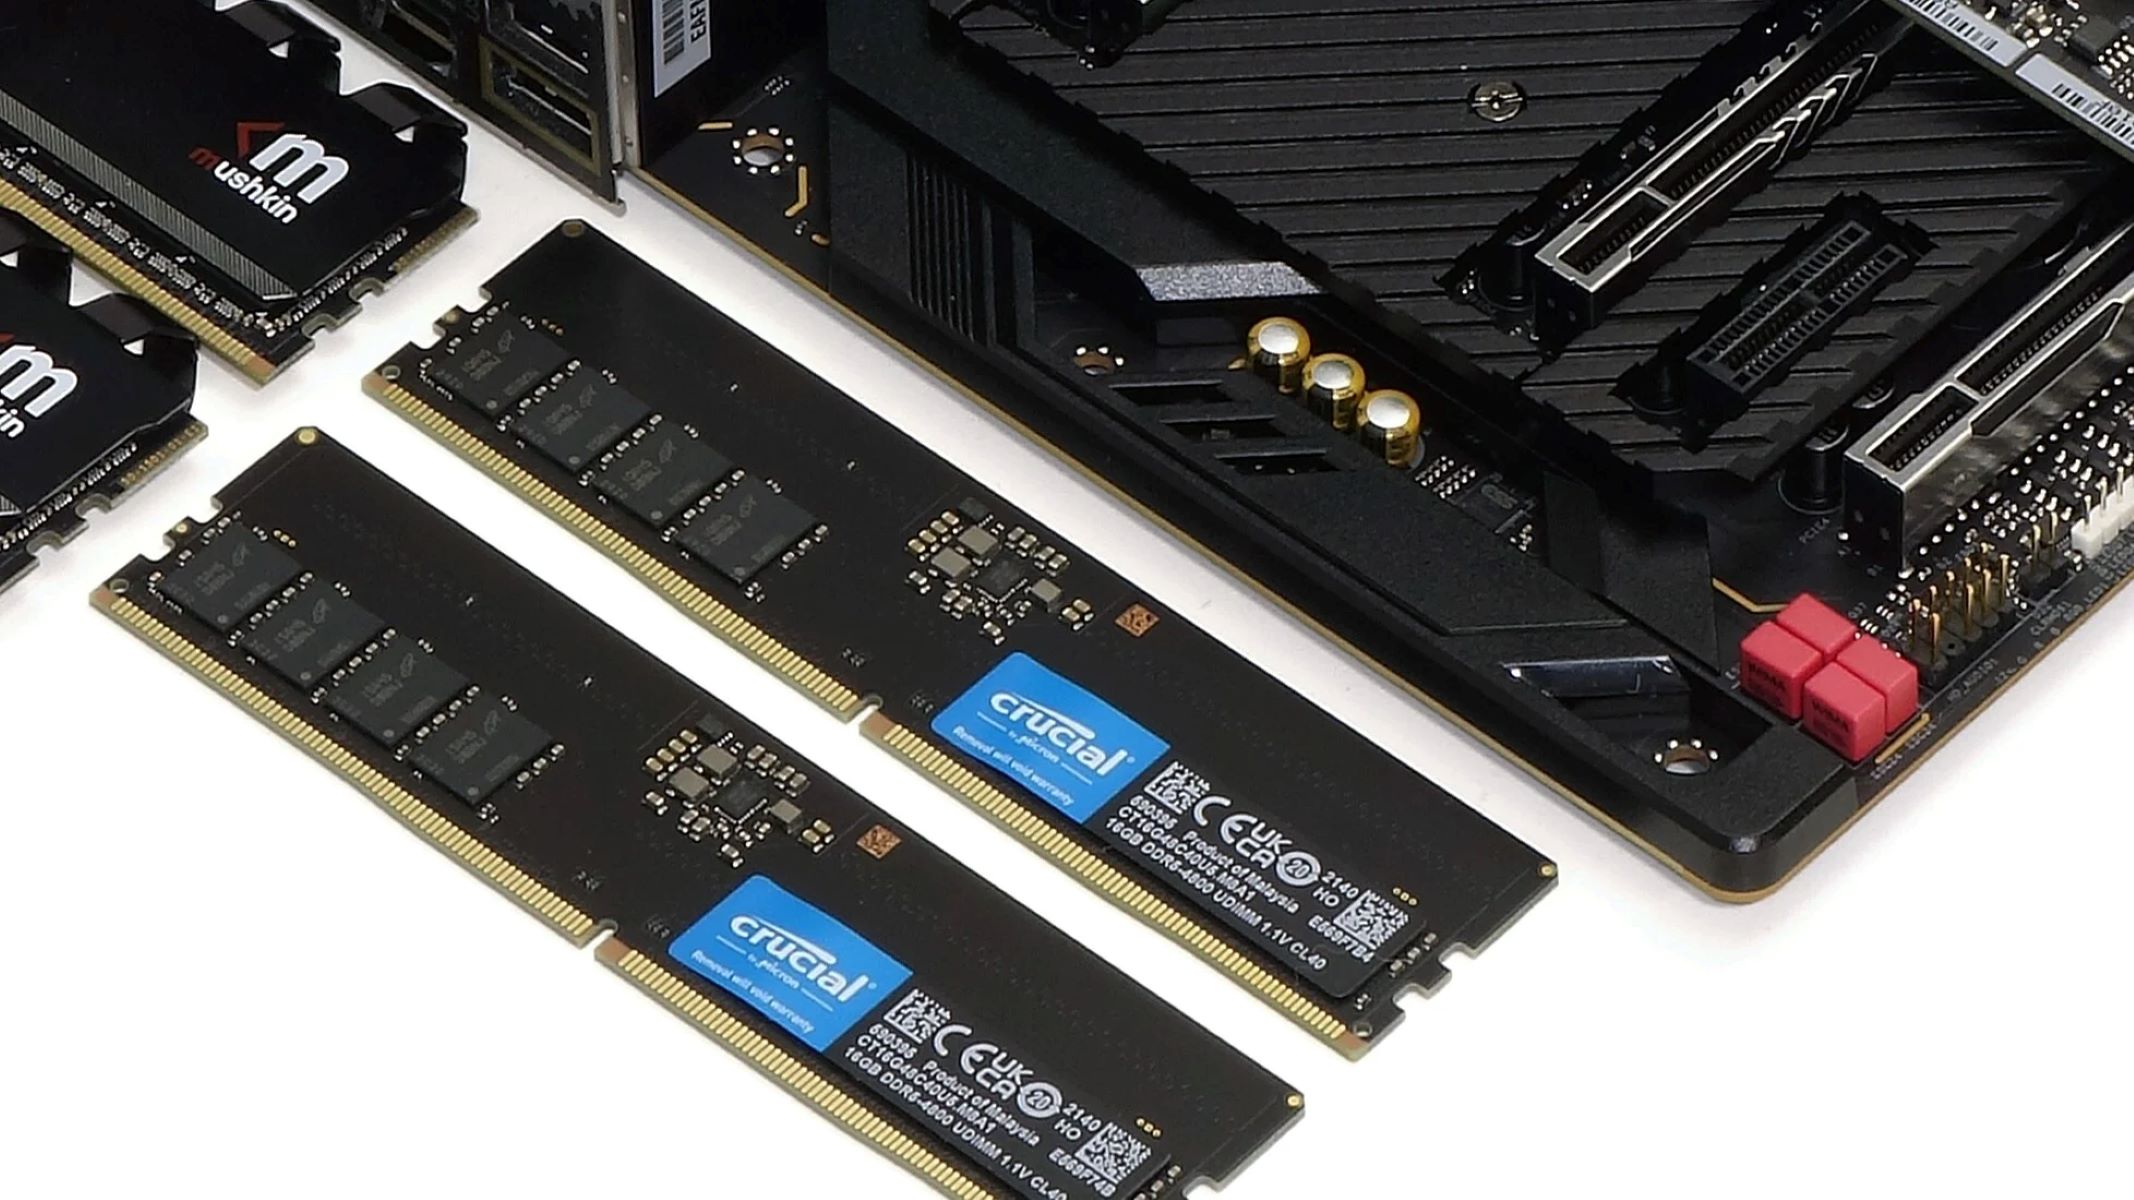
4. Brand and Quality: Choose reputable brands known for their quality and reliability. Brands like Corsair, Kingston, G.Skill, and Crucial have a good reputation in the RAM market. Reading reviews and checking user feedback can also help you make an informed decision.
5. Budget: Set a budget for your XMP RAM and consider the price-to-performance ratio. XMP RAM modules with higher frequency and tighter timings often come at a higher cost. Determine a balance between your budget and the desired performance gains that XMP RAM can offer.
6. Customer Support and Warranty: Look for RAM modules that come with solid customer support and a reliable warranty. Check if the manufacturer offers good technical support and if the RAM modules are covered by a warranty in case of any issues.
7. Future Upgrades: Consider your future upgrade plans when choosing XMP RAM. If you plan to expand your system’s memory in the future, ensure that the RAM modules you choose are compatible with additional modules or higher capacities.
By considering these factors, you can select the right XMP RAM modules that match your system’s requirements and provide the desired performance boost. It’s always advisable to refer to your motherboard’s manual and consult with experts or fellow enthusiasts for recommendations specific to your system configuration.
In the final section, we will wrap up our discussion on XMP RAM and summarize the key points discussed throughout the article.
Conclusion
XMP RAM is a powerful technology that allows users to overclock their memory modules and unlock greater performance potential. By enabling XMP in the BIOS settings, users can optimize memory frequencies and timings for their specific RAM modules, resulting in faster data transfer rates, reduced latency, and improved system responsiveness.
XMP RAM offers numerous benefits, including increased performance in gaming, multitasking, and content creation. It provides users with the flexibility to customize their system’s performance, helping to future-proof their systems and extend their lifespan. However, it is crucial to consider compatibility requirements, ensure proper cooling, and monitor system stability when overclocking with XMP RAM.
When choosing XMP RAM modules, compatibility with your motherboard, frequency and timings, capacity, brand reputation, budget, customer support, and future upgrade plans are essential factors to consider. By carefully selecting the right XMP RAM modules, you can maximize the performance potential of your system.
As with any overclocking, responsible and cautious practices are necessary to avoid instability and potential hardware issues. Stress testing, gradual tweaking, and monitoring system temperatures are crucial to ensure a stable and reliable performance.
Overall, XMP RAM is a valuable technology for enthusiasts, gamers, and professionals seeking to optimize their system’s performance. It offers the ability to harness the full potential of RAM modules, providing a significant boost in speed, responsiveness, and multitasking capabilities. With XMP RAM, you can take your computing experience to new heights and enjoy the benefits of enhanced performance.