Signs of a Faulty RAM
Random Access Memory (RAM) is an integral component of any computer system, responsible for temporarily storing data that the CPU needs to access quickly. A faulty RAM module can lead to various performance issues and system crashes. It’s essential to be able to identify signs of a faulty RAM to ensure optimal computer performance. Here are some common indications that your RAM might be experiencing problems:
- System crashes or freezes: One of the most obvious signs of a faulty RAM is frequent system crashes or freezes. If your computer suddenly freezes, becomes unresponsive, or automatically restarts without any apparent reason, faulty RAM is a possible culprit.
- Blue Screen of Death (BSOD): If your computer displays a blue screen error message and crashes, it may indicate a problem with your RAM. The error messages typically mention memory-related issues, such as “MEMORY_MANAGEMENT” or “PAGE_FAULT_IN_NONPAGED_AREA.”
- Programs not responding: When your RAM is defective, you may notice that programs take longer to load, become unresponsive, or crash unexpectedly. This can occur even if your computer meets the system requirements of the software.
- Slow performance: RAM plays a crucial role in improving your computer’s performance. If you notice a significant slowdown in your system’s overall speed, despite having sufficient processor power and an SSD, a faulty RAM module could be the reason behind this sluggishness.
- Corrupted files or data: Faulty RAM can lead to data corruption. If you frequently encounter corrupt or unusable files, especially after saving or transferring them, it could be a sign that your RAM is failing.
- Strange error messages: Faulty RAM can manifest itself through various error messages that pop up during normal computer usage. These messages may seem unrelated to each other, but they can indicate a deeper problem with your RAM.
It’s important to note that the signs mentioned above can also be caused by other hardware or software issues. Therefore, it’s crucial to perform further diagnostics to confirm whether your RAM is indeed faulty. In the following sections, we will explore various methods to identify and diagnose RAM issues in more detail.
How to Identify RAM Issues
Identifying RAM issues can help you diagnose and resolve any problems affecting your computer’s performance. Here are some effective methods to identify RAM issues:
- Run a Memory Diagnostic Test: One of the most reliable ways to identify RAM issues is by running a memory diagnostic test. These tests scan your RAM for errors and provide detailed reports on any issues found. There are several third-party memory diagnostic tools available, such as Memtest86 and Windows Memory Diagnostic Tool, which we will discuss later in this article.
- Use the Windows Memory Diagnostic Tool: If you’re using a Windows computer, you can utilize the built-in Windows Memory Diagnostic Tool. To access this tool, simply search for “Windows Memory Diagnostic” in the start menu and follow the on-screen instructions to run the test. The tool will perform a comprehensive scan of your RAM and inform you of any problems detected.
- Use Memtest86: Another popular option for diagnosing RAM issues is to use the Memtest86 tool. Memtest86 is a standalone program that you need to download and create a bootable USB drive or CD/DVD. Restart your computer with the bootable drive inserted, and Memtest86 will automatically start scanning your RAM for errors. It will display detailed results, allowing you to pinpoint any faulty RAM modules.
- Check RAM Usage on Windows: Monitoring your RAM usage can help you identify any abnormal behavior or excessive memory consumption by specific programs or processes. On Windows, you can open the Task Manager by pressing Ctrl + Shift + Esc simultaneously. Go to the “Performance” tab and click on “Memory” to view the RAM usage graph and a list of active applications sorted by memory usage.
- Check RAM Usage on macOS: If you’re using a macOS system, you can check the RAM usage by opening the Activity Monitor. You can find this by searching for it in the spotlight search or navigating to Applications > Utilities > Activity Monitor. In the Activity Monitor, go to the “Memory” tab to view the current RAM usage and determine if any processes are consuming unusually high amounts of memory.
- Perform a Physical Inspection of RAM: Sometimes, the issue with your RAM could be due to loose connections or physical damage. Power off your computer, unplug it from the power source, and open the case. Carefully remove the RAM modules and inspect them for any signs of damage, such as bent pins or discolored parts. Clean the contacts using a soft, lint-free cloth if needed, and reseat the RAM modules firmly.
- Check RAM Compatibility with Motherboard: In some cases, RAM compatibility issues can cause system instability or compatibility problems. Ensure that the RAM modules you are using are compatible with your motherboard. Check your motherboard’s documentation or its manufacturer’s website for specific RAM compatibility information.
By utilizing these methods, you can effectively identify and diagnose any RAM issues that may be affecting your computer’s performance. Once you have identified the problem, you can take appropriate measures to resolve the issue and improve your system’s stability and speed.
Run a Memory Diagnostic Test
Running a memory diagnostic test is an essential step in identifying and resolving RAM-related issues. These tests help assess the health and stability of your computer’s RAM modules. By detecting and reporting any errors, you can diagnose the problem accurately. Here are two commonly used memory diagnostic tools:
Windows Memory Diagnostic Tool
If you’re using a Windows computer, the built-in Windows Memory Diagnostic Tool can be a convenient option. To access this tool, follow these steps:
- Open the Start menu and search for “Windows Memory Diagnostic.”
- Click on the “Windows Memory Diagnostic” app to launch the tool.
- You will be prompted to choose between restarting your computer immediately or scheduling the test for the next system restart.
- Select the preferred option and proceed.
- During the restart, the Windows Memory Diagnostic Tool will run an extensive test on your computer’s RAM.
- Once the test is complete, your computer will automatically restart, and the tool will display the test results on the screen.
The report generated by the Windows Memory Diagnostic Tool will provide information about any errors or issues detected in your RAM. This will help you determine if faulty RAM is the cause of your computer’s problems.
MemTest86
MemTest86 is a widely-used third-party memory diagnostic tool that offers more advanced features and extensive testing capabilities. Follow these steps to use MemTest86:
- Visit the official MemTest86 website and download the free version of the tool.
- Create a bootable USB drive or CD/DVD with the downloaded MemTest86 image.
- Ensure your computer is powered off and insert the bootable USB drive or CD/DVD.
- Start your computer and access the boot menu or BIOS settings to select the bootable drive or CD/DVD as the primary boot device.
- MemTest86 will automatically start running extensive memory tests on your RAM modules.
- The tool will display detailed information about the test progress and any errors detected.
- Leave the test running for several hours to perform a thorough analysis of your RAM.
- After the tests are complete, you can view the results, including any errors found.
MemTest86 is considered highly reliable and is often recommended for comprehensive RAM diagnostics. Its detailed reporting allows you to identify faulty RAM modules with accuracy.
By utilizing these memory diagnostic tools, you can analyze your RAM’s functionality and identify any issues that may be causing computer instability or slow performance. Once identified, you can take appropriate measures to repair or replace the faulty RAM and restore your computer’s optimal performance.
Use the Windows Memory Diagnostic Tool
The Windows Memory Diagnostic Tool is a built-in utility that allows you to diagnose and identify any issues with your computer’s RAM. It can help determine if faulty RAM is causing system crashes, random errors, or overall performance degradation. Follow these steps to use the Windows Memory Diagnostic Tool:
- Open the Start menu and search for “Windows Memory Diagnostic.”
- Click on the “Windows Memory Diagnostic” app to launch the tool.
- You will see two options: “Restart now and check for problems (recommended)” or “Check for problems the next time I start my computer.”
- Select the desired option based on when you want to run the memory diagnostic test. Keep in mind that the first option will immediately restart your computer.
- If you chose to restart immediately, your computer will restart, and the Windows Memory Diagnostic Tool will automatically begin scanning your RAM for errors.
- If you selected the second option, the memory test will run during the next boot-up process. The Windows Memory Diagnostic Tool will display the test results when the computer restarts.
- During the test, the Windows Memory Diagnostic Tool will perform a series of comprehensive tests on your RAM modules to check for any faults or errors.
- Once the test is complete, your computer will automatically restart.
- After the reboot, your computer will display the results of the memory test. If any issues were found, you will be provided with detailed information regarding the specific errors detected.
The Windows Memory Diagnostic Tool is designed to provide accurate information about the health and stability of your RAM. If the tool detects any errors, it means that there is a problem with the RAM modules. In such cases, you may need to replace the faulty RAM to resolve the issues.
It is important to note that the Windows Memory Diagnostic Tool may not detect all types of RAM-related problems. If you suspect persistent RAM issues even after running the tool, you may want to consider using third-party memory diagnostic tools, such as MemTest86, for more comprehensive tests.
By utilizing the Windows Memory Diagnostic Tool, you can swiftly identify potential RAM problems and take appropriate steps to address them. This tool provides a convenient and reliable option for diagnosing RAM-related issues and maintaining the optimal performance of your computer.
Use MemTest86
When it comes to diagnosing RAM issues, MemTest86 is a highly regarded third-party tool that offers advanced features and extensive testing capabilities. By using MemTest86, you can thoroughly evaluate your computer’s RAM for errors and determine if faulty RAM is affecting its performance. Here’s how you can use MemTest86:
- Visit the official MemTest86 website and download the free version of the tool.
- Create a bootable USB drive or CD/DVD using the downloaded MemTest86 image. The website provides detailed instructions for creating the bootable media.
- Ensure that your computer is powered off, and insert the bootable USB drive or CD/DVD.
- Start your computer and access the boot menu or BIOS settings to select the bootable drive or CD/DVD as the primary boot device.
- MemTest86 will automatically start running a comprehensive series of memory tests on your RAM modules.
- The tool will display detailed information about the test progress and any errors detected.
- Allow the test to run for several hours to thoroughly analyze your RAM.
- After the tests are complete, you can view the detailed results, including any errors found.
MemTest86 is known for its accuracy and reliability in detecting RAM issues. Its extensive testing capabilities make it a valuable tool for diagnosing and troubleshooting various RAM-related problems.
During the MemTest86 test, the tool checks each memory address to ensure its accuracy and consistency. If any errors are detected, such as incorrect data or inconsistencies, it indicates a problem with the RAM module or its connection.
The detailed reporting provided by MemTest86 allows you to pinpoint the specific RAM module(s) that are causing issues. This information is helpful if you plan to replace or repair the faulty RAM module(s) to resolve the problems.
It’s important to note that running MemTest86 requires your computer to be restarted and booted from the bootable media. Therefore, make sure to save any unsaved work and close any open applications before initiating the test.
By using MemTest86, you can perform a comprehensive analysis of your computer’s RAM, identify any faulty modules, and take the necessary steps to rectify the issues. Its powerful testing capabilities make it a valuable tool for diagnosing and resolving RAM-related problems effectively.
How to Check RAM Usage on Windows
Monitoring your computer’s RAM usage allows you to understand how memory-intensive applications and processes are impacting your system’s performance. By checking RAM usage on Windows, you can identify any excessive memory consumption or anomalies that may indicate a need for additional RAM. Here are the steps to check RAM usage on Windows:
- Press the Ctrl + Shift + Esc keys simultaneously, or right-click on the taskbar and select “Task Manager” from the context menu.
- The Task Manager window will open. Click on the “Performance” tab.
- In the Performance tab, click on “Memory” to view the RAM usage graph and related information.
- On the left side, you will see a real-time graph showing the percentage of memory being used. The graph may have different colored sections to indicate different types of memory usage.
- Below the graph, you will find additional information, such as the total amount of installed RAM, the amount of RAM in use, and the amount of available or free RAM.
- Scrolling down further will display a list of running processes and their respective memory consumption. You can sort the list by memory usage to see which applications or processes are consuming the most RAM.
- If you notice that a specific application or process is utilizing a significant amount of memory and causing performance issues, you may consider closing or restarting the application, updating it, or allocating more RAM to your system.
Monitoring your RAM usage can help you optimize your system’s performance, especially if you frequently utilize resource-intensive applications or multitask heavily. If you notice that your system is consistently reaching near-full RAM utilization, it might be worth considering upgrading your RAM capacity for smoother and more efficient operation.
It’s important to note that the Task Manager only provides a snapshot of your current RAM usage. To get a more comprehensive understanding of your system’s RAM utilization over time, consider using third-party tools that offer advanced memory monitoring and logging features.
Regularly checking your RAM usage on Windows can assist you in identifying potential memory issues and optimizing your computer’s performance. By monitoring and managing your system’s RAM effectively, you can ensure that your computer runs smoothly and efficiently.
How to Check RAM Usage on macOS
Checking your RAM usage on macOS allows you to monitor the memory consumption of applications and processes running on your computer. By understanding how your RAM is being utilized, you can identify any excessive memory usage or potential performance issues. Here are the steps to check RAM usage on macOS:
- Click on the “Finder” icon in the Dock to open a Finder window.
- In the menu bar at the top of the screen, click on “Go,” then select “Utilities.”
- In the Utilities folder, locate and open the “Activity Monitor” application.
- When the Activity Monitor window opens, click on the “Memory” tab.
- In the Memory tab, you will see various memory-related information:
- “Memory Used”: This figure represents the amount of RAM currently in use by your system.
- “Cached Files”: This indicates the portion of RAM being used to store data from recently accessed files. It can be quickly reclaimed if needed.
- “Compressed”: This shows the amount of RAM being used to hold compressed data. macOS automatically compresses memory to free up resources.
- “Swap Used”: This refers to the amount of hard drive space being utilized as virtual memory when the RAM capacity is exceeded.
- Below the memory usage overview, you will find a list of running processes with their corresponding memory usage. The “Memory” column displays the amount of RAM consumed by each process. You can sort this list by memory usage to identify any memory-intensive applications.
- If you notice that certain applications or processes are using excessive amounts of memory and causing performance issues, you may consider quitting or restarting them, updating the software, or allocating more RAM if possible.
Monitoring your RAM usage on macOS can help you optimize system performance, especially if you regularly run memory-intensive applications or engage in multitasking. If you consistently observe high memory usage or frequent swap file usage, it might be worth considering upgrading your RAM for a smoother and more efficient experience.
Besides using the Activity Monitor, various third-party tools are available that offer more advanced memory monitoring features and historical data analysis. These tools can provide detailed insights into your macOS system’s RAM usage over time.
By regularly checking your RAM usage on macOS, you can proactively identify potential memory issues and optimize your computer’s performance. Efficient management and monitoring of your system’s RAM will ensure smooth operation and enhance your overall macOS experience.
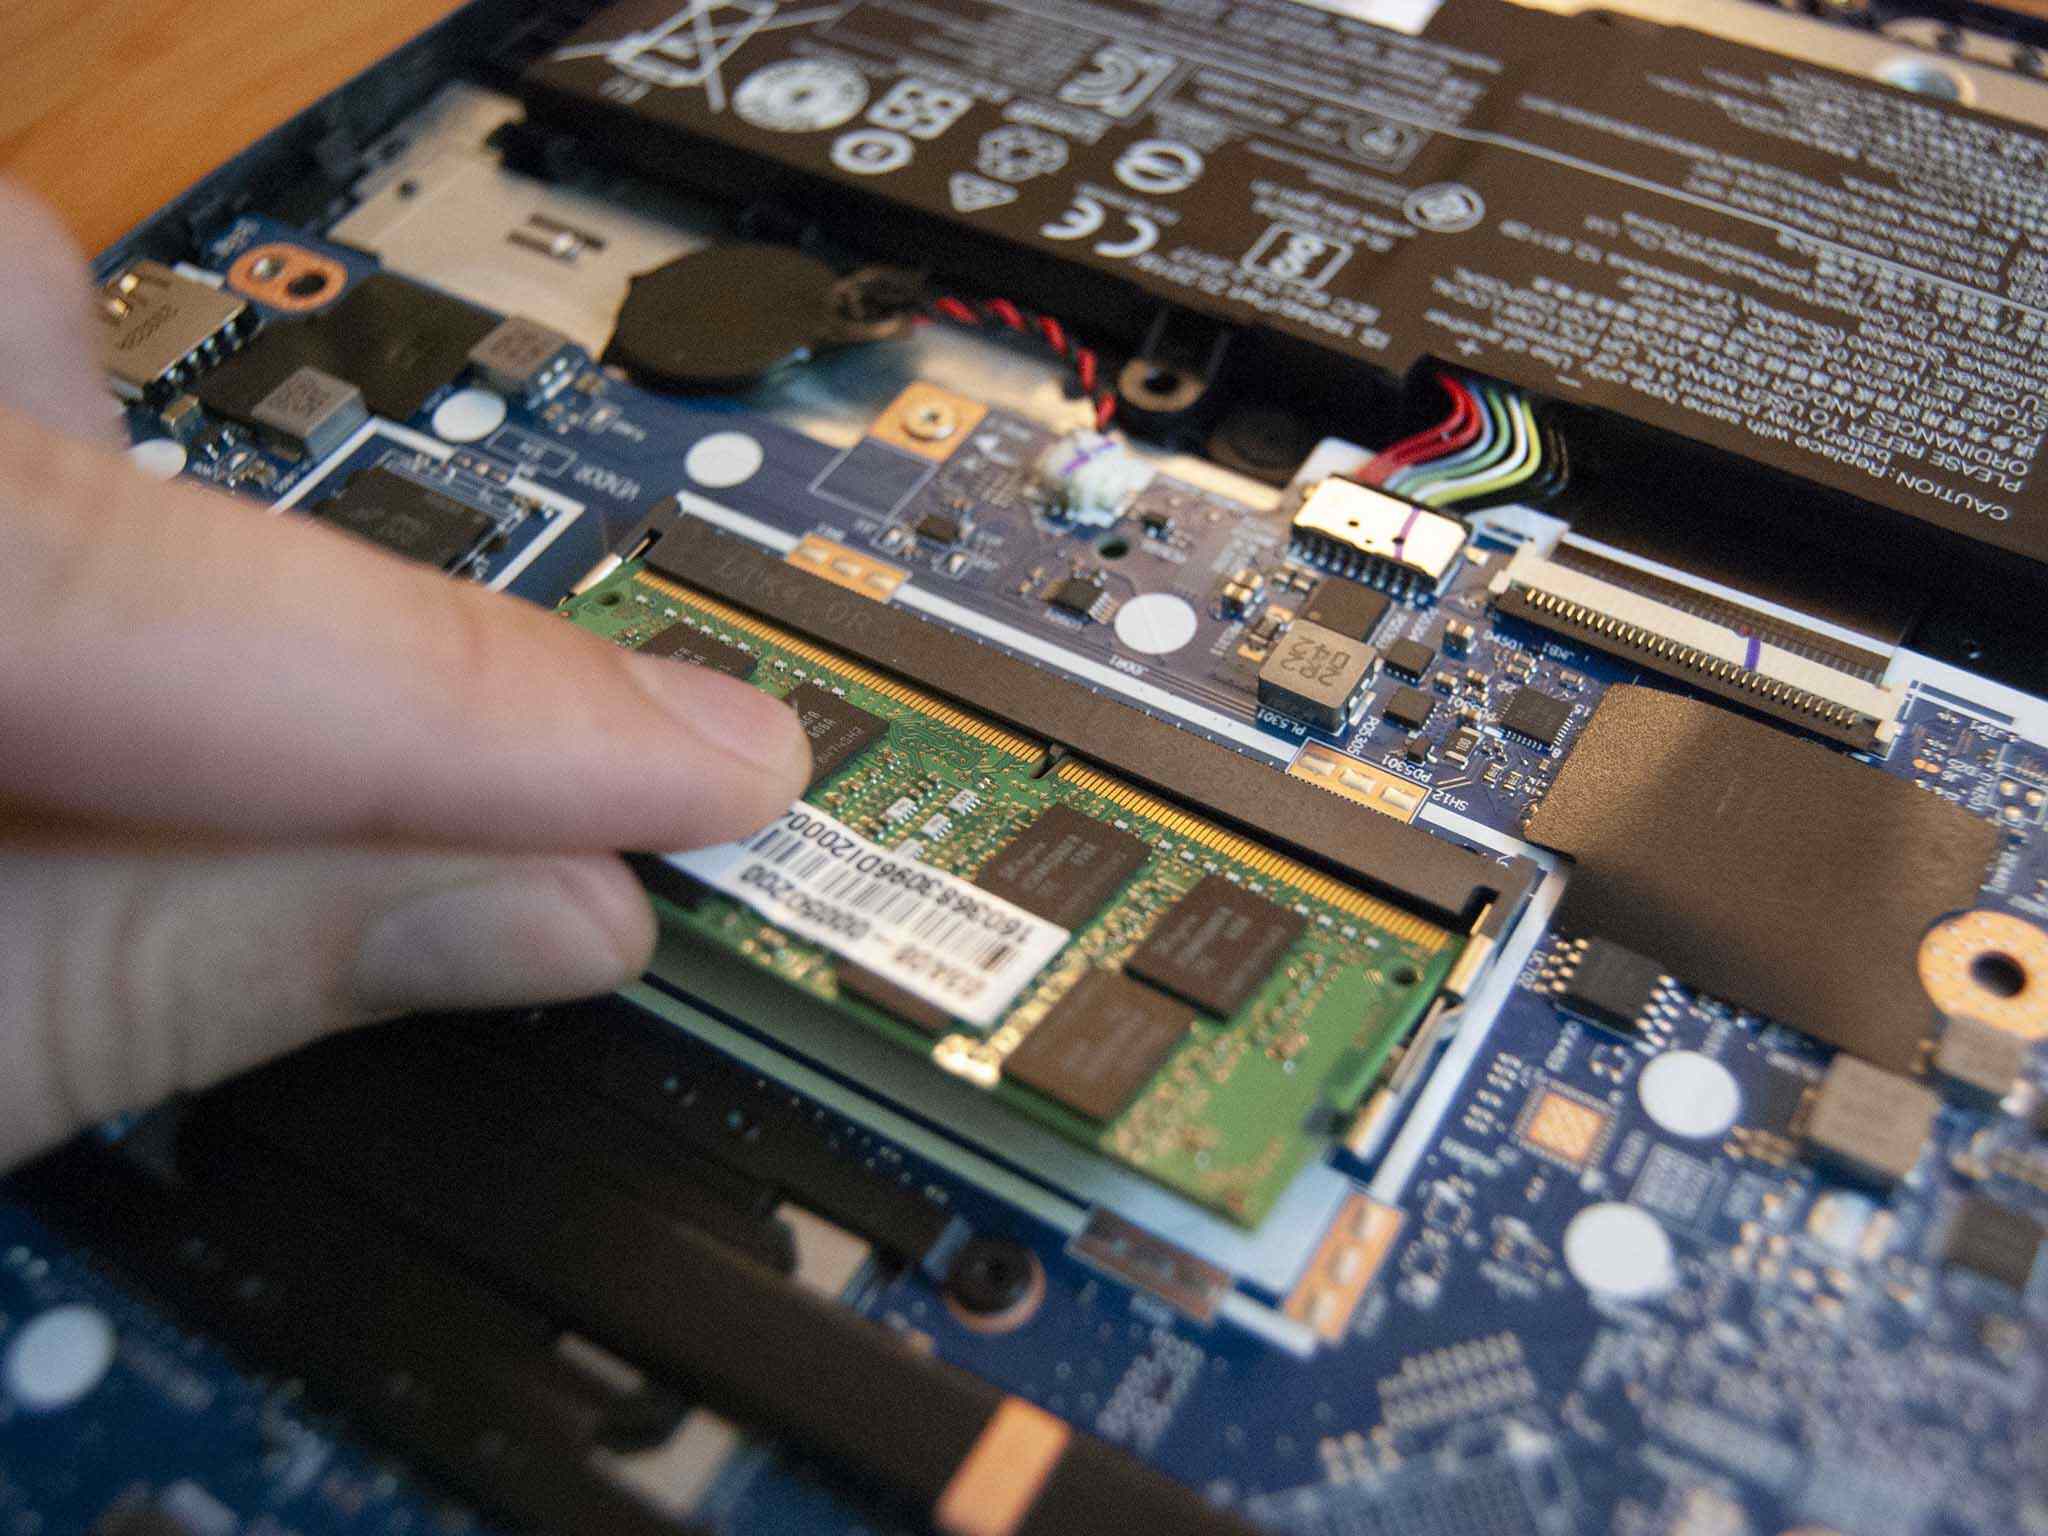
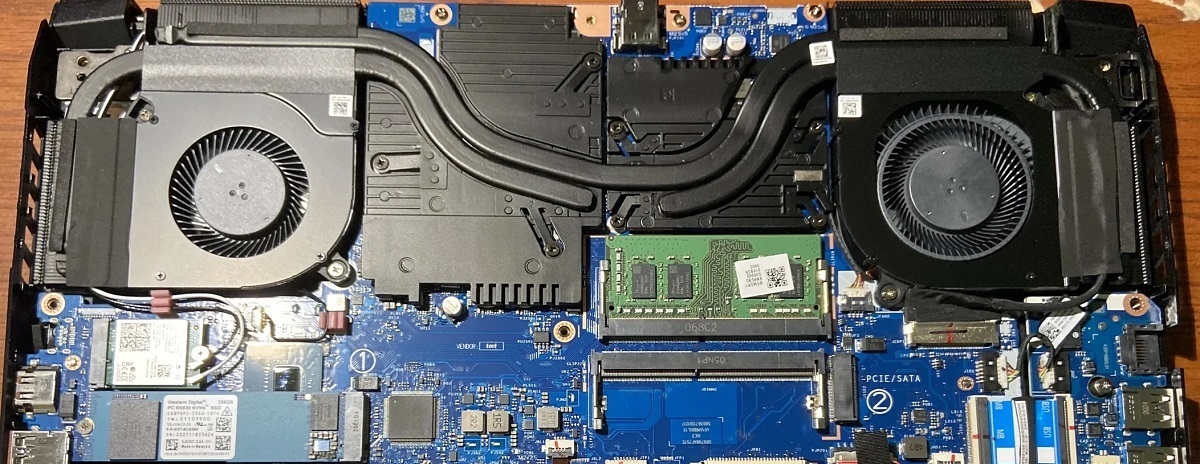
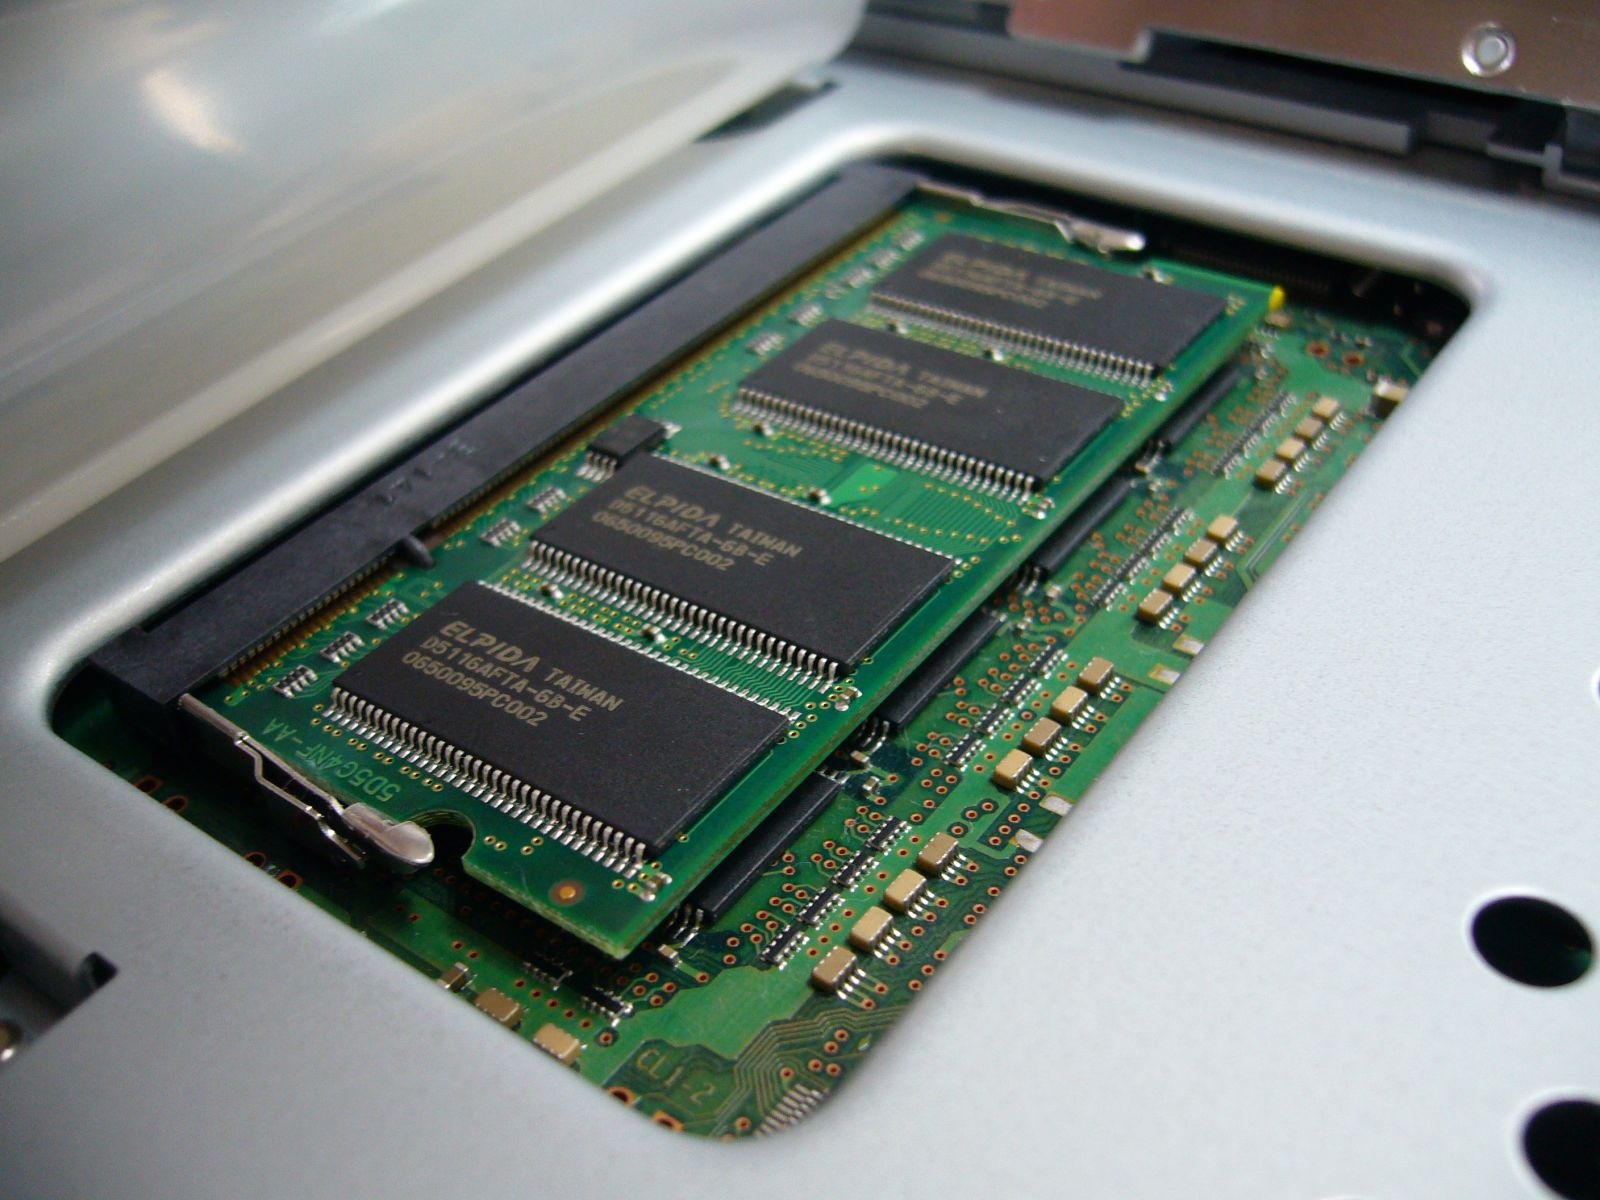
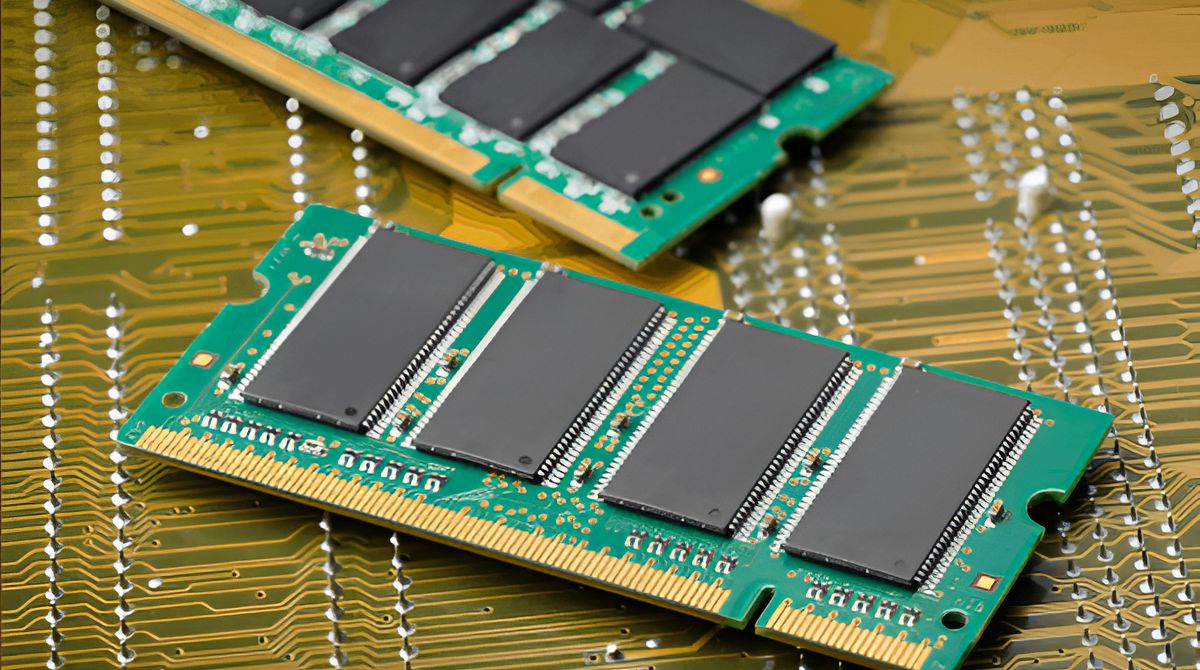
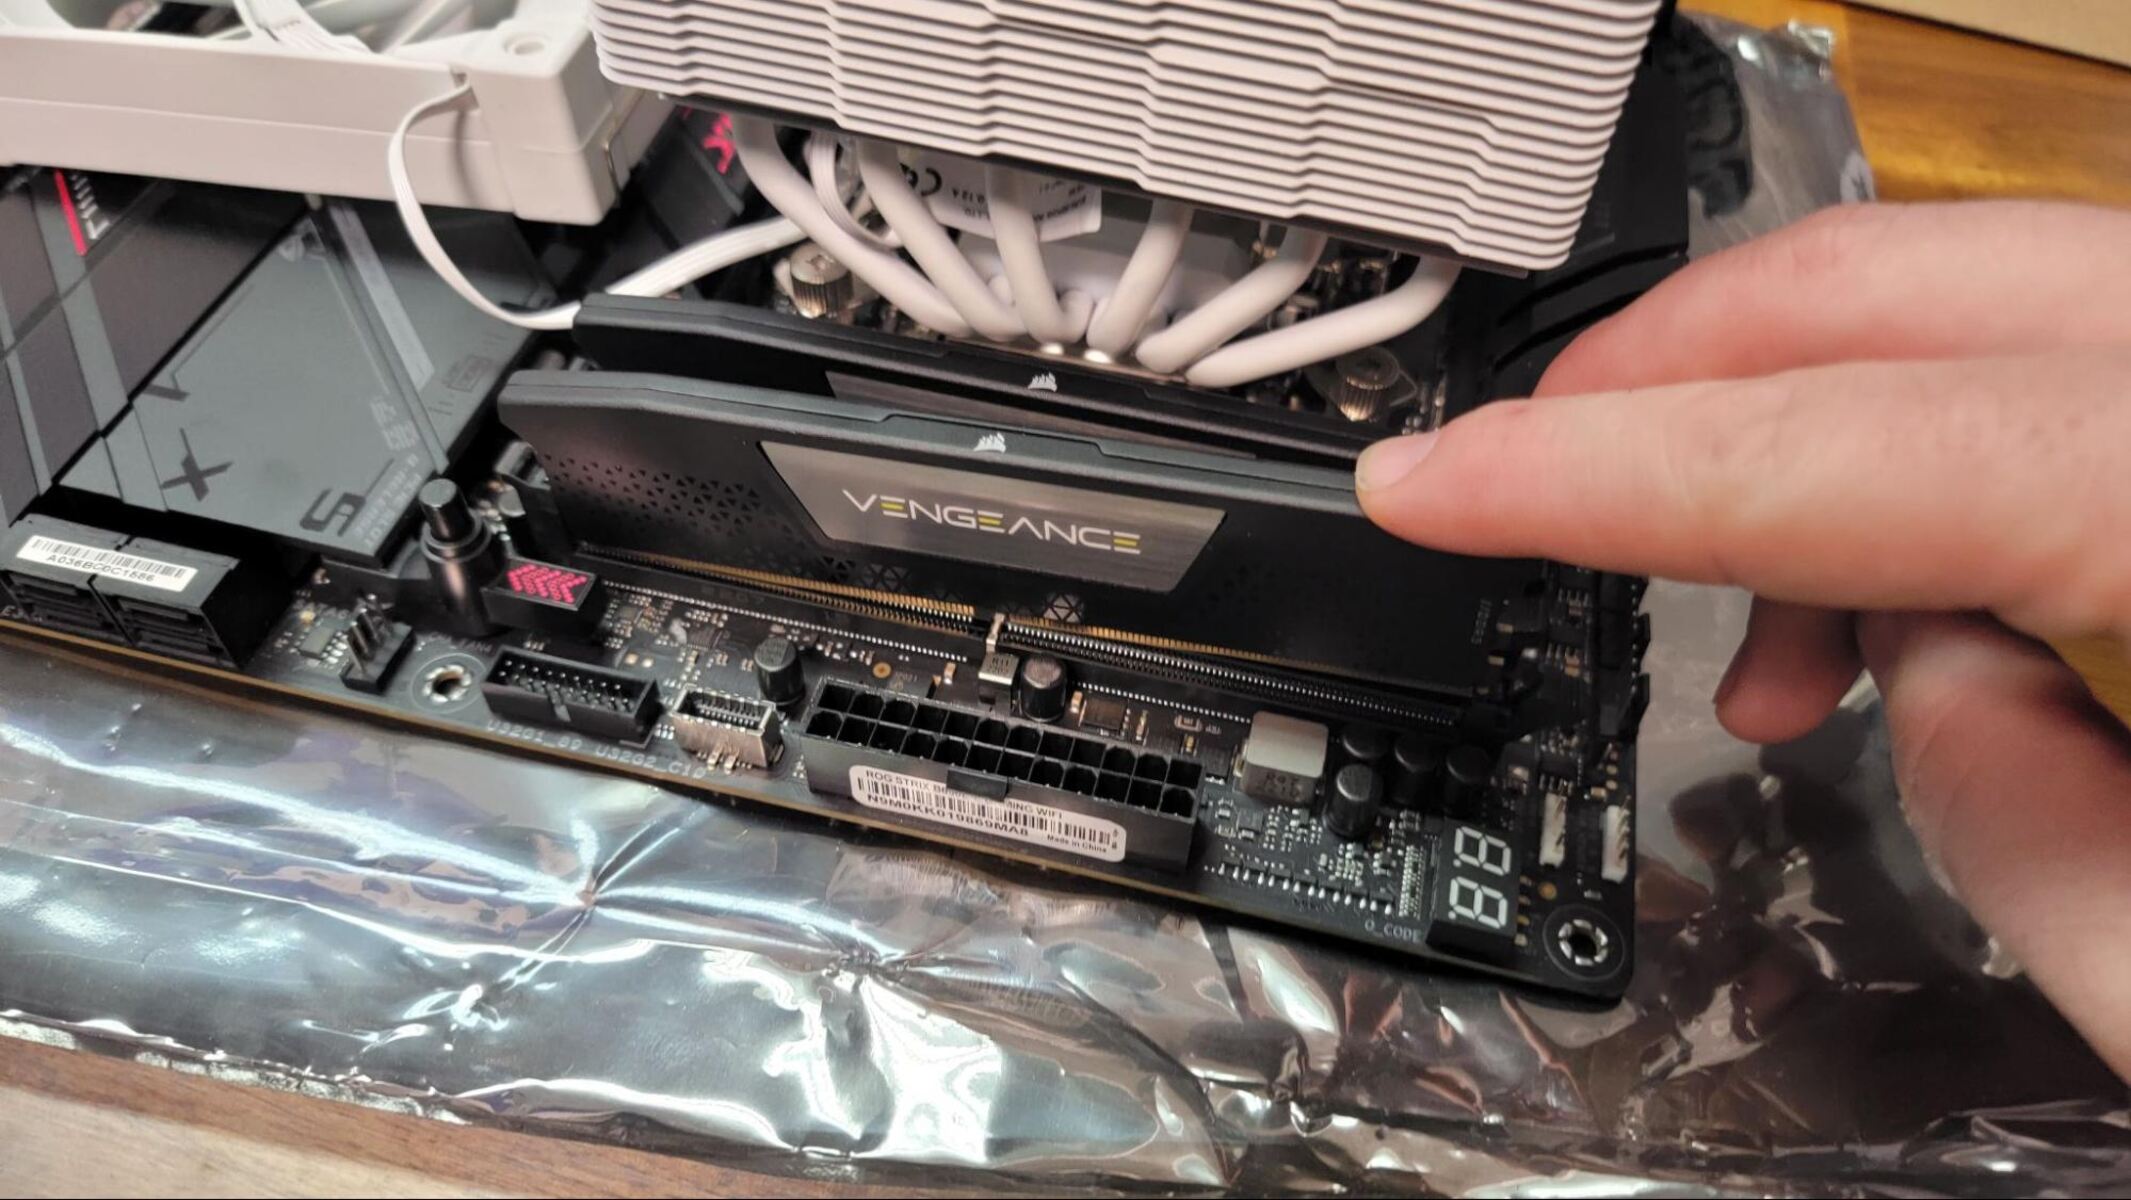
Physical Inspection of RAM
Performing a physical inspection of your RAM modules is an important step when troubleshooting RAM-related issues. Physical damage or loose connections can lead to system instability and performance problems. By inspecting the RAM, you can identify any visible issues and take appropriate action. Here’s how you can conduct a physical inspection of your RAM:
- Ensure that your computer is powered off, and disconnect it from the power source.
- Open the computer’s case or access the RAM slots if using a laptop or small form factor device.
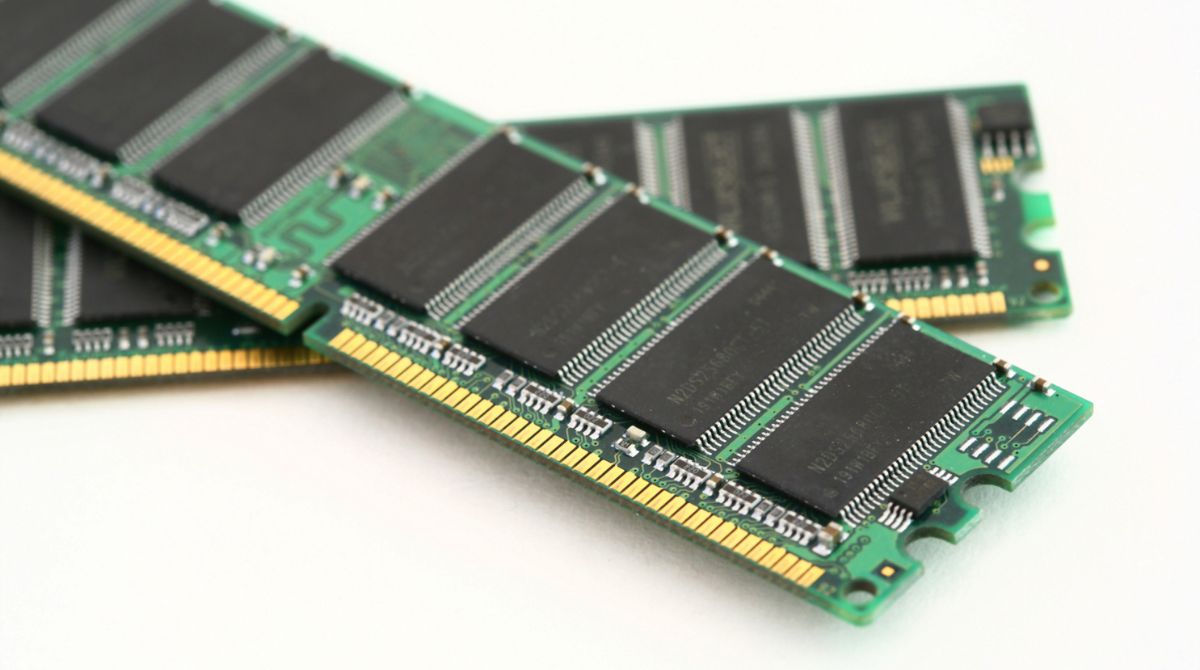
- Locate the RAM modules. They are typically small rectangular boards attached to the motherboard.
- Check for any signs of physical damage, such as bent pins, scratches, or discolored areas. If you notice any visible damage, the RAM module could be faulty and should be replaced.
- Verify that the RAM modules are securely seated in their slots. Gently push down on each module to ensure it is properly inserted and the locking mechanisms are engaged.
- If there are multiple RAM modules, make sure they are evenly spaced and aligned in their respective slots.
- Clean the contacts of the RAM modules using a soft, lint-free cloth. This can help remove any dust or debris that might hinder proper contact between the RAM and the motherboard.
- After cleaning, reseat the RAM modules by firmly pushing them back into their respective slots.
- Ensure that the modules are securely locked in place and the connectors are fully inserted.
- Close the computer’s case or reassemble the device, ensuring that all screws and connections are properly secured.
- Power on your computer and observe its performance. If the physical inspection and reseating of the RAM modules resolved the issues, your system should now operate normally.
A physical inspection of your RAM is a simple but important step in troubleshooting potential issues. Loose connections or physical damage can cause unstable system behavior and performance degradation. By visually inspecting and ensuring proper seating of the RAM modules, you can eliminate these physical factors from the list of potential problems.
It’s worth noting that physical inspection may only address visible issues. If your system continues to experience RAM-related problems even after a physical inspection, you may need to explore other diagnostic methods, such as using software-based memory tests or seeking professional assistance.
Regular physical inspections and maintenance of your computer’s RAM can help prolong its lifespan and maintain optimal performance. By taking care of your RAM modules, you contribute to the overall stability and longevity of your computer system.
Check RAM Compatibility with Motherboard
Ensuring that your RAM modules are compatible with your motherboard is crucial for proper functioning and system stability. Incompatible RAM can lead to various issues, including system crashes, freezing, or even complete failure to boot. Before purchasing or installing RAM, it’s important to check its compatibility with your motherboard. Here’s how you can check RAM compatibility:
- Identify the exact model of your motherboard. You can usually find this information in the documentation that came with your computer or by checking the manufacturer’s website.
- Check the motherboard’s specifications for the supported RAM type, speed, and maximum capacity. Look for details such as DDR (e.g., DDR3, DDR4) or other specific RAM generations.
- Consider the maximum RAM capacity that your motherboard can support. Some motherboards have a limit on how much RAM they can handle, so ensure that the RAM you intend to install does not exceed this limit.
- Determine the maximum speed of RAM supported by your motherboard. It’s important to note that if your motherboard supports a higher RAM speed, it doesn’t mean that lower speed RAM won’t work, but it will run at the motherboard’s supported speed.
- Take note of the number of memory slots available on your motherboard. Ensure that the number of RAM modules you plan to install matches the available slots. Some motherboards may require RAM to be installed in specific slots or in pairs for optimal performance.
- Consider the RAM module’s form factor, such as DIMM (Desktop) or SODIMM (Laptop), to ensure it physically fits in the memory slots on your motherboard.
- If you are unsure about compatibility, you can use online compatibility checkers or consult the manufacturer’s official compatibility list for your motherboard model.
Checking RAM compatibility with your motherboard is essential to avoid potential issues with performance, stability, and overall system functionality. Failing to use compatible RAM could result in the modules not being recognized, running at a reduced speed, or causing system crashes.
If you discover that the RAM you currently have is incompatible with your motherboard, you will need to find appropriate replacements that meet the specified requirements. Ensure you purchase RAM modules that match the supported type, speed, and form factor recommended by the motherboard manufacturer to guarantee compatibility.
By verifying RAM compatibility with your motherboard, you can avoid potential compatibility issues and ensure smooth operation of your computer system. It’s always a good idea to do thorough research or consult with experts if you have any doubts about RAM compatibility before making a purchase or installation.
Replace Faulty RAM
If you have identified that one or more of your RAM modules are faulty and causing issues with your computer’s performance, it’s important to replace them to restore optimal functionality. Here are the steps to replace faulty RAM:
- Make sure your computer is powered off and unplugged from the power source.
- Open your computer’s case or locate the RAM slots if you’re using a laptop or smaller form factor device.
- Identify the faulty RAM module by referring to the physical inspection or diagnostic tests you previously conducted.
- Gently press on the latches or clips on either side of the module to release it from the slot.
- Carefully remove the faulty RAM module from the slot.
- Take the replacement RAM module and align it properly with the slot, ensuring that the notch or key on the module matches the slot configuration.
- Press down firmly but gently on both ends of the RAM module until it snaps into place and the latches or clips lock it securely in the slot.
- If you’re replacing multiple RAM modules, repeat the process for each module.
- Close your computer’s case or reassemble the device, ensuring all screws and connections are properly secured.
- Power on your computer and check if it recognizes the new RAM. You can verify this in the BIOS or by checking your system information.
- Run diagnostic tests or observe your computer’s performance to ensure that the replaced RAM has resolved the previous issues.
It’s essential to use compatible RAM modules that meet the specifications recommended by your motherboard manufacturer. Ensure that the replacement RAM has the same type, speed, and capacity as the previous module(s) to maintain system compatibility and stability.
If you’re unsure about how to choose the right replacement RAM or if you’re not comfortable replacing the RAM yourself, it’s recommended to seek assistance from a professional technician or consult your computer’s manufacturer for guidance.
Replacing faulty RAM with new, fully functional modules can significantly improve your computer’s performance and stability. By following these steps and using compatible replacements, you can ensure that your system operates smoothly and efficiently.