Introduction
Are you looking to give your computer a performance boost? One cost-effective way to achieve this is by upgrading your RAM (Random Access Memory). RAM plays a crucial role in your computer’s performance, allowing it to quickly access and store data to be used by the processor. If your computer is slow and sluggish, upgrading the RAM can make a noticeable difference in its speed and responsiveness.
However, if you’re new to computer hardware, the process of changing out RAM may seem daunting. Don’t worry! In this guide, we’ll walk you through the steps needed to upgrade your RAM and give your computer the boost it needs.
Before we dive into the process, it’s important to note that every computer is different, and the exact steps may vary depending on the manufacturer and model. Be sure to consult your computer’s user manual or the manufacturer’s website for specific instructions tailored to your device. With that said, let’s get started!
Before You Begin
Before you start the process of changing out your RAM, there are a few important things you should consider. First and foremost, make sure that your computer is compatible with the type of RAM you plan to install. Check the specifications of your motherboard or consult the manufacturer’s documentation to ensure that the RAM you purchase is compatible with your system.
It’s also essential to determine how much RAM your computer currently has and how much it can support. This information will help you determine the amount of RAM you should purchase for the upgrade. You can usually find this information in the system properties or by using specialized software to check your computer’s hardware specifications.
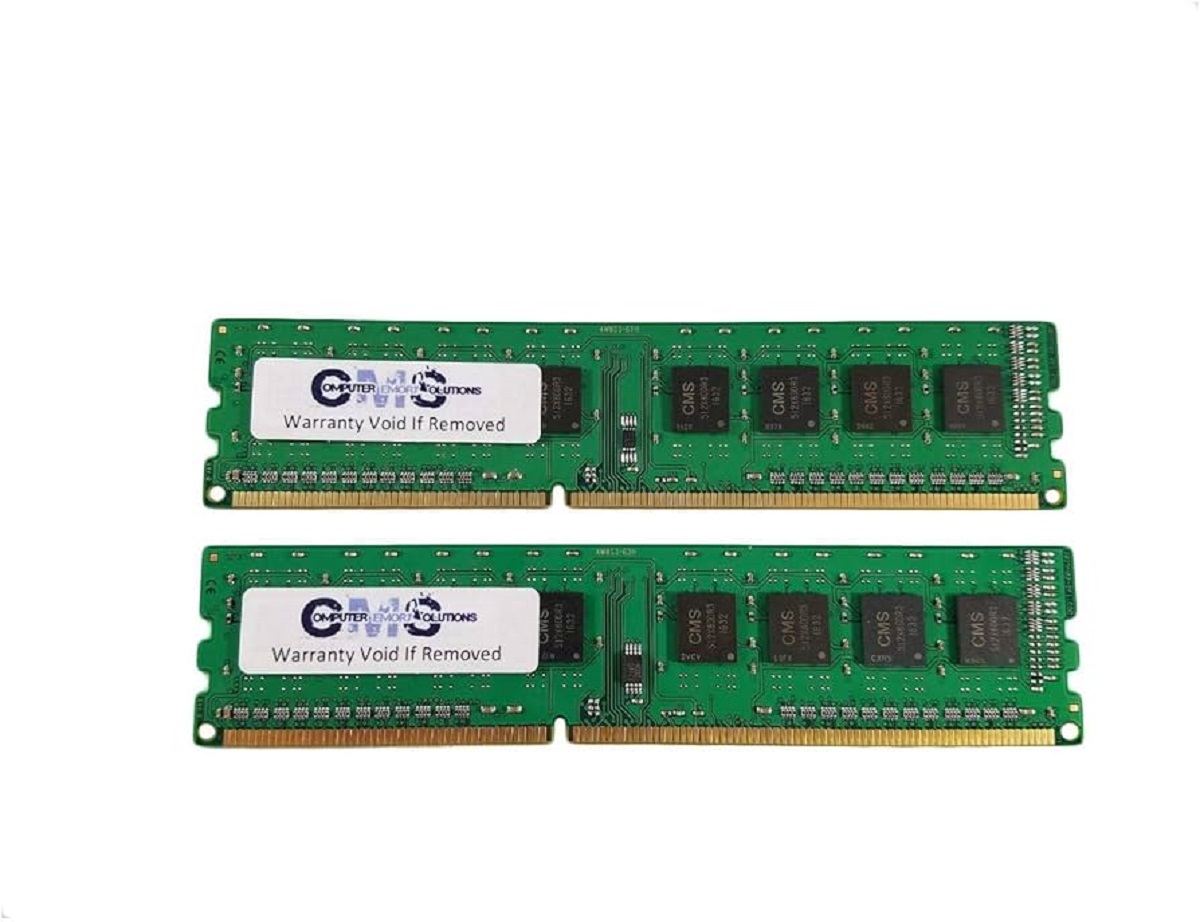
Another factor to consider is the type of RAM you need. There are several types available, such as DDR3, DDR4, and DDR5. Each type has different speed and performance capabilities. Again, refer to your computer’s documentation to determine the appropriate type of RAM for your system.
Additionally, it’s important to ensure that you have a clean and static-free work environment. Static electricity can damage sensitive computer components, so it’s essential to ground yourself by touching a metal object, such as a doorknob, before touching any computer parts. It’s also recommended to work on a non-static surface, such as a rubber mat or an anti-static wristband.
Finally, gather all the necessary tools for the job. While changing out RAM requires minimal tools, having them on hand will make the process smoother. The main tools you will need include a screwdriver (typically a Phillips-head) to remove the computer case, and an anti-static wristband or mat to prevent damage from static electricity.
By checking compatibility, determining the amount and type of RAM you need, preparing a clean work environment, and gathering the necessary tools, you’ll be ready to dive into the process of changing out your RAM and giving your computer a well-deserved performance boost.
Tools You Will Need
Before you begin the process of changing out your RAM, it’s important to gather the necessary tools. While the list is quite minimal, having these tools readily available will make the process smoother and more efficient.
The main tool you will need is a screwdriver. Most computer cases use screws to secure the side panel, so having a screwdriver on hand will allow you to easily remove the case. A Phillips-head screwdriver is the most common type used for computer cases.
Additionally, it’s essential to have an anti-static wristband or mat. These tools help prevent damage to sensitive computer components caused by static electricity. When working on your computer, it’s crucial to discharge any static electricity by grounding yourself before touching any internal components. An anti-static wristband is worn on your wrist and connects to a grounded object, while an anti-static mat provides a non-static surface to work on.
It’s also a good idea to have a clean, lint-free cloth or compressed air canister. This tool will come in handy for cleaning any dust or debris that may have accumulated inside the computer case or on the RAM slots. Keeping your computer clean helps prevent overheating and ensures optimum performance.
Lastly, it may be helpful to have a small container or tray to hold the screws you remove from the computer case. This will prevent them from getting lost or rolling around while you work. Keeping the screws organized and secure ensures that you can easily reassemble the computer once the RAM upgrade is complete.
By having a screwdriver, anti-static wristband or mat, cleaning tools, and a container for screws, you’ll have everything you need to successfully change out the RAM in your computer. With these tools on hand, you’re ready to proceed to the next steps of the process.
Step 1: Shut Down Your Computer
Before you start working on your computer’s internals, it’s crucial to shut down your computer properly. This ensures that you can safely handle the hardware without the risk of damaging any components or causing data loss.
To shut down your computer, click on the “Start” menu in the bottom left corner of your screen. From the options that appear, select “Shut down” or “Power off.” Wait for the computer to complete the shutdown process and power down completely. You can confirm that the computer is off by checking that the screen is black, and there are no lights or fan noises coming from the computer.
Shutting down your computer not only ensures your safety but also prevents any power supply issues during the RAM installation process. It is essential to follow this step diligently before proceeding to the next steps.
Once your computer is completely shut down, you can move on to the next step of removing the computer case to gain access to the internals.
Step 2: Remove the Case
With your computer properly shut down, it’s time to remove the case to gain access to the internal components, including the RAM slots. The process of removing the case may vary depending on the make and model of your computer, so it’s recommended to consult your computer’s manual or manufacturer’s website for specific instructions. However, the general steps outlined below should give you a good starting point.
Start by locating the screws that secure the side panel of your computer case. In most cases, these screws are located on the back of the case. Use a Phillips-head screwdriver to unscrew and remove them. Set the screws aside in a safe place, as you’ll need them later when reassembling the case.
Once the screws are removed, gently slide or lift off the side panel. Be careful not to apply excessive force or rush the process, as you don’t want to accidentally damage any internal components. Some cases may have a latch or release mechanism that needs to be activated before the panel can be removed. Refer to your computer’s documentation for specific instructions on how to remove the case.
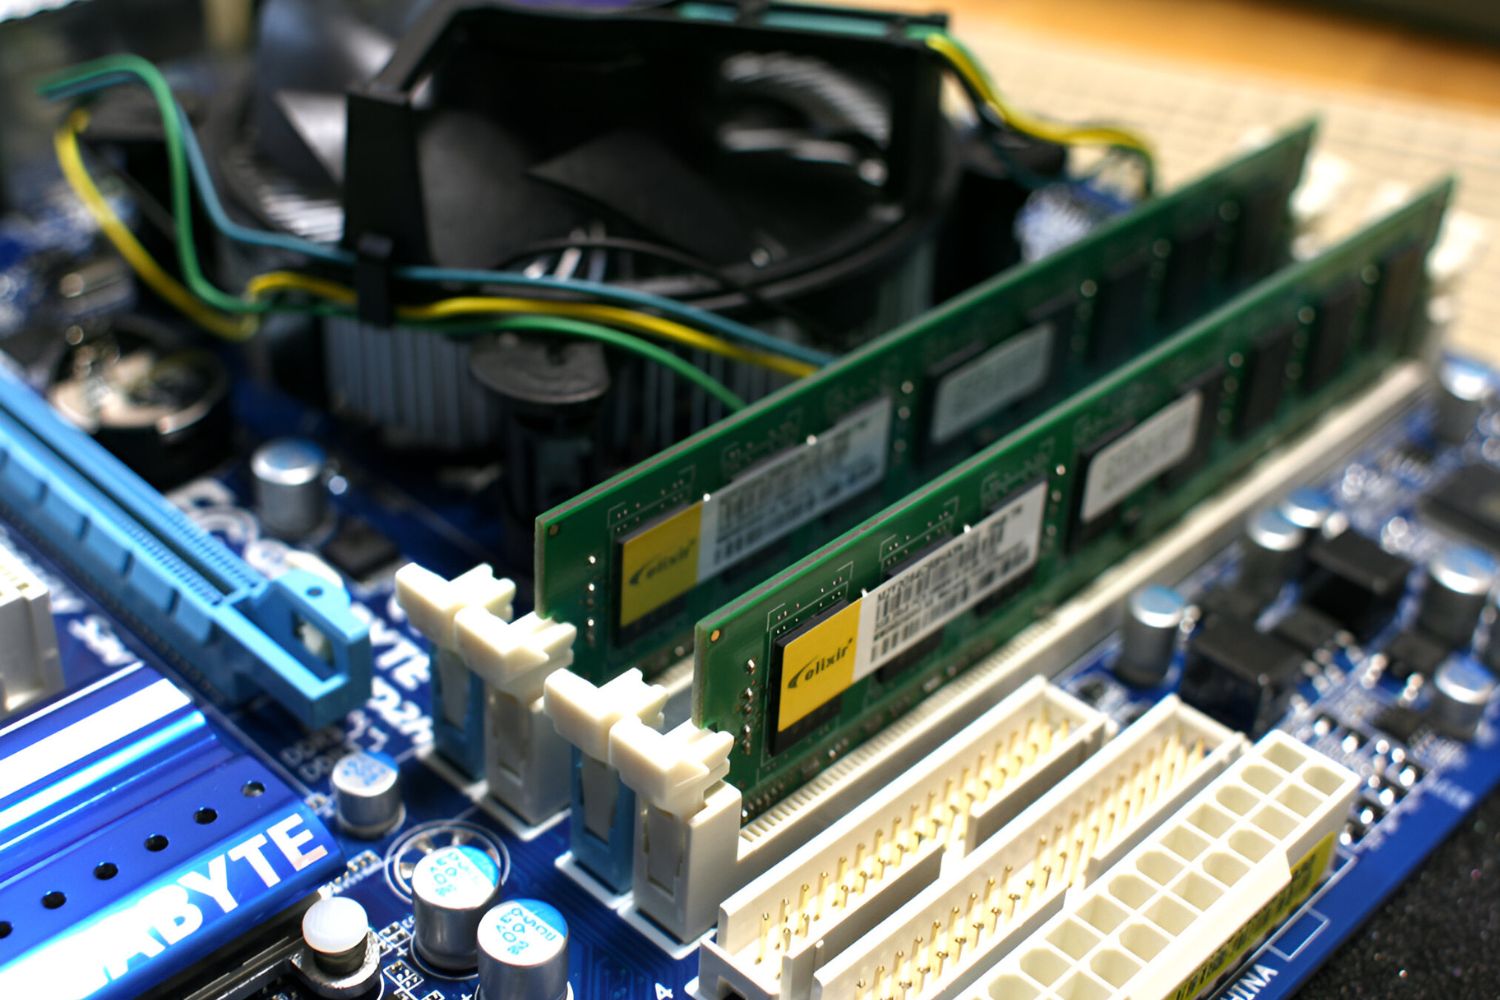
After removing the side panel, you’ll have a clear view of the computer’s internal components. Take a moment to familiarize yourself with the layout and locate the RAM slots. Depending on the motherboard, the RAM slots may be vertically or horizontally aligned. The RAM slots are usually long, thin slots with small clips or levers on either side.
With the case removed and the RAM slots identified, you’re now ready to proceed to the next step of removing the existing RAM modules.
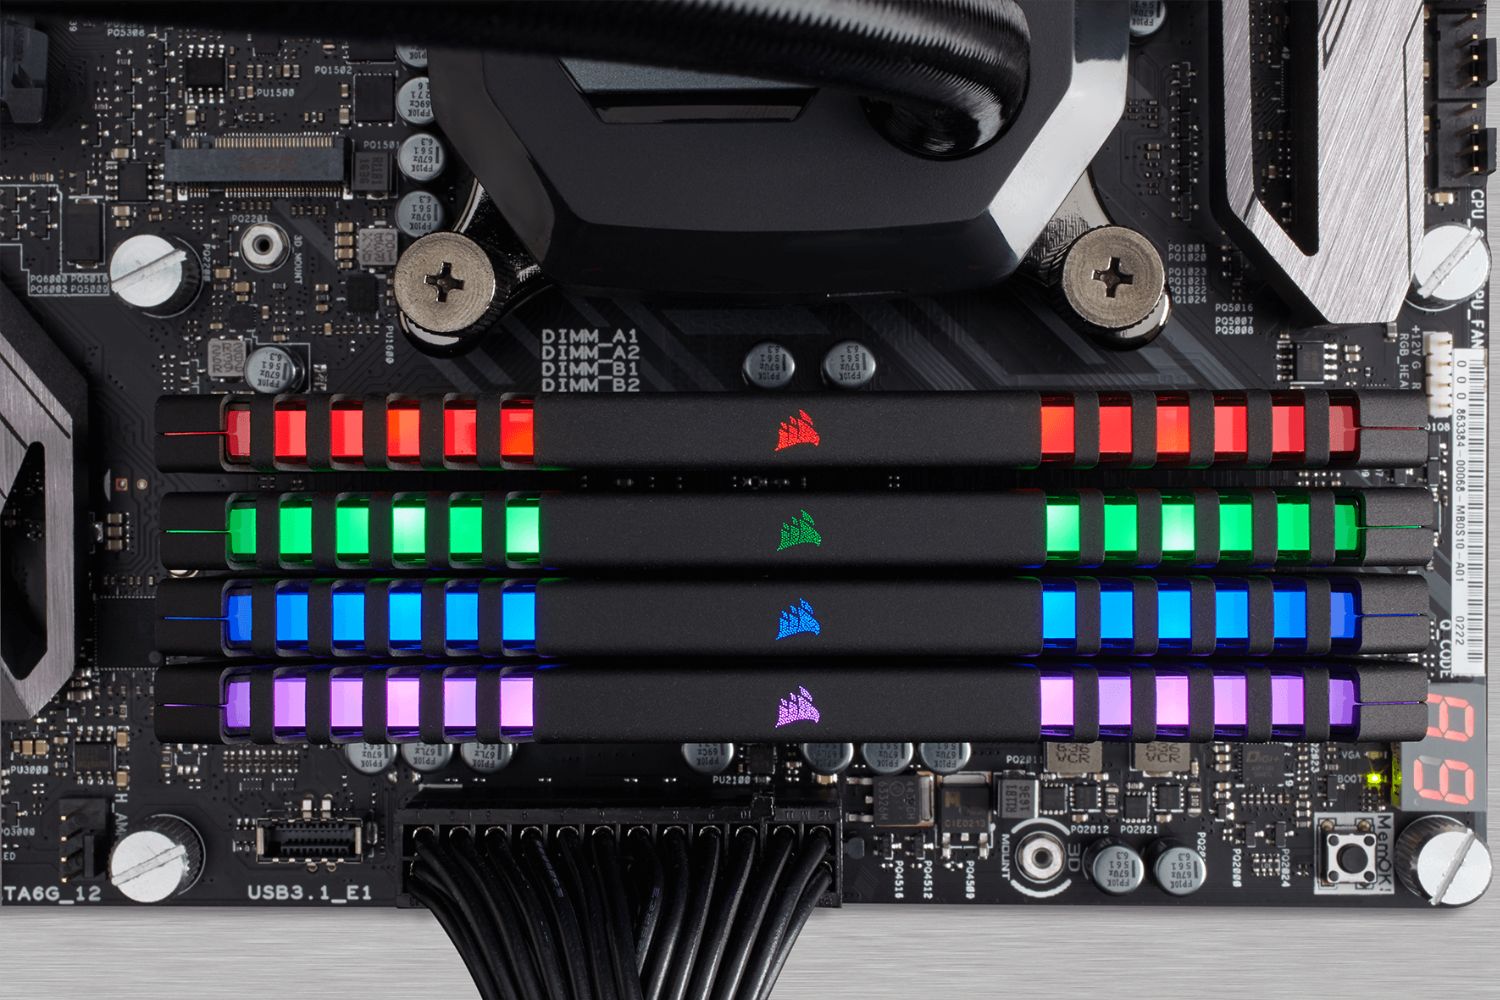
Step 3: Locate the RAM Slots
Now that you have removed the computer case, it’s time to locate the RAM slots. These slots are where the RAM modules are inserted and secured to the motherboard. The exact location of the RAM slots may vary depending on the motherboard design, but they are typically easily identifiable.
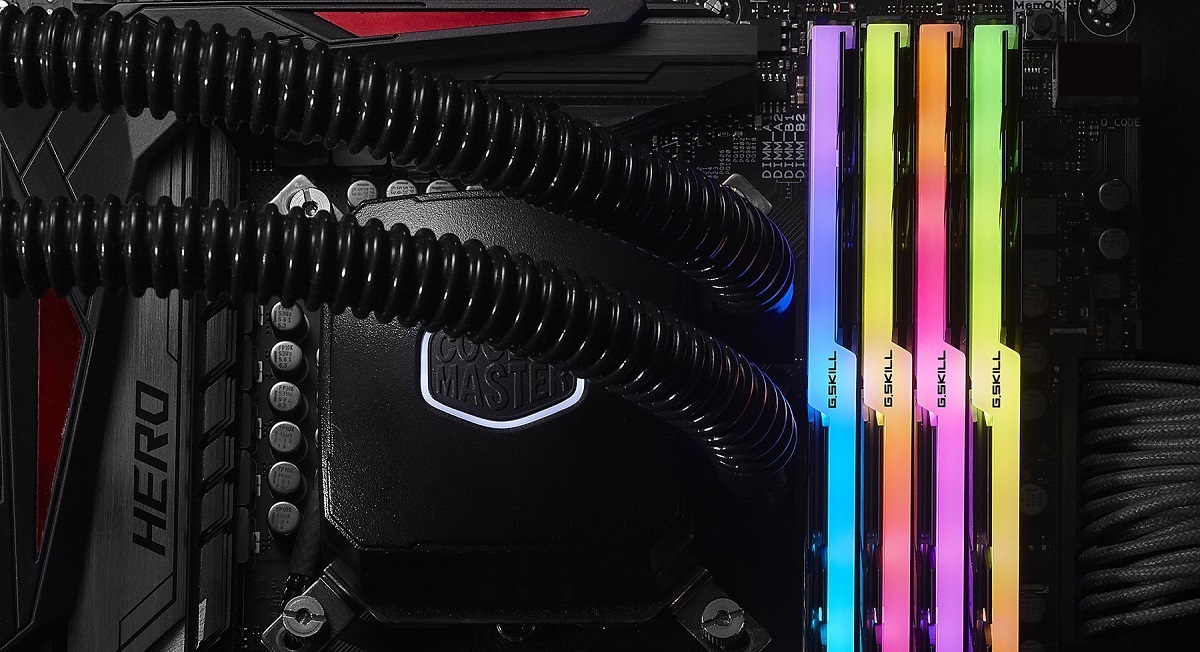
Look for long, rectangular slots on the motherboard. Depending on the motherboard, the RAM slots may be color-coded or labeled to indicate their specific configuration. Most motherboards have two to four RAM slots, but this can vary depending on the model and specifications.
Take a close look at the RAM slots and note any clips or levers on either side. These are designed to secure the RAM modules in place. You’ll need to release these clips or levers when you are ready to remove or insert the RAM modules. Familiarizing yourself with the location and operation of these clips will make the process smoother.
If you are having trouble locating the RAM slots, refer to your computer’s manual or manufacturer’s website for detailed diagrams or instructions. It’s important to correctly identify the RAM slots to ensure a successful RAM upgrade.
Now that you have located the RAM slots, you’re ready to proceed to the next step of removing the existing RAM modules to make way for the new ones.
Step 4: Remove Existing RAM
With the RAM slots identified, it’s time to remove the existing RAM modules from your computer. Follow the steps below to safely remove the RAM modules and make way for the new ones.
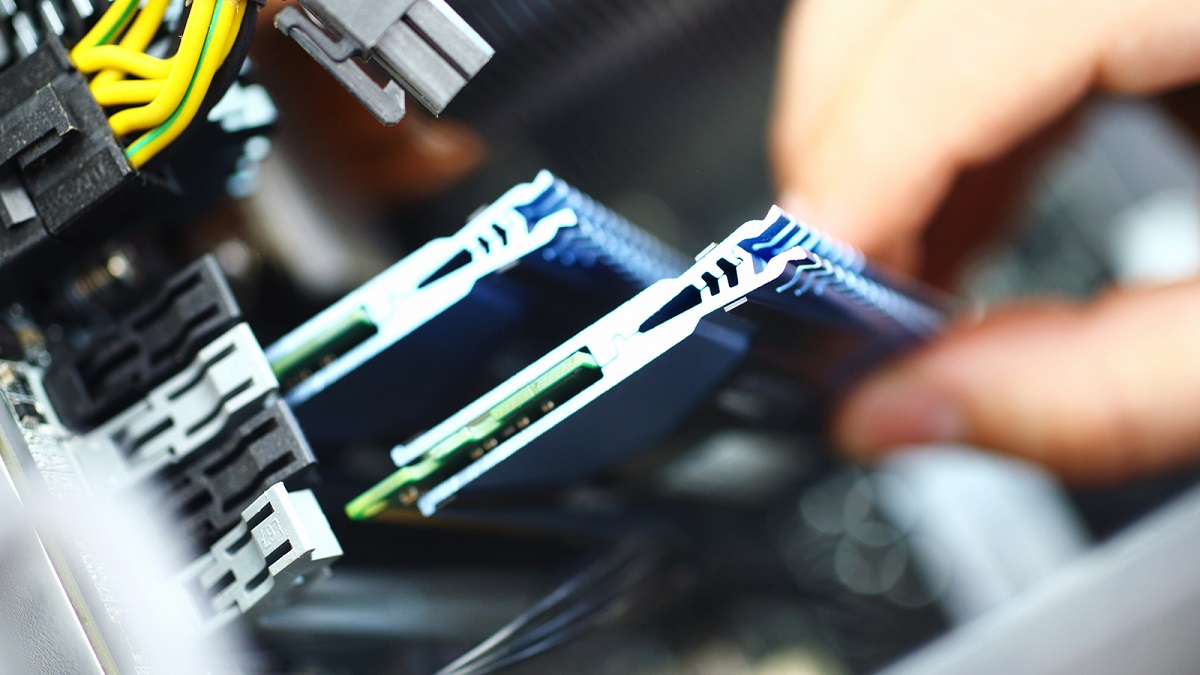
Start by locating the clips or levers on the sides of the RAM slots. These are used to secure the RAM modules in place. Gently push these clips or levers outward to release the RAM module.
Once the clips or levers are released, the RAM module will pop up at a slight angle. Carefully grasp the edges of the RAM module and pull it straight out from the slot. Avoid touching the metal contacts on the bottom of the module, as this can interfere with proper functioning.
You may need to apply a bit of pressure to remove the RAM module, but be careful not to use excessive force as this can cause damage to the module or the slot. If the module doesn’t easily come out, double-check that the clips or levers are fully released and gently try again.
Once the RAM module is removed, place it in an anti-static bag or on an anti-static surface to prevent damage from static electricity. It’s a good idea to label the RAM module if you plan to keep it as a spare or for future use.
Repeat this process for any additional RAM modules you have installed. Depending on your computer’s configuration, you may have one or more modules to remove. Make sure to remove all the existing RAM modules before proceeding to the next step.
With the existing RAM modules safely removed, you’re now ready to insert the new RAM modules and complete the upgrade process.
Step 5: Insert the New RAM
Now that you have removed the existing RAM modules, it’s time to insert the new ones into the vacant RAM slots. Follow the steps below to ensure a successful installation of the new RAM modules.
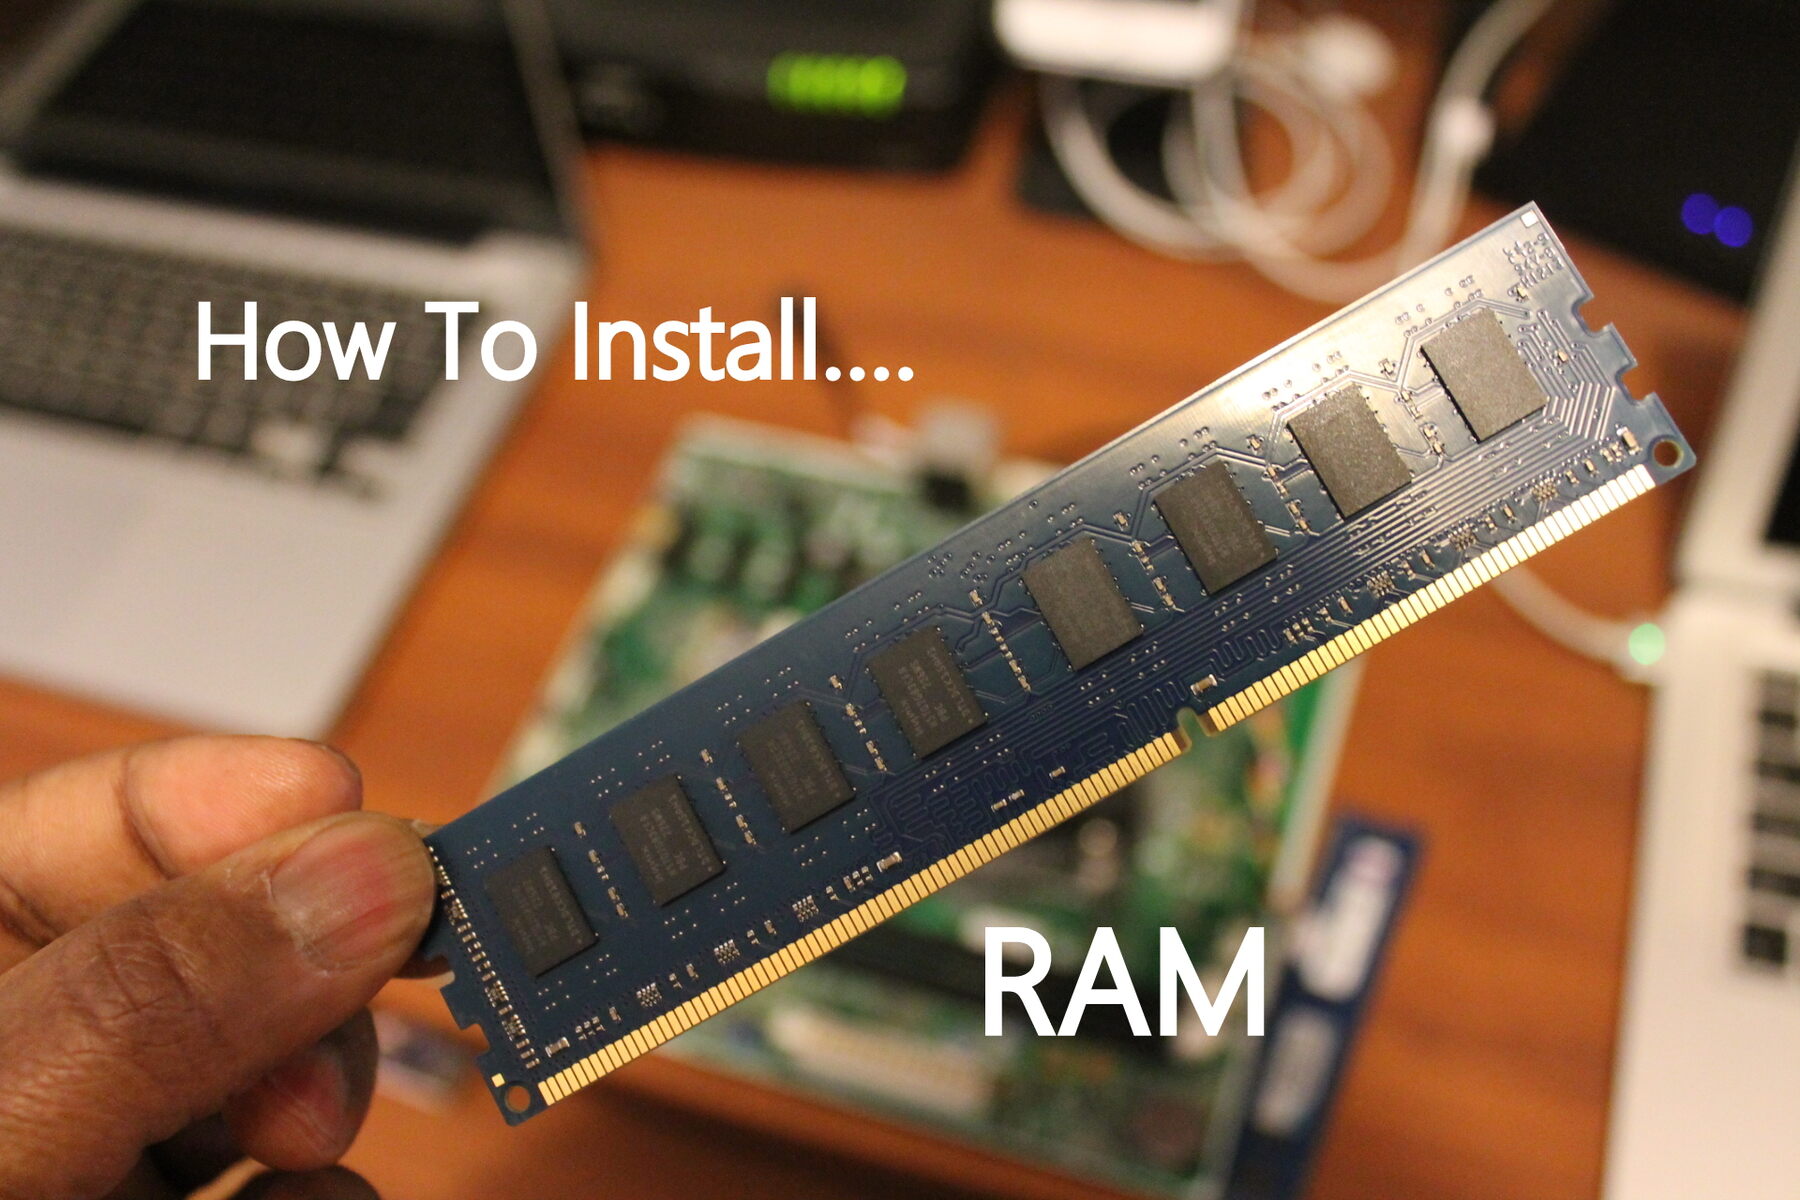
Start by taking out the new RAM module from its packaging. Handle the module carefully by holding it on the edges, avoiding contact with the metal contacts on the bottom. If needed, refer to the manufacturer’s instructions or documentation to determine the correct orientation of the RAM module.
Align the notch on the bottom of the RAM module with the corresponding notch in the RAM slot. This ensures that the module is inserted in the correct orientation. Be gentle, and with a slight angle, insert the module into the slot. Apply even pressure, pushing it straight down into the slot until you hear a click or the clips on the sides snap into place.
Ensure that the module is fully inserted and securely seated in the slot. The clips or levers should automatically close and lock the RAM module in place. Give the module a gentle tug to confirm that it is properly secured.
If you are installing multiple RAM modules, repeat this process for each module, one at a time. Make sure to insert the modules into the correct slots according to your computer’s specifications or motherboard layout. It’s common practice to install identical modules (e.g., same brand, speed, and capacity) in matching slots for optimal performance. Refer to your computer’s manual or manufacturer’s documentation for guidance on recommended RAM configurations.
Once all the new RAM modules are securely inserted into their respective slots, you’re ready to move on to the final steps of reassembling your computer and powering it up.
Step 6: Replace the Case
After successfully inserting the new RAM modules, it’s time to put the computer case back together. Follow these steps to properly reassemble the case and ensure the components are protected.
Align the side panel of the computer case with the open side of the case. Gently slide or lower the panel back into place, ensuring it’s snugly fit against the rest of the case. The panel should line up with any screw holes on the back of the case.
Once the panel is aligned, use the screws you removed earlier to secure the panel back onto the case. Insert the screws into their respective holes and tighten them using a Phillips-head screwdriver. Tighten the screws until they are snug but avoid using excessive force that could damage the case or strip the screw threads.
Double-check that all the screws are securely tightened, as loose screws can cause the case to rattle or allow dust to enter. A properly closed case ensures the internal components are protected and minimizes the risk of damage or disconnection.
With the case fully reassembled, take a moment to ensure everything looks aligned and in place. Check that all cables are neatly routed and connected securely. Avoid any visible cables obstructing fans or airflow, as this can impact the cooling of your system.
Congratulations! You have successfully replaced the case and completed the physical installation of the new RAM modules. Now you’re ready to power up your computer and enjoy the enhanced performance.
Before powering on your computer, take a final look around the work area to ensure you have not left any tools or loose screws inside the case. Leaving foreign objects inside the case can cause serious damage to the components when powered on.
With everything in order, it’s time to move on to the final step of powering up your computer and verifying that the new RAM is recognized and functioning correctly.
Step 7: Power Up Your Computer
Now that you have successfully replaced the case, it’s time to power up your computer and ensure that the new RAM modules are recognized and functioning properly. Follow the steps below to safely power on your computer and check for any issues.
Carefully plug in the power cable to the back of your computer and into a power outlet. Ensure that all other cables, such as the monitor cable and peripherals, are securely connected as well. Double-check that everything is plugged in correctly to avoid any loose connections.
Once all the cables are connected, press the power button on your computer to turn it on. You should hear the fans spinning, and the computer should start to boot up. Pay attention to the startup process and look for any error messages or unusual behavior. If you encounter any issues, such as a black screen or error messages related to RAM, it’s recommended to consult your computer’s manual or perform additional troubleshooting steps.
After the computer finishes booting up, log in to your operating system. It’s time to confirm that the new RAM is recognized and functioning correctly. Open the System Information or Task Manager utility on your computer (the exact method varies depending on your operating system) and navigate to the RAM section. Here, you should see the new RAM modules listed, along with their specifications, such as capacity and speed. Make sure the information matches the specifications of the RAM you installed.
If you notice that the new RAM is not recognized or there are discrepancies in the displayed information, double-check the installation of the RAM modules. Ensure they are fully inserted and securely seated in the slots. You may also try reseating the RAM modules or swapping their positions in the RAM slots, making sure to follow any recommended configurations for optimal performance.
If the new RAM is recognized correctly and there are no errors or issues, congratulations! You have successfully upgraded your computer’s RAM. Enjoy the improved performance and faster multitasking capabilities that the additional RAM provides.
If you encounter any problems or are unsure about any aspect of the RAM installation, it’s always a good idea to seek professional assistance or consult knowledgeable resources. With the right support, you can ensure a smooth and successful RAM upgrade.
Conclusion
Changing out the RAM in your PC can be a straightforward and cost-effective way to improve your computer’s performance. By following the steps outlined in this guide, you can successfully upgrade your RAM and experience faster multitasking, smoother application performance, and an overall boost in system responsiveness.
Before you begin the process, ensure that you have compatible RAM for your computer and familiarize yourself with its specifications. Take the necessary precautions to protect your computer and yourself, such as grounding yourself to prevent static electricity damage and working in a clean and organized environment.
Throughout the process, be gentle with your computer’s components and take care when handling the RAM modules. Properly inserting the new RAM modules into the vacant slots is crucial for their successful installation. Ensure that the clips or levers lock the modules in place to guarantee a secure connection.
With the RAM installed, reassemble the computer case, making sure all screws are tightened, cables are properly connected, and the case is aligned. Finally, power up your computer and verify that the new RAM is recognized and functioning correctly.
Remember, if you encounter any issues or have concerns during the RAM installation process, it’s always wise to consult the manufacturer’s documentation or seek professional assistance. Upgrading RAM can significantly enhance your computer’s performance, but it’s essential to follow the proper steps to avoid any risks or damage.
Now that you have successfully upgraded your computer’s RAM, enjoy the improved speed and responsiveness of your system. Whether you’re gaming, running resource-intensive applications, or simply multitasking, the additional RAM will make a noticeable difference in your computing experience.
By taking the time to upgrade your RAM, you’ve invested in optimizing your computer’s performance and ensuring its longevity. Enjoy the benefits and continue exploring other ways to enhance your computing setup.