Introduction
Welcome to the world of computer performance optimization! If you’re frustrated with the laggy response and slow loading times of your PC, then you’re in the right place. In this article, we will dive into the topic of speeding up your RAM and explore various techniques to enhance your computer’s capabilities.
Random Access Memory, commonly known as RAM, plays an integral role in your computer’s performance. It is the temporary storage that holds data and instructions for your computer’s processor to access quickly. The more RAM your PC has, the more tasks it can handle simultaneously, resulting in better overall performance.
However, over time, your RAM may become overloaded with unnecessary programs, malware, and background processes, causing your computer to slow down. This is where optimizing your RAM comes into play.
In the following sections, we will discuss several methods to speed up your RAM and breathe new life into your PC. From clearing unnecessary programs to adjusting virtual memory settings, each technique will contribute to improving your computer’s speed and responsiveness.
Please note that these techniques are aimed at users with a basic understanding of computers. If you’re not comfortable making changes to your system settings or hardware, it is recommended to seek assistance from a professional.
So, let’s buckle up and get ready to boost the performance of your PC by optimizing its RAM. By the end of this article, you’ll be equipped with the knowledge and tools to reclaim the speed and efficiency you desire.
Understanding RAM
Before we delve into the techniques to speed up your RAM, let’s take a moment to understand what RAM is and how it impacts your computer’s performance.
RANDOM ACCESS MEMORY, abbreviated as RAM, is a critical component of your computer’s hardware. It serves as temporary storage that allows your computer’s processor to quickly access data and instructions while performing tasks. RAM is faster than your computer’s hard drive or solid-state drive (SSD), which makes it an essential factor in determining the speed and efficiency of your PC.
Think of RAM as a workspace that your computer’s processor uses to handle tasks. The greater the amount of RAM your PC has, the larger the workspace available, allowing your computer to handle more tasks simultaneously.
When you open a program or run a task on your computer, the required data and instructions are loaded into RAM. This enables your processor to access them quickly, resulting in faster response times and smoother performance.
However, RAM is temporary storage, meaning that the data stored in it is cleared when you turn off or restart your computer. This is why it’s essential to differentiate RAM from permanent storage devices like hard drives or SSDs, which retain data even when the computer is powered off.
Another crucial aspect of RAM is its speed. RAM modules are labeled with a speed rating, typically represented in megahertz (MHz). The higher the speed, the faster the RAM can transfer data, which directly impacts the overall performance of your PC.
RAM capacity and speed play a pivotal role in multitasking and running memory-intensive programs. If you frequently find yourself working with resource-heavy applications like video editing software or multiple virtual machines, upgrading your RAM can significantly improve your computer’s performance in these scenarios.
Now that you have a basic understanding of what RAM is and its significance in your computer’s performance, let’s move on to the practical techniques you can implement to speed up your RAM and optimize your PC’s speed.
Clearing Unnecessary Programs
One of the most effective ways to speed up your RAM is by clearing unnecessary programs from your computer. Over time, you may accumulate a variety of software that runs in the background, consuming valuable resources and slowing down your PC’s performance.
To clear unnecessary programs, start by reviewing the list of installed applications on your computer. Uninstall any programs that you no longer use or need. You can access the list of installed apps through the Control Panel on Windows or the Applications folder on macOS.
In addition to removing unnecessary programs, it is important to disable any startup applications that are set to launch automatically when your computer boots up. These applications consume RAM and can significantly slow down your computer’s startup time. On Windows, you can use the Task Manager or the System Configuration tool to manage startup items. On macOS, navigate to System Preferences and select Users & Groups, then click on your username and navigate to the Startup Items tab to manage startup apps.
Another area to address is browser extensions. These small add-ons can consume resources, including RAM, as they run in the background while you browse the internet. Review your extensions and remove any that are no longer necessary or that you suspect might be causing performance issues.
In addition to removing programs, it’s also important to regularly clean up temporary files, caches, and browser history. These files accumulate over time and can take up valuable space on your hard drive and RAM. Utilize built-in system utilities like Disk Cleanup on Windows or the Storage Management tool on macOS to clear out these files.
By clearing unnecessary programs and files from your computer, you free up valuable resources, including RAM, and allow your PC to perform at its optimal speed.
Remember to restart your computer after clearing unnecessary programs to ensure that the changes take effect. While this may seem simple, it is an effective way to enhance your computer’s performance and speed up your RAM without any hardware upgrades.
Removing Malware and Viruses
Malware and viruses can wreak havoc on your computer’s performance, including causing a significant drain on your RAM. These malicious programs can run in the background, consuming valuable resources and slowing down your PC.
To remove malware and viruses, it is crucial to have an up-to-date and reputable antivirus software installed on your computer. Perform a full system scan with your antivirus software to detect and remove any malicious programs lurking in your system.
In addition to using antivirus software, it is wise to regularly update your operating system and other software installed on your computer. Developers release security patches and updates to address vulnerabilities that can be exploited by malware. By keeping your system and software up to date, you reduce the risk of malware infections and improve the overall performance of your PC.
If your antivirus scan detects any malware or viruses that it cannot remove automatically, you may need to utilize specialized malware removal tools. These tools are designed to target and eliminate specific types of malware that may have evaded your antivirus software.
It’s important to note that prevention is key when it comes to malware and viruses. Avoid downloading files or software from untrustworthy sources and be cautious when opening email attachments or clicking on suspicious links. Additionally, enable firewalls and ensure that your computer’s security settings are properly configured to provide an extra layer of protection against malware and viruses.
By regularly scanning your system, keeping your software updated, and practicing safe browsing habits, you can minimize the risk of malware infections, improve your computer’s overall performance, and optimize your RAM.
Remember, removing malware and viruses is an ongoing process. Make it a habit to perform regular scans and updates to ensure that your computer remains protected and runs smoothly.
Closing Background Apps
Background apps are programs that run in the background, often without your knowledge, consuming valuable system resources, including RAM. Closing unnecessary background apps can significantly speed up your RAM and improve your overall computer’s performance.
To identify and close background apps on Windows, you can use the Task Manager. Press Ctrl + Shift + Esc or right-click on the taskbar and select Task Manager to open it. In the Processes or Details tab, you can see a list of running programs and their resource usage. Identify any unnecessary apps that are consuming a significant amount of RAM and right-click on them to select “End Task” or “End Process.”
On macOS, you can use the Activity Monitor to identify and close background apps. Open the Utilities folder located within the Applications folder, then launch Activity Monitor. In the CPU or Memory tab, you can see a list of running apps and their resource usage. Select any unnecessary apps and click on the “X” button in the upper-left corner to close them.
In addition to manually closing background apps, you can also adjust the settings of certain apps to prevent them from running in the background altogether. For example, many applications have an option to disable automatic startup or background processes in their settings or preferences menu.
It’s important to note that some background apps are necessary for the proper functioning of your system or the apps you use regularly. Be cautious when closing background apps and make sure you are not closing any essential system processes or applications that you rely on.
Closing unnecessary background apps not only frees up RAM but also reduces the strain on your computer’s processor and improves overall responsiveness. You’ll have a smoother and more efficient computing experience by keeping only the essential apps running.
By regularly monitoring and closing unnecessary background apps, you can optimize your RAM usage and improve the overall performance of your PC.
Adjusting Virtual Memory
Virtual memory is a technology that enables your computer to use a portion of your hard drive as additional RAM. This allows your PC to handle more tasks and programs simultaneously, especially when physical RAM capacity is limited.
By adjusting the virtual memory settings, you can optimize the allocation of virtual memory to improve your computer’s performance.
To adjust virtual memory on a Windows computer, follow these steps:
- Right-click on the “This PC” or “My Computer” icon and select “Properties.”
- In the System Properties window, click on the “Advanced system settings” link on the left-hand side.
- In the System Properties dialog box, under the “Advanced” tab, click on the “Settings” button in the Performance section.
- In the Performance Options window, go to the “Advanced” tab and click on the “Change” button under the “Virtual memory” section.
- In the Virtual Memory window, uncheck the “Automatically manage paging file size for all drives” option.
- Select the drive where your operating system is installed (usually the C: drive).
- Choose the “Custom size” option and enter the initial and maximum size of the virtual memory.
- Click on the “Set” and then “OK” button to save the changes.
- Restart your computer for the changes to take effect.
On macOS, adjusting virtual memory is automatic, and there are no user-accessible settings to change it manually.
When adjusting virtual memory, it’s essential to consider the available hard drive space. Setting the virtual memory too high or too low can have adverse effects on your computer’s performance. It’s generally recommended to set the initial size as the same as the recommended size displayed in the Virtual Memory window, and the maximum size can be set higher based on your system requirements.
By fine-tuning the virtual memory settings, you can provide your computer with the necessary resources to handle multiple tasks efficiently and improve the overall performance of your PC.
Note that adjusting virtual memory should be done with caution. It is recommended to consult the documentation or seek professional assistance for optimal settings based on your specific computer configuration.
Disabling Visual Effects
Visual effects, such as animations, transparent windows, and fancy graphics, can be visually appealing but can also consume a considerable amount of system resources, including RAM. Disabling or reducing these visual effects can help speed up your RAM and improve your computer’s performance.
To disable or adjust visual effects on a Windows computer, follow these steps:
- Right-click on the “This PC” or “My Computer” icon and select “Properties.”
- In the System Properties window, click on the “Advanced system settings” link on the left-hand side.
- In the System Properties dialog box, under the “Advanced” tab, click on the “Settings” button in the Performance section.
- In the Performance Options window, go to the “Visual Effects” tab.
- Select the “Adjust for best performance” option to disable all visual effects, or manually choose which effects to disable by selecting the “Custom” option.
- Click on the “Apply” and then “OK” button to save the changes.
On macOS, you can disable certain visual effects by navigating to “System Preferences” and selecting “Accessibility.” Under the “Display” section, you can enable “Reduce motion” and “Increase contrast” to minimize visual effects.
Disabling visual effects may make your computer’s interface appear less flashy, but it can help improve the speed and responsiveness of your PC. By reducing the strain on your RAM, you allow it to focus on running essential programs and tasks efficiently.
Additionally, you can optimize the performance of resource-intensive applications, such as video editing software or games, by configuring them to use reduced visual effects. Many applications have settings that allow you to adjust graphics quality or disable specific visual effects within the application itself.
Remember, disabling visual effects is a trade-off between aesthetics and performance. If you prioritize faster and more efficient computing, sacrificing some visual flair can significantly boost your RAM and overall system performance.
Experiment with different visual settings to find the balance that suits your preferences and computing needs. Adjusting visual effects is a personal choice, and you can always revert to the default settings or enable specific effects if desired.
Updating Drivers
Drivers are software programs that facilitate communication between your computer’s operating system and hardware devices. Outdated or incompatible drivers can significantly impact your computer’s performance, including the utilization of your RAM. Updating drivers regularly can help ensure that your hardware functions optimally and enhances the efficiency of your RAM.
Windows computers offer built-in tools to update drivers. You can use the Device Manager to check for driver updates. To access it, right-click on the “This PC” or “My Computer” icon, select “Properties,” and then click on the “Device Manager” link. Expand the categories and right-click on a device to select “Update driver.” Choose the option to search for drivers automatically online or specify the location where you have downloaded the updated drivers.
On macOS, driver updates are typically handled through system updates. Keeping your operating system up to date ensures that the essential drivers for hardware components are also up to date.
In addition to using built-in tools, you can also visit the manufacturer’s website for each hardware component and download the latest drivers directly from their support or downloads section. This ensures that you have the most recent and compatible drivers for your specific hardware.
Updating drivers can improve the stability, compatibility, and performance of your hardware, including the optimized utilization of your computer’s RAM. Newer drivers often include bug fixes and performance enhancements that can result in smoother operations and more efficient management of system resources.
It’s important to note that updating drivers should be done carefully, and you should follow the manufacturer’s instructions and recommendations. Backing up your data and creating a system restore point before updating drivers can serve as precautions in case any unexpected issues arise.
By taking the time to update your drivers regularly, you can ensure that your hardware functions at its best, leading to improved overall performance and better utilization of your computer’s RAM.
Installing More RAM
If you have explored the various optimization techniques and still find that your computer’s performance is not up to par, it may be time to consider upgrading your RAM. Increasing the amount of RAM in your computer can provide a significant boost in performance, especially when running memory-intensive applications or multitasking.
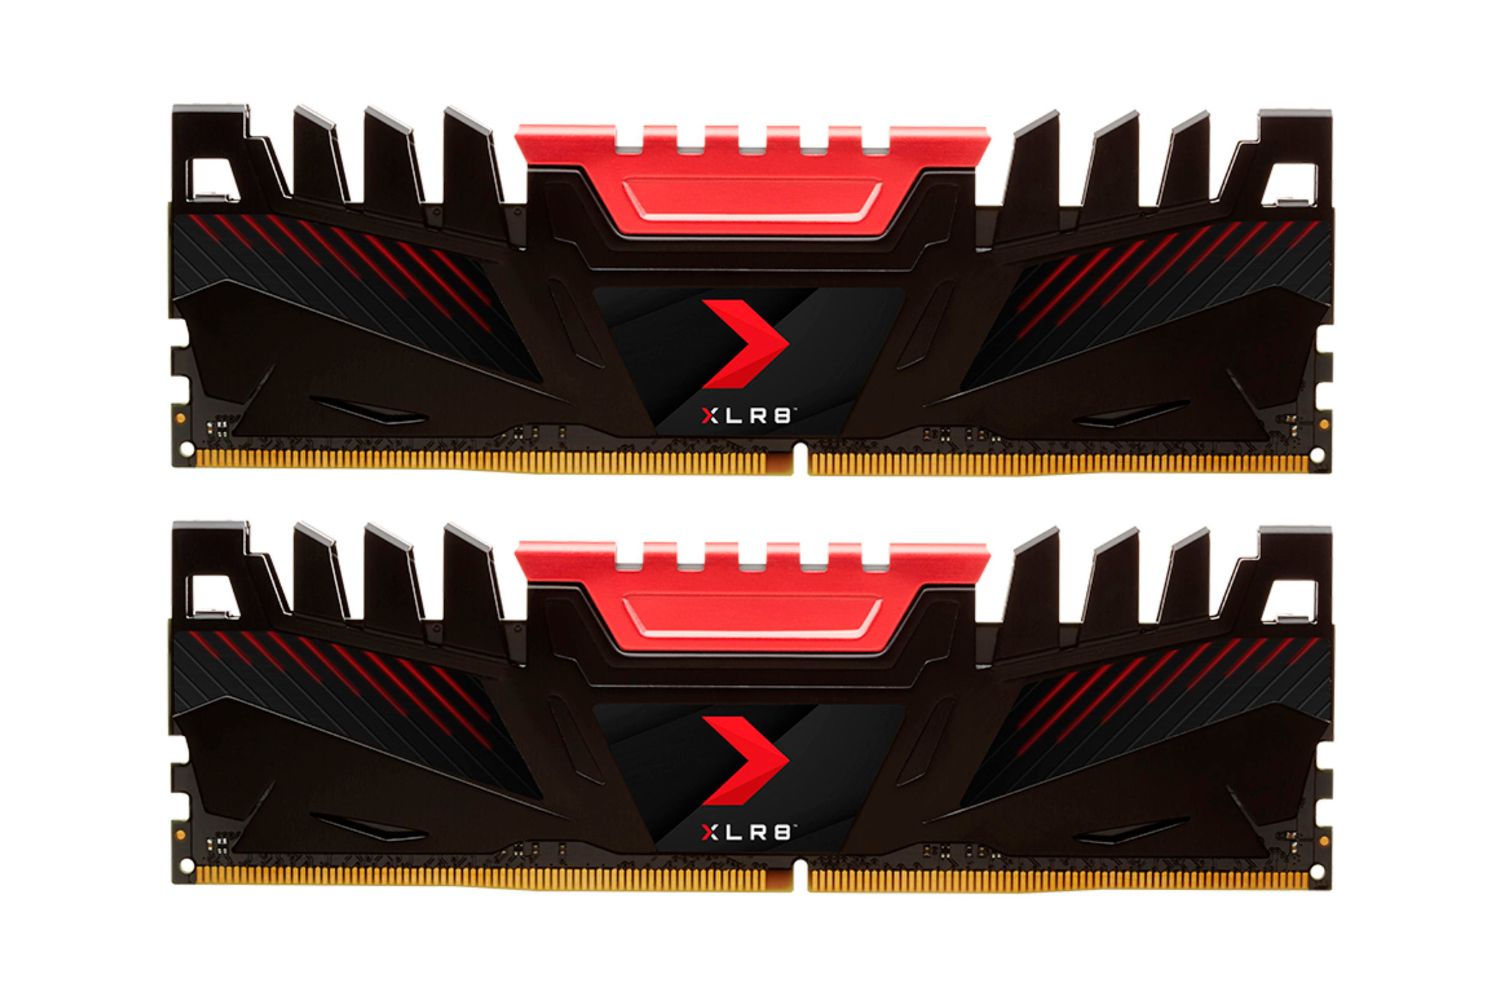
To install more RAM, you need to determine the type and capacity of RAM that is compatible with your computer. You can consult your computer’s documentation or visit the manufacturer’s website to find information about the maximum supported RAM and the type of RAM modules that are compatible.
Once you have the compatible RAM, follow these general steps to install it:
- Power off your computer and disconnect it from the power source.
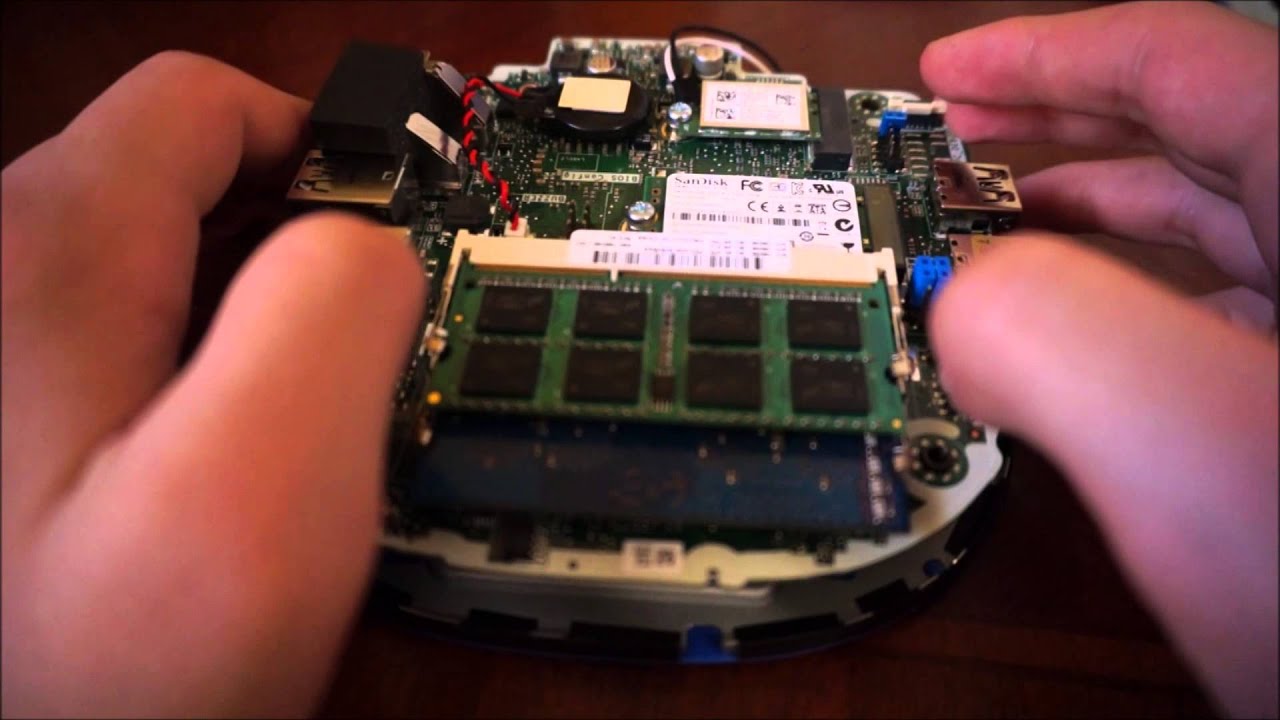
- Open your computer’s casing or access panel to access the internal components. Refer to your computer’s documentation for guidance.
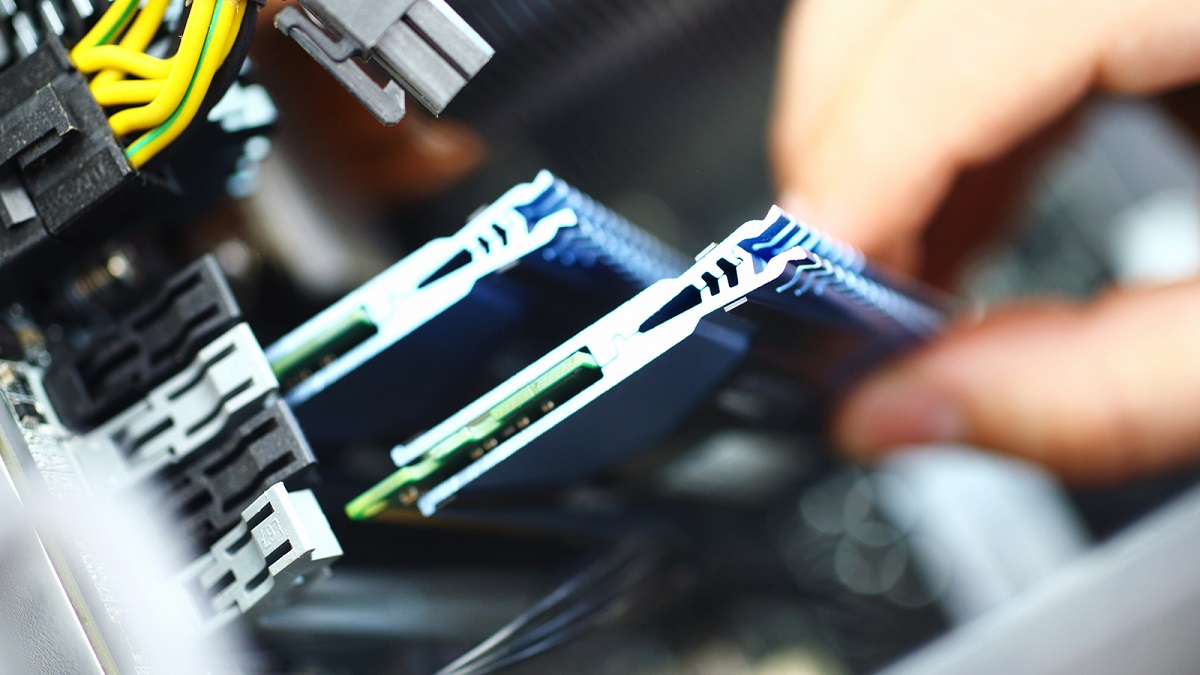
- Locate the RAM slots on your motherboard. Depending on your computer, you may have multiple slots.
- Remove the existing RAM modules, if necessary. Gently push apart the retaining clips on either side of the module and carefully lift it out.
- Take your new RAM module and align it with the slot. Insert it at a slight angle and firmly press it down until the retaining clips snap into place.
- Repeat the process for any additional RAM modules you want to install.
- Reassemble your computer’s casing or access panel.
- Power on your computer and check the system information or the BIOS to ensure that the new RAM is recognized.
It’s important to note that before purchasing new RAM, you should verify the maximum supported RAM capacity of your computer and the number of available RAM slots. Some computers may have limitations on the amount of RAM they can support or the configuration of RAM modules.
Installing more RAM provides your computer with additional resources to handle multiple tasks and data more efficiently. This results in faster application loading times, smoother multitasking, and a generally more responsive computing experience.
By upgrading your RAM, you can maximize the potential of your computer’s performance and optimize the utilization of your system resources, including RAM.
If you’re uncertain about installing RAM yourself, it is advisable to seek assistance from a professional or a knowledgeable individual to ensure a successful installation without causing any damage to your computer.
Conclusion
Optimizing your computer’s RAM is an effective way to enhance its performance and speed. In this article, we covered various techniques to speed up RAM, ranging from clearing unnecessary programs and removing malware to adjusting virtual memory and disabling visual effects. Each method contributes to improving your computer’s overall responsiveness and resource management.
Clearing unnecessary programs and closing background apps free up valuable system resources, including RAM, allowing your computer to handle tasks more efficiently. Removing malware and updating drivers ensure the stability and compatibility of your system, while adjusting virtual memory optimizes RAM utilization.
Additionally, disabling visual effects and considering hardware upgrades like installing more RAM can provide a significant performance boost. These techniques help maximize the capabilities of your computer’s hardware, leading to smoother multitasking, faster application loading times, and a more responsive computing experience.
Remember, when implementing these techniques, it’s important to strike a balance between optimizing your computer’s performance and maintaining the functionality of necessary processes and applications. Always exercise caution and refer to your computer’s documentation or seek professional assistance when needed.
By implementing the strategies outlined in this article and adapting them to suit your specific needs, you can take control of your computer’s performance and unlock its full potential. Enjoy a faster, more efficient, and enjoyable computing experience as you optimize your RAM and enhance the performance of your PC.
So, go ahead and take the necessary steps to optimize your RAM. Your computer will thank you with improved speed, responsiveness, and overall performance.