Introduction
Upgrading the RAM in your laptop is an effective way to boost its performance and improve overall multitasking capabilities. If you find that your laptop is struggling to handle multiple programs simultaneously or experiencing slowdowns, a RAM upgrade may be just what you need. This article will guide you through the process of upgrading your laptop’s RAM from 8GB to 16GB, providing step-by-step instructions and tips to ensure a successful upgrade.
Benefits of Upgrading Laptop RAM
Adding more RAM to your laptop can have several significant benefits. First and foremost, it will enhance your laptop’s multitasking capabilities, allowing you to run multiple applications simultaneously without experiencing lag or performance issues. Whether you’re a student using resource-demanding software for your studies or a professional who needs to run virtual machines or design tools, a RAM upgrade will greatly improve your productivity and overall user experience.
In addition to improved multitasking, upgrading your laptop’s RAM can also lead to faster loading times for applications and files. The additional memory will provide more space for data to be stored temporarily, reducing the need for your laptop to constantly access the slower storage drive. This will result in quicker program launches, shorter file transfer times, and smoother overall system performance.
Another benefit of increasing your laptop’s RAM is its impact on gaming performance. If you enjoy playing graphics-intensive games, a RAM upgrade can enhance your gaming experience by allowing smoother gameplay and reducing stuttering or lag. The additional memory will provide your laptop with the resources it needs to handle the demanding requirements of modern games.
Checking Compatibility
Before purchasing new RAM for your laptop, it’s crucial to ensure compatibility with your specific model. Take note of your laptop’s exact make and model number, as well as its current RAM specifications. You can find this information by checking the documentation that came with your laptop or by visiting the manufacturer’s website. Look for the maximum capacity and type of RAM supported by your laptop to ensure compatibility with the new RAM you intend to purchase.
It’s also advisable to check if your laptop has any specific requirements or limitations when it comes to RAM upgrades. Some laptops may require specific configurations, such as using RAM modules of the same capacity or operating at a certain speed. Check the laptop’s documentation or the manufacturer’s website for any additional information or restrictions.
Benefits of Upgrading Laptop RAM
Upgrading the RAM in your laptop can provide several significant benefits that enhance its overall performance and user experience. Here are some key advantages of upgrading your laptop’s RAM:
- Improved Multitasking: Adding more RAM allows your laptop to handle multiple tasks and applications simultaneously without experiencing performance issues. You can switch between programs smoothly and run resource-intensive software without lag.
- Faster Loading Times: Upgrading RAM reduces the need for your laptop to constantly access the slower storage drive. This translates into faster loading times for applications, files, and websites, enhancing overall productivity.
- Enhanced Performance: With more RAM, your laptop can store and access more data in its memory, resulting in improved system performance. It facilitates quicker data retrieval and manipulation, leading to a more responsive and efficient computing experience.
- Optimized Gaming Experience: Gamers can benefit greatly from a RAM upgrade. Increasing the RAM allows your laptop to handle graphics-intensive games more effectively, providing smoother gameplay, reduced stuttering, and overall enhanced gaming performance.
- Ability to Run Memory-Intensive Applications: Many professional software applications, such as video editing or 3D rendering programs, require a significant amount of memory to function smoothly. Upgrading your laptop’s RAM enables you to work with these memory-hungry applications seamlessly, improving productivity and workflow.
- Better System Stability: Inadequate RAM can lead to system crashes and freezes, especially when running demanding tasks. Upgrading the RAM ensures a more stable computing experience, minimizing the likelihood of system disruptions and enhancing overall reliability.
- Future-Proofing: As technology advances, software and applications tend to become more resource-intensive. By upgrading your laptop’s RAM now, you are preparing it to handle future updates and advancements, prolonging its usability and avoiding obsolescence.
Overall, upgrading your laptop’s RAM offers a range of benefits, from improved multitasking and performance to enhanced gaming capabilities and system stability. Assess your needs, consider the requirements of your applications, and choose the appropriate RAM upgrade to unlock the full potential of your laptop.
Checking Compatibility
Before proceeding with a RAM upgrade for your laptop, it is crucial to ensure compatibility between your laptop and the new RAM modules. Taking the following steps will help you determine whether the RAM upgrade will work for your specific laptop model:
- Identify Your Laptop’s Make and Model: Look for the exact make and model of your laptop. This information can usually be found on a sticker on the bottom of your laptop or in the system information settings.
- Research Maximum RAM Capacity: Check the documentation provided with your laptop or visit the manufacturer’s website to find out the maximum amount of RAM your laptop can support. It is essential to know the upper limit so that you can purchase the appropriate RAM modules.
- Determine RAM Type and Speed: Ensure you are aware of the type of RAM required for your laptop, whether it is DDR3, DDR4, or another type. Additionally, find out the speed or frequency of the RAM that your laptop supports. This information is crucial to ensure optimal compatibility.
- Check for Slot Availability: Verify how many RAM slots your laptop has and how many are currently occupied. Some laptops may have only one slot, while others may have multiple. Understanding the number and availability of slots will help you determine the correct amount of RAM to purchase.
- Consider any Specific Requirements or Limitations: Some laptops have specific requirements when it comes to RAM upgrades. For example, they may require matched pairs of RAM modules or have limitations on maximum capacity per slot. Check your laptop’s documentation or the manufacturer’s website for any specific requirements or limitations to ensure a successful upgrade.
Once you have gathered all the necessary information about your laptop’s make, model, maximum RAM capacity, RAM type, speed, and slot availability, you can confidently proceed with purchasing the compatible RAM modules for your upgrade. Selecting RAM that meets these requirements will ensure seamless integration and optimal performance.
By carefully checking compatibility before purchasing RAM, you can avoid any compatibility issues and ensure a successful RAM upgrade. Upgrading your laptop’s RAM with compatible modules will unlock its full potential and provide you with improved multitasking, performance, and overall computing experience.
Purchasing RAM
Purchasing the right RAM modules for your laptop is crucial to ensure compatibility and optimal performance. Here are some key factors to consider when shopping for RAM:
- Capacity: Determine the amount of RAM you need for your upgrade. In this case, you will be looking for 8GB RAM modules to increase the total RAM in your laptop to 16GB. Choose a capacity that meets your requirements for multitasking, gaming, or running memory-intensive applications.
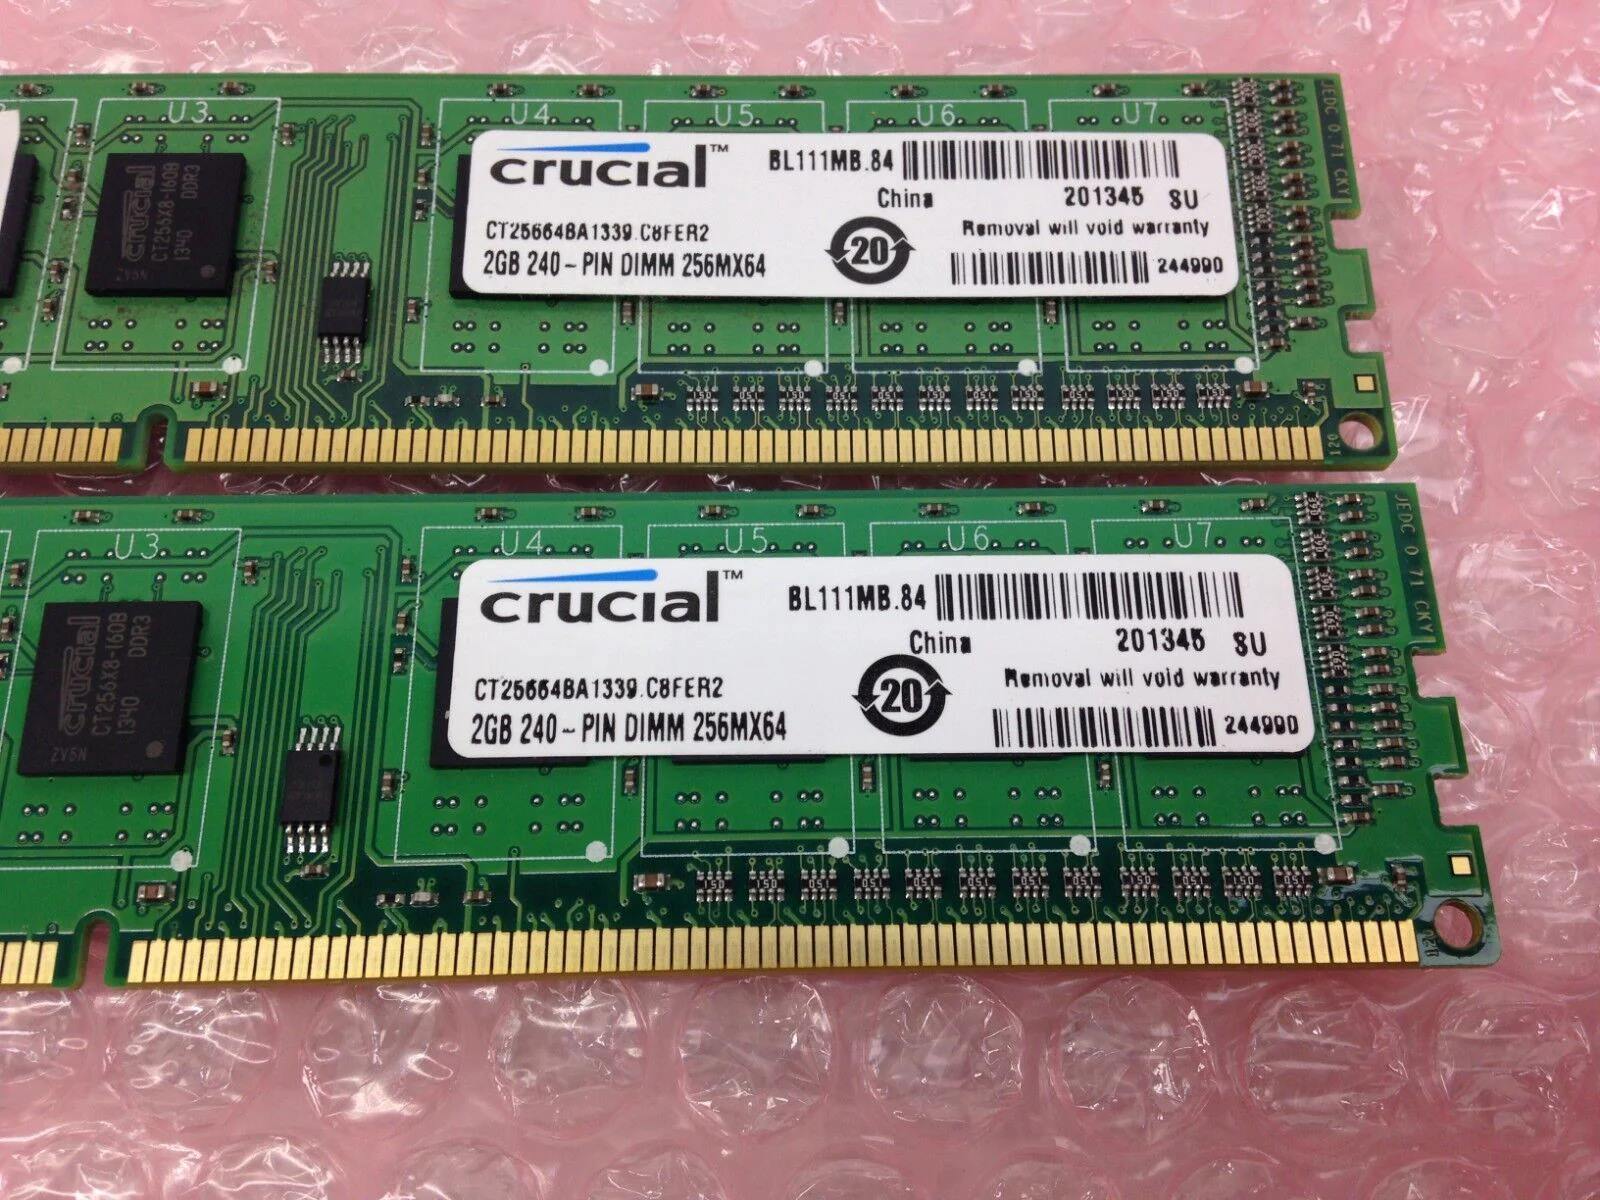
- Type and Speed: Ensure that the RAM you are purchasing matches the required type and speed of your laptop. DDR3, DDR4, and other types have different pin configurations and operating frequencies, so it is crucial to choose modules that are compatible with your laptop’s specifications.
- Brand and Reliability: Consider purchasing RAM from reputable brands known for producing high-quality, reliable memory modules. Brands such as Corsair, Crucial, Kingston, and Samsung are well-regarded for their performance and durability.
- Warranty: Check the warranty provided by the RAM manufacturer. A longer warranty period indicates the manufacturer’s confidence in their product’s quality. Opt for RAM modules with a substantial warranty to protect your investment.
- Price: Compare prices from different retailers to find the best deal without compromising on quality. Consider factors such as customer reviews, return policies, and shipping costs when making your purchasing decision.
When shopping for RAM, it’s always a good idea to check your laptop’s documentation or visit the manufacturer’s website for any specific recommendations or limitations regarding compatible RAM brands or models. Following these guidelines will help ensure a smooth and successful RAM upgrade for your laptop.
Once you have identified the right RAM modules for your laptop, go ahead and make the purchase from a reputable retailer or manufacturer. Ensure that the modules are brand new and come in anti-static packaging to protect them from any damage during shipping and handling.
By considering factors such as capacity, type, speed, brand reputation, warranty, and price, you can confidently purchase the right RAM modules for your laptop’s upgrade. Selecting high-quality RAM will not only ensure compatibility but also deliver optimal performance and reliability for your laptop’s enhanced multitasking and computing capabilities.
Preparing for Upgrade
Before you begin the process of upgrading your laptop’s RAM, it is essential to properly prepare to ensure a smooth and successful upgrade. Here are some steps to follow:
- Backup Your Data: It is always advisable to back up your important files and data before making any hardware changes. This will protect your data in case of any unforeseen issues during the RAM upgrade process.
- Gather Necessary Tools: Ensure you have the necessary tools on hand to safely open your laptop and access the RAM slots. You will typically need a small Phillips screwdriver and an anti-static wrist strap to protect the components from static electricity.
- Choose a Clean and Static-Free Workspace: Find a clean, well-lit workspace where you can work comfortably. It should be free from static electricity to avoid any potential damage to the sensitive laptop components. Ideally, work on a non-static surface such as a wooden table or an anti-static mat.
- Power Off and Disconnect: Shut down your laptop completely and unplug it from any power sources. This will prevent any electrical accidents and ensure your safety during the upgrade process.
- Ground Yourself: Static electricity can damage sensitive electronic components. To prevent this, wear an anti-static wrist strap and attach it to a grounded metal surface, such as the metal chassis of your laptop or a nearby metal object.
- Refer to Documentation: If you’re unfamiliar with the process of opening your laptop or accessing the RAM modules, refer to the manufacturer’s documentation or look for online tutorials specific to your laptop model. This will provide you with step-by-step instructions and visuals to guide you through the process.
- Take Note of Slot Configuration: Before removing the old RAM, make a note of the slot configuration. Take note of which slots are occupied and with what capacity. This will help you in installing the new RAM correctly.
By following these preparation steps, you will ensure that your laptop is ready for the RAM upgrade. Properly backing up your data, gathering the necessary tools, choosing a suitable workspace, powering off and disconnecting your laptop, grounding yourself, and referring to documentation will help you navigate the upgrade process with confidence.
Remember, laptop models may slightly vary in terms of hardware configuration and access points. It’s crucial to refer to the specific documentation or online resources for your laptop model to ensure a successful RAM upgrade.
Opening the Laptop
In order to access and replace the RAM modules, you will need to open your laptop. Here’s a step-by-step guide on how to open your laptop:
- Refer to Documentation: Before proceeding, refer to the manufacturer’s documentation or online resources for your specific laptop model. This will provide you with detailed instructions on how to safely open your laptop.
- Remove Battery (if applicable): If your laptop has a removable battery, ensure it is unplugged and remove it from the laptop.
- Power Off and Disconnect: Ensure that your laptop is powered off completely and disconnected from any power sources.
- Flip the Laptop over: Flip your laptop over so that the bottom is facing up. Find the screws or clips that secure the bottom panel in place.
- Remove Screws or Clips: Use the appropriate screwdriver or release the clips to remove the screws or clips that secure the bottom panel. Be gentle and keep track of the screws, as they will need to be reinstalled correctly later.
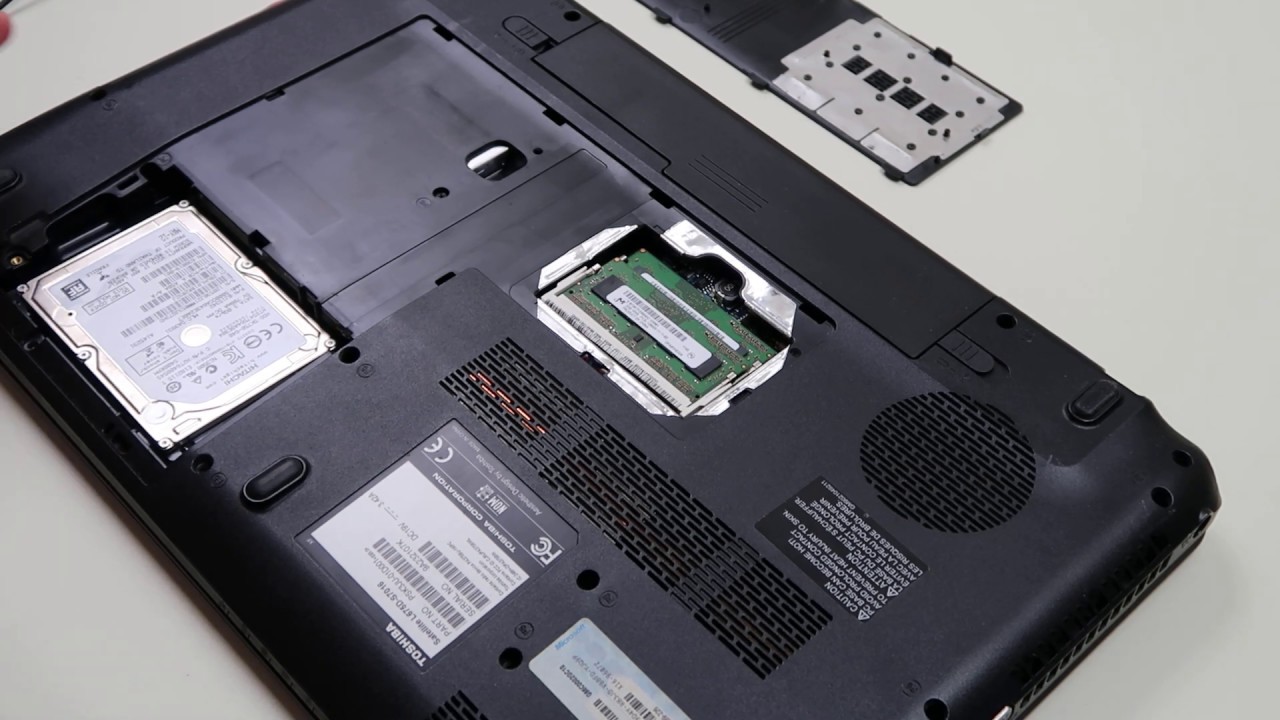
- Remove the Bottom Panel: Once the screws or clips are removed, gently lift off the bottom panel of the laptop. Be careful not to force anything or damage any components.
- Locate the RAM Slots: Look for the RAM slots on the motherboard. They are typically rectangular in shape and have one or two slots, depending on your laptop model.
- Ground Yourself: Before touching the RAM modules, ensure you are grounded by wearing an anti-static wrist strap connected to a grounded object. This will prevent any static electricity from damaging the sensitive components.
Remember, the process of opening a laptop may vary slightly depending on the model. It is crucial to refer to the manufacturer’s documentation or online resources for your specific laptop model to ensure a proper and safe disassembly.
Once you have successfully opened your laptop and located the RAM slots, you are ready to proceed to the next step of removing the old RAM modules.
Removing Old RAM
With the laptop open and the RAM slots visible, you can now proceed to remove the old RAM modules. Follow these steps to safely remove the old RAM:
- Identify the Old RAM Modules: Take note of the old RAM modules in the slots. Make sure to identify which modules you need to remove to upgrade the RAM.
- Release the Retaining Clips or Tabs: The RAM modules are held in place by retaining clips or tabs on the sides. Gently push these clips or tabs away from the RAM module to release it. The module will pop up at a slight angle.
- Remove the Old RAM Modules: Once the retaining clips are released, carefully pull the old RAM module straight out of the slot. Avoid excessive force and handle the module by its edges to prevent any damage from static electricity or physical mishandling.
- Place the Old RAM Modules in Anti-Static Packaging: After removal, it is recommended to place the old RAM modules in the anti-static packaging they came in or wrap them in anti-static material. This will prevent any static discharge from damaging the modules if they are to be stored or reused.
- Inspect the RAM Slots: Take a moment to inspect the RAM slots for any dust, debris, or foreign objects. With a can of compressed air, gently blow away any particles that may be present.
- Double-check the Slot Configuration: Before installing the new RAM modules, double-check the slot configuration. Make sure you have removed the correct old RAM modules and that you are prepared to upgrade to the desired capacity.
Remember, it is important to handle the RAM modules with care and avoid touching their copper pins or any sensitive components. Always hold them by their edges to minimize the risk of damage.
By following these steps, you will be able to safely remove the old RAM modules from your laptop, making way for the installation of the new RAM modules.
Installing New RAM
With the old RAM removed, it’s time to install the new RAM modules into your laptop. Follow these steps to ensure a successful installation:
- Identify the New RAM Modules: Take the new RAM modules out of their anti-static packaging. Ensure that they match the specifications of your laptop, including capacity, type, and speed.
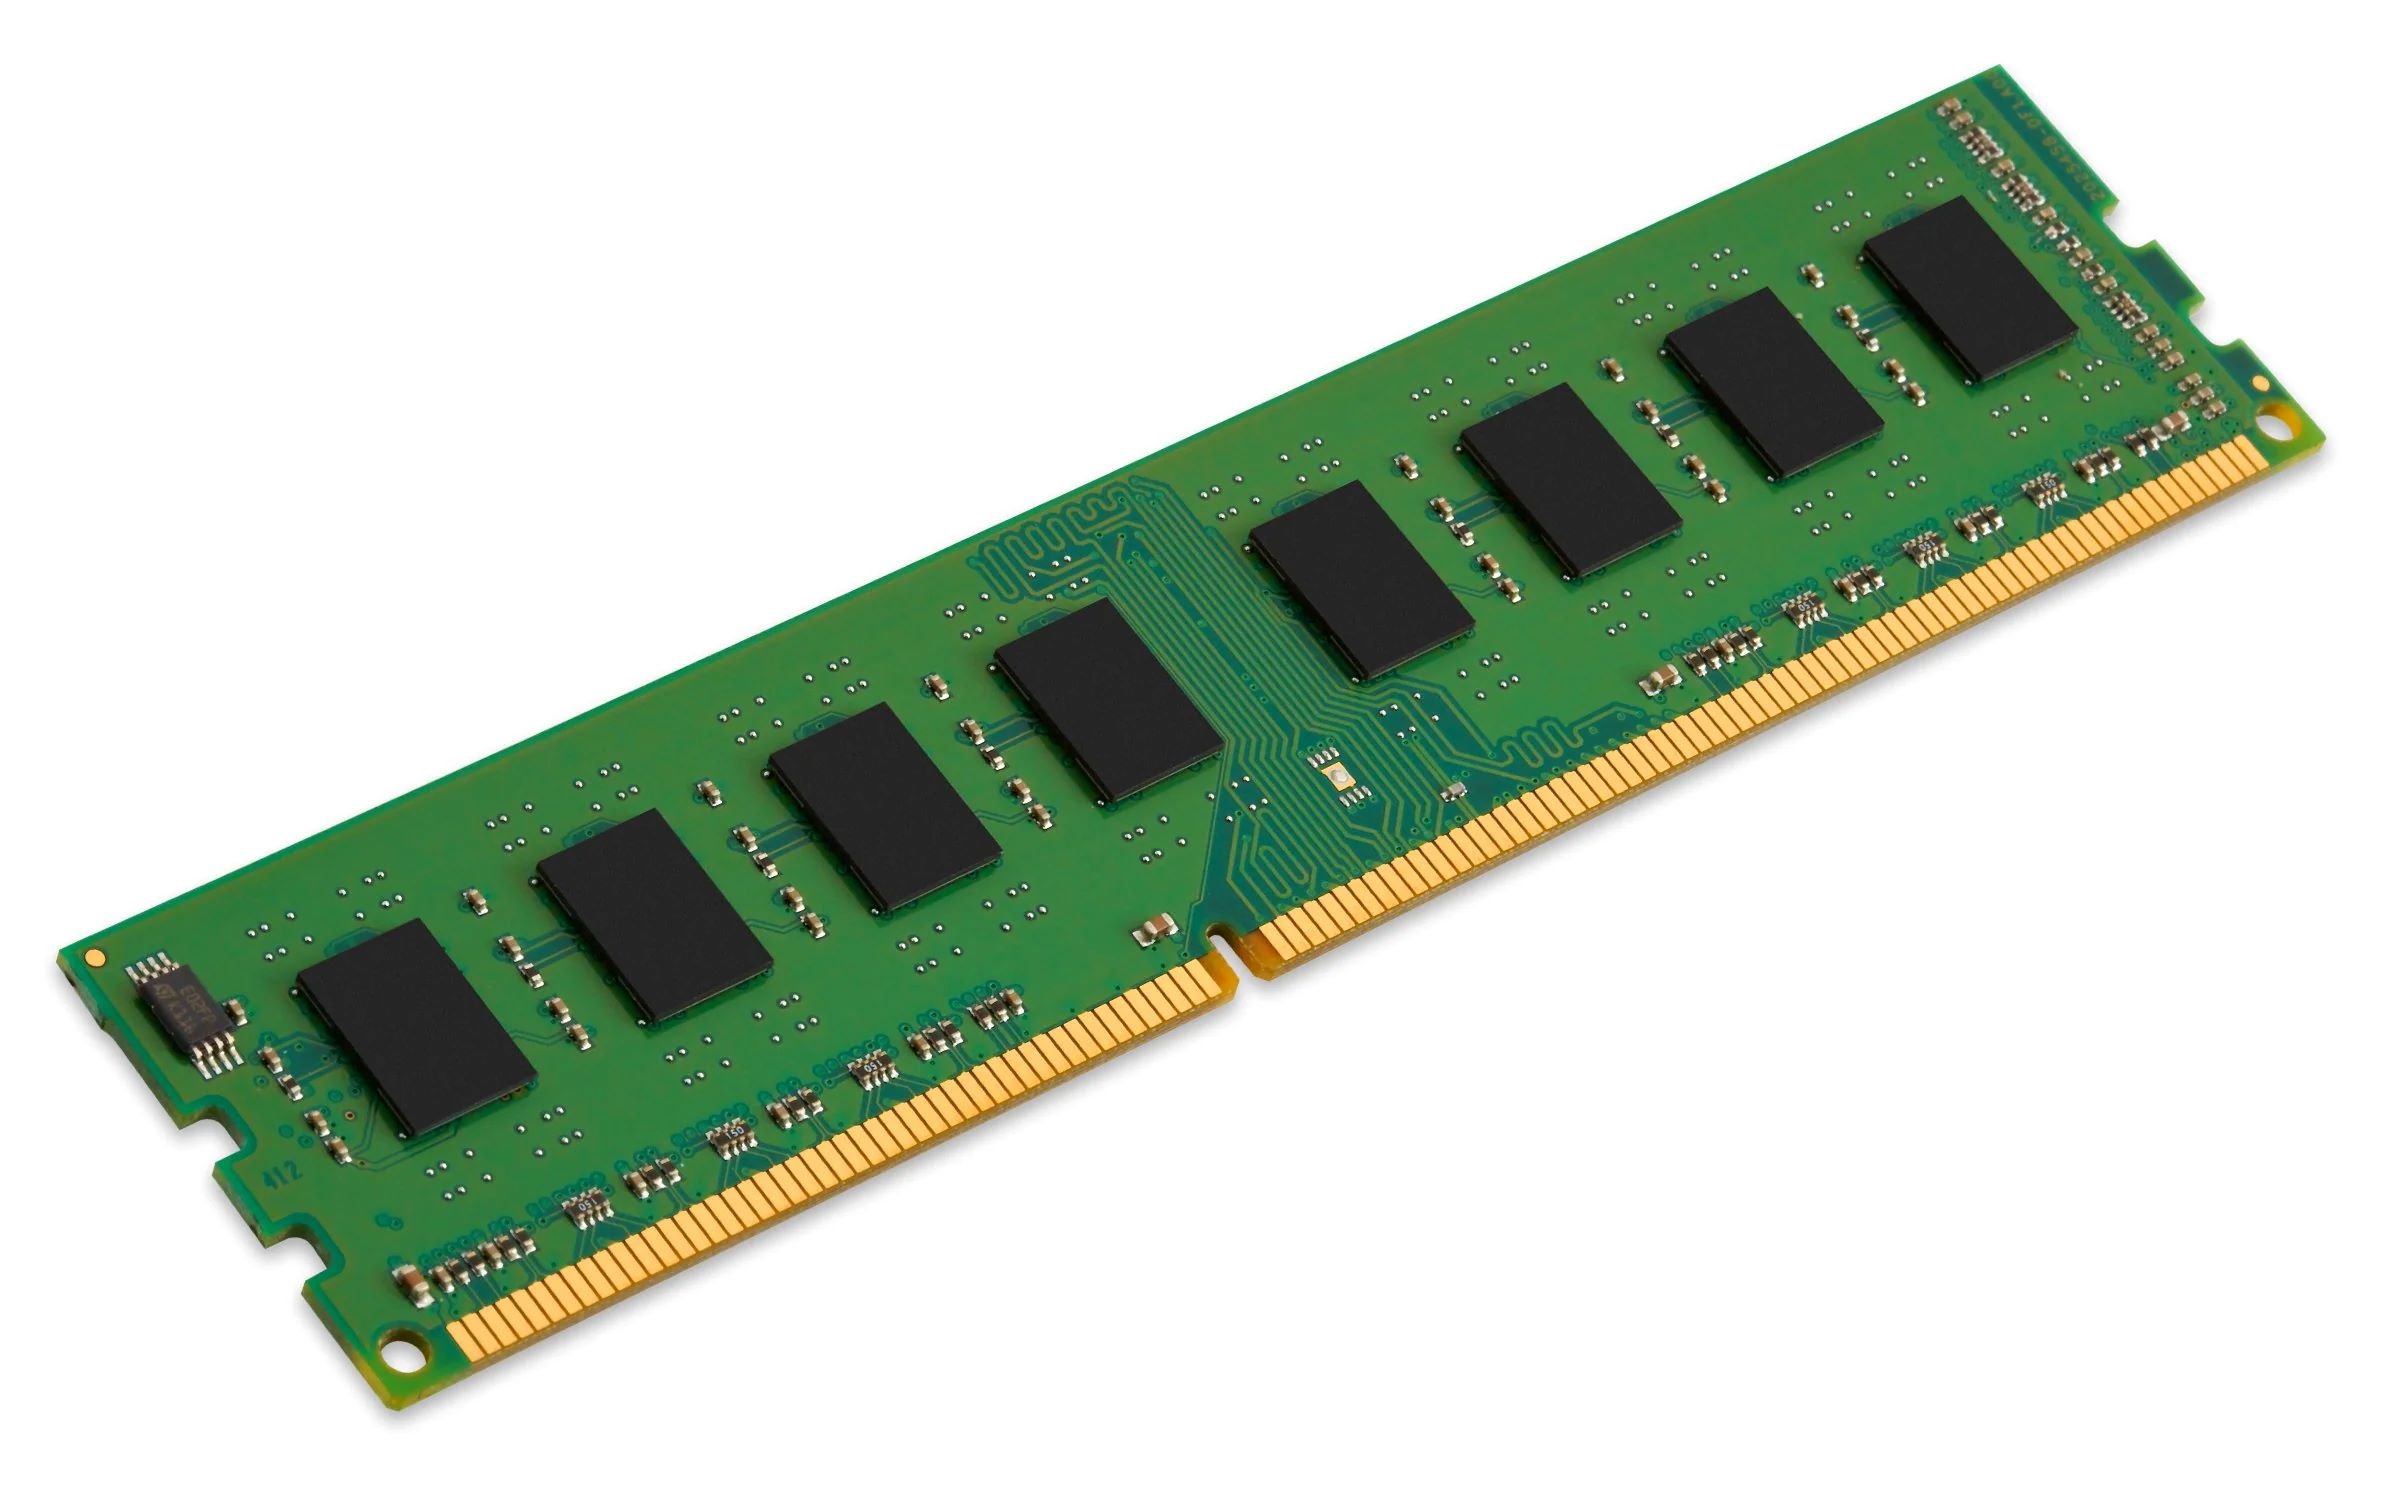
- Orient the New RAM Modules Correctly: RAM modules have a notch or keying mechanism that prevents them from being inserted incorrectly. Align the notch on the module with the slot in the RAM slot to ensure proper installation.
- Insert the RAM Modules at an Angle: Hold the new RAM module at a slight angle, aligning the notch with the slot. Insert the module into the slot, making sure it is seated properly. Apply even pressure on both ends of the module until it clicks into place.
- Secure the Retaining Clips or Tabs: Once the new RAM module is inserted, the retaining clips or tabs will automatically secure it. Give the module a gentle push to ensure it is fully seated and locked in place.
- Repeat for Additional RAM Modules: If you are upgrading to multiple RAM modules, repeat the same process for each module. Ensure they are placed in the correct slots and securely locked in place.
- Inspect and Verify Installation: Take a moment to visually inspect the RAM modules to ensure they are fully inserted and properly secured in the slots. Double-check that the retaining clips or tabs are engaged.
It’s important to handle the new RAM modules with care during the installation process. Avoid touching the copper pins or any sensitive components, and hold them only by the edges.
By following these steps, you will successfully install the new RAM modules into your laptop, setting the stage for improved performance and enhanced capabilities.
Closing the Laptop
After installing the new RAM modules, it’s time to close up your laptop and ensure everything is securely in place. Follow these steps to safely close the laptop:
- Double-Check Installation: Before closing the laptop, take a moment to verify that the RAM modules are properly seated in their slots and fully secured. This will prevent any potential issues or damage when closing the laptop.
- Reinstall the Bottom Panel: Line up the bottom panel of the laptop with the screw holes and carefully lower it into place. Ensure that it aligns properly with the laptop’s chassis and any connectors or ports on the sides.
- Secure the Bottom Panel: Reinstall and tighten the screws or engage the clips to secure the bottom panel in place. Make sure the panel is securely fastened, but avoid over-tightening the screws, as it may damage the laptop’s casing.
- Replace the Battery (if applicable): If you removed the battery earlier, now is the time to reinsert it into its proper slot and ensure it is securely in place.
- Power On and Test: Once the laptop is closed, plug it back into a power source and power it on. Allow the laptop to boot up and check that it recognizes the newly installed RAM. You can verify this in the system information or BIOS settings.
Ensure that the laptop powers on smoothly and that it functions properly. Check for any error messages or unusual behavior that may indicate a problem with the RAM installation. If everything looks good, you can proceed to perform some tests and benchmarks to gauge the improved performance.
If you encounter any issues or the laptop does not recognize the newly installed RAM, double-check your installation and consult the manufacturer’s documentation or support resources for troubleshooting steps.
By following these steps, you can safely close your laptop and finalize the RAM upgrade process. Enjoy the enhanced performance and improved multitasking capabilities of your upgraded laptop!
Testing the Upgrade
After completing the RAM upgrade, it’s important to test your laptop to ensure that the new RAM is functioning properly. Follow these steps to test the upgrade:
- Restart the Laptop: Restart your laptop to ensure that the new RAM modules are recognized and properly configured.
- Check System Information: Go to the system information or system properties settings of your laptop to verify that it correctly displays the upgraded amount of RAM. It should reflect the new total RAM capacity of 16GB.
- Run System and Application Tests: Open several applications simultaneously and perform tasks that used to strain your laptop’s performance. Test resource-intensive applications, run multiple browser tabs, and engage in other activities that require significant memory usage. Monitor your laptop’s performance to ensure smoother multitasking and improved responsiveness.
- Perform Benchmark Tests: Use benchmarking tools to measure the performance of your laptop before and after the RAM upgrade. Compare the results to gauge the improvement in performance, such as faster processing speeds, shorter loading times, or higher frame rates in games.
- Check for Stability: Monitor your laptop for stability issues such as crashes, freezes, or unexpected errors. If you encounter any problems, it may indicate compatibility issues or a potential problem with the RAM. In such cases, consult the manufacturer’s documentation or seek professional assistance for troubleshooting.
- Observe Temperature and Battery Life: Keep an eye on your laptop’s temperature and battery life during the testing phase. RAM upgrades typically have minimal impact on these aspects, but it’s always good to ensure that there are no unexpected changes or issues.
Testing the upgrade will give you a clear sense of the difference the RAM upgrade has made to the performance of your laptop. If everything functions smoothly and your laptop performs better under various tasks and applications, it signifies a successful upgrade.
If you encounter any issues or experience a decline in performance after the RAM upgrade, it is recommended to consult the manufacturer’s documentation or seek professional assistance for further troubleshooting and guidance.
Remember to always monitor your laptop’s performance and address any problems promptly to ensure optimal functionality and longevity.
Troubleshooting Tips
If you encounter any issues or complications during or after the RAM upgrade, here are some troubleshooting tips to help you identify and resolve common problems:
- Recheck Installation: Double-check that the RAM modules are properly seated in the slots and securely locked in place. Ensure that the retaining clips or tabs are fully engaged.
- Verify Compatibility: Confirm that the new RAM modules are compatible with your laptop’s specifications, including capacity, type, and speed. Check the manufacturer’s documentation or website for any specific requirements or limitations.
- Clean RAM Slots: If you are experiencing issues after the upgrade, inspect the RAM slots for any dust, debris, or foreign objects. Use compressed air to gently clean the slots and remove any particles that may be causing connectivity problems.
- Try Individual Modules: If you installed multiple RAM modules, try removing one at a time and testing the laptop with each module individually. This can help identify if any specific module is causing the issue.
- Perform BIOS Update: Check if there are any BIOS updates available for your laptop model. Updating the BIOS can sometimes resolve compatibility issues or improve memory recognition.
- Reset BIOS Settings: Resetting the BIOS settings to their default values can sometimes help resolve issues related to memory management. Consult your laptop’s documentation or manufacturer’s website for instructions on how to reset the BIOS settings.
- Test with Different RAM Slots: If your laptop has multiple RAM slots, try installing the new RAM modules in different slots to see if the issue persists. This can help determine if there is a problem with a specific slot.
- Seek Professional Assistance: If you have tried the above troubleshooting tips and are still experiencing issues, it may be beneficial to seek professional assistance. Contact the manufacturer’s support, a computer technician, or a reputable service center for further diagnosis and assistance.
Keep in mind that troubleshooting steps may vary depending on your specific laptop model and the nature of the problem. Remember to follow proper safety precautions and consult reliable resources, such as the manufacturer’s documentation or official support channels, for accurate and model-specific troubleshooting guidance.
By following these troubleshooting tips, you can resolve common issues that may arise during or after a RAM upgrade and ensure the smooth and successful functioning of your laptop.
Conclusion
Congratulations on successfully upgrading the RAM in your laptop from 8GB to 16GB! By following the step-by-step instructions provided in this guide, you have gained valuable knowledge on how to enhance your laptop’s performance and improve multitasking capabilities.
Upgrading your laptop’s RAM can have a significant impact on its overall performance, allowing you to run multiple applications simultaneously, experience faster loading times, and enjoy smoother multitasking. The benefits of upgrading extend to improved gaming performance, enhanced stability, and future-proofing your laptop for upcoming software advancements.
Throughout the process, you learned the importance of checking compatibility, purchasing the right RAM modules, preparing for the upgrade, opening and closing the laptop safely, and troubleshooting any issues that may arise. These valuable skills can be applied to future hardware upgrades or modifications.
Remember to back up your data and take necessary precautions before making any changes to your laptop’s hardware. Ensure compatibility between the RAM modules and your laptop model, and follow proper installation procedures to avoid damaging the components.
After successfully upgrading the RAM, run tests and benchmarks to validate improved performance, multitasking, and responsiveness. Keep track of your laptop’s stability and temperature to ensure a smooth and reliable computing experience.
If you encounter any difficulties or issues along the way, don’t hesitate to refer to the manufacturer’s documentation or seek professional assistance. Troubleshooting tips provided in this guide can help you identify and resolve common problems.
By upgrading your laptop’s RAM, you have taken a significant step towards optimizing its performance and prolonging its usability. Enjoy the benefits of enhanced multitasking, faster loading times, and improved overall efficiency with your upgraded laptop!