Introduction
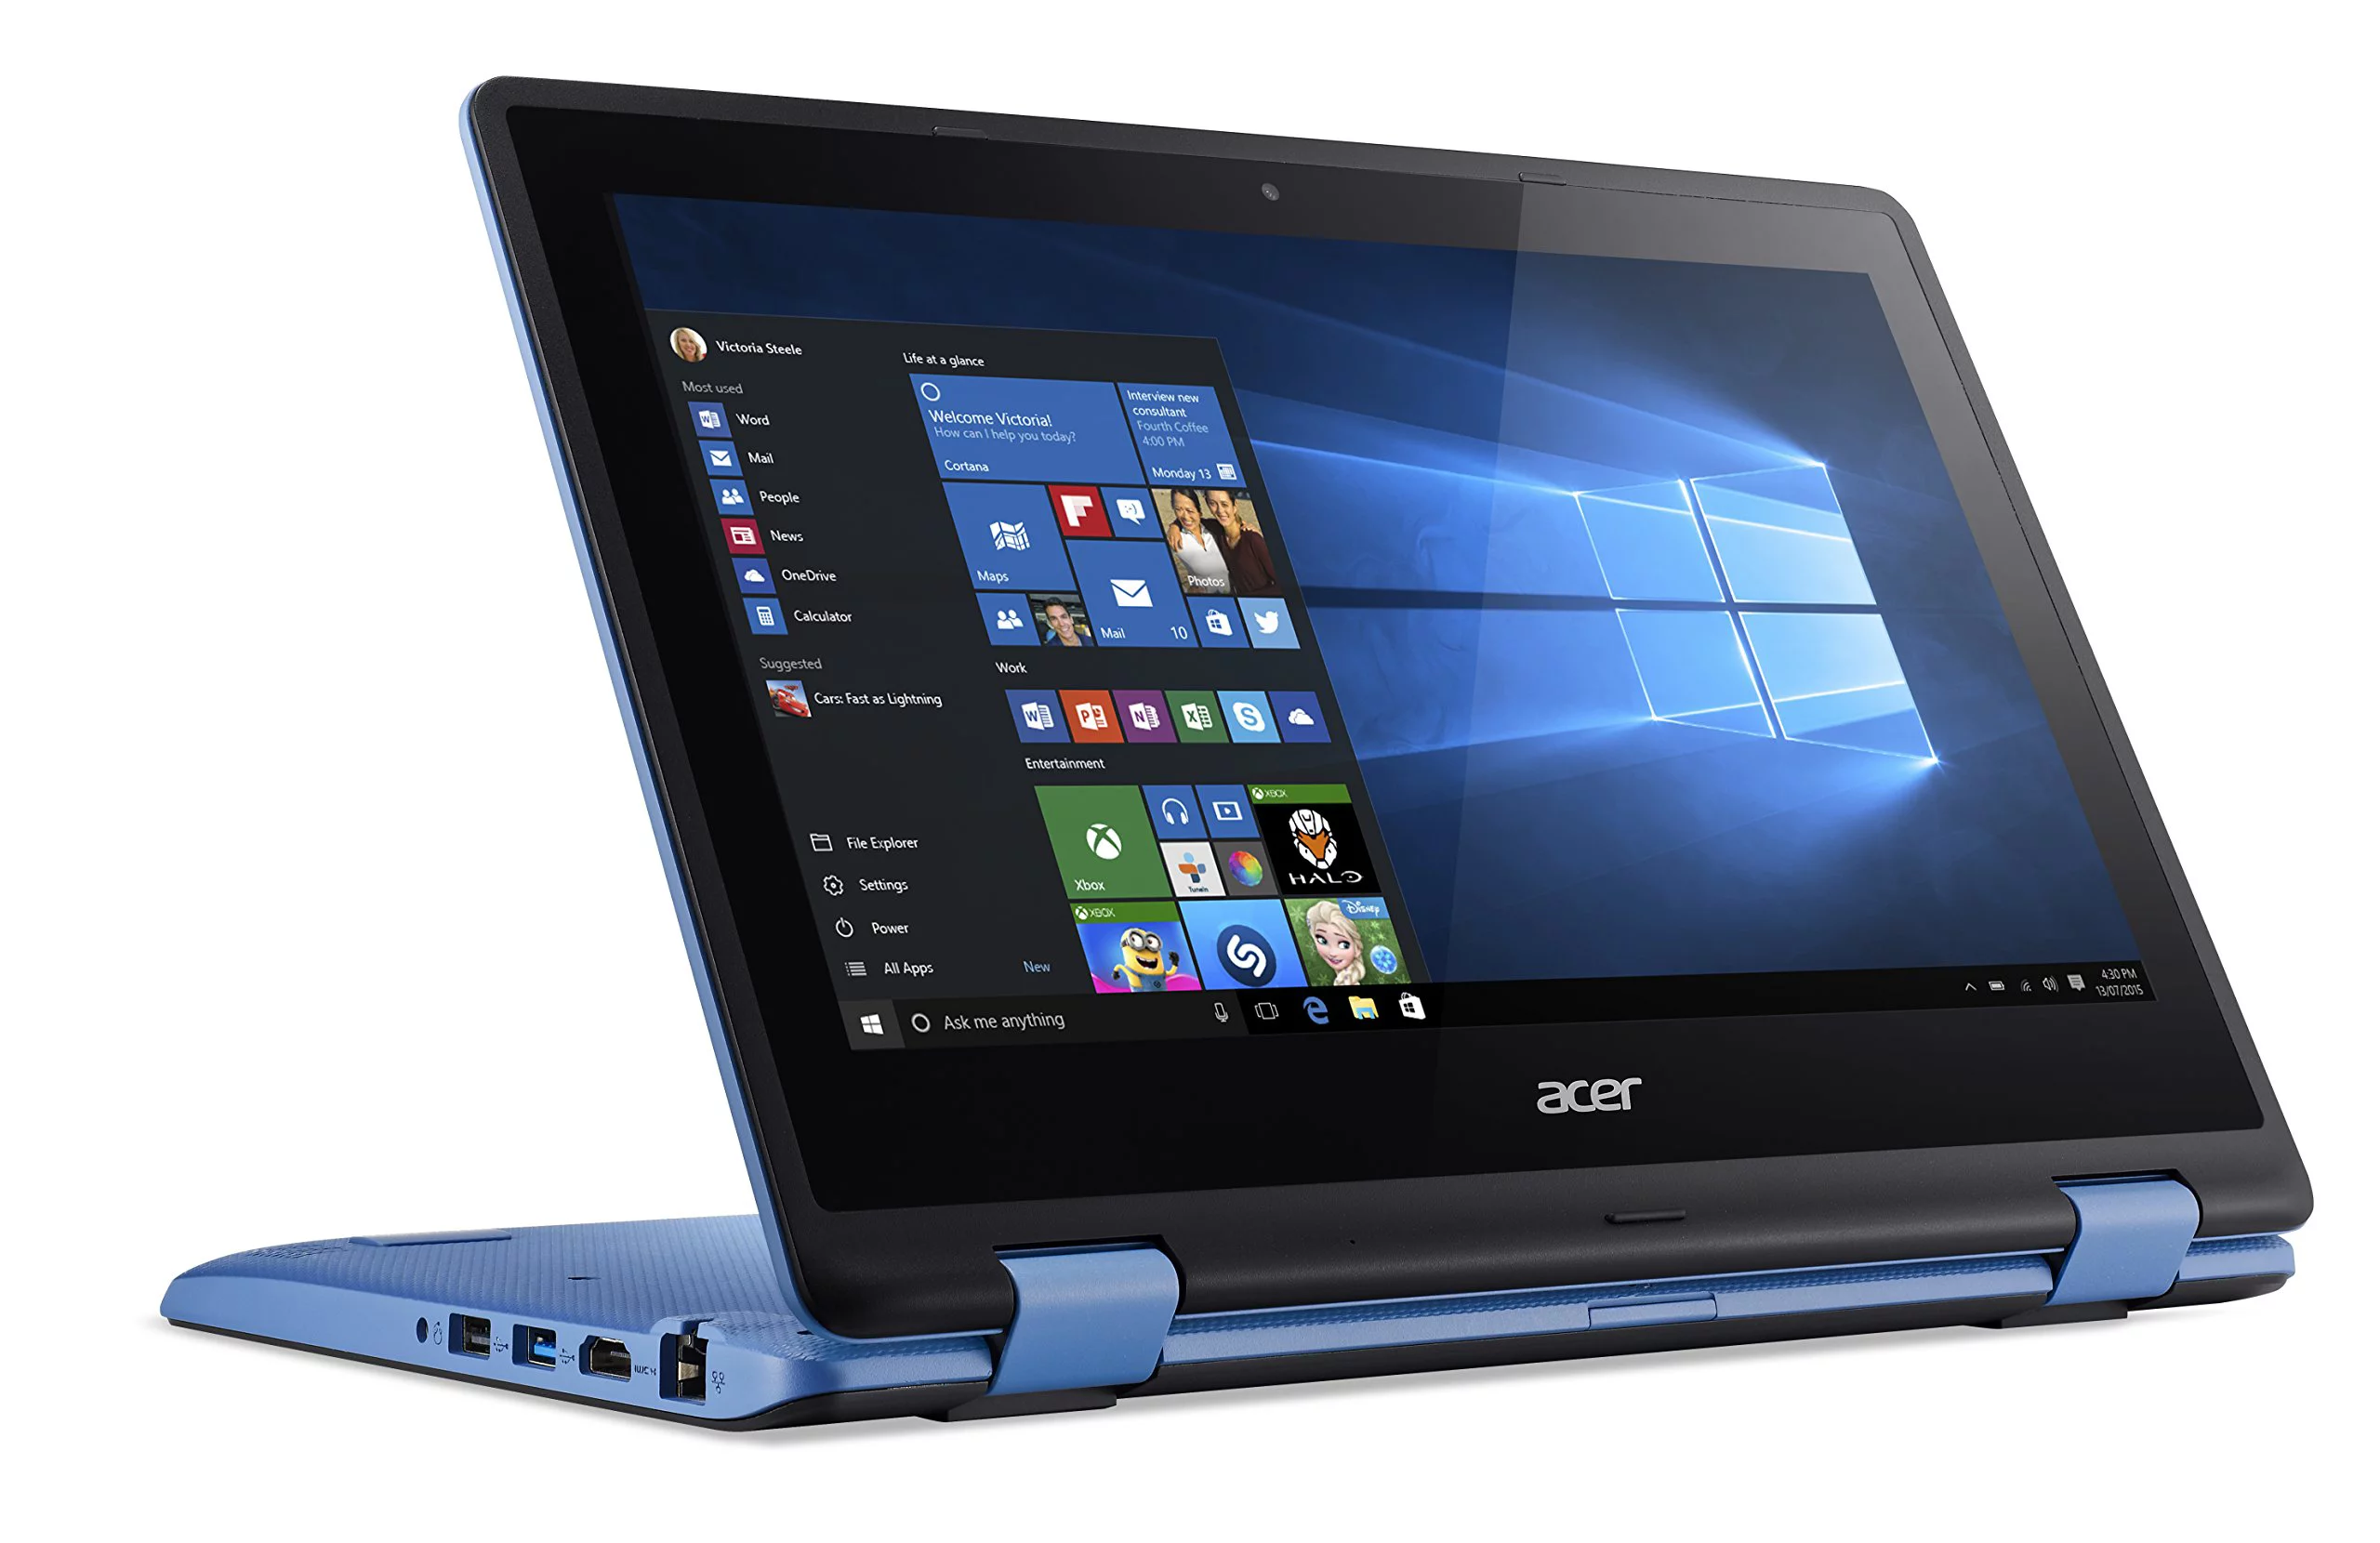
Welcome to our guide on how to change the HDD on an Acer Aspire R 11.6 Convertible Laptop. If you’re experiencing issues with your laptop’s hard drive, such as slow performance or frequent errors, replacing it with a new one can significantly improve its overall performance. This guide will walk you through the step-by-step process of replacing the HDD, ensuring that you have all the necessary tools and knowledge required to successfully carry out the procedure.
The Acer Aspire R 11.6 Convertible Laptop is known for its versatility and portability, making it a popular choice among students and professionals alike. However, like any other electronic device, the internal components can degrade over time, affecting the laptop’s efficiency. The hard drive, being an essential component responsible for storing your operating system, programs, and data, can become a bottleneck if it’s not functioning optimally.
By replacing the HDD, you can not only resolve any existing issues but also upgrade to a larger capacity drive to store more files and applications. It’s important to note that the process may void your warranty, so be sure to check the terms and conditions before proceeding. If your laptop is still under warranty, it’s recommended to contact Acer’s customer support for assistance.
In this guide, we will cover each step in detail, from gathering the necessary tools to testing the newly installed HDD. We’ll also provide helpful tips and precautions to ensure a smooth and successful HDD replacement. Whether you’re a beginner or an experienced user, this guide will provide you with all the information you need to confidently replace the HDD on your Acer Aspire R 11.6 Convertible Laptop.
Step 1: Gather the necessary tools
Before diving into the process of replacing the HDD on your Acer Aspire R 11.6 Convertible Laptop, it’s important to gather all the necessary tools to make the procedure smooth and hassle-free. Here are the essential tools you’ll need:
- Replacement HDD: Make sure you have a compatible replacement HDD ready. Choose a drive with the desired capacity and ensure it is compatible with your laptop model.
- Screwdriver: You’ll need a small Phillips screwdriver to remove the screws securing the back cover.
- Anti-static wristband: It’s advisable to wear an anti-static wristband throughout the process to prevent static electricity from damaging the internal components.
- Static-free surface: Find a clean and static-free surface to work on, such as an anti-static mat or a wooden table covered with a non-conductive material.
- Plastic spudger or pry tool: This tool will come in handy in prying open the back cover without damaging the plastic clips or edges.
- Container: Prepare a small container or an egg carton to store the screws and other small components you’ll be removing during the process.
- Soft cloth or microfiber cloth: It’s always a good idea to have a clean cloth nearby to wipe away any dust or fingerprints from the laptop’s surfaces.
Having these tools ready before you begin will ensure a smoother and more efficient HDD replacement process. Remember to handle all components with care and take necessary precautions to avoid static discharge. Now that you have everything prepared, let’s move on to the next step: preparing the laptop for the HDD replacement.
Step 2: Prepare the laptop for the HDD replacement
Before we begin the process of replacing the HDD on your Acer Aspire R 11.6 Convertible Laptop, it’s crucial to properly prepare the laptop to ensure a safe and successful procedure. Follow these steps to get your laptop ready:
- Power off the laptop: First, make sure to power off your laptop completely. Disconnect the AC adapter and remove the battery if possible. This step is crucial to prevent any electrical mishaps during the replacement process.
- Find a clean, well-lit workspace: Choose a well-lit area with ample space to work comfortably. Avoid working on a carpeted surface, as it can generate static electricity. Consider using an anti-static mat or a wooden table covered with a non-conductive material.
- Wear an anti-static wristband: To protect the internal components of your laptop from static electricity, it’s important to wear an anti-static wristband. Connect the wristband’s metal clip to a grounded object, such as the metal frame of the laptop or a nearby grounded outlet.
- Place the laptop upside down: Gently turn your laptop upside down, ensuring that the screen is facing down. This will expose the back cover, allowing you to access the internal components easily.
- Locate the screws: Take note of the screws holding the back cover in place. They are usually located along the edges or corners of the laptop. Using a small Phillips screwdriver, carefully remove these screws and place them in a container or an egg carton for safekeeping.
- Using a plastic spudger or pry tool: Insert a plastic spudger or a pry tool into the gap between the back cover and the laptop’s body. Gently pry open the cover, releasing the plastic clips that secure it in place. Take your time and be gentle to avoid damaging any components or the cover itself.
Once you’ve completed these steps, you’ll be ready to move on to the next stage of the HDD replacement process. Remember, taking the time to properly prepare your laptop will help ensure a smooth and successful replacement procedure.
Step 3: Remove the back cover
Now that you’ve prepared your Acer Aspire R 11.6 Convertible Laptop for the HDD replacement, it’s time to remove the back cover. Follow these steps carefully:
- Continue prying open the cover: Use the plastic spudger or pry tool to continue gently prying open the back cover. Start from one corner and work your way around the edges, releasing the plastic clips that secure the cover in place. Take your time and be mindful not to force anything or apply excessive pressure to avoid damaging the cover or the laptop’s internal components.
- Lift off the back cover: Once you’ve successfully released all the plastic clips, carefully lift off the back cover from the laptop’s body. Set it aside in a safe place, making sure it’s on a clean and static-free surface.
- Locate the HDD: With the back cover removed, you’ll now have a clear view of the laptop’s internal components. Look for the hard drive, which is usually located in the center or towards the side of the laptop. The HDD will be secured in place with screws or mounting brackets.
- Identify the HDD connections: Take note of the SATA data cable and power connector connected to the HDD. These connections will need to be removed in order to replace the hard drive. Carefully disconnect these cables by gently pulling them away from the HDD. If the cables are held in place with clips or connectors, make sure to release them before attempting to remove the cables.
- Remove any screws or brackets: Depending on the laptop model, there may be screws or brackets holding the hard drive in place. Locate and remove these screws or brackets using the appropriate screwdriver or tools. Keep the screws or brackets in a safe place for later use.
- Take out the old HDD: Once all the necessary components are disconnected and any securing screws or brackets are removed, carefully lift out the old HDD from its slot. Handle it with care, ensuring not to touch any of the sensitive electronic components on the drive itself.
With the back cover removed and the old HDD taken out, you’re now ready to proceed with the next steps of the HDD replacement process. Remember to handle all components with care and maintain cleanliness throughout the procedure.
Step 4: Disconnect the old HDD
Now that you’ve successfully removed the back cover and located the old HDD on your Acer Aspire R 11.6 Convertible Laptop, it’s time to disconnect the old hard drive. Follow these steps to disconnect the old HDD:
- Locate the SATA connections: Look for the SATA data cable and power connector connected to the old HDD. These connectors are usually located at the back or side of the hard drive.
- Disconnect the SATA data cable: Gently pull the SATA data cable away from the HDD connector. Wiggle it slightly if needed, but be careful not to exert too much force as you do not want to damage the connectors or the cable itself.
- Disconnect the power connector: Similarly, carefully disconnect the power connector from the old HDD. It may be a simple push-and-pull connection or could have clips that need to be released before disconnecting.
- Set aside the old HDD: Once the SATA data cable and power connector are disconnected, set aside the old HDD in a safe place. Be sure to handle it carefully and avoid touching any sensitive electronic components on the drive.
By following these steps, you have successfully disconnected the old HDD from your laptop. Make sure to keep the old HDD in a safe place and handle it with care to prevent any damage. Now, you’re ready to proceed with the next step, which involves installing the new HDD.
Step 5: Install the new HDD
With the old hard drive disconnected and safely set aside, it’s time to install the new HDD in your Acer Aspire R 11.6 Convertible Laptop. Follow these steps to install the new HDD:
- Prepare the new HDD: Before installing the new HDD, ensure that it is compatible with your laptop model. Check for any mounting brackets or screws that may need to be attached to the new HDD. If necessary, transfer any brackets or screws from the old HDD to the new one.
- Place the new HDD into the slot: Align the new HDD with the slot in the laptop where the old HDD was located. Carefully insert it into the slot, making sure it is seated properly. Be mindful not to force it or apply excessive pressure.
- Secure the new HDD: If your new HDD requires mounting brackets or screws, use the appropriate tools to secure it in place. Ensure that the HDD is tightly secured to avoid any movement or vibrations that could cause damage.
- Connect the SATA data cable: Locate the SATA data cable that you previously disconnected from the old HDD. Connect one end of the cable to the SATA connector on the new HDD. Make sure it is inserted fully and securely.
- Connect the power connector: Similarly, connect the power connector to the new HDD. Ensure a snug and secure connection.
By following these steps, you have successfully installed the new HDD in your Acer Aspire R 11.6 Convertible Laptop. Make sure all connections are secure, and the new drive is properly seated in the slot. Now, you’re ready to move on to the next step, which involves reconnecting the cables.
Step 6: Reconnect the cables
Now that the new HDD is securely installed in your Acer Aspire R 11.6 Convertible Laptop, it’s time to reconnect the cables that were previously disconnected. Follow these steps to reconnect the cables:
- Locate the SATA data cable: Find the SATA data cable that was disconnected from the old HDD. Ensure that it is within reach and ready to be connected.
- Connect the SATA data cable: Take one end of the SATA data cable and connect it to the SATA connector on the new HDD. Make sure it is inserted fully and firmly to establish a proper connection.
- Locate the power connector: Find the power connector that was previously disconnected from the old HDD. Ensure that it is nearby and ready to be connected.
- Connect the power connector: Take the power connector and align it with the corresponding power port on the new HDD. Insert it fully and securely to establish a stable power connection.
- Double-check connections: Once both the SATA data cable and power connector are connected, double-check that they are secure and properly seated. Ensure that there are no loose or partially connected cables.
By following these steps, you have successfully reconnected the necessary cables to your new HDD. It’s important to ensure that both the SATA data cable and power connector are securely connected to avoid any potential issues with data transfer or power supply. Now, you’re ready to move on to the next step, which involves securing the new HDD and reassembling the laptop.
Step 7: Secure the new HDD and reassemble the laptop
After reconnecting the necessary cables to the new HDD, it’s time to secure it in place and reassemble your Acer Aspire R 11.6 Convertible Laptop. Follow these steps to complete the process:
- Align the back cover: Take the laptop’s back cover and align it with the body of the laptop. Ensure that it is positioned correctly and all the clips align with the corresponding slots.
- Press the back cover down: Gently press down on the back cover, starting from one corner and moving towards the other corners. Apply even pressure to ensure that all the plastic clips engage and secure the cover in place.
- Secure the back cover with screws: Using the small Phillips screwdriver, insert and tighten the screws that hold the back cover in place. Start from one corner and work your way around, securing all the screws. Be careful not to overtighten, as it can damage the threads or the cover itself.
- Double-check the back cover: Once all the screws are securely fastened, give the back cover a gentle upward tug to ensure that it is firmly in place. Make sure there is no visible gap or movement between the cover and the laptop’s body.
- Reinsert the battery (if applicable): If you removed the battery at the beginning, reinsert it into its appropriate slot until it clicks into place. Ensure it is properly aligned and seated.
- Connect the AC adapter: Plug in the AC adapter to provide power to your laptop, if it wasn’t already connected. This is essential for testing the new HDD in the next step.
By following these steps, you have successfully secured the new HDD and reassembled your Acer Aspire R 11.6 Convertible Laptop. The back cover is securely attached, and all screws are tightened. Now, you’re ready to move on to the final step, which involves testing the new HDD.
Step 8: Test the new HDD
With the new HDD securely installed and the laptop reassembled, it’s time to test the functionality of the drive. Follow these steps to ensure that the new HDD is properly working:
- Power on your laptop: Press the power button to turn on your Acer Aspire R 11.6 Convertible Laptop. Allow the laptop to boot up and access the operating system.
- Check for HDD recognition: Once your laptop is fully booted up, access the operating system and navigate to the “Device Manager” or similar settings. Check if your new HDD is recognized and listed under the storage devices.
- Perform a disk check: To ensure the integrity of the new HDD, perform a disk check. This procedure will scan the drive for any errors or bad sectors. Open the command prompt or disk utility tool and run the appropriate command to initiate the disk check.
- Transfer and access files: Copy some files to the new HDD and verify their accessibility. This will confirm that the new HDD is functioning properly and data can be stored and accessed without any issues.
- Monitor performance: Pay attention to the overall performance and speed of your laptop with the new HDD. If you notice improved speed and responsiveness compared to the previous hard drive, it indicates the successful installation and functioning of the new HDD.
By following these steps and ensuring that your new HDD is recognized, performing properly, and providing reliable data storage, you can have confidence in the success of the replacement. If any issues persist or if you encounter any errors during testing, it’s recommended to consult with a professional technician or contact Acer’s customer support for further assistance.
Conclusion
Congratulations! You have successfully learned how to change the HDD on your Acer Aspire R 11.6 Convertible Laptop. By following the step-by-step guide and carefully carrying out each procedure, you have upgraded the storage capacity and improved the overall performance of your laptop.
Replacing the HDD may seem like a daunting task, but with the right tools, preparation, and attention to detail, it can be easily accomplished. Now, you have a brand new hard drive that will provide you with ample space to store your files, programs, and media, allowing for a seamless computing experience.
Throughout the process, it’s important to remember to handle all components with care, avoid static discharge, and take necessary precautions. Always refer to your laptop’s user manual or seek professional assistance if you’re unsure about any steps.
Now that you’ve successfully installed the new HDD, don’t forget to backup your important data regularly. This will ensure that your files are safe and secure, even in the event of unforeseen circumstances or hard drive failures.
By taking the time to replace the HDD, you have extended the lifespan of your Acer Aspire R 11.6 Convertible Laptop and improved its overall performance. Enjoy the benefits of a faster and more spacious storage solution as you continue to use your laptop for work, entertainment, and everything in between.
Remember, if you encounter any difficulties or have further questions, don’t hesitate to seek professional assistance. With proper maintenance and care, your newly installed HDD will serve you well for years to come.