Introduction
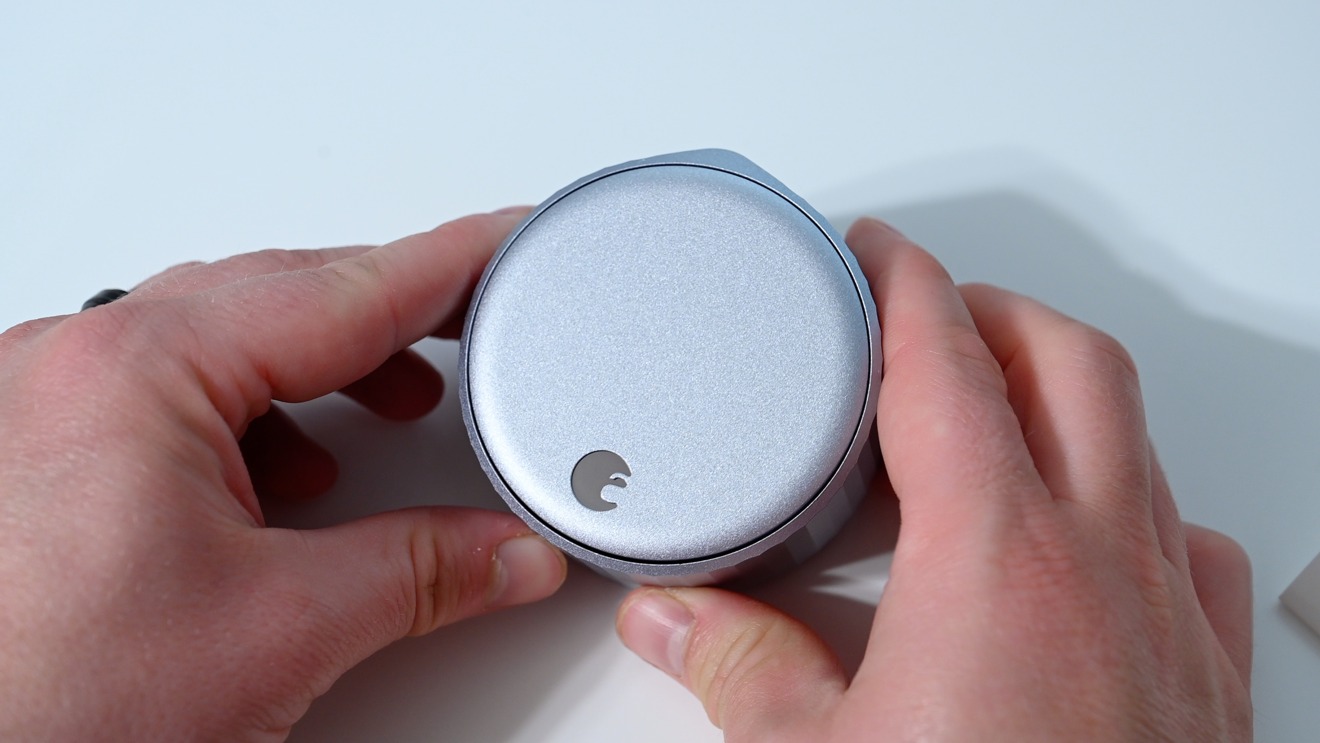
Welcome to our guide on how to remove an August Smart Lock from a door. The August Smart Lock is a popular and convenient option for enhancing home security and controlling access to your property. However, there may come a time when you need to remove the lock, whether it’s due to updating your home security system, replacing the lock, or moving to a new location.
In this comprehensive guide, we will walk you through the step-by-step process of removing an August Smart Lock from a door. We will cover everything from gathering the necessary tools to cleaning and preparing the door for a new lock if needed. By following these instructions, you will be able to remove the lock safely and efficiently, without causing any damage to your door or surrounding areas.
Before we begin, it’s important to note that the exact steps may vary slightly depending on the specific model of the August Smart Lock you are using. We recommend consulting the user manual or the manufacturer’s website for your particular lock model for any specific instructions or precautions.
Now, let’s get started with the first step: gathering the necessary tools. Ensure you have all the required tools ready before proceeding with the lock removal process.
Step 1: Gather the necessary tools
Before you begin removing the August Smart Lock from your door, it’s important to gather the necessary tools. Having the right tools on hand will make the process smoother and more efficient. Here are the tools you will need:
- Screwdriver: Most August Smart Locks are installed using screws, so a screwdriver will be essential for removing them.
- Allen wrench: Some August Smart Lock models may require an Allen wrench to loosen or tighten certain components.
- Tape measure: It’s helpful to have a tape measure to ensure precise measurements during the installation of a new lock, if necessary.
- Pliers: Pliers can be useful for holding or twisting certain parts during the removal process.
- Masking tape: Using masking tape will help protect your door and surrounding areas from potential scratches or damage.
Once you have gathered all the necessary tools, you can proceed to the next step of disabling the August Smart Lock.
Step 2: Disable the August Smart Lock
Before you can remove the August Smart Lock from your door, you need to disable it. Disabling the lock involves deactivating its connection to your smartphone, disconnecting any power sources, and putting it into manual mode. Here are the steps to follow:
- Open the August mobile app: Launch the August mobile app on your smartphone or tablet and log in to your account.
- Select the lock: Once you are in the app, select the August Smart Lock you want to remove from the list of connected locks.
- Disable Auto-Lock: In the lock settings, disable the Auto-Lock feature if it is enabled. This will prevent the lock from engaging automatically during the removal process.
- Disconnect power sources: Depending on your specific lock model, you may need to disconnect any power sources, such as batteries or a power adapter, from the lock. Refer to the manufacturer’s instructions for your particular lock model for guidance on disconnecting the power sources.
- Put the lock into manual mode: Some August Smart Locks have a manual mode that allows you to control the lock manually instead of through the app. Activate manual mode by following the instructions provided in the user manual or on the manufacturer’s website.
By following these steps, you will successfully disable the August Smart Lock and ensure that it is ready for removal. Now, let’s move on to the next step: removing the August Smart Lock from the door.
Step 3: Remove the August Smart Lock from the door
Now that you have disabled the August Smart Lock, it’s time to remove it from the door. Follow these steps to safely remove the lock:
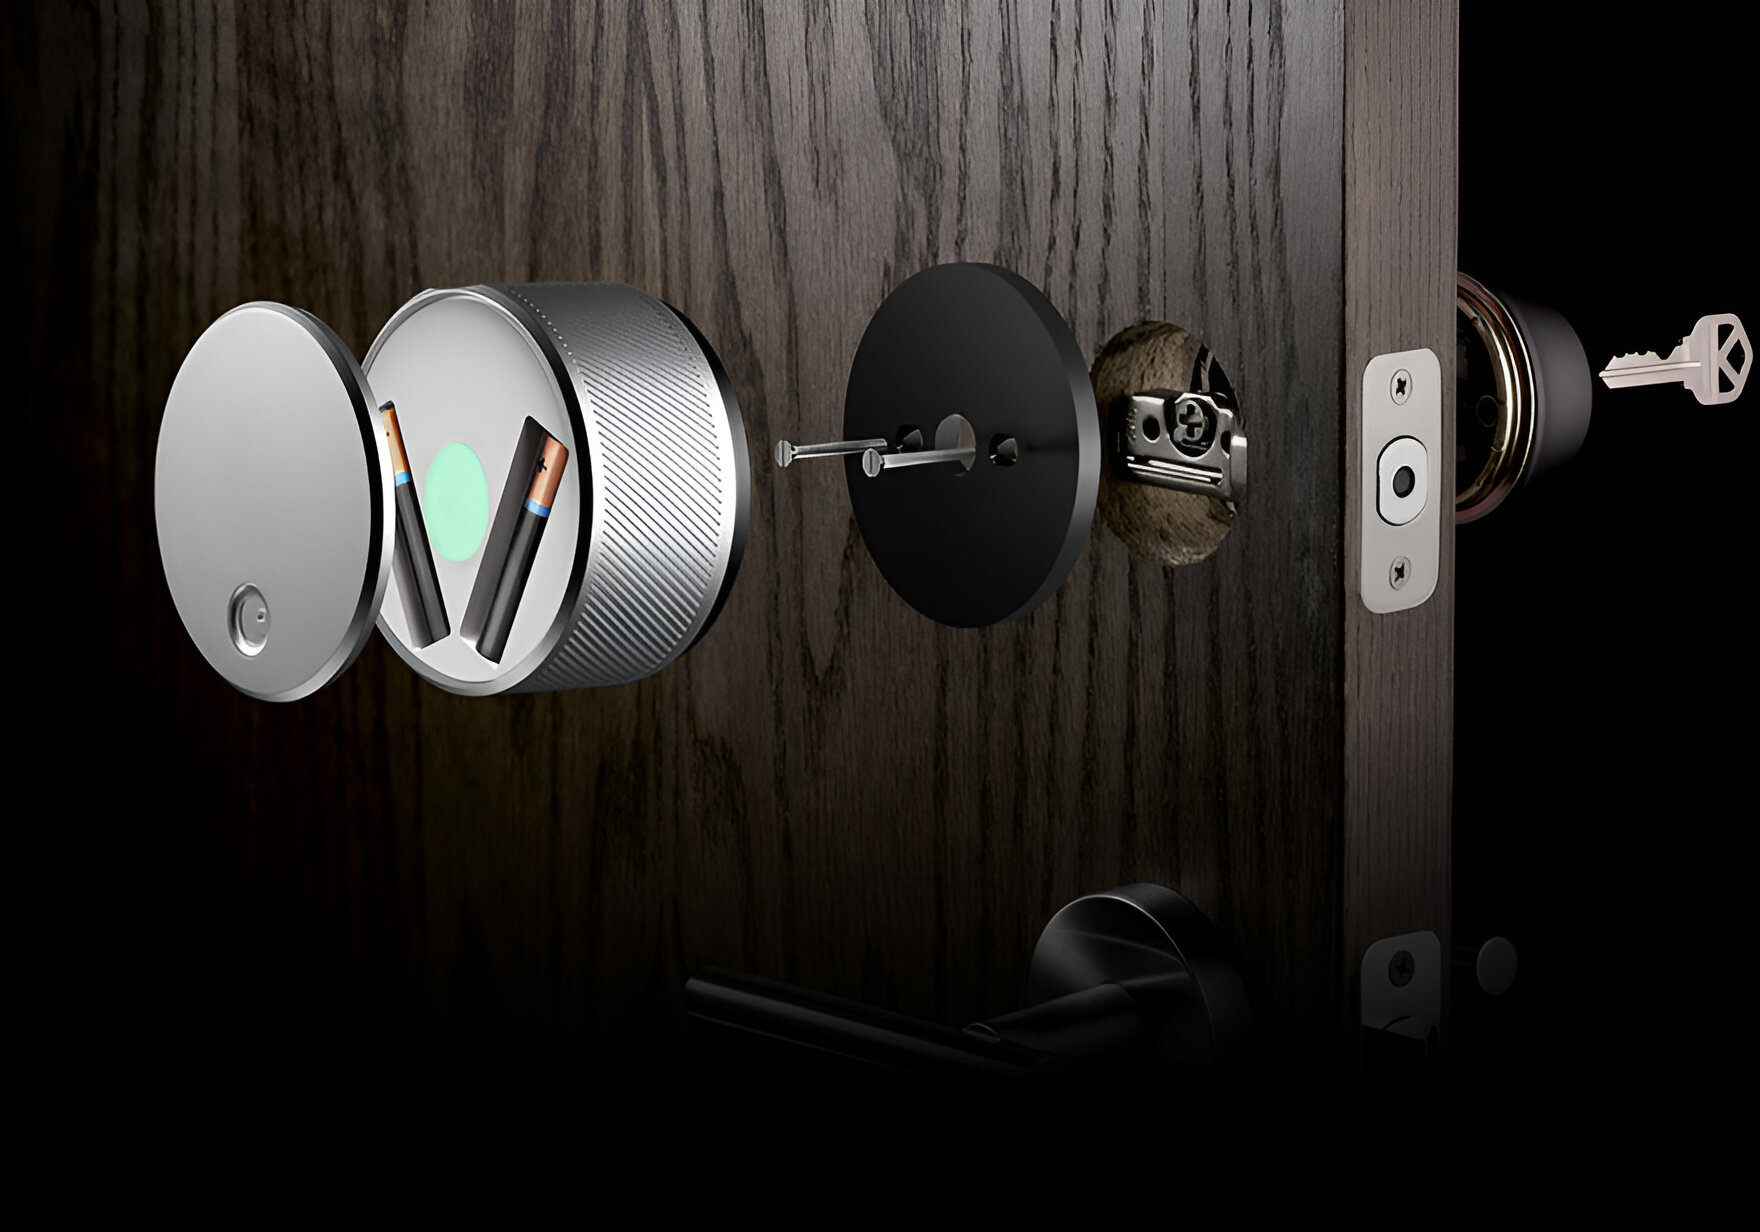
- Locate the mounting plate: The mounting plate is the part of the August Smart Lock that is attached to the door. Identify the screws that secure the mounting plate to the door.
- Remove the mounting plate screws: Use a screwdriver to carefully loosen and remove the screws that hold the mounting plate in place. Be sure to keep track of these screws, as you may need them for the installation of a new lock.
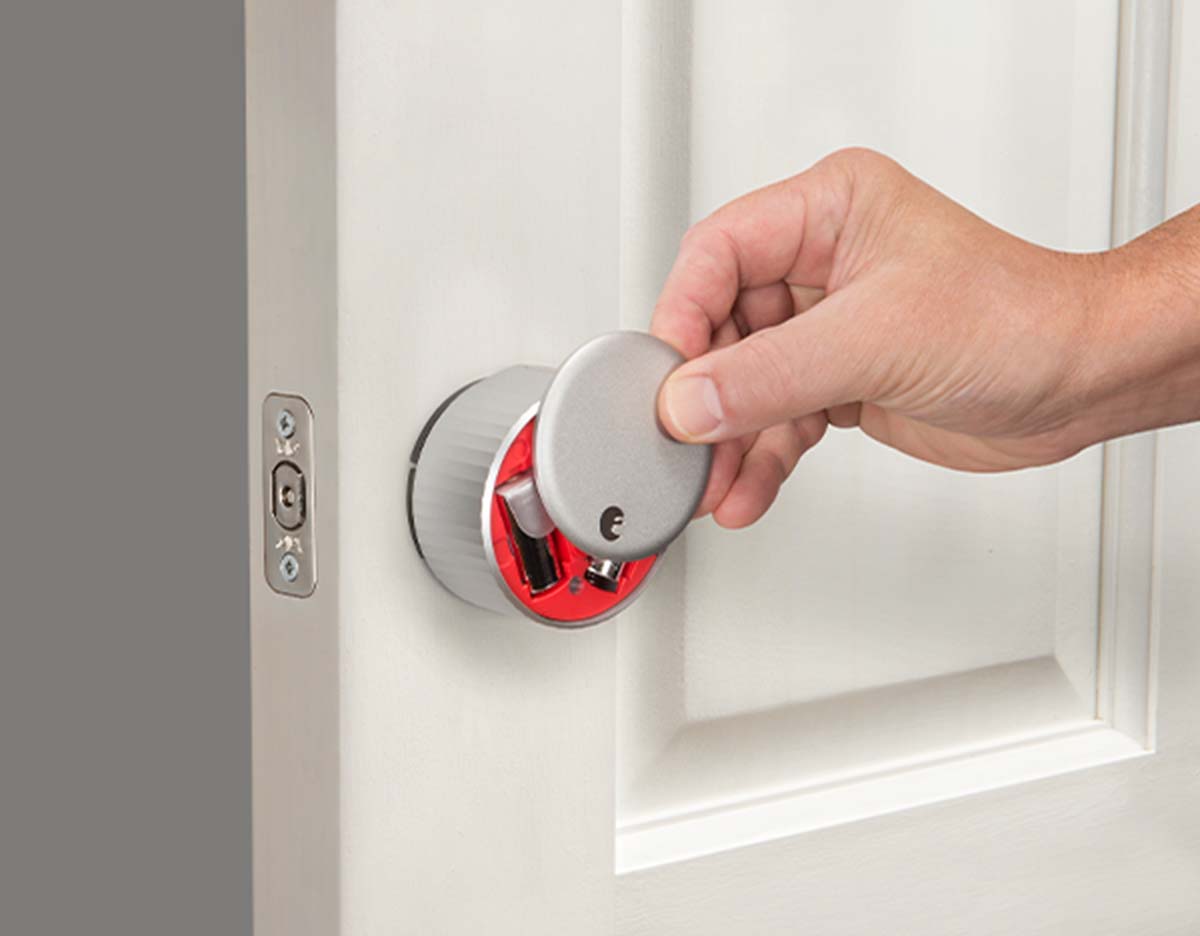
- Gently detach the mounting plate: Once the screws are removed, gently pull the mounting plate away from the door. Take care not to force it or damage the surrounding area. If necessary, use a flathead screwdriver to help pry the mounting plate away from the door.
- Disconnect the lock from the mounting plate: Depending on the model of your August Smart Lock, there may be a connector or wires connecting the lock to the mounting plate. Carefully disconnect these, following the manufacturer’s instructions for your specific lock model.
- Set aside the August Smart Lock: Once the lock is disconnected from the mounting plate, set it aside in a safe place. If you plan to reuse the lock or if it is still under warranty, handle it with care to avoid any damage.
With these steps, you have successfully removed the August Smart Lock from your door. You can now proceed to clean and prepare the door for a new lock if needed, which we will cover in the next step.
Step 4: Clean and prepare the door for a new lock
After removing the August Smart Lock from your door, it’s important to clean and prepare the door for the installation of a new lock, if necessary. Follow these steps to ensure your door is ready:
- Remove any debris: Use a clean cloth or brush to remove any dirt, dust, or debris that may have accumulated in the area where the August Smart Lock was installed. This will ensure a clean surface for the new lock.
- Check for damage: Inspect the door for any damage or worn-out areas. If you notice any cracks, splits, or other issues, it’s essential to address them before installing a new lock. Consult a professional if necessary to repair any damage.
- Fill and sand holes: If there are any holes or indentations left from the previous lock, you can fill them with wood filler or putty. Allow the filler to dry and then sand it smooth to create an even surface.
- Measure and mark for the new lock: If you are installing a new lock, use a tape measure to determine the correct placement for the new lock. Mark the necessary measurements on the door with a pencil or masking tape.
- Follow manufacturer’s instructions: If you have purchased a new lock, follow the manufacturer’s instructions for installation. Different locks may have specific requirements and steps to follow.
By following these steps, you will ensure that your door is clean, prepared, and ready for the installation of a new lock if necessary. Now, let’s move on to the next step: installing a new lock.
Step 5: Install a new lock if necessary
If you have decided to replace the August Smart Lock with a new lock, you can now proceed with the installation process. Follow these steps to install a new lock:
- Read the manufacturer’s instructions: Carefully read and understand the installation instructions provided by the manufacturer of the new lock. Each lock may have specific requirements and steps to follow.
- Align the lock with the markings: Use the measurements and markings you made on the door in Step 4 to align the new lock properly. Ensure that the lock is centered and level before proceeding.
- Attach the lock to the door: Depending on the type of lock you are installing, you may need to attach screws or bolts to secure it to the door. Follow the manufacturer’s instructions for your specific lock to ensure proper installation.
- Connect any wires or components: If the new lock requires any additional wiring or connection to components, carefully follow the manufacturer’s instructions to connect them correctly. Be mindful of any electrical connections and ensure they are secure.
- Test the lock: Once the new lock is installed, test it to ensure it is functioning properly. Check if the lock engages and disengages smoothly, and that the key or keypad functions as intended. Make any necessary adjustments if needed.
By following these steps, you will be able to successfully install a new lock if you decided to replace the August Smart Lock. Test the lock thoroughly to ensure it is working correctly before considering the process complete.
Now that you have installed a new lock, or if you have decided not to install a new lock, you can move on to the final step: testing the new lock and ensuring proper functioning.
Step 6: Test the new lock and ensure proper functioning
After installing a new lock or completing the removal process, it’s crucial to test the lock and ensure it is functioning correctly. Here are the steps to test the new lock:
- Engage and disengage the lock: Use the key, keypad, or other mechanisms provided by the new lock to engage and disengage it. Test multiple times to ensure smooth operation.
- Check alignment: Make sure the bolt or latch aligns properly with the strike plate when the lock is engaged. This ensures the door securely locks and provides proper security.
- Test the key or keypad: If your new lock uses a key or keypad, check that they are functioning correctly. Ensure that keys turn smoothly and that the keypad registers entries accurately.
- Lock and unlock from the inside and outside: Test the lock from both inside and outside of the door. Ensure that the lock can be easily locked and unlocked from both sides without experiencing any resistance or issues.
- Inspect for any issues: Check for any signs of misalignment, difficulty in operation, or other issues. If you notice anything concerning, consult the manufacturer’s instructions or consider seeking professional assistance.
By following these steps and thoroughly testing the new lock, you can ensure that it is functioning properly and providing the desired level of security for your door. Take note of any observations or concerns you may have during the testing process.
Congratulations! You have completed the process of removing the August Smart Lock, preparing the door for a new lock, and installing a new lock if necessary. Your door is now ready to provide enhanced security and control access to your property.
Conclusion
Removing an August Smart Lock from your door may be necessary for various reasons, whether it’s upgrading your home security system, replacing the lock, or moving to a new location. By following the step-by-step guide outlined in this article, you have learned how to safely and efficiently remove the lock from your door.
We started by gathering the necessary tools to ensure a smooth process. Then, we disabled the August Smart Lock by deactivating its connection, disconnecting power sources, and putting it into manual mode. Next, we walked through the steps of removing the lock from the door, including locating the mounting plate, removing the screws, detaching the mounting plate, and disconnecting the lock from the plate.
After that, we discussed the importance of cleaning and preparing the door for a new lock, which involved removing debris, checking for damage, filling and sanding holes, and marking the measurements for the new lock installation. We then covered the installation process for a new lock, including aligning the lock, attaching it to the door, connecting any wires or components, and testing its functionality.
Finally, we emphasized the significance of testing the new lock to ensure proper functioning, including engaging and disengaging the lock, checking alignment, testing the key or keypad, and locking and unlocking the door from both inside and outside.
By following these steps, you have successfully removed the August Smart Lock and either installed a new lock or prepared the door for a future lock installation. Remember to consult the manufacturer’s instructions specific to your lock model and seek professional assistance if needed.
Thank you for using our guide to remove the August Smart Lock from your door. We hope this information has been helpful, and we wish you success in your home security endeavors.