Introduction
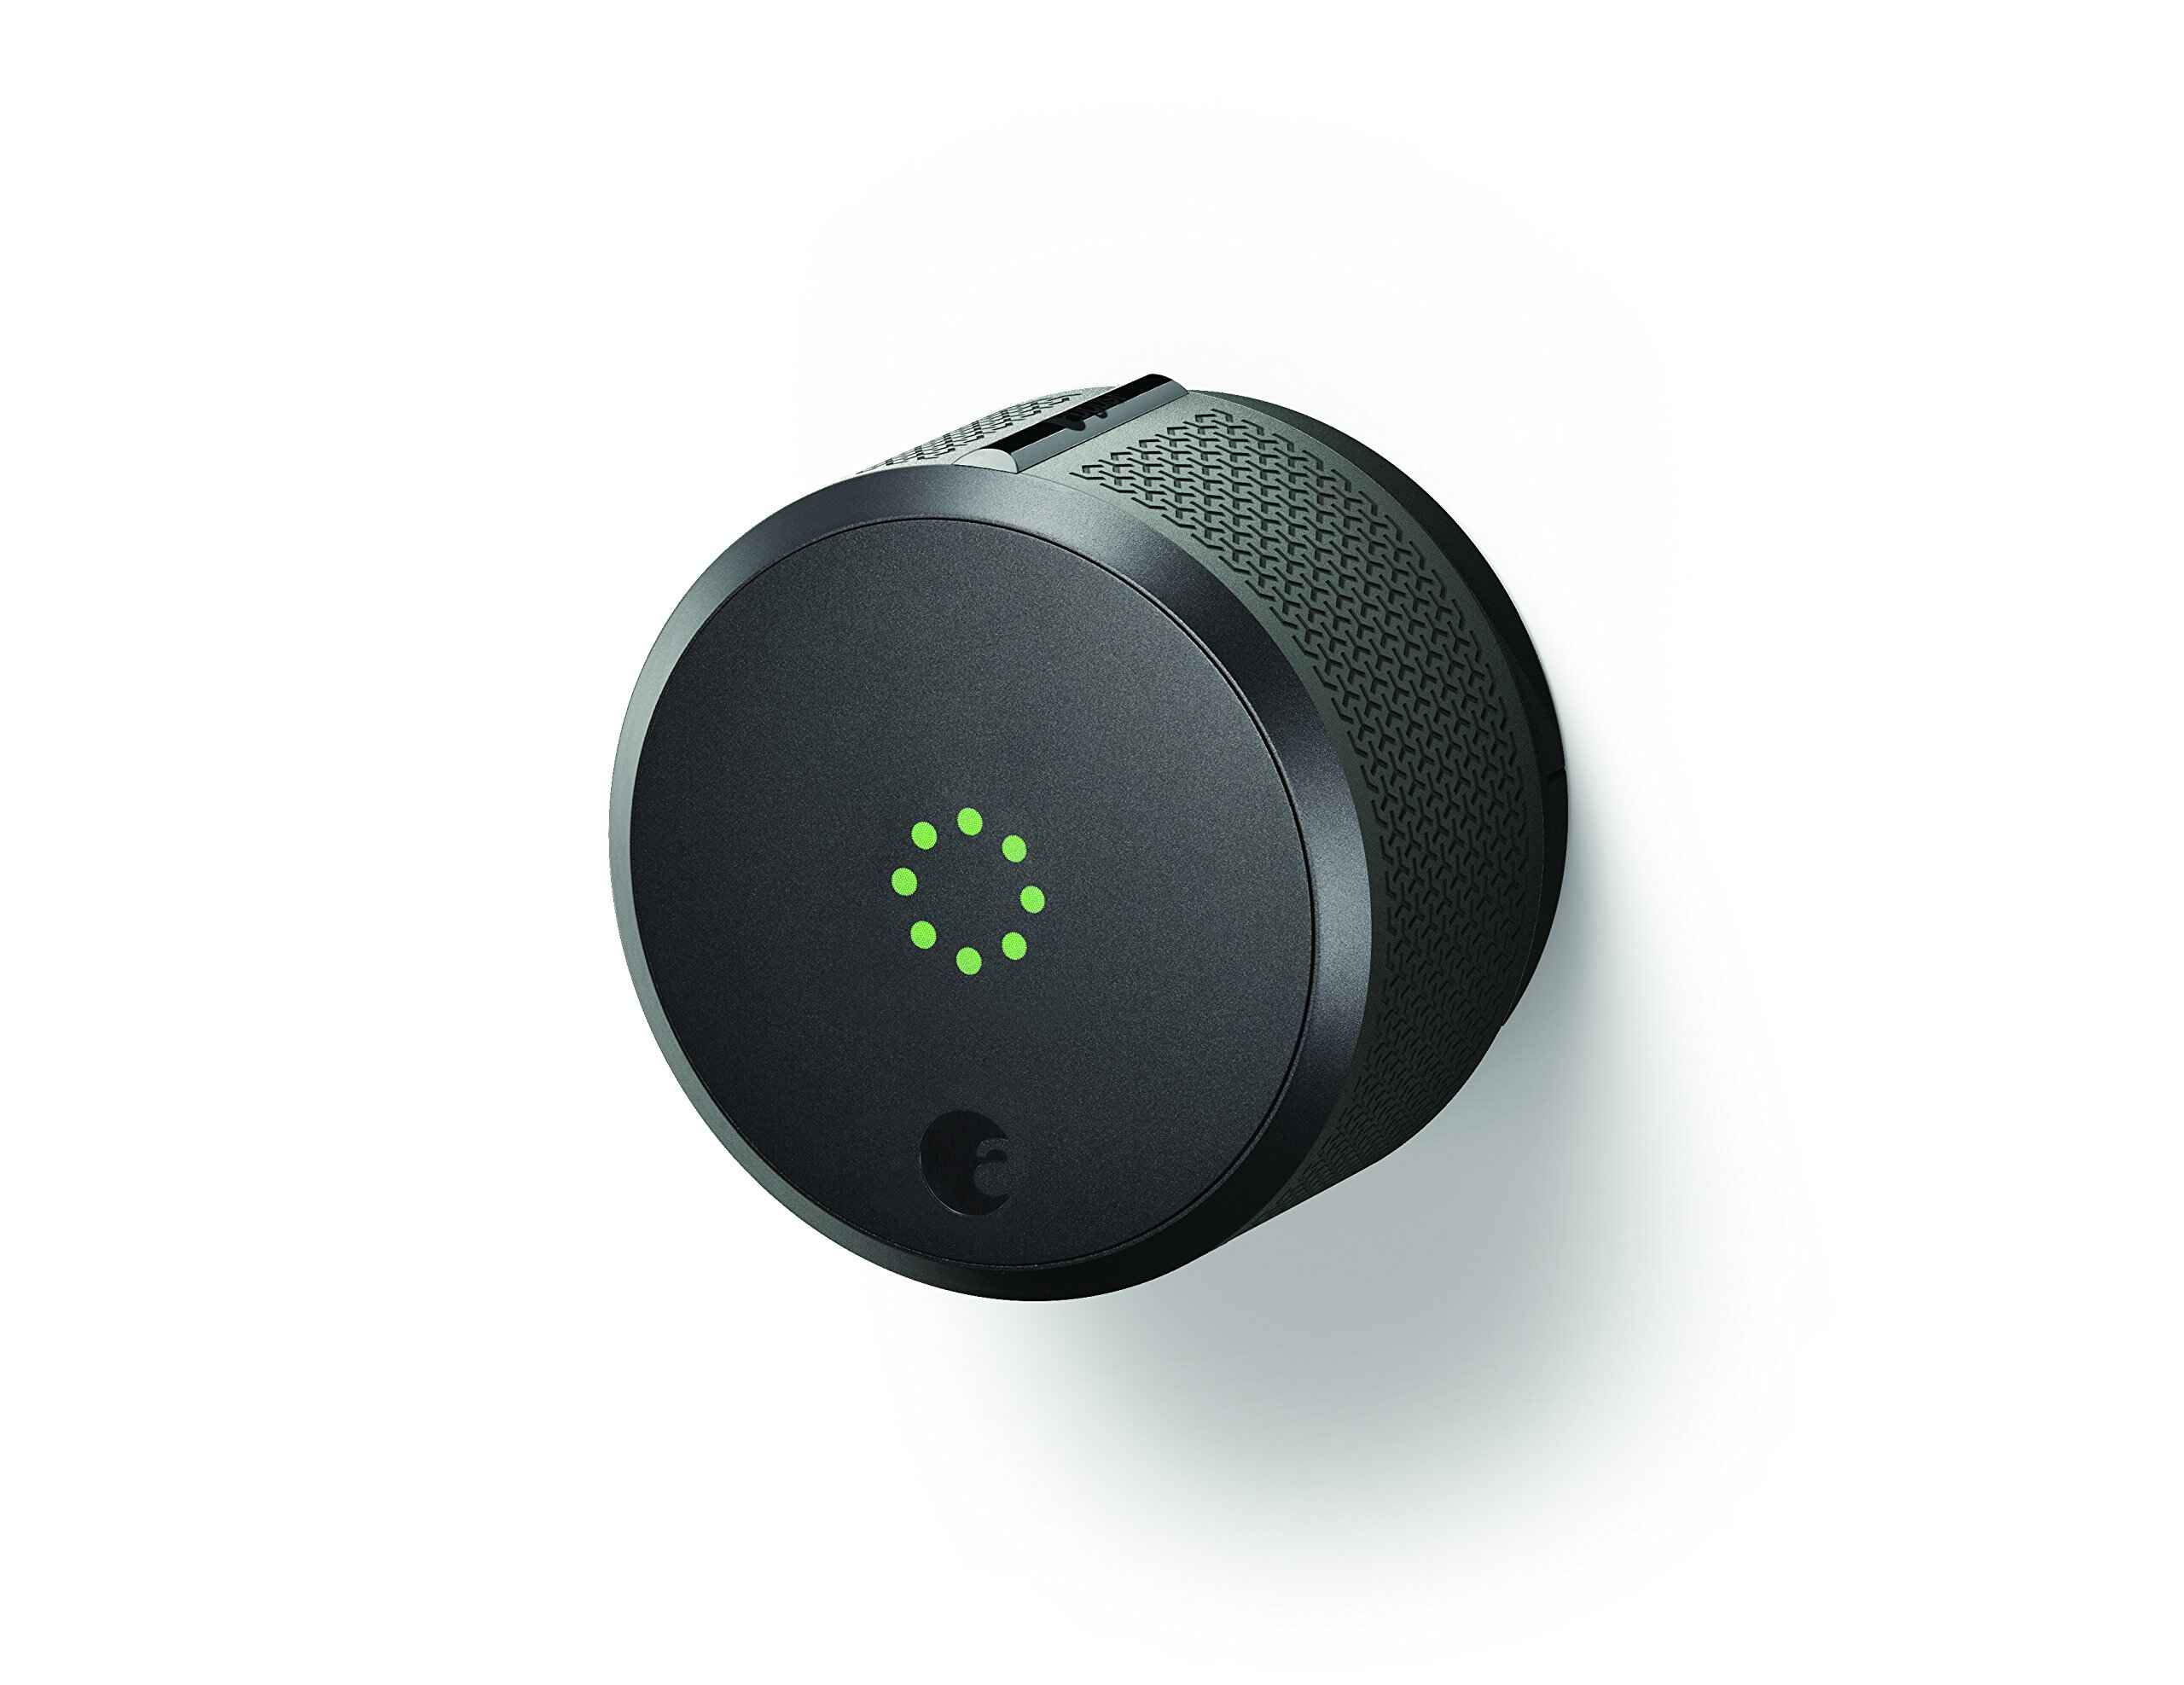
Welcome to the comprehensive guide on replacing the batteries of your August Smart Lock! The August Smart Lock is a convenient and innovative device that allows you to control and monitor your door lock using your smartphone. Over time, the batteries of the smart lock will require replacement to ensure optimal performance and functionality.
In this guide, we will take you through the step-by-step process of replacing the batteries in your August Smart Lock. Whether you are replacing the batteries for the first time or looking for a refresher, this article will provide you with all the information you need to successfully complete the task.
Before we jump into the steps, it’s vital to mention that the battery replacement process may vary slightly depending on the model of your August Smart Lock. However, the basic principles and techniques outlined here should apply to most models.
So, if you’re ready to ensure your August Smart Lock continues to function flawlessly, let’s dive into the process of replacing its batteries. Follow each step carefully to avoid any difficulties or potential damage to your smart lock.
Step 1: Preparing for Battery Replacement
Before you begin removing and replacing the batteries in your August Smart Lock, there are a few essential preparations you need to make. These preparations will ensure a smooth and efficient battery replacement process. Follow the steps below to get started:
- Gather the necessary tools: To replace the batteries, you will only need a small Phillips head screwdriver. Make sure you have one readily available before proceeding.
- Check the battery type and capacity: Before purchasing replacement batteries, it’s important to know the battery type and capacity required for your August Smart Lock. The battery information can usually be found in the user manual or on the August Smart Lock website. Ensure you have the correct specifications to avoid any compatibility issues.
- Find a well-lit and comfortable workspace: Look for a well-lit area with enough space and a comfortable surface to work on. This will help you see the components clearly and provide a suitable environment for the battery replacement process.
- Make a backup plan for access: Since the August Smart Lock will be temporarily non-functional during the battery replacement process, it’s crucial to have a backup plan for accessing your home or establishment. Ensure you have a spare key or an alternative method of entry available to prevent any inconvenience.
By following these preparatory steps, you will be fully equipped and ready to replace the batteries in your August Smart Lock. Taking the time to gather the necessary tools, ascertain the correct battery specifications, set up a suitable workspace, and prepare an access backup plan will make the battery replacement process much smoother and hassle-free.
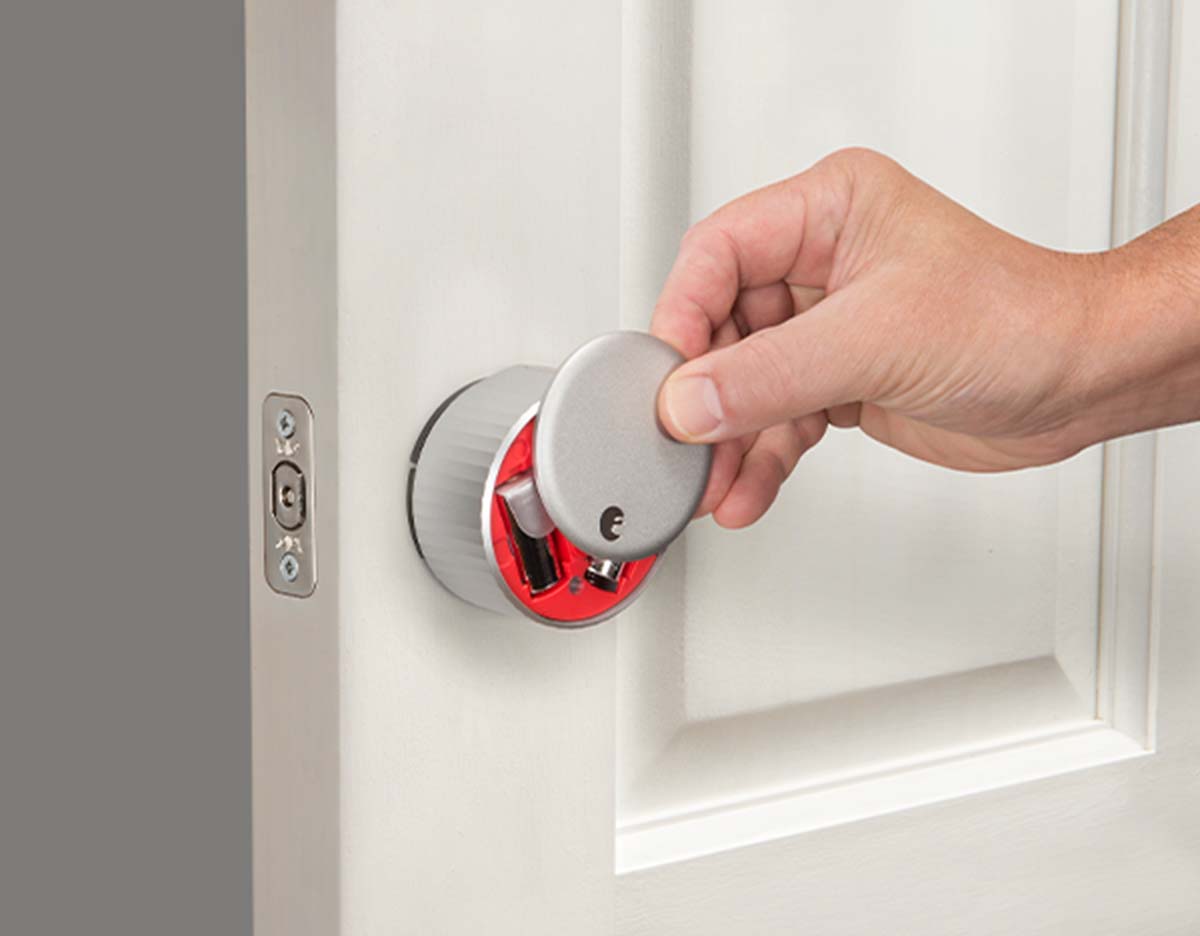
Step 2: Removing the Back Plate
Now that you have prepared for the battery replacement, it’s time to start removing the back plate of your August Smart Lock. The back plate is the part of the lock that covers the batteries and holds them in place. Follow the steps below to safely remove the back plate:
- Locate the back plate: Look for the back plate of your August Smart Lock, typically located on the inside portion of the door. It’s usually a rectangular piece that covers the batteries.
- Identify the screw: Examine the back plate for a small screw holding it in place. The screw is usually located near the bottom of the back plate or on the side. Use a small Phillips head screwdriver to remove the screw by turning it counterclockwise.
- Remove the back plate: Once the screw is removed, gently slide or lift the back plate off the lock mechanism. Be cautious not to pull or force the back plate as it may still be attached to the lock by tabs or hooks.
- Inspect for any additional attachments: While removing the back plate, check for any additional attachments that may be holding it in place. Some models may have extra tabs or hooks that need to be released to fully detach the back plate. If you encounter any, carefully disengage them to separate the back plate completely.
By following these steps, you should be able to remove the back plate of your August Smart Lock with ease. Remember to handle the back plate gently and take note of any additional attachments that may require your attention. Proceeding with caution will help prevent any damage to your smart lock during this process.
Step 3: Taking Out the Old Batteries
Now that you have successfully removed the back plate, it’s time to take out the old batteries from your August Smart Lock. Follow the steps below to safely remove the old batteries:
- Identify the battery compartment: Once the back plate is removed, you will see the battery compartment. It is usually located at the center or bottom portion of the lock mechanism. Take note of how many batteries are present and their arrangement.
- Remove the old batteries: Depending on the model, the batteries may be held in place by clips, springs, or a battery holder. Gently press or slide the batteries in the direction indicated to release them from their housing. If the batteries are connected by wires, detach them carefully by loosening any clips or connectors.
- Dispose of the old batteries properly: Safely dispose of the old batteries following the appropriate guidelines for your region. Many communities have designated battery recycling programs in place to ensure responsible disposal. Consider using these services to minimize environmental impact.
- Inspect for corrosion: While removing the old batteries, inspect the battery compartment for any signs of corrosion. If you notice corrosion, use a cotton swab or a soft cloth with a small amount of rubbing alcohol to gently clean the affected areas. Allow the compartment to dry completely before proceeding.
By following these steps, you should be able to remove the old batteries from your August Smart Lock. Be mindful of the battery compartment’s construction and take the necessary precautions to avoid any damage or mishandling. Properly disposing of the old batteries and cleaning any corrosion will help maintain the integrity and longevity of your smart lock.
Step 4: Inserting the New Batteries
With the old batteries removed, it’s time to insert the new batteries into your August Smart Lock. Follow the steps below to ensure the proper installation of the new batteries:
- Check the battery orientation: Before inserting the new batteries, carefully check the battery compartment for markings or indicators that specify the correct orientation. Ensure that the positive (+) and negative (-) ends of the batteries align with the corresponding markings.
- Insert the new batteries: Hold the new batteries with the correct orientation and carefully insert them into the battery compartment. Follow any instructions provided by the manufacturer, such as the recommended order or arrangement of the batteries. Push the batteries firmly until they are securely in place.
- Connect any wired batteries: If your August Smart Lock has batteries connected by wires, reattach them according to their proper connectors. Ensure that the connections are secure and properly aligned to prevent any issues.
- Ensure a proper fit: After inserting the new batteries, check that they are snugly fitted into the battery compartment. Any loose connections can cause intermittent power or functionality problems. If the batteries are not fitting properly, double-check their orientation and try again.
By following these steps, you should be able to insert the new batteries into your August Smart Lock accurately. Pay close attention to the battery orientation and any instructions provided by the manufacturer to ensure a proper fit. This will help ensure optimal performance and longevity for your smart lock.
Step 5: Reattaching the Back Plate
After successfully inserting the new batteries, it’s time to reattach the back plate of your August Smart Lock. Follow the steps below to securely reattach the back plate:
- Align the back plate: Hold the back plate in the correct position to align it with the lock mechanism. Ensure that any tabs or hooks on the back plate line up with their corresponding slots or hooks on the lock.
- Slide or press the back plate into place: Once aligned, carefully slide or press the back plate onto the lock mechanism. Make sure it fits snugly and evenly against the door.
- Insert and tighten the screw: Once the back plate is in place, locate the screw that was removed earlier. Insert it back into its designated hole and use a Phillips head screwdriver to tighten it clockwise. Ensure that the screw is tight but not overly tightened to avoid any damage.
- Check for secure attachment: After tightening the screw, gently test the back plate to ensure it is securely attached. Give it a slight tug to make sure it doesn’t move or come loose. If it feels loose, double-check the alignment and reattach it if necessary.
By following these steps, you should be able to reattach the back plate of your August Smart Lock securely. Take your time to align the back plate properly, tighten the screw appropriately, and confirm the attachment’s security. Ensuring a secure back plate will help maintain the integrity and functionality of your smart lock.
Step 6: Testing the Lock
After successfully reattaching the back plate, it’s important to test your August Smart Lock to ensure that the battery replacement was successful and the lock is functioning properly. Follow the steps below to test the lock:
- Activate the lock: Use your smartphone or the designated method to activate the lock. Make sure you hear the familiar locking sound or see the lock mechanism engage properly. If the lock doesn’t respond, check the battery installation and back plate attachment again.
- Test the unlocking function: Once the lock is activated, attempt to unlock it using your smartphone or the appropriate method. Ensure the lock mechanism disengages smoothly, allowing you to open the door without any issues.
- Check for proper communication: If your August Smart Lock is connected to a smart home system or hub, verify that the lock is communicating properly. Test the communication by attempting to lock or unlock the door remotely using the associated app or control panel.
- Monitor battery life: Keep an eye on the battery life of your August Smart Lock. Check the associated app or device to determine the battery level and set up any necessary notifications or reminders for future battery replacements.
By following these steps, you can ensure that your August Smart Lock is functioning as intended after the battery replacement. Testing the lock’s activation, unlocking function, communication, and monitoring the battery life will provide you with confidence in its performance and reliability.
Conclusion
Congratulations! You have successfully replaced the batteries in your August Smart Lock. By following the step-by-step guide outlined in this article, you have ensured the continued functionality and security of your smart lock. Whether it was your first time replacing the batteries or you needed a refresher, you have gained the knowledge and confidence to complete the task.
Remember, proper preparation, careful removal of the back plate, replacing the batteries correctly, securely reattaching the back plate, and thoroughly testing the lock are essential for a successful battery replacement process. By following these steps and guidelines, you can maintain the optimal performance of your August Smart Lock and enjoy its convenient features for years to come.
As a final reminder, be sure to properly dispose of the old batteries and handle the smart lock components with care. If you encounter any difficulties or if the lock does not function as expected even after battery replacement, consult the manufacturer’s support or seek professional assistance.
Thank you for choosing this guide for replacing August Smart Lock batteries. Enjoy the continued convenience and security provided by your smart lock!