Introduction
Raspberry Pi is a popular single-board computer that offers a wide range of possibilities for hobbyists, students, and professionals alike. Whether you’re looking to build a personal media center, a home automation system, or a small-scale server, installing the Raspberry Pi OS on an SD card is the first step towards unleashing the full potential of this versatile device.
In this guide, we will walk you through the process of installing Raspberry Pi OS on an SD card, which will allow you to boot up your Raspberry Pi and start exploring all the amazing projects and applications that it can run. We will cover the necessary requirements, step-by-step instructions, and some helpful tips and tricks to ensure a smooth installation process.
Before we dive into the details, it’s important to note that there are different versions of Raspberry Pi OS available, depending on your specific needs and preferences. The most common version is the Raspberry Pi OS with Desktop, which provides a user-friendly interface and a wide range of pre-installed software. There is also a Lite version, which is a minimalistic version of the OS without a graphical interface, perfect for headless installations.
Now that you have a better understanding of what to expect, let’s get started with the requirements you need to fulfill before installing Raspberry Pi OS on your SD card.
Requirements
Before you begin the installation process, you’ll need to gather a few essential items to ensure a successful installation of Raspberry Pi OS on your SD card. Here’s a list of the requirements:
- Raspberry Pi: You will need a Raspberry Pi board, such as Raspberry Pi 4 or Raspberry Pi 3, depending on your preference and project requirements.
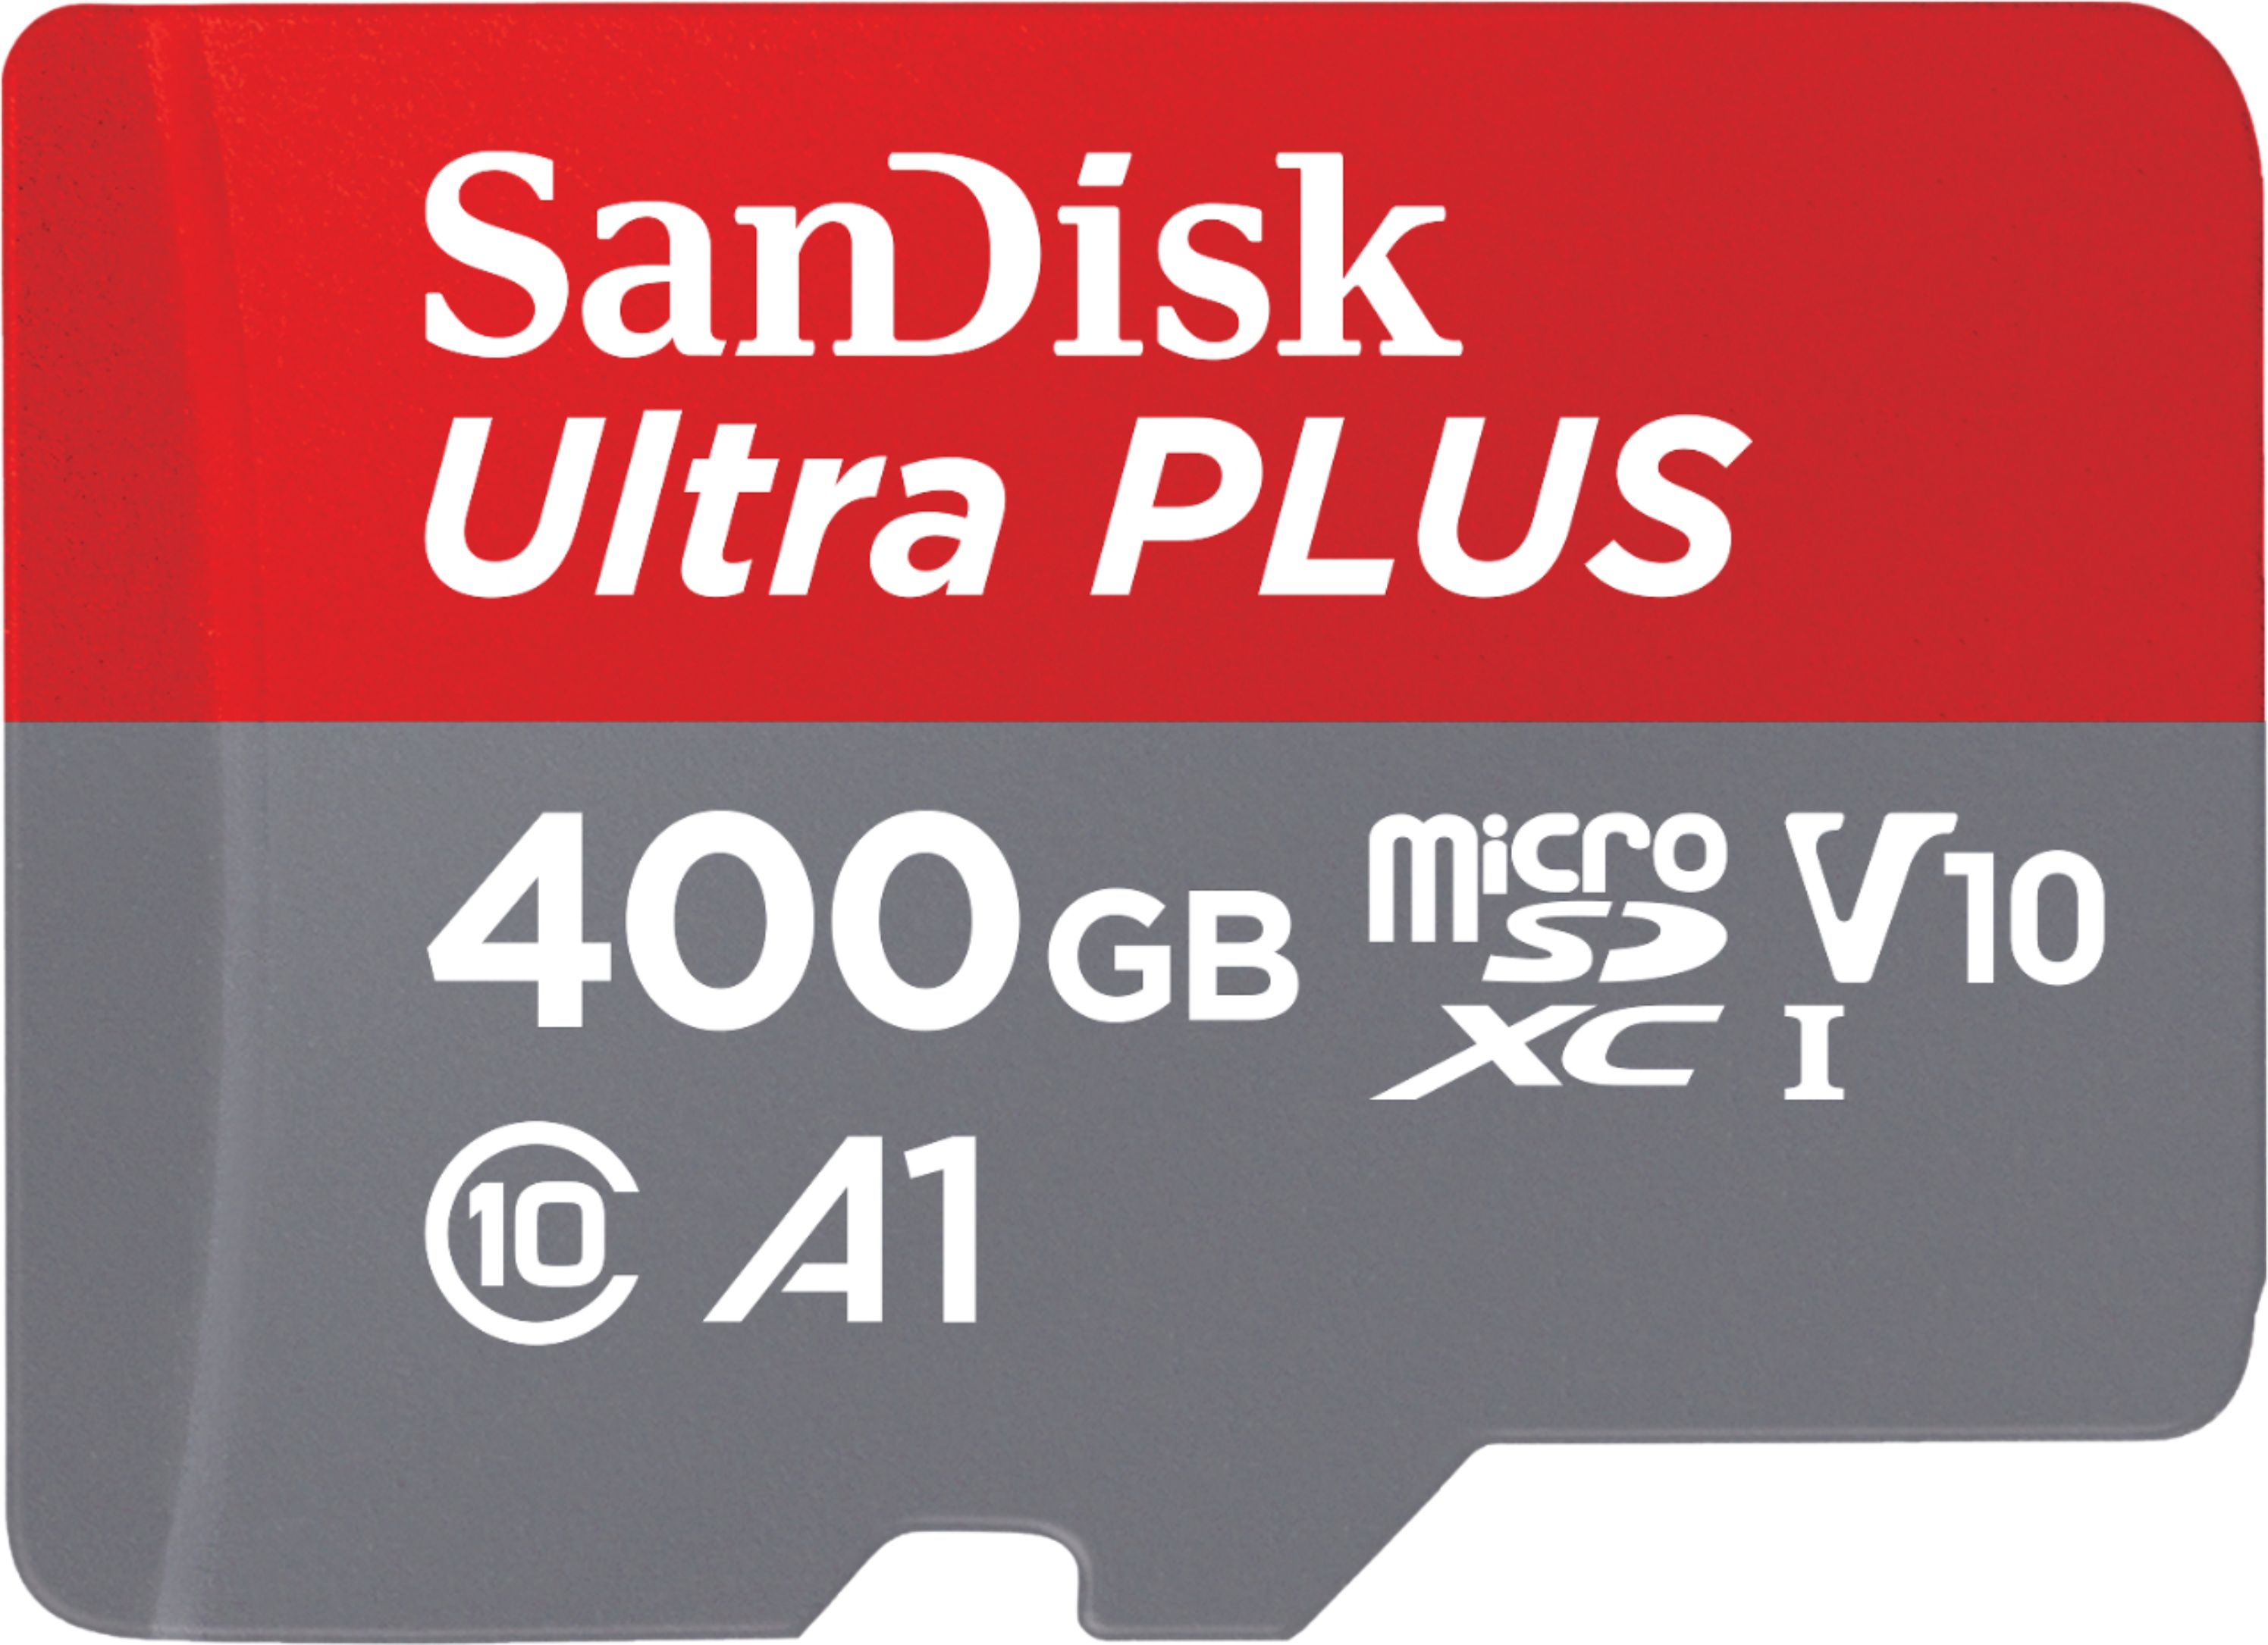
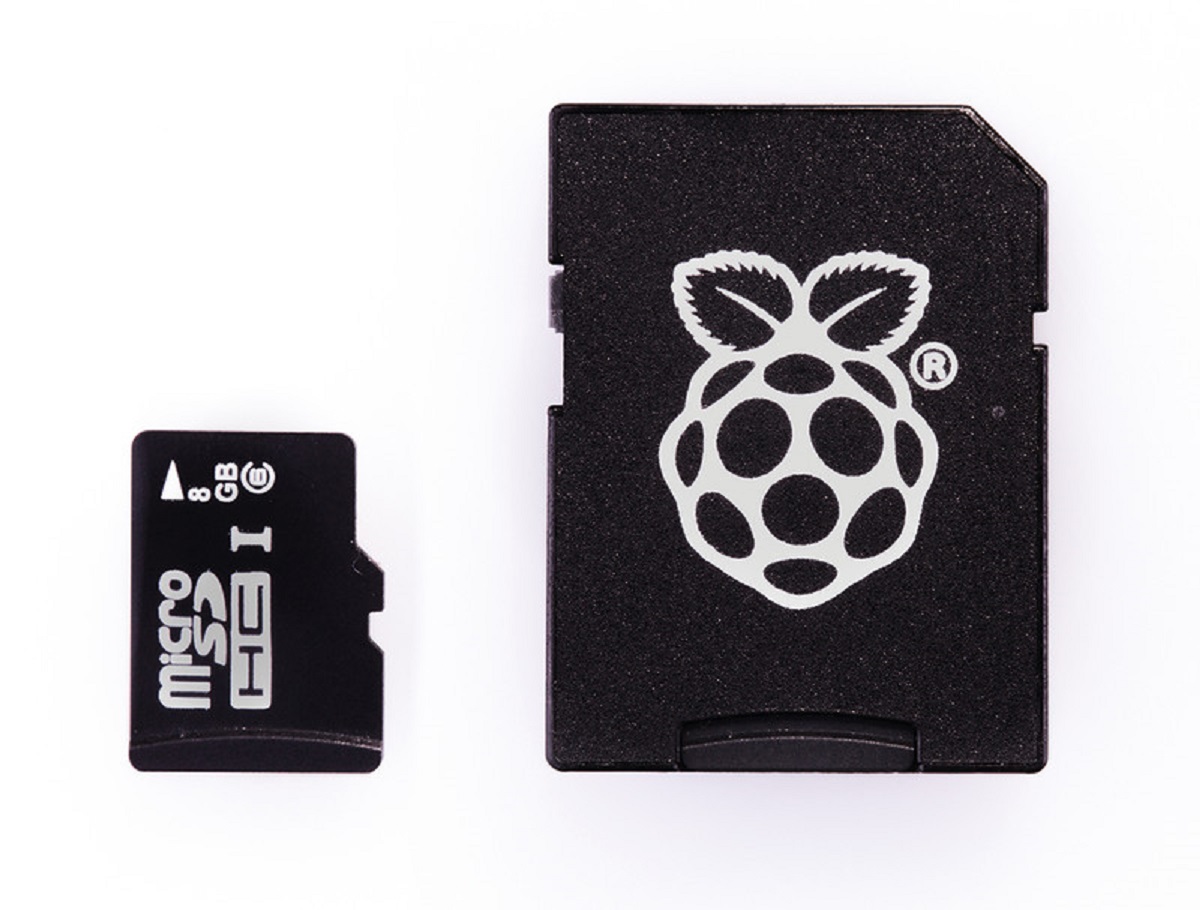
- SD Card: An SD card is necessary for storing the Raspberry Pi OS. Make sure to choose a high-quality SD card with sufficient storage capacity (at least 16GB recommended).
- SD Card Reader: You’ll need an SD card reader to connect the SD card to your computer for flashing the OS onto it. Most modern computers have built-in SD card readers, but you can also use an external USB card reader if needed.
- Computer: A computer with an internet connection is required to download the Raspberry Pi OS image and flashing tool.
- Power Supply: To power up your Raspberry Pi, you’ll need a compatible power supply with a micro USB connector. Make sure to use a power supply that meets the power requirements of your specific Raspberry Pi model.
- HDMI Cable: If you’re planning to connect your Raspberry Pi to a monitor or TV, you’ll need an HDMI cable to establish the video output.
- Keyboard and Mouse: For initial setup and configuration, you’ll need a USB keyboard and mouse to interact with your Raspberry Pi.
Having the above requirements in place will ensure a smooth installation process and a functional Raspberry Pi system. Once you have gathered all the necessary items, you’re ready to move on to the next step, which is preparing the SD card for the installation.
Step 1: Prepare the SD Card
The first step in installing Raspberry Pi OS is to prepare the SD card that will serve as the storage medium for the operating system. Follow these steps to ensure the SD card is ready for installation:
- Format the SD Card: Before you begin, it’s important to format the SD card to ensure a clean start. Insert the SD card into your computer’s card reader and open the disk utility application. Select the SD card from the list and choose the format option to format it. Ensure that the file system is set to FAT32.
- Download SD Card Formatter: If you prefer using a specialized tool for formatting the SD card, it’s recommended to download and install a reliable SD card formatter. This will ensure that the formatting process is accurate and optimized for the Raspberry Pi OS installation.
- Eject the SD Card: Once the formatting process is completed, safely eject the SD card from your computer’s card reader. This step is crucial to avoid data corruption and ensure that the SD card is ready for the next stage of the installation.
Preparing the SD card sets the foundation for a successful installation of Raspberry Pi OS. It ensures that the operating system is installed on a clean and properly formatted storage medium, which reduces the risk of errors and compatibility issues.
Now that you have prepared the SD card, you’re ready to move on to the next step: downloading the Raspberry Pi OS image.
Step 2: Download Raspberry Pi OS
After preparing the SD card, the next step is to download the Raspberry Pi OS image. Follow these instructions to ensure a successful download:
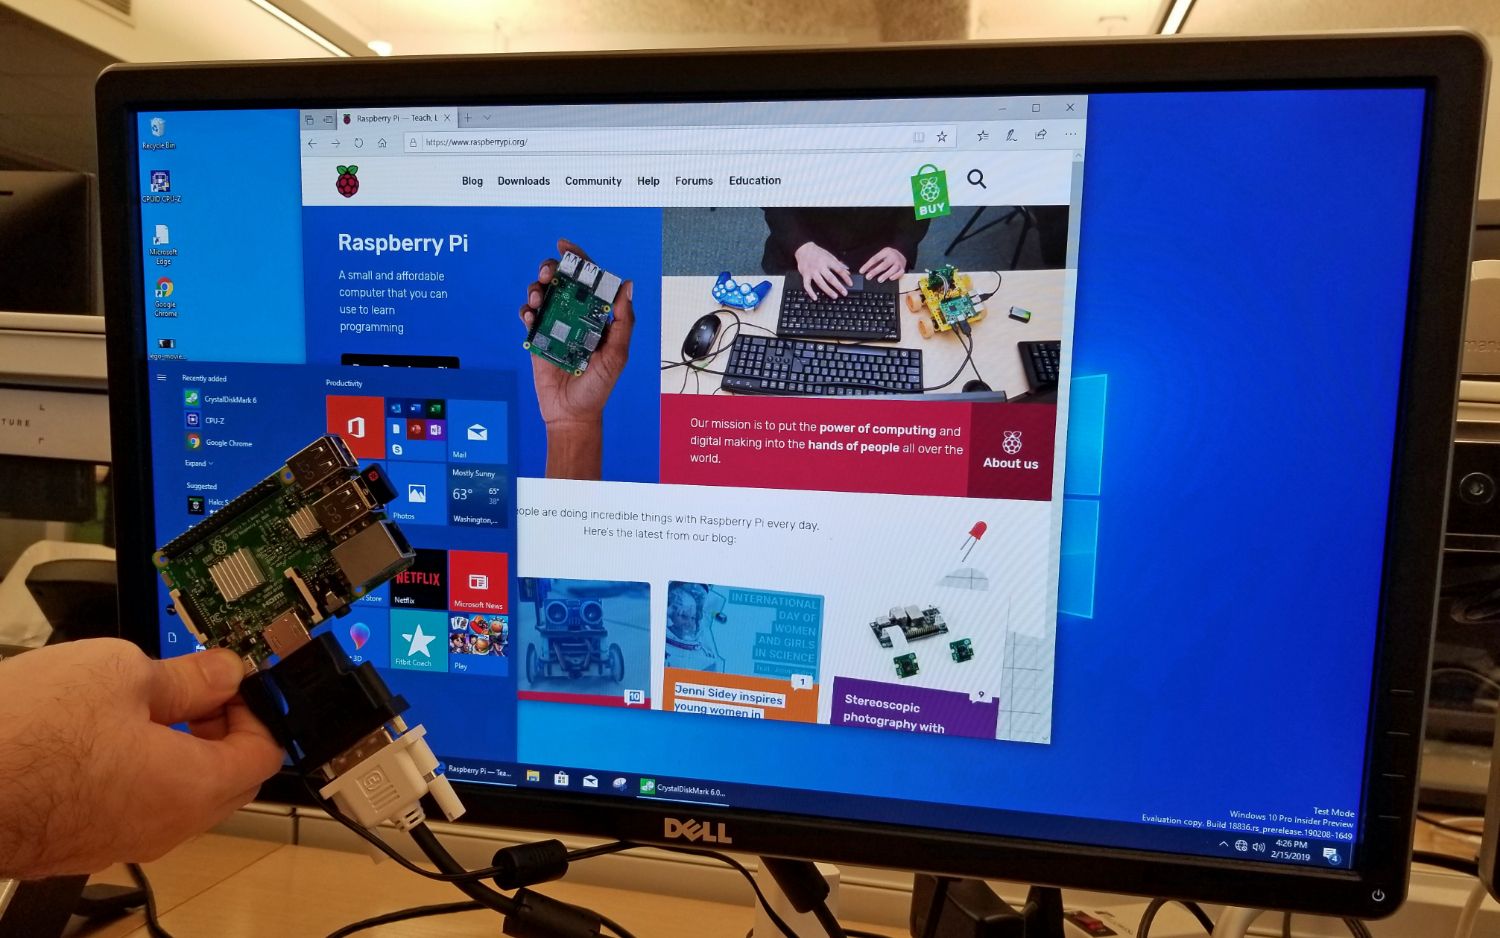
- Visit the Raspberry Pi Website: Start by visiting the official Raspberry Pi website at www.raspberrypi.org. Navigate to the “Downloads” section.
- Choose the Raspberry Pi OS Version: From the available options, select the version of Raspberry Pi OS that best suits your needs. The most common version is Raspberry Pi OS with Desktop, which offers a user-friendly interface.
- Select the Download Location: Once you’ve chosen the version, select the appropriate download location. Choose a mirror site that is closest to your geographical location to ensure a faster download speed.
- Initiate the Download: Click on the download link to start the download process. Depending on your internet connection speed, the download may take several minutes.
Once the Raspberry Pi OS image is downloaded, you’re ready to proceed with the next step: flashing the Raspberry Pi OS onto the SD card.
Downloading the correct Raspberry Pi OS version ensures that you have the appropriate software for your specific needs. Whether you prefer the full-featured Raspberry Pi OS with Desktop or the minimalistic Lite version, it’s important to choose the right version to optimize your Raspberry Pi experience.
Step 3: Flash Raspberry Pi OS to the SD Card
With the Raspberry Pi OS image downloaded, the next step is to flash it onto the SD card. Follow these steps to ensure a successful flashing process:
- Download Etcher: Etcher is a user-friendly tool that allows you to flash Raspberry Pi OS onto the SD card. Download and install Etcher from the official website based on your operating system.
- Launch Etcher: Once Etcher is installed, launch the application on your computer. You may be prompted to provide admin permissions, so make sure you have the necessary privileges.
- Select the Raspberry Pi OS Image: In Etcher, click on the “Select image” button and navigate to the location where you downloaded the Raspberry Pi OS image file. Select the image file and proceed to the next step.
- Choose the SD Card: Connect the prepared SD card to your computer’s card reader and ensure it is detected by Etcher. Select the SD card as the target for flashing the Raspberry Pi OS.
- Flash the Image: Double-check that you have selected the correct Raspberry Pi OS image file and the correct SD card. Once everything is verified, click on the “Flash!” button to begin the flashing process. This may take a few minutes.
- Verify the Flashing Process: After the flashing process is complete, Etcher will verify that the Raspberry Pi OS was flashed successfully on the SD card. Once the verification is done, safely eject the SD card from your computer’s card reader.
Flashing Raspberry Pi OS onto the SD card ensures that the necessary files and system components are correctly written to the storage medium. This is a crucial step in preparing the SD card for booting up Raspberry Pi with the newly installed operating system.
Now that you have successfully flashed the Raspberry Pi OS onto the SD card, you are one step closer to setting up your Raspberry Pi. Next, we will proceed with configuring the SD card for the Raspberry Pi system.
Step 4: Configure the SD Card
After flashing Raspberry Pi OS onto the SD card, the next step is to configure it for use with your Raspberry Pi. Follow these steps to ensure a proper configuration:
- Enable SSH (Secure Shell): If you plan to access your Raspberry Pi remotely, you’ll need to enable SSH. To do this, navigate to the root directory of the flashed SD card, create a new empty file named “ssh” (without any file extension), and save it.
- Configure Wi-Fi (Optional): If you want to connect your Raspberry Pi to a Wi-Fi network, you can configure it by creating another file named “wpa_supplicant.conf” (again, with no file extension) in the root directory of the SD card. Open the file and add the following configurations:
country=YOUR_COUNTRY_CODE
ctrl_interface=DIR=/var/run/wpa_supplicant GROUP=netdev
update_config=1

network={
  ssid="YOUR_WIFI_SSID"
  psk="YOUR_WIFI_PASSWORD"
  key_mgmt=WPA-PSK
}
Replace “YOUR_COUNTRY_CODE” with your country code, “YOUR_WIFI_SSID” with your Wi-Fi network name, and “YOUR_WIFI_PASSWORD” with your Wi-Fi password. Save the file when you’re done.
- Eject the SD Card: Once you have made the necessary configurations, safely eject the SD card from your computer to ensure that all changes are saved correctly. The SD card is now ready to be inserted into your Raspberry Pi.
Configuring the SD card allows you to customize your Raspberry Pi setup and enable essential features like SSH and Wi-Fi connectivity. These configurations will make it easier to access and control your Raspberry Pi, enhancing your overall user experience.
With the SD card properly configured, we can now proceed to the next step: inserting the SD card into the Raspberry Pi and powering it up.
Step 5: Insert the SD Card into Raspberry Pi
Now that you have prepared and configured the SD card, it’s time to insert it into your Raspberry Pi. Follow these steps to ensure a correct and secure insertion:
- Turn Off Raspberry Pi: If your Raspberry Pi is already powered on, make sure to shut it down properly before proceeding. This is important to prevent any potential damage to both the Raspberry Pi and the SD card.
- Locate the SD Card Slot: On your Raspberry Pi board, locate the SD card slot. It is usually located on the underside of the board. Take note of the correct orientation of the SD card slot for proper insertion.
- Insert the SD Card: Gently insert the SD card into the slot, making sure it is aligned correctly. Apply slight pressure until the SD card is fully inserted into the slot. Do not force the card as it may damage both the card and the slot.
- Secure the SD Card: Once the SD card is inserted, make sure it is securely in place. The card should not wobble or come loose. Ensure that it is properly aligned and seated in the slot.
Properly inserting the SD card into your Raspberry Pi is crucial for a successful boot-up and operating system functionality. Taking the time to ensure correct insertion will help prevent any potential data corruption or damage to the SD card.
With the SD card securely inserted into your Raspberry Pi, it’s time to move on to the final step: powering up your Raspberry Pi and experiencing the Raspberry Pi OS in action.
Step 6: Power up Raspberry Pi
Now that your SD card is properly inserted into the Raspberry Pi, it’s time to power it up and start exploring the world of Raspberry Pi OS. Follow these steps to ensure a successful power-up:
- Connect Power Supply: Take your compatible power supply and connect it to the micro USB port on the Raspberry Pi board. Ensure that the power supply is securely connected and that the voltage and current meet the requirements of your specific Raspberry Pi model.
- Connect HDMI Cable (Optional): If you plan to connect your Raspberry Pi to a monitor or TV, you can do so by connecting an HDMI cable to the HDMI port on the board. This will provide a visual output of the Raspberry Pi OS.
- Connect Keyboard and Mouse (Optional): If you want to interact with your Raspberry Pi directly, you can connect a USB keyboard and mouse to the available USB ports on the board.
- Power On: Once all the necessary connections are made, turn on the power supply to your Raspberry Pi. The board will now start booting up and initializing the Raspberry Pi OS.
- Observe LED Activity: Pay attention to the LED indicators on your Raspberry Pi board. The LEDs will provide important information about the boot-up process. Consult your Raspberry Pi documentation to understand the meaning of different LED patterns.
- Access Raspberry Pi OS: After the boot-up process is completed, you can now access and interact with the Raspberry Pi OS using your chosen method, whether it’s through a monitor, terminal, or remote SSH connection.
Once your Raspberry Pi is powered on and the Raspberry Pi OS is successfully booted up, you can start exploring the features and capabilities of this powerful single-board computer. Use your keyboard, mouse, or SSH connection to navigate through the interface, install software, and begin your Raspberry Pi journey.
Congratulations! You have successfully powered up your Raspberry Pi and installed Raspberry Pi OS on your SD card. Enjoy the countless possibilities and projects that await you with this versatile device.
Conclusion
Congratulations on successfully installing Raspberry Pi OS on your SD card and powering up your Raspberry Pi! You have taken an important step towards unlocking the full potential of this versatile single-board computer.
In this guide, we covered the necessary requirements, step-by-step instructions, and helpful tips to ensure a smooth installation process. We discussed the importance of preparing the SD card, downloading the Raspberry Pi OS, flashing it onto the SD card, configuring the card, inserting it into the Raspberry Pi, and finally, powering up the device.
By following these steps, you now have a fully functional Raspberry Pi system running Raspberry Pi OS. You can now explore the vast ecosystem of projects, applications, and tools available for Raspberry Pi. Whether you’re interested in building a media center, home automation system, or small-scale server, the possibilities are endless.
Remember to keep your Raspberry Pi OS up to date by periodically checking for updates and installing them. This will ensure that you have the latest security patches, bug fixes, and new features.
As you continue your journey with your Raspberry Pi, don’t hesitate to dive deeper into the Raspberry Pi community. There are numerous online forums, tutorials, and resources available to help you expand your knowledge and take your projects to the next level.
Enjoy your Raspberry Pi experience and have fun exploring the exciting world of Raspberry Pi OS!