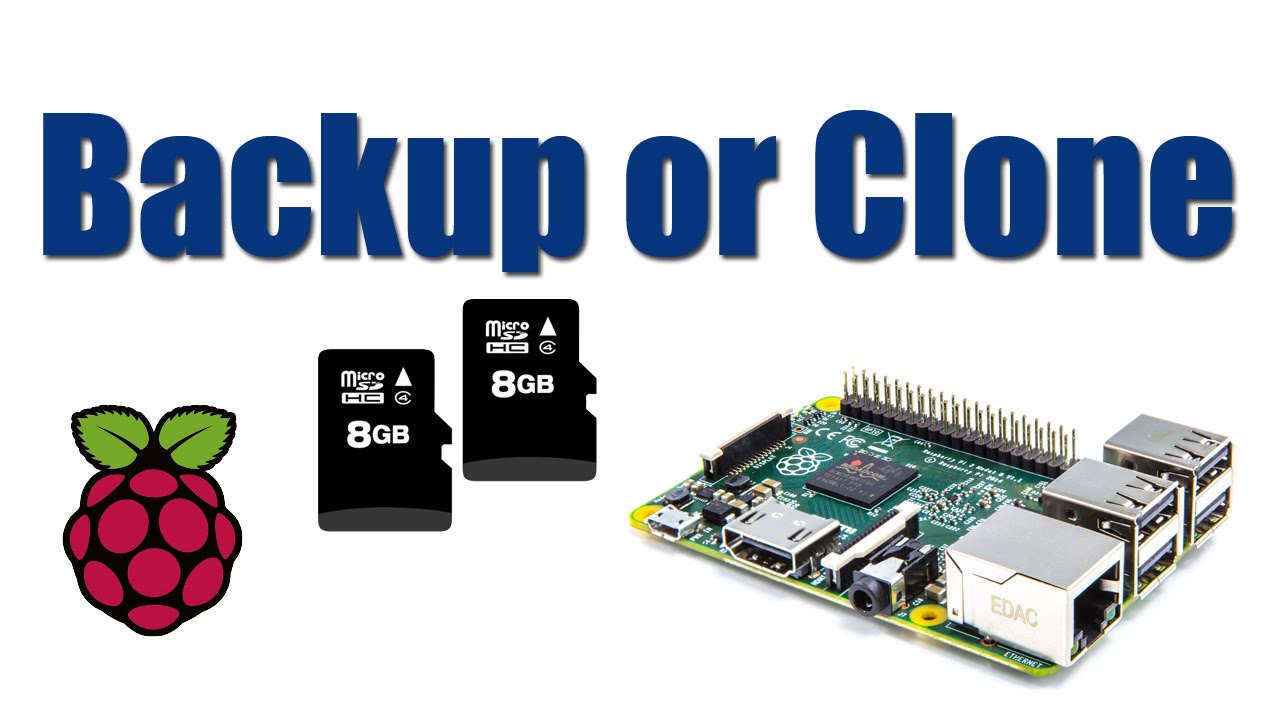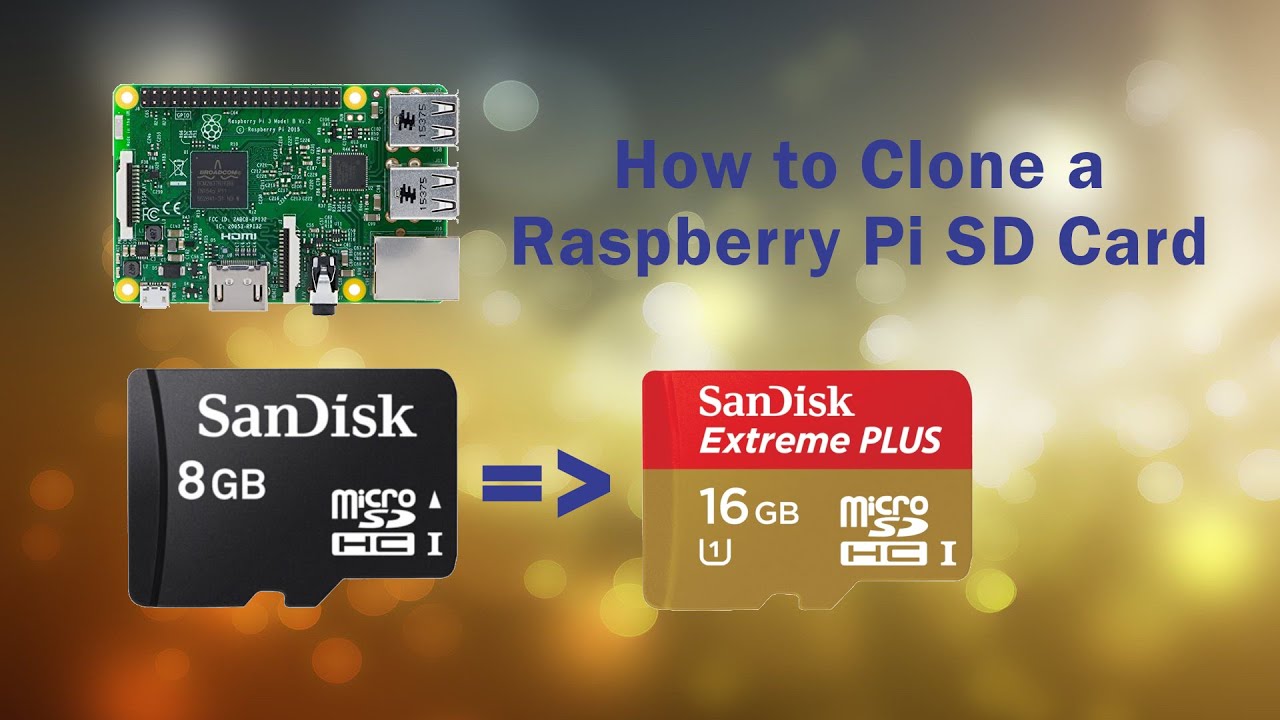
Introduction
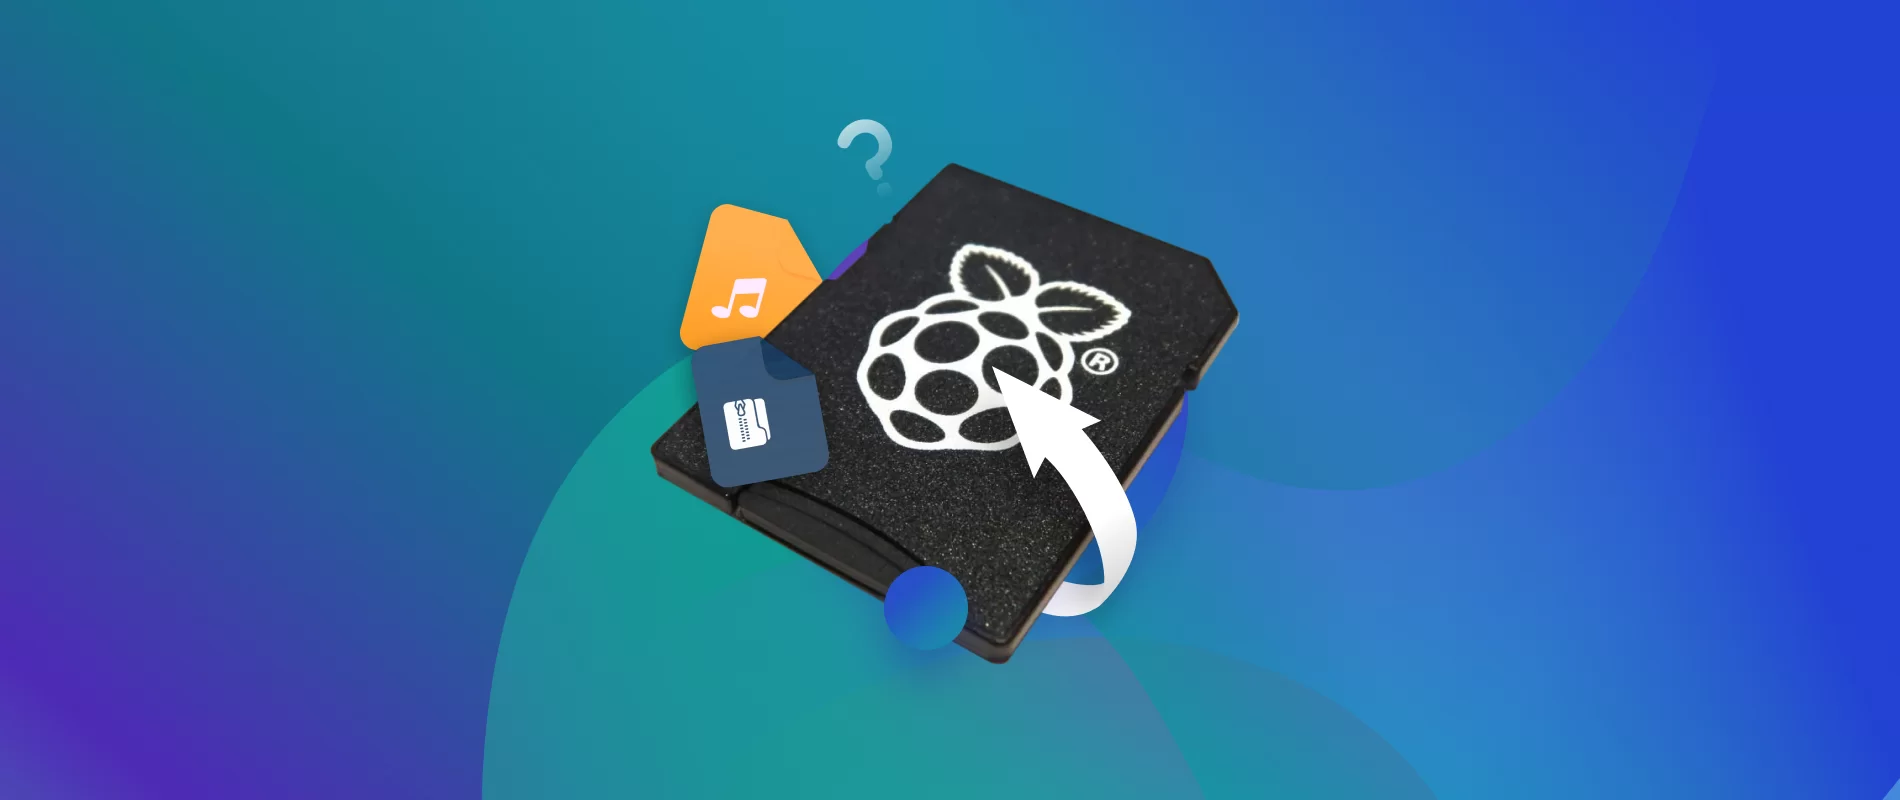
The Raspberry Pi is a versatile and affordable single-board computer that has gained popularity among hobbyists and professionals alike. One of the key components of a Raspberry Pi is the SD card, which houses the operating system and other important files. It is not uncommon to want to create a backup or clone of the SD card in case of data loss or for duplicating a particular setup across multiple Raspberry Pi devices.
In this article, we will guide you through the process of cloning a Raspberry Pi SD card. We will cover the materials you’ll need, step-by-step instructions for preparing the Raspberry Pi and cloning the SD card, as well as different software options you can use for the cloning process. By the end of this article, you’ll have a complete understanding of how to create an exact replica of your Raspberry Pi SD card.
Cloning an SD card is a handy technique for Raspberry Pi enthusiasts who want to save time by replicating their customized setups, software configurations, or even their entire projects. It’s particularly useful when working on multiple Raspberry Pi devices or when you want to ensure that your data is backed up securely.
Whether you’re a beginner or an experienced Raspberry Pi user, this step-by-step guide will provide you with the necessary knowledge to clone your Raspberry Pi SD card successfully. So let’s dive in and learn how to easily clone a Raspberry Pi SD card.
Required Materials
Before you can begin the process of cloning a Raspberry Pi SD card, you’ll need to gather the necessary materials. Thankfully, the items required for this task are readily available and affordable. Here’s what you’ll need:
- A Raspberry Pi: This is the main component of the project. You’ll need a Raspberry Pi model that supports SD cards.
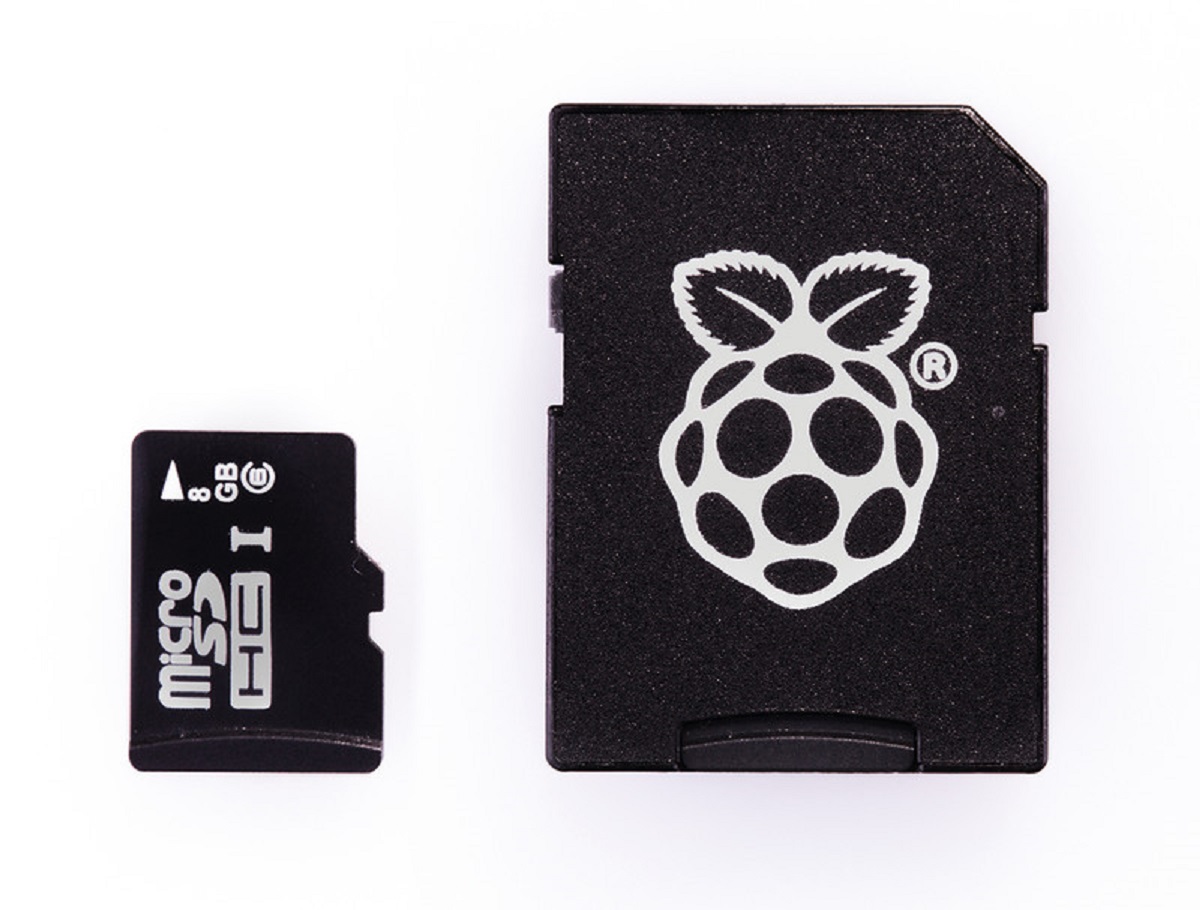
- An SD Card: Choose a high-quality SD card with sufficient storage capacity to accommodate your Raspberry Pi’s operating system and associated files. A class 10 or higher SD card is recommended for optimal performance.
- A computer: You’ll need a computer with an SD card reader to read and write data to the SD card.
- An SD card reader: If your computer lacks an SD card reader, you’ll need an external SD card reader that is compatible with your computer’s operating system.
- Cloning software: Depending on your computer’s operating system, you’ll need appropriate cloning software to create an exact replica of the Raspberry Pi SD card. There are several options available, such as Raspberry Pi Imager (for Windows, macOS, and Ubuntu), Win32 Disk Imager (for Windows), and Etcher (for Windows, macOS, and Linux).
Ensure that you have all these materials on hand before proceeding with the SD card cloning process. Having everything ready will help streamline the process and minimize any potential delays or complications.
Step 1: Preparing the Raspberry Pi
Before you can clone the Raspberry Pi SD card, it’s important to ensure that the Raspberry Pi itself is properly set up and ready for the cloning process. Follow these steps to prepare the Raspberry Pi:
- Power off the Raspberry Pi: Make sure the Raspberry Pi is powered off before proceeding. This can be done by unplugging the power supply or shutting it down through the operating system.
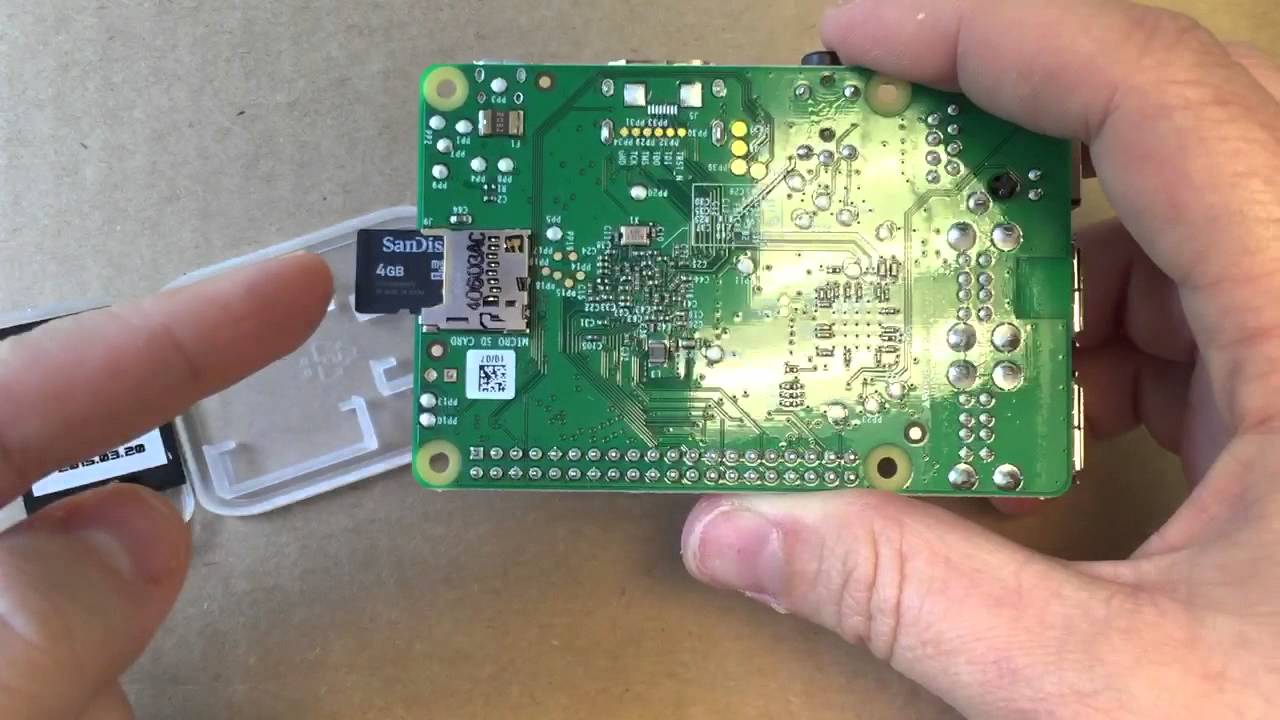
- Remove the SD card: Carefully remove the SD card from the Raspberry Pi’s SD card slot. Take extra caution to prevent any damage to the card or the Raspberry Pi.
- Inspect the SD card: Check the physical condition of the SD card and ensure that there are no visible signs of damage or wear. If you notice any issues, consider replacing the SD card before proceeding.
- Back up important files: If there are any important files or configurations on the SD card that you’d like to preserve, make a backup of those files on your computer. This will ensure that you have a copy of the data in case of any accidental data loss during the cloning process.
By completing these steps, you will have successfully prepared the Raspberry Pi for the cloning process. Taking the time to properly prepare the Raspberry Pi before cloning the SD card helps ensure a smooth and error-free experience.
Step 2: Cloning the SD Card
Now that you’ve prepared the Raspberry Pi, it’s time to proceed with cloning the SD card. There are several software options available for cloning the SD card, and we will cover the three most popular methods:
- Option 1: Using the Raspberry Pi Imager Software: Raspberry Pi Imager is an official tool provided by the Raspberry Pi Foundation that makes it easy to clone SD cards. Simply download and install Raspberry Pi Imager on your computer. Insert the SD card into your computer’s SD card reader, launch Raspberry Pi Imager, select the SD card as the storage device, and choose the operating system you want to clone. Click on “Write” to initiate the cloning process.
- Option 2: Using Win32 Disk Imager: Win32 Disk Imager is a popular tool for cloning SD cards on Windows. After downloading and installing Win32 Disk Imager, insert the SD card into your computer’s SD card reader. Launch Win32 Disk Imager, select the SD card’s drive letter, choose a destination path for the cloned image file, and click on “Read” to create an image of the SD card. Once the image is created, you can use the same software to write the image onto another SD card.
- Option 3: Using Etcher: Etcher is another cross-platform tool that simplifies the process of cloning SD cards. Download and install Etcher, insert the SD card into your computer’s SD card reader, launch Etcher, select the SD card as the source, choose the destination SD card, and click on “Flash” to begin the cloning process. Etcher ensures a reliable and efficient cloning process.
Choose the method that best suits your needs and follow the respective software’s instructions to clone the SD card. These tools provide a user-friendly interface that makes the cloning process straightforward, even for beginners.
Remember to follow the cloning software’s prompts carefully and be patient throughout the process, as it may take some time depending on the size of the SD card and the speed of your computer’s SD card reader.
By following these steps, you will successfully clone your Raspberry Pi SD card and have an exact replica of the original card, ready to be used in any Raspberry Pi device.
Option 1: Using the Raspberry Pi Imager Software
Raspberry Pi Imager is an official software provided by the Raspberry Pi Foundation for cloning SD cards. It offers a simple and user-friendly interface, making it an excellent choice for beginners. Here’s a step-by-step guide on how to clone an SD card using Raspberry Pi Imager:
- Download and install Raspberry Pi Imager: Visit the official Raspberry Pi website and download Raspberry Pi Imager for your operating system. Install the software on your computer.
- Insert the SD card: Take the SD card you wish to clone and insert it into the SD card reader on your computer. Ensure that your computer recognizes the SD card.
- Launch Raspberry Pi Imager: Open Raspberry Pi Imager on your computer. The software’s interface should appear after launching it.
- Select the SD card: In Raspberry Pi Imager, click on the “Choose OS” button and select the operating system you want to clone from the available options.
- Choose the SD card as the storage device: Click on the “Choose SD Card” button and select the SD card you inserted into your computer.
- Start the cloning process: Once you have selected the operating system and SD card, click on the “Write” button to initiate the cloning process. Raspberry Pi Imager will begin copying the data from the original SD card to the new one.
- Wait for the process to complete: The time it takes to clone the SD card will depend on the size of the card and the speed of your computer’s SD card reader. Be patient and do not interrupt the process.
- Verify the cloned SD card: After the cloning process is complete, eject the SD card from your computer’s SD card reader. Insert it into a Raspberry Pi or use an SD card reader to check if it functions properly.
Raspberry Pi Imager simplifies the SD card cloning process, allowing you to create an exact replica of your original SD card easily. Make sure to follow the on-screen instructions provided by the software to ensure a successful cloning process.
With Raspberry Pi Imager, you can quickly and efficiently clone your SD card, saving time and effort in recreating your Raspberry Pi setup.
Option 2: Using Win32 Disk Imager
Win32 Disk Imager is a popular software for cloning SD cards on Windows computers. It provides a straightforward process for creating an exact copy of your SD card. Here’s a step-by-step guide on how to use Win32 Disk Imager to clone an SD card:
- Download and install Win32 Disk Imager: Visit the official Win32 Disk Imager website and download the software. Install it on your Windows computer.
- Insert the SD card: Take the SD card you want to clone and insert it into the SD card reader on your computer. Ensure that your computer recognizes the SD card.
- Launch Win32 Disk Imager: Open Win32 Disk Imager on your computer. The software will launch, and you will see the main interface.
- Select the SD card: In Win32 Disk Imager, click on the folder icon next to the “Device” field. Choose the drive letter corresponding to your SD card.
- Choose the destination path: Click on the folder icon next to the “Image File” field. Select a destination path and provide a name for the cloned image file.
- Start the cloning process: Once you have selected the SD card and destination path, click on the “Read” button to initiate the cloning process. Win32 Disk Imager will create an image file from the original SD card.
- Eject the SD card: After the cloning process is complete, eject the SD card from your computer’s SD card reader.
- Write the image onto a new SD card (optional): If you want to transfer the cloned data to a new SD card, insert the new card into your computer’s SD card reader. In Win32 Disk Imager, select the cloned image file as the “Image File” and the new SD card as the “Device”. Click on the “Write” button to transfer the data to the new card.
Win32 Disk Imager streamlines the process of cloning SD cards on Windows computers. Remember to follow the software’s instructions carefully, and be patient as the cloning process may take some time depending on the size of the SD card and the speed of your computer’s SD card reader.
By using Win32 Disk Imager, you can easily create an exact replica of your Raspberry Pi SD card, ensuring that your setup and data can be replicated effortlessly.
Option 3: Using Etcher
Etcher is a versatile and user-friendly software that allows you to clone SD cards on multiple operating systems, including Windows, macOS, and Linux. It provides a simple and intuitive interface, making it an excellent choice for cloning SD cards. Here’s a step-by-step guide on how to use Etcher for the cloning process:
- Download and install Etcher: Visit the official Etcher website and download the software for your operating system. Once downloaded, install Etcher on your computer.
- Insert the SD card: Take the SD card you wish to clone and insert it into the SD card reader on your computer. Make sure that your computer detects the SD card.
- Launch Etcher: Open Etcher on your computer. The software’s interface will appear once it is launched.
- Select the source SD card: In Etcher, click on the “Select image” button. Choose the SD card you want to clone as the source.
- Choose the destination SD card: Click on the “Select drive” button and select the new SD card where you want to clone the data.
- Start the cloning process: Once you have selected the source and destination SD cards, click on the “Flash!” button to initiate the cloning process. Etcher will begin copying the data from the source SD card to the new one.
- Wait for the process to complete: The time required to clone the SD card will depend on the size of the card and the speed of your computer’s SD card reader. Allow the process to complete without interruption.
- Verify the cloned SD card: After the cloning process has finished, remove the newly cloned SD card from your computer’s SD card reader. Insert it into a Raspberry Pi or use an SD card reader to ensure that it functions correctly.
Using Etcher, you can easily clone your Raspberry Pi SD card with just a few clicks. Remember to carefully follow the instructions provided by Etcher to ensure a successful cloning process.
Etcher provides a reliable and efficient solution for cloning SD cards on various operating systems, allowing you to replicate your Raspberry Pi setup effortlessly.
Step 3: Verifying the Cloned SD Card
After successfully cloning your Raspberry Pi SD card, it is crucial to verify the integrity and functionality of the cloned card before using it. Follow these steps to ensure that the cloned SD card works as expected:
- Eject the cloned SD card: Remove the cloned SD card from your computer’s SD card reader once the cloning process is complete.
- Insert the cloned SD card: Insert the cloned SD card into a Raspberry Pi device or use an SD card reader to connect it to your computer.
- Power on the Raspberry Pi: If you’ve inserted the cloned SD card into a Raspberry Pi, power on the device. Allow it to boot up and check if it functions properly.
- Verify the functionality: Test the cloned SD card by running specific commands, accessing files, or running programs to ensure that all aspects of your Raspberry Pi setup are working correctly.
- Check for any errors: Pay attention to any error messages or unusual behavior during the testing process. If you encounter any issues, double-check the cloning steps or consider re-cloning the SD card.
- Ensure data integrity: Compare the files and configurations on the cloned SD card with the original to confirm that all data has been accurately transferred. This step is especially critical if you had important files or custom settings on the original SD card.
By verifying the cloned SD card, you can have confidence that the cloning process was successful and that the cloned card is fully functional. This step is crucial to avoid any unexpected issues or data loss when using the cloned SD card in your Raspberry Pi setup.
If any problems arise during the verification process, such as errors or missing files, it may be necessary to repeat the cloning process or troubleshoot any potential issues with the source or destination SD cards.
By completing this final step, you can ensure that your cloned SD card is in good working order, allowing you to confidently use it in your Raspberry Pi projects.
Conclusion
Cloning a Raspberry Pi SD card is a valuable skill that allows you to create an exact replica of your setup, saving time and effort in recreating your Raspberry Pi projects. Whether you’re looking to back up your data, duplicate your configuration across multiple devices, or simply safeguard against data loss, the cloning process is essential.
In this article, we discussed the step-by-step process of cloning a Raspberry Pi SD card. We covered the required materials, preparation of the Raspberry Pi, and three popular software options for cloning: Raspberry Pi Imager, Win32 Disk Imager, and Etcher. Each software option provides a user-friendly interface and simplifies the cloning process regardless of your operating system.
After successfully cloning the SD card, it is crucial to verify the cloned card’s functionality and compare it to the original. This step ensures that all data has been accurately transferred and that the cloned card is fully functional, minimizing any unexpected issues during your Raspberry Pi projects.
By following the provided steps and utilizing the recommended software options, you can confidently clone your Raspberry Pi SD cards and replicate your setups with ease. Whether you’re a beginner or an experienced Raspberry Pi enthusiast, the ability to clone SD cards opens up a world of possibilities for seamless project replication and data backup.
Now that you have the knowledge and tools at your disposal, you can confidently embark on the process of cloning your Raspberry Pi SD cards. Enjoy the convenience and peace of mind that comes with having a cloned SD card, knowing that your Raspberry Pi projects are securely duplicated and ready for use.