Introduction
Welcome to the world of Raspberry Pi! Whether you’re a hobbyist, a tinkerer, or a tech enthusiast, the Raspberry Pi is a powerful and versatile mini-computer that allows you to explore the wonders of coding, electronics, and more. With its compact size and affordable price, it has become a popular choice among DIY enthusiasts and professionals alike.
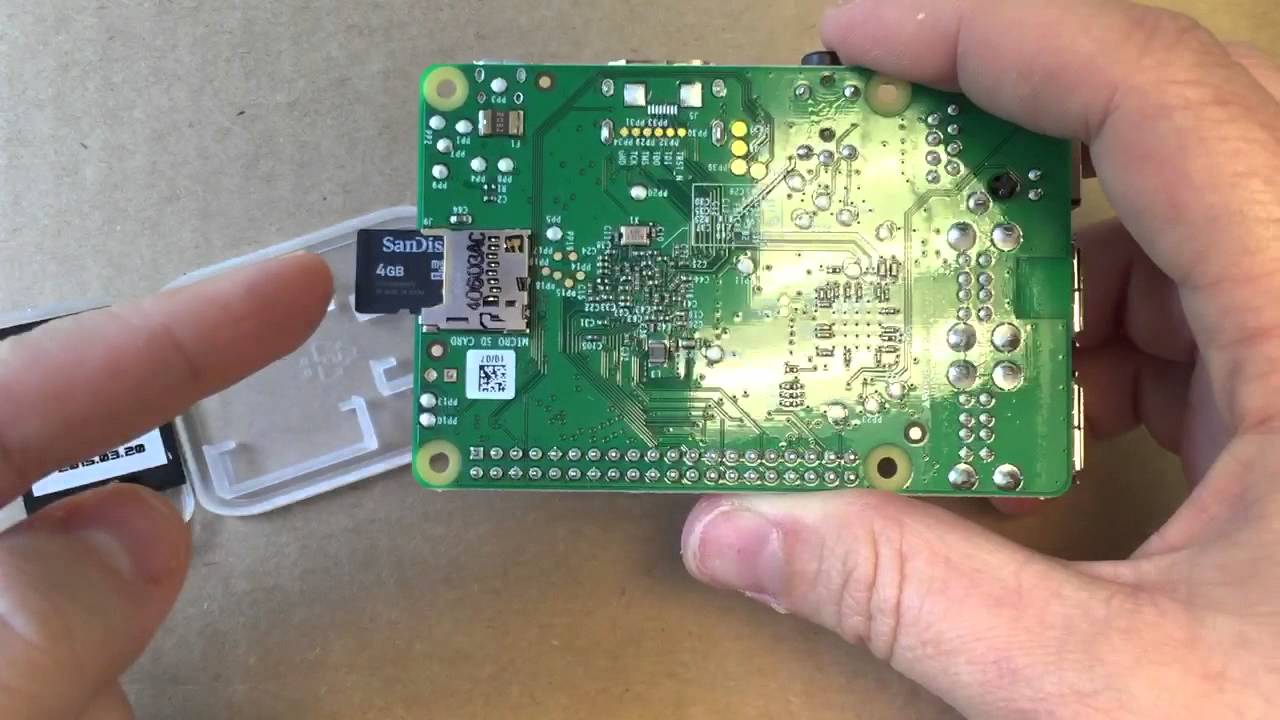
One of the essential aspects of working with the Raspberry Pi is the SD card, which acts as the storage medium for the operating system and your precious files. However, SD cards can be prone to corruption, accidental deletion, or even physical damage. Losing your data can be frustrating, especially if you’ve spent countless hours configuring your Pi to suit your needs.
That’s where backing up your Raspberry Pi SD card becomes crucial. By creating a backup copy of your SD card, you can enjoy the peace of mind that comes with knowing that your data is safe and can be easily restored in case of any mishaps or failures.
In this article, we will explore several backup methods for your Raspberry Pi SD card, ranging from simple external storage options to more advanced techniques. Whether you prefer using external devices, cloud services, or command-line tools, we’ve got you covered. So let’s get started and discover the various ways to safeguard your Raspberry Pi projects!
Why you should back up your Raspberry Pi SD card
Backing up your Raspberry Pi SD card is a crucial step that ensures the security and integrity of your data. Here are a few key reasons why you should make it a priority:
- Data Protection: The Raspberry Pi SD card serves as the central storage for your operating system, configurations, programs, and personal files. By creating regular backups, you can protect your valuable data from accidental deletion, corruption, or SD card failure. This ensures that even if something goes wrong, you can easily restore your Pi to a previously stable state.
- Peace of Mind: Working with the Raspberry Pi involves continuous experimentation and tinkering. It’s common to make changes to system configurations or install new software, making it more prone to errors or instability. Having a backup gives you the confidence to explore and experiment without the fear of permanently damaging your setup. You’ll have the freedom to try new things, knowing that you can always revert to a working state if needed.
- Time-Saving: Creating a backup of your Raspberry Pi SD card saves you precious time in case of unforeseen issues. Imagine spending days or even weeks customizing your Pi setup, only to have it suddenly fail or become corrupted. With a backup in place, you can quickly restore your system to its previous configuration, minimizing downtime and frustration.
- Portability: Backing up your Raspberry Pi SD card allows you to easily move your setup to another SD card or even replicate it on multiple Pi devices. This is particularly useful if you’re working on multiple projects, teaching a workshop, or collaborating with others. By having a backup, you can effortlessly transfer your entire setup and configurations to another SD card or share them with others, simplifying the process of reproducing your work.
Overall, backing up your Raspberry Pi SD card is a small investment of time and effort that offers significant benefits. It protects your data, gives you peace of mind, saves time when troubleshooting, and enables the portability of your projects. In the following sections, we will explore various backup methods, allowing you to choose the one that best suits your needs and preferences.
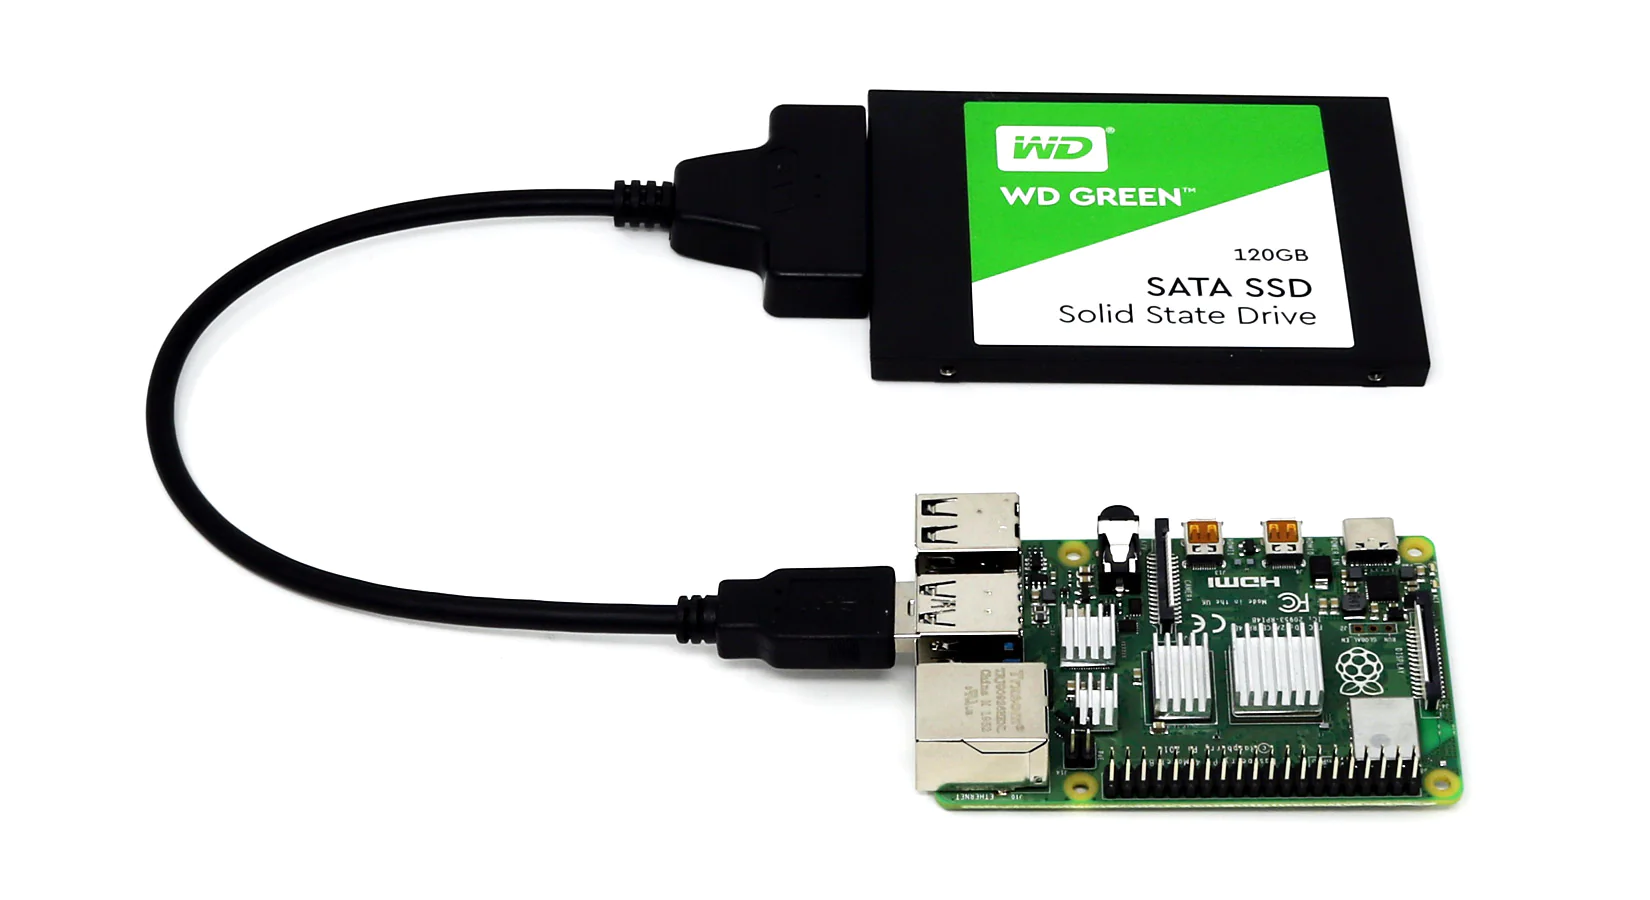
Method 1: External storage device
One of the simplest and most straightforward ways to back up your Raspberry Pi SD card is by using an external storage device. This method involves making a direct copy of the SD card onto another storage medium, such as a USB drive or an external hard disk. Here’s how you can do it:
- Insert the Raspberry Pi SD card into your computer’s SD card reader.
- Connect the external storage device to your computer.
- Open the file explorer on your computer and locate the Raspberry Pi SD card.
- Copy all the files and folders from the SD card and paste them into the external storage device. Make sure to select all the hidden files and directories as well.
- Wait for the copying process to complete. This may take a few minutes, depending on the size of the SD card.
- Once the copying is finished, safely eject the external storage device from your computer.
By following these steps, you have successfully created a backup of your Raspberry Pi SD card on an external storage device. This backup can later be used to restore your Pi to the exact state it was in when the backup was made.
This method offers simplicity and convenience, as you can easily store the external storage device in a safe place or carry it with you. It also provides a quick recovery option in case of SD card failure or corruption, allowing you to get your Raspberry Pi up and running again in no time. Just make sure to update your backup regularly to keep it in sync with any changes you make to your Raspberry Pi setup.
Keep in mind that the external storage device should have ample storage capacity to accommodate the size of your Raspberry Pi SD card. Also, ensure that you have sufficient free space on your computer’s hard drive to facilitate the copying process.
Method 2: Image the SD card
Another effective method to back up your Raspberry Pi SD card is by creating an image of the entire SD card. This image is an exact replica of the SD card, containing the operating system, configurations, files, and data. Here’s how you can image the SD card:
- Insert the Raspberry Pi SD card into your computer’s SD card reader.
- Launch an imaging software such as Win32DiskImager (for Windows) or Apple Pi Baker (for macOS).
- Select the SD card drive from the software’s interface.
- Choose a destination folder on your computer where you want to save the SD card image.
- Click on the “Create” or “Start” button to begin the imaging process.
- Wait for the imaging process to complete. This may take some time, depending on the size of the SD card.
- Once the imaging is finished, safely remove the SD card from your computer’s SD card reader.
Now you have a complete image of your Raspberry Pi SD card stored on your computer. This image can be later used to restore your Raspberry Pi to the exact state it was in when the image was created.
Imaging the SD card not only backs up your files and data but also captures the entire operating system and configurations. This means that in case of SD card failure or corruption, you can simply write the image back to a new SD card, and your Raspberry Pi will be up and running with all its original settings.
This method is particularly useful when you want to create multiple identical setups or when you need to replicate your Raspberry Pi configuration on another SD card. It provides a convenient way to distribute your customized setups to others or deploy them across multiple Raspberry Pi devices with ease.
Remember to periodically update your SD card image to reflect any changes or updates you make to your Raspberry Pi setup. This ensures that your backup stays up to date and accurate, allowing for a seamless recovery process whenever needed.
Method 3: Cloud backup services
Backing up your Raspberry Pi SD card to the cloud offers an automated and convenient way to protect your data. With cloud backup services, your files and configurations are securely stored on remote servers, ensuring accessibility and data integrity. Here’s how you can use cloud backup services to back up your Raspberry Pi SD card:
- Select a cloud backup service that suits your needs. Popular options include Google Drive, Dropbox, and Amazon S3.
- Create an account and set up the cloud backup service on your computer or Raspberry Pi.
- Configure the cloud backup service to sync or back up specific folders or directories on the Raspberry Pi SD card.
- Set the desired backup schedule to automatically back up your files at regular intervals.
- Ensure that your Raspberry Pi is connected to the internet for the backup process to take place.
- Wait for the initial backup to complete. This may take some time depending on the size of the files being backed up and the speed of your internet connection.
- Once the initial backup is finished, subsequent backups will only transfer the changes or updates you make to the files.
Cloud backup services offer the advantage of offsite storage, protecting your data from physical damage, theft, or other local disasters. Additionally, cloud backup services provide easy access to your backed-up files from any device with internet connectivity. This means you can restore your Raspberry Pi setup quickly, even if you’re using a different computer or device.
When using cloud backup services, it’s essential to consider the storage limitations, especially if you have a large SD card or multiple Raspberry Pi devices. Some services offer limited free storage, while others require a subscription for larger storage capacities. Be mindful of the costs and choose a plan that aligns with your backup needs.
Regularly check the status and completeness of your cloud backups to ensure that your important files and configurations are securely stored. Additionally, make sure that your Raspberry Pi is connected to the internet and the cloud backup software is running as expected to guarantee that your backup is up to date.
Cloud backup services provide a reliable and automated solution for safeguarding your Raspberry Pi SD card data. With the ease of access, remote storage, and automatic backups, you can have peace of mind knowing that your valuable files are protected and easily recoverable whenever necessary.
Method 4: Using the dd command
The dd command is a powerful tool that can be used to create a bitwise copy of your Raspberry Pi SD card. This method is commonly used in Linux systems and provides a reliable way to back up and clone your SD card. Here’s how you can use the dd command to back up your Raspberry Pi SD card:
- Connect your Raspberry Pi SD card to your computer or to the Raspberry Pi itself.
- Open a terminal or command prompt on your computer.
- Run the following command to identify the disk name of your SD card:
sudo fdisk -l - Make note of the disk name associated with your SD card, usually something like
/dev/sdX. - Ensure that no processes or programs are using the SD card, as the next command will create a byte-for-byte copy of the entire disk.
- Run the following command to back up your SD card to a disk image file:
sudo dd if=/dev/sdX of=path/to/backup/image.img bs=4M(replace/dev/sdXwith the disk name of your SD card andpath/to/backup/image.imgwith the path where you want to save the backup file). - Wait for the dd command to complete the backup process. This may take some time depending on the size of your SD card.
- Once the backup is finished, you will have an exact copy of your Raspberry Pi SD card saved as an image file.
The dd command creates a bitwise copy of your SD card, including the partition layout and file system. This means that you can restore the backup image to a new SD card and have an exact replica of your Raspberry Pi setup.
It’s important to exercise caution when using the dd command, as any mistakes can lead to data loss or overwrite other disks if used incorrectly. Double-check the disk name and destination path before running the command, and ensure that you have sufficient storage space for the backup image.
Using the dd command provides a reliable and efficient way to back up your Raspberry Pi SD card. It’s particularly useful for advanced users who prefer command-line tools and want to create a complete and identical backup of their SD card for future use.
Method 5: Using the Win32DiskImager tool
If you’re using a Windows computer, one of the most popular tools for backing up and cloning Raspberry Pi SD cards is the Win32DiskImager tool. This user-friendly application allows you to create an image of your SD card and restore it whenever needed. Here’s how you can use the Win32DiskImager tool to back up your Raspberry Pi SD card:
- Download and install the Win32DiskImager tool from the official website.
- Insert your Raspberry Pi SD card into your computer’s SD card reader.
- Launch the Win32DiskImager tool.
- In the “Device” section, select the drive letter associated with your SD card.
- Choose a destination path and filename for your backup image by clicking on the folder icon in the “Image File” section.
- Click on the “Read” button to start the backup process.
- Wait for Win32DiskImager to create the backup image. The time taken depends on the size of your SD card.
- Once the backup is complete, you will have an image file of your Raspberry Pi SD card stored at the specified location.
The Win32DiskImager tool creates a byte-for-byte copy of your Raspberry Pi SD card, including the partitions, file systems, and data. This means that you can easily restore the backup image to a new SD card, ensuring an exact replica of your Raspberry Pi setup.
The Win32DiskImager tool provides a simple and intuitive interface for backing up and restoring Raspberry Pi SD cards, making it ideal for beginners and those who prefer graphical tools over command-line interfaces. It allows you to easily switch between different Raspberry Pi setups or create backups for safekeeping.
Remember to regularly update your backup image to ensure it reflects any changes or updates you make to your Raspberry Pi. This will ensure that your backup is up to date and accurate, allowing for a seamless recovery whenever needed.
Overall, the Win32DiskImager tool is a reliable solution for creating and restoring backups of Raspberry Pi SD cards on Windows computers. Its user-friendly interface and straightforward process make it a popular choice among Raspberry Pi enthusiasts.
Method 6: Using the ddrescue command
If you’re facing issues with a damaged or corrupted Raspberry Pi SD card, the ddrescue command can be a handy tool to help you recover your data. Unlike the dd command, ddrescue is specifically designed to handle failing or problematic disks. Here’s how you can use the ddrescue command to back up your Raspberry Pi SD card:
- Connect your Raspberry Pi SD card to your computer.
- Open a terminal or command prompt on your computer.
- Run the following command to identify the disk name of your SD card:
sudo fdisk -l - Make note of the disk name associated with your SD card, usually something like
/dev/sdX. - Install the ddrescue tool if it’s not already installed on your system. You can use the package manager specific to your operating system.
- Run the following command to back up your SD card using ddrescue:
sudo ddrescue --no-split /dev/sdX path/to/backup/image.img path/to/logfile.log(replace/dev/sdXwith the disk name of your SD card,path/to/backup/image.imgwith the path where you want to save the backup file, andpath/to/logfile.logwith the desired location for the log file). - Wait for the ddrescue command to complete the backup process. This may take some time, depending on the condition of your SD card and the size of your data.
- Once the backup is finished, you will have a backup image file of your Raspberry Pi SD card saved at the specified location.
The ddrescue command is particularly useful when dealing with damaged or failing SD cards, as it repeatedly attempts to read problematic areas and recovers as much data as possible. The --no-split option ensures that the image file is created as a single continuous file, making it easier to handle during the recovery process.
Make sure to keep the log file generated by ddrescue, as it records the progress and any errors encountered during the backup. This log file can be helpful when trying to extract as much data as possible from a damaged SD card.
Using the ddrescue command gives you a chance to recover data from a faulty Raspberry Pi SD card, even if it’s on the brink of failure. While it doesn’t guarantee a complete recovery, it significantly improves your chances of salvaging important files and data from a damaged SD card.
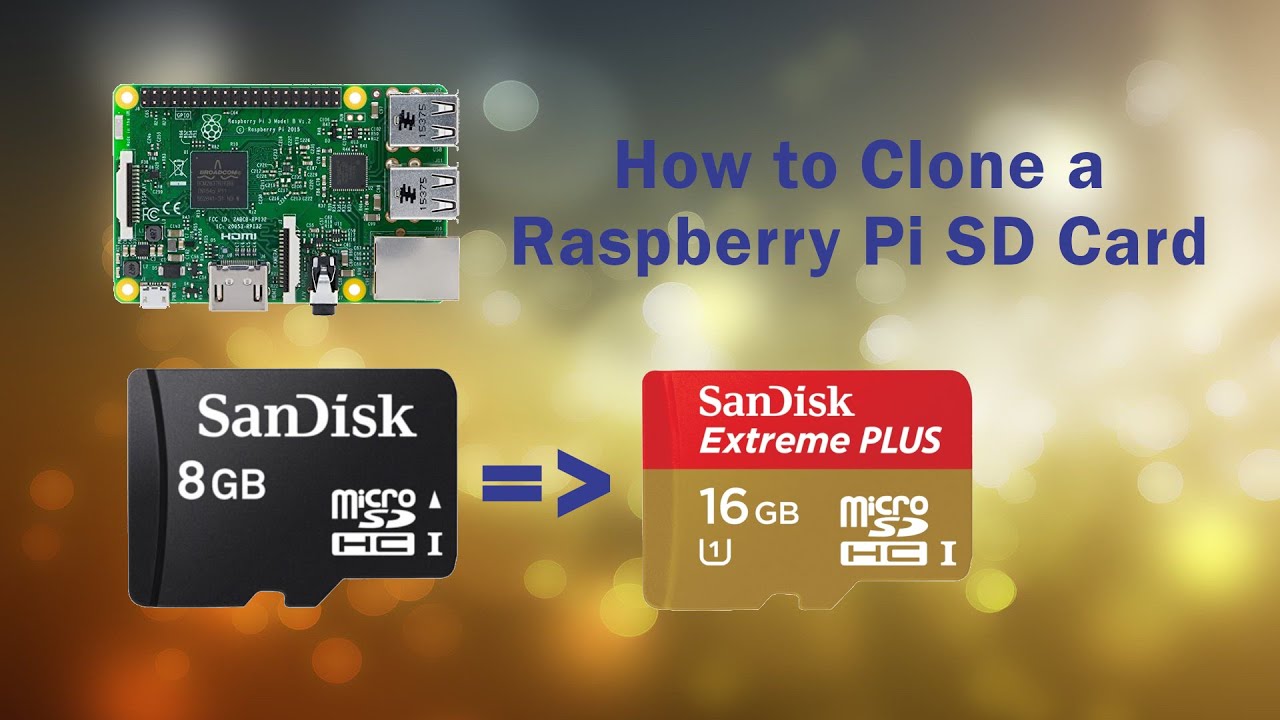
Method 7: Create a clone of the SD card
Creating a clone of your Raspberry Pi SD card is an effective way to back up your entire setup, including the operating system, configurations, and data. By creating a duplicate copy, you can quickly and easily restore your Raspberry Pi to a working state whenever needed. Here’s how you can create a clone of your SD card:
- Insert your Raspberry Pi SD card into your computer’s SD card reader.
- Launch a disk cloning tool such as Etcher, Win32DiskImager, or Apple Pi Baker.
- Select the SD card as the source disk in the cloning software.
- Choose a destination disk, such as another SD card or a larger storage device, where you want to create the clone.
- Start the cloning process and wait for it to complete. This may take some time depending on the size of your SD card.
- Once the cloning process finishes, you will have an exact replica of your Raspberry Pi SD card on the destination disk.
Creating a clone of your SD card ensures that every aspect of your Raspberry Pi setup is backed up. It includes the boot partition, file systems, software installations, and all your customizations. This means that you can restore the cloned SD card to another Raspberry Pi or use it as a backup to quickly swap out a faulty SD card.
When choosing the destination disk for the clone, make sure it has sufficient storage capacity to accommodate the entire content of your SD card. If the destination disk is larger, you can easily expand the file system after the cloning process to utilize the additional space.
Keeping multiple clones of your SD card provides redundancy and extra security for your Raspberry Pi setup. It allows you to have a backup ready in case of SD card failure, accidental damage, or corruption. By simply swapping out the damaged SD card with the cloned one, you can have your Raspberry Pi up and running again without the need for reconfiguration.
Regularly updating your clone ensures that it reflects any changes or updates you make to your Raspberry Pi. This way, your backup remains up to date and can be seamlessly restored whenever needed.
Creating a clone of your Raspberry Pi SD card is a reliable and efficient method to back up your entire setup. It provides peace of mind knowing that your data and configurations are safe and easily recoverable in case of any issues or failures.
Conclusion
Backing up your Raspberry Pi SD card is a critical step to ensure the safety and security of your data and configurations. Whether you’re a hobbyist, a student, or a professional, having a reliable backup of your Raspberry Pi setup can save you from potential headaches and frustration.
In this article, we explored seven different methods for backing up your Raspberry Pi SD card, each with its own advantages and use cases. From using external storage devices and creating images to leveraging cloud services and command-line tools, you have a variety of options to choose from based on your preferences and requirements.
Using an external storage device such as a USB drive provides simplicity and convenience, allowing you to quickly copy and store your Raspberry Pi SD card data. Creating an image of the SD card ensures a complete and accurate backup, while cloud backup services offer offsite storage and accessibility from anywhere.
The dd command allows for a bitwise copy of the SD card, while the Win32DiskImager tool provides a user-friendly interface for Windows users. The ddrescue command is immensely valuable when dealing with damaged or failing SD cards, and creating a clone of the SD card provides an exact replica for quick and easy restoration.
Remember to regularly update your backups to reflect any changes or updates you make to your Raspberry Pi setup. Schedule backups and verify their completeness to ensure that your valuable data and configurations are safeguarded.
By taking the time to back up your Raspberry Pi SD card, you can enjoy peace of mind knowing that even in the event of a failure or mishap, your data can be easily restored. So, choose the method that suits you best and make backing up your Raspberry Pi SD card a part of your routine.